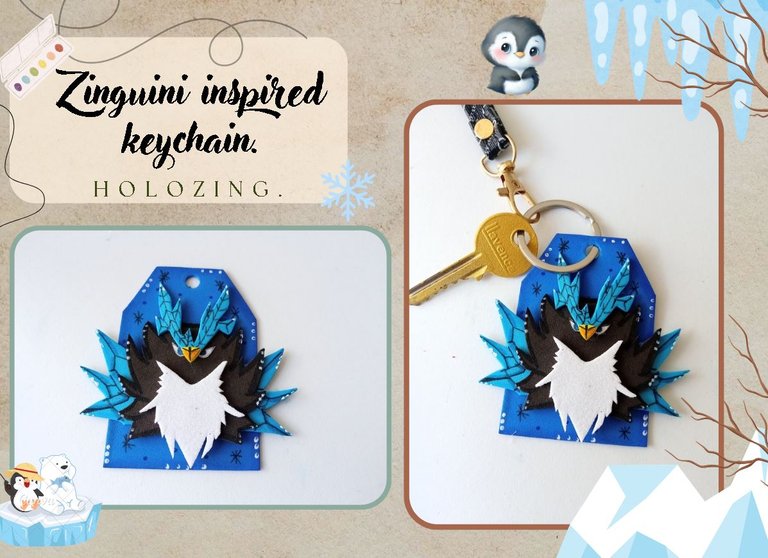
🔸Sin más que añadir, a continuación los dejo con el paso a paso:
✨Good afternoon, holozing friends!✨ I hope you are all doing well. For this part, I am doing very well, thank God. As always, I am happy to stop by here again to share with you a nice idea for a keychain inspired by Zinguini. I cannot explain how hesitant I was with this idea, since I had been thinking about making it for a long time, but it is no secret that it is a creature with many little details and quite complicated to make. However, I did not want to give up, so I tried to do my best and although I know that it should have many more little details, I did the best I could, taking into account that it was a mini decoration.
🔸Without more to add, then I leave you with the step by step:
♥️ESPERO QUE TE GUSTE,
¡Empecemos!
♥️I HOPE YOU LIKE IT,
Let's start!

✂️ MATERIALES | ✂️ MATERIALS

- Foami azul en distintos tonos.
- Foami escarchado blanco.
- Foami negro.
- Foami amarillo.
- Marcadores y pinturas.
- Aro metálico.
- Hoja blanca.
- Pegamento.
- Tijeras.
- Lápiz.
- Blue foam in different shades.
- White frosted foam.
- Black foam.
- Yellow foam.
- Markers and paints.
- Metallic ring.
- White sheet.
- Glue.
- Scissors.
- Pencil.

✨ PROCEDIMIENTO | ✨ PROCESS

- ✨ PASO 1:
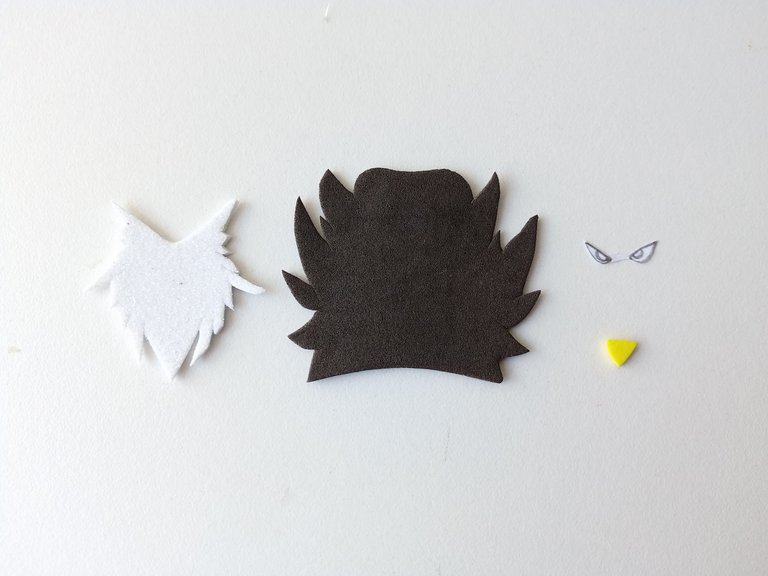
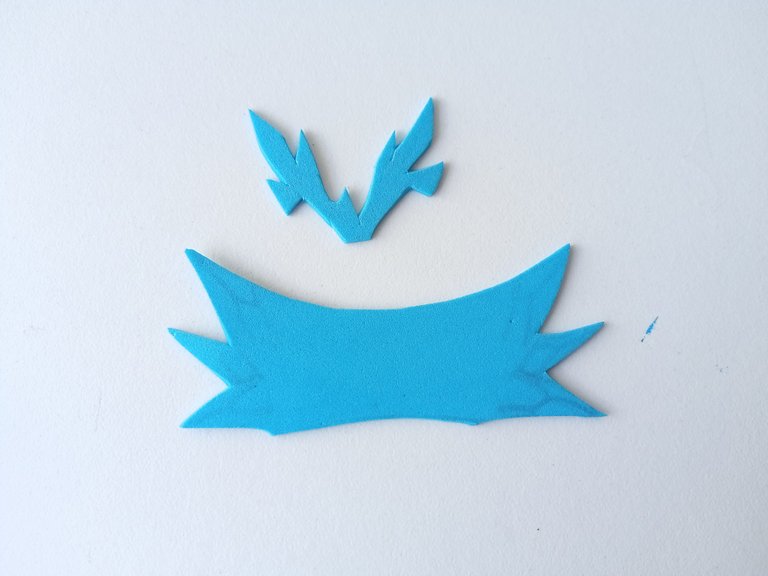
Lo primero que hice fue dibujar a Zinguini en una hoja blanca, pero no el dibujo junto, sino cada parte individualmente para así tener el patrón y que sea mucho más sencillo pasar cada pieza a foami. Como pueden ver solo elaboré la parte superior porque para ser la primera vez, veía muy complicado elaborarlo por completo. Además, que para el llavero se iba a ver mucho mejor solo una parte de la criatura. Al tener el patrón listo, transferí cada una de las piezas a los colores correspondientes de foami de la siguiente manera: cabeza en foami negro, parte central en foami escarchado blanco, ojos en hoja blanca, pico en foami amarillo y todos los diamantes en foami azul claro.
- ✨ STEP 1:
The first thing I did was draw Zinguini on a white sheet of paper, but not the whole drawing, but each part individually so that I had the pattern and it would be much easier to transfer each piece to foam. As you can see, I only made the upper part because, for the first time, it seemed very complicated to make it completely. Also, for the keychain, only one part of the creature would look much better. Once I had the pattern ready, I transferred each of the pieces to the corresponding colors of foam as follows: head in black foam, central part in white frosted foam, eyes in white sheet, beak in yellow foam and all the diamonds in light blue foam.


- ✨ PASO 2:
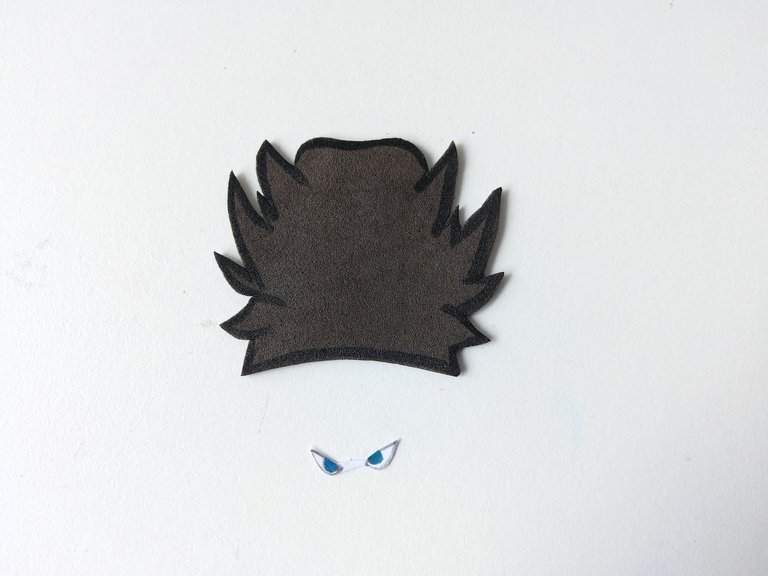
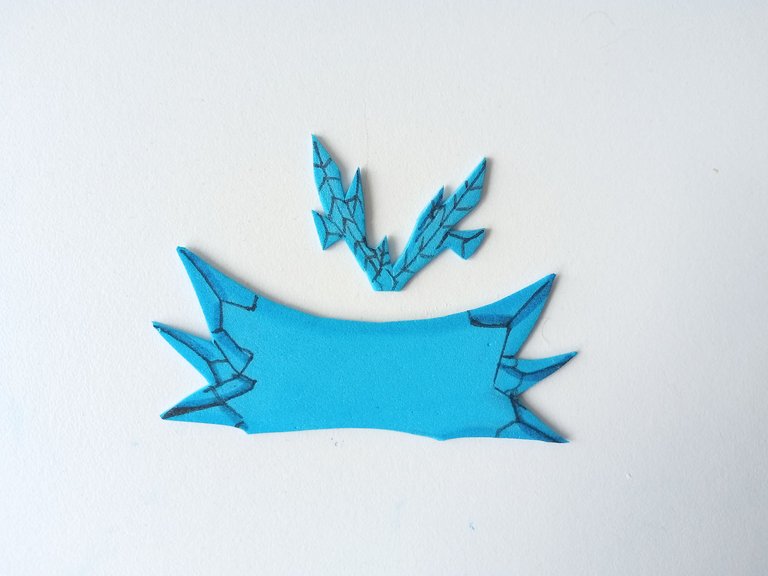
Seguidamente, comencé a dar color a los bordes con pinturas, para crear contrastes y definir más cada una de las piezas. En el caso de la cabeza, solo pasé marcador negro, pinté los ojos con azul y definí un poco más el pico. Para las alas sí fue un trabajo difícil, pues no sabía si se vería bien con líneas negras o si se vería bien en general, también jugué con un tono de marcador más oscuro para las sombras y dejé secar todas las piezas.
- ✨ STEP 2:
Next, I began to color the edges with paints, to create contrasts and define each of the pieces more. In the case of the head, I only used a black marker, painted the eyes with blue and defined the beak a little more. For the wings, it was a difficult job, because I didn't know if it would look good with black lines or if it would look good in general. I also played with a darker marker tone for the shadows and let all the pieces dry.


- ✨ PASO 3:
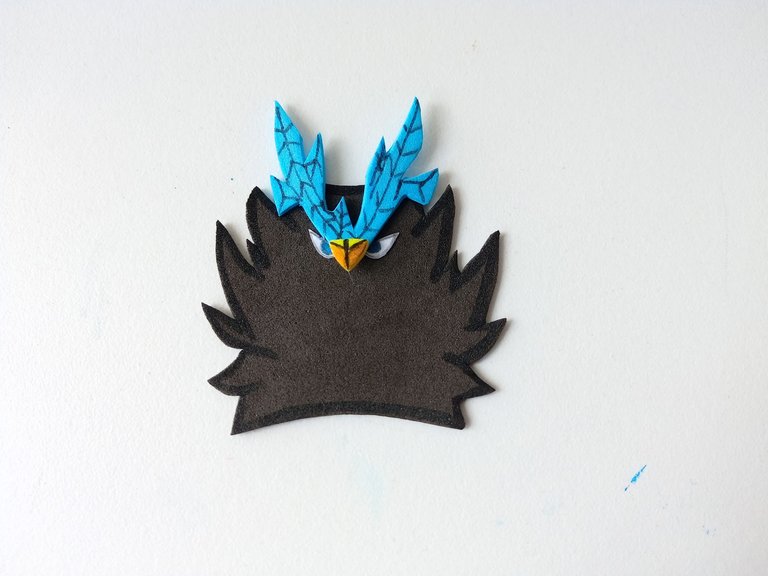
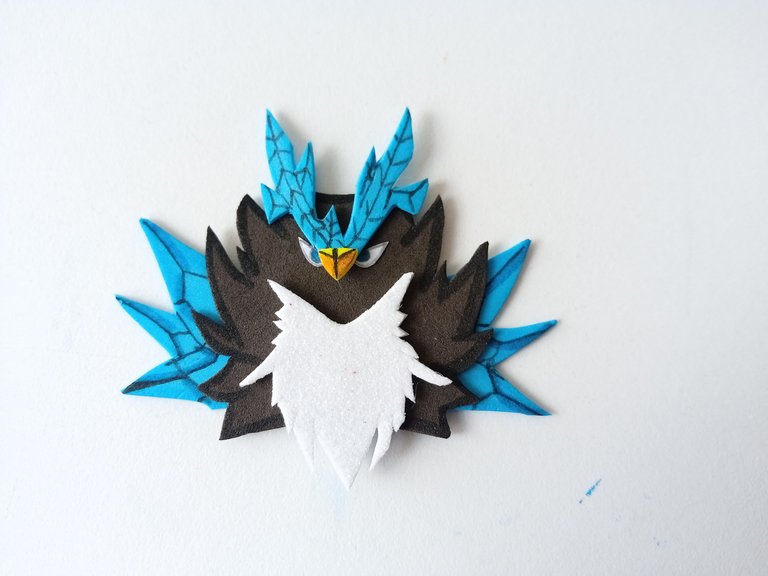
Al estar secas quise iniciar con la parte superior de la cabeza, así que primero pegué ojos, cristal central y por último el pico. Después continué pegando la parte central del cuerpo y sus aletas superheladas que son como cuchillas muy filosas.
- ✨ STEP 3:
Once they were dry, I wanted to start with the top of the head, so first I glued the eyes, the central crystal, and finally the beak. Then I continued gluing the central part of the body and its super-frozen fins that are like very sharp blades.


- ✨ PASO 4:
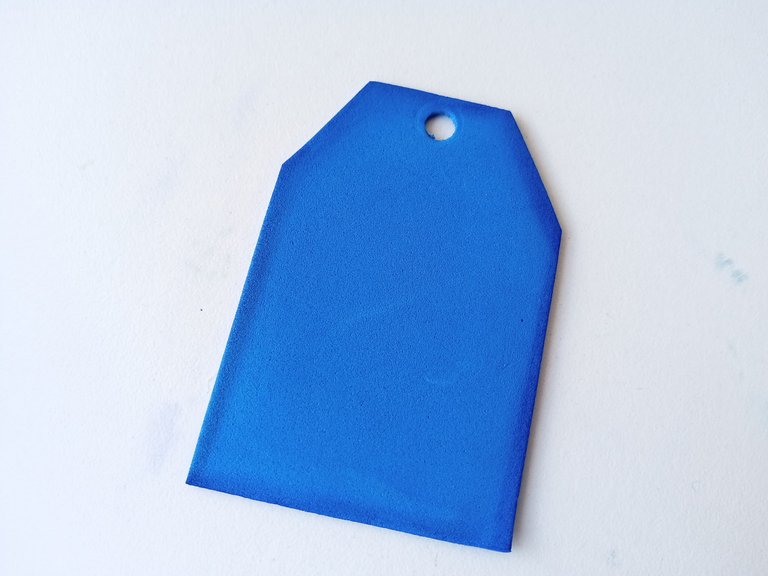
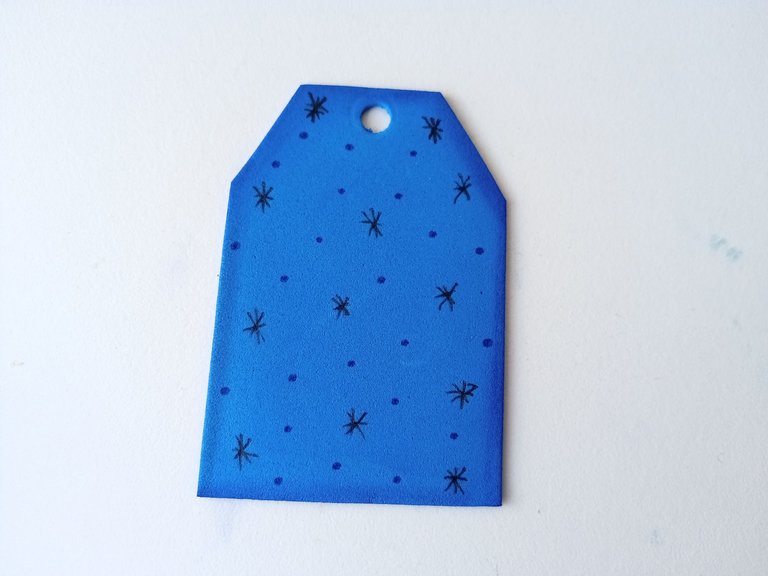
Después, elaboré la base en otro tono de foami más oscuro y le di forma de etiqueta, a la cual le abrí un agujero en la parte superior. Di color a los bordes con pintura azul y detalles como de copos de nieve en marcador negro para que no llamase tanto la atención.
- ✨ STEP 4:
Afterwards, I made the base in another darker shade of foam and shaped it like a tag, which I made a hole in at the top. I colored the edges with blue paint and snowflake-like details in black marker so it wouldn't draw so much attention.


- ✨ PASO 5:
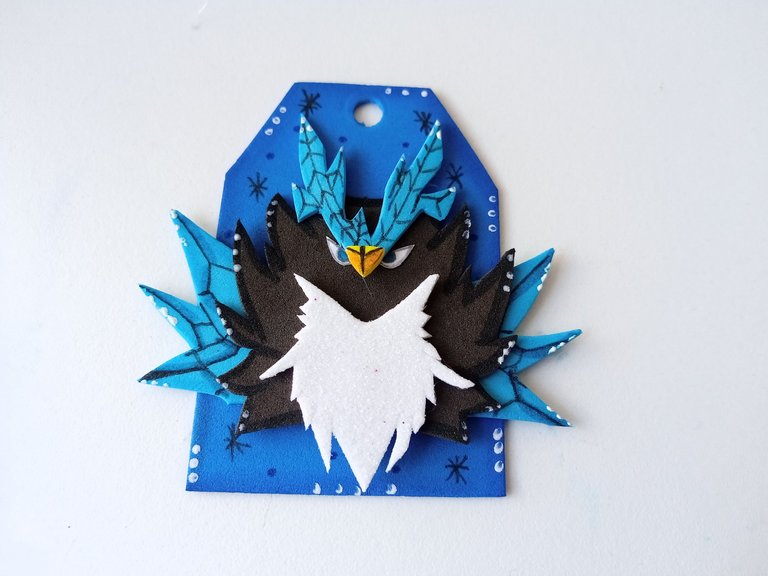
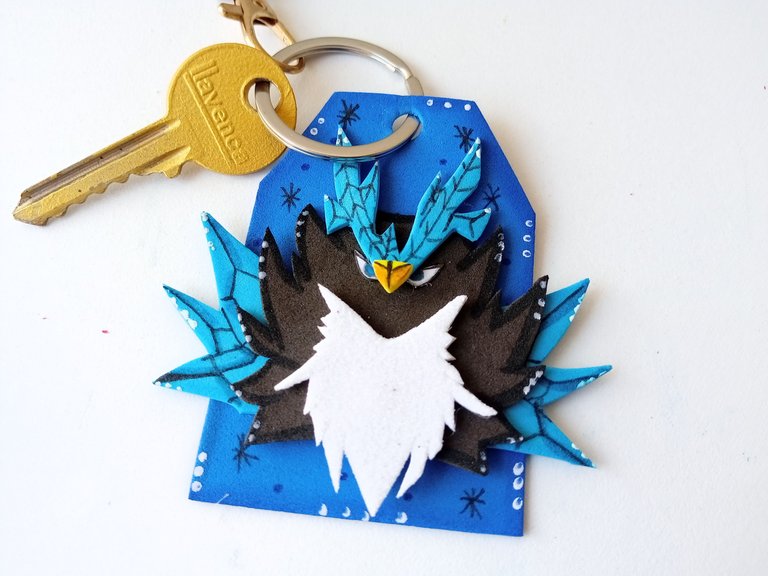
Finalmente, pegué a Zinguini en medio de la base, di puntos de luz con pintura blanca por toda la decoración y por último, inserte el aro metálico, junto con las llaves, en el agujero de la base.
- ✨ STEP 5:
Finally, I glued Zinguini in the middle of the base, gave points of light with white paint all over the decoration and finally, I inserted the metal ring, together with the keys, into the hole in the base.

❤️Until the next post.
❤️ Hasta la próxima publicación.
❤️ Until the next post.


Todas las fotografías son de mi propiedad.
Separador y Fotos editadas en Canva
All photographs are my property.
Photos edited in Canva
Posted Using InLeo Alpha
Ese llavero está genial 🥰
Gracias Ami bella 💕✨
No se como es el muñequito original jaja pero que le faltó para ser mas bello ami??? 😍😍
Ah no, esta parte está completa Ami, solo que decidí hacer la parte de arriba, el cuerpo entero tiene muchos detallitos.🤭 Gracias Ami bella.
A mí me gustó mucho como quedó. Muy lindo, valen ❤️✨
Muchas gracias Albi! Me alegra que te haya gustado.💕✨
Amiga te quedo muy lindo! Cuando son pequeños detalles es complicado recortar! Así qu felicidades por eso! 🥰
Muchas gracias Ami! Así es, cuando son piezas pequeñitas cuesta recortar.🤭💕
Amiga, te quedó increíble, la parte de los ojos está muy linda, sobre todo para ser una pieza pequeña, sé que no es fácil de trabajarlas
Si Ami, es complicado 🤭, pero poco a poco y con mucho cuidado, se logra 🤭. Gracias mi Rosita
Niñita WOWWWWWW😍
Te quedó genial este llavero!
Gracias Ami bella 💕. Tu también haces bellezas ehh 🤭✨
Congratulations @valenpba! You have completed the following achievement on the Hive blockchain And have been rewarded with New badge(s)
Your next target is to reach 10000 comments.
You can view your badges on your board and compare yourself to others in the Ranking
If you no longer want to receive notifications, reply to this comment with the word
STOPCheck out our last posts: