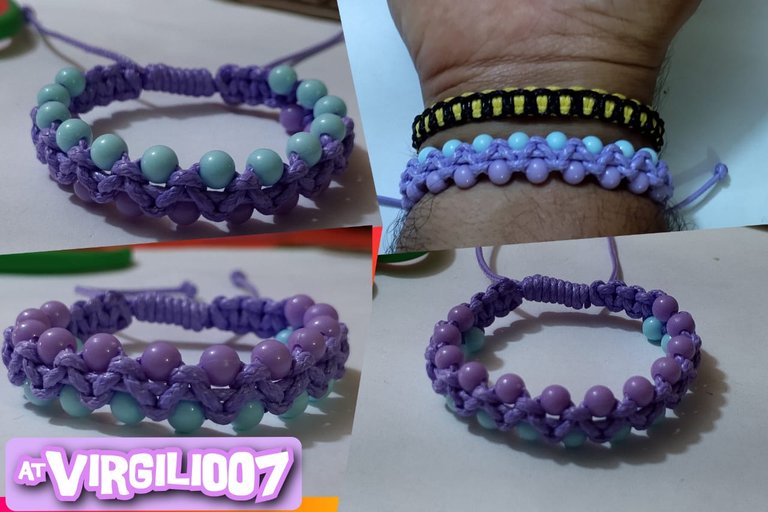
Hello #holozing community, happy to greet you and wish you a happy and blessed Wednesday. This time I share with you a fan art inspired by one of the creatures that ZINGUINI has evolved.
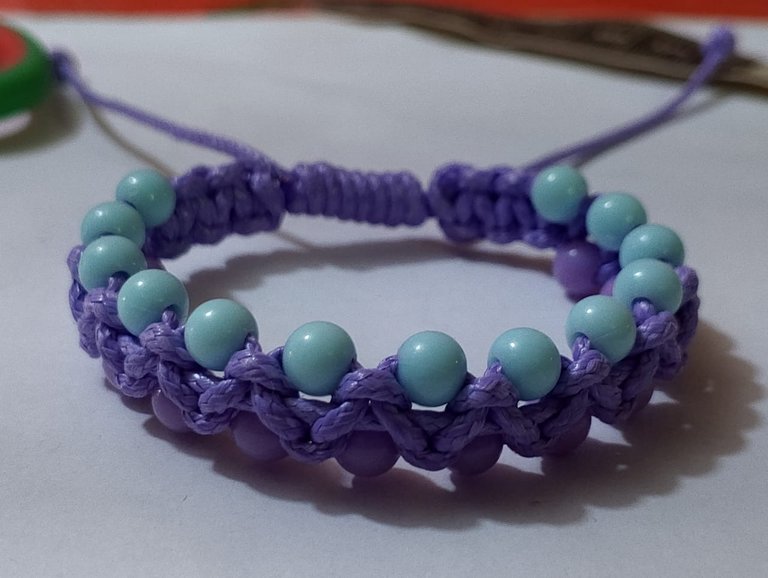
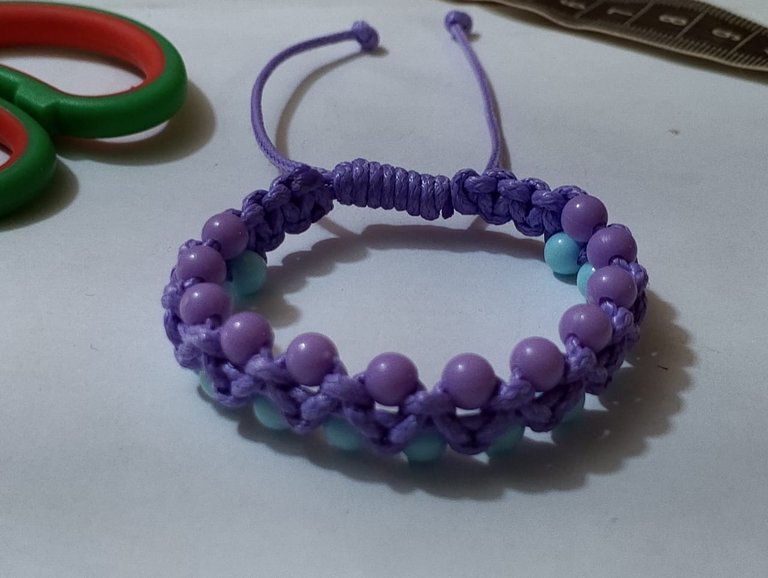
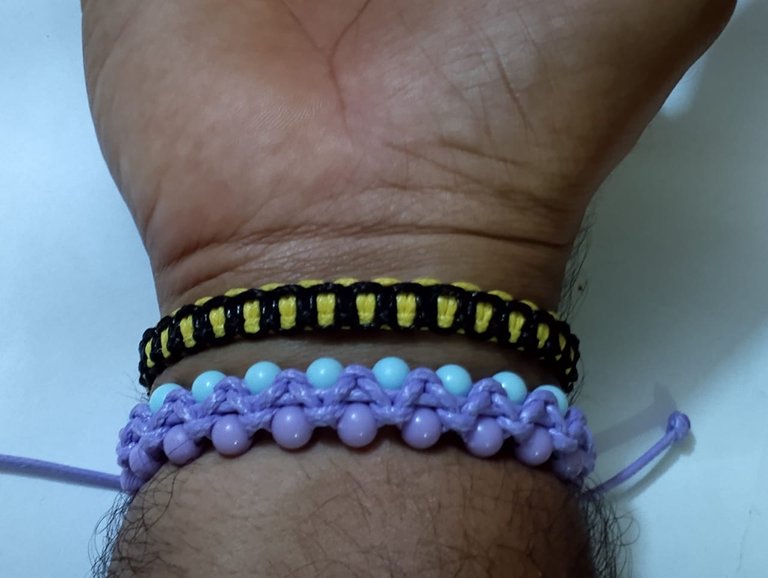
My fan art is a vine bracelet with pearls of different colors that stand out and provide an elegant style.
With no more time to waste I invite you to join me in this fascinating creation and put your hands to the thread.
Hola comunidad #holozing encantado en saludarles y desearles feliz y bendecido miércoles . En esta ocasión les comparto un fan art inspirado en una de las criaturas que ha evolucionado ZINGUINI.
Mi fan art es una pulsera enredadera comn perlas de diferentes colores que resaltan y brindan un estilo elegante.
Sin más tiempo que perder les invito a acompañarme en esta fascinante creación y poner manos al hilo.

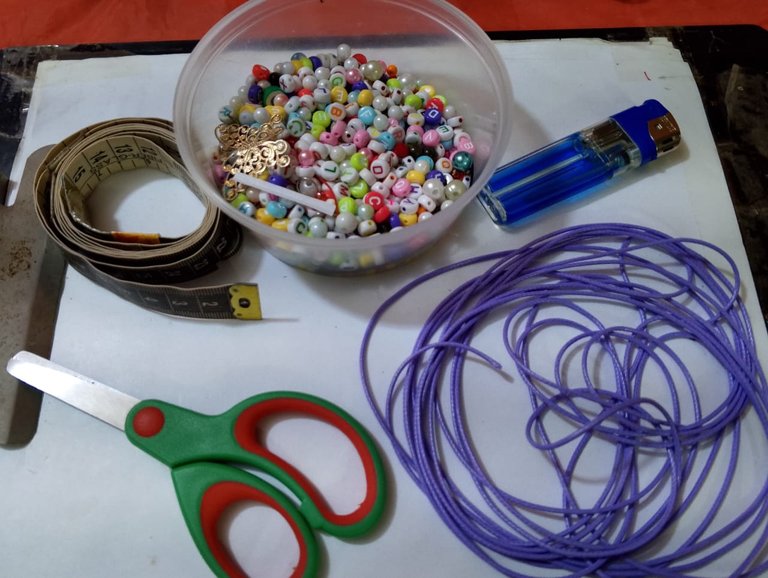
The materials I used to make this beautiful bracelet are as follows, namely:
Snakeskin thread
Scissors
Lighter
Tape measure
Adhesive tape
Plastic beads
Los materiales que utilicé para realizar esta hermosa pulsera son los siguientes, a saber:
Hilo piel de serpiente
Tijera
Encendedor
Cinta métrica
Cinta adhesiva
Perlas plásticas
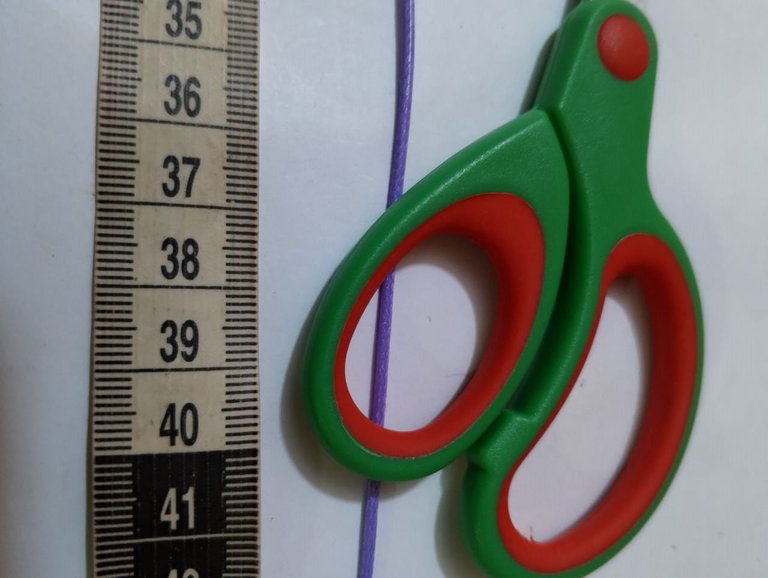
Para comenzar esta hermosa joya inicié cortando dos hebras de hilo de 40cm el cuál utilizaré como base para nuestra pulsera.
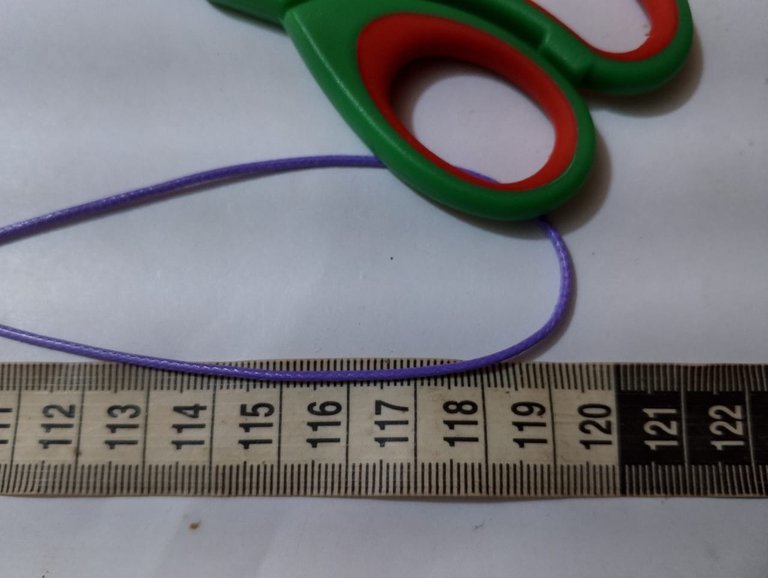
Luego corté una hebra de hilo de 120cm que utilizaré para realizar el tejido plano.

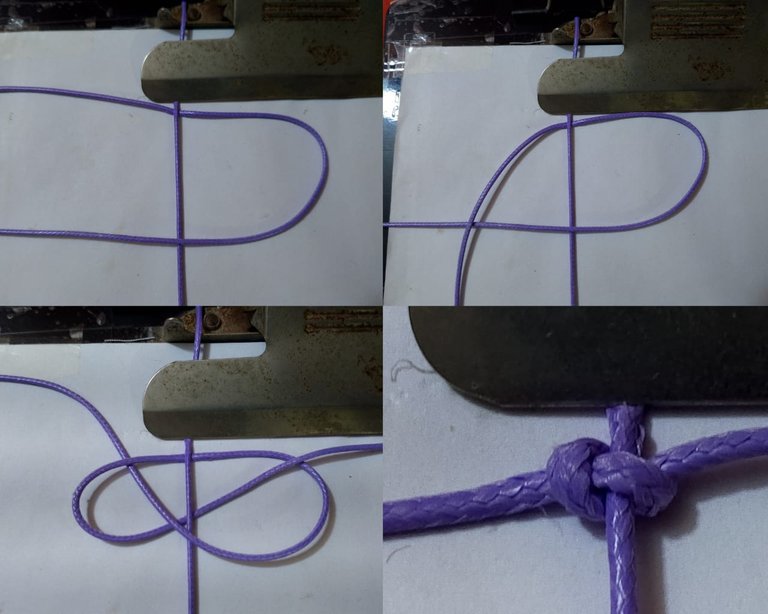
Started the bracelet by making flat knots in the following way: First I took the right strand, passed it over the base, made a P shape, then took the left strand, passed it over the right strand (which was on the left side), then passed it over the base and pulled it through the inside of the right strand (the P shape). Then I stretched the thread on each side evenly to make the knot. With your fingers you press it so that it is even on both sides and so we begin our weaving.
Inicié la pulsera realizando nudos planos de la siguiente manera: Primero tomé el hilo derecho, lo pasé por encima de la base , hice una forna de P, luego tomé el hilo izquierdo, lo pase por encima del hilo derecho (que estaba del lado izquierdo) , seguidamente lo pasé por dejado de la base y lo saqué por dentro del hilo derecho (la forma de P). Después estiré el hilo de cada lado uniformemente para hacer el nudo. Con los dedos se presiona para que quede igual de ambos lados Así comenzamos nuestro tejido.
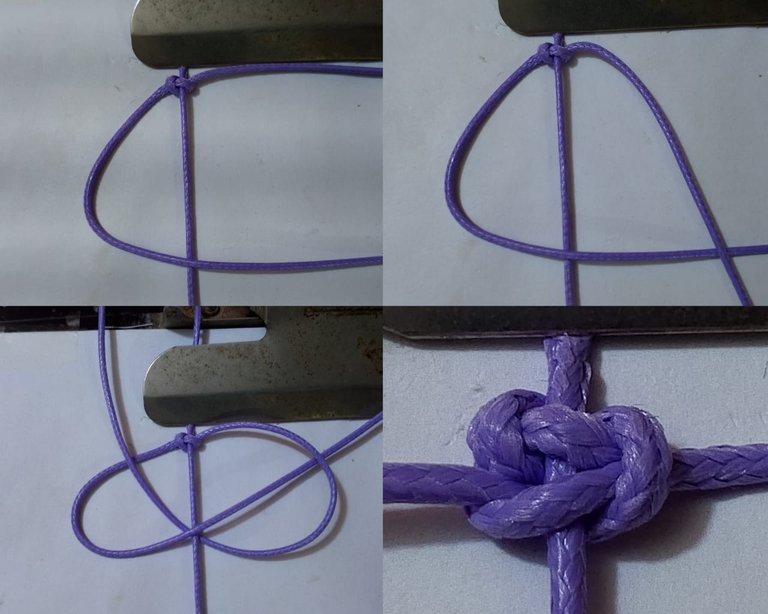
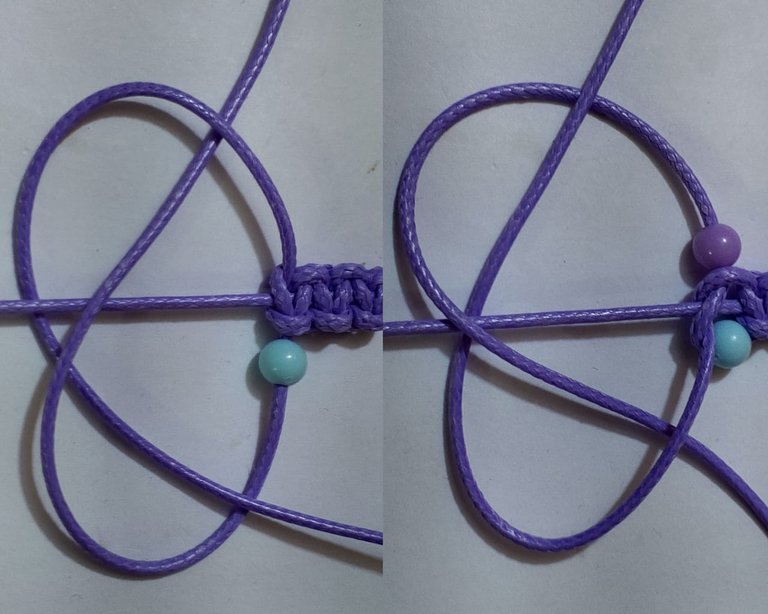
Continué con el mismo procedimiento hasta llegara a la medida deseada.
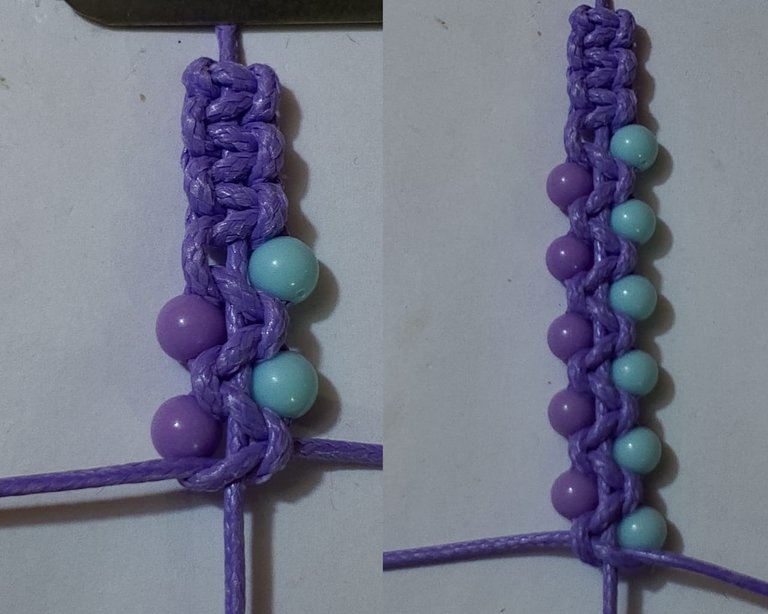
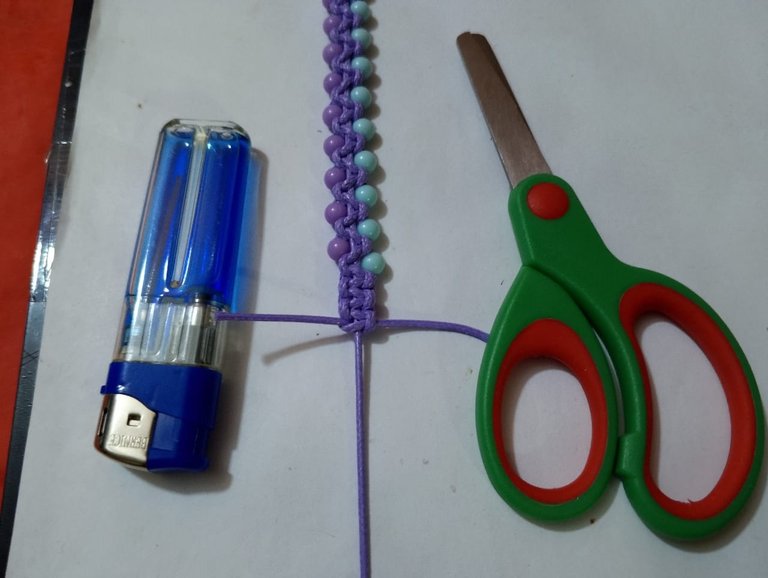
Finalmente corté una hebra de hilo de 20cm para realizar un nudo plano para el trancadero de la pulsera.
Así quedó esta hermosa pulsera para Zinguini.
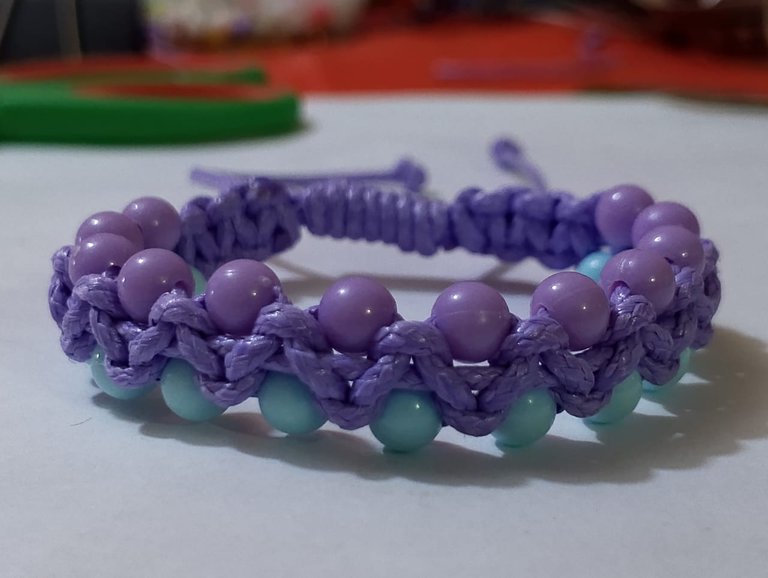

                  All images are my own, dividers courtesy of @kattycrochet.


             Todas las imágenes son de mi autoría, divisores cortesía de @kattycrochet.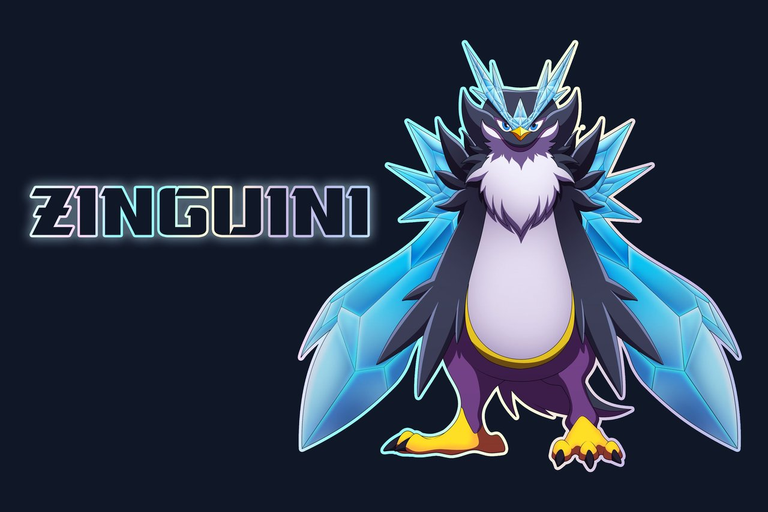
que bonito trenzado le hiciste a tu pulsera
Muchas gracias por pasar y apoyar.
Bendecida noche!!
Nice work 👍
Thank you very much
Welcome🎉
The Zinguini-inspired creeper style is a unique and artistic take on footwear. Nice work
Blessed afternoon. Thank you very much for your kind words and support.
Congratulations @virgilio07! You have completed the following achievement on the Hive blockchain And have been rewarded with New badge(s)
Your next payout target is 10000 HP.
The unit is Hive Power equivalent because post and comment rewards can be split into HP and HBD
You can view your badges on your board and compare yourself to others in the Ranking
If you no longer want to receive notifications, reply to this comment with the word
STOP