Hola! I'm back again for another fanart. But this is unexpected because I didn't really intend to share this art because this was supposed to be just practice, but since my coloring turned out well and there was an improvement, I decided to turn it into a Forest Healer fanart.
| Art | Process | |
|---|---|---|
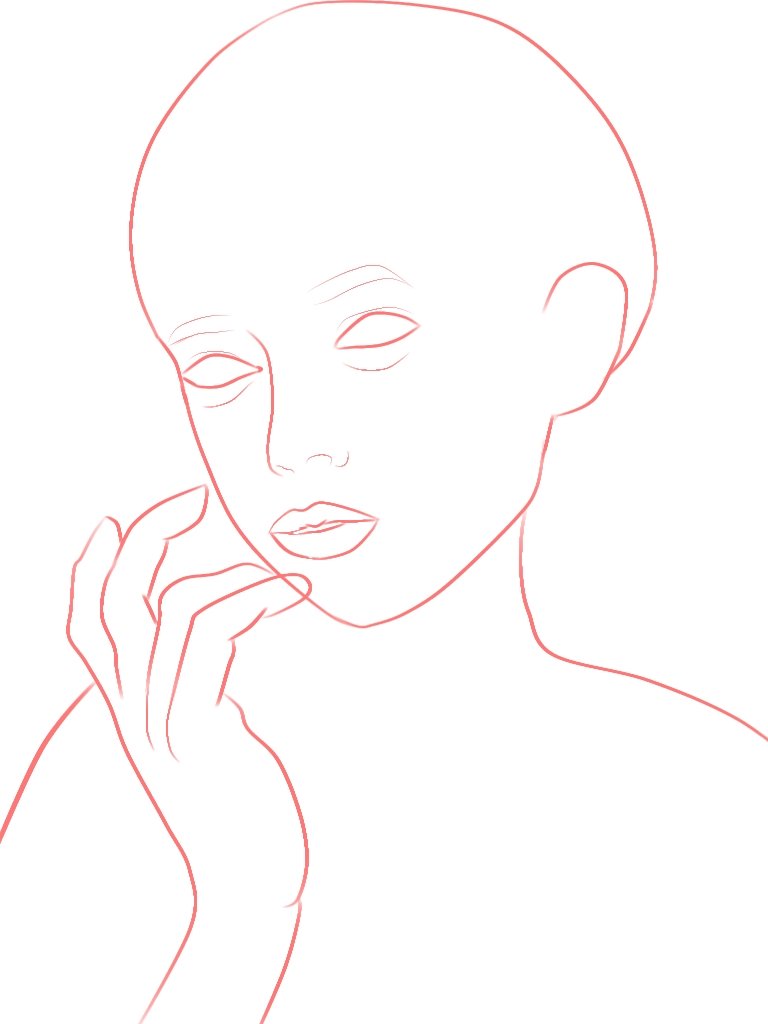 | For the first layer, with the help of a reference window, I am able to copy the line art of my reference. But not 100% copied because, at first, I didn't really have a plan for posting this here. I am just planning to practice how to color. The brush that I use here is Basic Marker, and I also use Stabilizer (Force Fade) and the Béizier curve drawing tool. | |
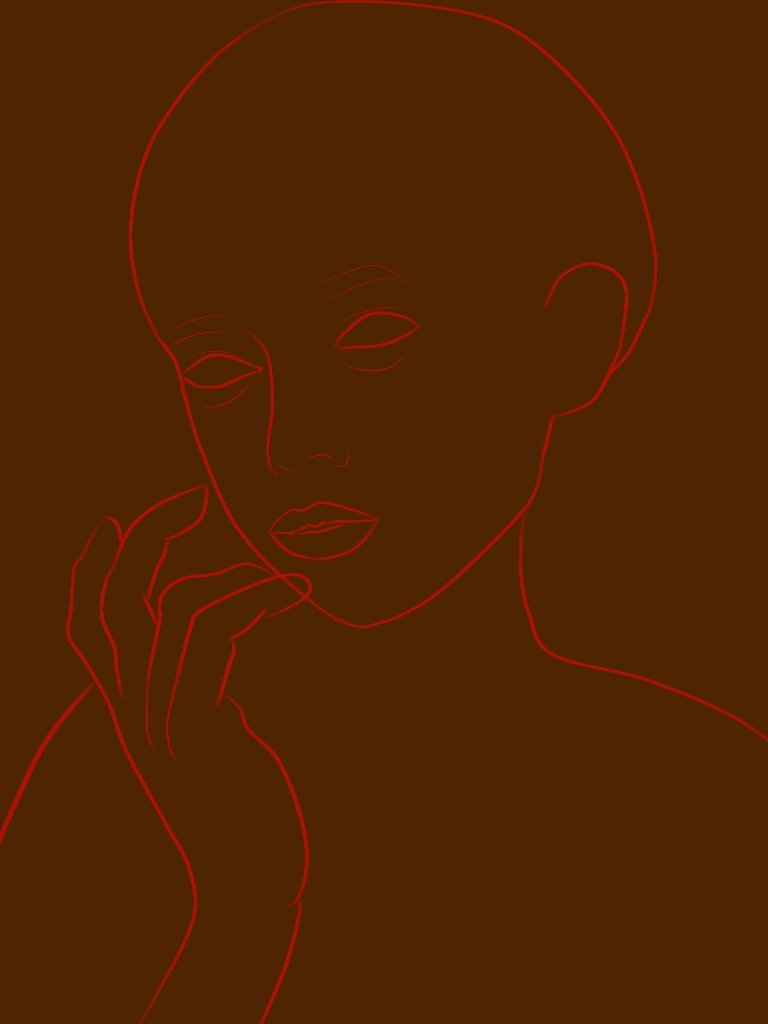 | Then I added another layer, and I changed the background color to brown. So that, her skin color in the next layers will be more visible and not that flat. | |
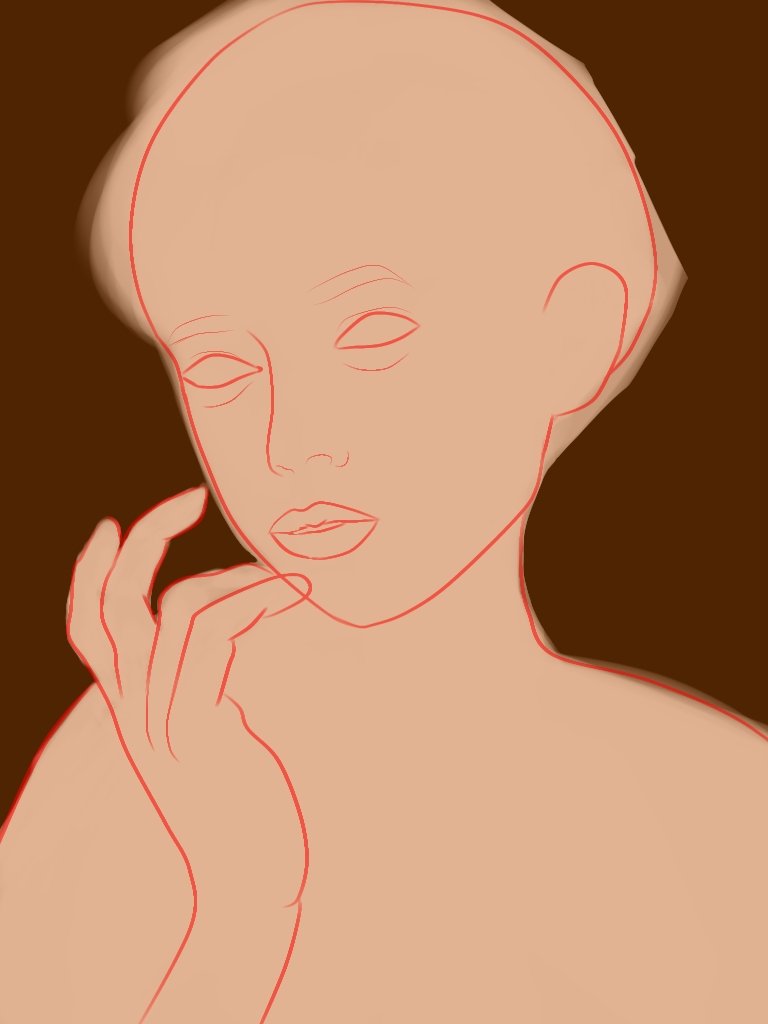 | For the first layer of her skin color, I chose the shade #e0b495. I don't know if this will be a good start for her skin color, but I will trust the process. | |
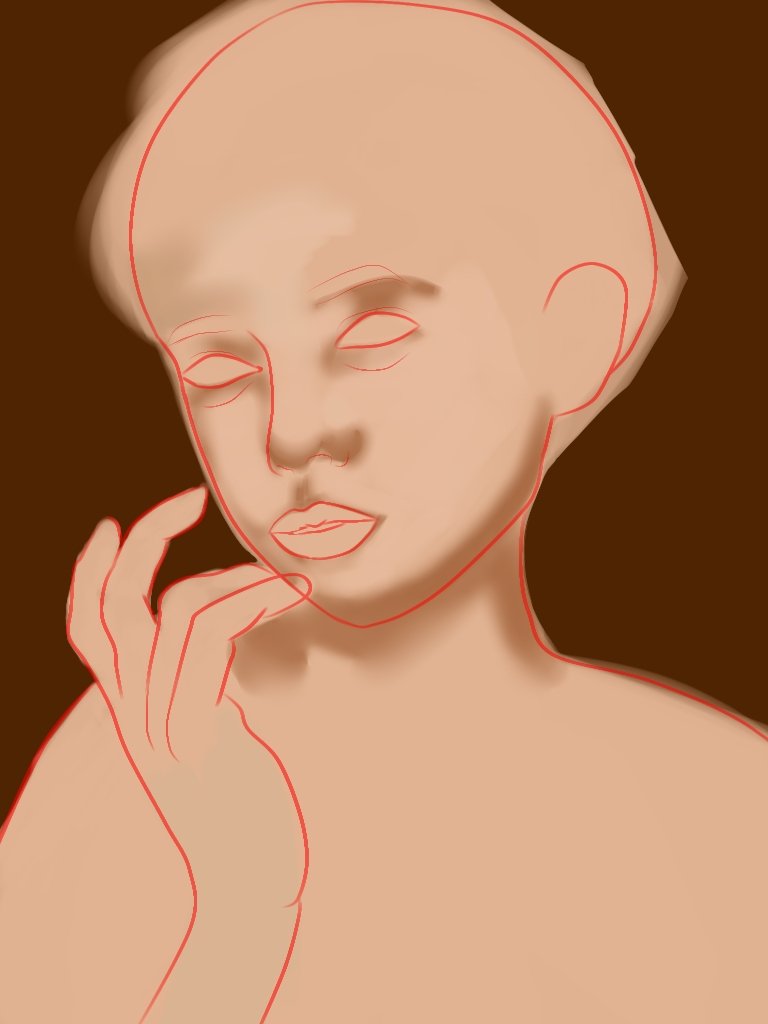 | For the second layer's color of her face's skin, I added some darker shades for the shadow of some parts of her face details, and I also included coloring the shadow of her neck. | |
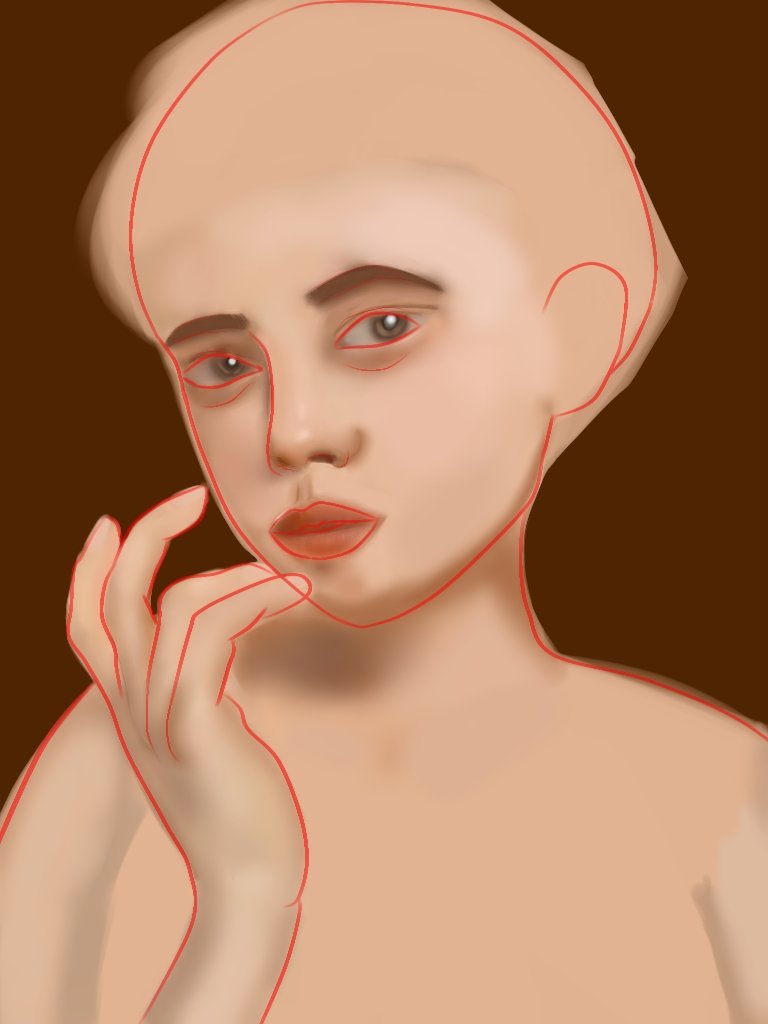 | Like I said, I don't plan on writing a blog about this or using it for my other fan art. So all I did while coloring her first layer was practice and see what the outcome was. That's why I haven't screenshotted the process of how I colored her face. I'm already focused on coloring because I thought it was just practice and I wouldn't make this a blog. Wahhh! | |
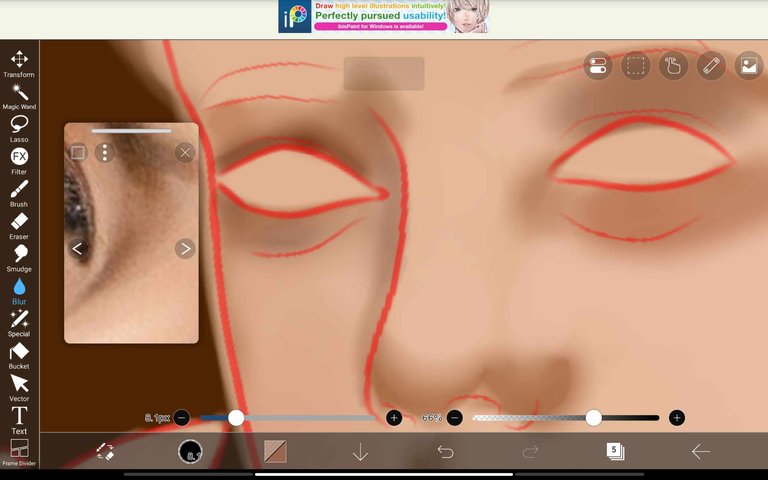 | But luckily, I have a screenshot before coloring her eyes. I sent it to a friend of mine on Messenger to say that I was practicing how to color. | |
| My coloring process is inspired by the guide in the reference window. I used a pen (fade) brush, and for all the coloring in different parts of her face, I put them in one layer and blurred them to flatten and combine the colors to make the color of her face realistic, of course, I also use an airbrush on some parts that need to be highlighted, and I also decreased the color opacity of the color in the next color layers that were needed. | ||
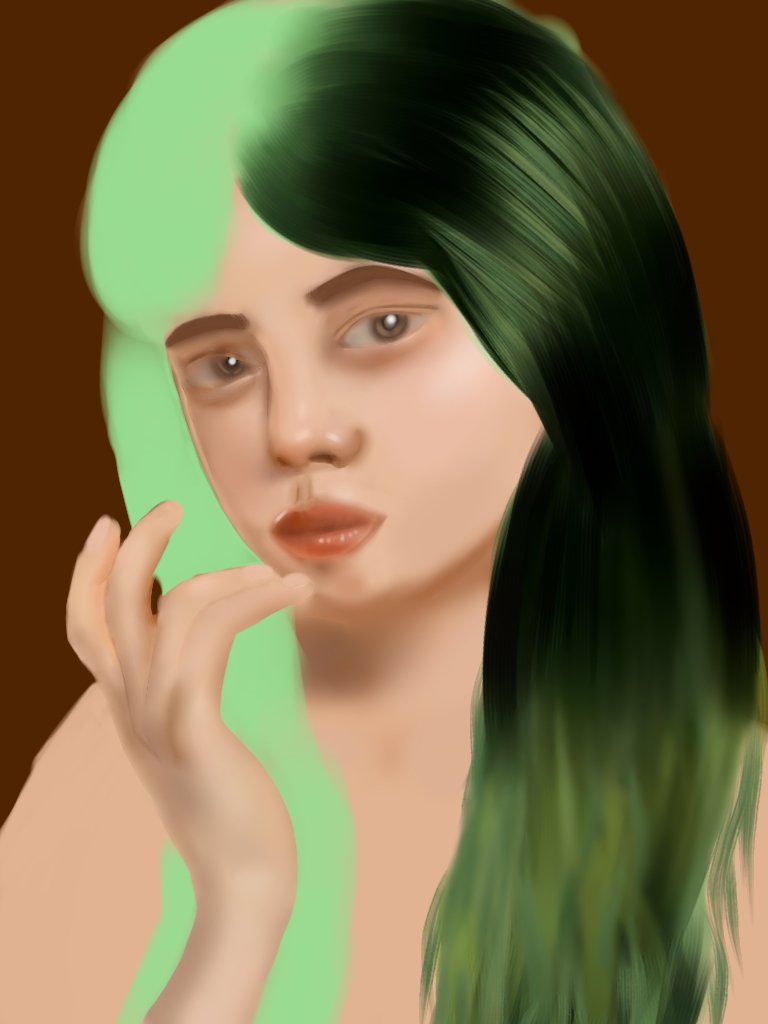 | I add another layer to her hair. So this is where I decided to make it my entry for my other fan art because I couldn't believe that my coloring would be a success and another achievement for me because I already know how to color. All I thought was that coloring would add another layer, layer, and layer, but it turns out that you can color your art in just one layer with the help of a blur brush to make the colors combine. Anyway, for her hair, I use a pen (fade) brush first for her first layer. Using my second reference, I copied her hair color, and for the second layer, I used different brushes. This time, I used a basic hair brush, basic hair (light), and oil (soft). The use of those brushes depends on how I will achieve the color of her hair to make it more realistic, as well as the sizes. Her hair design at the end of her hair has a little curl. I made it a little bit curly because of the reference; her hair also has a wave curl. | |
| On the other side of her Hair. | I just imitated the process of my coloring on the other side, and her color is the same, but because of the reference, she has a highlight on top, so I also covered it with a highlight color neon green color. | |
About her neck, arms, and hands.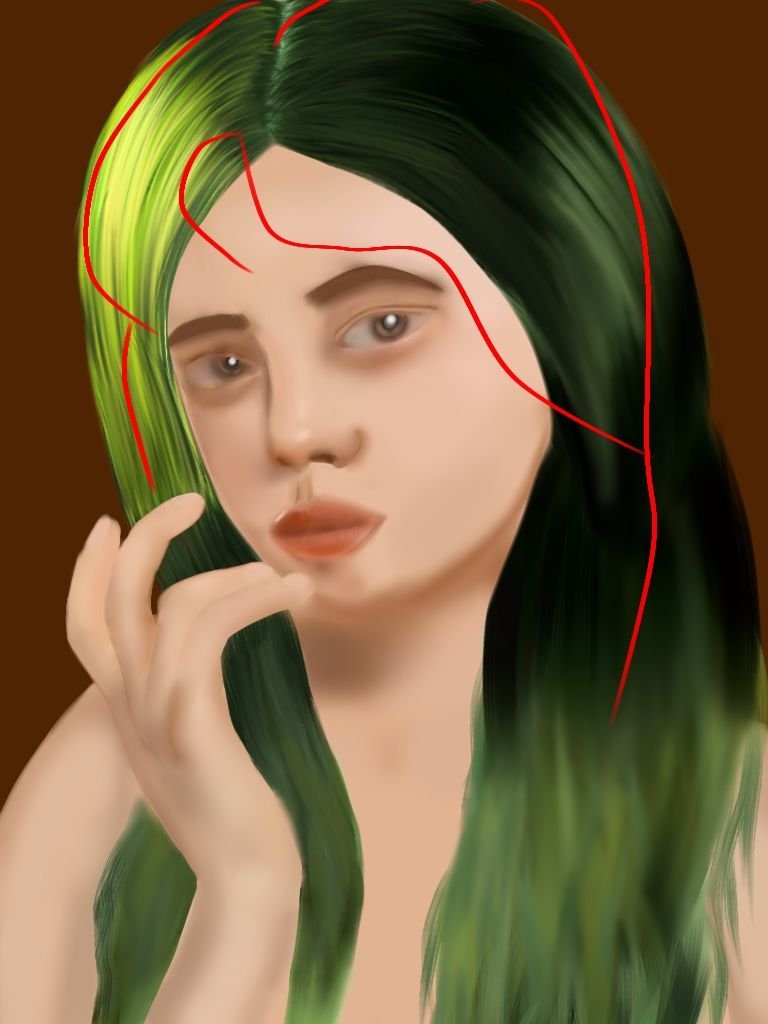 | Just like what I did to color her face, I just repeat what I did. I used what my inspiration image looked like as a guide. | |
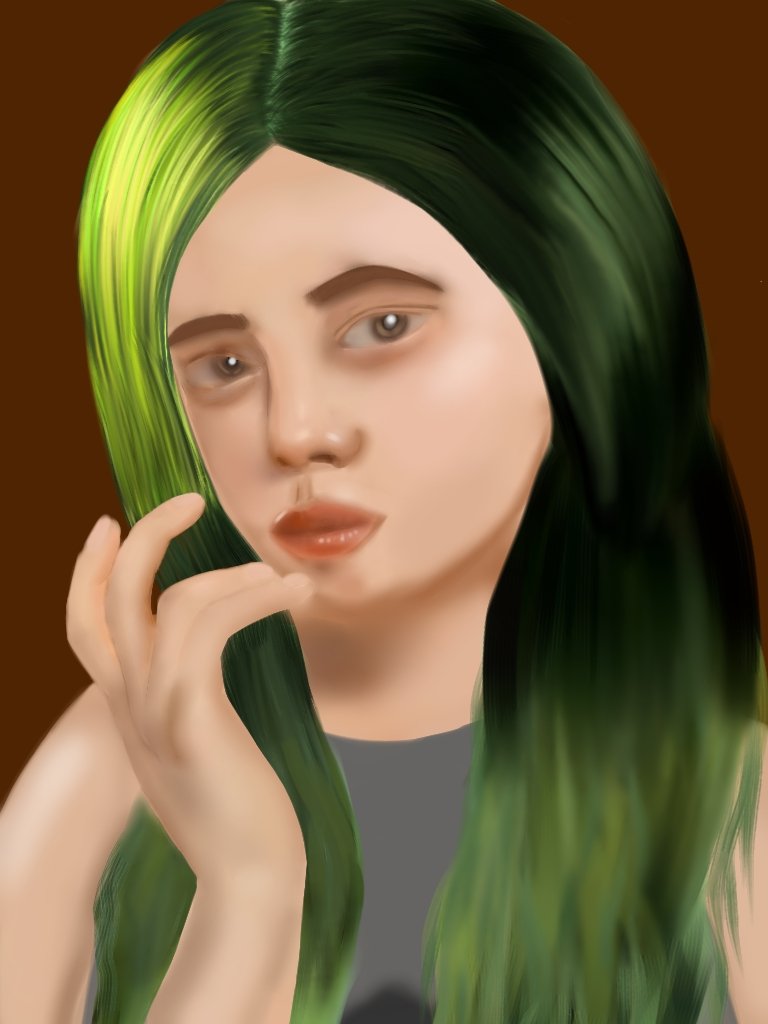 | Using the same brush and process as how I color her face. until I get the satisfaction color and the color is even on the face, arms, and her hand. | |
| Then, I use the pen (fade) brush again to color the first layer of her shirt. I use the gray color as the base color of her shirt, add a little dark color below, and blur it to make it a shadow. | ||
 | I was supposed to double the color as what the reference color looks like. But I decided to change the color to black so that it would better match the theme of the drawing. | |
| Time to color the clover print on her shirt: | ||
 | I was supposed to draw the clover leaf large, but I decided to just draw it smaller. I use the marker pen, Force Fade, and a drawing Bézier Curve tool to draw the line art of the clover. | |
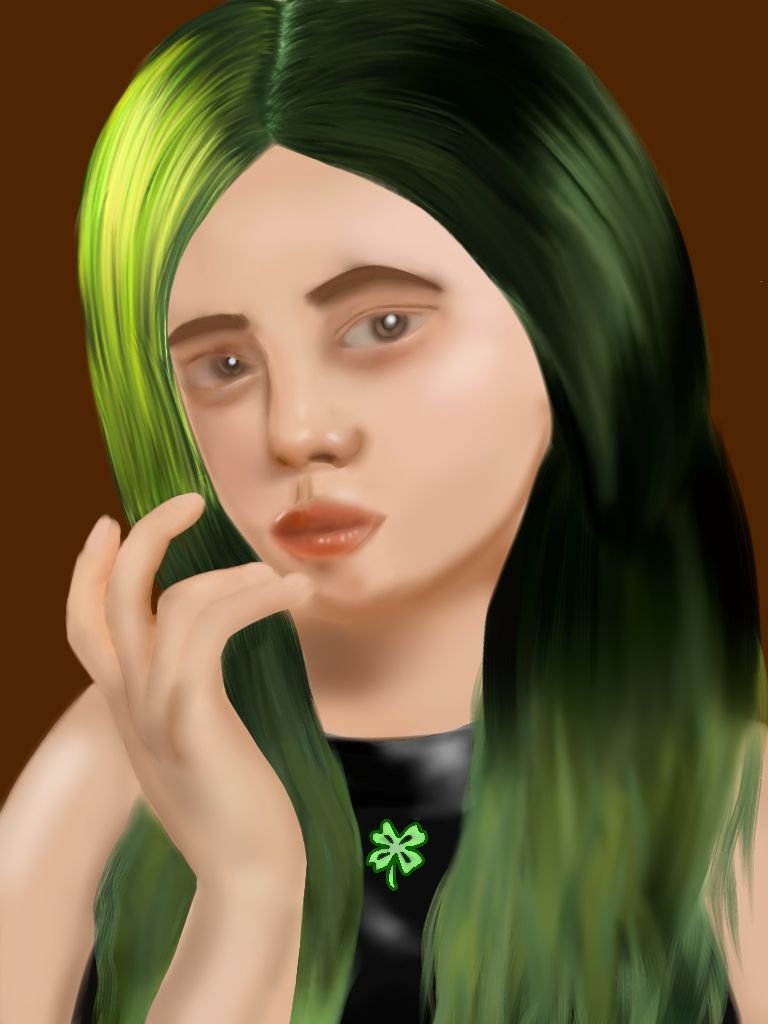 | Pen (fade) brush and blur for the highlights of her shirt. Then, for the first base color of the leaf, I choose the same color as her hair's highlight color, | |
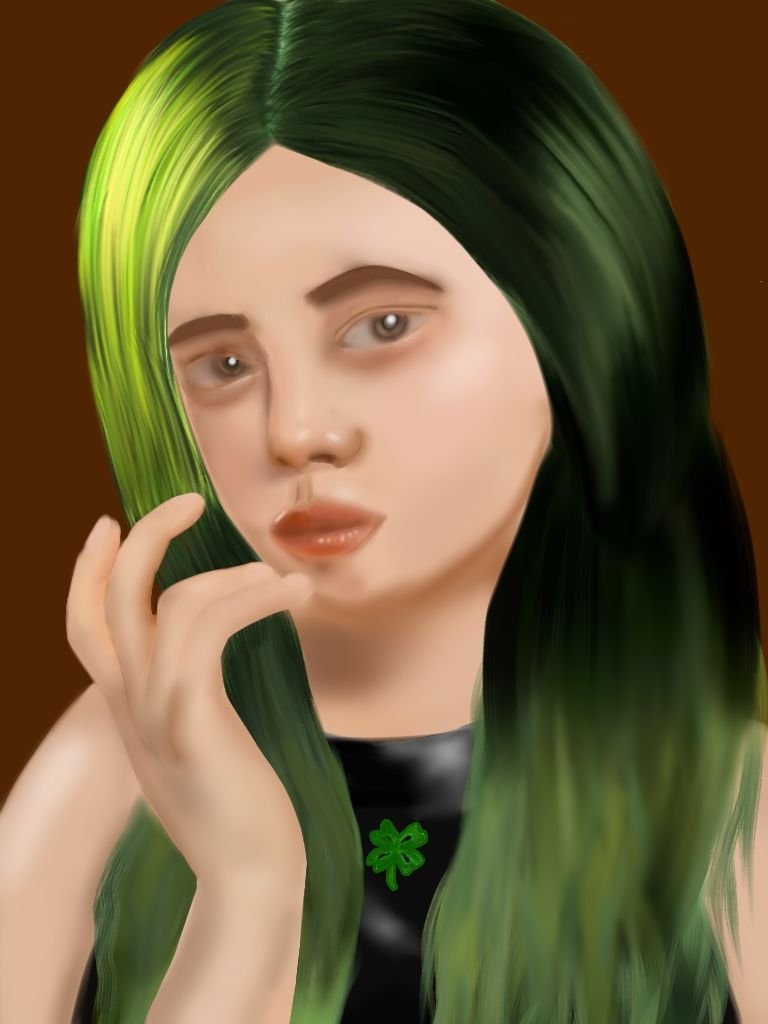 | and for the second layer, I use a different brush (digital pen), and I use the darker shade of green. | |
| 🪄After these processes, I correct, erase, and recolor the things that are needed.🪄 |
FIRST LOOK:
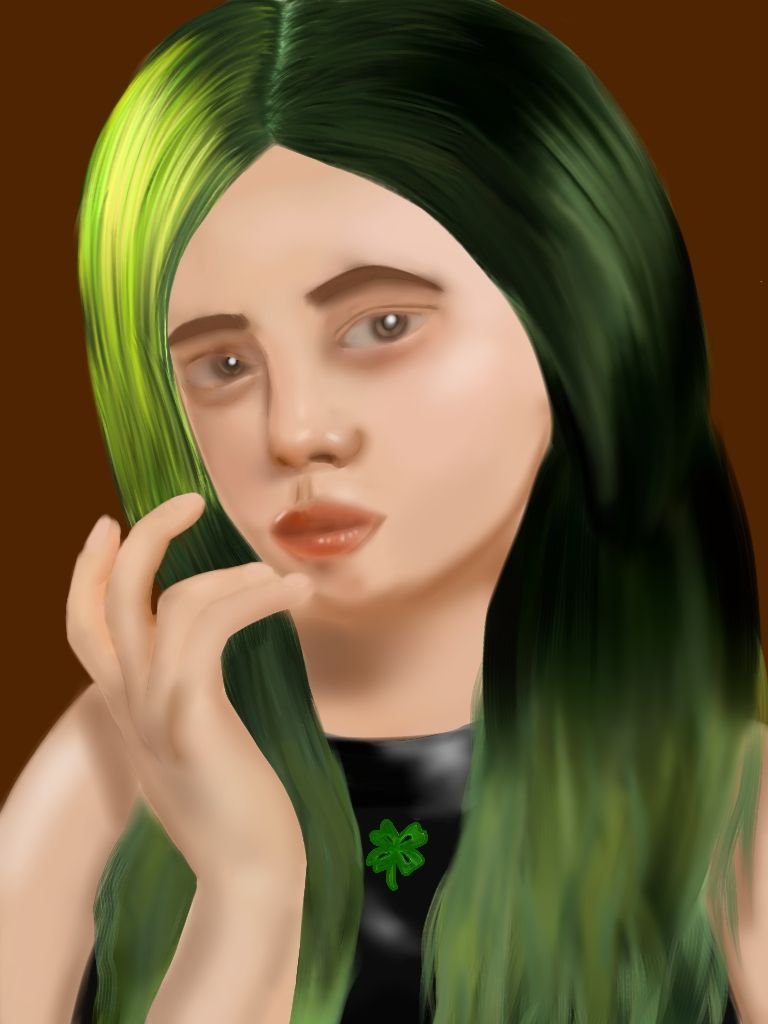
FINAL LOOK:

Instagram , X
PUBLISHED BYDATE: June 15, 2024
My Inspo Source: @xanreo
Practice makes perfect.. balance araw gagaling ka din jan hehe
Kaya nga po ate Jane! 🥳 inaaraw araw ko na magpractice mamaya balik ako sa pagprapractice nagchacharge pa ang tablet. Ilang araw ko yan kinulayan. Masakit sa likod nakaupo kung pwede lang magdraw ng nakahiga. 🤣