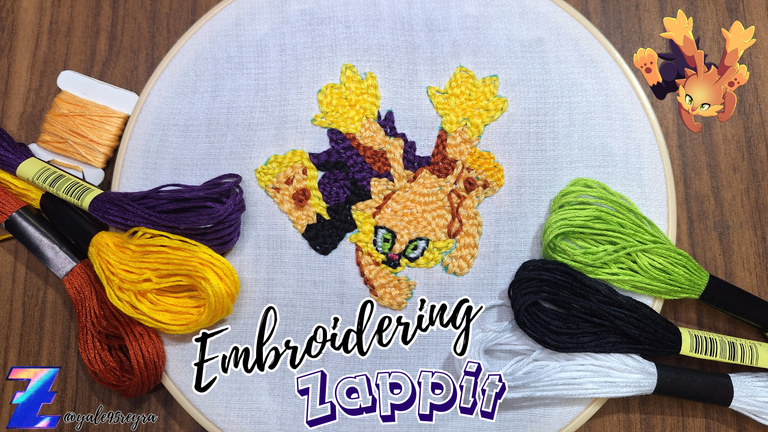
Hello, Holozing community, once again here to show you a new tutorial where I show you how to embroider Zappit, the electric rabbit, one of the first characters of this fantastic ecosystem. My bone time I dedicate to embroidery, not that I have so much free time, but I always like to dedicate some time to it because this practice de-stresses me from the daily hustle and bustle. Embroidery is not something that can be done in 5 minutes, so it usually takes me a while to finish, but little by little I want to embroider all the Holozing characters and I hope to achieve it.
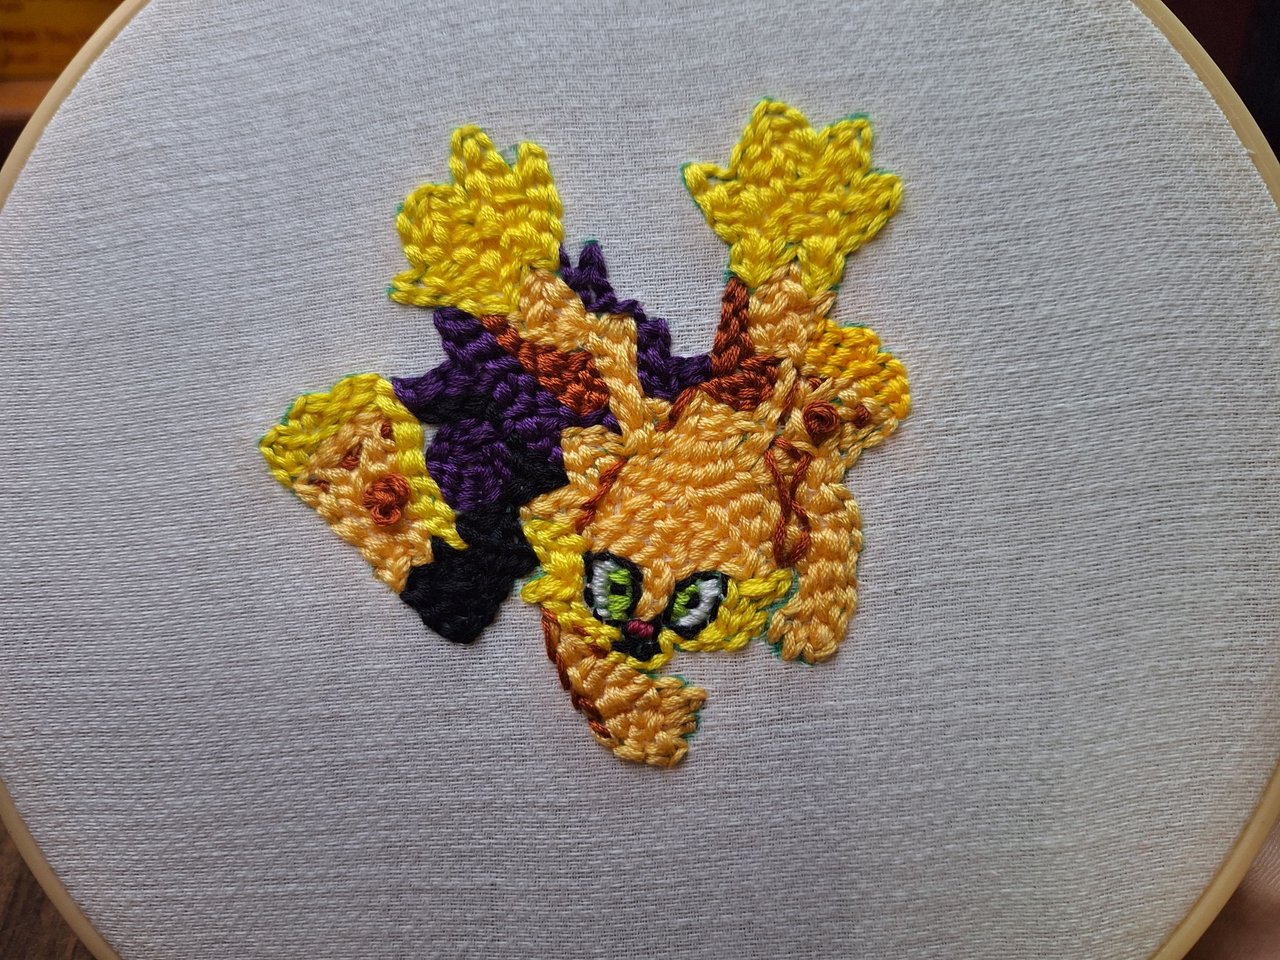
I'm still having problems with the shadows because sometimes I don't have the specific color, but something I'm noticing is that I think I will have to embroider with black thread the whole silhouette to delimit each part of the body because as you can see there are parts that are the same color and are not well distinguished, you can notice it in the head, the hair spikes and the arm. I tried to delimit it with the color I gave to the shadow of the ears, but it didn't convince me. I'll see what I do for the next one. Below I show you all the materials needed and the step by step of the creative process.
Hola, comunidad de Holozing, una vez más por aquí para mostrarte un nuevo tutorial donde te muestro cómo bordar a Zappit, el conejo eléctrico, uno de los primeros personajes de este fantástico ecosistema. Mis tiempos de óseo los dedico a bordar, no es que tenga tanto tiempo libre, pero siempre me gusta dedicarle un tiempo porque esta práctica me desestresa del ajetreo diario. Bordar no es algo que se haga en 5 minutos, por lo que generalmente demoro un poco en terminar, pero poco a poco quiero bordar todos los personajes de Holozing y espero conseguirlo.
Me siguen dando problemas las sombras porque a veces no tengo el color específico, pero algo que estoy notando es que creo que tendré que bordar con hilo negro toda la silueta para delimitar cada parte del cuerpo porque como pueden observar hay partes que son del mismo color y no se distinguen bien, lo pueden notar en la cabeza, los pinchos del pelo y el brazo. Intenté delimitarlo con el color que le di a la sombra de las orejas, pero no me convenció. Veré qué hago en el próximo. A continuación te muestro todos los materiales necesarios y el paso a paso del proceso creativo.
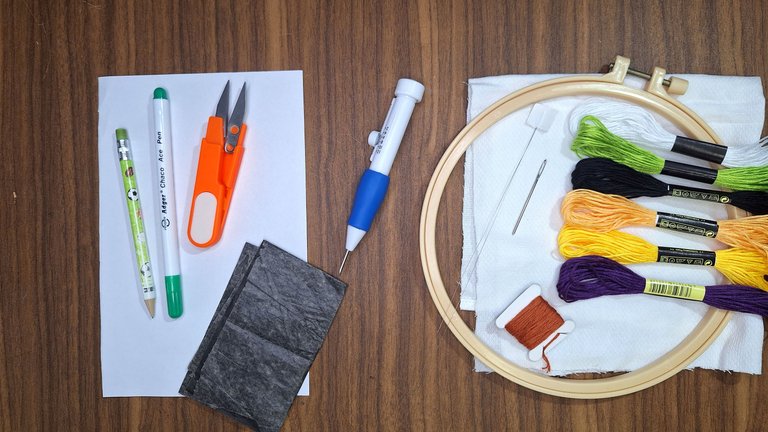
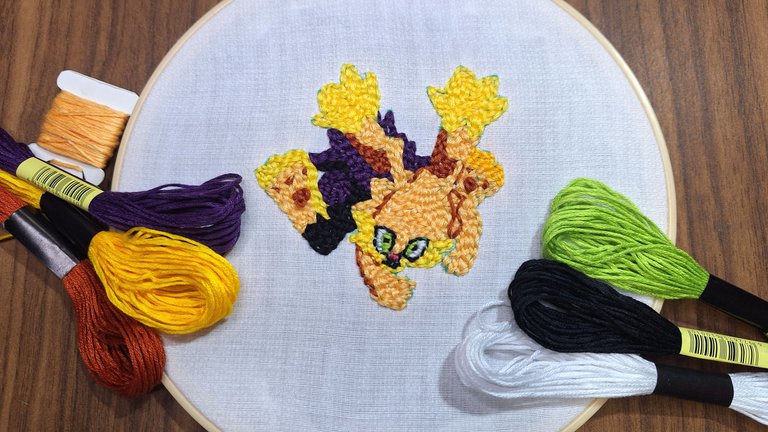
⚡️Materials // Materiales⚡️
- Cloth / Tela
- Magic needle / Aguja mágica
- Hand needle / Aguja de mano
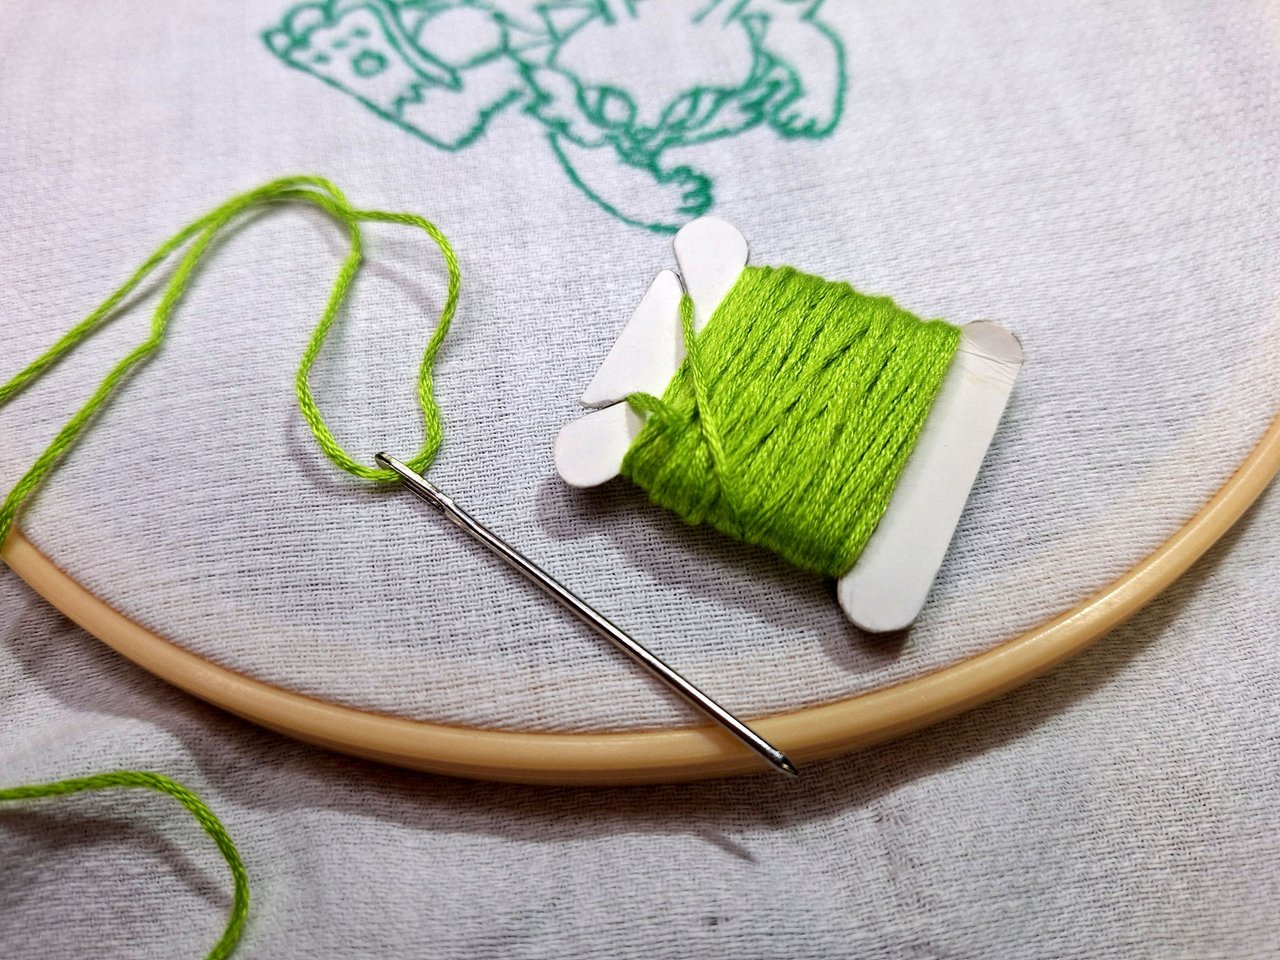
- Embroidery thread / Hilo de bordar
- Embroidery hoop / Aro de bordar
- Threader / Enhebrador
- Paper sheet / Hoja de papel
- Carbon paper / Papel carbón
- Scissors / Tijera
- Pencil / Lápiz
- Water soluble marker / Marcador soluble en agua
⚡️Step by step // Paso a paso⚡️
 |
 |
 |
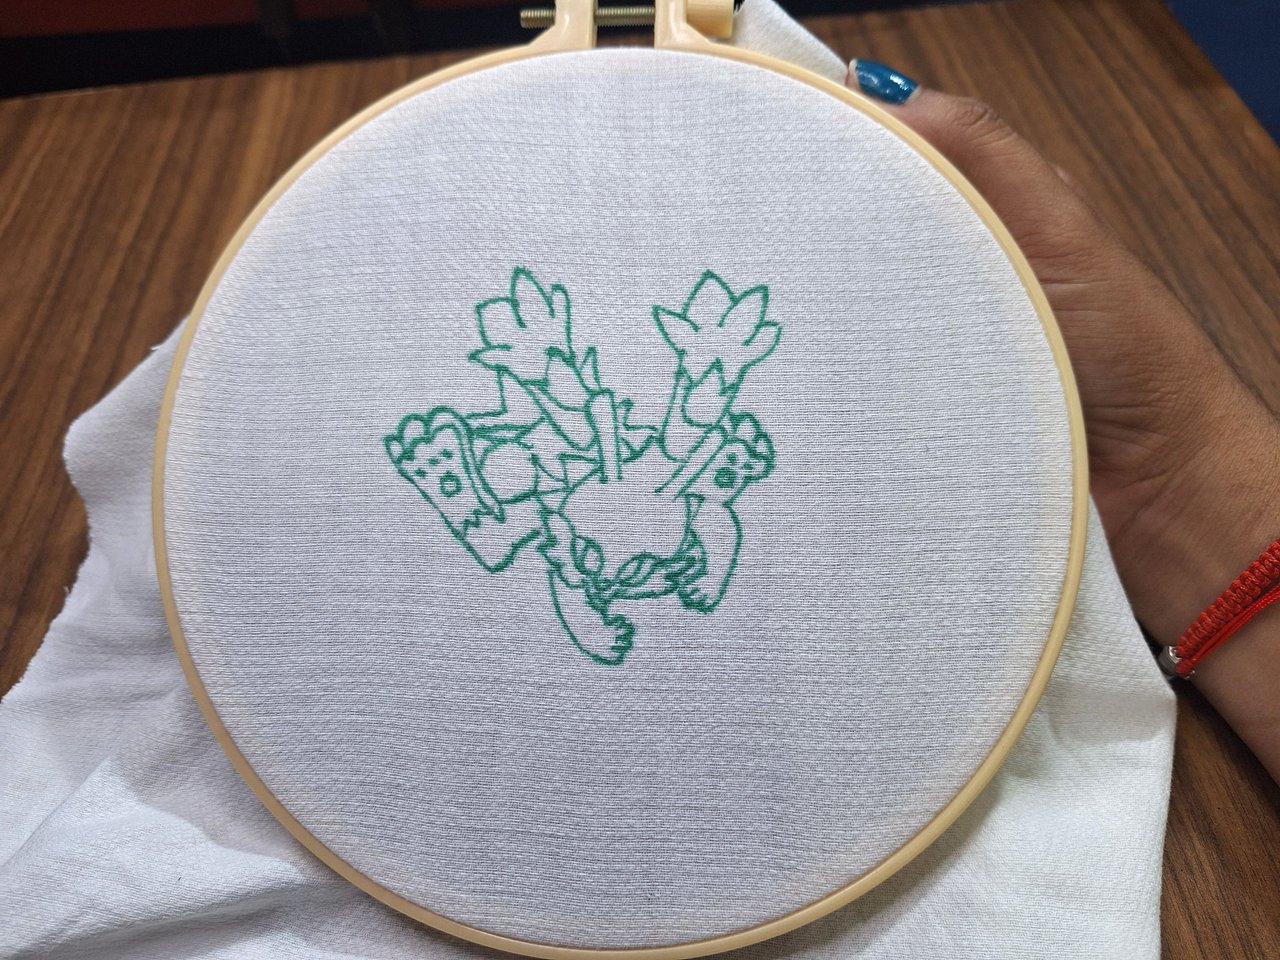 |
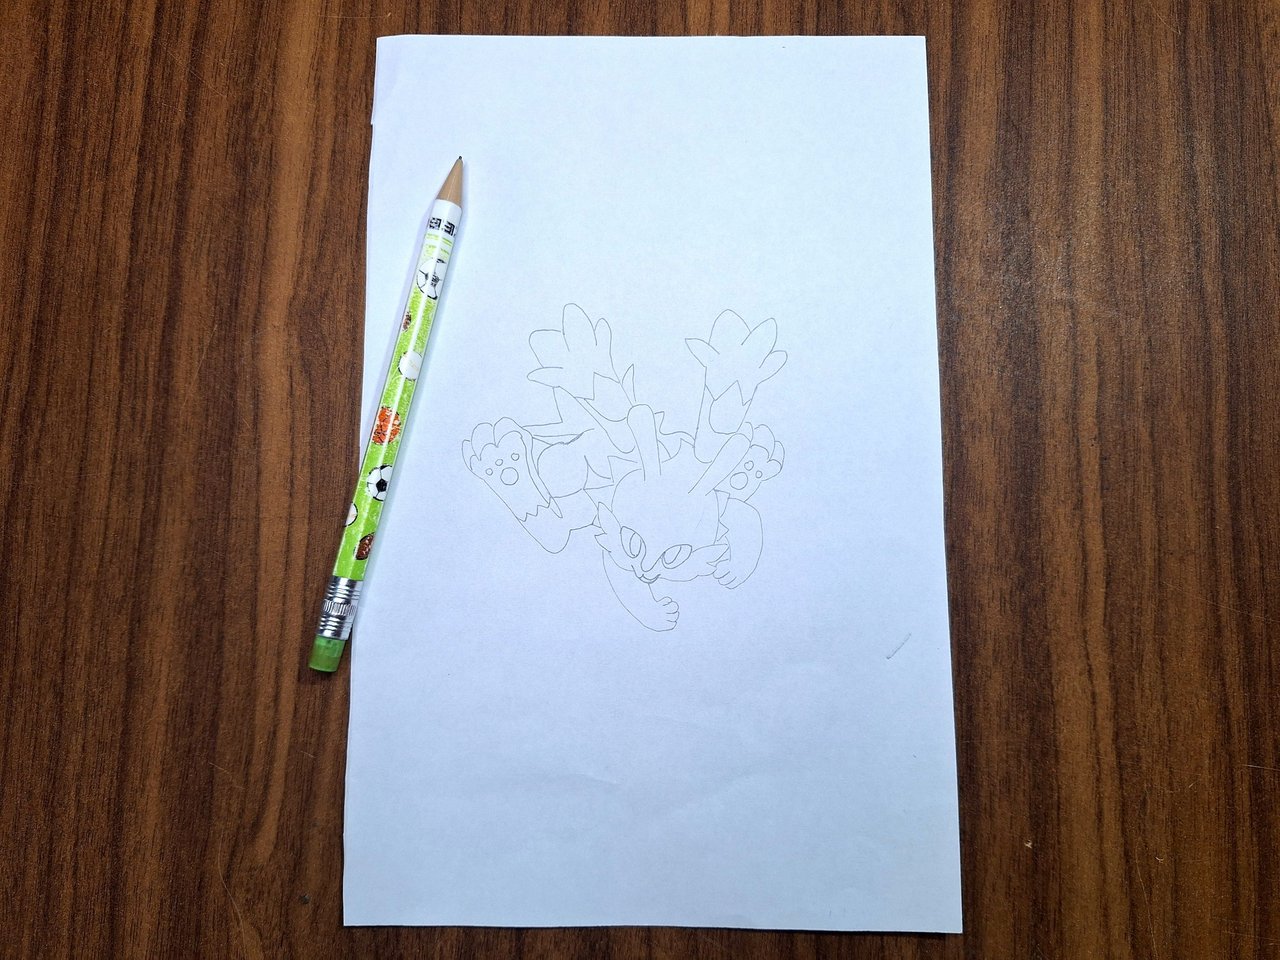
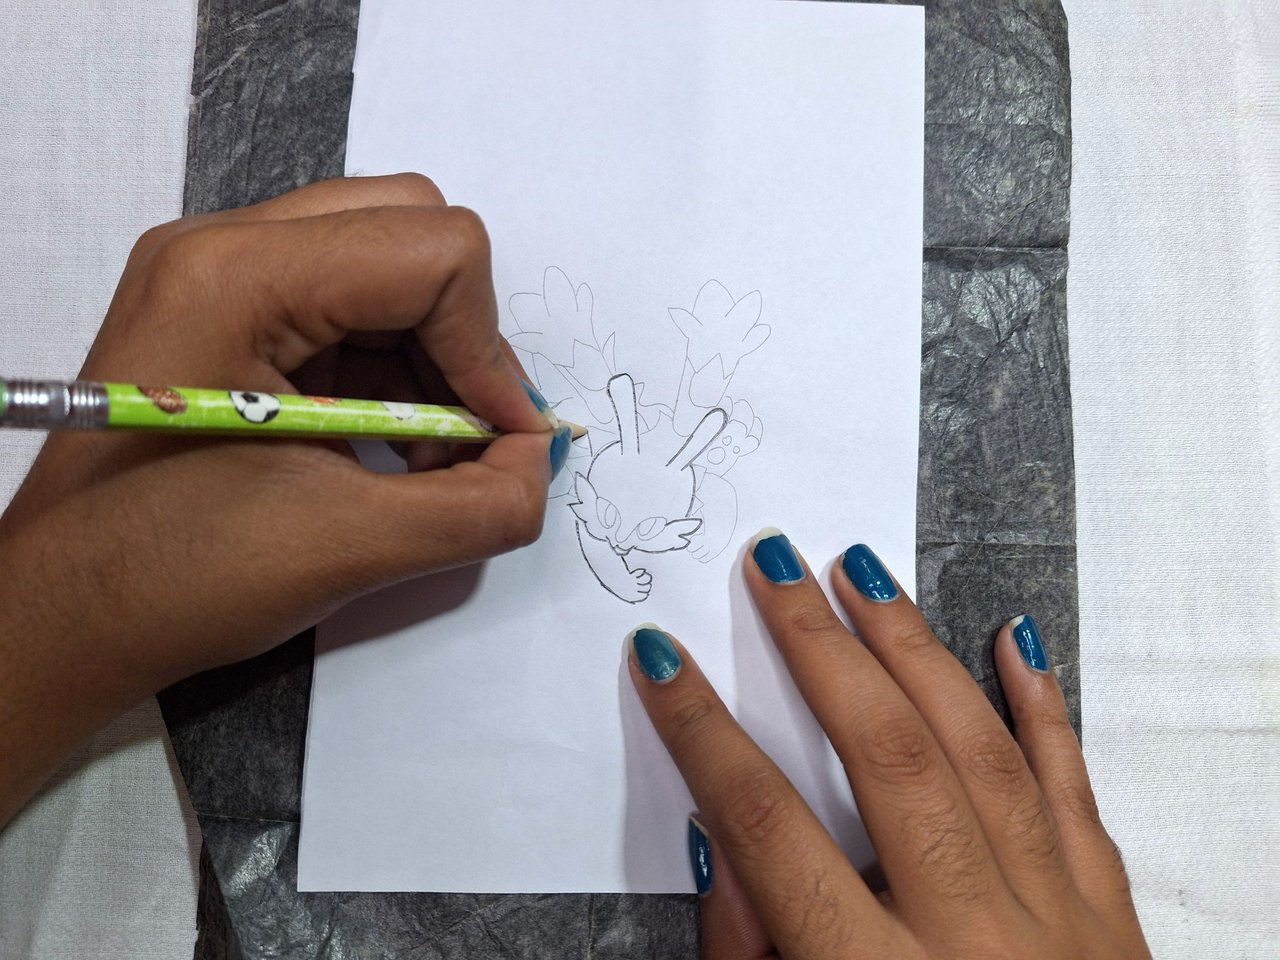
The first thing to do is to draw the silhouette of the character we want to embroider on a sheet of paper. Then, with the help of a carbon paper, we transfer the drawing to the fabric. To do this, it is necessary that the fabric is light-colored and keep it on a flat surface. Once the drawing is completely traced, use a marker to go over all the lines to be able to visualize them easily.
Lo primero que debemos hacer es dibujar la silueta del personaje que queremos bordar en una hoja de papel. Luego, con la ayuda de un papel carbón, transferimos el dibujo a la tela. Para ello es necesario que la tela sea de color claro y mantenerlo sobre una superficie plana. Cuando ya lo hayamos calcado completamente, con un marcador pasa por todas las líneas para poder visualizarlas fácilmente.
 |
 |
 |
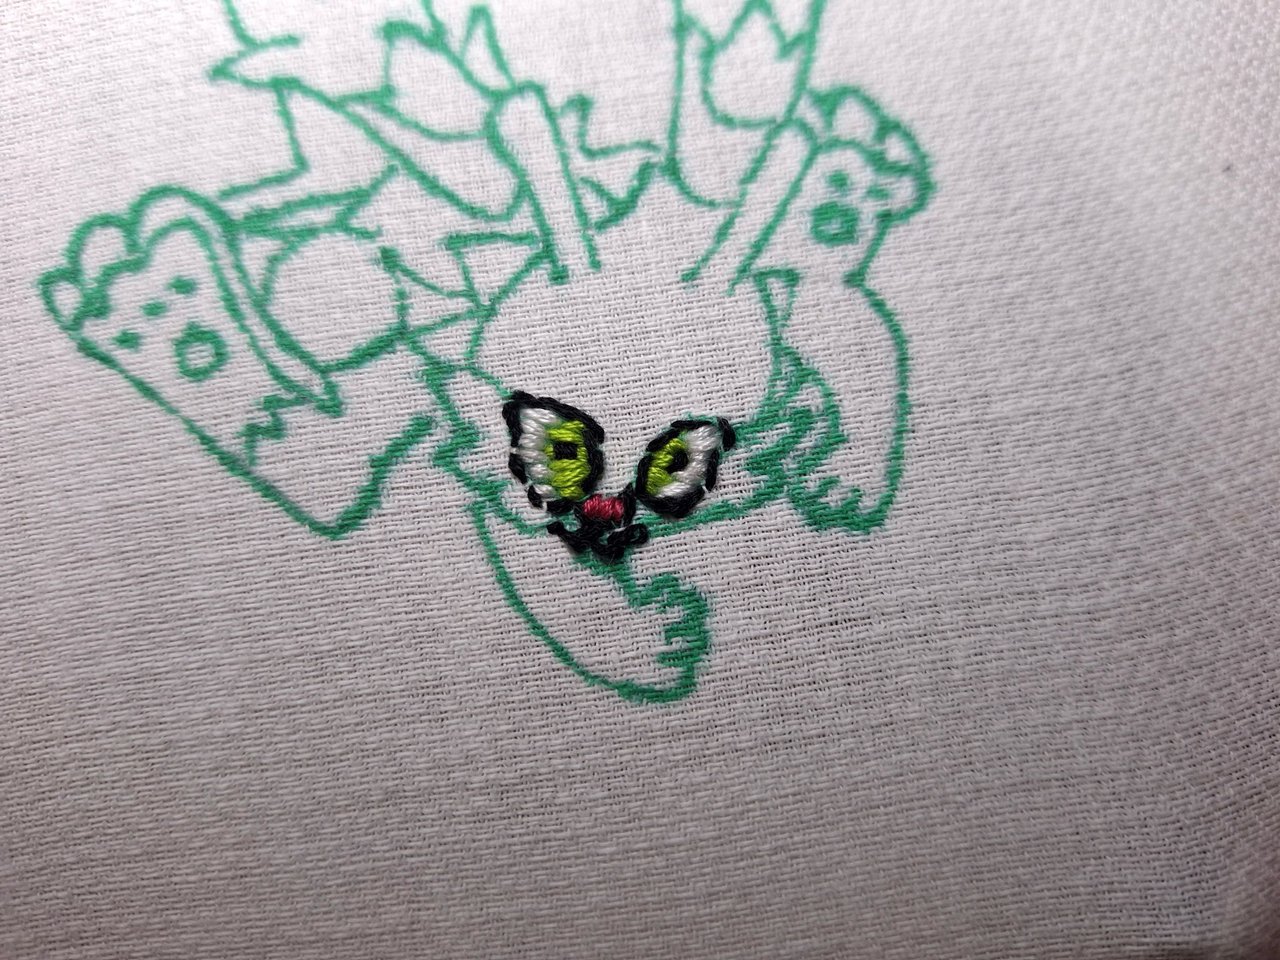 |
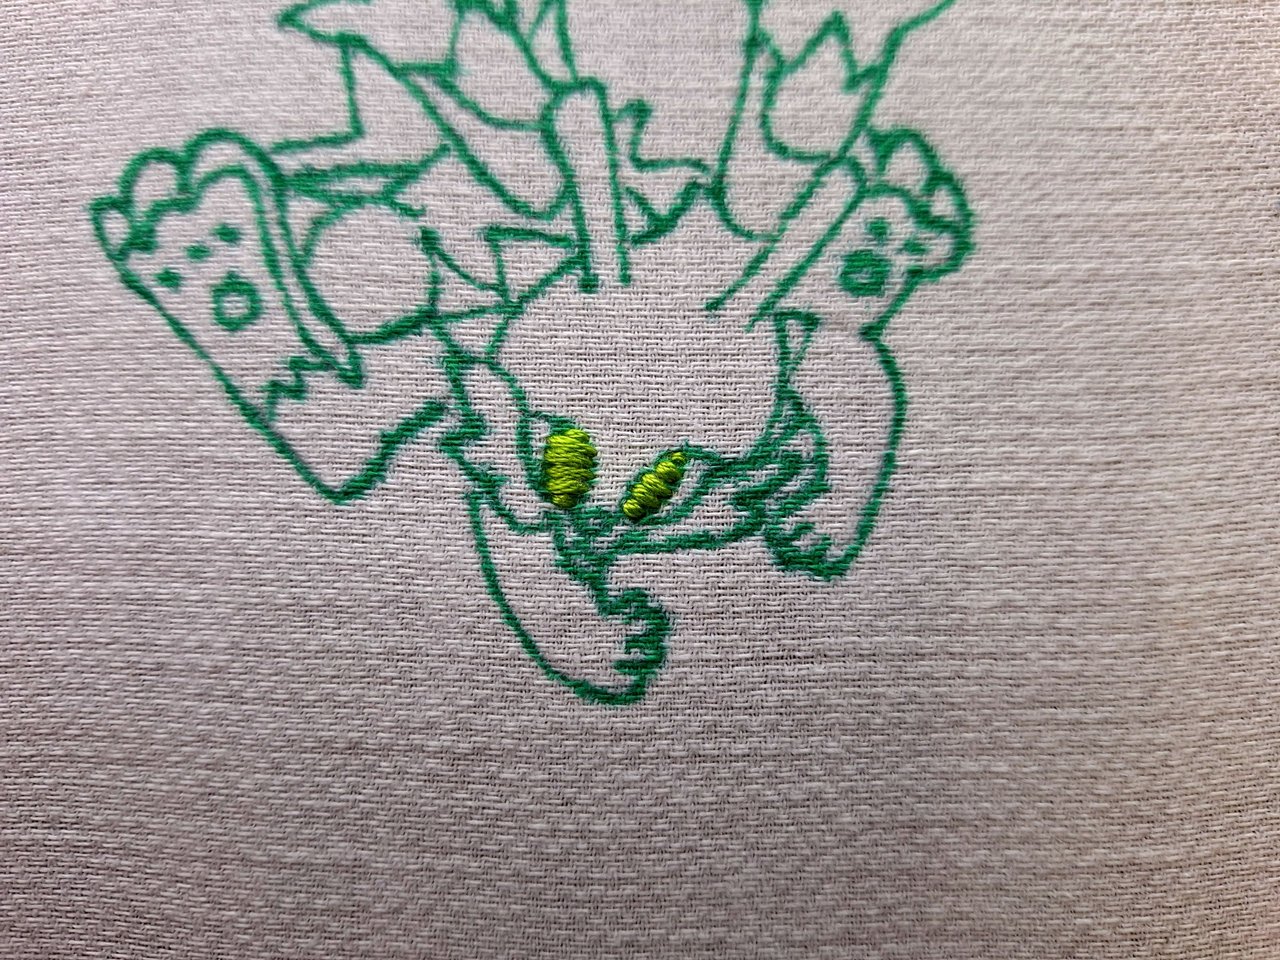
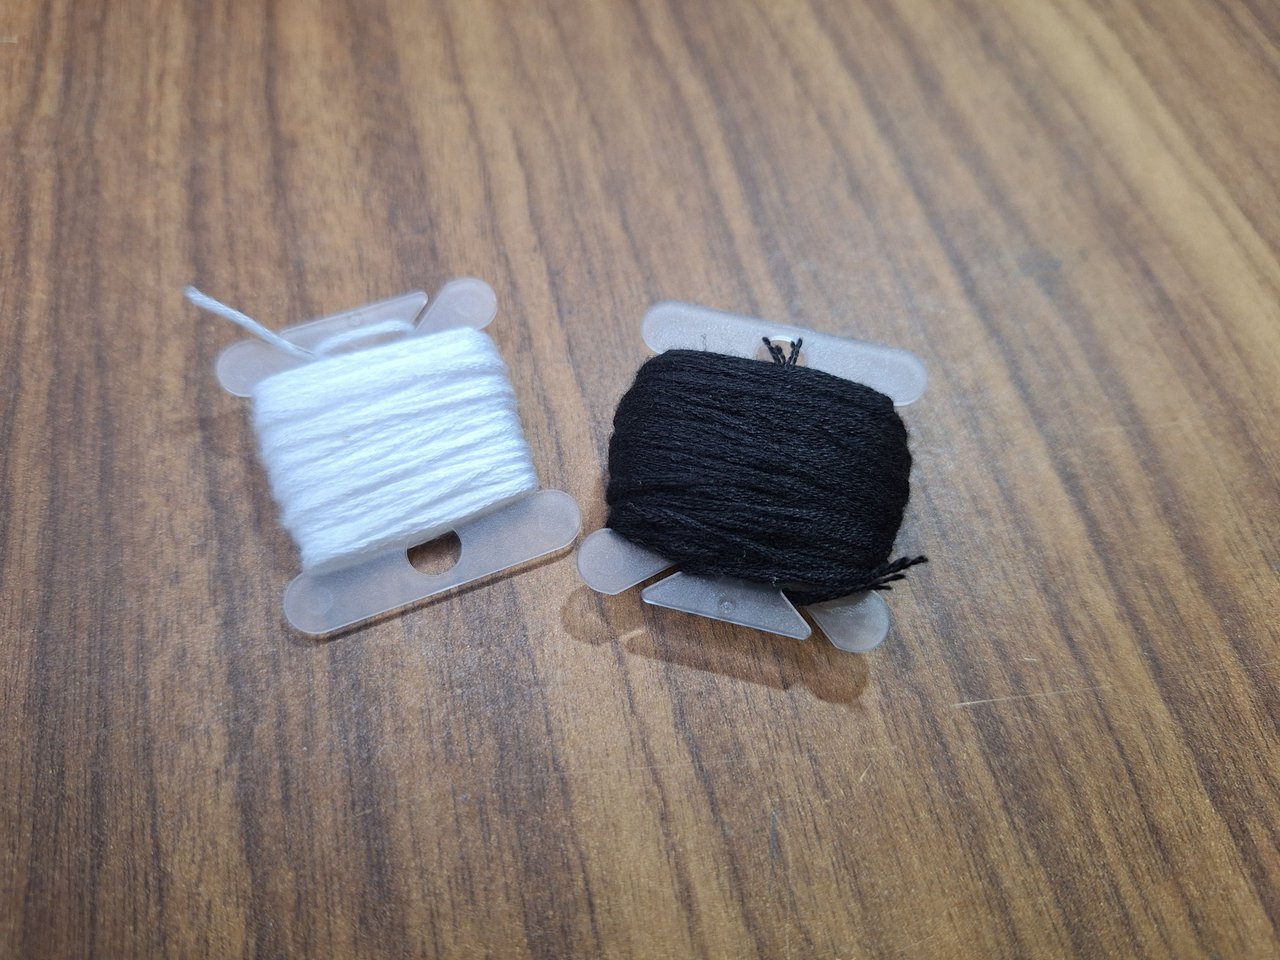
I started with the face, with green thread I embroidered the cornea, and with black and white thread the rest of the eyes. I did all this part with a hand needle because it was a very small area and it was easier that way. For the nose I did some pink stitches.
Comencé por la cara, con hilo de color verde bordé la córnea, y con hilo blanco y negro el resto de los ojos. Toda esta parte la hice con una aguja de mano porque era una zona muy pequeña y era más fácil así. Para la nariz hice unas puntadas de color rosa.
 |
 |
 |
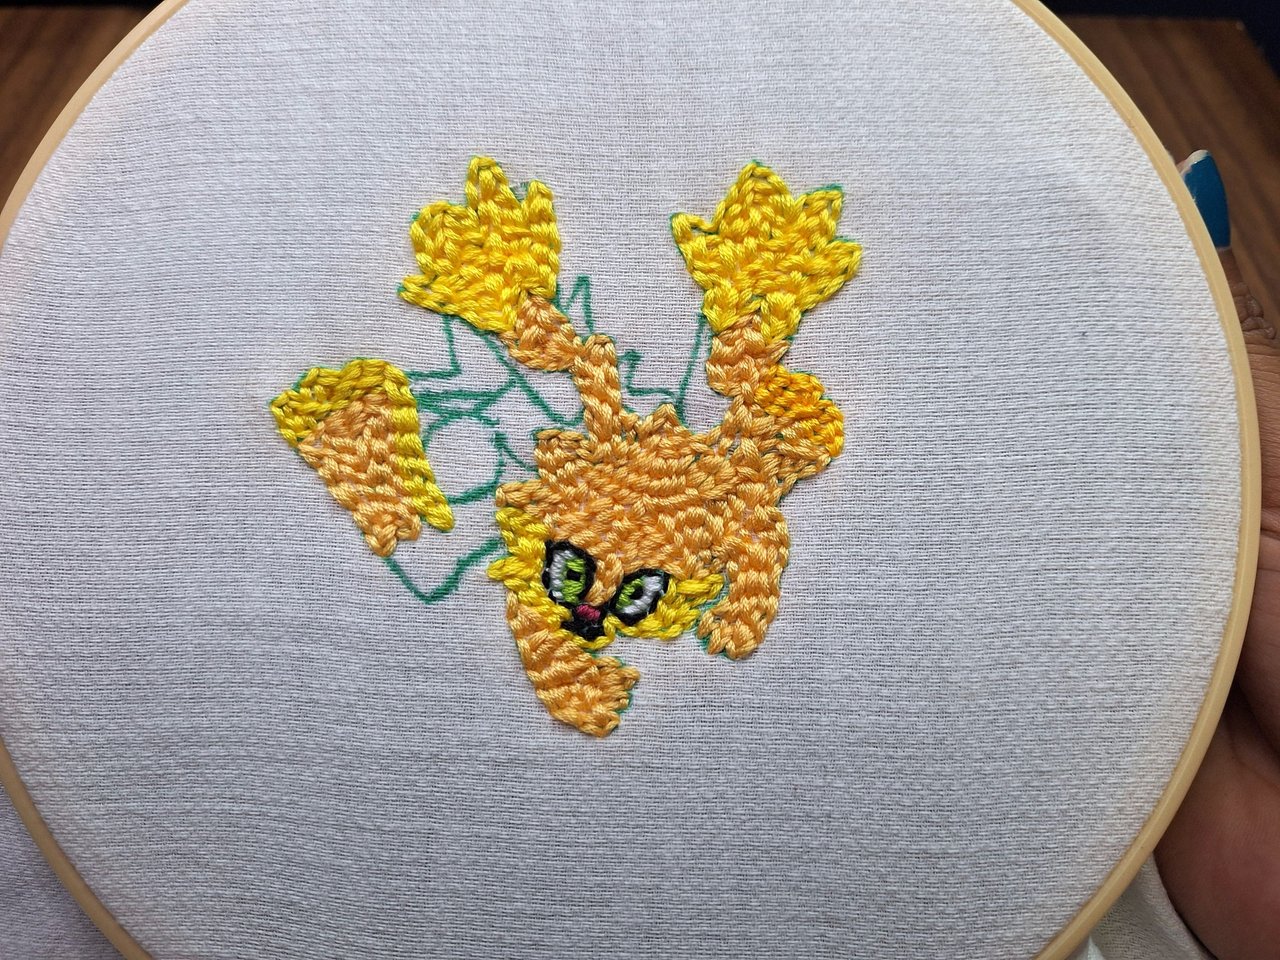 |
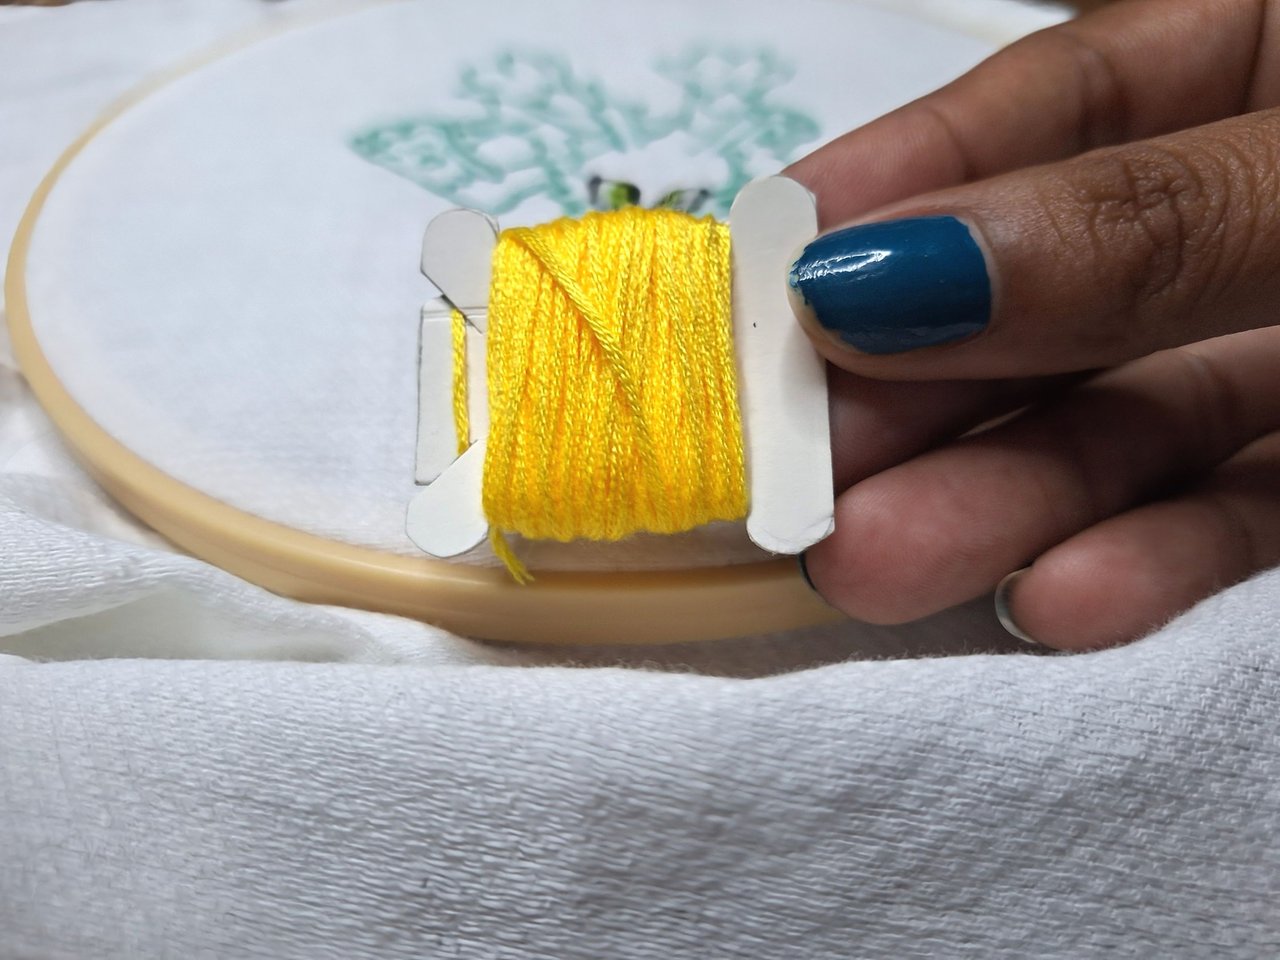
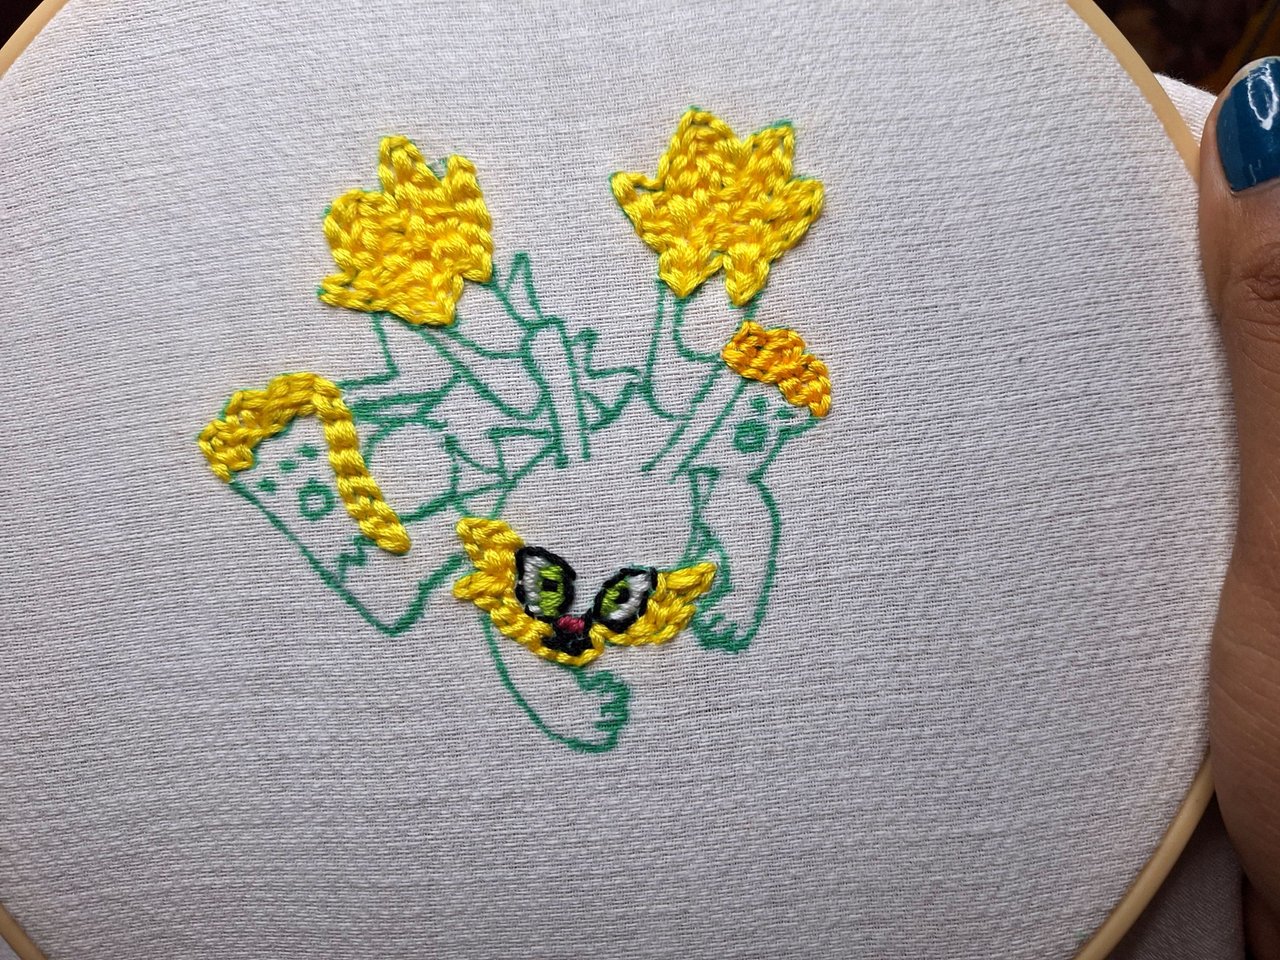
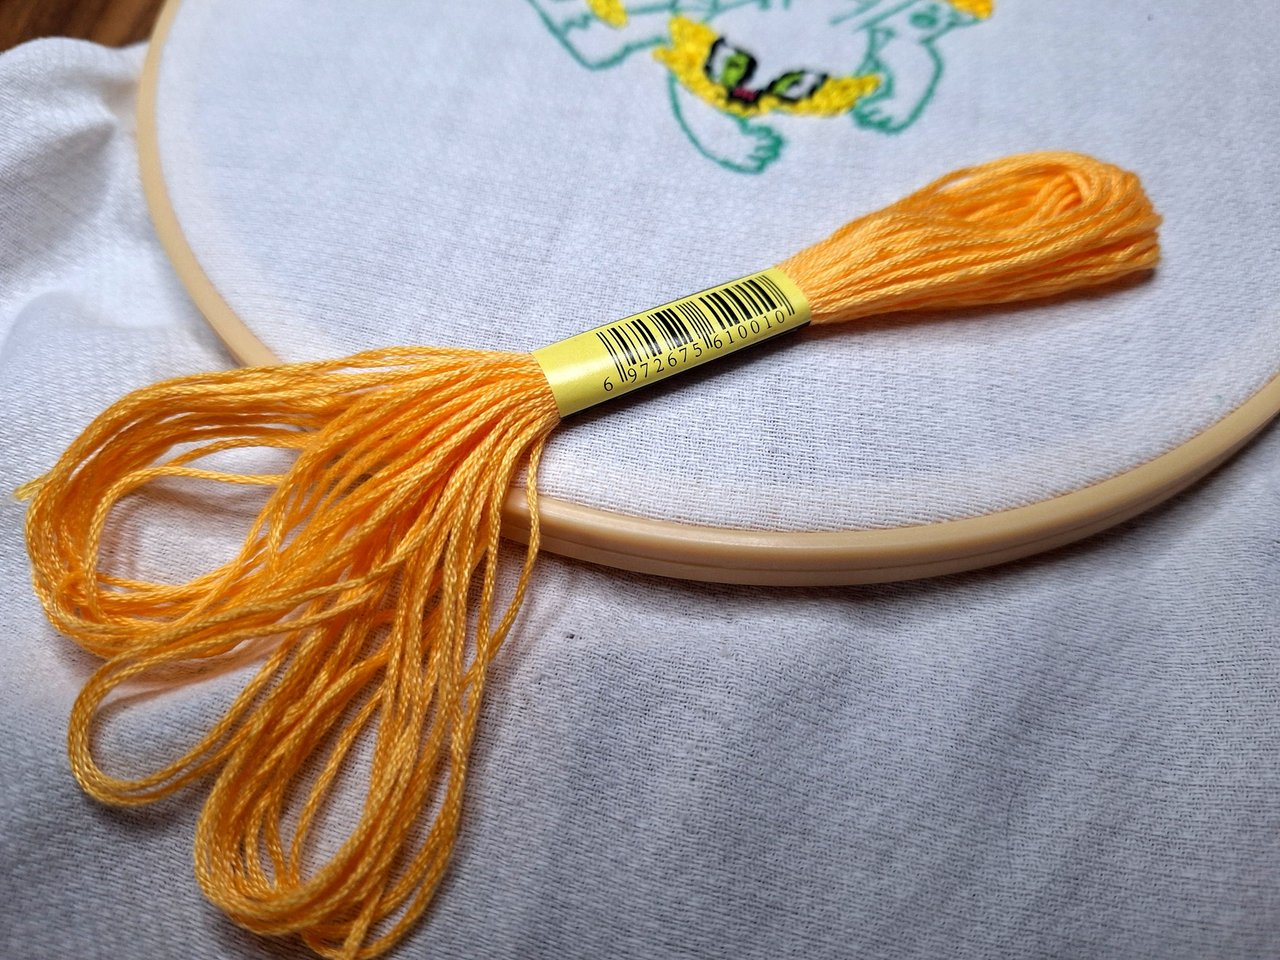
For the body, I used yellow yarn for the tips of the ears, the cheeks and the tips of the legs, while the other part of the torso, the head and the arms, I used a light orange tone to match the color of the character.
Para el cuerpo, utilicé hilo de color amarillo para las puntas de las orejas, los cachetes y la punta de las patas, mientras que la otra parte del torso, la cabeza y los brazos, usé un tono naranja claro que se asemejara con el color del personaje.
 |
 |
 |
 |
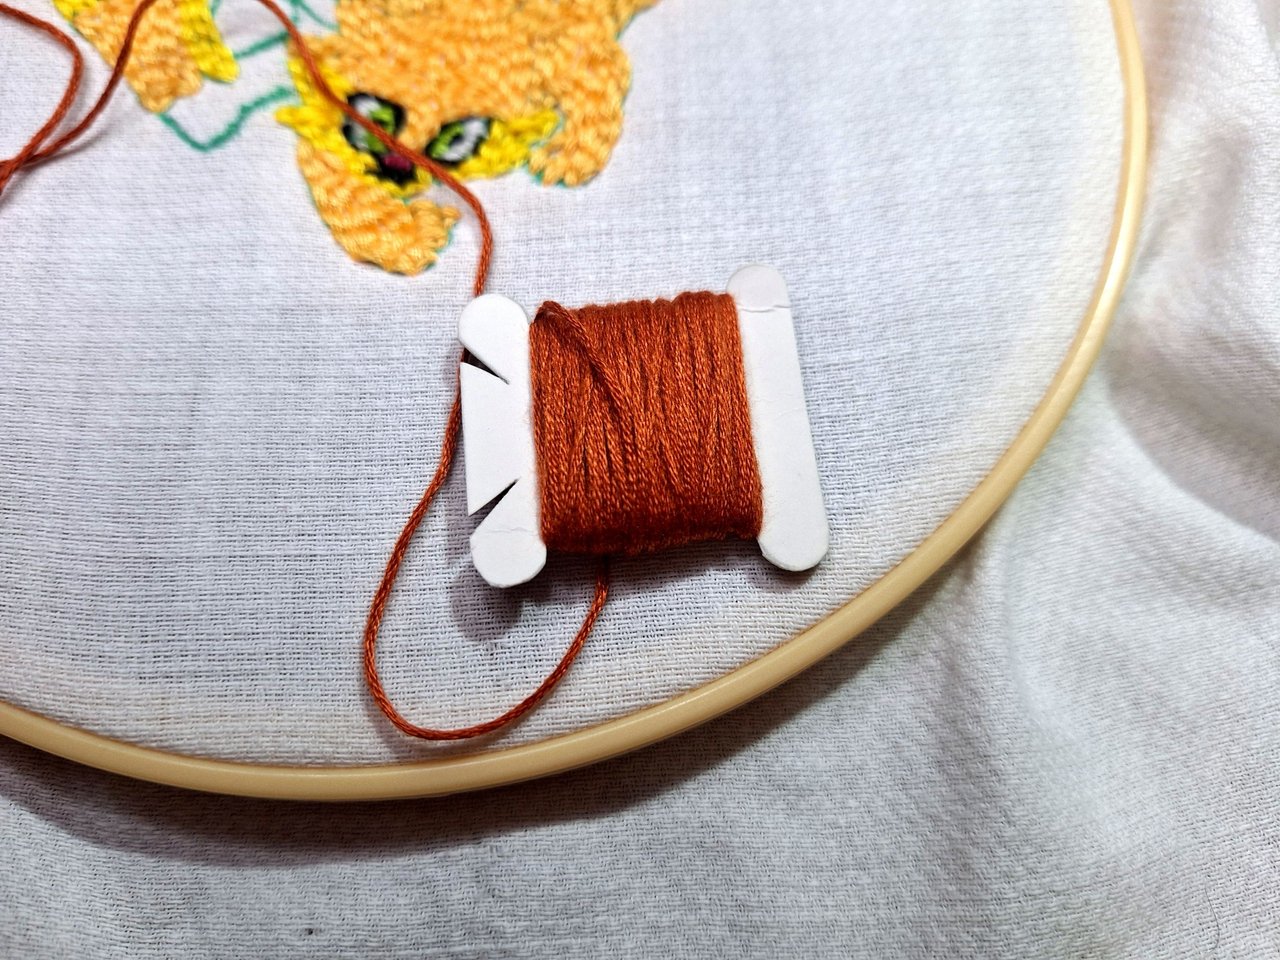
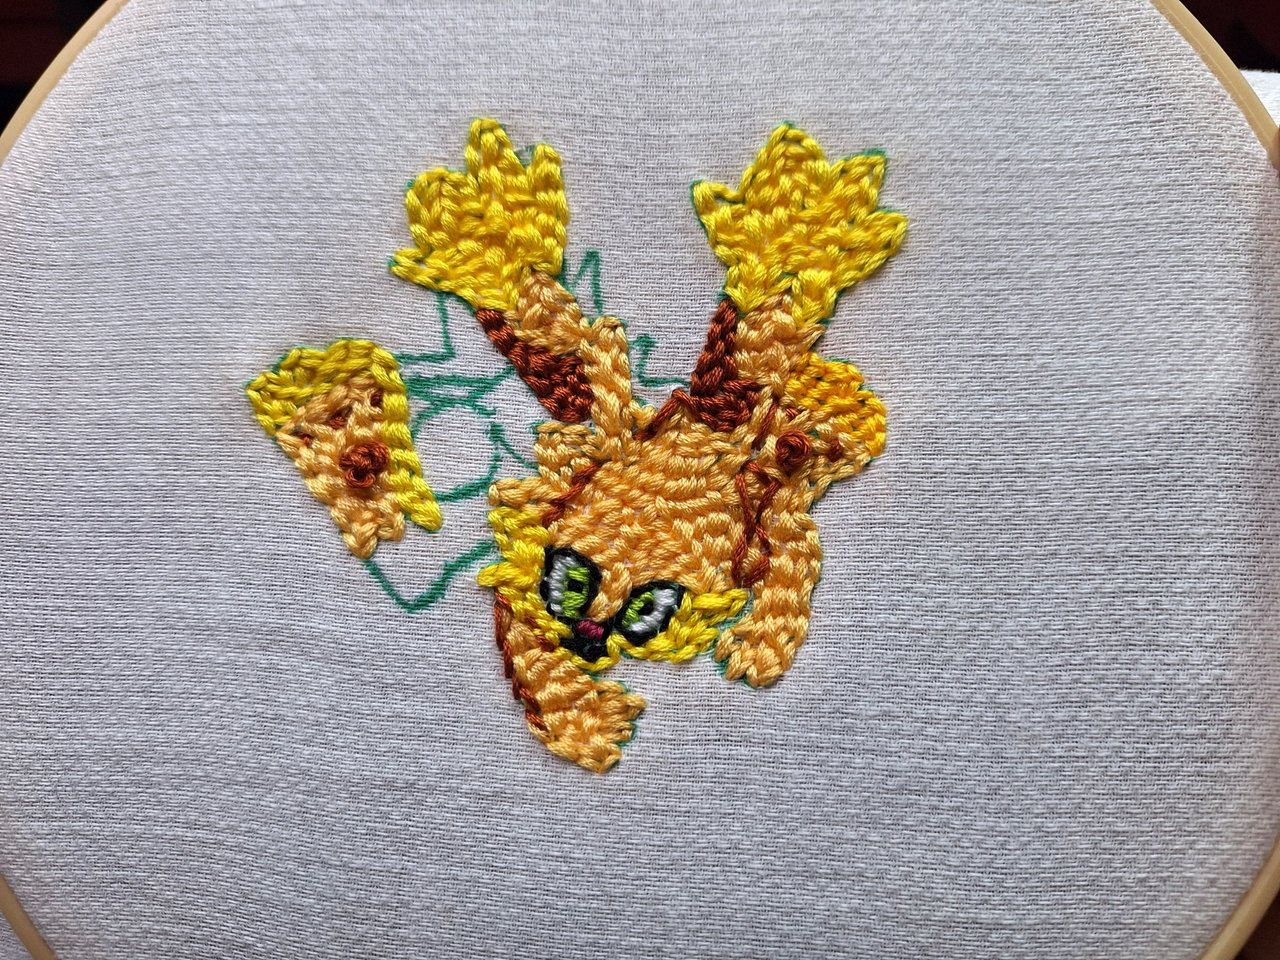
For the shadows of the ears, I used a light brown tone and outlined some parts to separate them visually. The stitches on the legs were done with a hand needle and French stitch. The rest of the body I filled in with black and purple thread, as shown in the reference image.
Para las sombras de las orejas, utilicé un tono café claro y delineé algunas partes para separarlas visualmente. Los puntos de las patas los hice con aguja de mano y con punto francés. El resto del cuerpo lo rellené con hilo negro y violeta, según corresponde en la imagen de referencia.
 |
 |
 |
 |
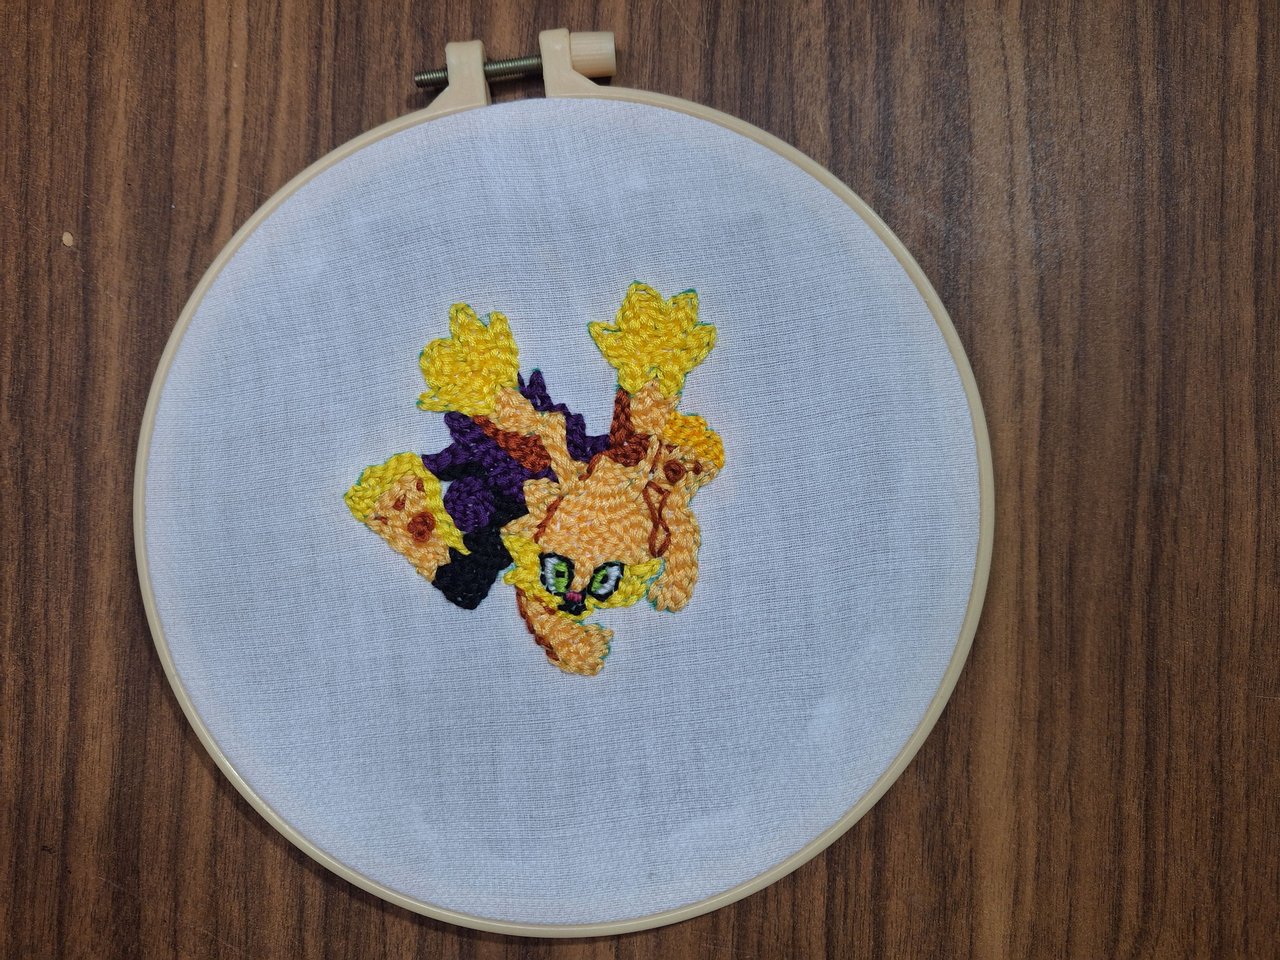
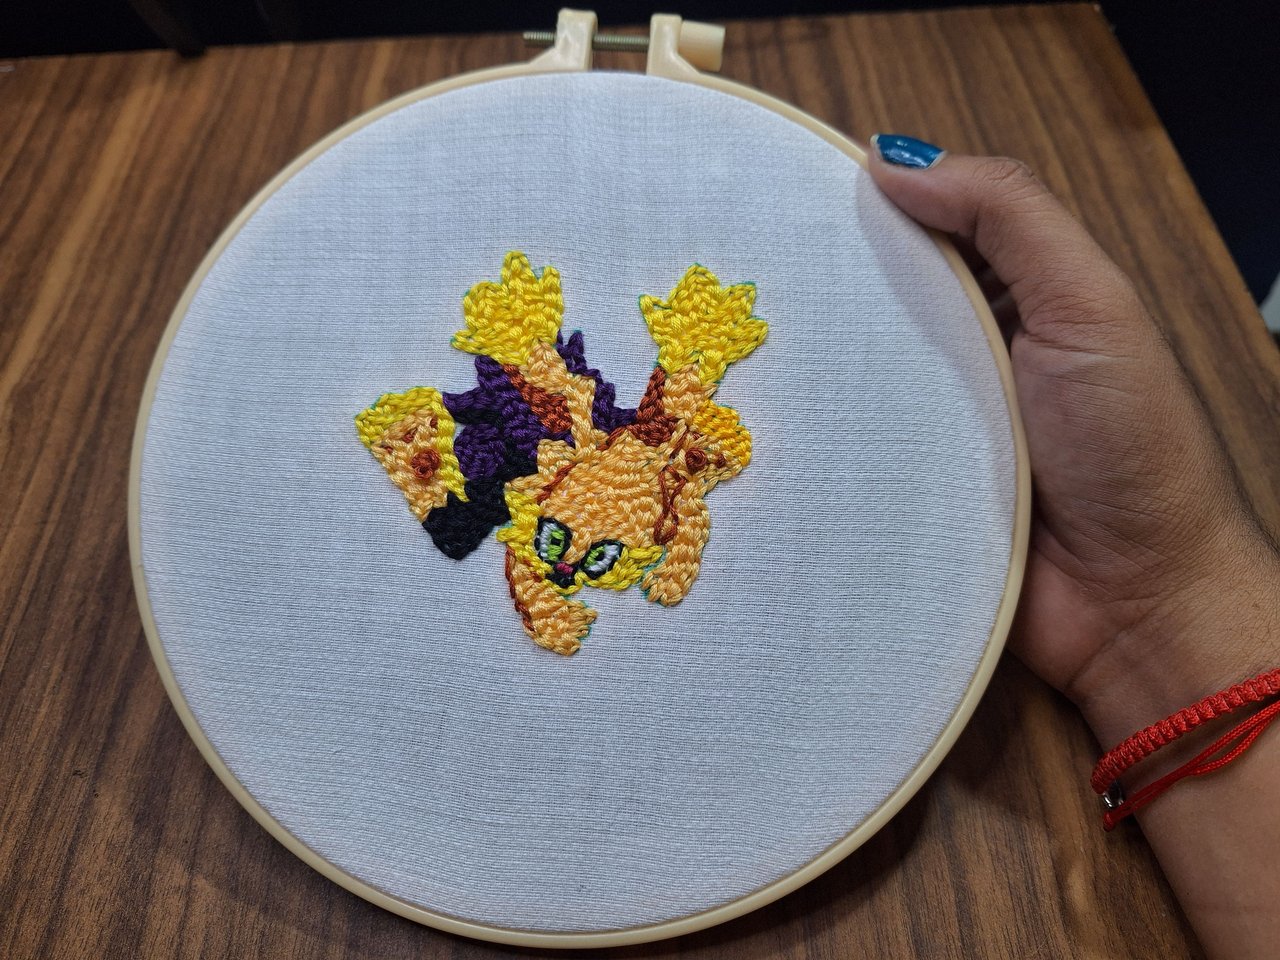
And thus is finished this beautiful embroidery of Zappit, the electric rabbit of the Holozing ecosystem. I hope you liked this representation of the character. Let me in the comments, what you thought and new suggestions. Best regards.
Y de esta forma se encuentra terminado este hermoso bordado de Zappit, el conejo eléctrico del ecosistema Holozing. Espero que les haya gustado esta representación del personaje. Déjame en los comentarios, qué te pareció y nuevas sugerencias. Un saludo.
Cover made in Canva
English is not my native language, translated by DeepL
Que bonito y creativo amiga. Me encanto
Muchas gracias 🥰
Nice👍
Thank you 🤗
You are welcome, friend.
Congratulations @yale95reyra! You have completed the following achievement on the Hive blockchain And have been rewarded with New badge(s)
Your next target is to reach 2500 comments.
You can view your badges on your board and compare yourself to others in the Ranking
If you no longer want to receive notifications, reply to this comment with the word
STOPCheck out our last posts:
Thank you 🤗
You're on a quest for greatness @yale95reyra, and we have no doubt that you'll reach your new target soon!
BTW, our funding NEW proposal needs your support to keep HiveBuzz alive and thriving. Let's make Hive a more exciting place together!
Thank you!