En casa nos gusta hacer nuestro propio pan, aunque también compramos en la panaderia pues no siempre hay tiempo o ingredientes, por eso con el tiempo hemos ido desarrollando nuestras propias recetas. Nuestras recetas muchas veces nacen en la improvisación después de hacernos la pregunta ¿Qué tenemos en casa?
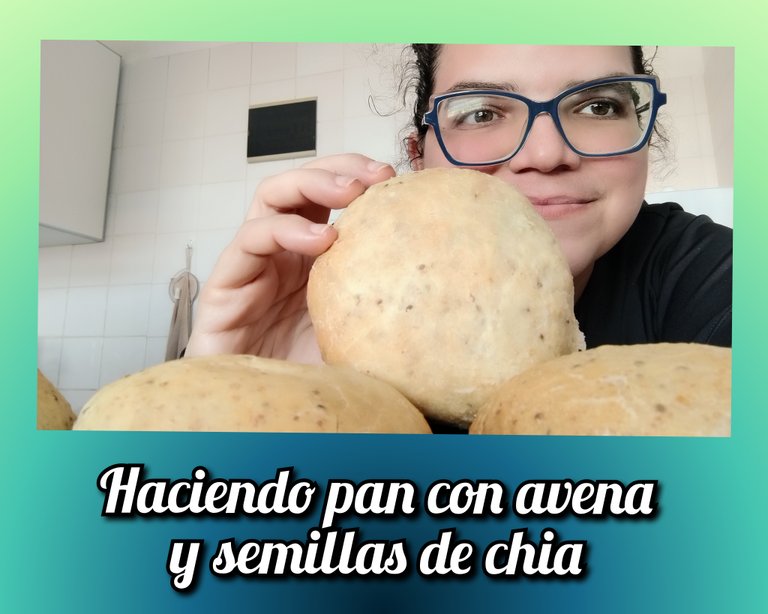
Ayer fue domingo y después de hacernos la pregunta y verificar los ingredientes hicimos un delicioso pan con avena y semillas de chía.
Hacer pan en invierno de Buenos Aires no es lo mismo que hacer pan en el eterno verano cumanés, en Venezuela.
Con el frío el pan crece muchísimo más lento, así que encender la calefacción es requisito. La paciencia es el segundo requisito.

¿Y cuáles fueron los Ingredientes?
Uy esto no es una receta como tal porque yo hice todo al ojo porciento (como suelen decir en casa) y es que la medida ya la tengo en la mano. Les puedo dar los ingredientes que yo usé pero tienen que tener en cuenta que todas las harinas no absorben la misma cantidad de agua. Entonces les recomiendo que no hagan este pan por primera vez el día que se quieran lucir con alguien, mejor primero lo ensayan y cuando le agarren el punto, pues ahí si se lucen.
Un pan con salvado o semillas puede absorber mucha más agua que un pan blanco. Por eso la técnica que usamos en casa para poder hacer pan integral y no ladrillos, es mezclar todos los liquidos que vayamos a usar, junto con la levadura, un poco de la harina de trigo y el salvado o las semillas.
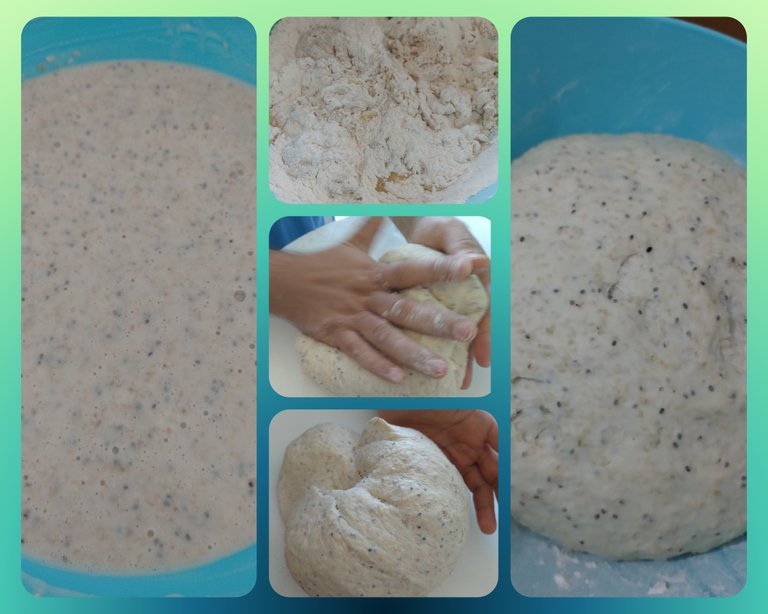
¿Cuánto es un poco de harina? Bueno, si tengo 500 mililitros de agua que es lo que suelo usar para un kilo de harina de trigo común. Puedo agregar unos 250 gramos de harina (para empezar), luego el salvado que voy a usar (Por cierto que para este pan en específico usé salvado de avena y no de trigo) y en este caso las semillas de chía. Está mezcla inicial queda bastante floja y la dejo hidratarse por unos 15 minutos aproximadamente.
Hay varias cosas importantes a tener en cuenta, por ejemplo: cuanto más salvado o semillas le pongas a la masa, más pesada se volverá y más le costará crecer por lo que el pan tendrá una miga diferente. Si quieres un pan esponjoso no te excedas. Una opción podría ser usar directamente harían integral, ya trae una proporción que te asegura que no harás un ladrillo.
En mi caso, yo pienso en el total de la harina que querría usar (tomando como referencia mi receta de pan blanco) y sustituyo una parte de la harina, máximo un 15% entre salvado y semillas, porque el salvado pesa muy poco cuando está seco, pero absorve muchísima agua. La otra cosa es que la harina la voy agregando poco a poco para no pasarme.

Ahora qué saben todo eso hablemos de lo que yo usé para este pan en específico:
- 500 ml agua
- 20 gr de levadura fresca
- 2 cucharadas de azúcar
- 50 ml de aceite de girasol
- 1 kg de harina (solo usé cerca de 800 gr)
- 125 gr de salvado de avena
- 3 cucharadas de semillas de chía
- Sal a gusto
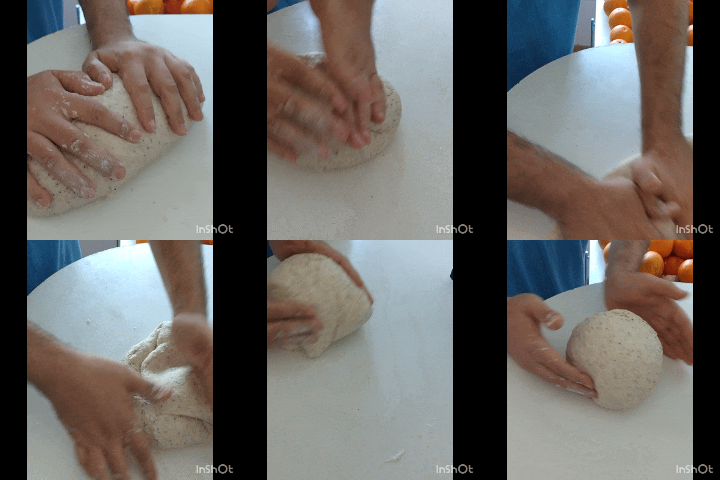
La preparación es como expliqué antes: mezclé en el agua azúcar y levadura, unos 200 gramos de harina (a ojo no hace falta que la pesen), el salvado y las semillas de chia. Los mezclé h los dejé reposar. Después de 15 minutos agregué aproximadamente medio kilo más de harina, el aceite y la sal. Empecé el amasado (bueno, en esa parte tuve ayuda para amasar como pueden ver en las imágenes).
A medida que amasas vas identificando si necesita o no más harina. El punto es que la masa esté suave, pero que no se te pegue en los dedo, debe verse homogénea y lisa. ¿usaste 700, 750, 850, 900 gramos de harina? Está bien con el tiempo conocerás tus ingredientes a la perfección y harás las cantidades que quieras.
Muchos me dirán que hay recetas que dan medidas exactas y es verdad, pero yo les estoy hablando desde mi experiencia. Después de todo yo hago este pan para mi familia, no lo hago para venderlo y no requiero técnicas perfectas.
Volviendo al proceso, una vez que tengas la masa en su punto: si estás en invierno o es un día lluvioso, ya debes tener un espacio calentito para dejar reposar la masa. Déjala reposar hasta que doble su tamaño. En mi caso, fue más o menos una hora.

El siguiente paso es trocear en la cantidad de panes que quieras hacer, darles forma y dejarlos crecer nuevamente en una bandeja previamente enharinada. Yo los dejé crecer por una hora.

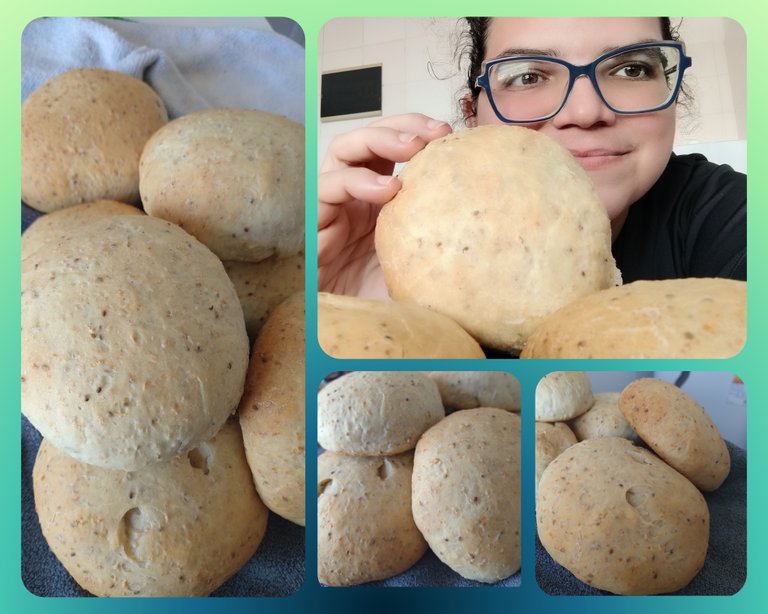
¿Ya creció? Calienta el horno a fuego medio y cocina hasta que se vean doraditos. En mi horno fueron unos 30 minutos. Pero cada horno es distinto.
Ya sé que quizá esta no es una receta muy precisa, pero no pretende serlo; lo que yo quiero lograr compartirles es la experiencia. Porque quiero que sepan que tener en cuenta cuando lean una receta de pan integral o con semillas, o cualquier otra receta. Los ingredientes pueden variar de una marca a otra, de un país a otro y el clima es un factor muy importante de un clima a otro. Por eso cuando intenten una receta nueva dense la oportunidad de ponerla en duda, de ir con calma, de experimentar y de no frustrarse si no queda exactamente como esperan.

Yo me he llevado muchas decepciones con recetas de internet. Suelen ser un desastre, pero quizá puedas encontrar una nueva versión que se adapte a tus necesidades.
Espero que les sea de utilidad y muchas gracias por quedarse hasta el final.

At home we like to make our own bread, although we also buy at the bakery because there is not always time or ingredients, so over time we have developed our own recipes. Our recipes are often born from improvisation after asking ourselves the question: What do we have at home?
Yesterday was Sunday and after asking ourselves the question and checking the ingredients we made a delicious bread with oats and chia seeds.
Making bread in the winter of Buenos Aires is not the same as making bread in the eternal Cumanese summer, in Venezuela.
In the cold, bread grows much slower, so turning on the heating is a requirement. Patience is the second requirement.

And what were the Ingredients?
Oh, this is not a recipe as such because I did everything by eye (as they say at home) and I already have the measurement in my hand. I can give you the ingredients that I used but you have to keep in mind that all flours do not absorb the same amount of water. So I recommend that you do not make this bread for the first time the day you want to show off with someone, it is better to try it first and when you get the hang of it, then you will show off.
Bread with bran or seeds can absorb much more water than white bread. That is why the technique we use at home to be able to make whole wheat bread and not bricks, is to mix all the liquids that we are going to use, along with the yeast, a little of the wheat flour and the bran or seeds.
How much is a little flour? Well, if I have 500 milliliters of water, which is what I usually use for a kilo of common wheat flour. I can add about 250 grams of flour (to start), then the bran that I am going to use (By the way, for this specific bread I used oat bran and not wheat bran) and in this case the chia seeds. This initial mixture is quite loose and I let it hydrate for approximately 15 minutes.
There are several important things to keep in mind, for example: the more bran or seeds you put in the dough, the heavier it will become and the more difficult it will be for it to rise, so the bread will have a different crumb. If you want fluffy bread, don't overdo it. One option could be to use integral would directly, it already has a proportion that ensures that you will not make a brick.
In my case, I think about the total amount of flour I would like to use (taking my white bread recipe as a reference) and I substitute a part of the flour, a maximum of 15% between bran and seeds, because the bran weighs very little when it is dry, but absorbs a lot of water. The other thing is that I add the flour little by little so as not to overdo it.

Now that you know all that, let's talk about what I used for this specific bread:
- 500 ml water
- 20 g of fresh yeast
- 2 tablespoons of sugar
- 50 ml of sunflower oil
- 1 kg of flour (I only used about 800 gr)
- 125 g oat bran
- 3 tablespoons of chia seeds
- Salt to taste
The preparation is as I explained before: I mixed sugar and yeast, about 200 grams of flour in the water (you don't need to weigh it by eye), the bran and the chia seeds. I mixed them together and let them rest. After 15 minutes I added about half a kilo more flour, the oil and the salt. I started the kneading (well, in that part I had help kneading as you can see in the images).
As you knead you identify whether or not it needs more flour. The point is that the dough is soft, but does not stick to your fingers, it should look homogeneous and smooth. Did you use 700, 750, 850, 900 grams of flour? It's okay, over time you will know your ingredients perfectly and you will make the quantities you want.
Many will tell me that there are recipes that give exact measurements and it is true, but I am speaking to you from my experience. After all, I make this bread for my family, I don't make it to sell and I don't require perfect techniques.
Returning to the process, once you have the dough ready: if you are in winter or it is a rainy day, you should already have a warm space to let the dough rest. Let it rest until it doubles in size. In my case, it was about an hour.

The next step is to cut into the number of loaves you want to make, shape them and let them grow again on a previously floured tray. I let them rise for an hour.

Has it grown yet? Heat the oven to medium heat and cook until golden brown. In my oven it took about 30 minutes. But each oven is different.
I know that perhaps this is not a very precise recipe, but it does not pretend to be; What I want to share with you is the experience. Because I want you to know what to keep in mind when reading a recipe for whole wheat or seed bread, or any other recipe. Ingredients can vary from brand to brand, country to country and climate is a very important factor from climate to climate. That's why when you try a new recipe, give yourself the opportunity to question it, to go slowly, to experiment and not to get frustrated if it doesn't turn out exactly as you expect.

I have had many disappointments with recipes from the internet. They tend to be a mess, but maybe you can find a new version that suits your needs.
I hope you find it useful and thank you very much for staying until the end.

Imágenes de mi propiedad tomadas con teléfono Motorola Edge 30 Neo
Images of my property taken with Motorola Edge 30 Neo phone
¡Felicitaciones!
1. Invierte en el PROYECTO ENTROPÍA y recibe ganancias semanalmente. Entra aquí para más información.
3. Suscríbete a nuestra COMUNIDADEntra aquí para más información sobre nuestro trail., apoya al trail de @Entropia y así podrás ganar recompensas de curación de forma automática.
4. Creación de cuentas nuevas de Hive aquí.
5. Visita nuestro canal de Youtube.
Atentamente
El equipo de curación del PROYECTO ENTROPÍA