
CHALLENGE RULES
RULESET: Briar Patch
Description: All monsters receive the Thorns ability at the start of the battle. Enemy monsters that use melee attacks receive damage back.
Tip:
Damage returned is equal to damage of the attacker divided by 2, rounded up.
Melee attack monsters with the Reflection Shield ability do not take damage from thorns.
The Amplify ability increases damage.
Battle Rulesets:


Briar Patch: All monsters receive the Thorns ability at the start of the battle. Enemy monsters that use melee attacks receive damage back.
Tip:
Damage returned is equal to damage of the attacker divided by 2, rounded up.
Melee attack monsters with the Reflection Shield ability do not take damage from thorns.
The Amplify ability increases damage.

Melee Mayhem: Melee attack Monsters can attack from any position.
TIP: If you have melee monsters in the back-line with Sneak or Opportunity, those abilities take precedence. Select a summoner that increases melee attack or a summoner that reduces melee attack of enemies + a tank with Shield. Thorns, Inspire, Blast, Retaliate help in this ruleset.

Little League: Only Monsters & Summoners that cost 4 Mana or less may be used in battles.
TIP: Monsters and summoners of 4 Mana or less will be the only ones available in this ruleset. Try increasing your defense by using summoners that give +1 armor or +1 health. Use monsters with at least 2 magic damage and 2 ranged damage. Using Mylor as summoner in this ruleset helps a lot.

MANA CAP: 37
Active Splinters:
- Fire
- Water
TEAM AND STRATEGY

TEAM
Summoner:
- Kelya Frendul
Monsters:
- Cruel Sethropod
- Tide Biter
- Angelic Mandarin
- Venator Kinjo
- Merdhampir
- Doctor Blight
Strategy
Since its Briar Patch ruleset, I decided to use Cruel Sethropod as my main tank because he has 7 Armor. Also, Tide Biter and Venator Kinjo are the best melee in this battle because they have Reflection Shield.
Angelic Mandarin is also a good choice here because there is a possibility that my opponent will use Doctor Blight.
Lastly, I decided to use one (2) Range monster so I can have 3 different roles in this battle. Also, Merdhampir has Cripple and Life Leech which is great because I can make him as a semi tank because of Life Leech.
Positioning
Position 1:
Cruel Sethropod - I chose him than Xenith Monk because he has a lot of Armor.
Position 2:
Tide Biter - because of his True Strike and Reflection Shield ability.
Position 3:
Angelic Mandarin - in case my opponent use Magic monsters because it has Silence and also it has Triage that can heal my backline monster.
Position 4:
Venator Kinjo - since its Melee Mayhem, he his really good in this battle and it has Amplify and also Reflection Shield.
Position 5:
Merdhampir - in case my opponent use a monster with lots of Armor because if it hits the target and has Armor, Cripple is really great because there is -1 Health even though the target has Armor.
Position 6:
Doctor Blight - since I have Merdhampir as a semi tank, it is also great because of his Affliction and Poison.
Battle
Round 1
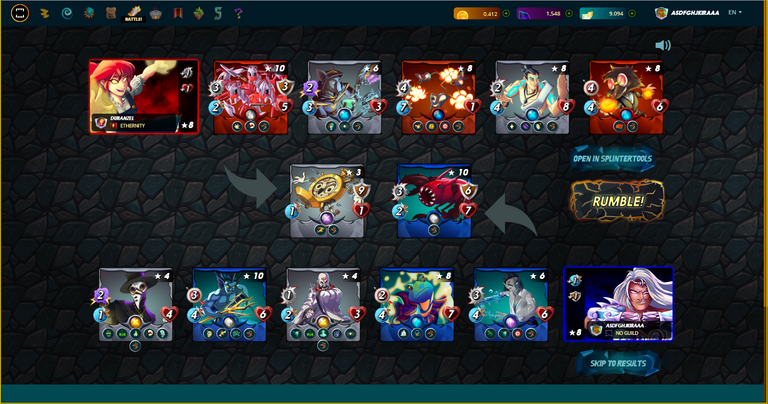
At first glance, you can clearly see that I'm really at advantage because of Kelya Frendul since it will give my monsters +1 Armor. Exploding Rats attack first and it dies because of Thorns and the Armor from Kelya Frendul takes the damage from Redemption.
Round 2
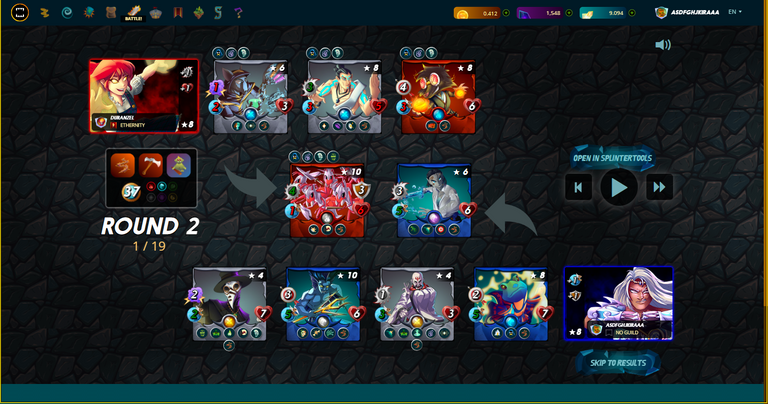
At Round 2, its 4v5 battle and I'm really at the advantage because I have Doctor Blight. He is really great in this battle. Good thing I rented one. Also, there is a miss from his Scavo Firebolt and my Tide Biter survived for a bit but it dies before the end of the Round.
Round 3
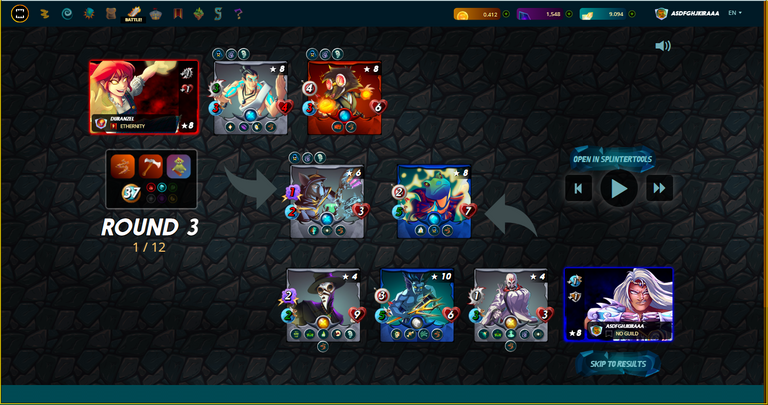
In this Round, his Xenith Monk missed his attack against Angelic Mandarin and it survived this Round.
Round 4
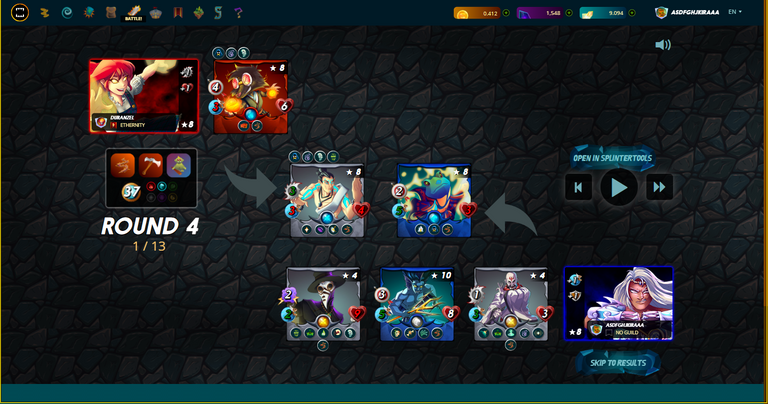
We can clearly see that I'm going to win this battle because I still have 4 monsters on my side. Round 4 ended with only 1v3 battle.
Final Round
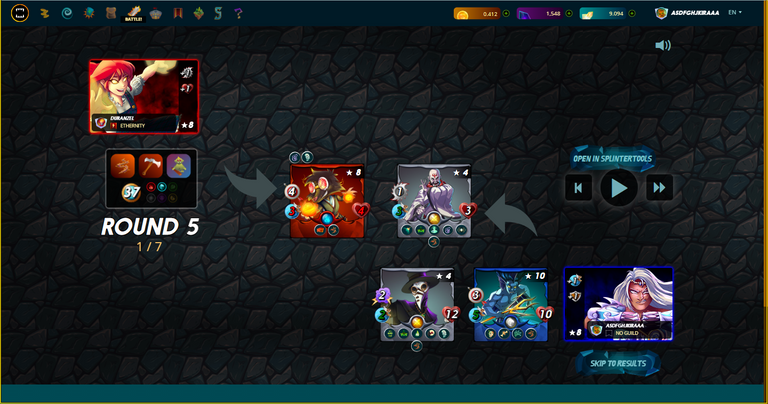
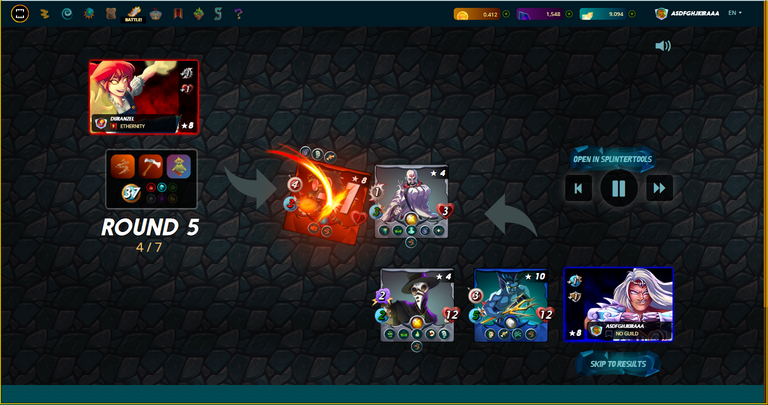
Last Round and he can't attack anymore because Range monsters can't attack in the first position. Venator Kinjo gives the final blow and the battle ends.
Battle Summary
Overall, I dominated my opponent and wins the battle with 99% Win Rate via Splintertools. Tide Biter, Venator Kinjo and Doctor Blight did their best and those misses helped a lot.
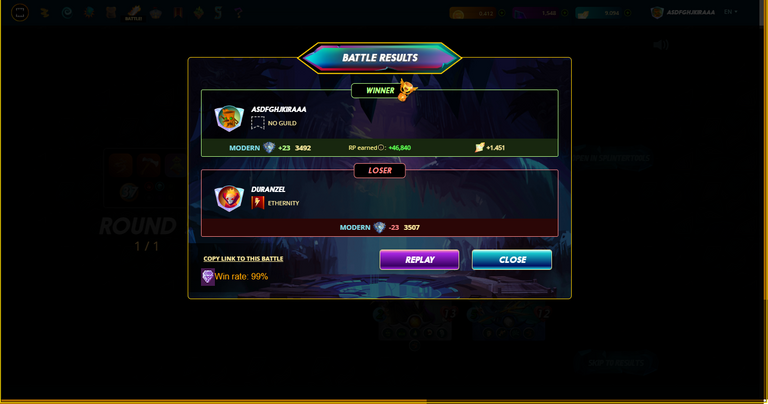
Battle Results and Rewards
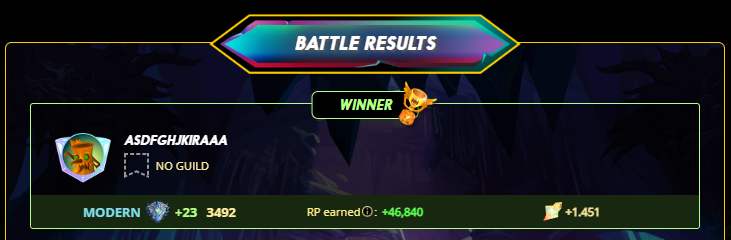
Rating: +23(3492)
RP earned: +46,840
SPS earned: +1.451
Watch the full battle. Click Here
Follow me on:
Thank you for reading my blog! Much love ❤️ Good luck everyone on your Splinterlands grind and keep safe!


Thanks for sharing! - Underlock#8573

Awesome!!!Love This!!!Thank you Kira!!!
Awesome post man!
Great inf0
Hi qgtm8spzlrt4kwsyn2q5vbzrms4pi7wv2drj9pxbd6nqrz3mKiraaa uwu :D
Posted using Splintertalk
Congratulations @asdfghjkiraaa! You have completed the following achievement on the Hive blockchain And have been rewarded with New badge(s)
Your next target is to reach 3000 replies.
You can view your badges on your board and compare yourself to others in the Ranking
If you no longer want to receive notifications, reply to this comment with the word
STOPCheck out our last posts:
Support the HiveBuzz project. Vote for our proposal!