Introduction
This week, we're diving into one of my favorite abilities in Splinterlands: the shield. At its core, the shield simply reduces damage from physical attacks (both melee and ranged) by 50% (rounded up). It’s a neat little trick to soften the blow from incoming damage.
From Early Days to Heavy Hitters
I remember when I first started playing Splinterlands, the game felt a bit simpler. Back then, with fewer heavy hitters on the battlefield, a smart combination of demoralize and shield could sometimes bring an opponent’s damage all the way down to zero. Fast forward to today, and the meta has changed. With more heavy hitters entering the fray, it's become less common to completely nullify an attack. However, when you stack the shield with additional effects like multiple demoralize or head winds, you can still drastically reduce the damage you take, and still sometimes see a 0 damage (that is always nice
There are some cool trick that might surprises you so without any further ado lets continue.

Ability

50% less damage (rounded up) from physical attacks or 0 damage from physical attacks of 1 power.
Notes:
- Reduces thorns damage to 1 UNLESS Amplify is in play.
- Shield will reduce damage returned from Return Fire.
- Shield will negate any damage done by Redemption.
Official ability information from splinterlands: List abilities
Synergies / strategy
Abilities benefits
Demoralize / Headwinds - it reduced the melee or ranged attack damage so the shield is working more effectively these can be stacked to you can end up with 0 attack damage to you shield unit


Halving - once a melee or ranged units is halved the impact of you shield unit is increased significant
Shield ward - This can give the unit in front of you shield (be aware two shield are useless)
Be aware of abilities
Expose - Expose can remove shield from your unit.

Ruleset benefits
Earthquake
![]() - This is one i also often forget 💡. With the earthquake rule set it reduces the damage take to 1 in stead of 2. Note this will not count for
- This is one i also often forget 💡. With the earthquake rule set it reduces the damage take to 1 in stead of 2. Note this will not count for ![]() Noxious Fumes and
Noxious Fumes and  Poison
Briar Patch / Fire & Regrest - Shield will reduces both of these return damage rule set.
Select / favorite
This are mine shield units:


This are more units then i expected choosing might seem to be hard so also take a look at my stats.
Before looking into my stats this is my short list:
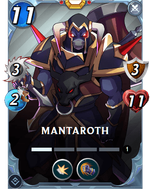
- Mantaroth
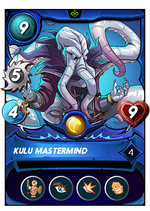
- Kulu Mastermind
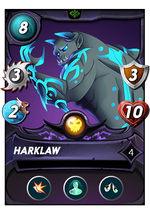
- Harklaw
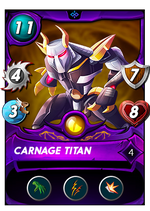
- Carnage Titan
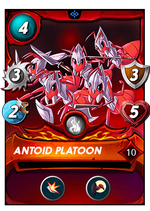
- Antoid Platoon
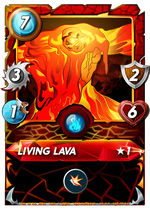
When i start playing splinterland i wanted Living lava only one copy was enough for me then in bronze. Remember the card was costing a couple of dollars back in the day. Remember my first venari wavesmith of 6$ 🤣. Those price it a much friendly environment to start in now a days, price wise.
Lets continue on the stats.

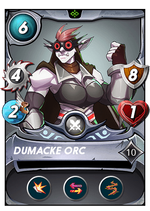
Wow look at that Domacke Orc did not expect that one to be so high. Still think that the kulu is in the first place but not because of its shield but the weapon training this unit combined with Baakjire is lethal.

I have chosen Harklaw, it just a beast with its demoralize and shield. This combo is just perfect and suites shield greatly. Mantaroth is a great tank but it just very expensive you can play Harklaw more often. Also the immunity is great in pesty noxious fumes rules set for instance.
Lets have a look in a battle where Harklaw shines
Strategy

With these splinters and rule set i expect some melee attackers so a demoralize with shield is good choice imho.
Rulesets
![]()
Deflection Field:
All units will gain reflection shield. this means blast and return damage is absobed.
![]()
Unprotected:
All units have 0 armor and cannot gain armor from summoners or abilities.
![]()
Born Again:
All units have Rebirth (self-resurrects once per battle with 1 health and 100% of armor; all magic debuffs are removed, and all magic buffs are reapplied; skips turn).
The Lineup
Summoner
| Card | Reason |
|---|---|
 | One of my new favorite summoner when its medium to high mana match. In this match the extra melee for harklaw is a bonus. |
Units Lineup
| #1 | #2 | #3 | #4 | #5 | #6 |
|---|---|---|---|---|---|
|  |  |  |  |  |
Harklaw (lvl 4)
Star of this week. Nice tank with 10 health (note armor will be removed). It reduces the physical damage by 1 with shield and reduces the damage of melee unit even by 1 mote
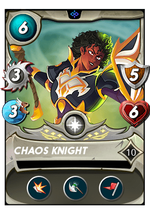
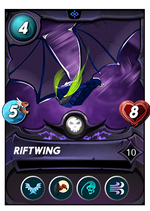
Riftwing (lvl 10)
Very strong non attack unit that will boosted so it gets attack with magic. The headwinds causes the ranged unit todo 1 less damage. Making it -1 for melee by Harklaw, -1 ranged by Riftwing. It has 8 healt wich i pretty decent for a secondary tank. And do not forget it also get +1 health for every monster that is dying
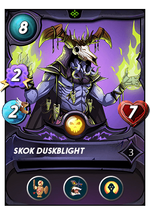
Skok Duskblight (lvl 3)
My weapon training unit that buffs the adjacent unit with 2 magic damage. The extra resurrect and fury are nice bonusses but not the reason for making it in the team
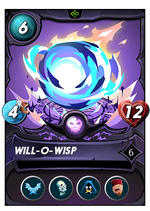
Will-o-Wisp (lvl 6)
Second non attacking unit that is being buffed by Skok. Now this has silence so it reduces the magic damage of my opponent team by 1.
So we now got -1 melee -1 range and -1 magic. This time i want for a balanced strategy to reduce all a bit instead of reducing multiples of only melee for instance.
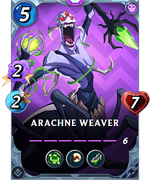
Arachne Weaver (lvl 6)
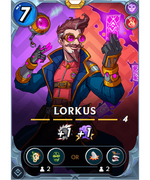
The fist healer of the death team. Sort of healer 🤣. it heals on of your members for 70% then it reduces tis own max health by one. In combination with Lorkus and it life leech it can be sustainable to have in your team. Also sometimes it not that bad it his health get lowered when the unit you are healing is stronger and more important in your strategy.
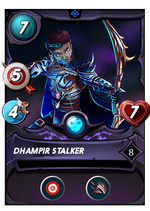
Dhampir Stalker (lvl 8)
Last but not least a Dhampit Stalker. 5 ranged damage that always hit with 7 health is my backline defense and heavy hitter.
The Battle
Reference
Link to the battle:
Link to battle
Rounds
Start :
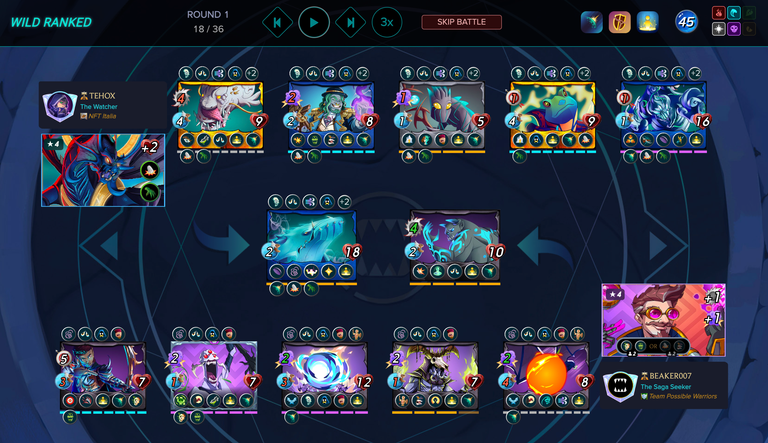
Let’s break down my opponent’s lineup. They’ve brought a mix of ranged, melee, and magic attackers, so my strategy to reduce all attack types by 1 is a solid choice. The two ranged units are now down to just 1 damage each, and thanks to Harklaw’s Shield ability, they’ll do zero damage—a perfect counter.
The biggest threat here is Deeplurker. With its Opportunity ability and 4 attack, it’s going to relentlessly target my weakest units. That could be a problem if I don’t take it down quickly.
That said, I believe I’ve got enough firepower to turn this battle in my favor. Let’s see how it plays out!
Round 1:
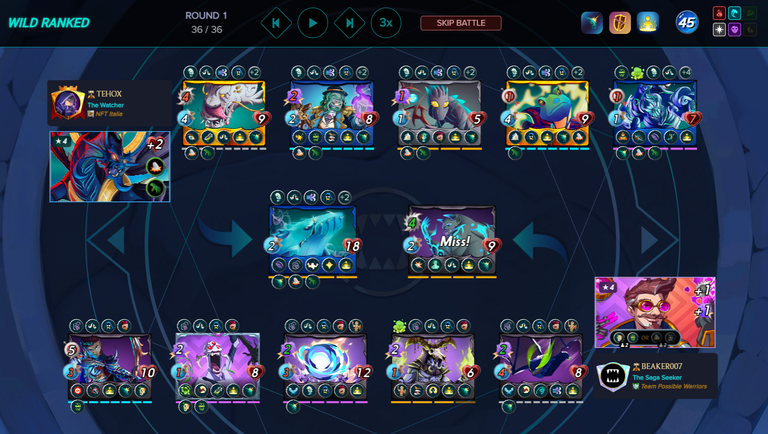
Not much action yet—all units are still standing. My Arachne Thug has gained an extra health point, which is a perfect synergy with Lorkus since he granted it Life Leech. Over time, this will make my Arachne much harder to take down, which is a great long-term advantage.
The biggest concern right now? My opponent’s healers.
- Baakjira has self-heal, making it even harder to take down.
- Two triage healers are keeping the backline healthy, which could make eliminating key threats a challenge.
I’ll need to focus fire effectively to break through their healing advantage. On to the next round!
Round 2:
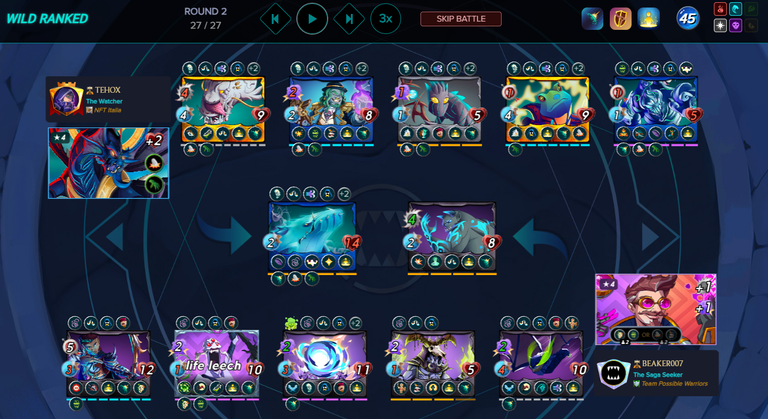
We finally see some action! A few units have died, but thanks to Rebirth, they’re right back in the fight. So technically, all units are still on the board.
The Life Leech effect continues to do its job, stacking extra health on my units. At this rate, it looks like Life Leech alone might carry me to victory—each round, my key units are getting harder to take down.
The MVP so far? Harklaw.
He’s still standing strong in the front, soaking up damage like a champ. With Shield reducing incoming attacks and my opponent’s weaker ranged attackers doing zero damage, he’s proving to be a critical piece in my defensive setup.
Round 3:
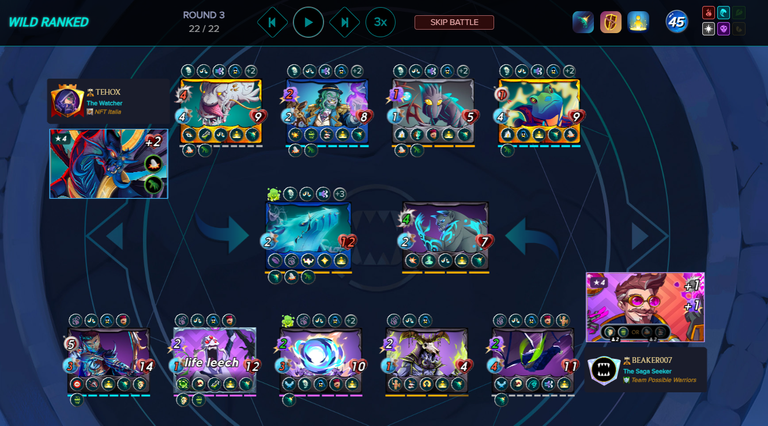
Finally, we see some real progress—units are dying and staying dead!
The biggest turning point? I managed to eliminate the Taunt unit. This is huge because now my attacks are no longer forced to focus on a single target, meaning I can start breaking down my opponent’s frontline.
Meanwhile, Harklaw remains an absolute wall.
With steady healing and his Shield ability absorbing damage, he’s still holding firm in the frontline, keeping my team safe and giving me time to dismantle my opponent’s strategy.
Round 4:
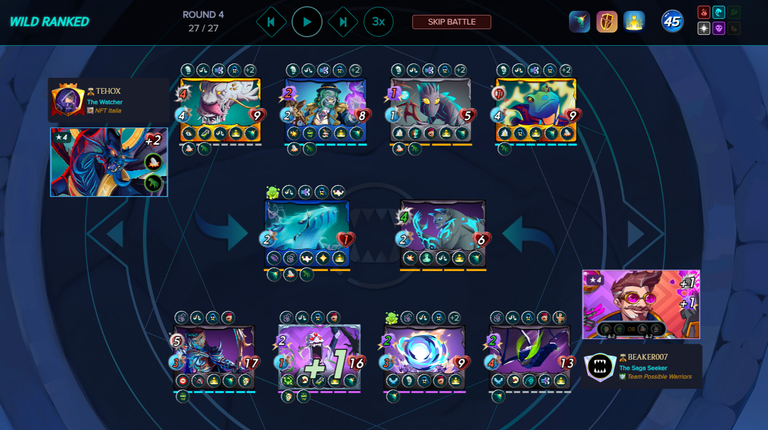
This round really showcased the devastating power of Deeplurker. Its Opportunity ability is proving lethal, picking off some of my weaker units with ease. If left unchecked, it could cause real trouble.
On the bright side, my Scavenger units are thriving. Thanks to all the Rebirths in this match, they’ve been stacking health like crazy—one is already at 13 HP and the other at 16 HP! 😆 That’s the beauty of Scavenger in long battles—it just keeps getting stronger the longer the match drags on.
While losing units to Deeplurker hurts, I’m still confident. With my beefed-up Scavengers and Harklaw still holding strong, I’m in a good position to push through the remaining threats. Let’s see how it plays out in the next round!
Round 5:
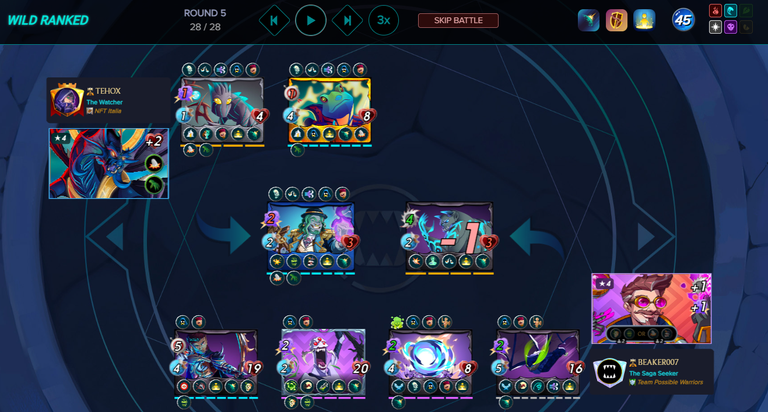
And there it is—Deeplurker is finally gone! 🎉
With that, the biggest threat is eliminated, and any unit that could have shifted the match in my opponent’s favor is now out of the picture. From here, it’s just clean-up mode—picking off the last remaining units and wrapping up the win.
With Harklaw still standing strong and my Scavenger units sitting at massive health pools, there’s no comeback possible for my opponent. This battle is in the bag! GG! 🎯🔥
Round 6:
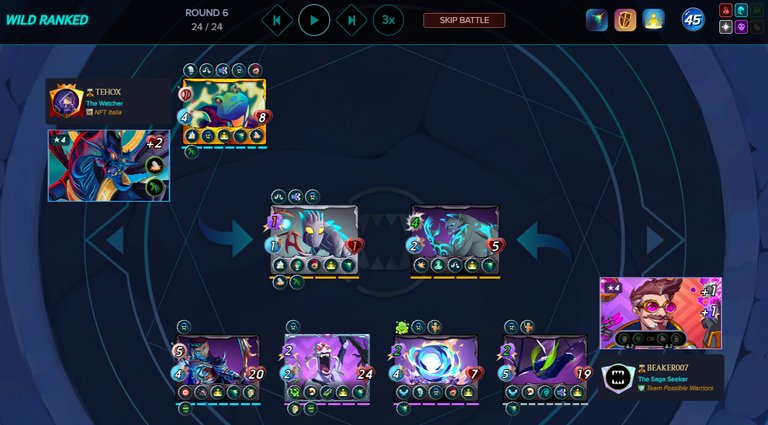
At this point, the match is basically won, but all the Rebirths are still triggering—giving my units even more health, even though it’s no longer needed. 😆
Round 7:
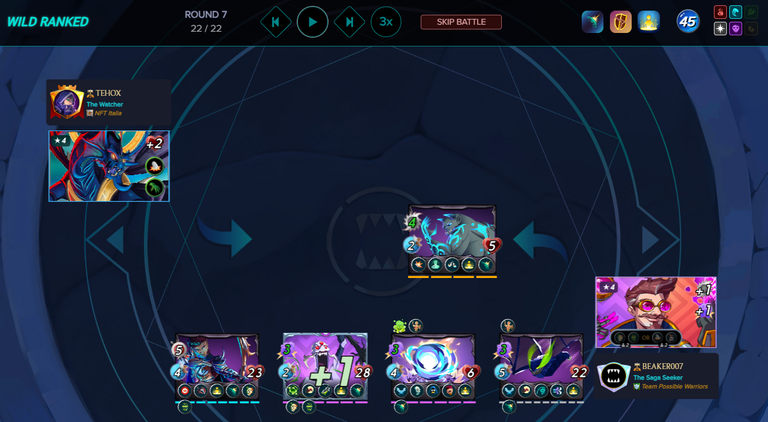
Damphir Stalker comes in with a devastating 10-damage hit thanks to its Deathblow ability! 💥
Deathblow is one of those abilities that only shines in the final moments—when there’s just one enemy unit left, it deals double damage. While I can’t recall a battle where this ability single-handedly saved me, it’s still a flashy way to close out the match.
And with that final hit, it’s game over! 🏆🔥
Conclusion
A solid battle overall—my Harklaw tanked like a beast, Scavenger units bulked up, and Life Leech kept my team strong. Even with Deeplurker causing trouble mid-match, I managed to turn things around and secure the win.
Previous ability strategy posts
Below you will find references to the other ability strategies / analysis posts.
 Affliction
 Amplify
 Backfire
 Blast
Blast Blind
Blind Bloodlust
 Camouflage
 Conscript
 Close Range
 Cleanse
 Cripple
 Deathblow
 Dispel
 Divine Shield
 Dodge
Dodge Double Strike
 Enrage
 Flying
 Forcefield
 Fury
Fury Giant Killer
 Heal
Heal Tank Heal
 Immunity
 Inspire
 Knock Out
 Last Stand
 Life Leech
 Magic Reflect
 Martyr
 Opportunity
 Oppress
 Phase
Phase Piercing
 Poison
 Protect
 Reach
Reach Recharge
 Redemption
 Reflection Shield
 Repair
 Resurrect
 Retaliate
 Return Fire
 Rust
Rust Scattershot
 Scavenger
 Shatter
 Shield
That's all for this week hope you enjoyed reading this ability strategy/analysis. See you all on the battlefield.
![]()
Do you also want to be part of this amazing play to earn game consider using my referral link.
Thanks for sharing! - @yonilkar
