
The Ruleset

- Rulesets - Up Close and Personal & Heavy Hitters
- Mana Cap - 37
- Active Elements -


Here's my starting lineup
Summoner: Mylor Crowling
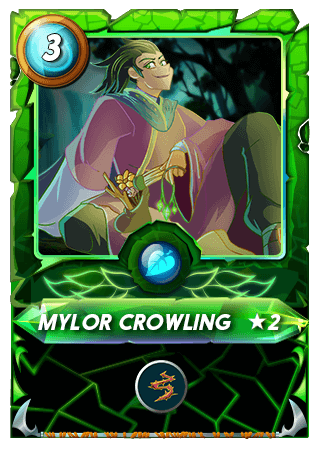
- With the ruleset and element pick that I got I only had one summoner in mind and that was Mylor Crowling
- Mylor Crowling was the best possible pick as he grants every monster in my team Thorns and because Up Close and Personal was active my enemy was forced to play melee monsters making them take damage with every attack they do
- I also decided to go with a defensive tactic as I have tried it before and it works wonderfully
- Thorns - Returns 2 physical damage to attacker when hit by a melee attack
1st Position: Halfling Refugee
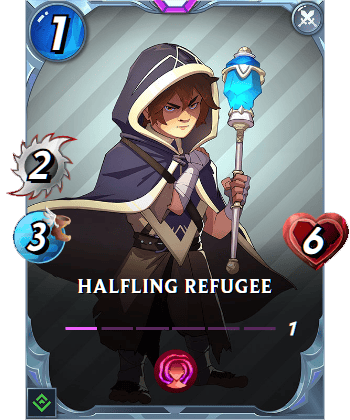
- Halfling Refugee was actually my last monster I picked for this team and the only reason was I had one mana left and he had the highest hp from the selection
- Also I was not afraid of his ability as I did not have any attacks monsters anyway
- Weary - At the beginning of round 1, Weary units have a 10% chance to become Exhausted. This chance increases by 10% every round, up to a maximum of 80%. Exhausted units skip their turn and cannot Retaliate
2nd Position: Mycelic Infantry
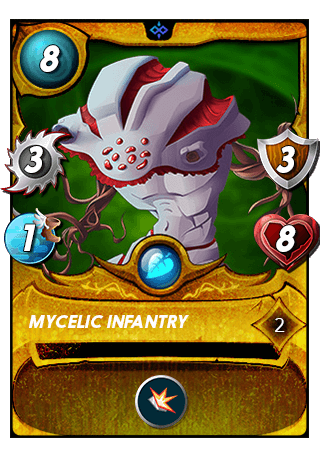
- Mycelic Infantry was my first monster with the Shield ability
- The whole idea was to play as tanky monsters against melee as I possibly could of as that way I only needed to wait till my enemies take themselves down with the Thorns
- Shield - 50% less damage (rounded up) from physical attacks or 0 damage from physical attacks of 1 power
3rd Position: Flesh Golem
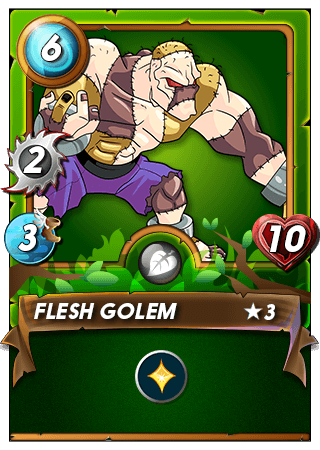
- Even tho Flesh Golem did not have the Shield ability he did have the Heal ability and high hp which works the same
- Also I have too little mana left to play my 9 mana Shield mosnter
- Heal - Each round, restores 1/3 of max health (rounded down)
4th Position: Disintegrator
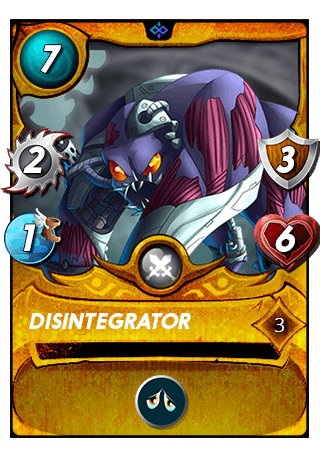
- Next up in line is my Demoralize mosnter
- He was the staple piece of my team as my enemy was forced to play melee he was going to lower everybodies attack by one
- Also if my enemy should play any monster with 2 attack it would be reduced to 1 which would not be enough to damage my Shield monsters
- Demoralize - -1 melee power to all enemy units
5th Position: Dumacke Orc
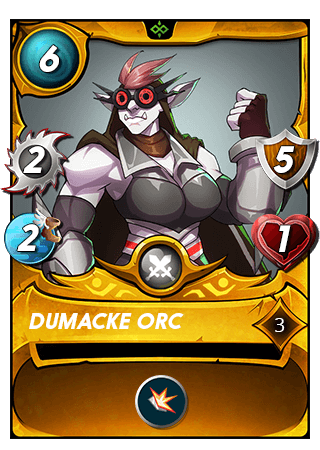
- Now starts my backline defense
- First is Dumacke Orc just because he has the Shield ability
- Also because he only had 1 hp he was going to tank any damage coming from monsters with Opportunity
- Shield - 50% less damage (rounded up) from physical attacks or 0 damage from physical attacks of 1 power
6th Position: Stone Golem
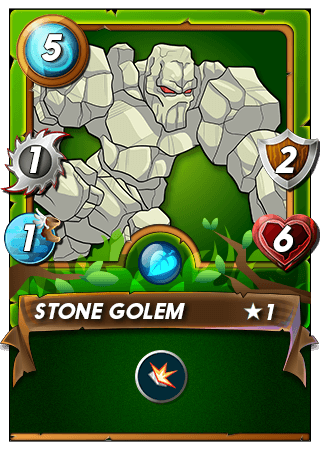
- For last but not least is another monster with Shield
- Everything stated in the earlier monsters applies also to him
- Shield - 50% less damage (rounded up) from physical attacks or 0 damage from physical attacks of 1 power
Starting board
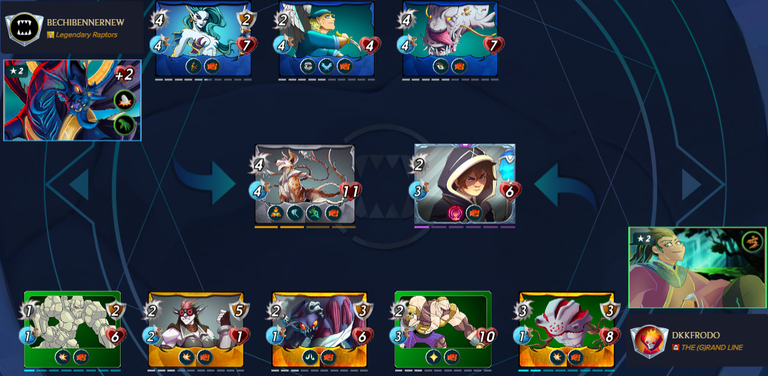
- The starting board was looking quite great for me
- Everything was going as I expected, now I just needed to hope my monster had the defense to wait till my enemies monsters take themselves down
- But my predictions could still be off by a mile so lets start the battle and have a look
Here's how the battle went
1st Round
- After first round the board was still looking quite the same as in the start
- Nothing interesting really happened other than my Halfling Refugee dying but that was expected and I was fine with it
- Even tho everything was going according to the plan, anything could still happen so lets keep watching
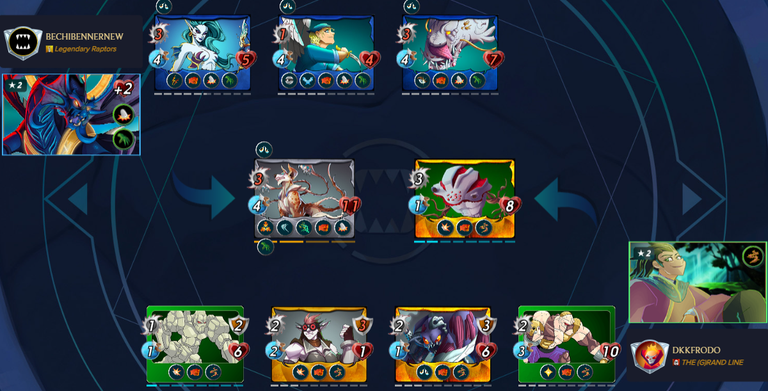
2nd Round

- After 2nd Round my enemies 2nd and 3rd monsters were starting to look quite low already
- And by the looks of it my team was taking the damage strongly and I still had a lot of hp left on my side
- Lets hope for the best and keep watching
3rd Round
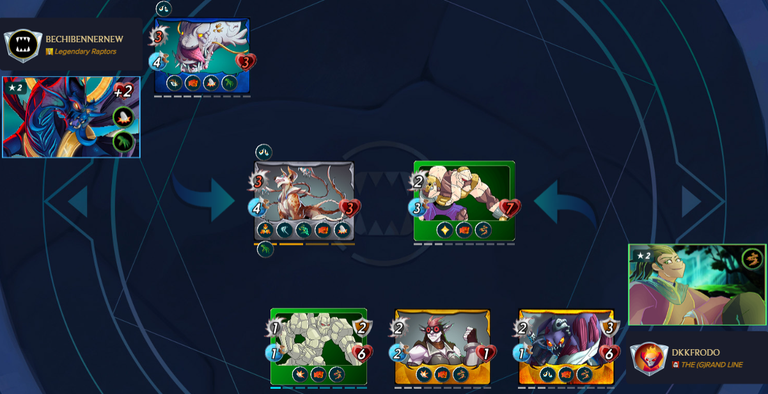
- The 3rd Round was huge for me as I managed to finish off 2 of my enemies monsters
- Also the standing two monsters were now low with both on 3 hp
- That screen basically meant that the battle was over in the next round and I was starting to welcome my victory screen already
- Now I just needed to wait for the start of the next round and hope this would be the last for this battle
4th Round
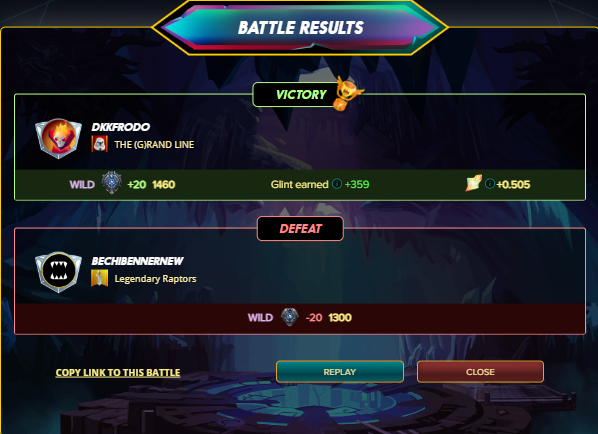
- It took me 1 round to kill my enemies last standing monsters
- After his Coeurl Lurker and Deeplurker had fallen I took the victory
- Battle Replay Link
Summary
- This battle was definitely heavily one sided but still fun to watch as I used my favorite strategy in this battle
- The strategy to take away from this battle is the defensive offence explained in my post I made couple months back HOW TO USE DEFENCE TO YOUR ADVANTAGE
- If you also would like to hop on the Splinterlands train feel free to use my Referral
Thanks for reading and thanks for all the upvotes, reblogs, comments and follows. And till the next challenge, KEEP BATTLING!
The rewards earned on this comment will go directly to the people( @dkkfrodo ) sharing the post on Reddit as long as they are registered with @poshtoken. Sign up at https://hiveposh.com. Otherwise, rewards go to the author of the blog post.
Congratulations @dkkfrodo! You have completed the following achievement on the Hive blockchain And have been rewarded with New badge(s)
Your next target is to reach 10000 upvotes.
You can view your badges on your board and compare yourself to others in the Ranking
If you no longer want to receive notifications, reply to this comment with the word
STOPCheck out our last posts:
Thanks for sharing! - @yonilkar
