Welcome, brave adventurers, to the fascinating realm of Splinterlands! As you embark on your journey to conquer this mystical world of battles and creatures, understanding the intricacies of the Little League Combat rule becomes crucial. In this blog post, we'll delve deep into the mechanics of Little League Combat and equip you with powerful strategies to dominate the Splinterlands and emerge victorious in every battle.

Splinterlands, a blockchain-based trading card game, employs the Little League Combat rule to enhance fairness and create an engaging environment for players of all skill levels. The rule dictates that each player can only use monsters at or below a specific mana cost, commonly 4 mana, in their lineup during Little League battles. This rule fosters a more balanced playing field, allowing newcomers and seasoned players alike to compete on equal footing.

So before jumping into the battle under the combat rule Little League, you should keep in mind these strategies.
Strategy 1: Assessing the Strengths and Weaknesses.
To excel in Little League Combat, you must first understand your monsters' strengths and weaknesses. Analyze the abilities, stats, and elemental affinities of your monster cards. Certain monsters might possess powerful attacks but lack defense, while others could boast high health but limited attack capabilities. Knowing these nuances will help you craft a versatile team that can adapt to various challenges.
Strategy 2: Building a Balanced Team.
Once you've grasped your monsters' traits, assembling a balanced team is vital. A well-rounded lineup should consist of monsters with different abilities and elemental affinities, ensuring that you can effectively counter your opponents' strategies. Combining a mix of melee, ranged, magic, and healer monsters can create a formidable force that's difficult to overcome.
Strategy 3: Mastering Synergies.
Synergy is the key to unlocking the true potential of your Little League team. Synergies are when certain monsters' abilities complement each other, creating a powerful combination. For example, pairing a melee tank with a healer can provide excellent sustainability, while combining monsters with "Shield" abilities can increase overall protection. Experiment with various combinations to discover potent synergies and take your gameplay to the next level.
Strategy 4: Analyzing Opponent Lineups.
Understanding your opponent's lineup is crucial in Little League Combat. Before each battle, carefully review your adversary's monsters and assess their strengths and weaknesses. This analysis will help you make informed decisions during combat, allowing you to counter their strategies effectively. Keep in mind that as much as you scrutinize your foe's lineup, they will also analyze yours. Therefore, try to keep some surprises up your sleeve and remain adaptable in your approach.
Strategy 5: Embracing Flexibility.
In the dynamic world of Splinterlands, flexibility is a prized asset. Being adaptable to different situations and opponents can be the key to securing victory. As you progress through battles, you'll encounter a wide range of strategies, each demanding a unique approach. Embrace flexibility by experimenting with various team compositions and tactics, and don't be afraid to adjust your lineup according to the challenges at hand.

Let me share with you the highly effective strategy I frequently employ when engaging in battles governed by the Little League combat rule. In this unique rule set, only monsters and summoners with a mana cost of less than 4 are eligible for deployment. This restriction adds a thrilling challenge, demanding careful consideration of every choice made in assembling the battle lineup.
To set the stage for these enthralling encounters, the Mana Limitation for this particular battle was skillfully capped at 31. This meant that the total mana cost of all the monsters and summoner combined could not exceed 31 points. The absence of restrictions on the sources to be used in the battle further heightened the strategic possibilities, allowing me to freely select any Sources at my disposal.
Considering the combative dynamics, it became evident that the Death element held immense potential to wield unparalleled dominance on the battlefield. But I would like to have some variation so instant of taking the Death summoner, I used the Dragon Summoner DRAKE OF ARNAK, and the Death source monsters presented a host of compelling advantages that aligned seamlessly with the essence of the combat rule.
Battle Link

At the First Position XENITH MONK
The Xenith Monk stands tall as a common neutral monster, revered for its unwavering presence on the battlefield. With 1 melee attack power, it may seem unassuming, but its true strength lies in its agility and resilience. Boasting an impressive 3 speeds, the Xenith Monk moves with unmatched swiftness, making it a formidable adversary. Its 6 health points ensure it can endure relentless attacks, standing resolute in the face of danger. Masters of the game appreciate the versatility and reliability of the Xenith Monk, incorporating it into their strategies to secure victory in the ever-changing realm of Splinterlands.
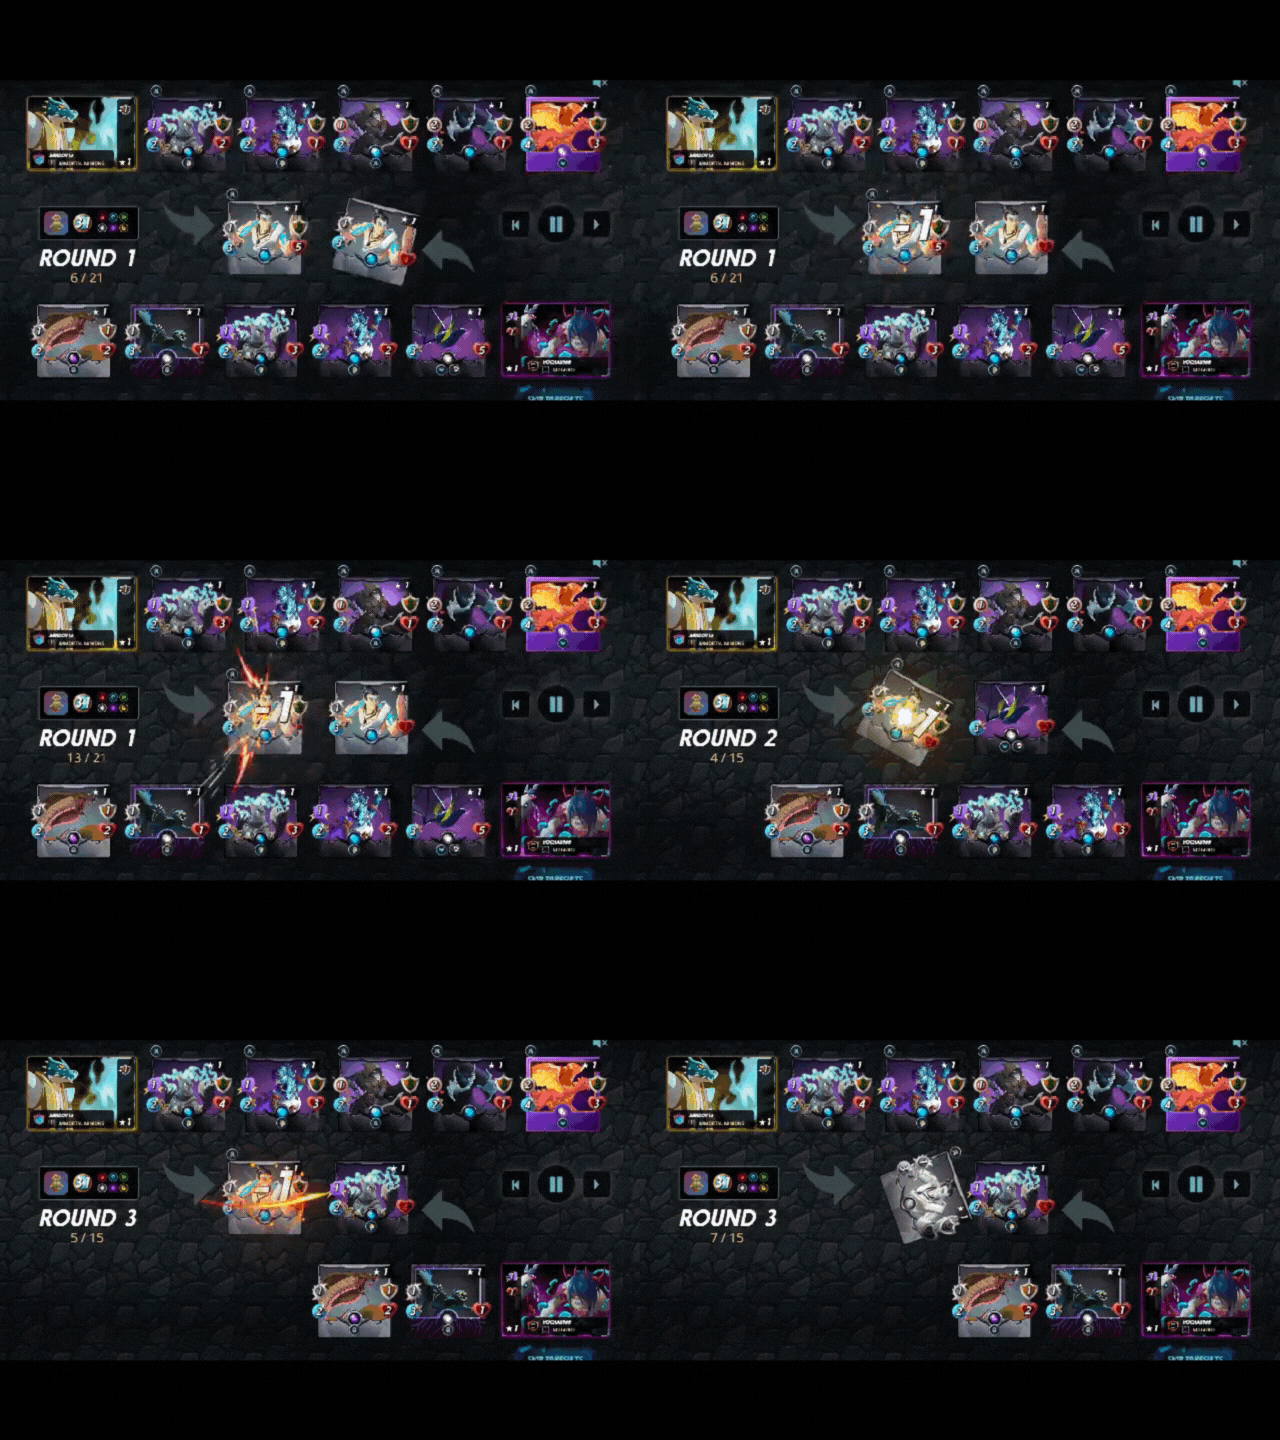
Indeed, with its modest 4 mana cost, the Xenith Monk emerges as the optimal choice for the upcoming battle in Splinterlands. As a steadfast tank, it fearlessly absorbs enemy attacks, shielding its comrades from harm. Its impressive 6 health points grant it the endurance to endure even the most punishing assaults, allowing the rest of the team to focus on mounting their own offensive strikes against the opposing forces. The Xenith Monk's strategic value lies in its ability to keep the team safe while becoming a reliable pillar of defense. In this battle, its unwavering commitment to protecting its allies ensures a competitive advantage for victory.
Second & Third Position VENARI BONESMITH & LIFE SAPPER.
In the Second and Third Positions of my battle formation, I strategically chose two of my rare and formidable death monsters: VENARI BONESMITH and LIFE SAPPER. This decision was influenced by the battle's specific restriction, allowing the use of only monsters with a mana cost of 4 or less. VENARI BONESMITH and LIFE SAPPER stood out as the perfect choices for this setup.
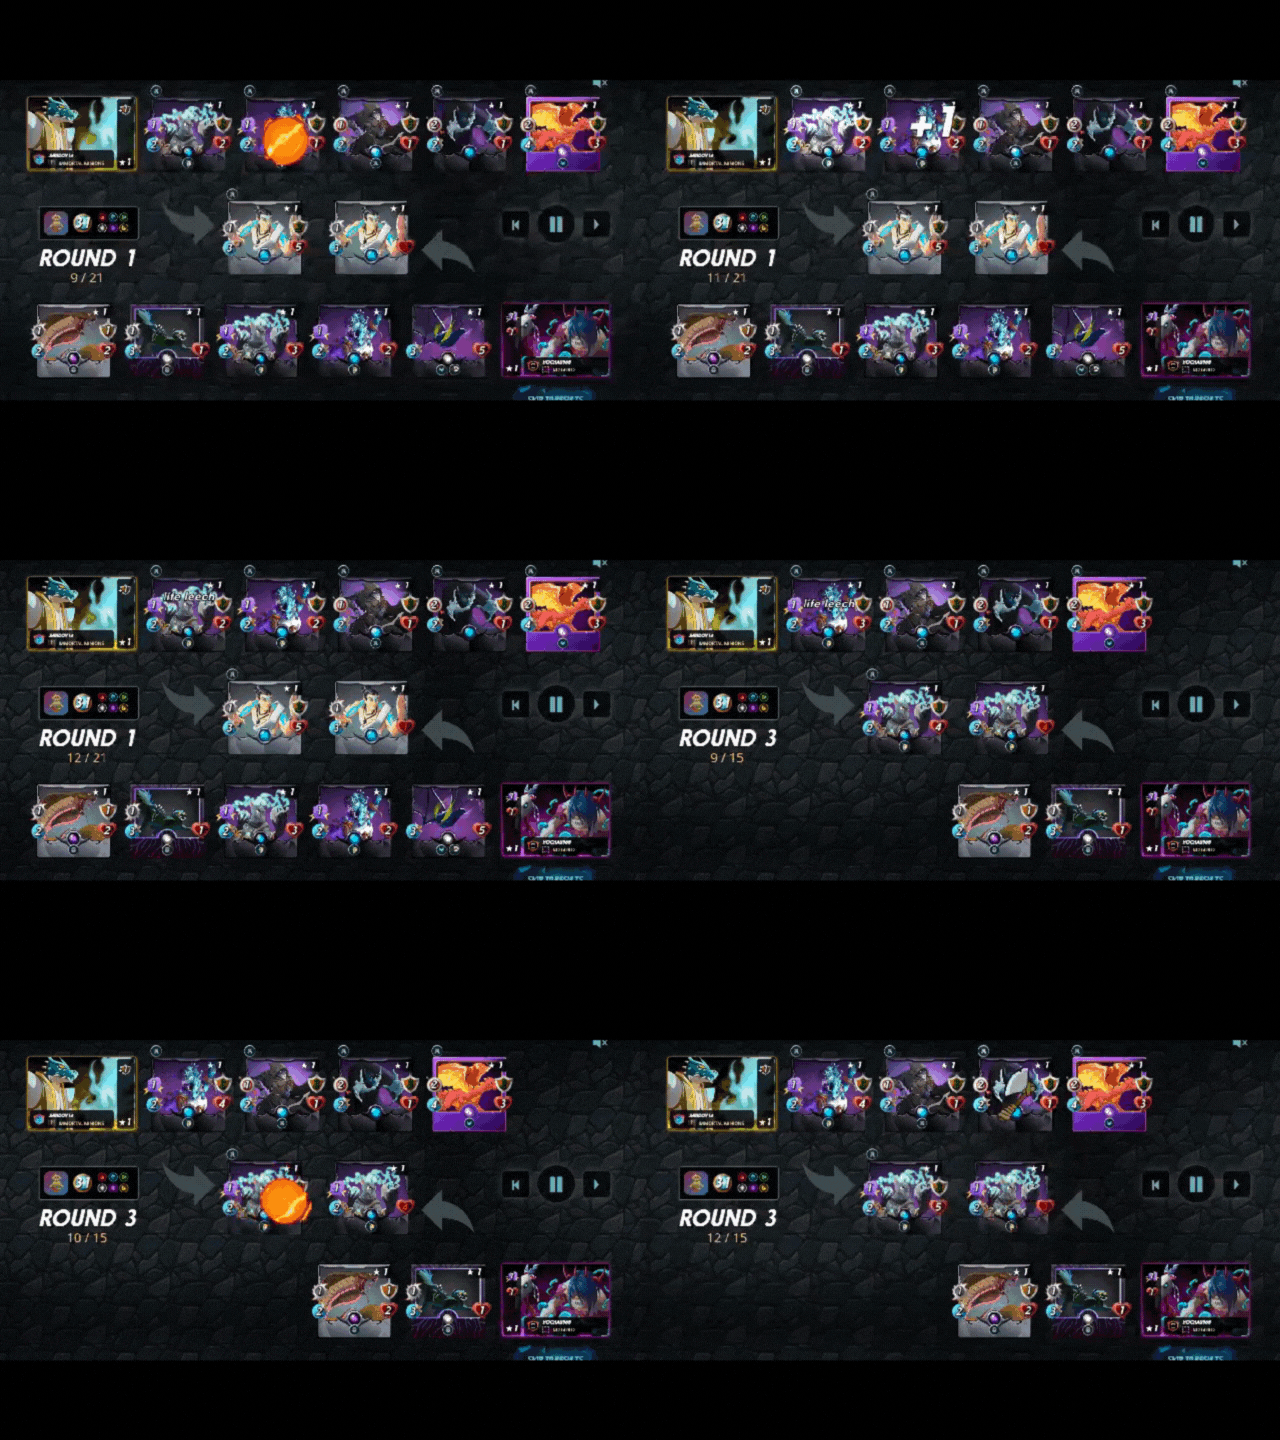
The combination of VENARI BONESMITH and LIFE SAPPER proved to be exceptionally effective in dealing with enemy monsters. Their magic-based attacks could inflict significant damage to the health of opposing creatures, particularly those lacking the void ability to resist magic attacks.
.gif)
Some might have questioned the wisdom of using these two monsters due to their seemingly low health. However, their vulnerability was compensated by a remarkable ability: Life Leech. This unique trait allowed them to regain health after inflicting damage on enemy monsters. Consequently, with each round of the battle, both VENARI BONESMITH and LIFE SAPPER gained an additional point of health.
At the beginning of the battle, VENARI BONESMITH started with 2 health, while LIFE SAPPER had 1 health. However, by the end of the intense skirmish, their health had significantly increased. VENARI BONESMITH's health surged to an impressive 6, while LIFE SAPPER's health reached a solid 5.
This remarkable combination of strategic placement and the exceptional abilities of VENARI BONESMITH and LIFE SAPPER proved to be a game-changer in the battle, allowing me to secure a decisive victory against my opponents. Their resilience and damage-dealing prowess demonstrated why they were the best choices for this specific battle configuration, solidifying their position as crucial assets in my monster lineup.
Fourth, Fifth & Sixth Position RAVENHOOD WARDEN, SOUL STRANGLER & FIRE SPITTER.
In the battle, I positioned my monsters strategically to maximize their potential and minimize the risks they faced. At the fourth, fifth, and sixth positions, I deployed two formidable death source monsters and one powerful dragon source monster. Placing them there allowed them to remain safely distant from the reach of the opponent's magic and melee attacks.
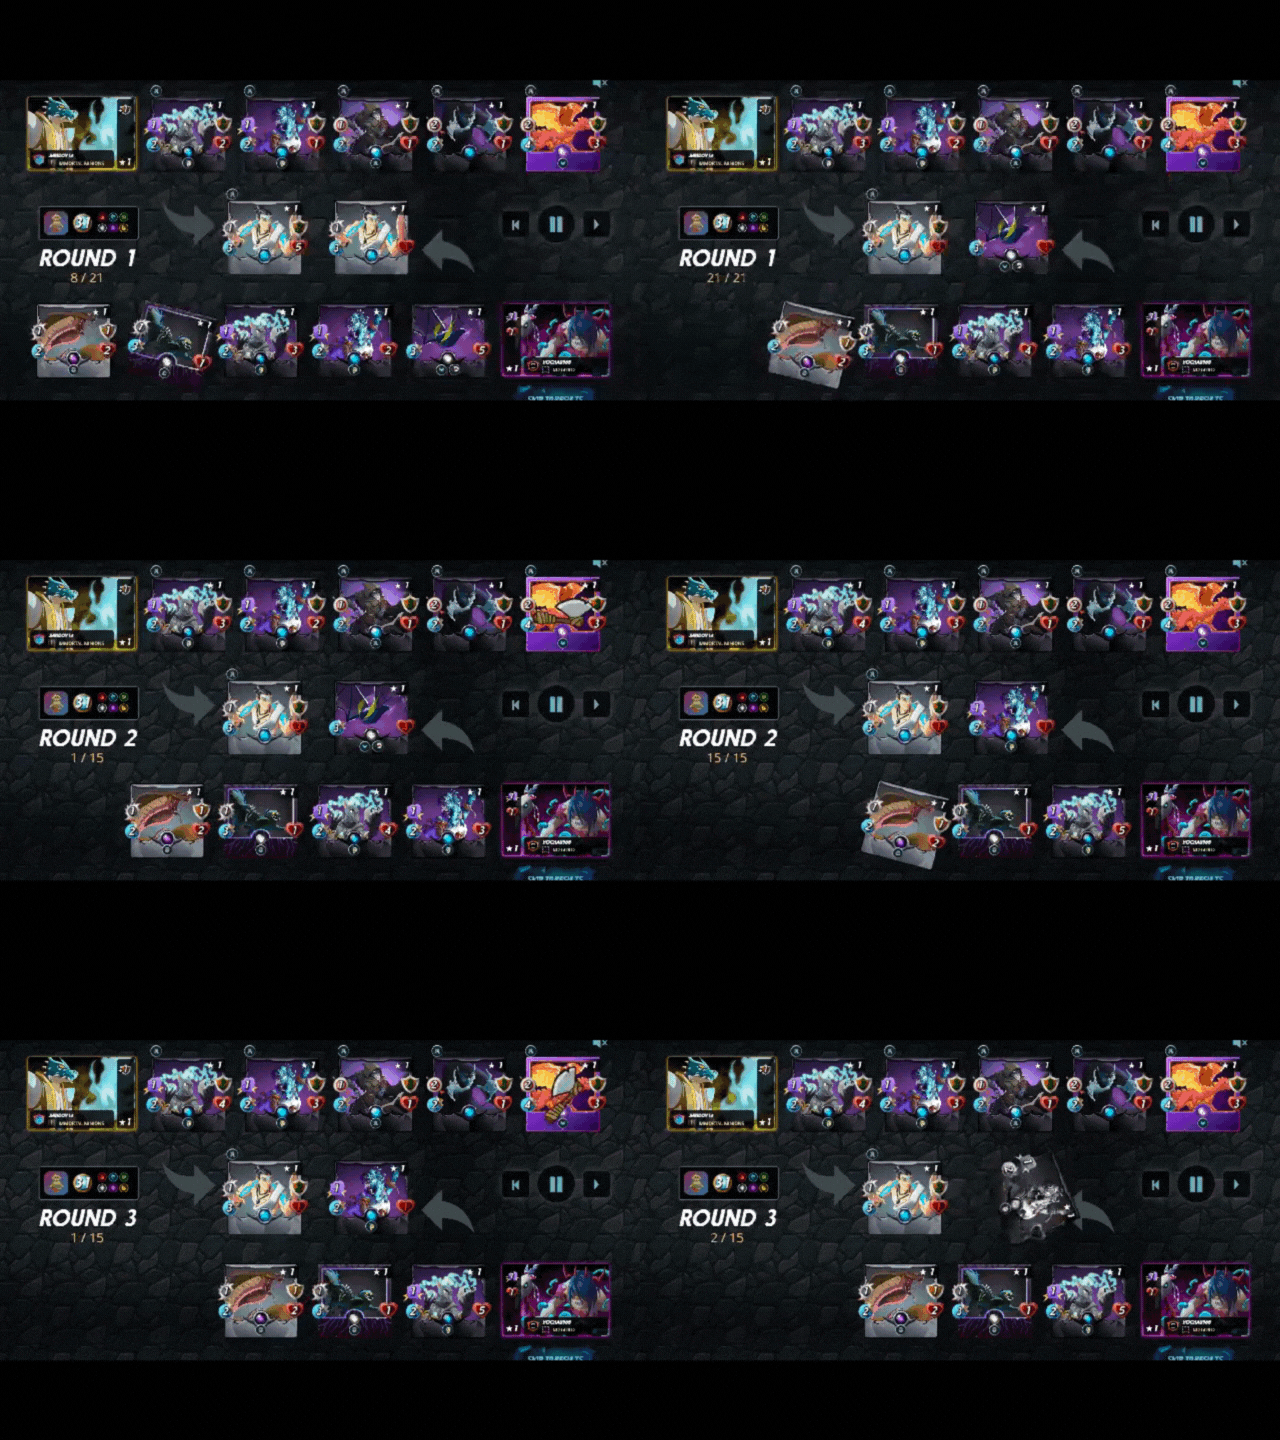
However, I knew there was a potential danger because the opposing team had two Sneak ability monsters capable of targeting and striking my ranged attack monsters. To counter this threat, I had a contingency plan in place. To protect my valuable dragon source monster, FIRE SPITTER, I placed it at the back of my lineup. This particular monster possessed the flying ability and boasted an impressive speed of 4, granting it superior agility to evade attacks from slower opponents.
.gif)
During the course of the battle, the two Sneak ability monsters from the opposing team, UNDEAD BADGER & URAEUS, attempted twice to strike my EPIC Dragon monster, FIRE SPITTER. However, much to my satisfaction, both of their attacks missed the target in the first and second rounds. This demonstrated the wisdom of using FIRE SPITTER in that position, as it effectively dodged the threats posed by the Sneak ability monsters.
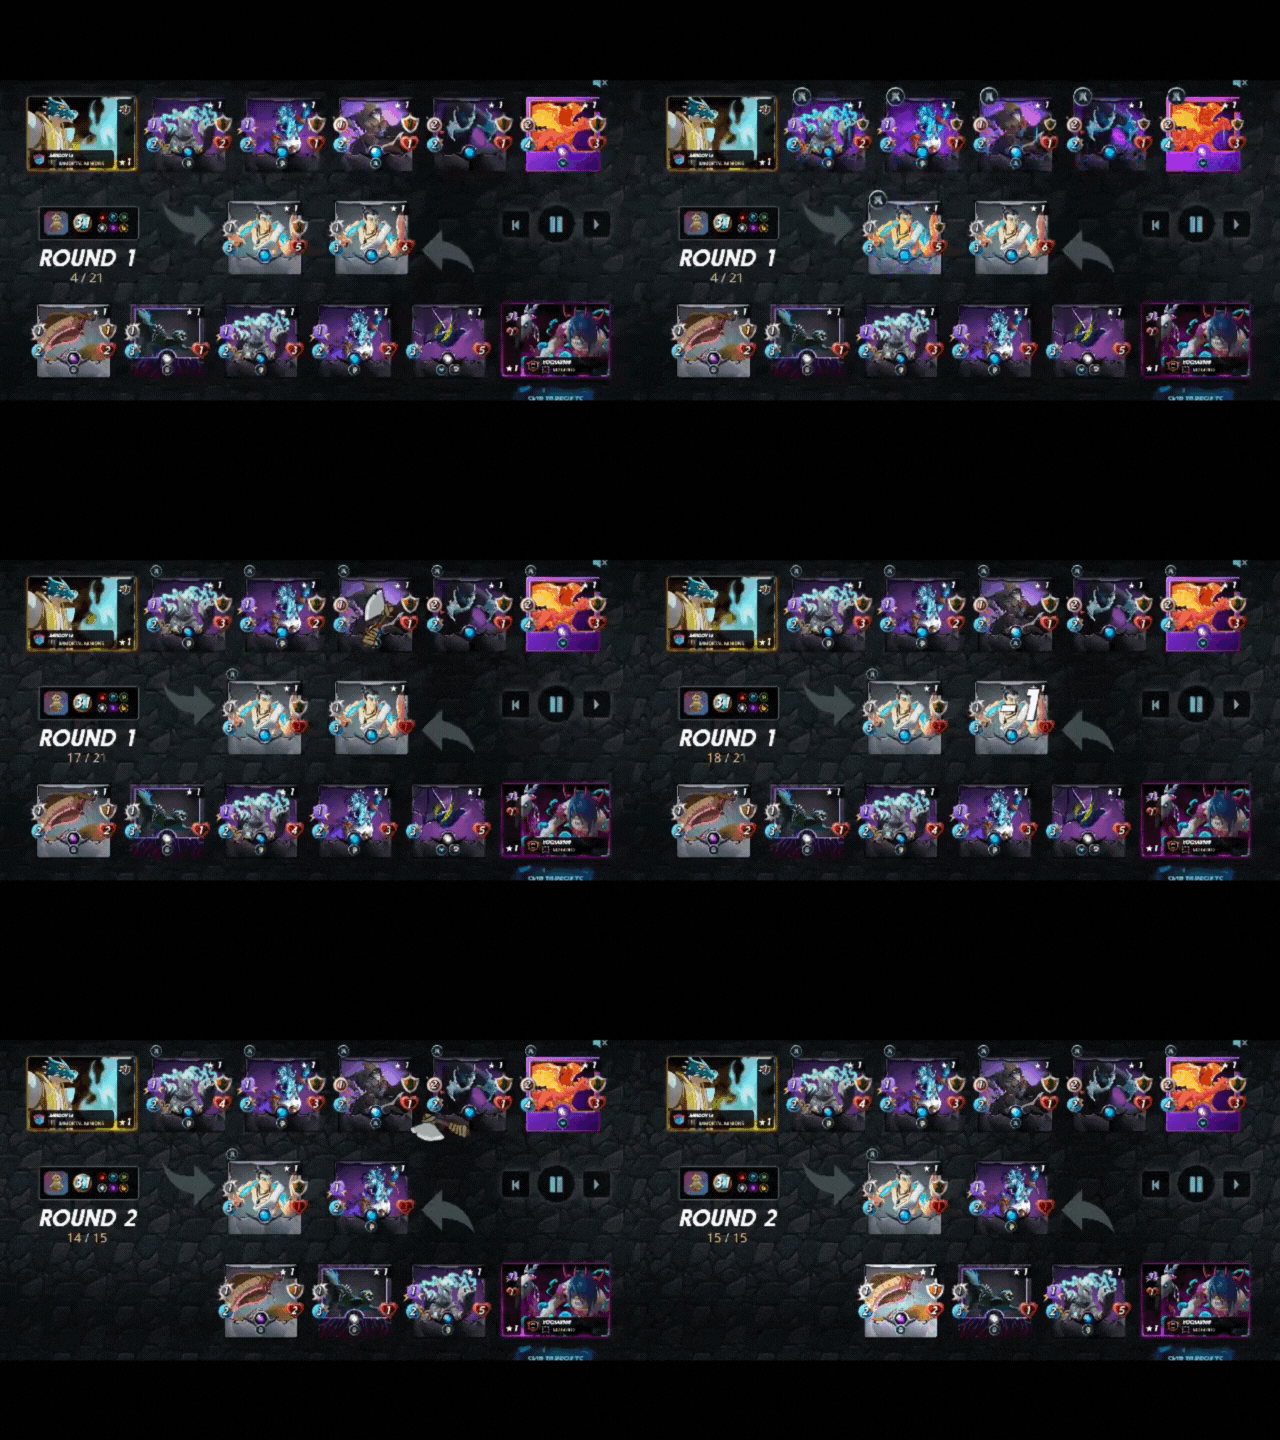.gif)
Meanwhile, my two other ranged attack monsters, RAVENHOOD WARDEN & SOUL STRANGLER, were performing exceptionally well in the fight. RAVENHOOD WARDEN, with its protect ability, played a crucial role by providing +2 armor to all friendly monsters on the team. This ability proved invaluable, bolstering the defenses of my entire team and enhancing their resilience during the intense battle.

Conclusion
As you venture forth into the enchanting world of Splinterlands, mastering the art of Little League Combat is the key to unlocking your full potential as a player. By assessing your monsters' strengths, building a balanced team, exploring synergies, analyzing opponents, embracing flexibility, and leveling up wisely, you can dominate the Splinterlands and carve your name into the annals of history. So, gather your cards, hone your strategy, and let the Little League battles commence! May your journey be filled with victories, challenges, and the thrill of becoming a true Splinterlands champion.
.jpg)
You have been getting support for a long time, then why don't you upgrade your deck?
what actually you mean by upgrading the deck? Do you mean buying new cards or leveling up the cards I already have? In the case of buying cards, I think renting is the best option so I rent cards for a week or more.
And I have cards with 2,3 & 4 levels but I couldn't use those cards as their level because my summoners are not upgraded. I think upgrading the summoners will be a good decision.
Thank you for your point of view @zaku
Tweet:
Thanks for sharing! - @alokkumar121
