Fun fact: Nagas were invented by artists that hate drawing legs.
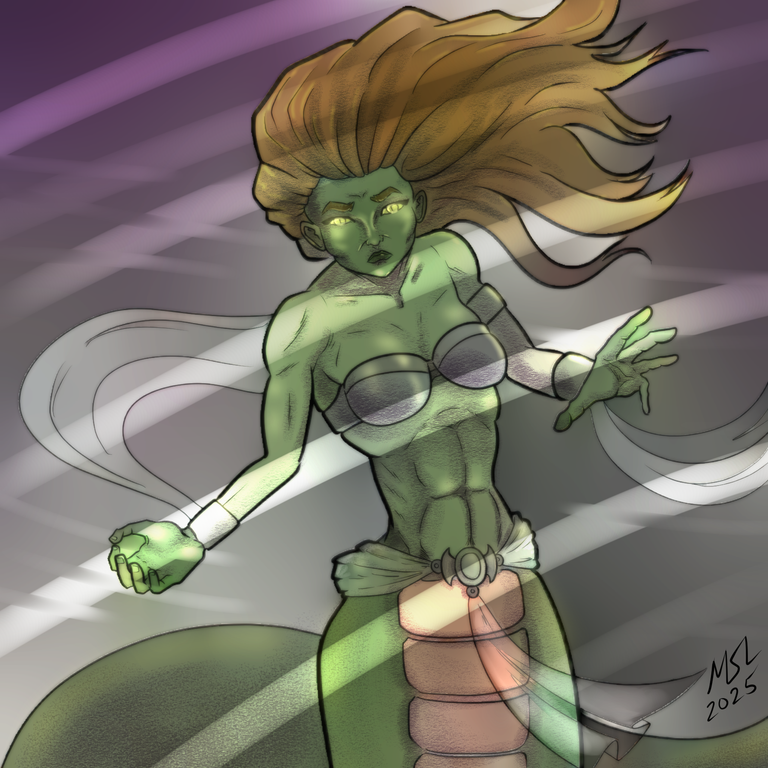
Here is my entry for the weekly Splinterlands Art contest found HERE...
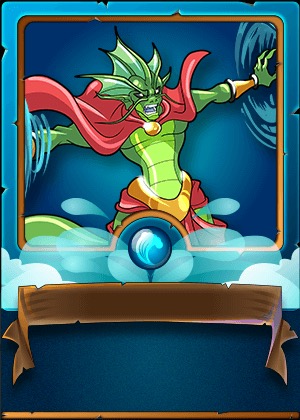
Here is the original card art:
Oh, and since my naga is female I changed it from a windmaster to a windmistress.
Created in Clip Studio Paint Pro on a Microsoft Surface Pro 7+. Here is the timelapse video:
 https://rumble.com/v6ivnh1-naga-windmistress.html?mref=18dagn&mc=d3obe
And here is the step-by-step drawing process.
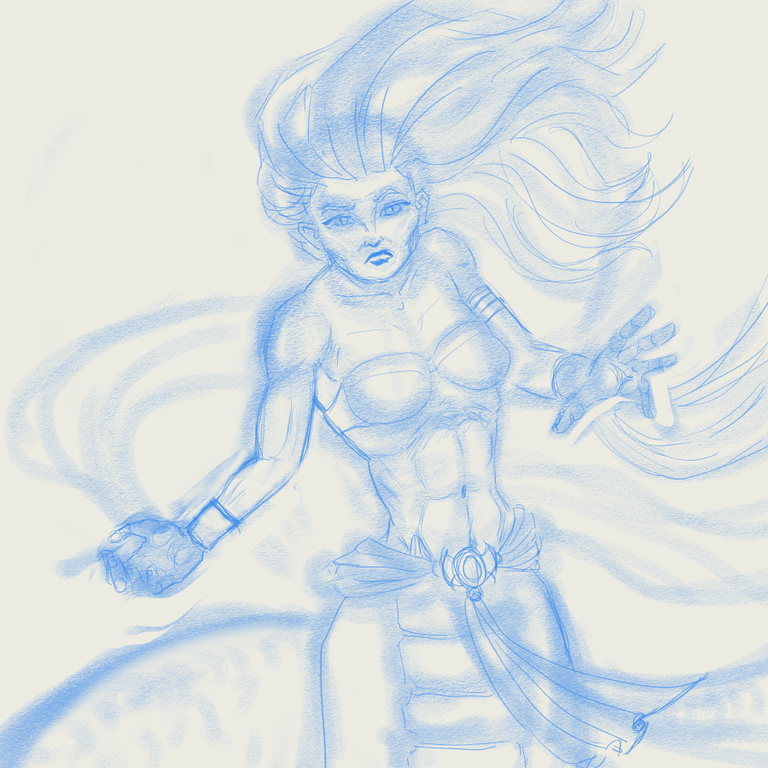
Step One: Rough draft. I use a 40 px pastel pencil to block out the rough shape.
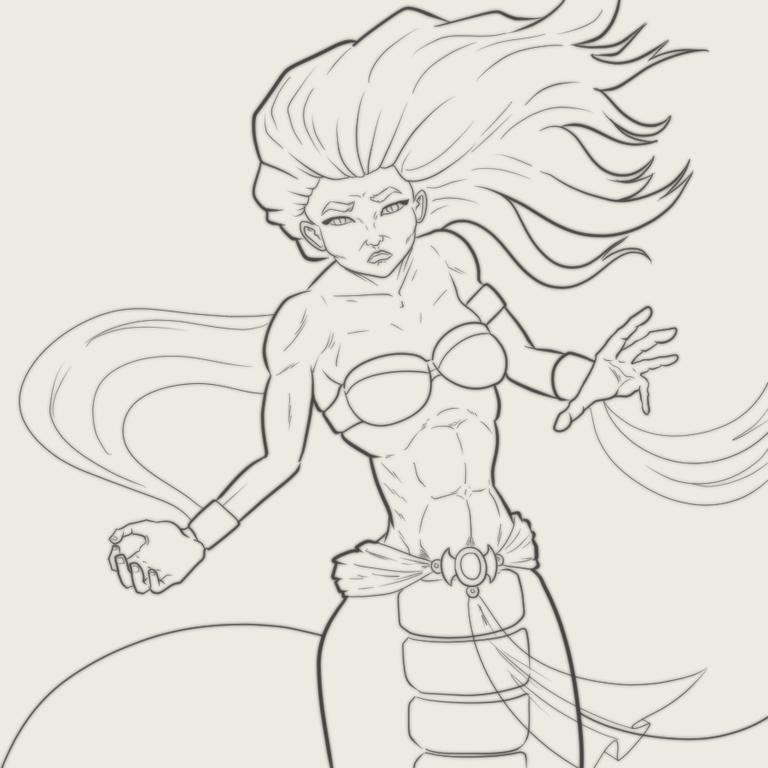
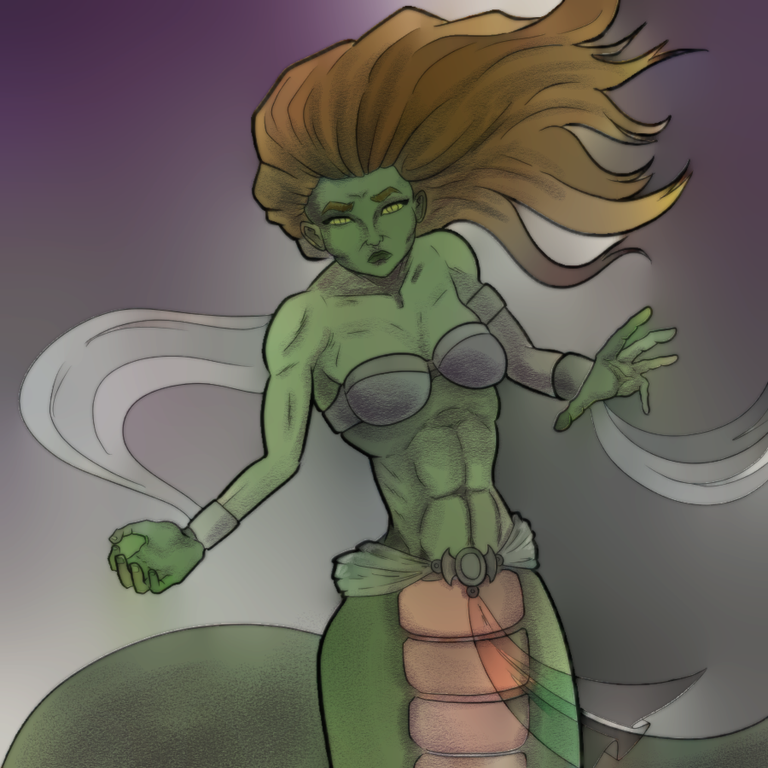
Step Two: lineart. Went with comic style outlined in a 12-pt black G-pen then a 6 to 8-pt. for the interior lines. Also for those flying cloths to make them look whispier. Probably should have done the same for her hair, but too late now.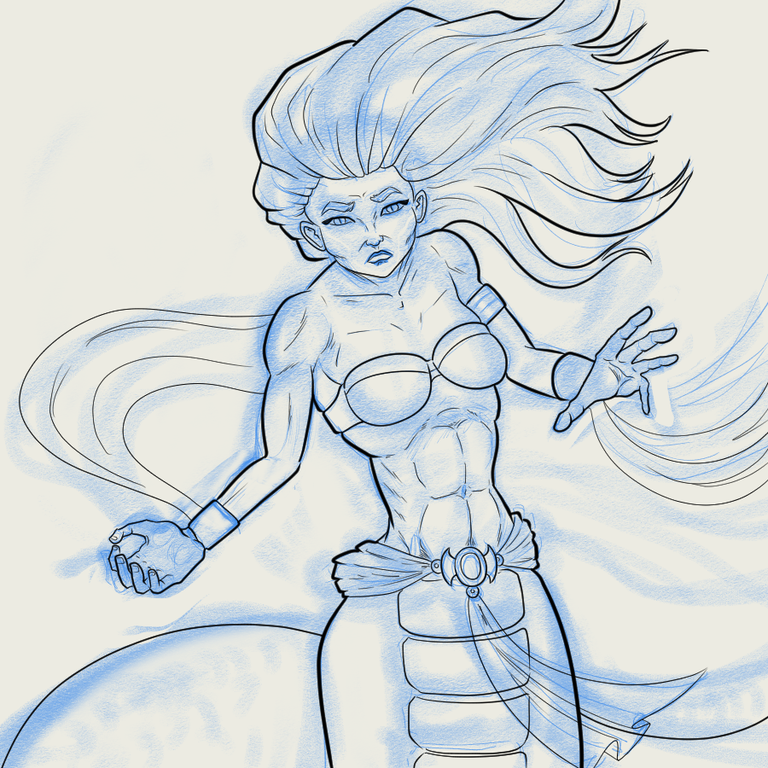
Step Three: Something I've been doing lately to soften up the line art layer. I duplicate it, then hit one of them with a gaussian blur then reduce the opacity of both to 50%.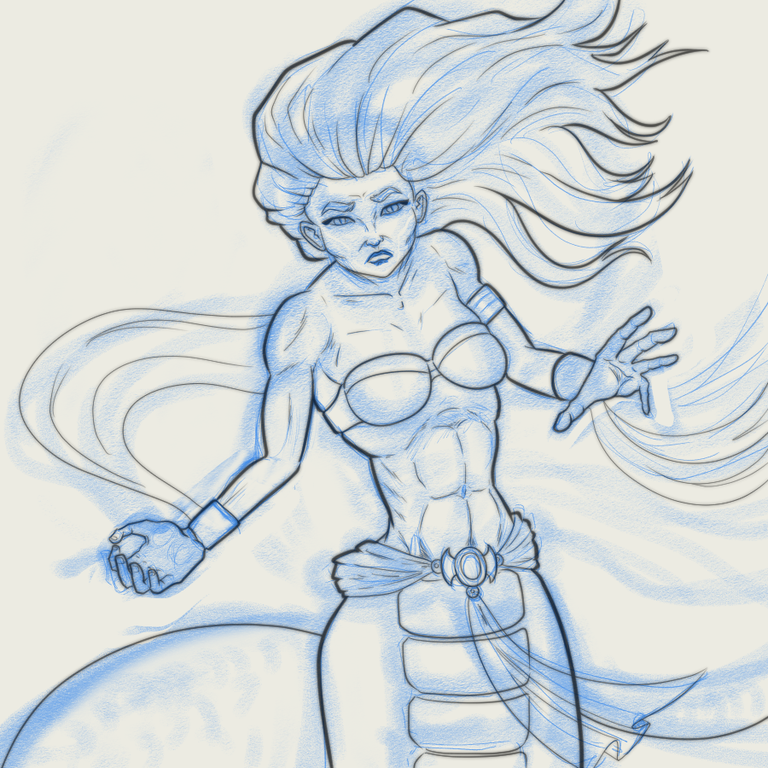
Step Four: You can probably see the difference better without the rough layer
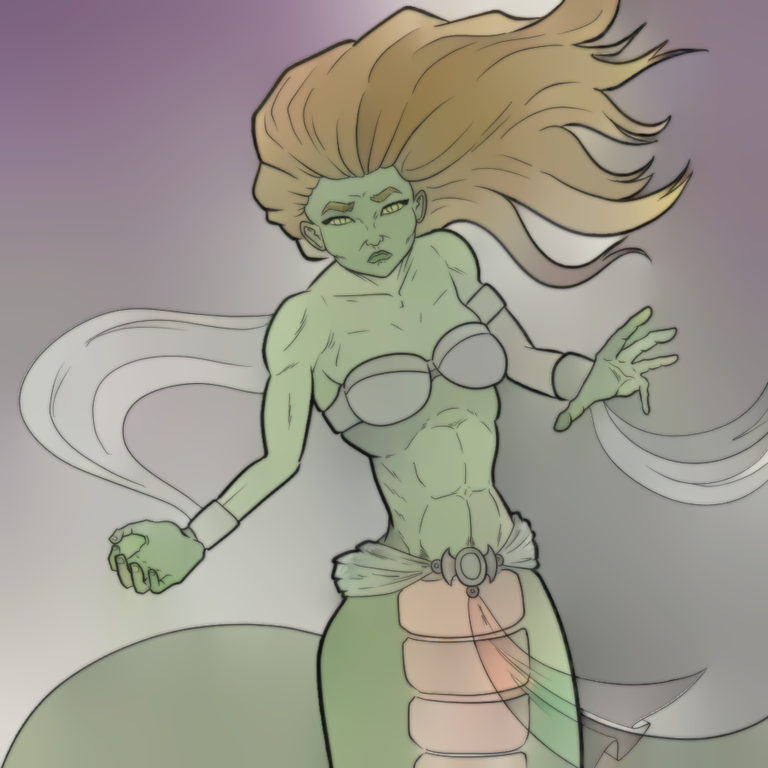
Step Five: which requires no skill at all. Slater some color on the page

Step Six: then set the original ink layer as a reference layer and use the CSP Colorize feature and it generates this:
Step Seven: Colorize tends to not make very vibrant colors, so I just duplicate the layer (it is defaulted to "multiply" layer) to make the entire image darker.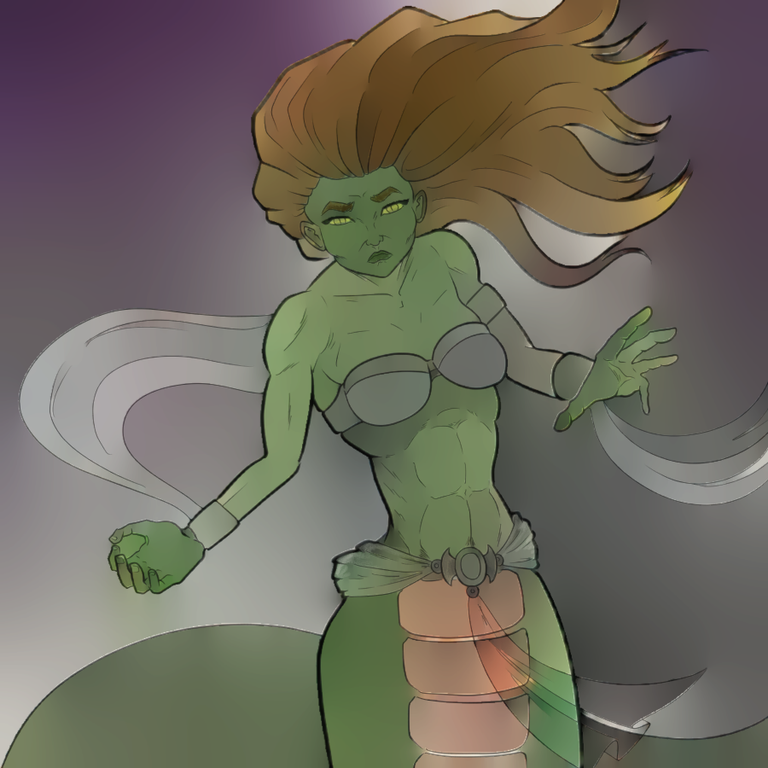
Step Eight: Create a new "multiply" layer to add some shading. Decided to try something different. Normally I blend in the shading layer with watercolor brushes and airbrush. This time I just used a pastel tool to add in some dark purple. Grainy effect look more scaly?
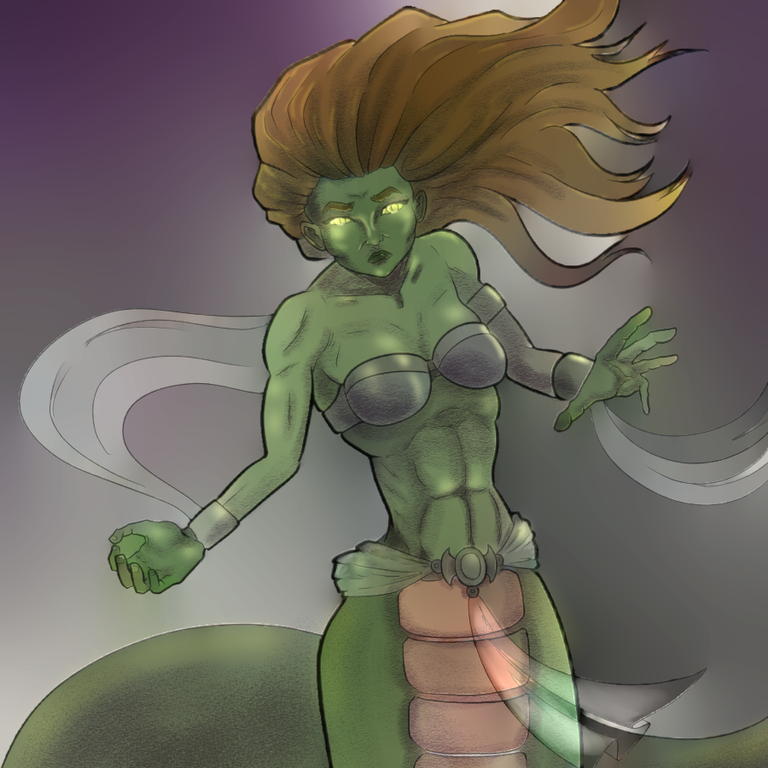
Step Nine: Create an "Add Glow" layer to make some highlights and glowy eyes
Step Ten: Make some wind swooshes. That's just the smooth watercolor brush painting white streaks. Tried reducing the opacity to 50% but found it looked better just changing the layer to an "overlay" layer. Also, signed my name at the bottom. And remembered to make it 2025!
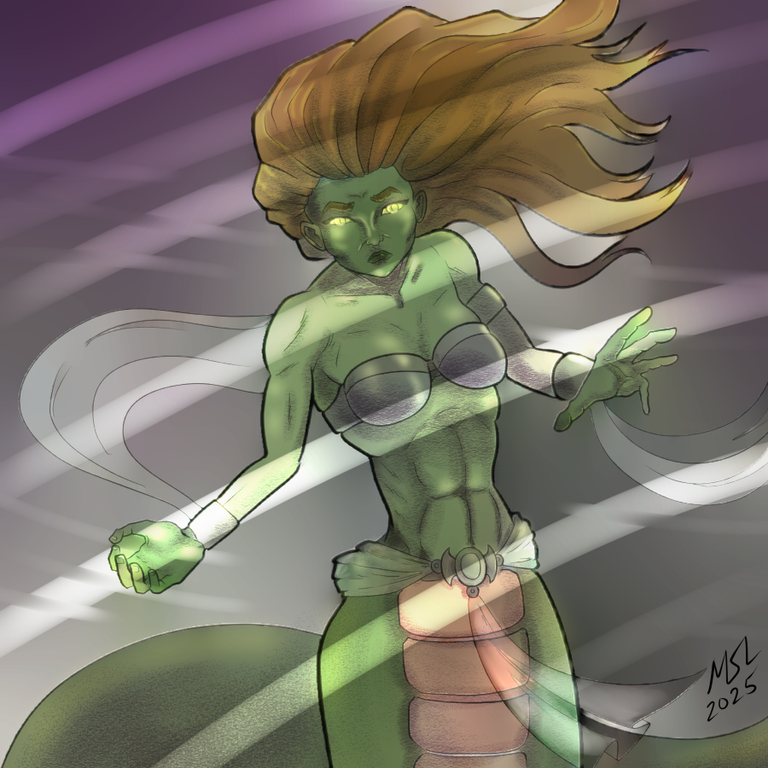
Step Eleven: Fame and fortune! Drinks all around!
Thanks for reading all the way to the end.
Congratulations @sidekickmatt! You have completed the following achievement on the Hive blockchain And have been rewarded with New badge(s)
You can view your badges on your board and compare yourself to others in the Ranking
If you no longer want to receive notifications, reply to this comment with the word
STOPThanks for sharing! - @isaria
