Feliz, Bendecida y Productiva Semana Tengan Todos 🙏
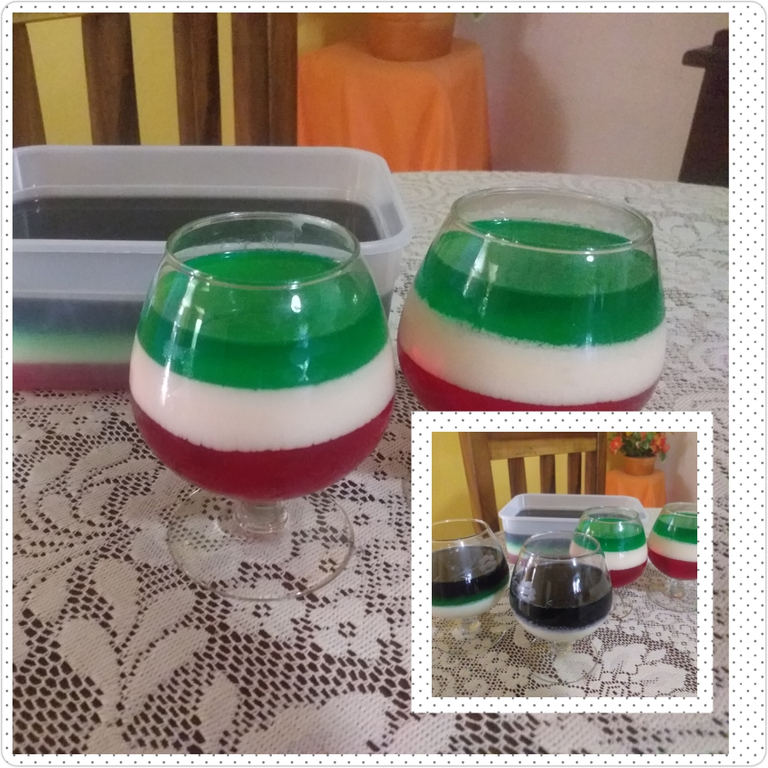
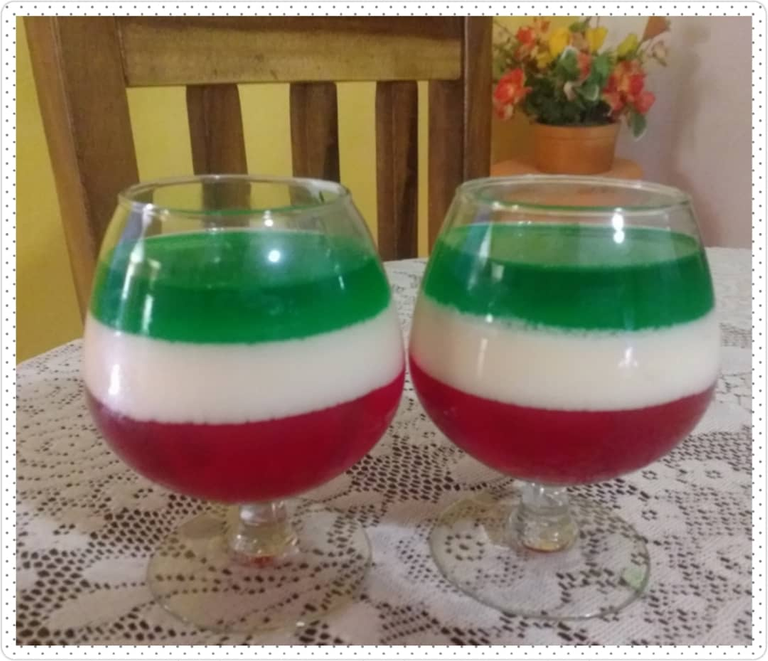
Preparar una gelatina de colores en capas, realmente es muy sencillo, no tiene nada de complicado, solo se necesita tener algo de tiempo y realizarla con antelación porque se demora un poco en estar lista, sobre todo, si decides colocarle muchos colores, pero puedes utilizar incluso solo 3 sabores/colores, si deseas que sea un poco más rápido.
Lo que más me gusta de esta gelatina de colores es la gelatina blanca porque se prepara con leche condensada y tiene un sabor único y junto al resto de las gelatinas que la acompañan les da un toque especial de sabor, esta gelatina blanca puedes usarla para separar cada sabor/color de gelatina, por ejemplo puedes colocar roja - blanca - verde - blanca - amarilla o también puedes agregar un sobre de gelatina de cualquier sabor a la mezcla de leche condensada y les cambia un poco el sabor y la tonalidad de la gelatina por lo que sirve como un color adicional. En lo particular yo la prefiero blanca totalmente.
Los ingredientes que se necesitan son los siguientes:
- Gelatinas de diferentes sabores/colores
- Agua
- Azúcar (opcional)
- Aceite (opcional)
Para la Gelatina Blanca, se necesita:
- 1 Lata de Leche Condensada
- 2 Tazas de Leche Liquida
- 4 Cucharadas de Gelatina sin sabor
- 1 Taza de Agua

Lo primero que debes hacer es elegir el molde que deseas utilizar para preparar tu gelatina de colores en capas, puede ser desmoldable o no, según tu preferencia. Si deseas desmoldar la gelatina debes engrasar previamente el molde con un poco de aceite antes de comenzar a colocar las gelatinas. Luego debes elegir el primer sabor que deseas preparar, como todos sabemos las gelatinas vienen con las indicaciones de como preparar en el reverso del empaque y depende mucho del tamaño y la marca que utilices.
Yo les recomiendo, cualquier marca que usen, colocar media taza de agua menos de lo que indica el empaque, esto con intención de que tu gelatina quede un poco más firme y también porque algunas marcas no colocan las cantidades reales y puede que no quede tan firme como necesitamos, otra opción seria colocar las cantidades indicadas y agregar media cucharadita de gelatina sin sabor, así te aseguras de que quedara firme, especialmente si deseas desmoldarla. También sirve para que este firme en menor tiempo.
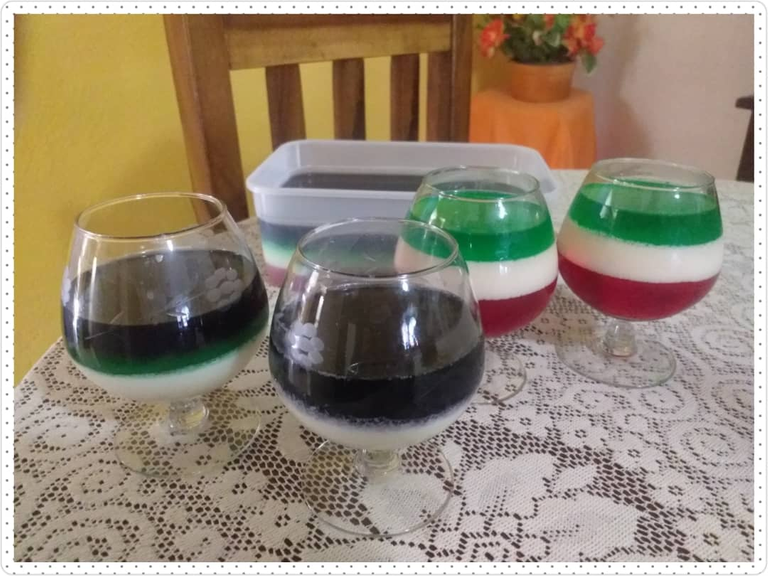
Una vez que elijas el sabor de la primera gelatina, prepárala como de costumbre, disuelves en agua hirviendo y luego agregar el agua fría, puedes agregar azúcar si lo deseas, yo por lo general agrego 1 o 2 cucharadas de azúcar, dependiendo de la cantidad de gelatina y la marca, ya que a mi familia le gusta más dulce pero esto es opcional, generalmente no se les agrega azúcar, incluso en algunas marcas no es necesario. Cuando la tengan ya preparada, dejar reposar y luego llevarla al refrigerador y vigilar hasta que este firme.
Cuando estimes que ya falta poco para que tu primera gelatina este completamente firme, puedes ir preparando la gelatina blanca, para lo cual debes primero hidratar la gelatina sin sabor, colocas en un bowl las 4 cucharadas de gelatina sin sabor y agregas 1 taza de agua fría o natural, pasados 15min debe estar completamente hidratada.
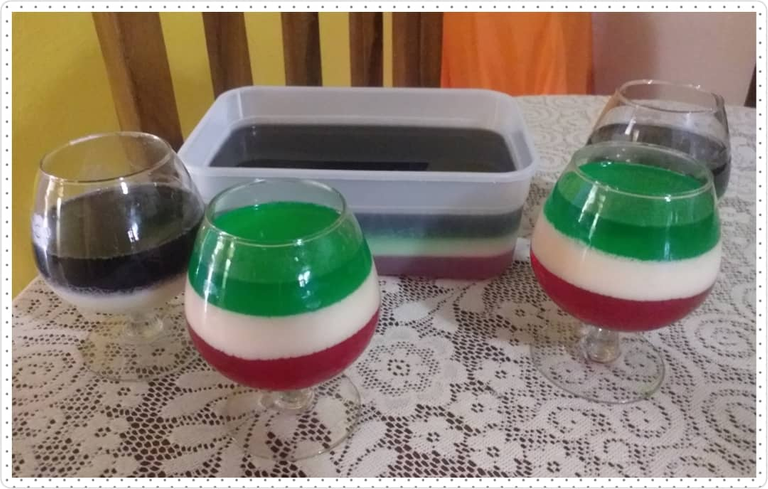
En un bowl o licuadora, coloca las 2 tazas de leche liquida caliente, agregar una lata de leche condensada, integrar bien, posteriormente llevar la gelatina sin sabor hidratada al microondas por 10 segundos o hasta que este completamente líquida y agregar a la mezcla anterior, dejar reposar y enfriar a temperatura ambiente.
Cuando la primera gelatina este firme, agregar la gelatina blanca despacio, llevar al refrigerador hasta que este firme, luego sigues con el próximo sabor que desees colocar y así sucesivamente hasta culminar con la cantidad de sabores/colores deseada.
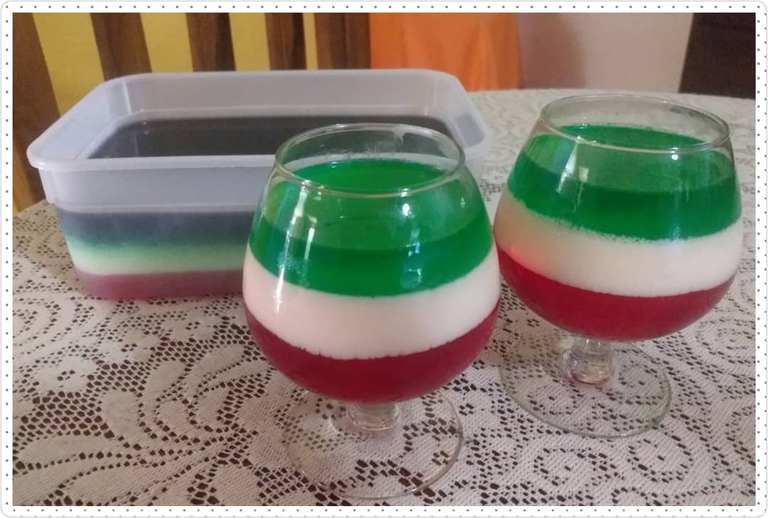
Al culminar dejar refrigerada por algunas horas antes de desmoldar, si es el caso.
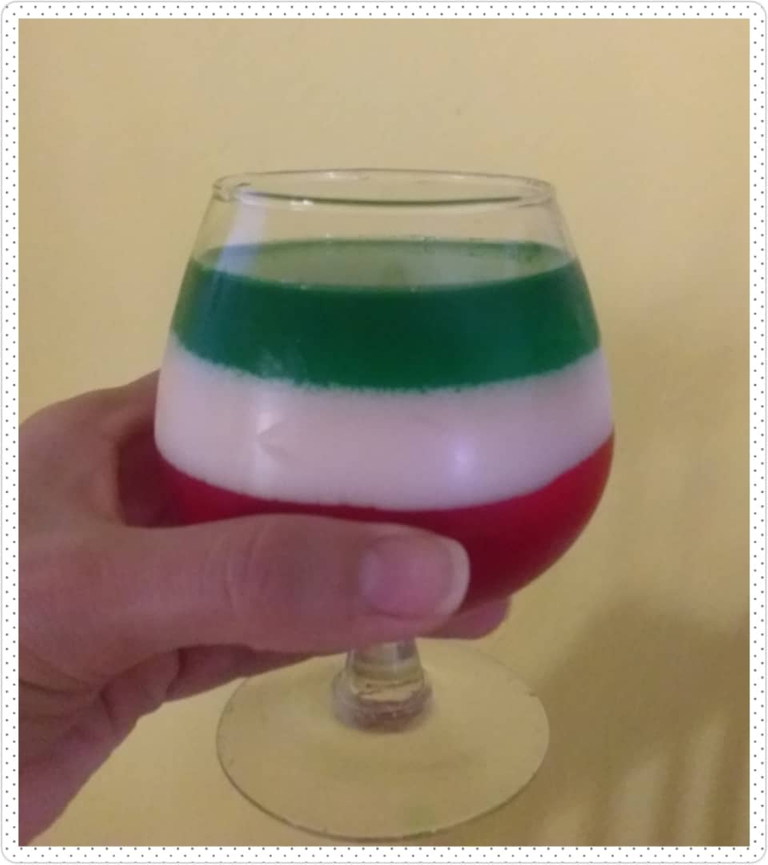
Espero prueben esta receta y si tienen dudas o consultas las pueden dejar en los comentarios
Gracias a todos por leerme, si tienen sugerencias para mi siempre serán bien recibidas y mi mensaje para todos: intenten cada día ser su mejor versión, recuerden que todo lo que damos bueno o malo regresa a nosotros en mayor proporción. ¡Un abrazo!
Todas las fotos aquí reflejadas son de mi propiedad, tomadas con mi teléfono Samsung J6+
Happy, Blessed, and Productive Week to all 🙏
What I like most about this colored gelatin is the white gelatin because it is prepared with condensed milk and has a unique flavor and together with the rest of the gelatins that accompany it gives a special touch of flavor, this white gelatin can be used to separate each flavor/color of gelatin, for example, you can put red - white - green - white - yellow or you can also add an envelope of gelatin of any flavor to the condensed milk mixture and it changes a little the flavor and tone of the gelatin so it serves as an additional color. In particular, I prefer it to white.
The ingredients needed are the following:
- Gelatins of different flavors/colors
- Water
- Sugar (optional)
- Oil (optional)
For the White Gelatin, you need:
- 1 can of condensed milk
- 2 cups of liquid milk
- 4 tablespoons of unflavored gelatin
- 1 cup of water

The first thing to do is to choose the mold you want to use to prepare your layered colored gelatin, it can be unfoldable or not, according to your preference. If you want to unmold the gelatin you must grease the mold with a little oil before starting to place the gelatins. Then you must choose the first flavor you want to prepare, as we all know the gelatins come with the instructions on the back of the package and it depends a lot on the size and brand you use.
I recommend, whatever brand you use, to add half a cup of water less than what the package indicates, this is with the intention that your gelatin will be a little firmer and also because some brands do not put the real amounts and it may not be as firm as we need, another option would be to put the indicated amounts and add half a teaspoon of unflavored gelatin, so you make sure that it will be firm, especially if you want to unmold it. It also serves to make it firm in less time.

Once you choose the flavor of the first gelatin, prepare it, as usual, dissolve it in boiling water and then add the cold water, you can add sugar if you wish, I usually add 1 or 2 tablespoons of sugar, depending on the amount of gelatin and the brand, since my family likes it sweeter but this is optional, usually, no sugar is added, even in some brands, it is not necessary. When you have it ready, let it rest and then take it to the refrigerator and keep an eye on it until it is firm.
When you think that your first gelatin is almost ready, you can prepare the white gelatin, for which you must first hydrate the unflavored gelatin, place in a bowl the 4 tablespoons of unflavored gelatin and add 1 cup of cold or natural water, after 15 minutes it should be completely hydrated.

In a bowl or blender, place the 2 cups of hot liquid milk, add a can of condensed milk, integrate well, then take the hydrated unflavored gelatin to the microwave for 10 seconds or until it is completely liquid and add to the previous mixture, let stand and cool to room temperature.
When the first gelatin is firm, add the white gelatin slowly, take it to the refrigerator until it is firm, then continue with the next flavor you wish to add, and so on until the desired amount of flavors/colors are reached.

When finished leave refrigerated for a few hours before unmolding, if necessary.

I hope you try this recipe and if you have any doubts or questions you can leave them in the comments.
Thank you all for reading me, if you have suggestions for me they will always be well received and my message to everyone: try every day to be your best version, remember that everything we give good or bad comes back to us in greater proportion. a hug!
All photos reflected here are my property, taken with my Samsung J6+ phone.
Today I want to share with you a dessert that I made to enjoy with the family, very easy to prepare, simple and very much liked, it is a layered colored jelly, many years ago I made it in different shapes and colors but lately I only prepared raspberry flavor jelly, but this time I decided to vary a little and prepare it differently and now I show you how it turned out.  )

 )
Preparing a layered colored jelly is very simple, there is nothing complicated about it, you just need to have some time and make it in advance because it takes a little time to be ready, especially if you decide to put a lot of colors, but you can even use only 3 flavors/colors if you want it to be a little faster.
Vale la pena intentarlo! Se ve precioso y sabroso. Saludos
Si, es muy buenoo, te lo recomiendo ;) gracias por tu comentario. Saludos! @corinadiaz
Muchas Gracias. Saludos! @mayvileros
Congratulations @emilombano! You have completed the following achievement on the Hive blockchain and have been rewarded with new badge(s):
Your next target is to reach 3500 upvotes.
You can view your badges on your board and compare yourself to others in the Ranking
If you no longer want to receive notifications, reply to this comment with the word
STOPCheck out the last post from @hivebuzz:
Support the HiveBuzz project. Vote for our proposal!