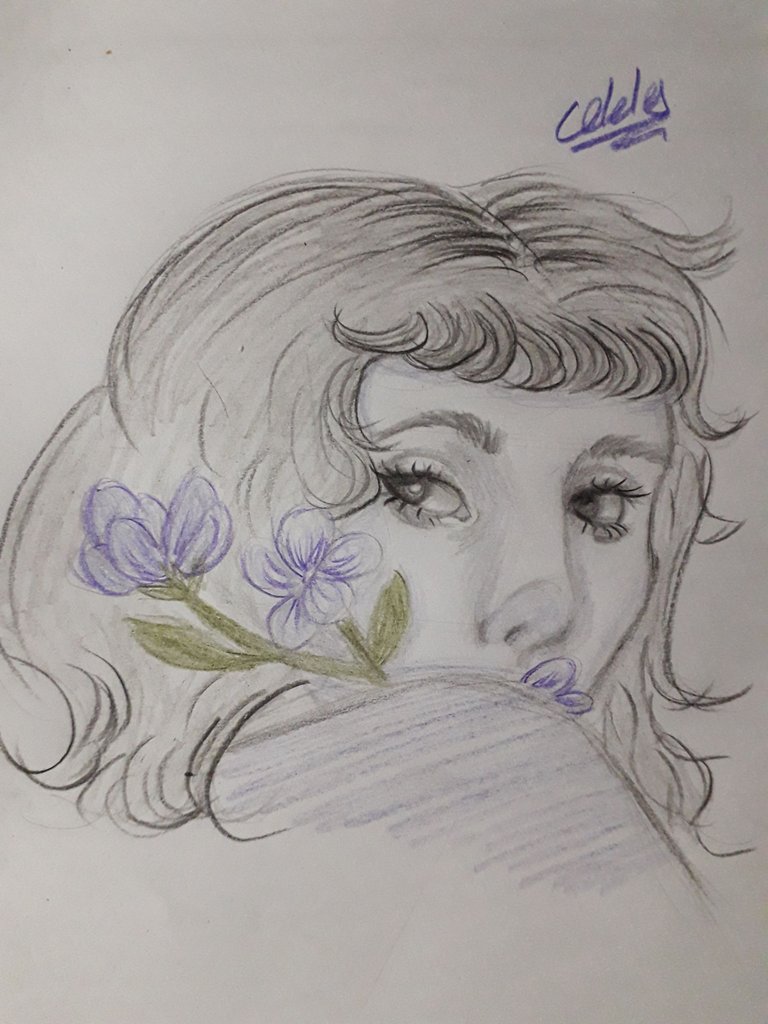
Abajo les comparto el proceso de este dibujo.
Below I share with you the process of this drawing.

Español
Holiii, amigos de la comunidad de Hivearte, ¿cómo se encuentran el día de hoy?, ¡espero que muy bien!
Debería hacer algo respecto a mi frecuencia de dibujo, porque siempre prometo que haré dibujos más regularmente, y nunca lo cumplo. Bueno, en realidad sí dibujo todos los días, pero solo como prácticas y no documento el proceso para luego subirlo acá; quisiera en unos días compartir algunos de mis dibujos de práctica, aunque sea en un post de Liketu.
Sin embargo, lo interesante de practicar diariamente, es que la diferencia entre este dibujo que estoy subiendo y los que hice hoy para practicar, es muy grande. Esto me pone muy feliz. Aun así, me gusto mucho este dibujo, porque la estructura del rostro comenzaba a ser más interesante. Acompáñenme en este proceso, ¡vamos allá!
 |  |
|---|
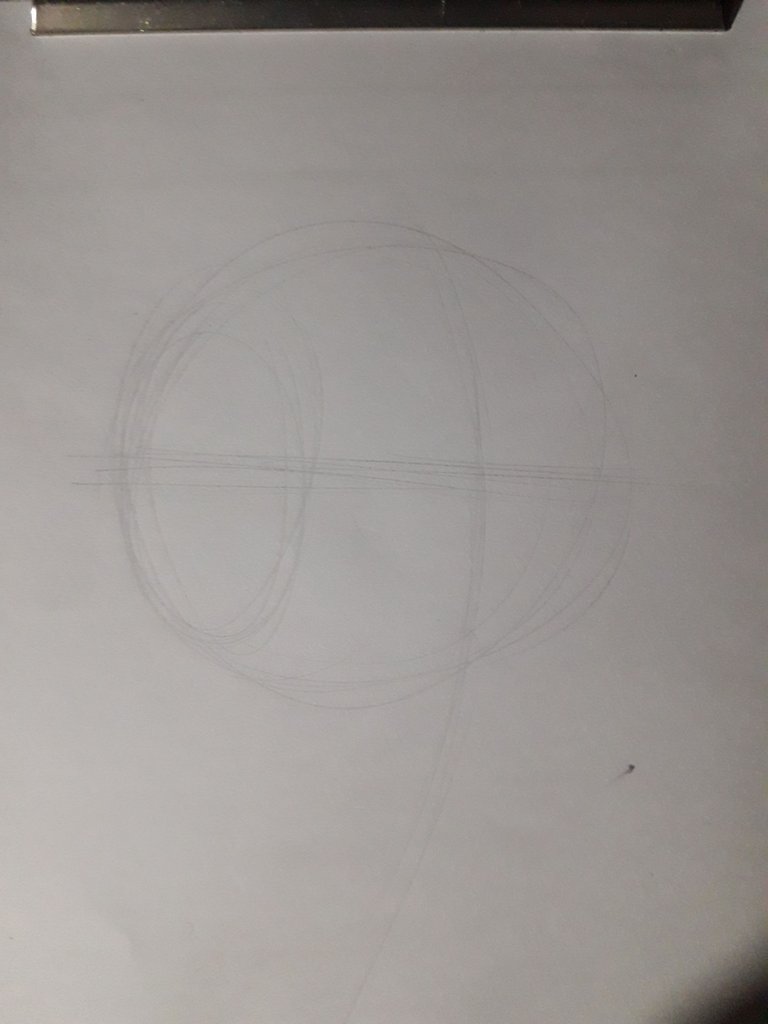
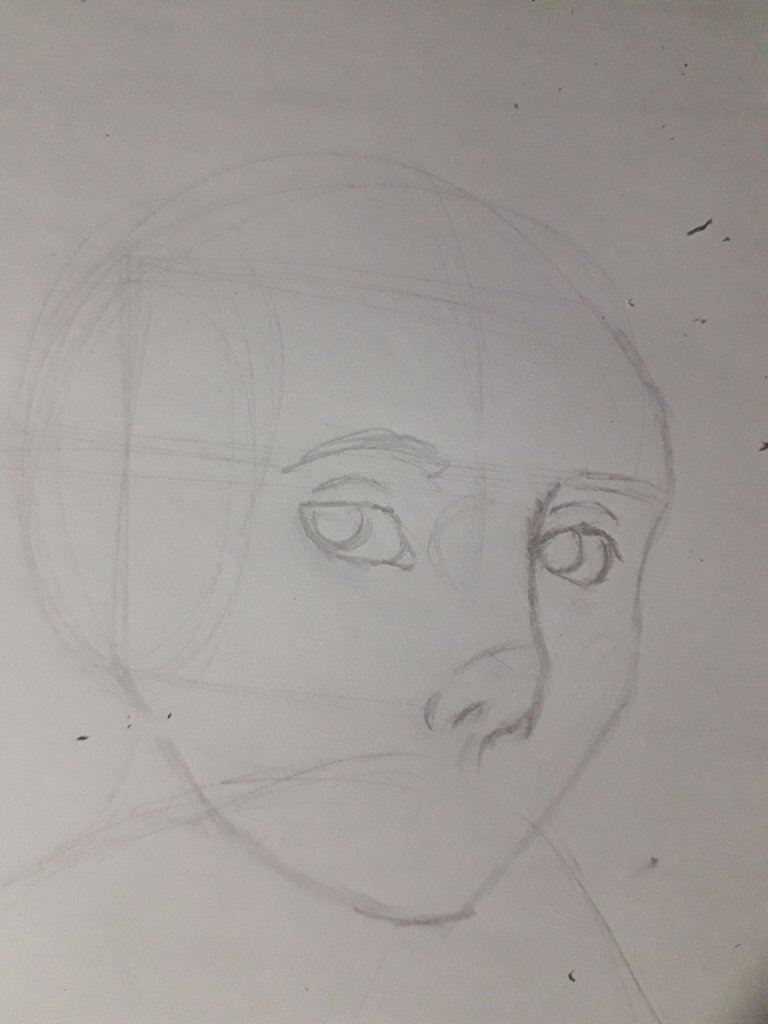
Comenzamos por hacer un círculo que vamos a partir a la mitad de manera vertical y horizontal.
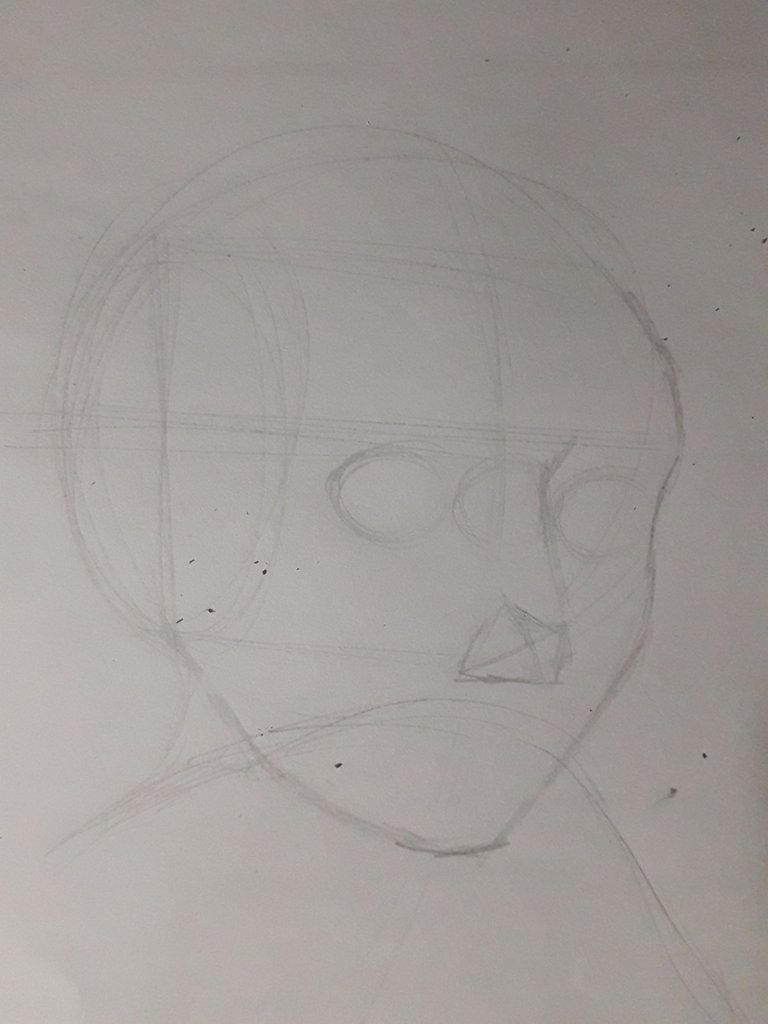
Luego, hice un bosquejo para los ojos usando dos esferas, para el tabique de la nariz usé líneas rectas, y la base de la nariz sería una pirámide. Este procedimiento es la primera vez que lo intentaba y no me gustó. También es importante trazar el contorno del rostro.
 |  |
|---|
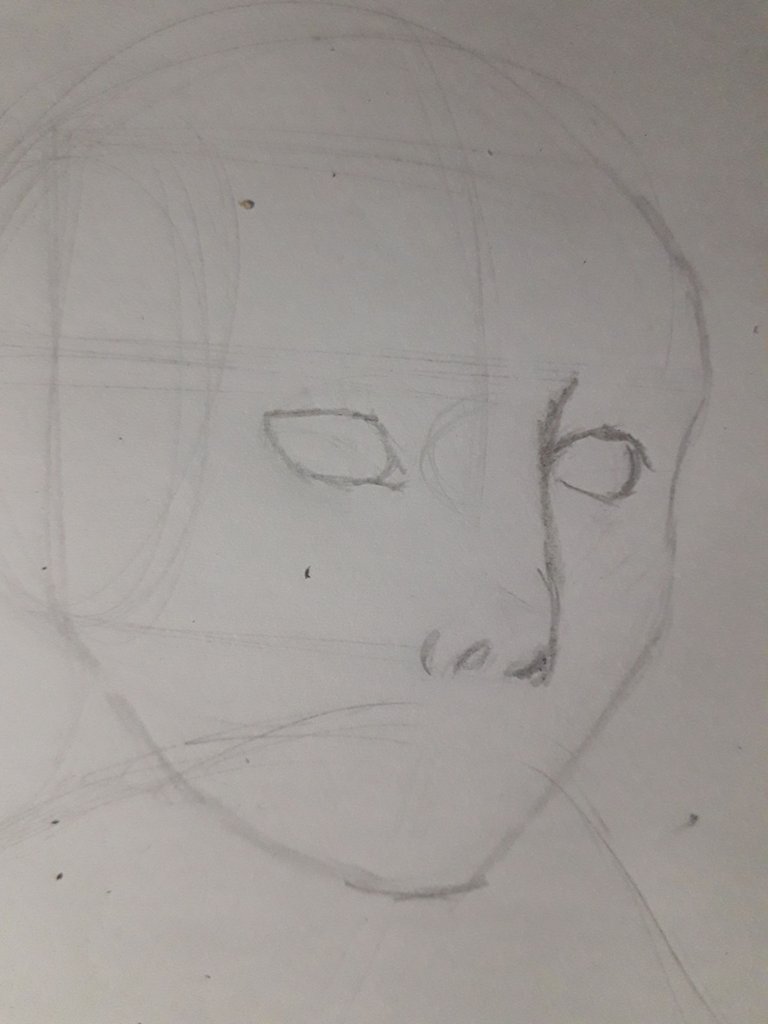
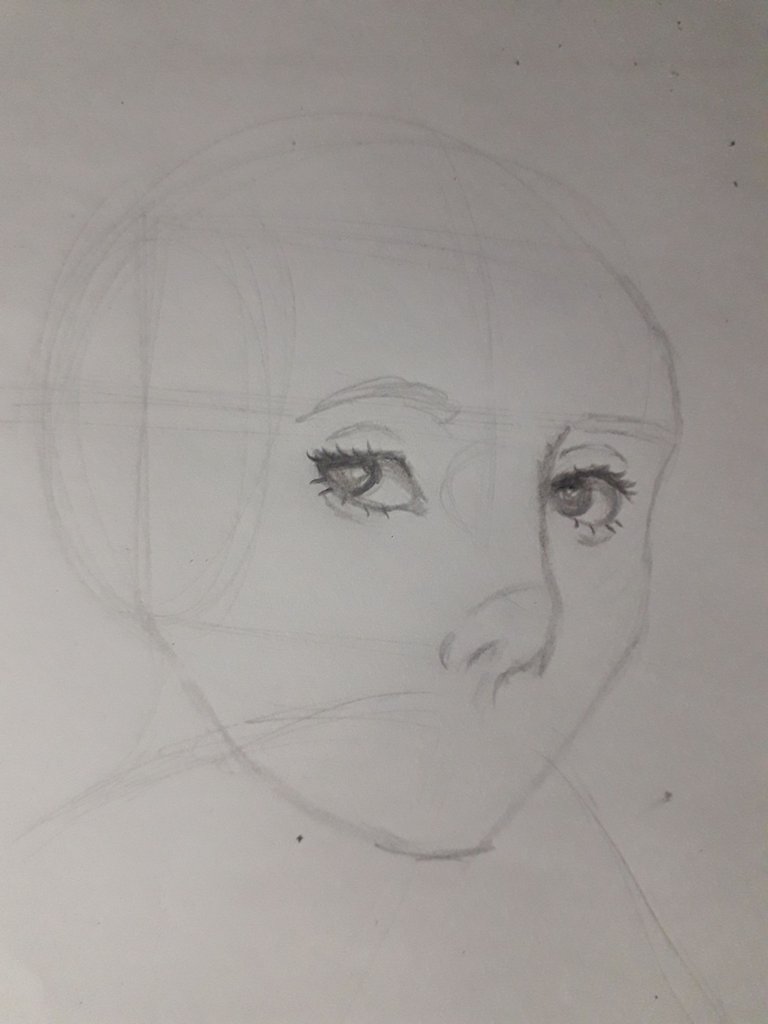
A partir de las esferas, dibujé encima la forma de los ojos, que es más parecida a una almendra; las esferas representan a los globos oculares. También, siguiendo el boceto que hice para la nariz, comencé a dibujar la misma. Verdaderamente, cada nariz es diferente, y esta era algo así como un poco corta y levantada. Tomando en cuenta las sección inferior del boceto de pirámide que hice anteriormente, dibujé las fosas nasales. Me gustó mucho esta nariz, porque logré que luciera un poco más tridimensional.
También, no olvidemos dibujar la silueta de las cejas y los iris.
 |  |
|---|
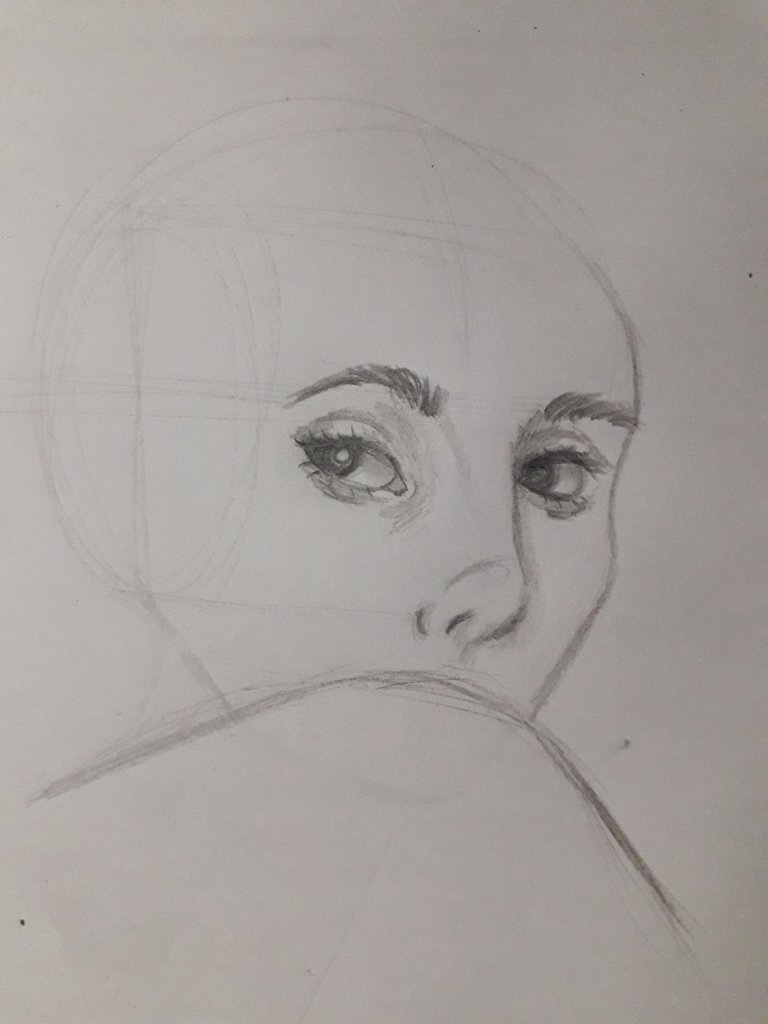
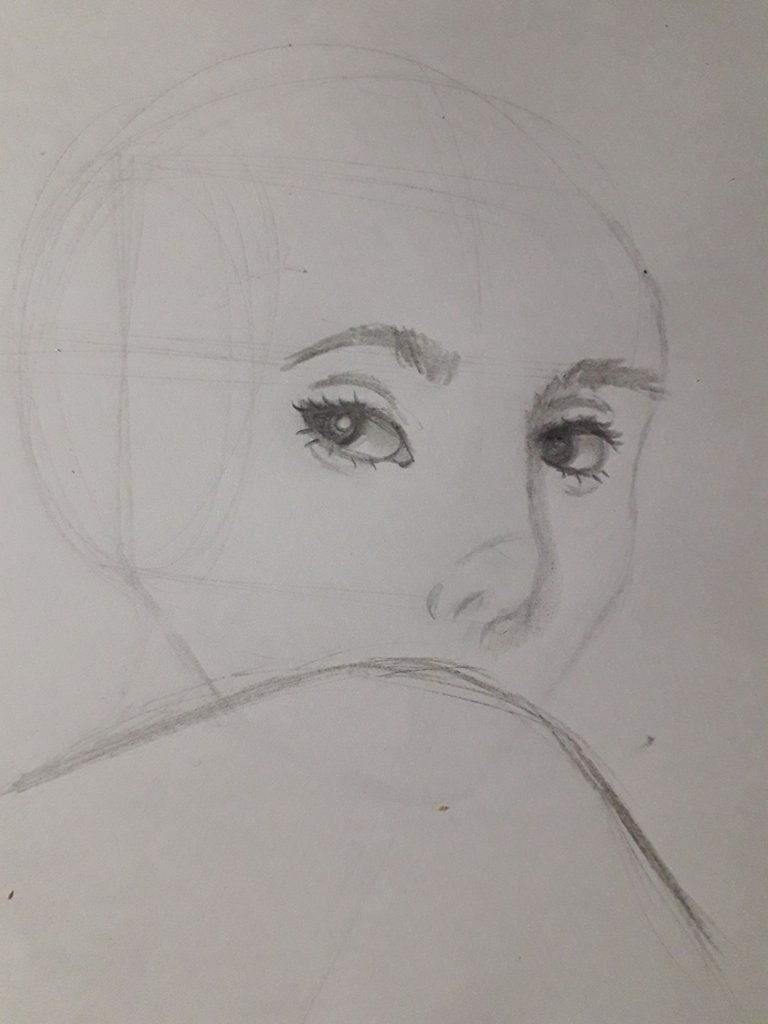
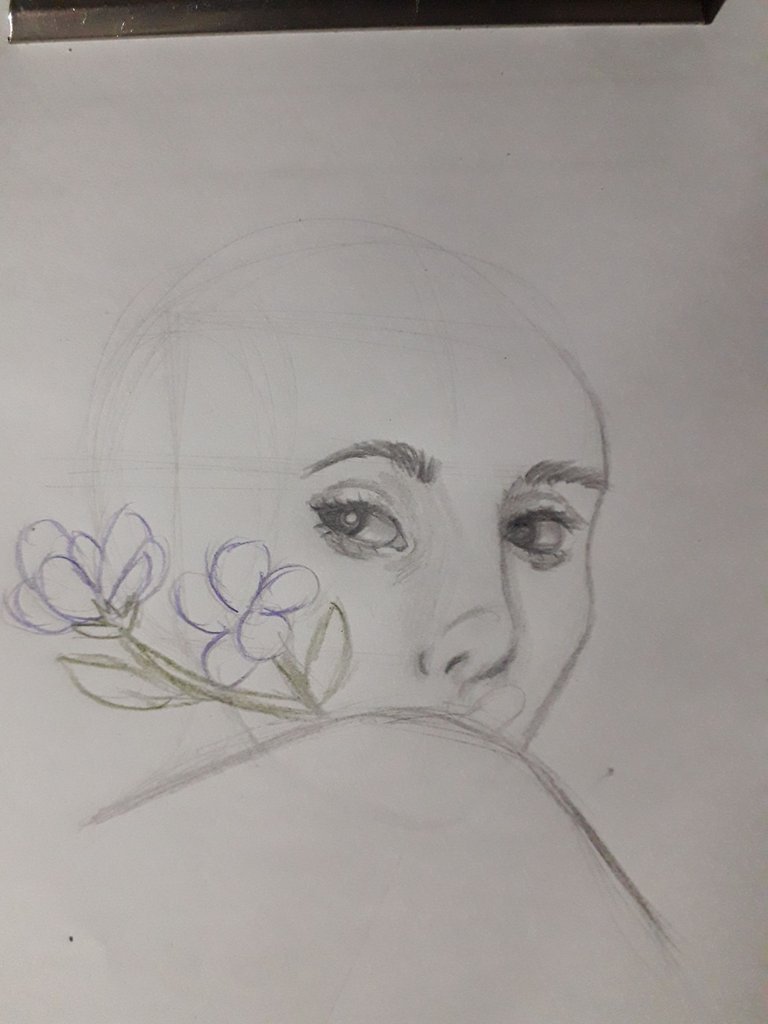
Con color negro, di color a las iris, asegurándome de dejar un espacio en blanco para que representara el brillo. También remarqué la línea de las pestañas, e hice pequeños trazos de “pelitos” para dibujar las mismas. Dense cuenta de que dentro de los ojos hice un poco de sombra para dar más profundidad
Seguí dando sombras y color en las zonas donde normalmente suele haberlas. También remarqué el hombro y brazo, y el contorno dele rostro, usando un lápiz de color negro.
 |  |
|---|
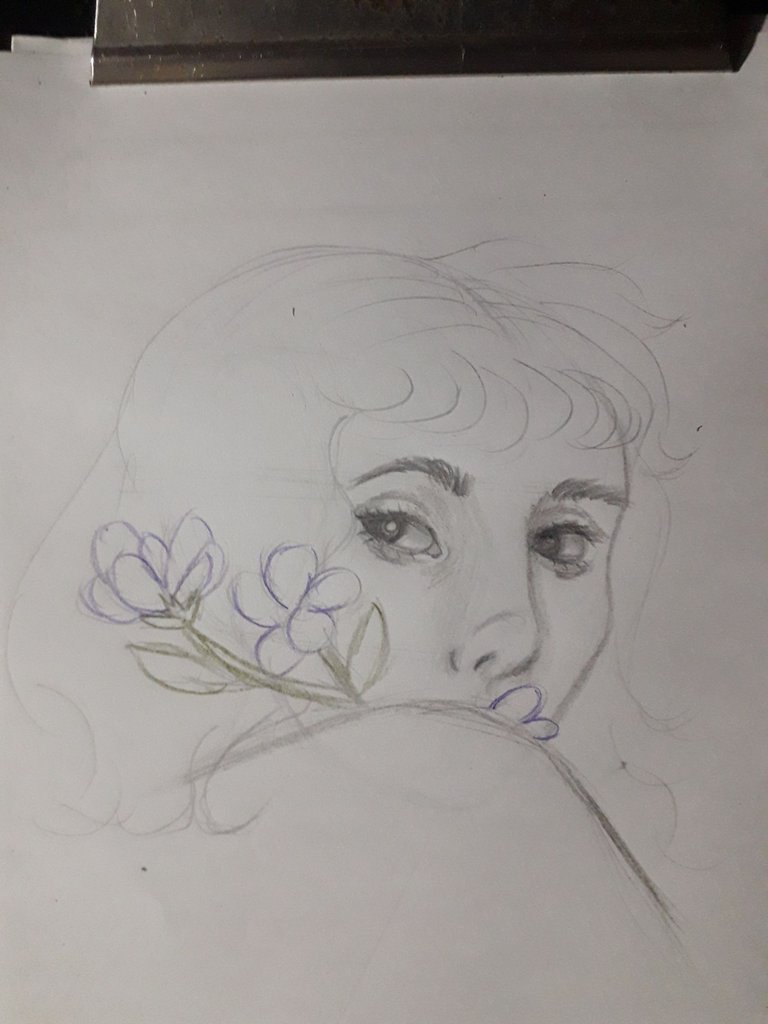
Con lápiz de color verde, comencé a dibujar una rama con un par de hojas, y con color morado, comencé a dibujar pétalos de flores… claramente serán moradas, jajaja.
 |  |
|---|
En este punto, comencé a dibujar un bosquejo de cabello ondulado. Hubo al menos tres cosas que no me gustaron, la forma del cabello, la textura del cabello, y la profundidad (siento que quedó demasiado plano). Pero ya no había vuelta atrás, desde el momento que usé un lápiz negro para remarcar la silueta del cabello.
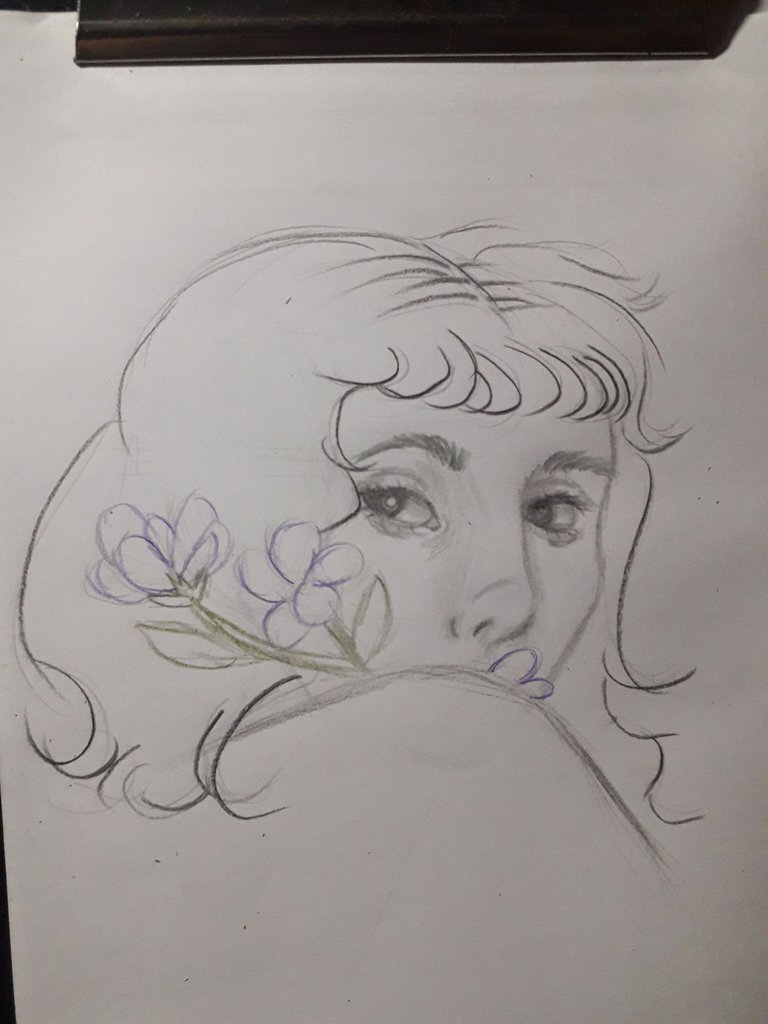
Luego, con el mismo lápiz de color negro, coloreé toda el área del cabello, haciendo más énfasis en las zonas donde quería dar más profundidad. No me estaba gustando nada este cabello.
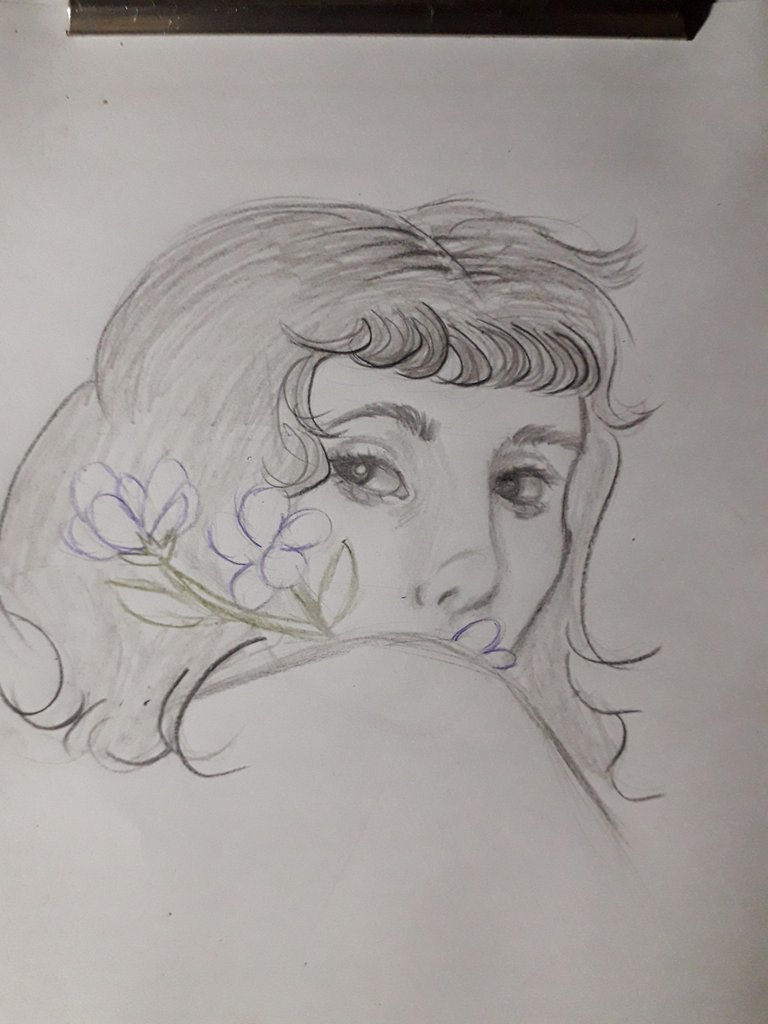
Di algunos trazos más la división del cabello, en el flequillo y en algunos mechones puntuales para dar un poco más de movimiento al cabello. Siento que el negro fue el color equivocado para este dibujo, ahora que lo pienso, un marrón/castaño hubiera quedado mucho mejor.
Coloreé las ramas de las flores con un color verde oliva, y los pétalos de las flores fueron coloreados usando un color morado, también hice algunas líneas en los pétalos para dar profundidad.
Por último, di un último toque de color negro en los ojos, pero siento que fue una mala idea.
Sin embargo, después de todo, siento que está bastante decente este dibujo… ¿La mirada de esta chica les transmite algo?
Pero hay una pregunta más importante: ¿les gustaría que mi próximo post hable sobre capturar el dinamismo en las poses de los dibujos?, ¿o sobre un tutorial para dibujar un rostro?, porque hay nuevos conocimientos que no he tenido la oportunidad de compartir y no sé por donde empezar, jiji. Espero leerlos.
Sin nada más que añadir… Cuídense, tomen agua, y no se olviden de sonreír. ¡Se les quiere! Nos vemos en el próximo post, ¡chau!
English
Hi there, friends of the Hivearte community, how are you today?, I hope you're doing very well!
I should do something about my drawing frequency, because I always promise that I will draw more regularly, and I never deliver. Well, actually I do draw every day, but only as practice and I don't document the process to upload it here; I would like in a few days to share some of my practice drawings, even if it's in a Liketu post.
However, the interesting thing about practicing daily, is that the difference between this drawing that I am uploading and the ones I did today to practice, is very big. This makes me very happy. Even so, I really liked this drawing, because the structure of the face was starting to be more interesting. Join me in this process, here we go!
| |
|---|
We start by making a circle that we are going to split in half vertically and horizontally.
Then, I made a sketch for the eyes using two spheres, for the septum of the nose I used straight lines, and the base of the nose would be a pyramid. This procedure is the first time I tried it and I didn't like it. It is also important to trace the contour of the face.
| |
|---|
From the spheres, I drew on top the shape of the eyes, which is more like an almond; the spheres represent the eyeballs. Also, following the sketch I did for the nose, I started drawing the nose. Truly, every nose is different, and this one was kind of a little short and upturned. Taking into account the lower section of the pyramid sketch I made earlier, I drew the nostrils. I really liked this nose, because I managed to make it look a bit more three-dimensional.
Also, let's not forget to draw the silhouette of the eyebrows and the irises.
| |
|---|
With black color, I colored the irises, making sure to leave a white space to represent the shimmer. I also highlighted the lash line, and made little “hairy” strokes to draw the lashes. Notice that inside the eyes I did a bit of shadow to give more depth.
I continued to add shadows and color in the areas where there usually are. I also highlighted the shoulder and arm, and the contour of the face, using a black pencil.
| |
|---|
With green pencil, I started to draw a branch with a couple of leaves, and with purple color, I started to draw flower petals… clearly they will be purple, hahaha.
| |
|---|
At this point, I started drawing a sketch of wavy hair. There were at least three things I didn't like, the shape of the hair, the texture of the hair, and the depth (I feel it was too flat). But there was no turning back from the moment, I used a black pencil to highlight the silhouette of the hair.
Then, with the same black pencil, I colored the whole area of the hair, with more emphasis on the areas where I wanted to give more depth. I was not liking this hair at all.
I gave a few more strokes in the hair parting, in the bangs and in some punctual strands to give a little more movement to the hair. I feel that black was the wrong color for this drawing, now that I think about it, a brown/brown would have looked much better.
Furthermore, I colored the branches of the flowers with an olive green color, and the petals of the flowers were colored using a purple color, I also did some lines on the petals to give depth.
Finally, I gave a last touch of black color on the eyes, but I feel it was a bad idea.
However, after all, I feel it's pretty decent this drawing... Does this girl's look convey something to you?
But there's a more important question: would you like my next post to be about capturing dynamism in drawing poses? Or about a tutorial for drawing a face? Because there's new knowledge I haven't had the chance to share, and I don't know where to start, hehe. I look forward to reading them.
Without anything else to add, take care, drink water, and don't forget to smile, love you! See you in the next post, bye!
Créditos | Credits
- Traducción al inglés DeepL (lo siento por cualquier error, inglés es mi segundo idioma.)
- English translation DeepL (sorry for any mistakes, english is my second language)
- Separadores y banners hechos en Canva
- Dividers, and banners made in Canva
- Las fotos usadas en el post fueron tomadas por mí, usando un Samsung Galaxy J6.
- Photos used in the post were taken by me, using a Samsung Galaxy J6.
Posted Using INLEO
Muy bonito además el morado es mi color favorito
Gracias 🩷✨. Síii, el morado es un color muy bonito.
A pesar de tus detalles te quedó muy bien sigue adelante ,y ahí espero esos dibujos feliz noche
Me alegra saberlo, muchas gracias 🩷✨
Saludos
Un resultado muy lindo, esperamos ver más de tus avances en el dibujo en la comunidad.
Contáctenos para saber más del proyecto a nuestro servidor de Discord.
Si deseas delegar HP al proyecto: Delegue 5 HP - Delegue 10 HP - Delegue 20 HP - Delegue 30 HP - Delegue 50 HP - Delegue 100 HP.
Gracias por su comentario y por el apoyo, lo aprecio 🩷
Hola querida Celeste, tiempo sin saber de tí 🤭 está lindo el dibujo, sus ojos me encantaron. Bendiciones...
Holiii, jijiji, el tiempo se me pasa sin darme cuenta. Me alegra mucho que le haya gustado, gracias. ✨