
Español

Holiii, amigos de la comunidad de Hivearte, ¿cómo se encuentran en esta ocasión?, ¡espero que muy bien!
El día de hoy quisiera compartir con ustedes un dibujito rápido que dice, de una niña que está haciendo algo muy estilo Ghibli: está tomando sombra bajo una hoja grande. Aunque debo admitir que la hoja iba a ser más grande, pero la hoja de papel no me alcanzó jajaja.
Bueno, más abajo comparto con ustedes mi proceso, ¡así que vamos allá!
 |  |
|---|
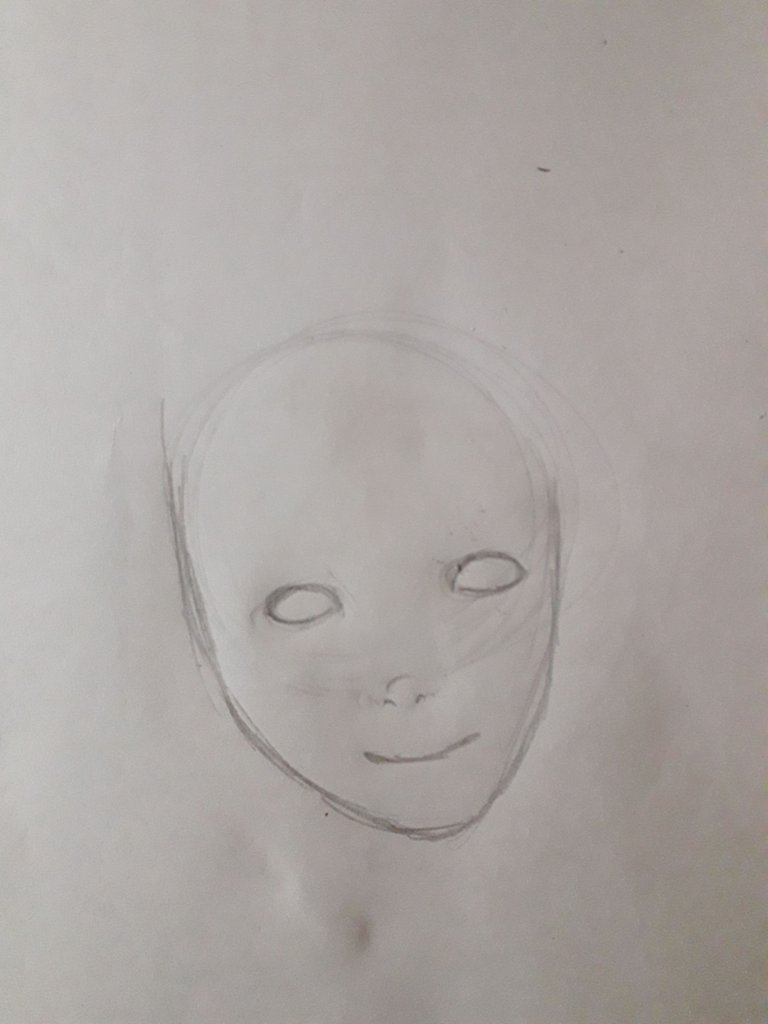
Comencé haciendo la forma de la cara con un óvalo, y luego hice un bosquejo de los ojos con un par de formas almendradas. La nariz es como un óvalo acostadito, y la boca simplemente una línea.
Debo admitir que, para el momento en que hice este dibujo, aún no había comenzado a estudiar verdaderamente dibujo, y les diré algo: los tutoriales de YouTube, viéndolos sin seguir una línea de aprendizaje específica, no funcionan. Les cuento que tengo pensado hacer posts más adelante, donde explique mejor como aprendí a dibujar rostros y cuáles son las cosas importantes a tener en cuenta, pero este momento no es el preciso para extenderme con ese tema, así que sigamos.
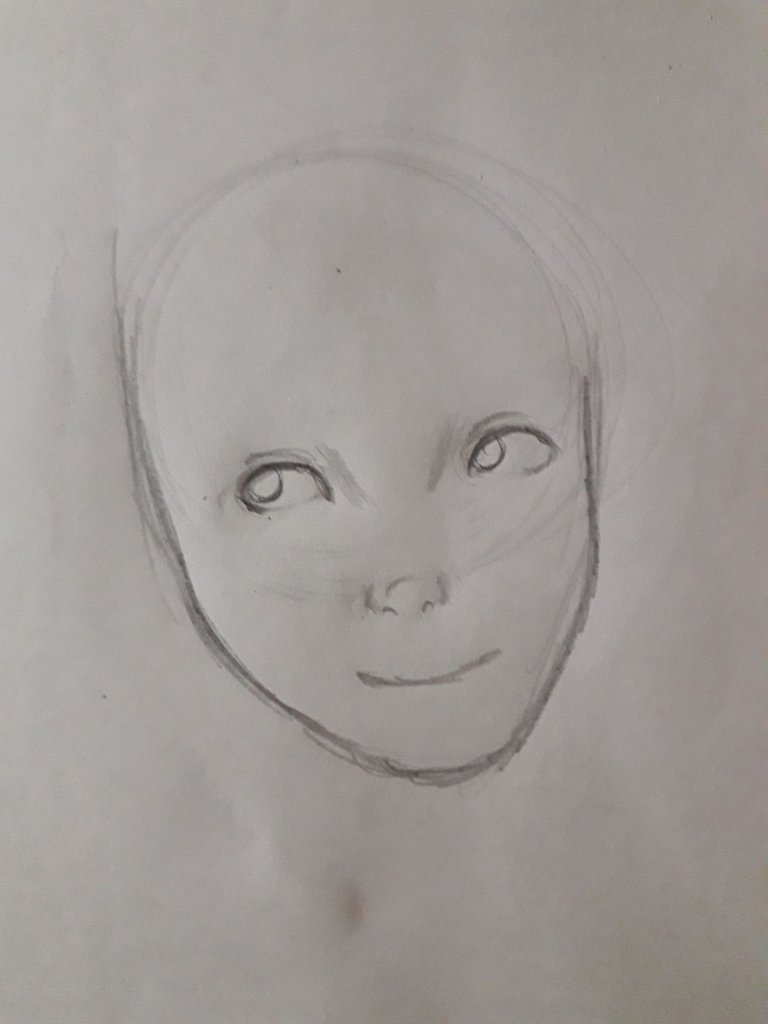
En la segunda imagen, detallé un poco mejor los ojos, nariz y boca.
 |  |
|---|
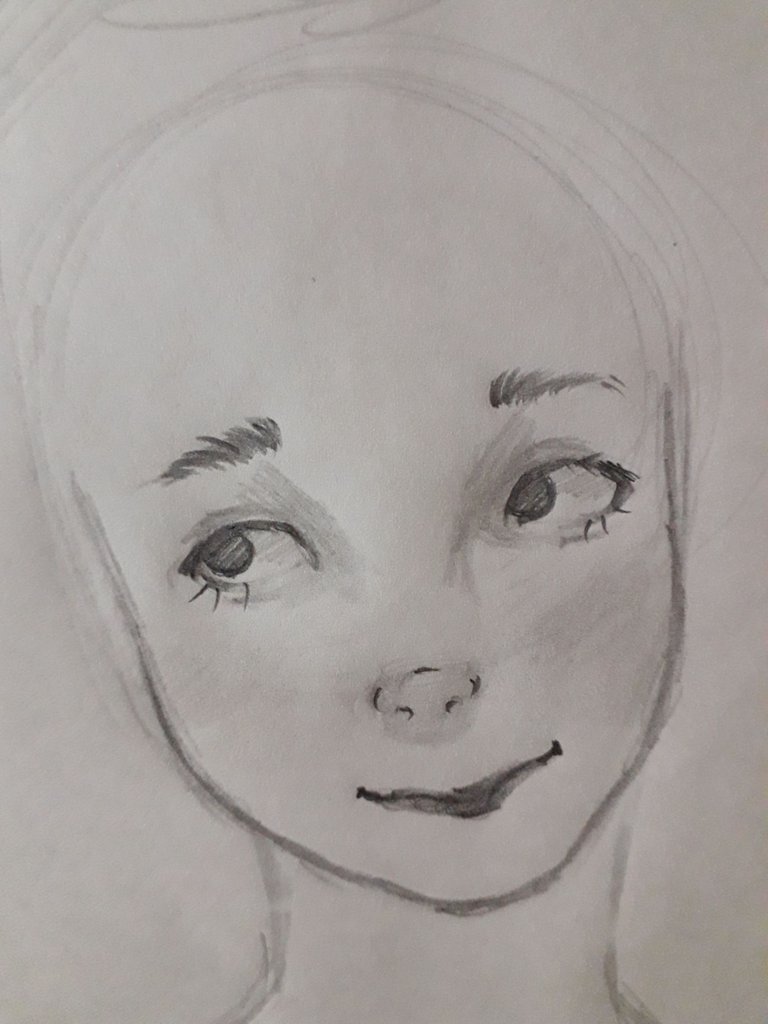
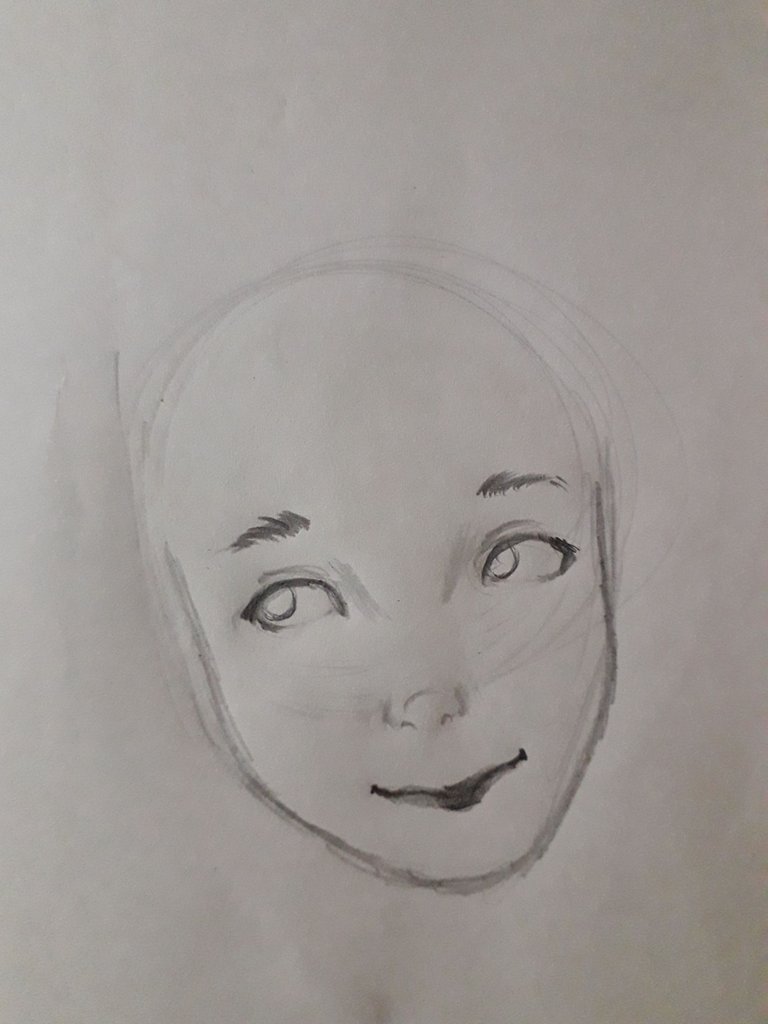
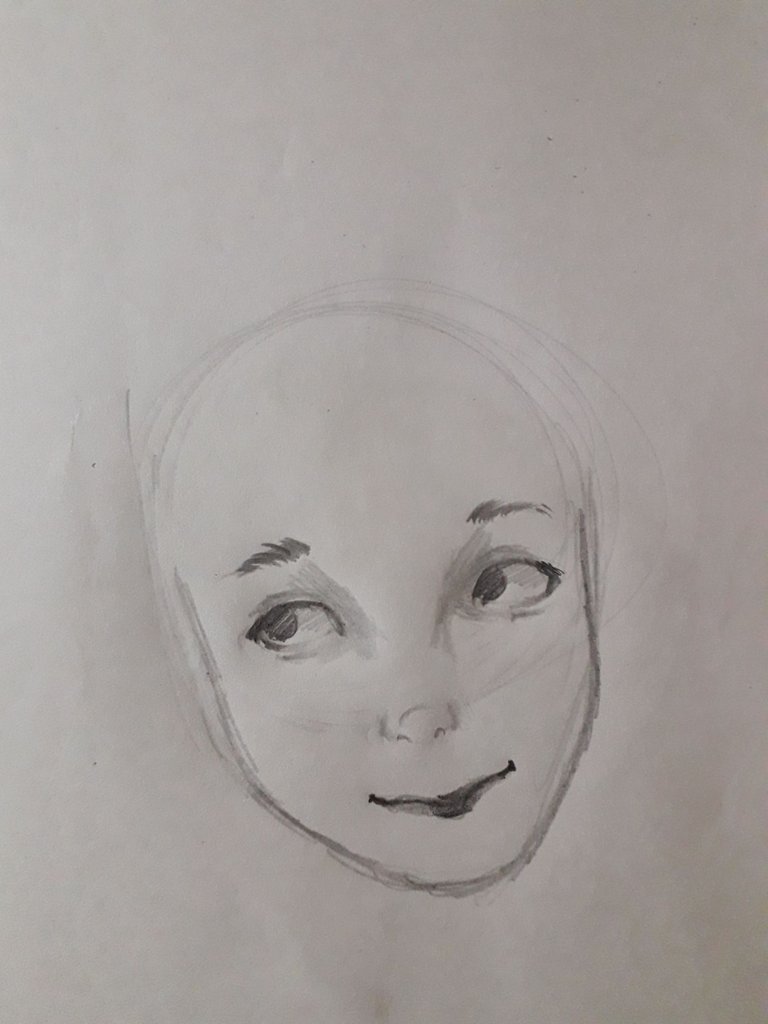
Aquí le hice las cejas, le coloreé los ojos y labios, y también le di sombras a las zonas importantes, sobre todo recuerden que dentro de los ojos hay sombra, y esto es lo que le aporta un poco más de profundidad al rostro. Ah, sí, también le añadí un poco de color a las mejillas, para que luzcan más bonitas, es un toque tierno.
 |  |
|---|
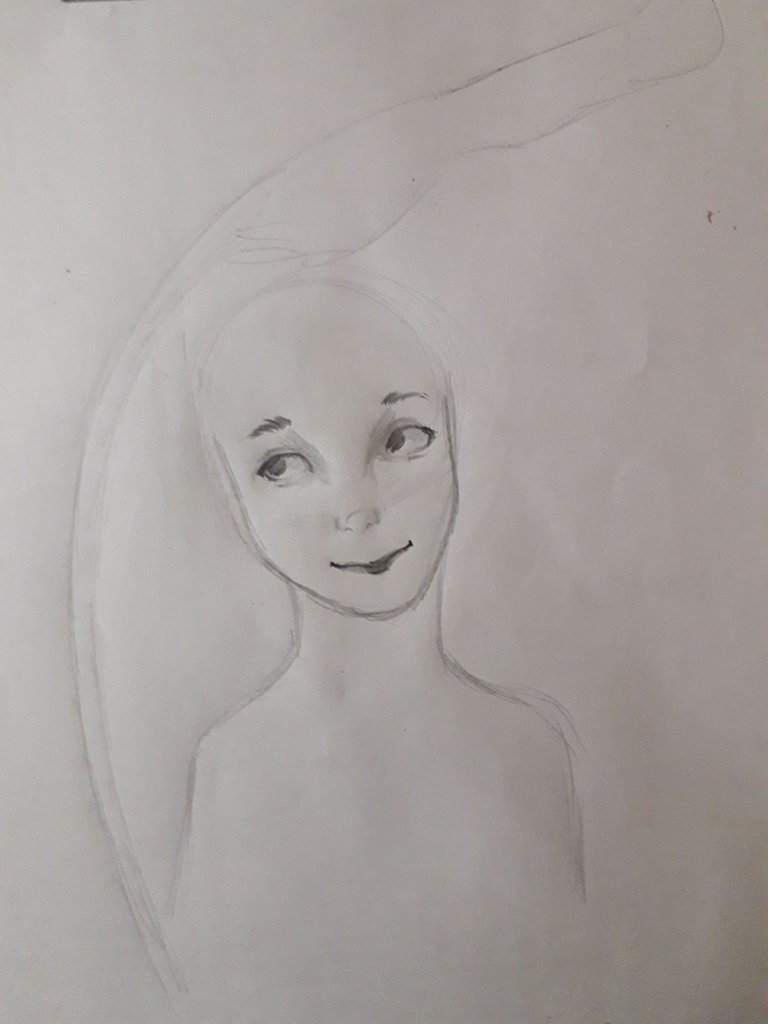
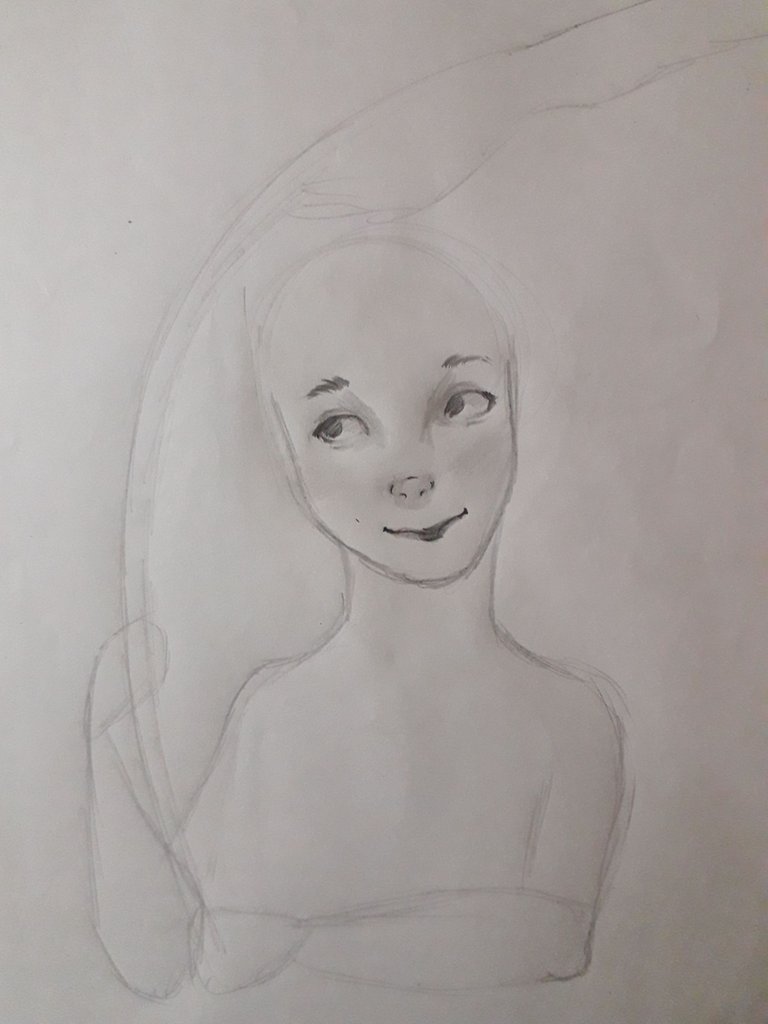
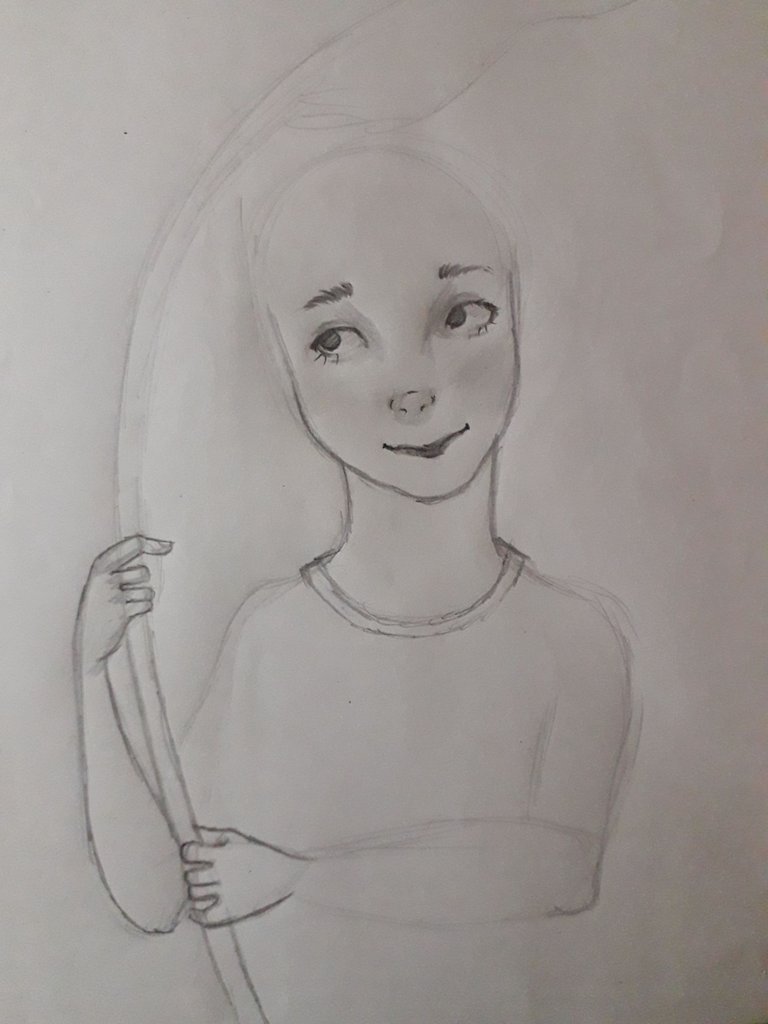
Aquí comencé a bosquejar el cuerpo y la hoja que la chica sostiene. Para bosquejar, yo uso un lápiz cuyo grafito es de un color bastante suave… Lo malo es que ya se me está gastando y no sé dónde conseguir ese lápiz específicamente; algo que me da risa, es recordar a la gente en los años de la escuela o liceo, quejándose de lo malo que es este lápiz para escribir, sin saber las cosas especiales que puede hacer. Bueno, me fui un poco por las ramas.
 |  |
|---|
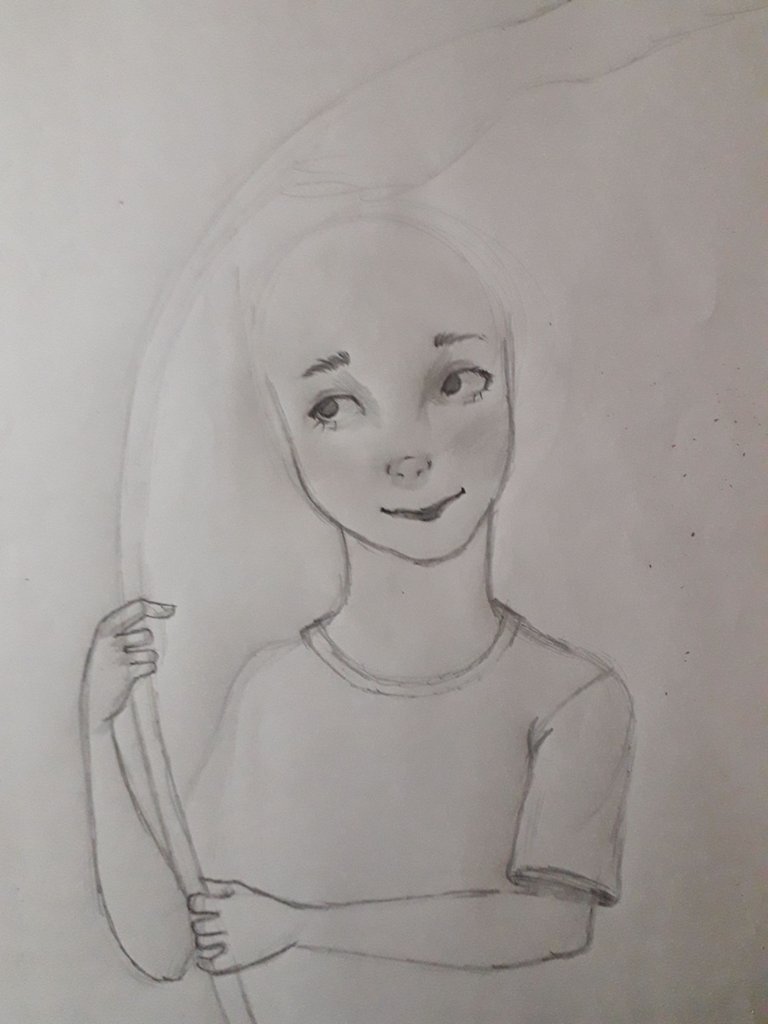
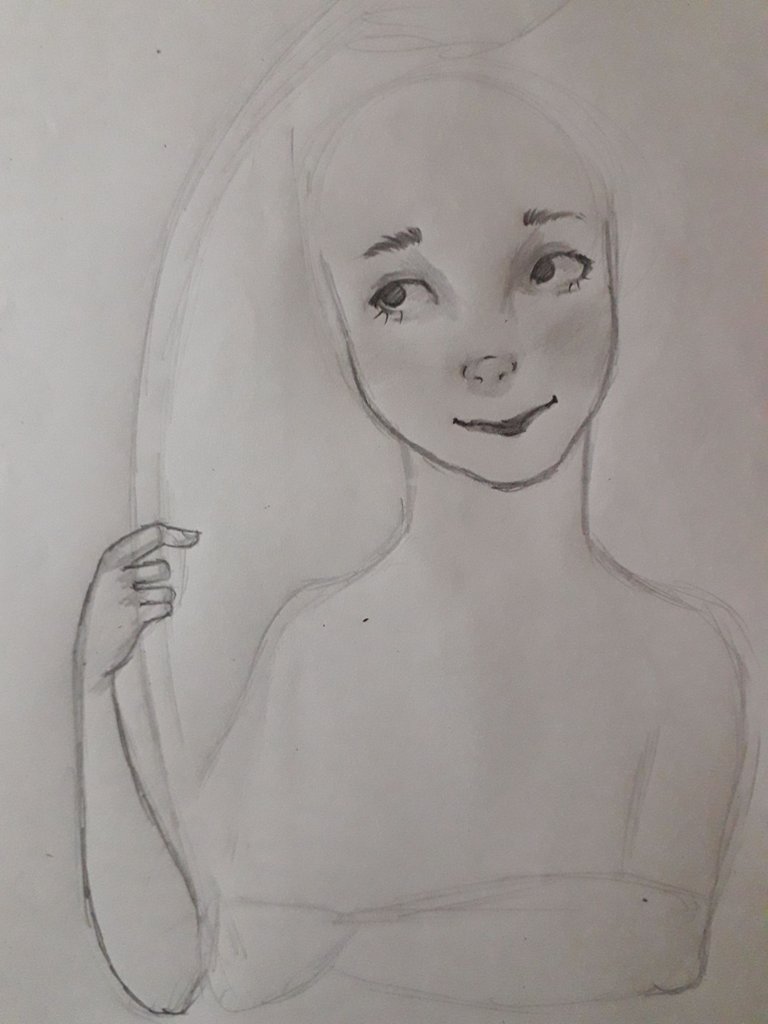
Para dibujar los brazos, utilicé formas cilíndricas a las que luego les dibujé un poco de “gordura”, básicamente, en una de las zonas donde se ve más grueso cuando levantamos el brazo.
Las manos las hago utilizando un trapecio y los dedos son como pequeños rectángulos. Esa forma la termino por redondear un poco, para después borrar el boceto. Hay que recordar que el cuerpo no tiene tantas formas cuadradas o rígidas, sino que todo es más redondo.
Siguiendo la forma del cuerpo, intenté dibujar la camisa. Creo que un error que acabo de notar es que hice los trazos demasiado toscos y rectos, por lo cual da la impresión de que la tela está tiesa. Qué mal, pero es aprendizaje para la próxima ocasión.
 |  |
|---|
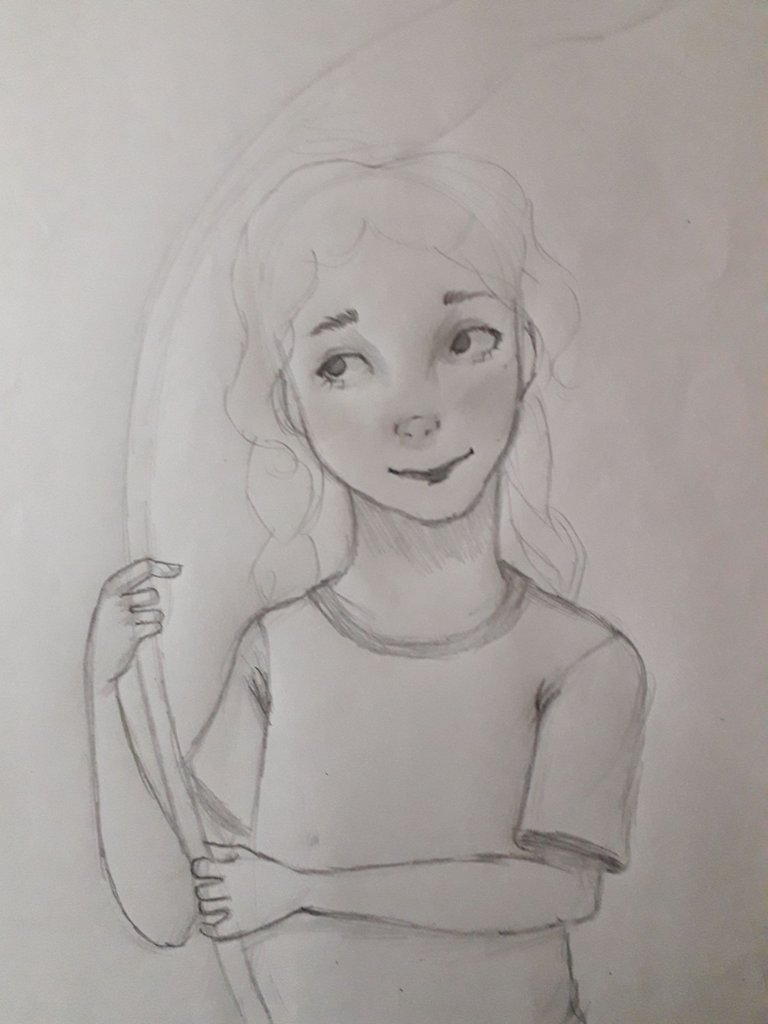
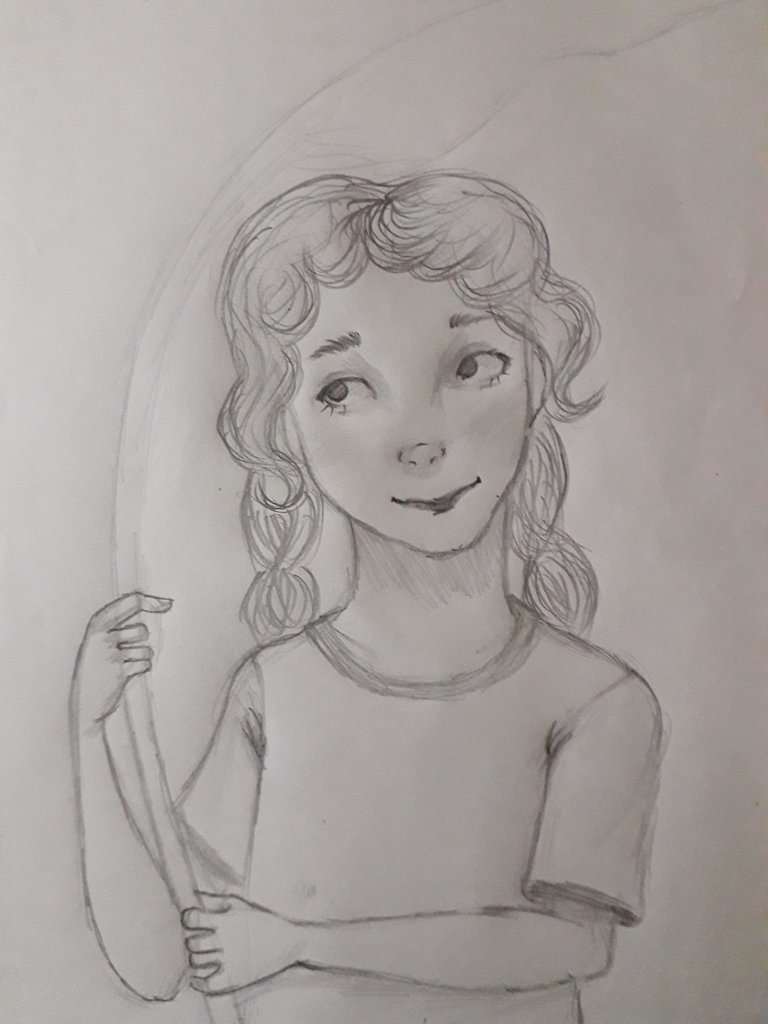
Ahora, como de costumbre, hice el bosquejo del cabello, tomando en cuenta su volumen y textura, principalmente. Sí, esta es otra cosa que, luego de mis clases de dibujo, me di cuenta de que estuve haciendo mal (al menos un poco).
Luego, di color con el lápiz de color suave, siguiendo la dirección y crecimiento del cabello. Después, di sombras en algunos lados, con un lápiz de color más oscuro.
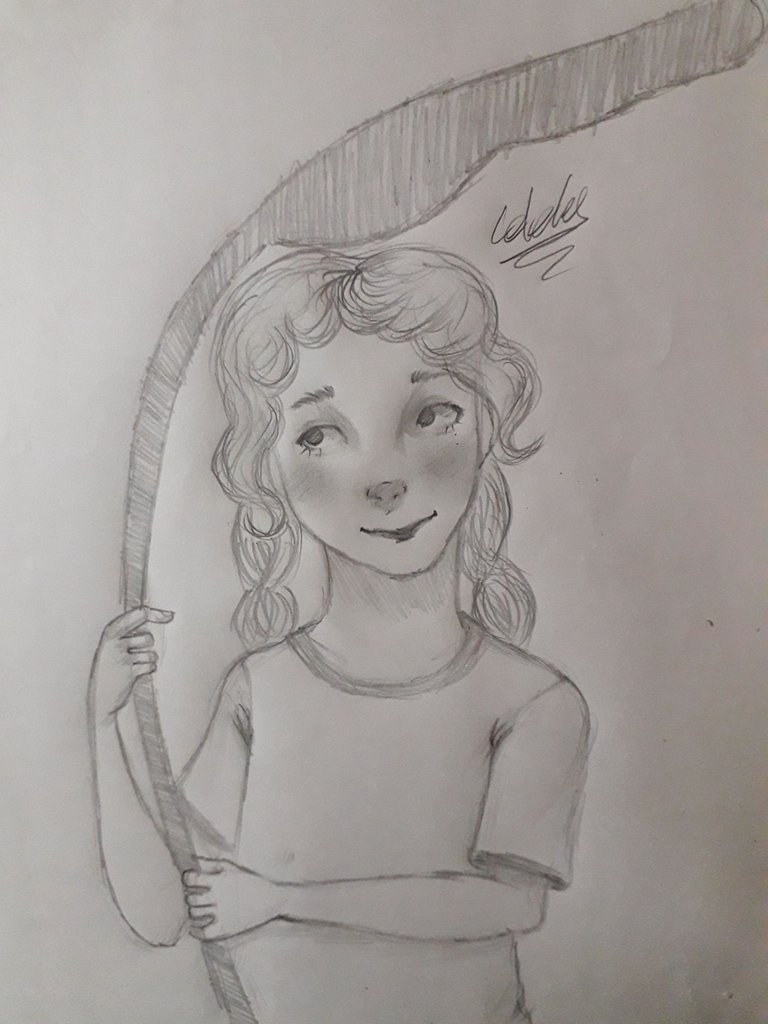
Finalmente, tan solo le di color a la hoja que ella sostiene, pasando el lápiz rápidamente para que quedara un patrón de trazos de raya. Estaba pensando en darle más detalles, pero preferí mantenerlo simple.
Y ya estaría listo mi dibujo. Siento que con color hubiera quedado muchísimo mejor, pero para ese momento no los tenía a la mano, aun así quise dibujar algo lindo; me gustó como se mira el rostro inocente y curioso de la niña. Quizá algún día decida redibujarlo a color, aunque no será una réplica exacta tampoco, espero mejorar, jiji. También tengo ganas de pasarlo a digital, quiero intentarlo.

Sin nada más que añadir, espero que les haya gustado el dibujo tanto como a mí. Cuídense, tomen mucha agua, no se olviden de sonreír, ¡y que tengan un lindo día!


English

Hiii, friends of the Hivearte community, how are you this time? I hope very well!
Today I would like to share with you a quick sketch of a little girl doing something very Ghibli style: she is taking shade under a big sheet of paper. Although I must admit that the leaf was going to be bigger, but the sheet of paper was not enough for me hahaha.
Well, below I share with you my process, so here we go!
 |  |
|---|
I started by making the face shape with an oval, and then I sketched the eyes with a couple of almond shapes. The nose is like a little recumbent oval, and the mouth is just a line.
I must admit that, by the time I made this drawing, I had not yet started to really study drawing, and I'll tell you something: YouTube tutorials, watching them without following a specific learning line, don't work. I tell you that I plan to make posts later, where I explain better how I learned to draw faces and what are the important things to keep in mind, but this is not the right time to expand on that topic, so let's continue.
In the second image, I detailed a little better the eyes, nose and mouth.
 |  |
|---|

Here I did her eyebrows, colored her eyes and lips, and also gave shadows to the important areas, especially remember that inside the eyes there is shadow, and this is what brings a little more depth to the face. Oh yes, I also added a little color to the cheeks, to make them look nicer, it's a tender touch.
 |  |
|---|
Here I started sketching the body and the leaf that the girl is holding. For sketching, I use a pencil whose graphite is a rather soft color... The bad thing is that it's already wearing out and I don't know where to get that pencil specifically; something that makes me laugh, is to remember people in the school years complaining about how bad this pencil is for writing, not knowing the special things it can do. Well, I went a bit off the deep end.
 |  |
|---|

To draw the arms, I used cylindrical shapes to which I then drew some “fatness”, basically, in one of the areas where it looks thicker when we raise the arm.
The hands are made using a trapezoid and the fingers are like small rectangles. I end up rounding that shape a little bit, and then erase the sketch. You have to remember that the body does not have so many square or rigid shapes, but everything is more rounded.
Following the shape of the body, I tried to draw the shirt. I think one mistake I just noticed is that I made the strokes too rough and straight, so it gives the impression that the fabric is stiff. Too bad, but it's learning for next time.
 |  |
|---|
Now, as usual, I sketched the hair, taking into account its volume and texture, mainly. Yes, this is another thing that, after my drawing classes, I realized I've been doing wrong (at least a little bit).
Next, I colored with the soft colored pencil, following the direction and growth of the hair. Then, I gave shadows on some sides, with a darker colored pencil.

Finally, I just colored the leaf she's holding, running the pencil quickly so that it was a stripe stroke pattern. I was thinking of giving it more detail, but I preferred to keep it simple.
And then I was done with my drawing. I feel that with color it would have been much better, but at that moment I didn't have them at hand, even so I wanted to draw something nice; I liked how the innocent and curious face of the girl looks. Maybe someday I'll decide to redraw it in color, although it won't be an exact replica either, I hope to improve, hehe. I'm also looking forward to to transfer the drawing to digital, I want to give it a try.

Without anything else to add, I hope you liked the drawing as much as I did. Take care, drink water, don't forget to smile, and have a nice day!


Créditos | Credits
- Traducción al inglés DeepL (lo siento por cualquier error, no sé mucho inglés.)
- English translation DeepL (sorry for any mistakes, I don't know much English)
- Separadores y banners hechos en Canva
- Dividers, and banners made in Canva
- Fotos tomadas por mí, usando un Samsung Galaxy J6
- Photos taken by me, using a Samsung Galaxy J6
Congratulations @celely! You have completed the following achievement on the Hive blockchain And have been rewarded with New badge(s)
Your next target is to reach 800 replies.
You can view your badges on your board and compare yourself to others in the Ranking
If you no longer want to receive notifications, reply to this comment with the word
STOPCheck out our last posts:
@tipu curate 8
Upvoted 👌 (Mana: 0/75) Liquid rewards.
Gracias por el apoyo! 💙🌻✨
Bueno no se puede negar que el cabello te quedó espectacular y como dices lo coloreaste en sentido del crecimiento y eso quedo genial
Gran trabajo felicidades.
Me alegro de que te haya gustado. Gracias! 💙🌻✨