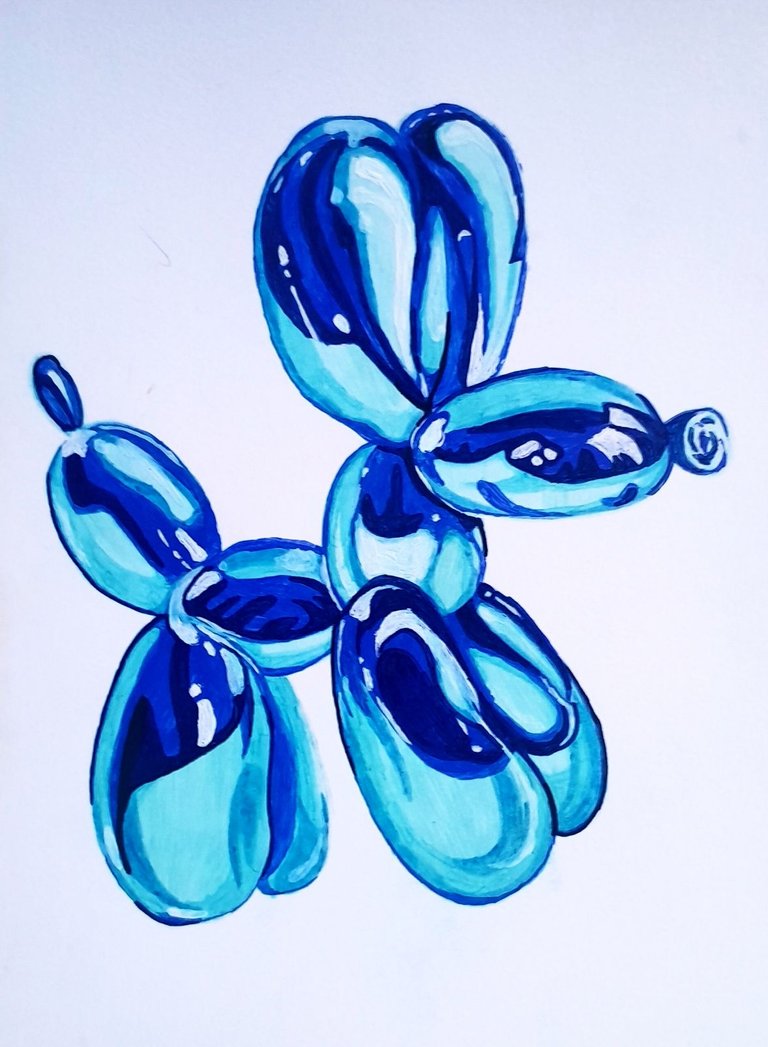
Hola, artistas de Hive! El día de hoy les quiero compartir el proceso de creación de mi último cuadro. Como dice en el título, se trata de un perro de globo el cual en este caso fue de color azul. A continuación les dejo el paso a paso bien explicado, espero les guste mucho. 💙
Hello, Hive artists! Today I want to share with you the process of creating my latest painting. As it says in the title, it is a balloon dog which in this case was blue. Below I leave you the step by step well explained, I hope you like it very much. 💙
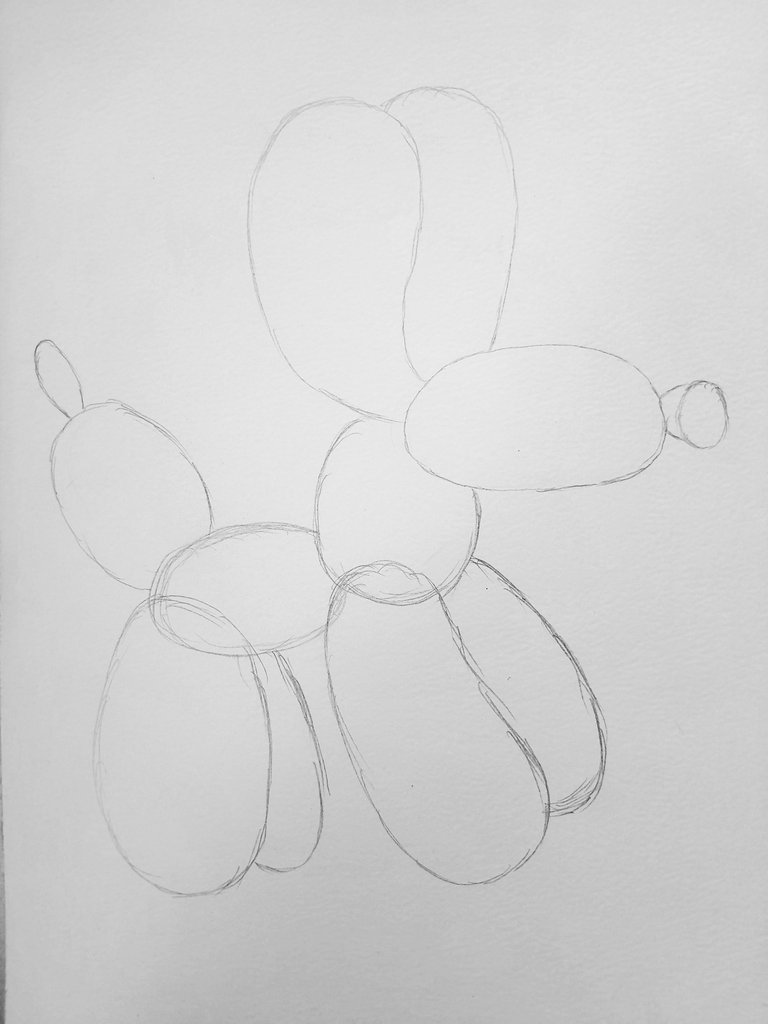
Como siempre, lo primero que hice fue hacer el boceto a lápiz. Utilicé papel de acuarela porque es resistente a los materiales que voy a aplicar después.
Ustedes pueden usar los materiales que quieran o que tengan a disposición. En mi caso, yo utilicé marcadores de aceite y pintura acrílica. ✨️
As always, the first thing I did was to make a pencil sketch. I used watercolor paper because it is resistant to the materials I am going to apply later.
You can use whatever materials you want or have available. In my case, I used oil markers and acrylic paint. ✨️
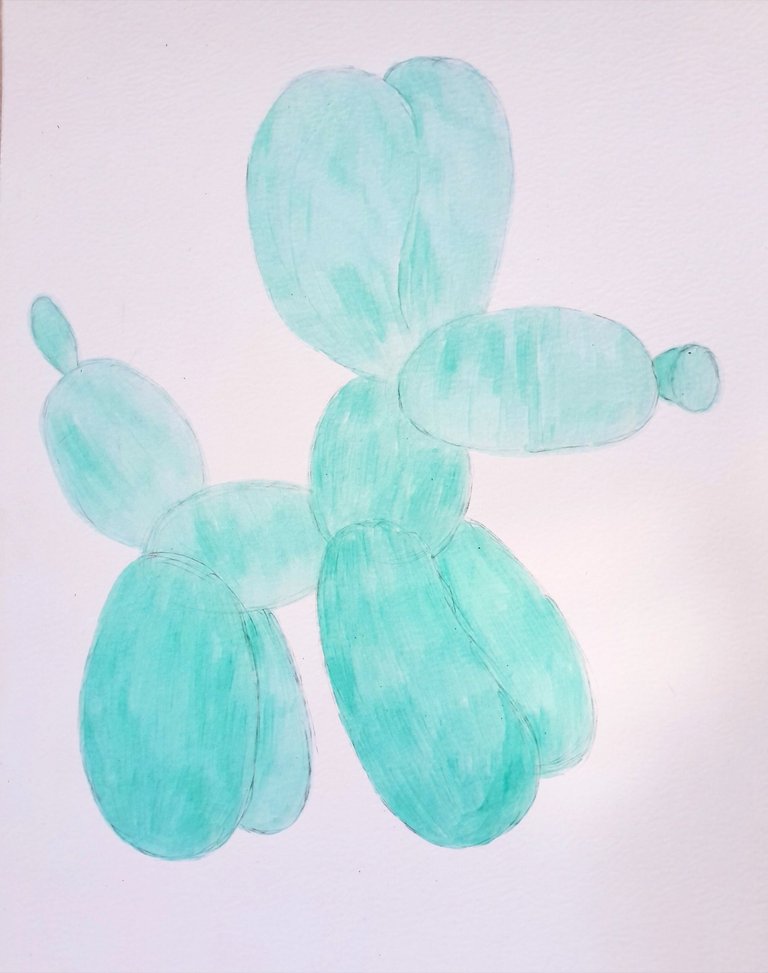
Lo siguiente que haremos será pintar todo el dibujo con el azul más claro que tengan.
En caso de que lo hagan de otro color, utilicen el tono más claro qué tengan de la gama del color que van a utilizar.
The next thing to do is to paint the whole drawing with the lightest blue you have.
In case you do it in another color, use the lightest shade you have in the range of the color you are going to use.
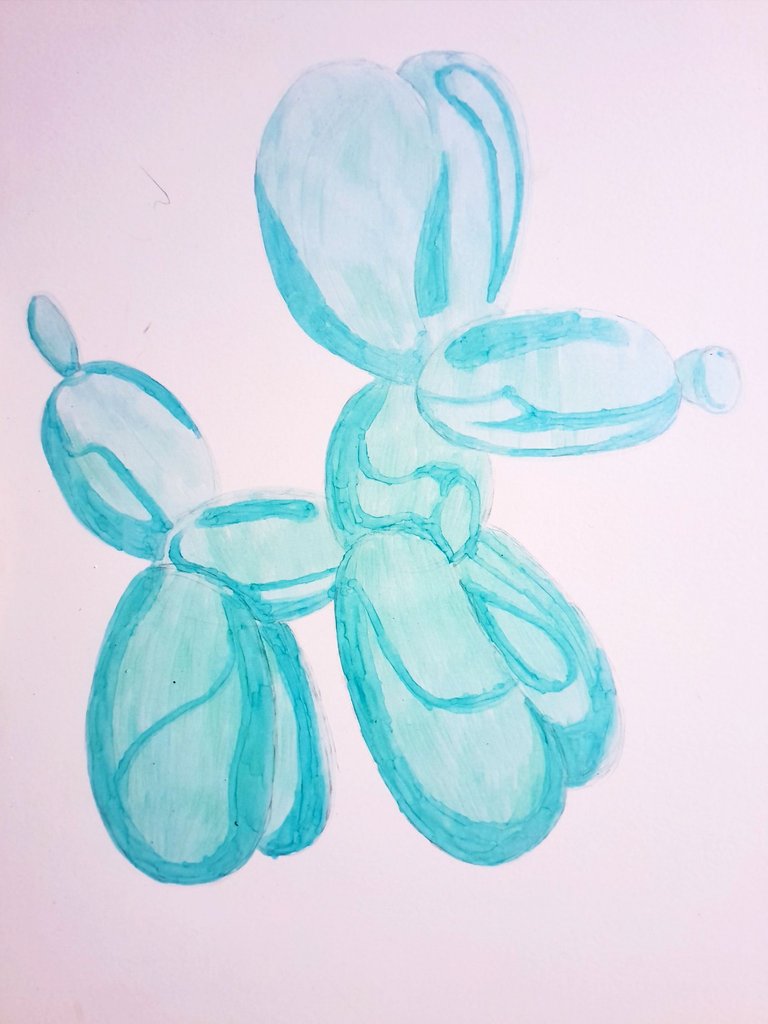
Luego, con un color un tono más oscuro, haremos las sombras iniciales para ir dándole forma al dibujo. Solo deben aplicar el color en las partes que indico a continuación.
Then, with a darker color, we will make the initial shadows to give shape to the drawing. You should only apply the color in the parts indicated below.
Seguimos con otro color aun más oscuro. En este caso use un azul marino, ya que no es ni muy claro ni muy oscuro.
Ustedes deben tener en cuenta las tonalidades que utilizan al momento de ir siguiendo los pasos y aplicando las sombras.
We continue with another even darker color. In this case I used a navy blue, since it is neither too light nor too dark.
You must take into account the shades you use when following the steps and applying the shadows.
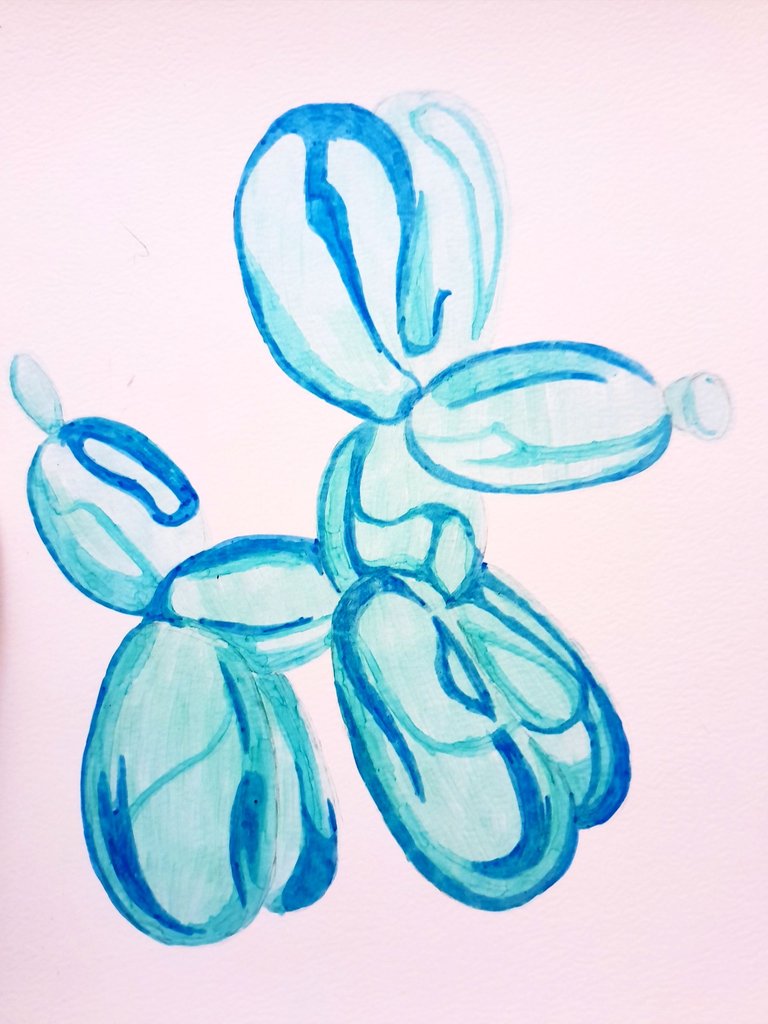
Ahora, con un color un tono más oscuro qué el anterior, pintamos en las partes que señalo. En mi caso utilicé un azul que se puede decir que es el azul verdadero.
Now, with a color a tone darker than the previous one, we paint in the parts that I point out. In my case I used a blue that can be said to be true blue.
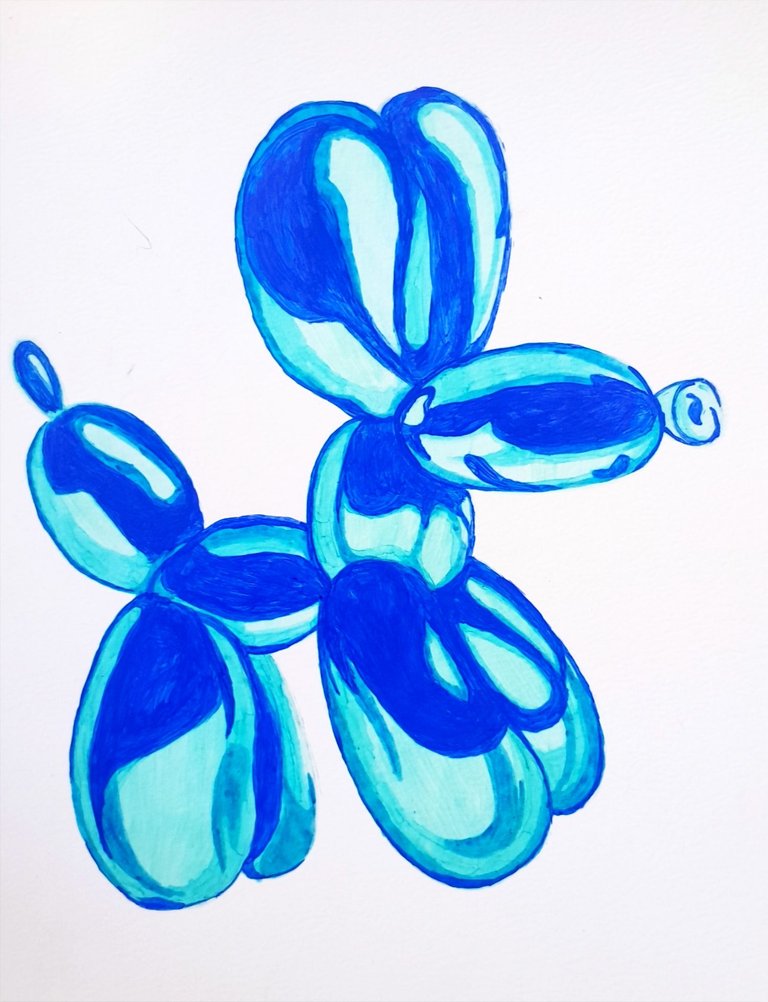
En la anterior imagen ya se distinguen las sombras y las luces, pero ahora lo que haremos será dar brillo con el blanco y con un tono azul muy oscuro y negro, los últimos detalles para darle profundidad.
In the previous image you can already distinguish the shadows and the lights, but now what we will do is to give brightness with white and with a very dark blue and black tone, the last details to give it depth.

Y listo! Estos son los pasos que deben seguir para lograr hacer esta bella ilustración.
And that's it! These are the steps you must follow to make this beautiful illustration.
Thanks for reading and watching.
no solo me encantó colo quedó resultado final, sino que también me gustó mucho como hiciste que el paso a paso se entendiera de muy buena manera. Quedó genial el dibujo, saludos!!!💗
Muchas gracias! Siempre trato de que todo quede bien explicado 💙✨️