Hola artistas de Hive! El día de hoy les traigo un tutorial paso a paso de como pintar una paleta de corazón de dulce realista. El resultado queda muy genial y lo mejor de todo es que es muy sencillo, espero les guste mucho! ❤️
Hello Hive artists! Today I bring you a step by step tutorial on how to paint a realistic candy heart palette. The result looks very cool and best of all is that it is very simple, I hope you like it very much! ❤️
PROCESO // PROCESS
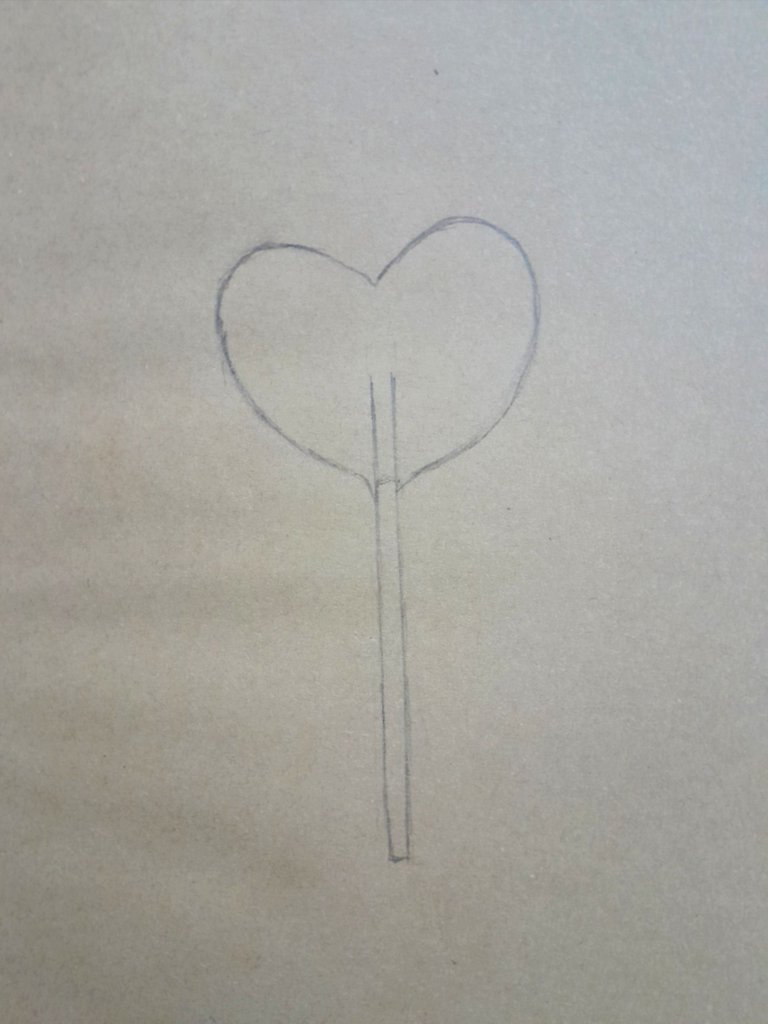
Empezaremos haciendo un boceto sencillo, el cual consta básicamente de un corazón con un palito delgado, justo como se ve en la foto. Si no saben dibujar un corazón, la forma más fácil de hacerlo es dibujando dos círculos pequeños y debajo de esos dos, otro del mismo tamaño para luego unirlos con una línea.
We will start by making a simple sketch, which basically consists of a heart with a thin stick, just as shown in the photo. If you don't know how to draw a heart, the easiest way to do it is to draw two small circles and under those two, another one of the same size and then join them with a line.
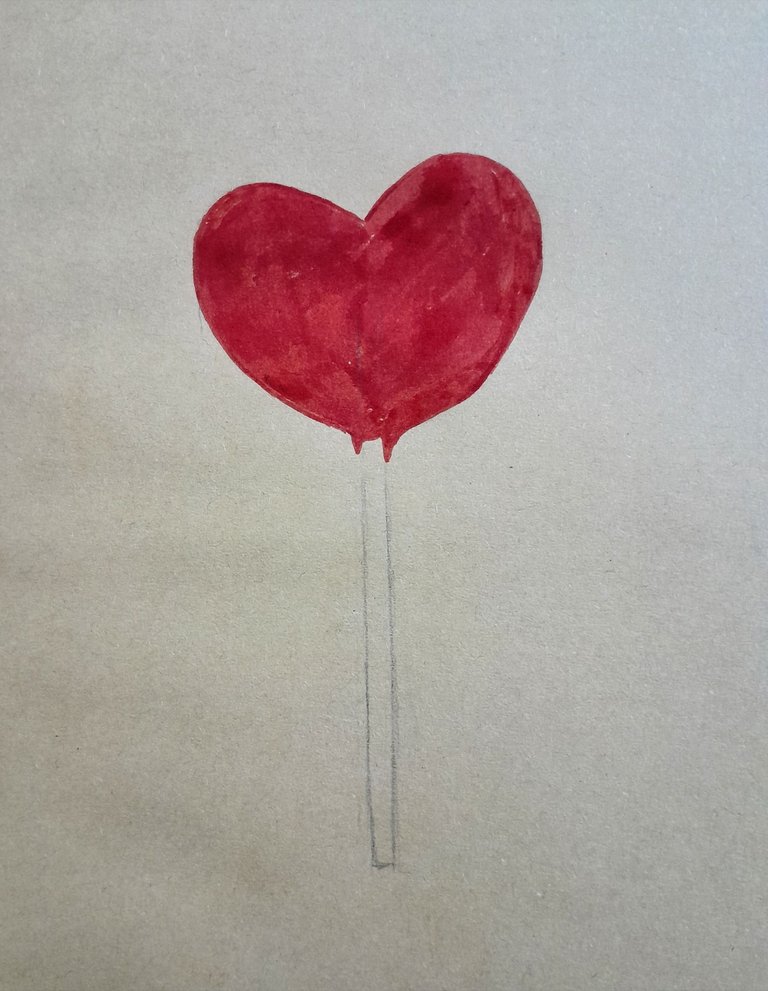
Luego de eso, con un marcador rojo, le daremos una capa base al corazón. Cabe aclarar que pueden usar el material que quieran o tengan al alcance.
After that, with a red marker, we will give a base layer to the heart. It should be noted that you can use any material you want or have at hand.
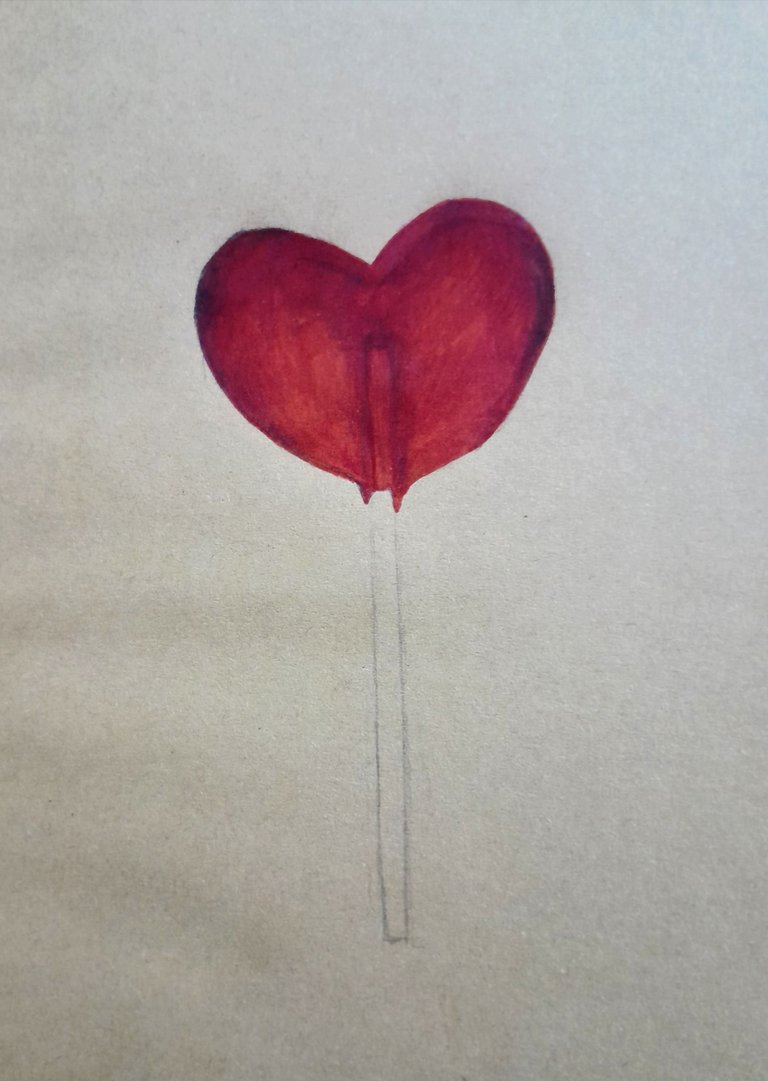
Después de la base roja, aplicaremos un tono más oscuro para dar profundidad. Yo lo hice con lápices de colores rojo oscuro y café oscuro.
After the red base, we will apply a darker shade to give depth. I did it with dark red and dark brown crayons.
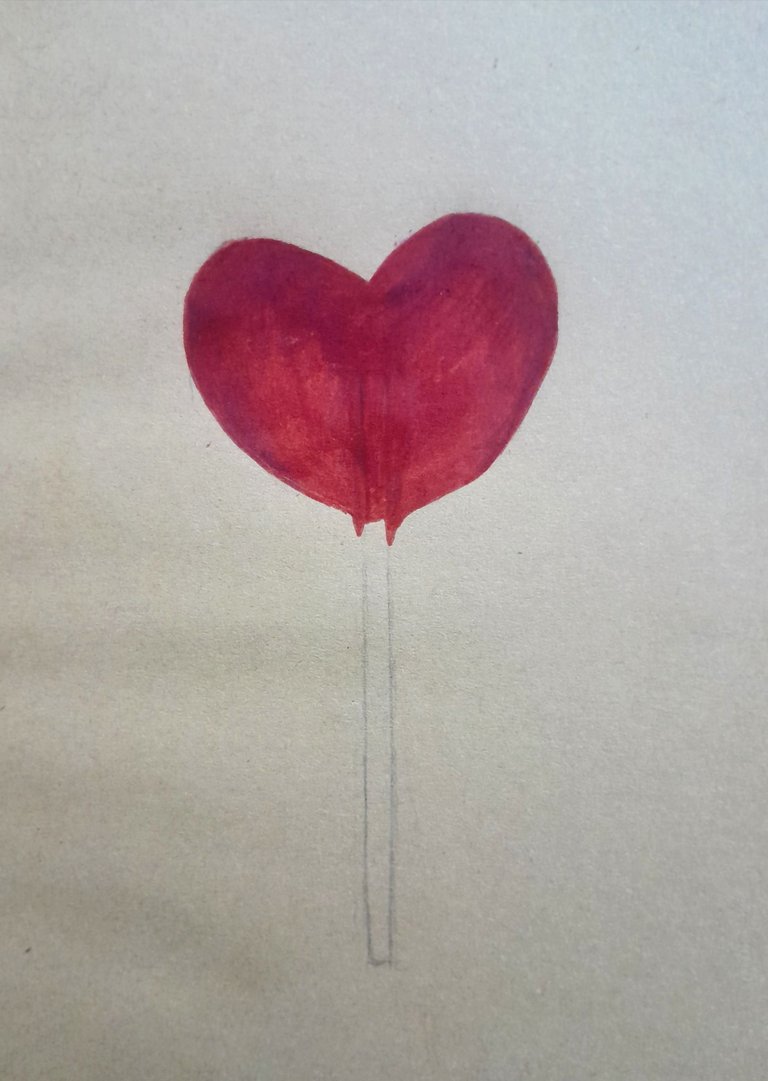
Vamos a profundizar más con color negro y delineamos suavemente para marcar algunas zonas. Como pueden ver hay algunas areas más claras que otras; esto lo lo logré añadiendo naranja y amarillo muy suavemente para dar textura.
We are going to go deeper with black color and outline softly to mark some areas. As you can see there are some areas lighter than others; I achieved this by adding orange and yellow very softly to give texture.
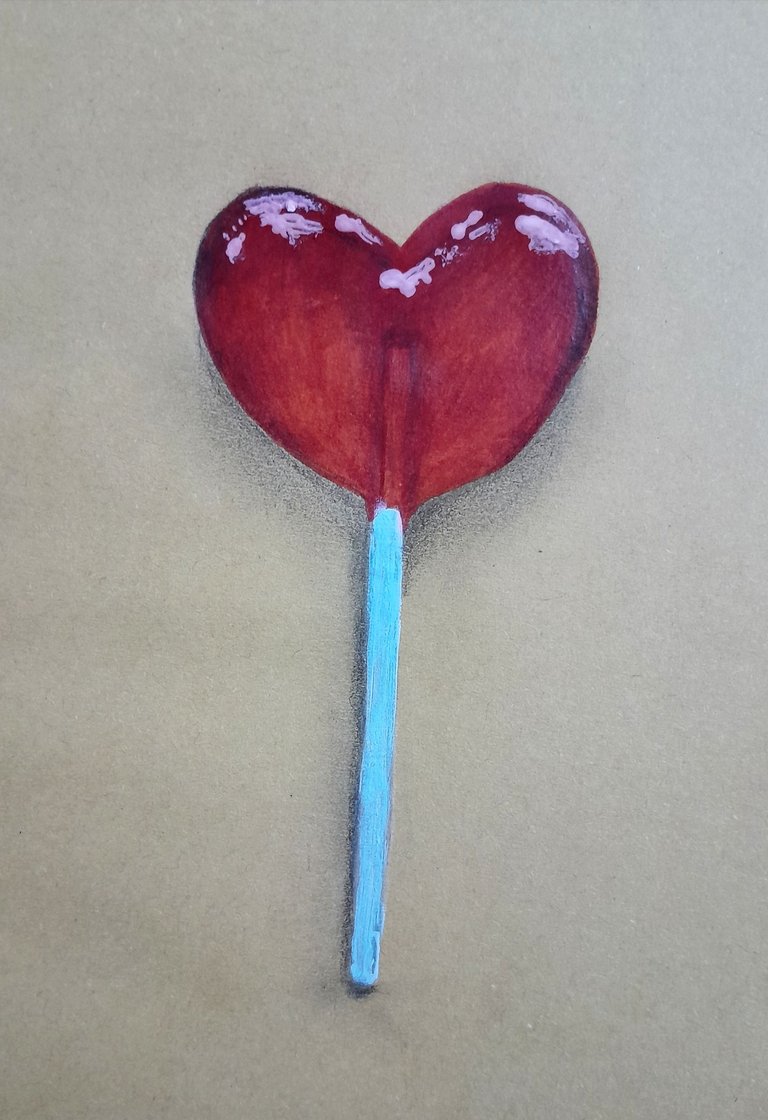
Una vez terminado lo más "difícil", seguimos con el resto del dibujo. Para el palillo, solo necesitaremos un color blanco y negro para las sombras. El negro también lo usaremos para las sombras de la paleta.
Los detalles de brillo se los di con pintura rosa claro y blanca.
Once the most "difficult" part is finished, we continue with the rest of the drawing. For the toothpick, we will only need a white and black color for the shadows. The black will also be used for the shadows of the palette.
I gave the glitter details with light pink and white paint.
Y listo! Espero les haya gustado mucho el resultado. ❤️
And that's it! I hope you liked the result. ❤️
Thanks for reading and watching.
Guao te quedó muy bien parece que se puede agarrar y comerse
Jajajjaaj si, muchas gracias
Me gusta mucho como quedó el efecto, sin duda vas por buen camino. Suerte en tus siguientes prácticas 🤗💚
Muchas gracias por el apoyo💚