Hola, artistas de Hive! Hoy he traigo un nuevo tutorial de anatomía y en esta ocasión les mostraré como pueden lograr hacer una nariz semi-realista en pocos pasos y mas sencillo de lo que creen. Espero lo pongan en practica y les guste; a continuación los dejo con el paso a paso.
Hello, Hive artists! Today I bring you a new anatomy tutorial and this time I will show you how you can make a semi-realistic nose in a few steps and easier than you think. I hope you can put it into practice and like it; below I leave you with the step by step.
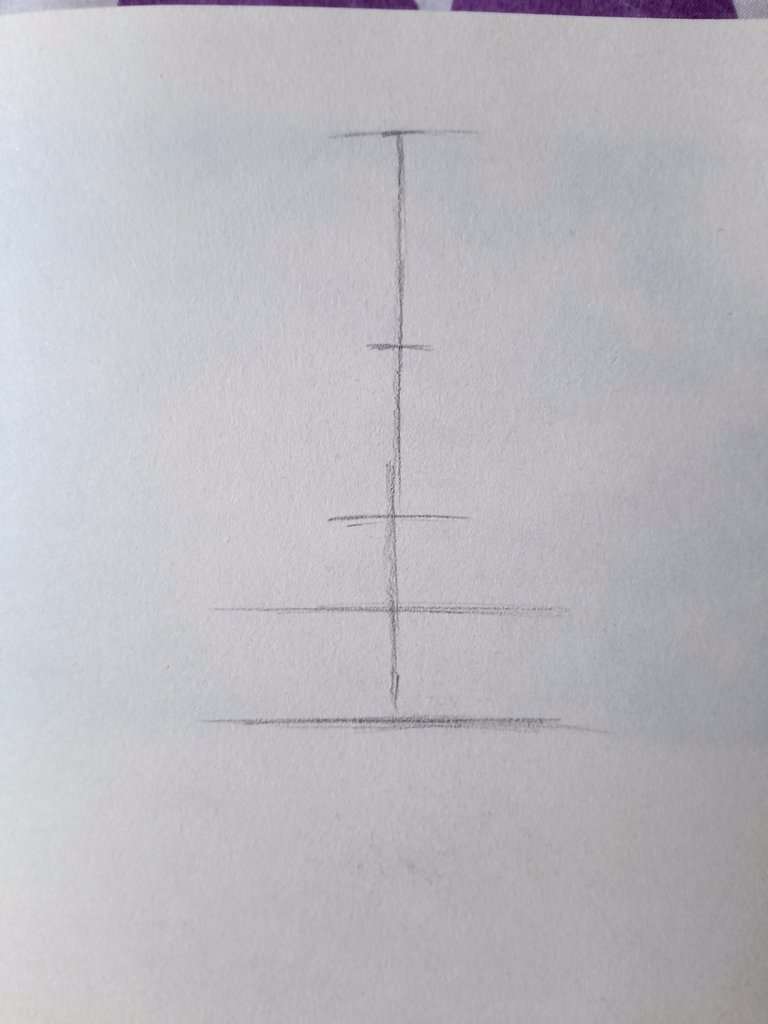
Empezamos haciendo una línea vertical, la cual dividiremos en 4 partes, de la siguiente manera:
We start by making a vertical line, which we will divide into 4 parts, as follows:
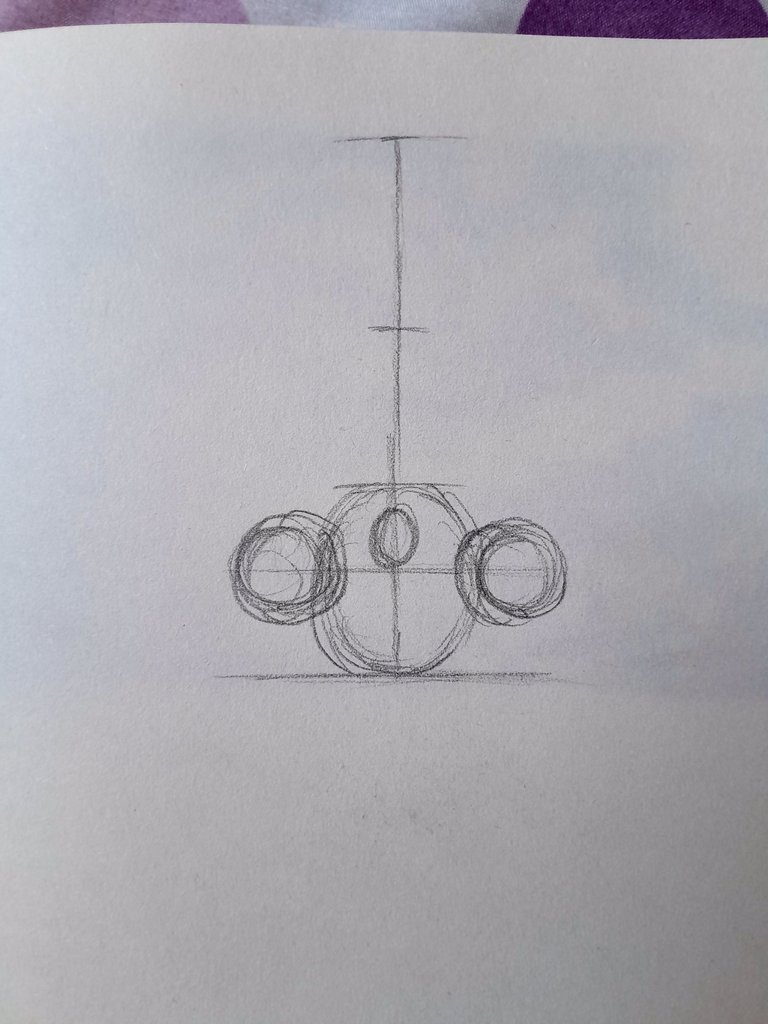
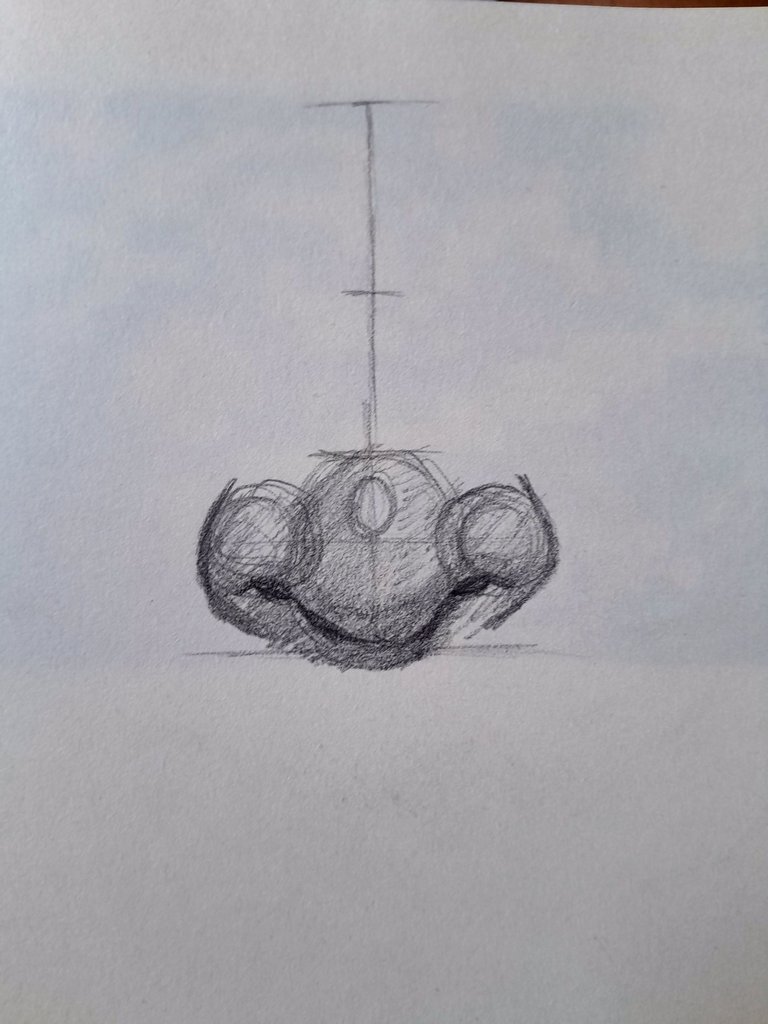
Luego de haber marcado las divisiones, empezaremos con la parte inferior de la nariz, o sea con las fosas nasales y la punta. Para ello, dibujamos un círculo que abarque las dos divisiones de abajo y de cada lado haremos dos mas pequeños en toda la mitad (no se los olvide el pequeño ovalo en todo el centro del circulo grande).
After having marked the divisions, we will start with the lower part of the nose, that is with the nostrils and the tip. To do this, we draw a circle that covers the two bottom divisions and on each side we will make two smaller circles in the middle (don't forget the small oval in the center of the big circle).
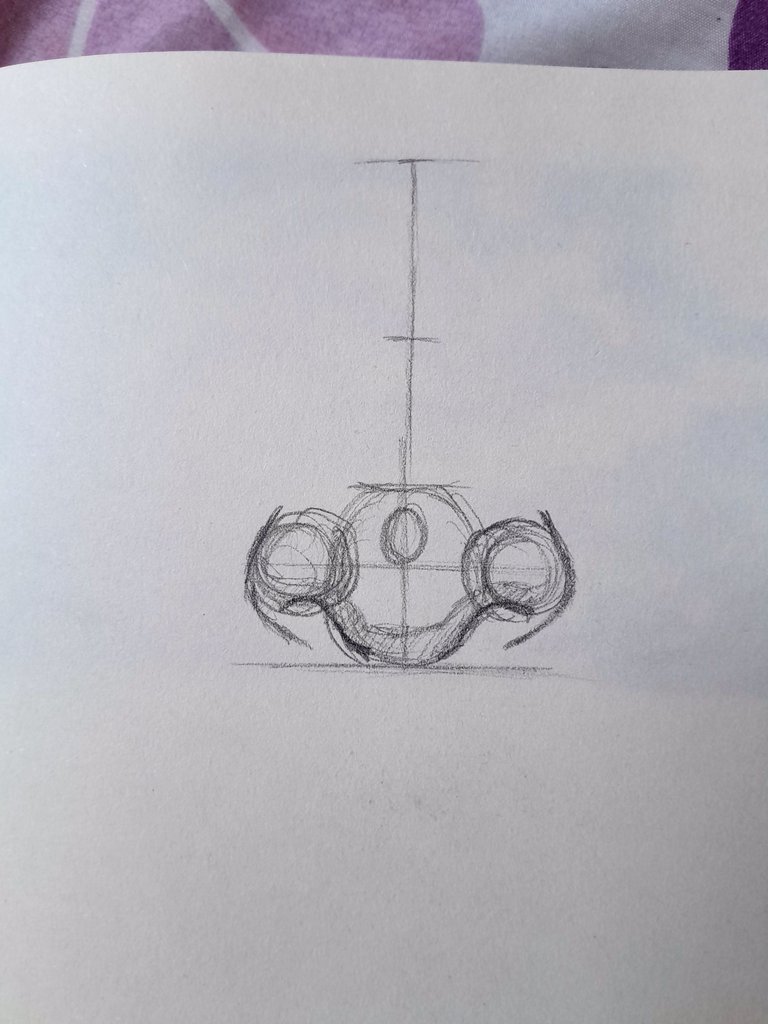
Luego de los círculos, al tener una base podemos empezar a darle forma a las fosas. Cómo pueden ver solo utilizo líneas curvas.
After the circles, having a base we can start shaping the pits. As you can see I only use curved lines.
Este paso en sencillo, solo sombreamos suavemente toda la zona dibujada y remarcamos la parte de las fosas.
This step is simple, we only shade the whole drawn area and highlight the part of the pits.
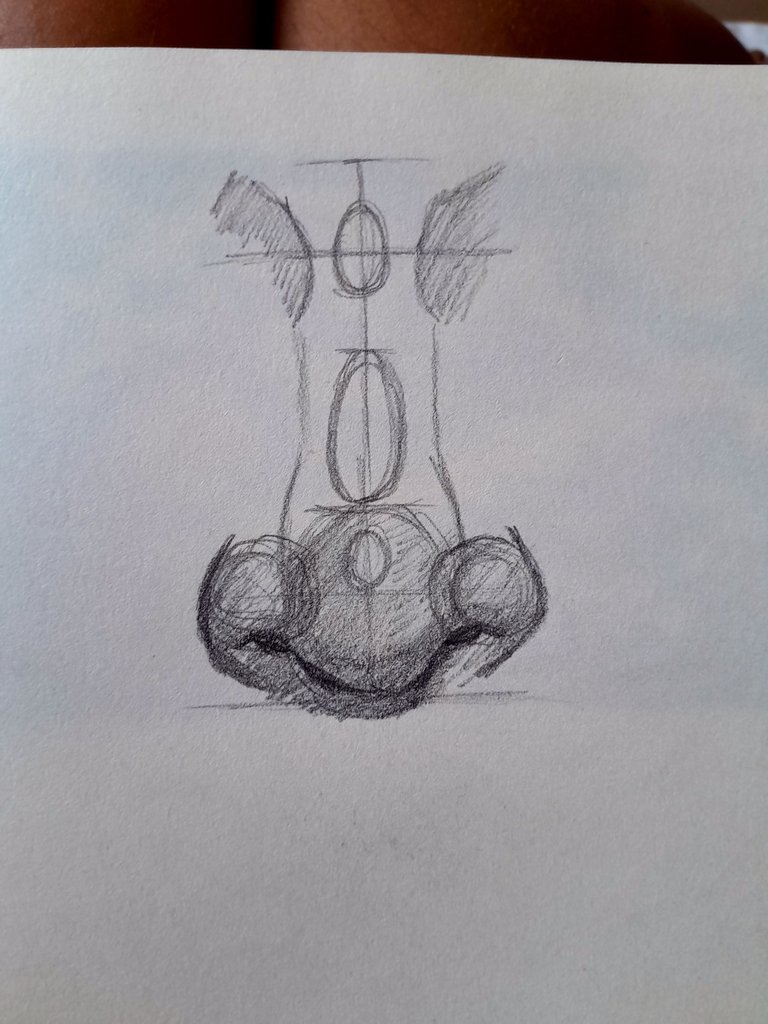
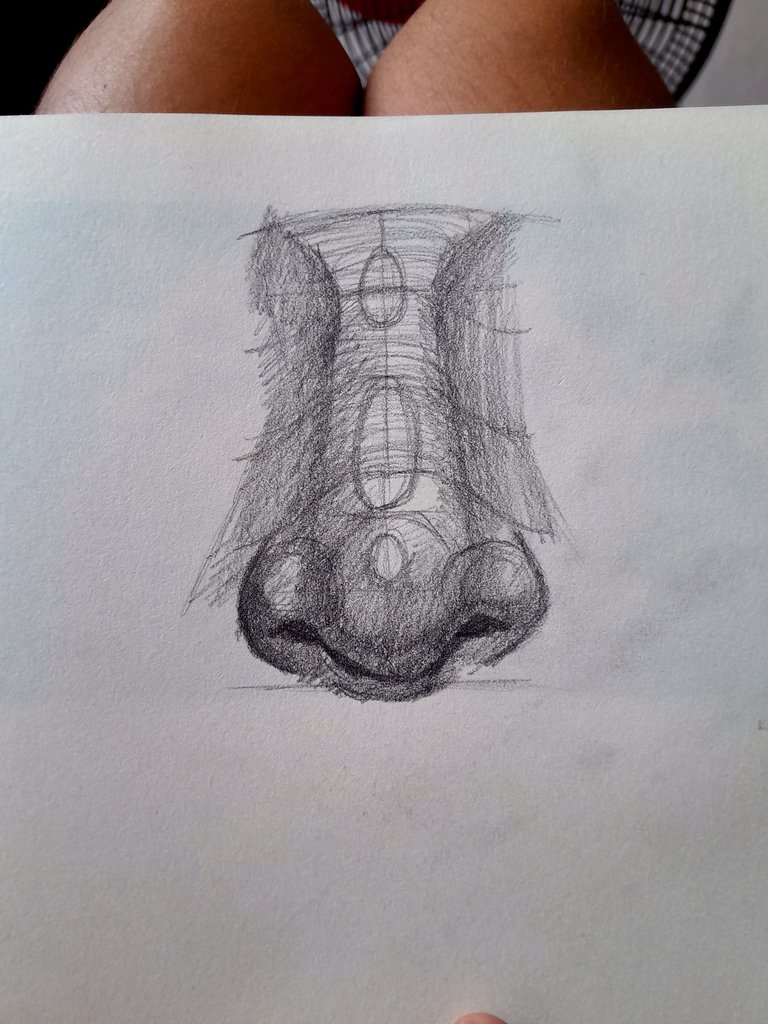
Aquí ya empieza lo mas complejo. Para hacer el puente y el tabique, nos seguiremos guiando de las divisiones que hicimos al principio. Primero haremos un óvalo por encima de el circulo mas grande que hicimos abajo y en la penúltima linea, dibujaremos uno mas pequeño en todo el centro. Esto nos ayudara a darle forma tanto al puente como al tabique. En la imagen a continuación lo pueden ver mejor:
Here begins the most complex part. To make the bridge and the partition, we will follow the divisions we made at the beginning. First we will make an oval above the larger circle we made below and on the penultimate line, we will draw a smaller one in the center. This will help us to shape both the bridge and the septum. In the image below you can see it better:
Nos ayudamos dibujando líneas curvas en cada una de las divisiones para agregar detalles como las sombras; esto nos ayuda a darle una forma mas realista y profundidad.
We help ourselves by drawing curved lines in each of the divisions to add details such as shadows; this helps us to give it a more realistic shape and depth.
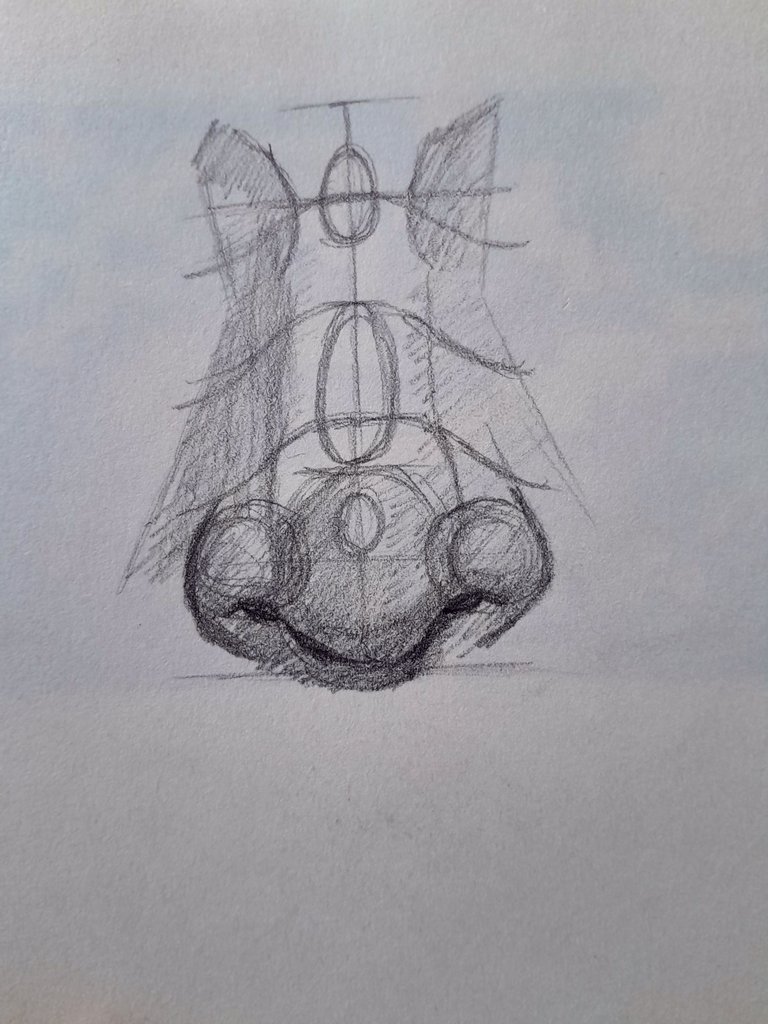
Le añadimos la sombra en dirección de las curvas...
We add the shadow in the direction of the curves...
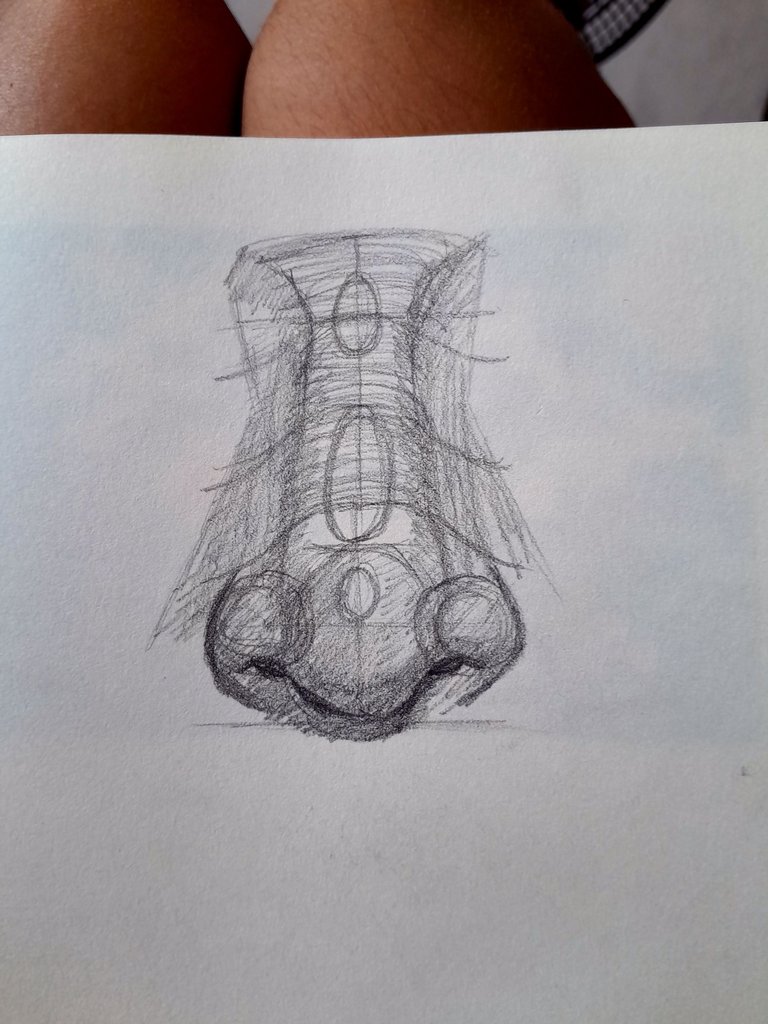
Marcamos las áreas de mas profundidad.
We mark the deepest areas.
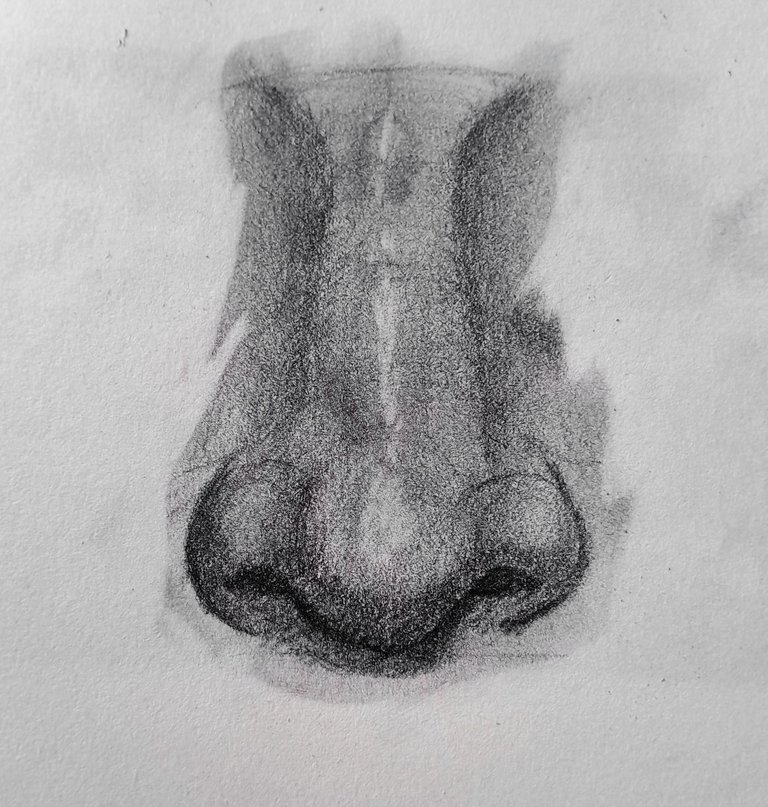
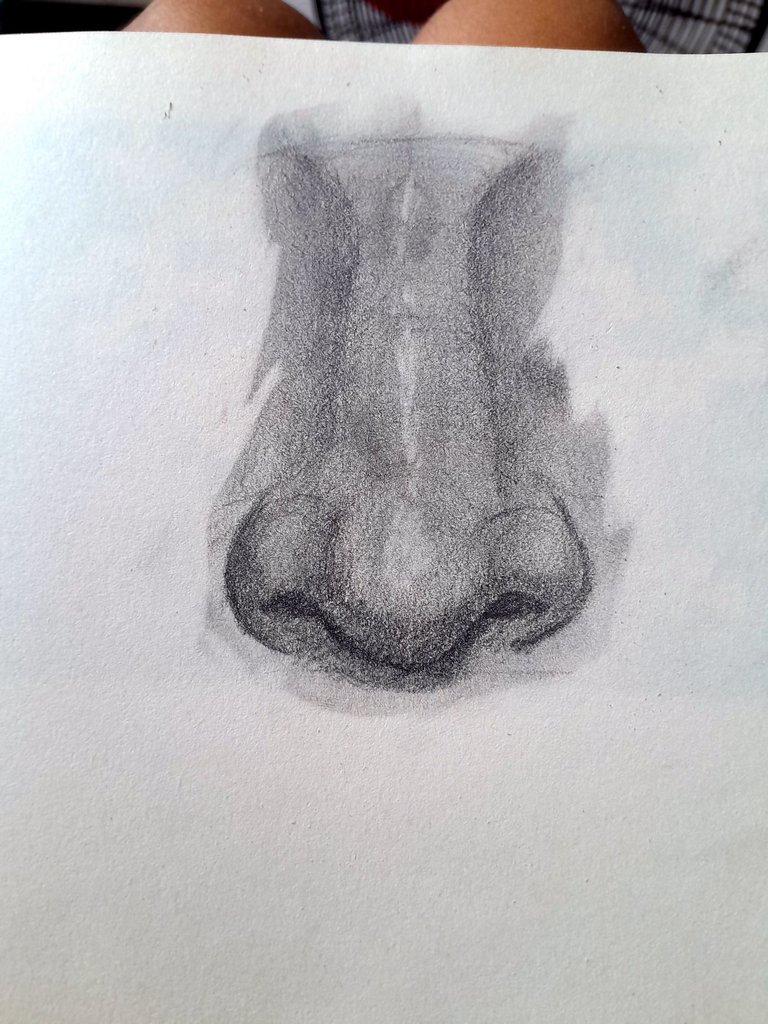
Difuminamos y listo. Así nos queda:
Blend and that's it. This is how it looks:
Thanks for reading and watching.