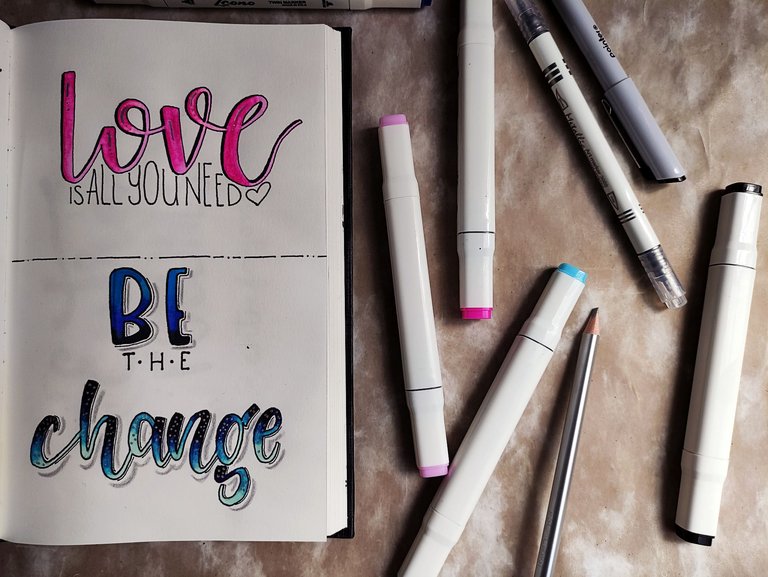
Continuando con mis prácticas de Lettering de esta semana me he animado a ir un poco más allá y jugar con los degradados y sombras. He estado haciendo más que todo Fake Lettering porque mi intención es mejorar con el uso de los marcadores para lograr un mejor degradado de colores. No se crean, esto último me está costando un poco sobretodo porque la porosidad del papel de mi libreta no me ayuda demasiado, haciendo que la tinta sangre demás.
Esta vez me esforcé en recordar fotografiar las etapas del proceso para compartirles de mejor forma cómo es mi paso a paso dibujar y coloreando letras.
Continuing with my Lettering practices this week I have been encouraged to go a little further and play with gradients and shadows. I have been doing mostly Fake Lettering because my intention is to improve with the use of markers to achieve a better color gradient. Don't believe it, this last one is costing me a little bit mainly because the porosity of the paper of my notebook doesn't help me too much, making the ink bleed too much.
This time I made an effort to remember to photograph the stages of the process to better share with you my step by step process of drawing and coloring letters.

PROCESO
PROCESS
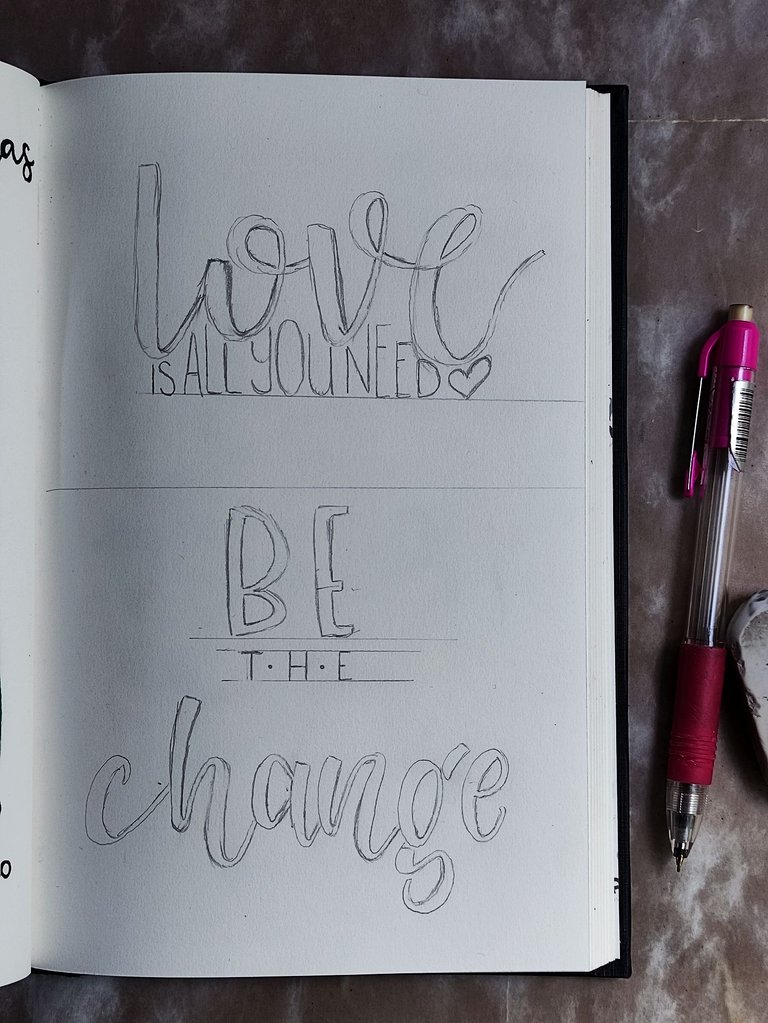
Como les comentaba en los párrafos anteriores, he estado básicamente haciendo Falso Lettering porque quiero mejorar algunos otros detalles de los diseños, así que inicié dibujando las frases a lápiz para luego darles color. A veces para practicar suelo hacer el abecedario con alguna tipografía en particular, pero otras veces se me hace más divertido realizar frases porque puedo experimentar mucho más con los detalles, el coloreado y las combinaciones.
As I mentioned in the previous paragraphs, I have been basically doing False Lettering because I want to improve some other details of the designs, so I started drawing the phrases in pencil and then coloring them. Sometimes to practice I usually do the alphabet with a particular typeface, but other times I find it more fun to do phrases because I can experiment much more with the details, coloring and combinations.
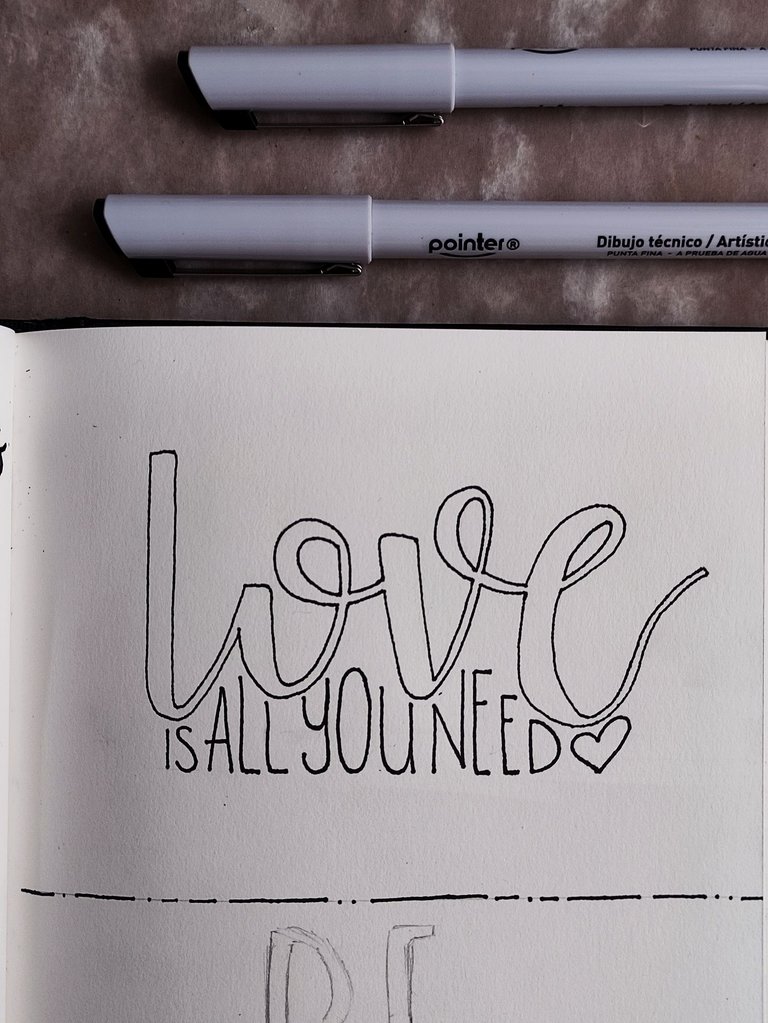
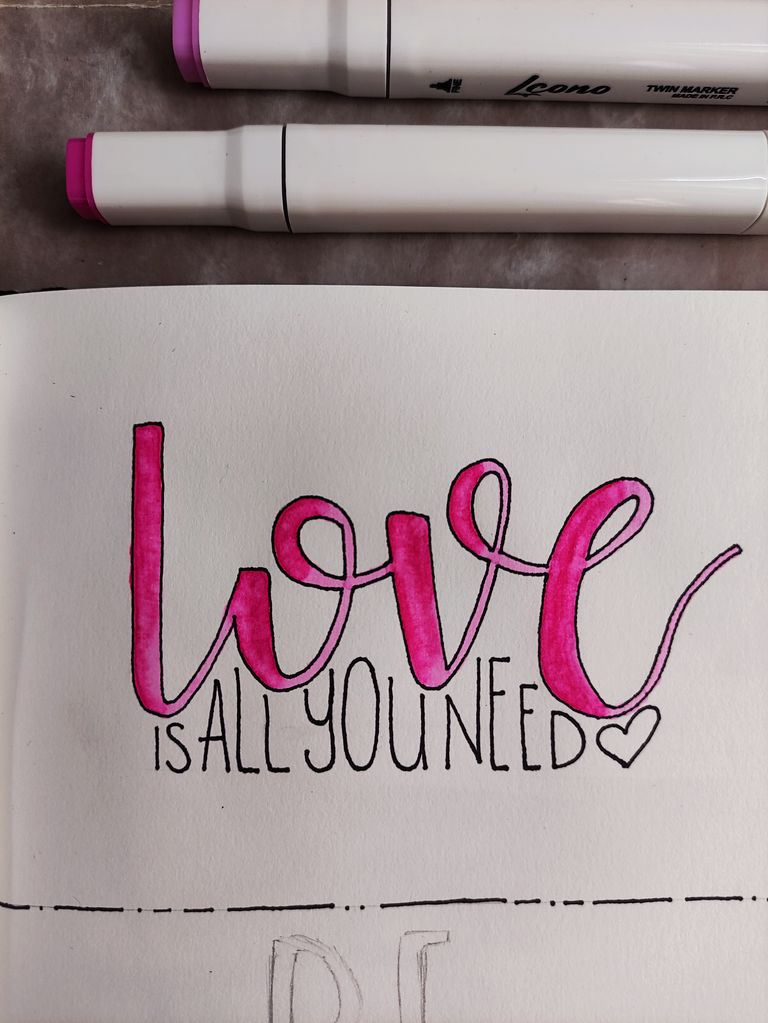
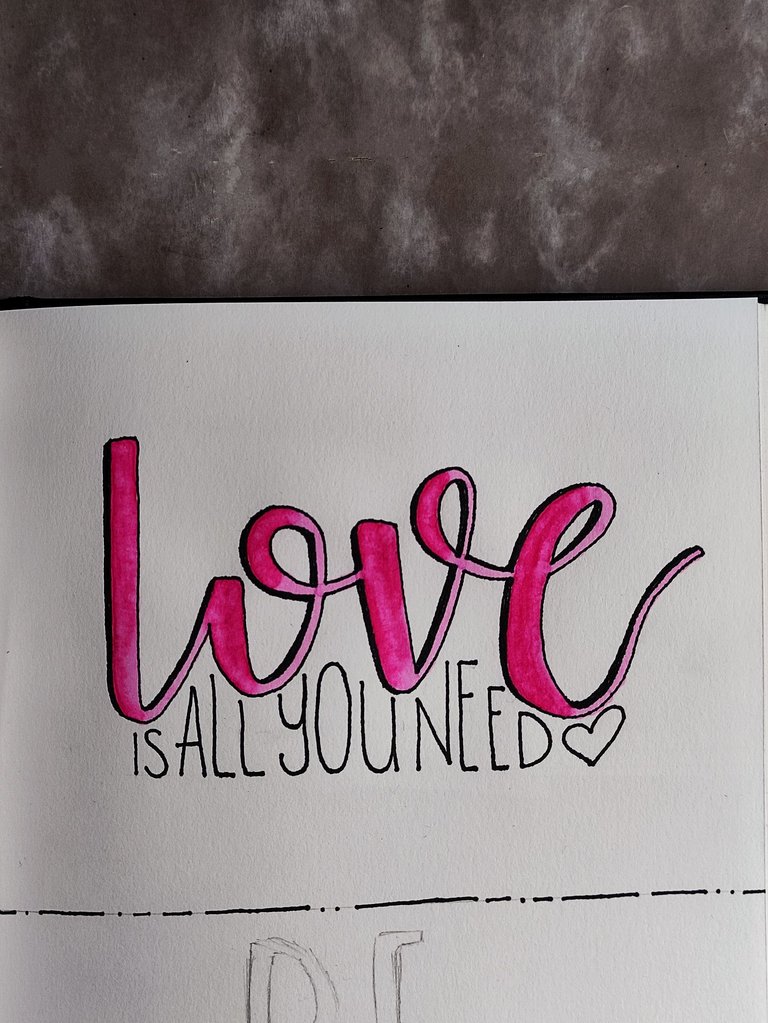
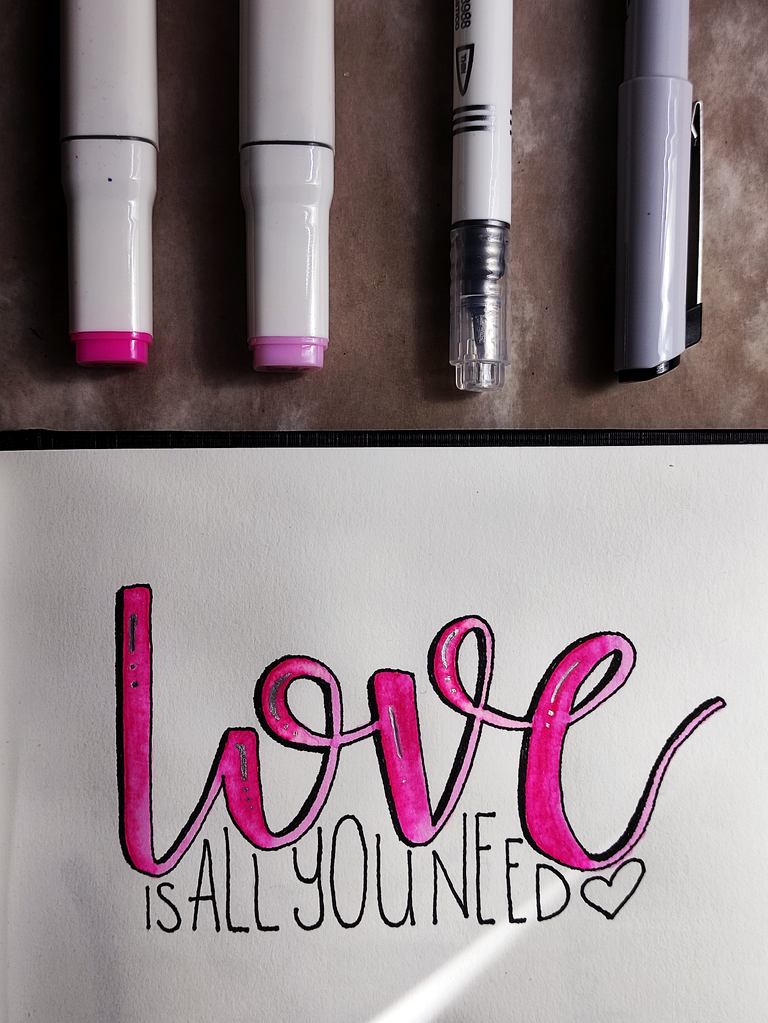
La primera frase corta fue la más sencilla pues no tuve que batallar tanto con el degradado. Comenzé delineando con marcador negro de punta fina de 0,3 mm pues no quería un trazo demasiado grueso pero tampoco tan delgado que fuese apenas visible. El siguiente paso fue el coloreado para el que usé dos tonos de rosado esperando que el primer tono aplicado secara por completo antes de aplicar el segundo. Por último, la sombra en negro la realicé con el marcador negro de punta fina de 1,0 mm.
Luciría mucho más lindo si tuviese un marcador blanco para dar los detalles, pero aún así el gris metalizado sirvió para esto esto.
The first short sentence was the easiest as I didn't have to struggle so much with the gradient. I started outlining with a 0.3 mm fine tip black marker as I didn't want the line to be too thick but not so thin that it was barely visible. The next step was the coloring for which I used two shades of pink, waiting for the first shade to dry completely before applying the second. Lastly, the black shadow was done with the 1.0 mm fine tip black marker.
It would look much nicer if I had a white marker to give the details, but still the metallic gray served the purpose.
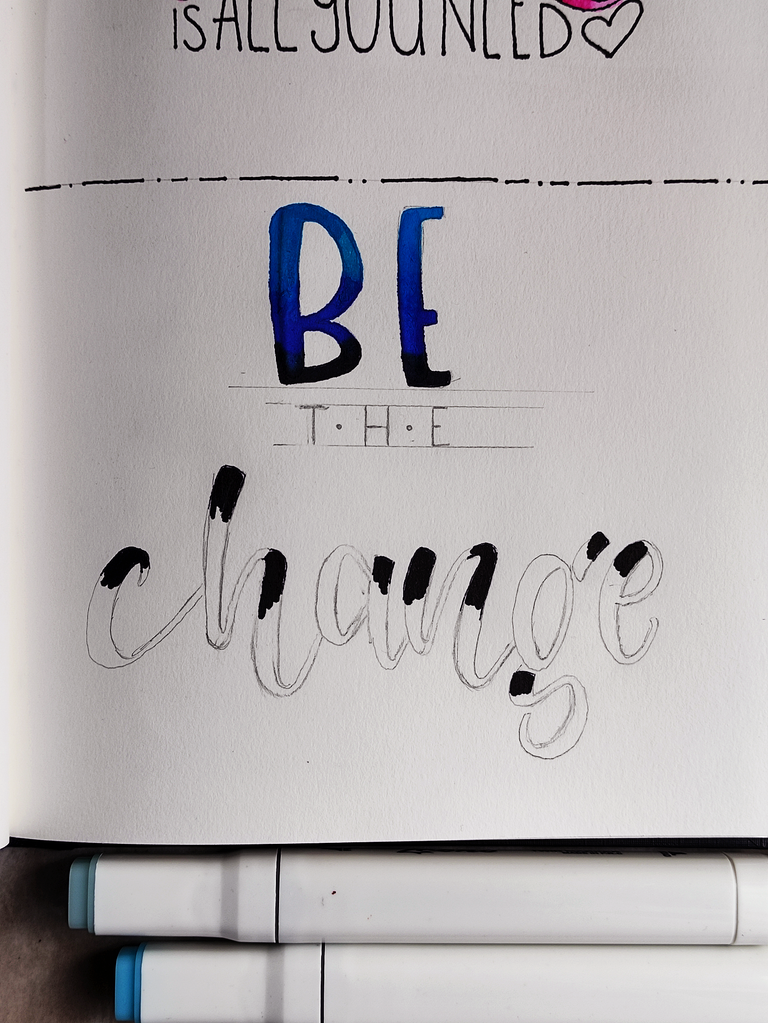
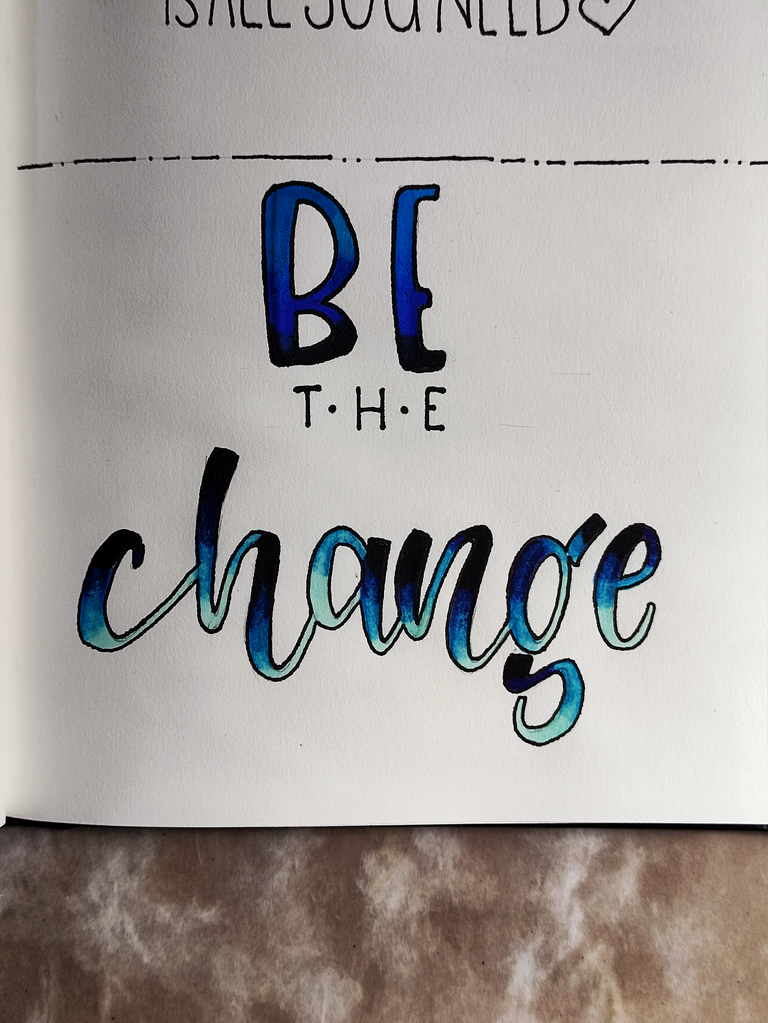
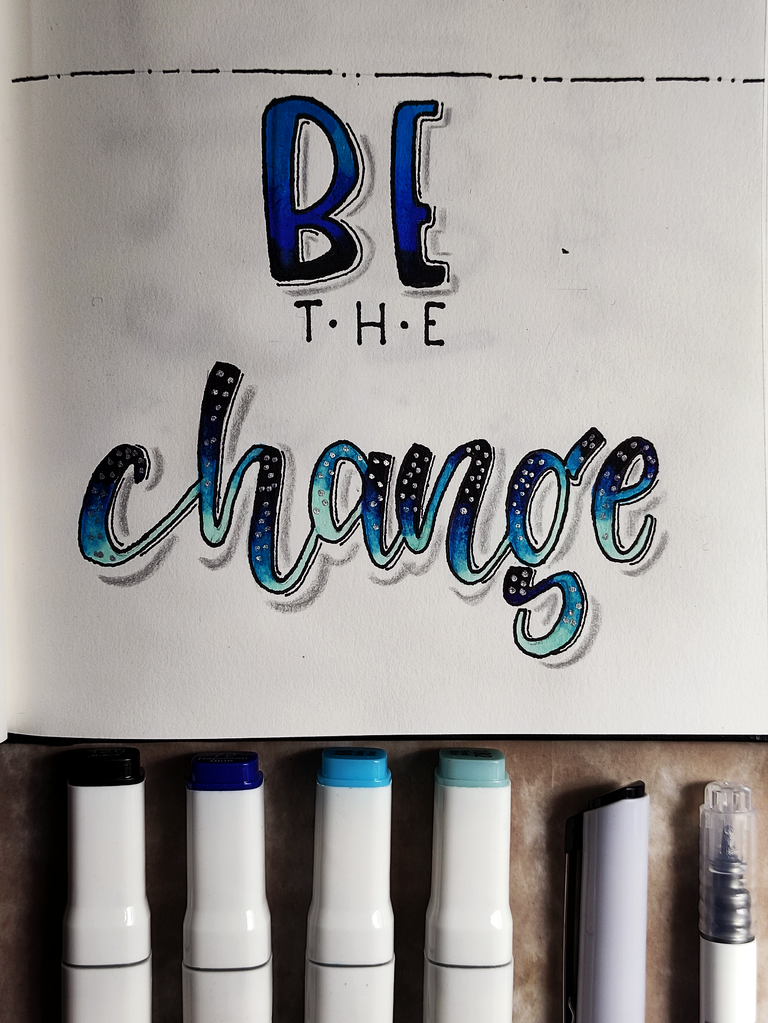
La segunda frase si se me hizo un poco más complicada y, de hecho, tuve que improvisar para mejorarla porque no estaba quedando como yo realmente quería. Comencé usando los marcadores a base de agua de Artesco, pero me di cuenta que realmente no me iban a funcionar porque este set de marcadores no dispone de tantas tonalidades para poder lograr un mejor degradado, así que continué con los marcadores a base de alcohol, usando cuatro tonos diferentes. Lo que más me dificultó este segundo intento fue el hecho de que hasta el momento no había realizado degradados usando colores oscuros, como el negro. Para esta frase no quería realizar un borde en las letras, pero al final lo tuve que realizar debido al problema del sangrado de la tinta.
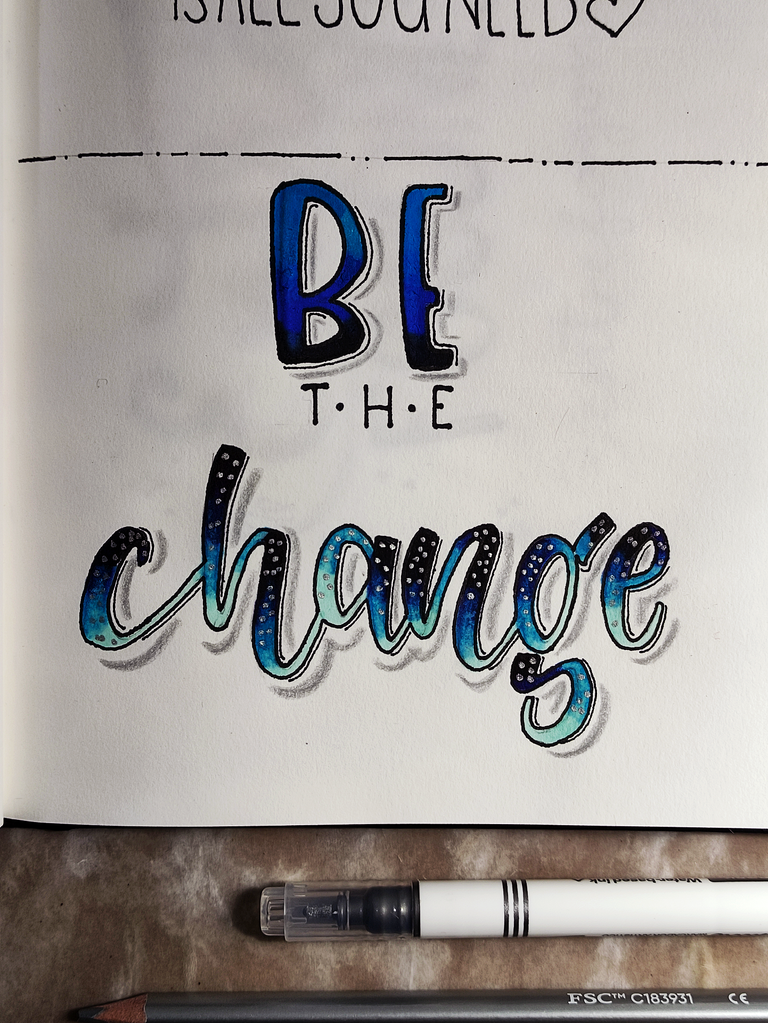
Lo que marcó la diferencia fue el sutil delineado extra que realicé con el marcador negro de punta 0,05 mm, el sombreado gris claro y el detalle de los puntos en plateados que terminaron dándole el toque perfecto, ¿ya ven como los detalles hacen la diferencia? puedes pasar de un lettering plano y un tanto aburrido a uno mucho más atractivo si incluyes sombreados y algunos otros detalles.
The second sentence was a bit more complicated and, in fact, I had to improvise to improve it because it was not looking the way I really wanted. I started using the Artesco water-based markers, but I realized that they were not really going to work for me because this set of markers does not have so many shades to achieve a better gradient, so I continued with the alcohol-based markers, using four different shades. What made this second attempt more difficult was the fact that so far I had not made gradients using dark colors, such as black. For this sentence I didn't want to make a border on the letters, but in the end I had to do it due to the problem of the ink bleeding.
What made the difference was the subtle extra outline I made with the 0.05 mm black marker, the light gray shading and the detail of the silver dots that ended up giving it the perfect touch, you see how the details make the difference? you can go from a flat and somewhat boring lettering to a much more attractive one if you include shading and some other details.

RESULTADO
RESULT
Cuéntame, ¿cuál de estas dos frases fue tu favorita? Yo me quedo con la segunda, porque apesar de que me dio trabajo y no estaba resultando como tenía en mente terminó quedando mejor de lo que esperaba.
Tell me, which of these two phrases was your favorite? I'll take the second one, because even though it gave me a lot of work and it wasn't turning out the way I had in mind, it ended up turning out better than I expected.

📷 Edición | Edition: Adobe Photoshop Ligthroom @maryed, Xiaomi Poco X3
Me encanta este de arte, bueno me gustó más el primero por el color rosado que es mi favorito, pero sin duda el segundo también está genial, te felicito por hermoso trabajo, saludos.
Me gustó mucho el segundo, especialmente, porque la palabra “change” parece una noche estrellada… No sé, es lindo. Aunque el primero también es lindo, pues esa tonalidad de rosado es muy bonita.
Ame el resultado de la segunda frase era un paso de detalles de ser un desastre o una obra maestra y triufaste. 👏🏼👏🏼👏🏼✨✨✨
No había más remedio que ✨confiar en el proceso✨ jajaja.
Aplica para todo
@tipu curate
Upvoted 👌 (Mana: 55/75) Liquid rewards.