Feliz inicio de semana para todos! Este es un gran día para compartir con ustedes ésta idea muy creativa para realizar con material de provecho un lindo organizador de ropa interior para mis niñas, que puede tener muchos usos en realidad, pero aquí les mostraré el paso a paso a propósito del concurso de la comunidad @womentribe titulado "𝑷𝒊𝒆𝒏𝒔𝒂 𝒚 𝒄𝒓𝒆𝒂, 𝒖𝒏 𝒓𝒆𝒕𝒐 𝒂𝒍 𝒑𝒐𝒕𝒆𝒏𝒄𝒊𝒂𝒍 𝒄𝒓𝒆𝒂𝒕𝒊𝒗𝒐.// Concurso" Link
Happy start to the week everyone! This is a great day to share with you this very creative idea to make a nice underwear organizer for my girls with useful materials, which can have many uses in reality, but here I will show you the step by step about the contest of @womentribe community titled "think and create, a challenge to creative potential".// Contest"Link

Primero quisiera contarles que para este proyecto hace falta mucho pegamento, por lo que preparé un engrudo que no es más que la mezcla de agua y harina de trigo (también se prepara con Maicena). Ésta mezcla es la clave, nos ayudará a que todo pegue y le dará fuerza y resistencia al cartón. Mezclamos 1/2 litro de agua con 3 cucharadas de harina de trigo, sin dejar de mover a fuego medio hasta que espese y deja reposar. Vierte en un envase y cuando esté frío puedes usar.
First I would like to tell you that this project requires a lot of glue, so I prepared a paste that is nothing more than the mixture of water and wheat flour (it is also prepared with cornstarch). This mixture is the key, it will help us to make everything stick and will give strength and resistance to the cardboard. Mix 1/2 liter of water with 3 tablespoons of wheat flour, continuing to move over medium heat until it thickens and lets it rest. Pour into a container and when it is cold you can use.
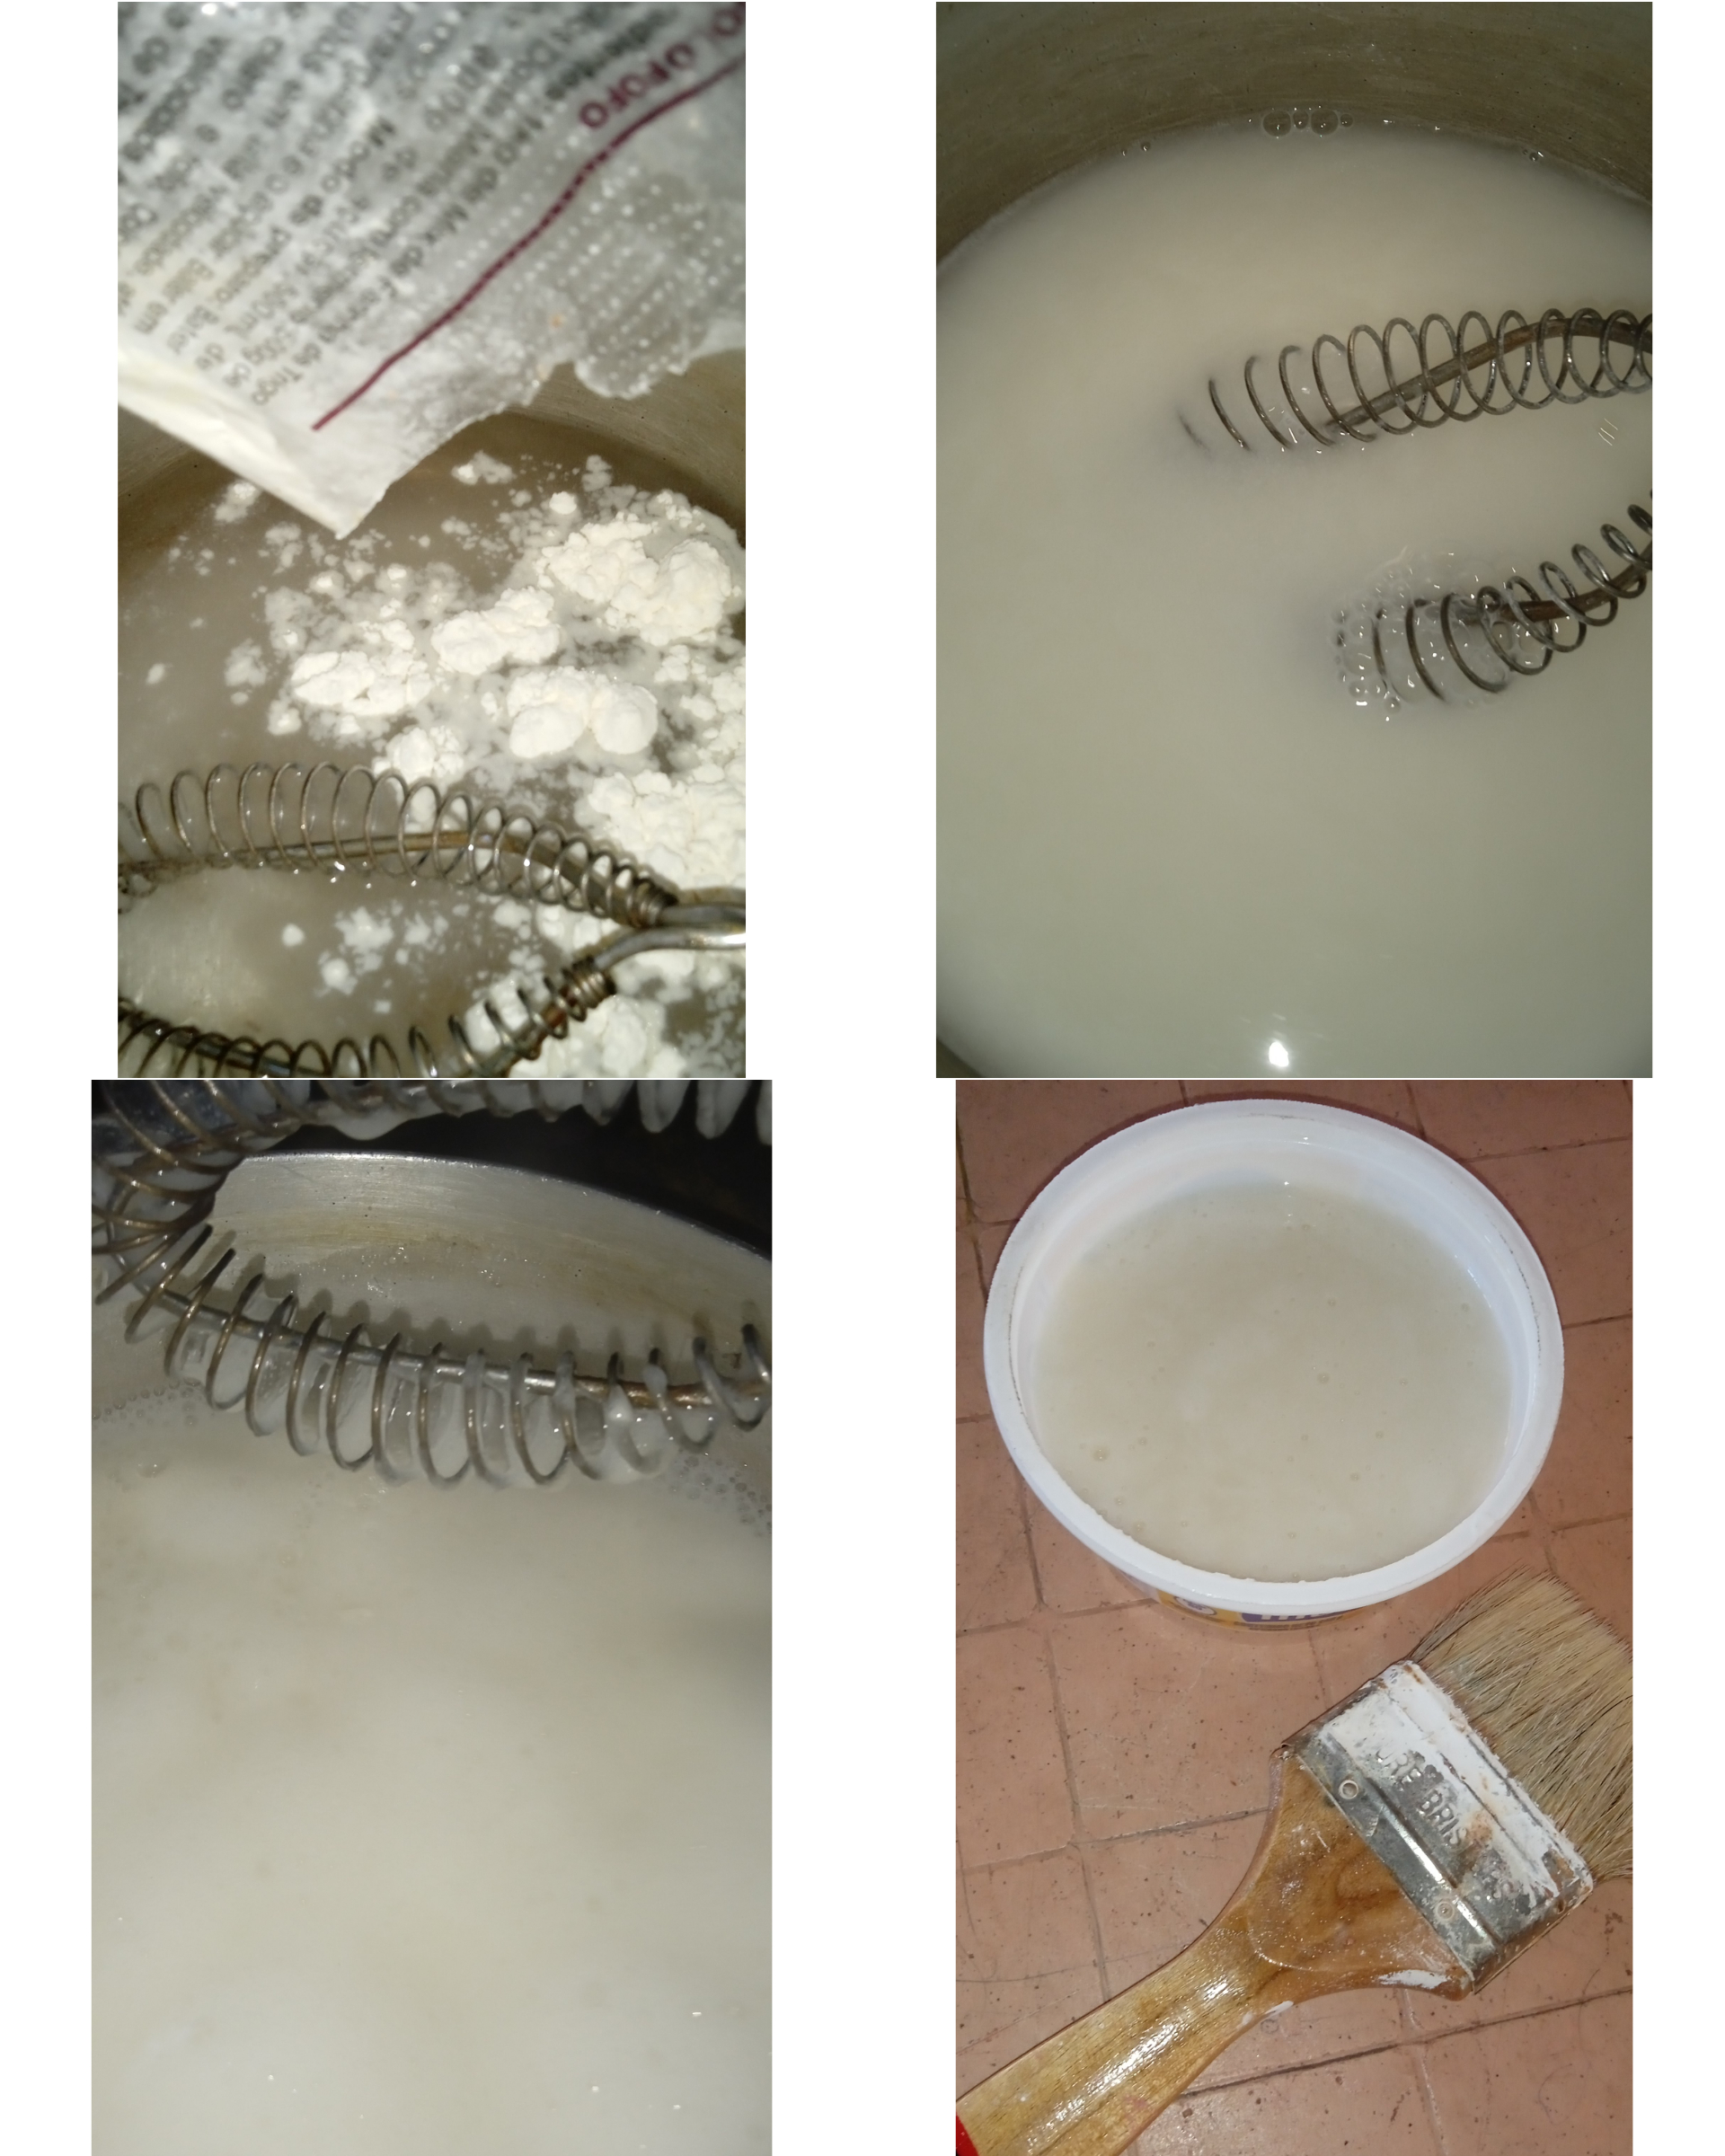
Otros materiales // Other materials
- 1 caja de cartón - 1 cardboard box
- Papel (envoltura de harina pan) - Paper (bread flour wrap)
- Engrudo - Engrudo
- Tijeras - pair of scissors
- Lápiz y regla - Pencil and ruler
- Pintura - Painting
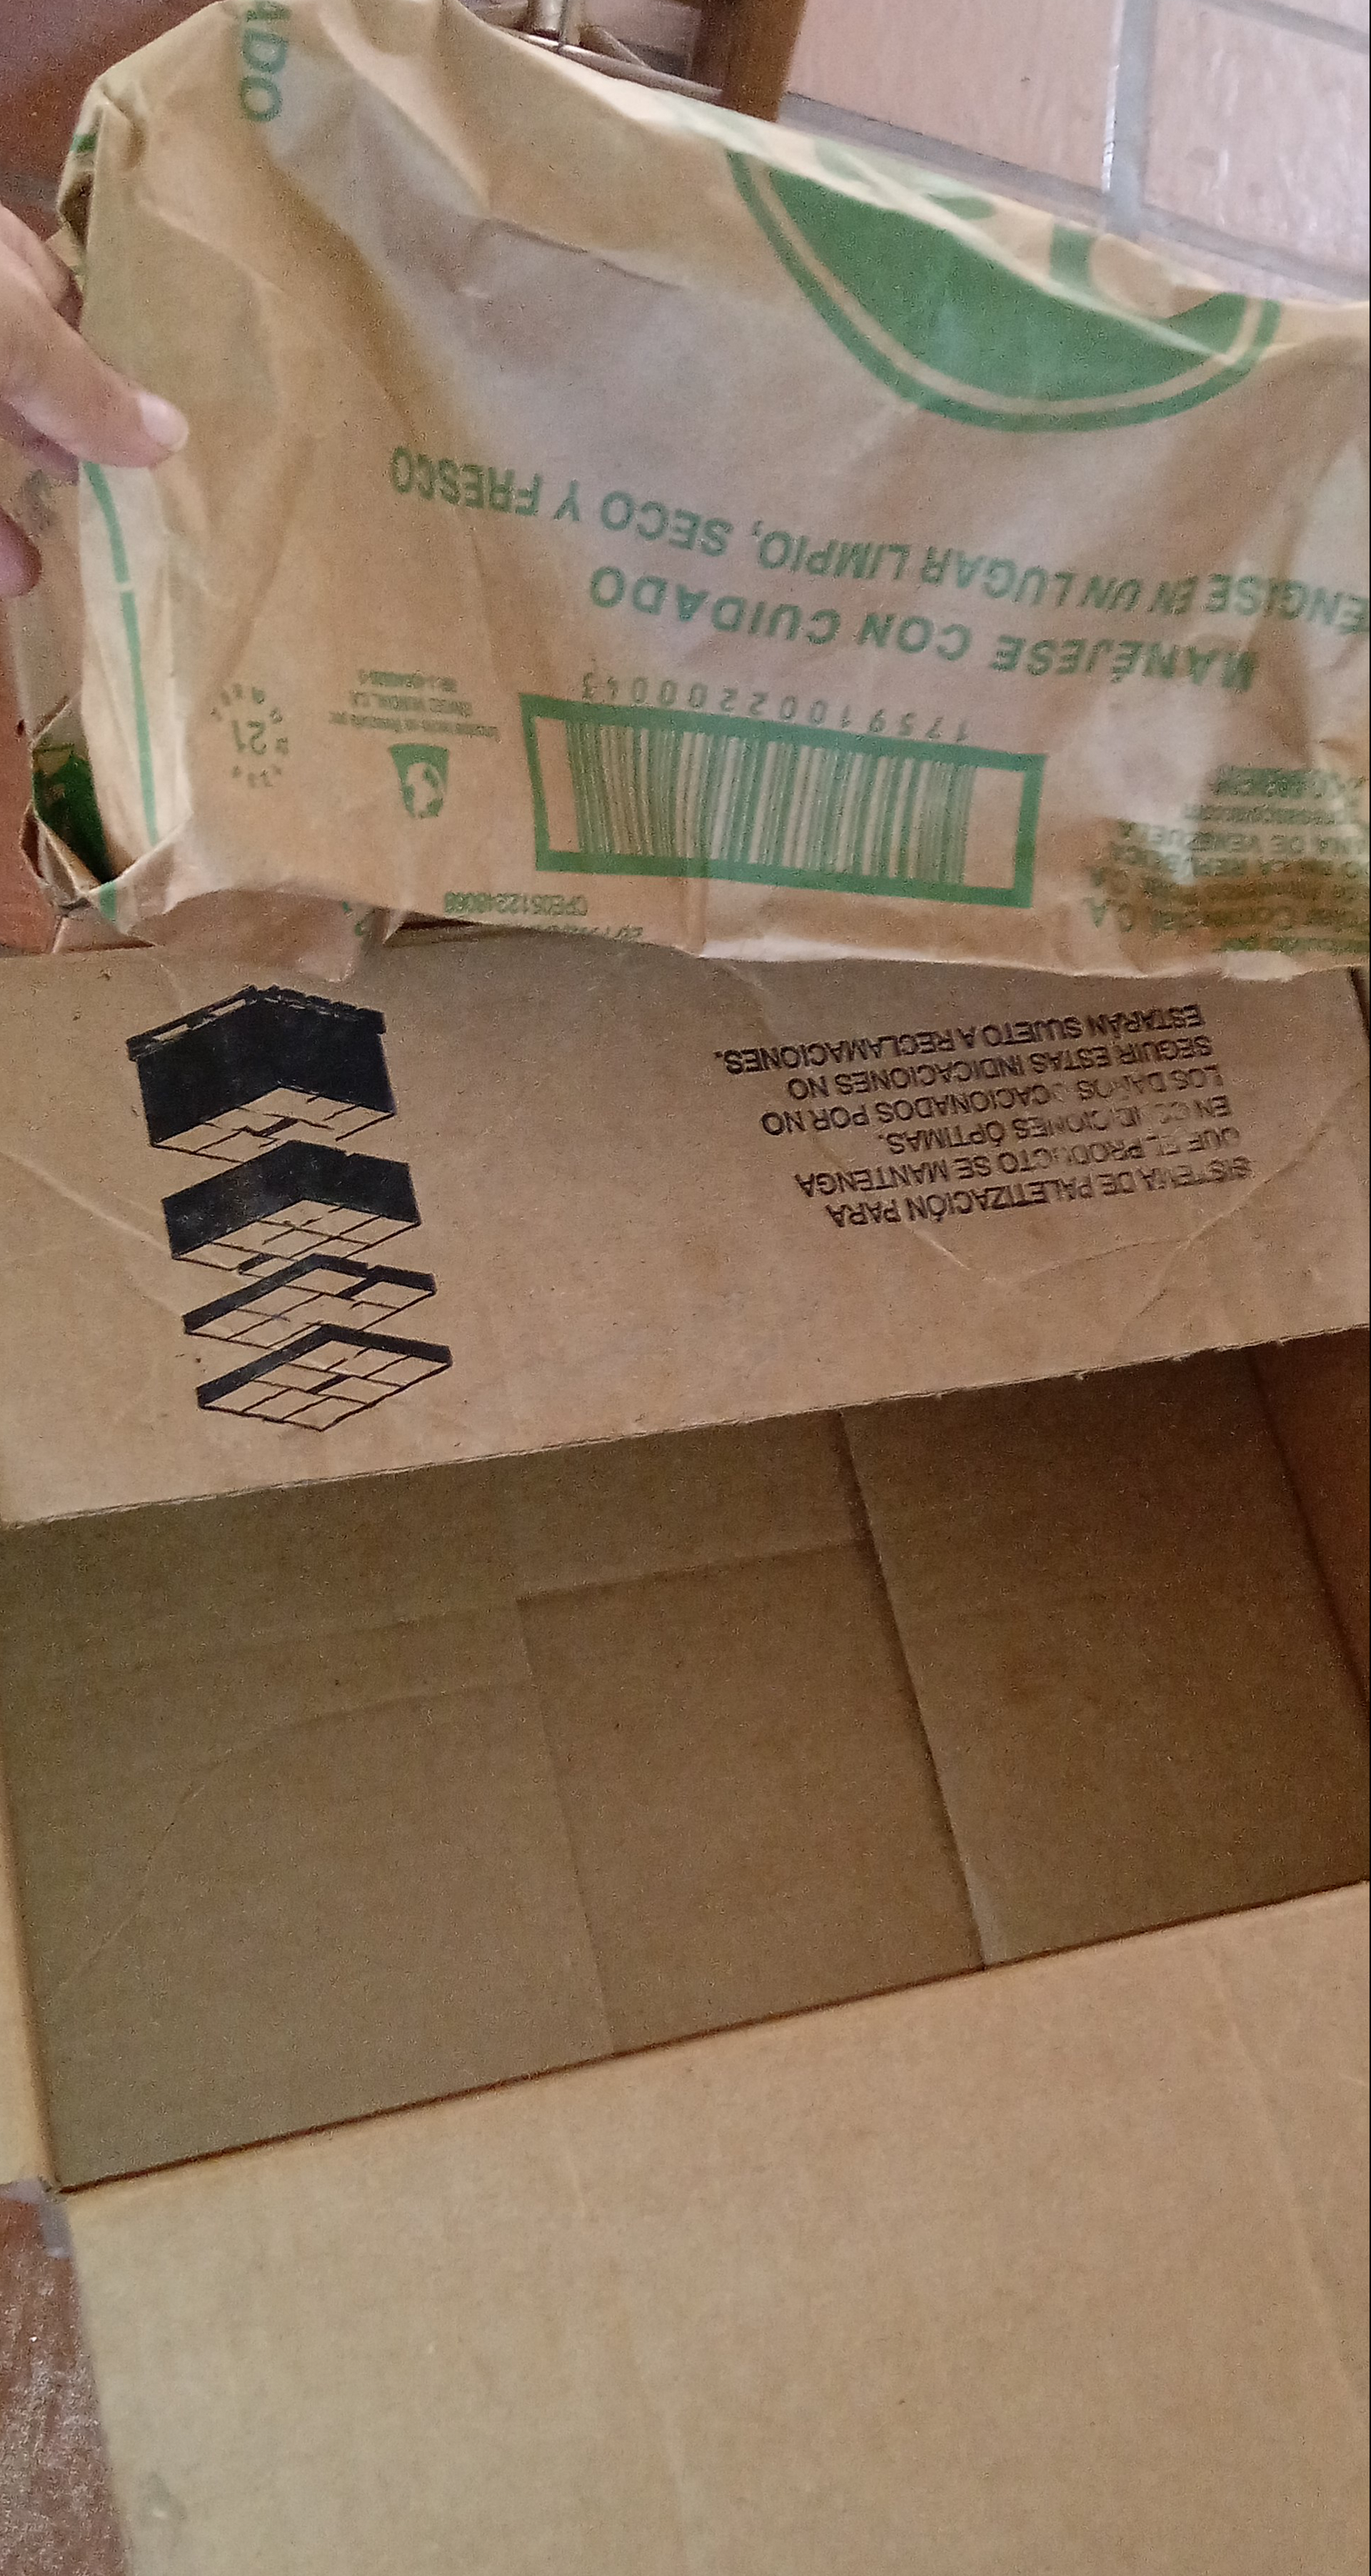
Este material (caja y papel) lo encontré en un local comercial cercano a mi casa y lo tome antes de que lo desecharan en la basura.
I found this material (box and paper) in a shop near my house and took it before they discarded it in the trash.
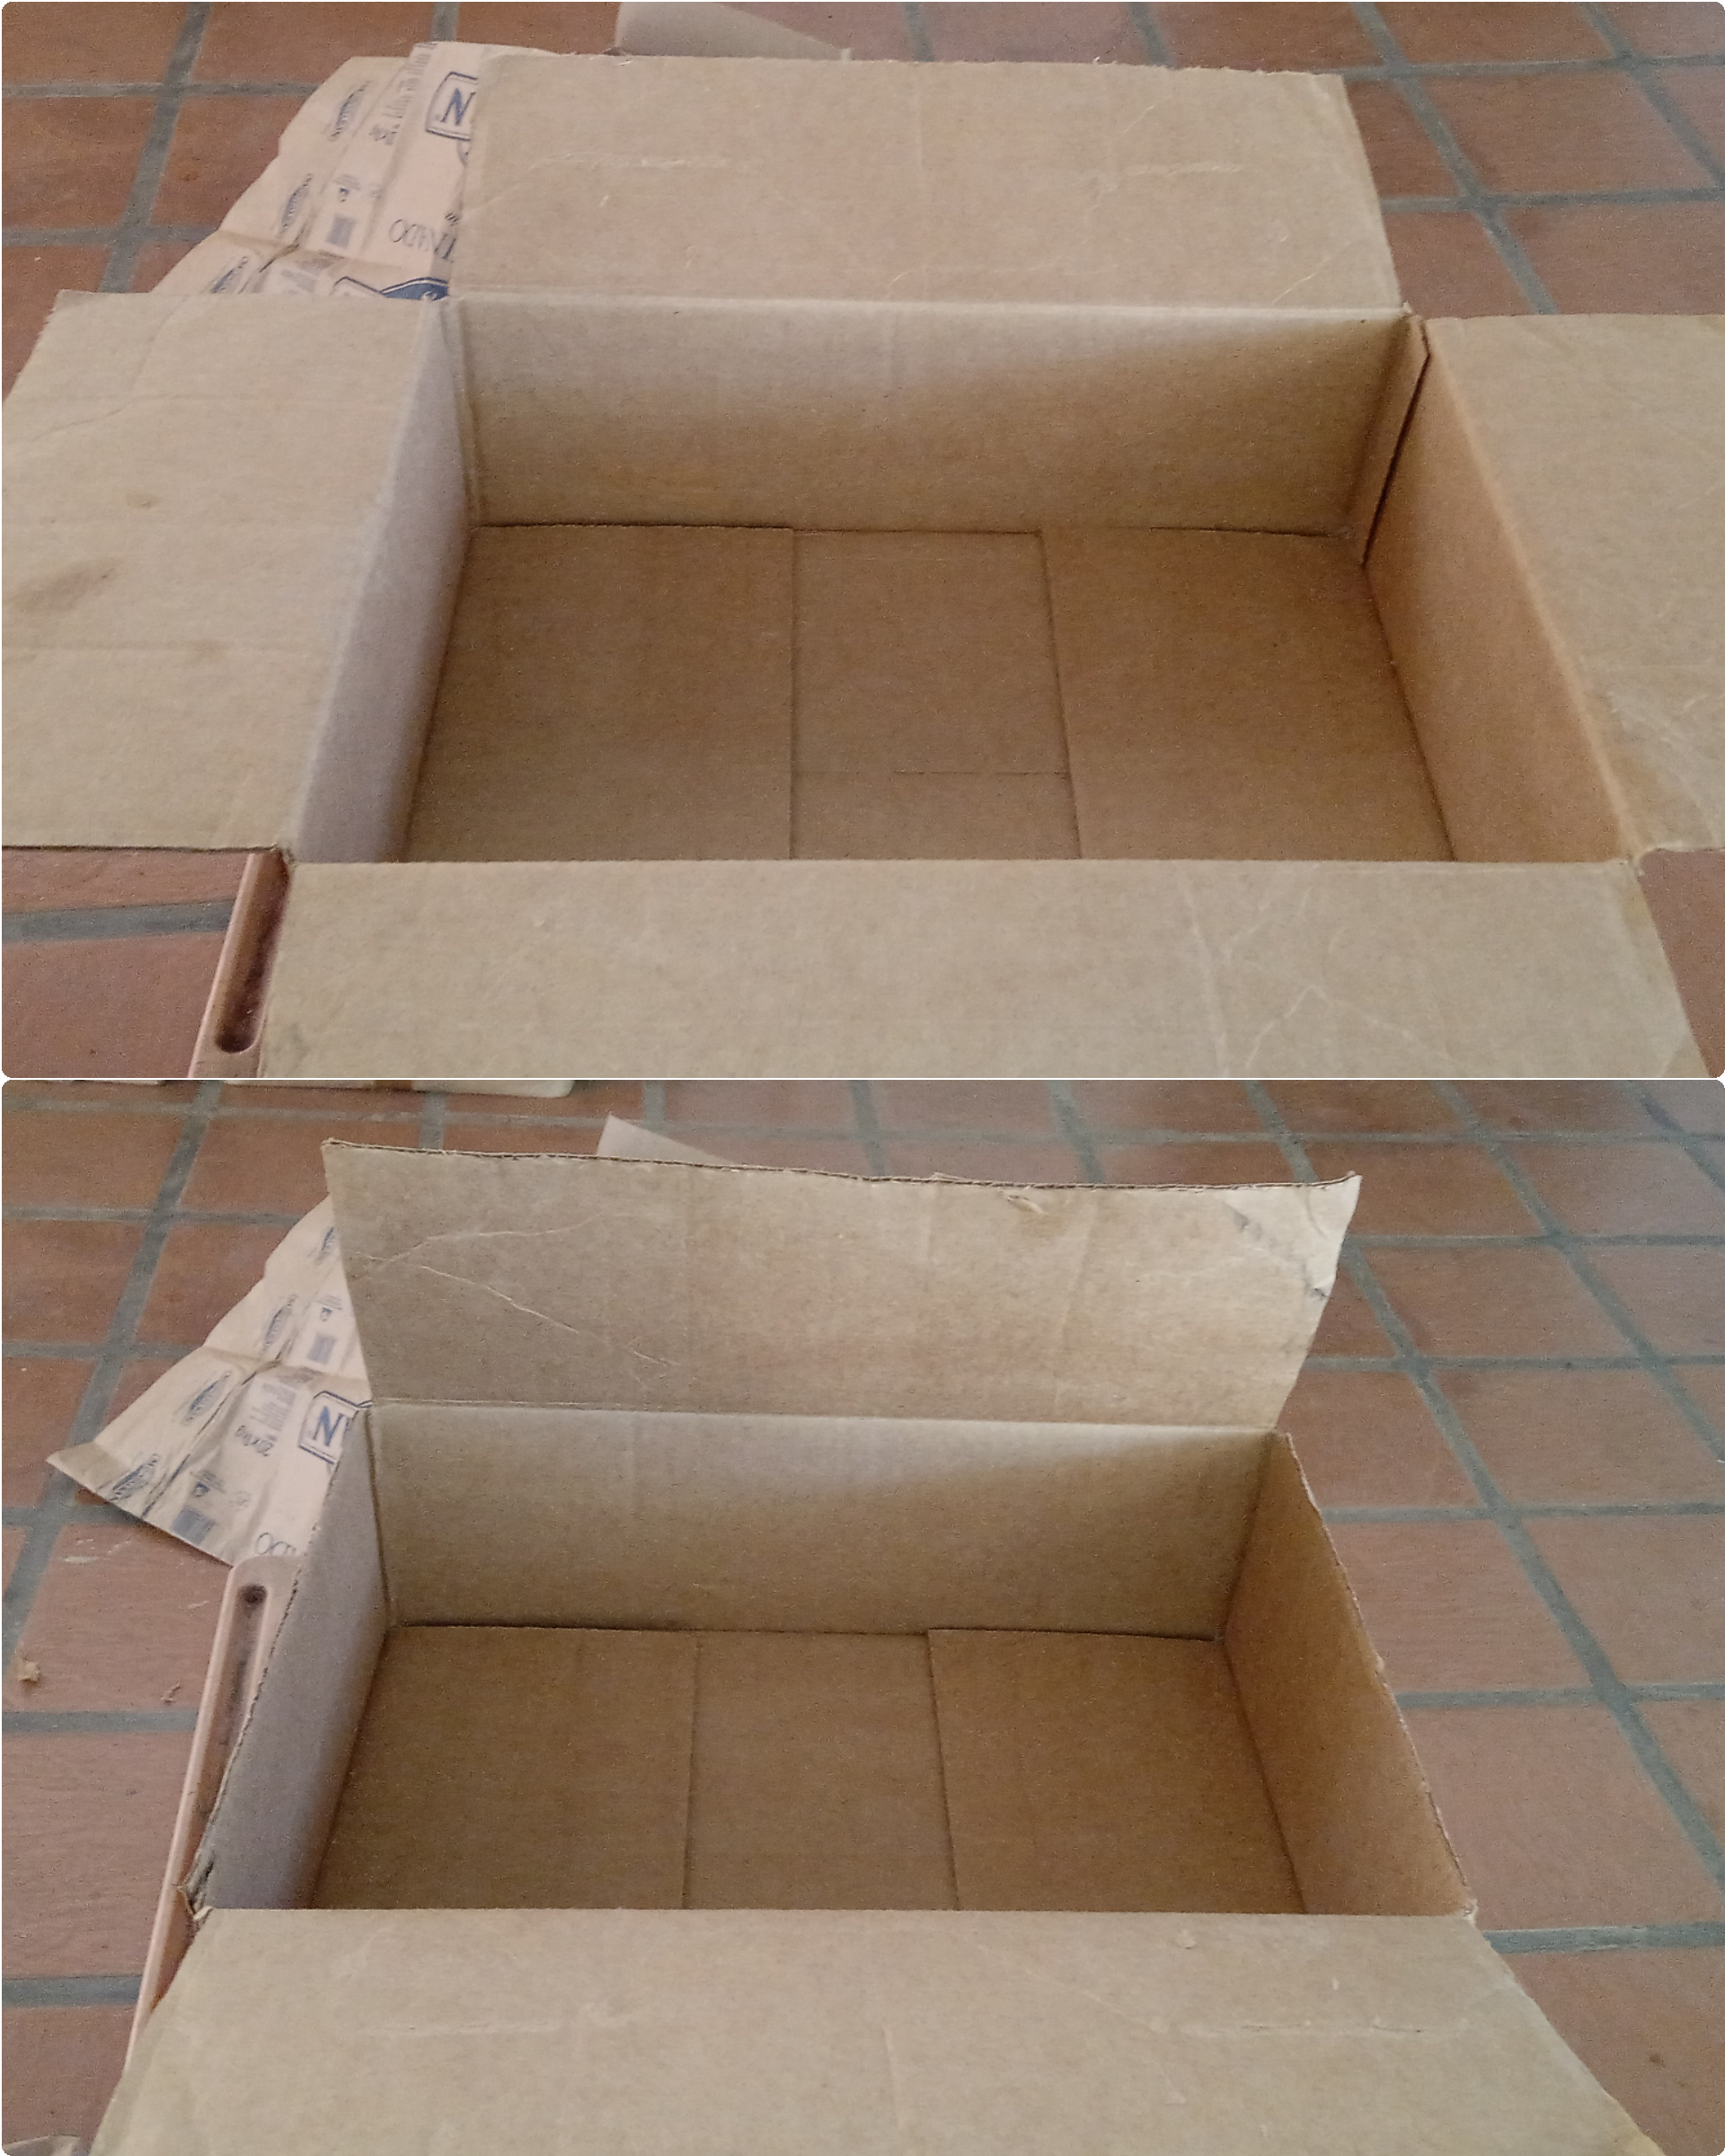
La caja debe tener poca altura preferiblemente, lo primero que hice además de limpiarla fue cortar las dos tapas pequeñas y mantener las grandes.
The box should preferably be low in height, the first thing I did besides cleaning it was to cut the two small lids and keep the large ones.
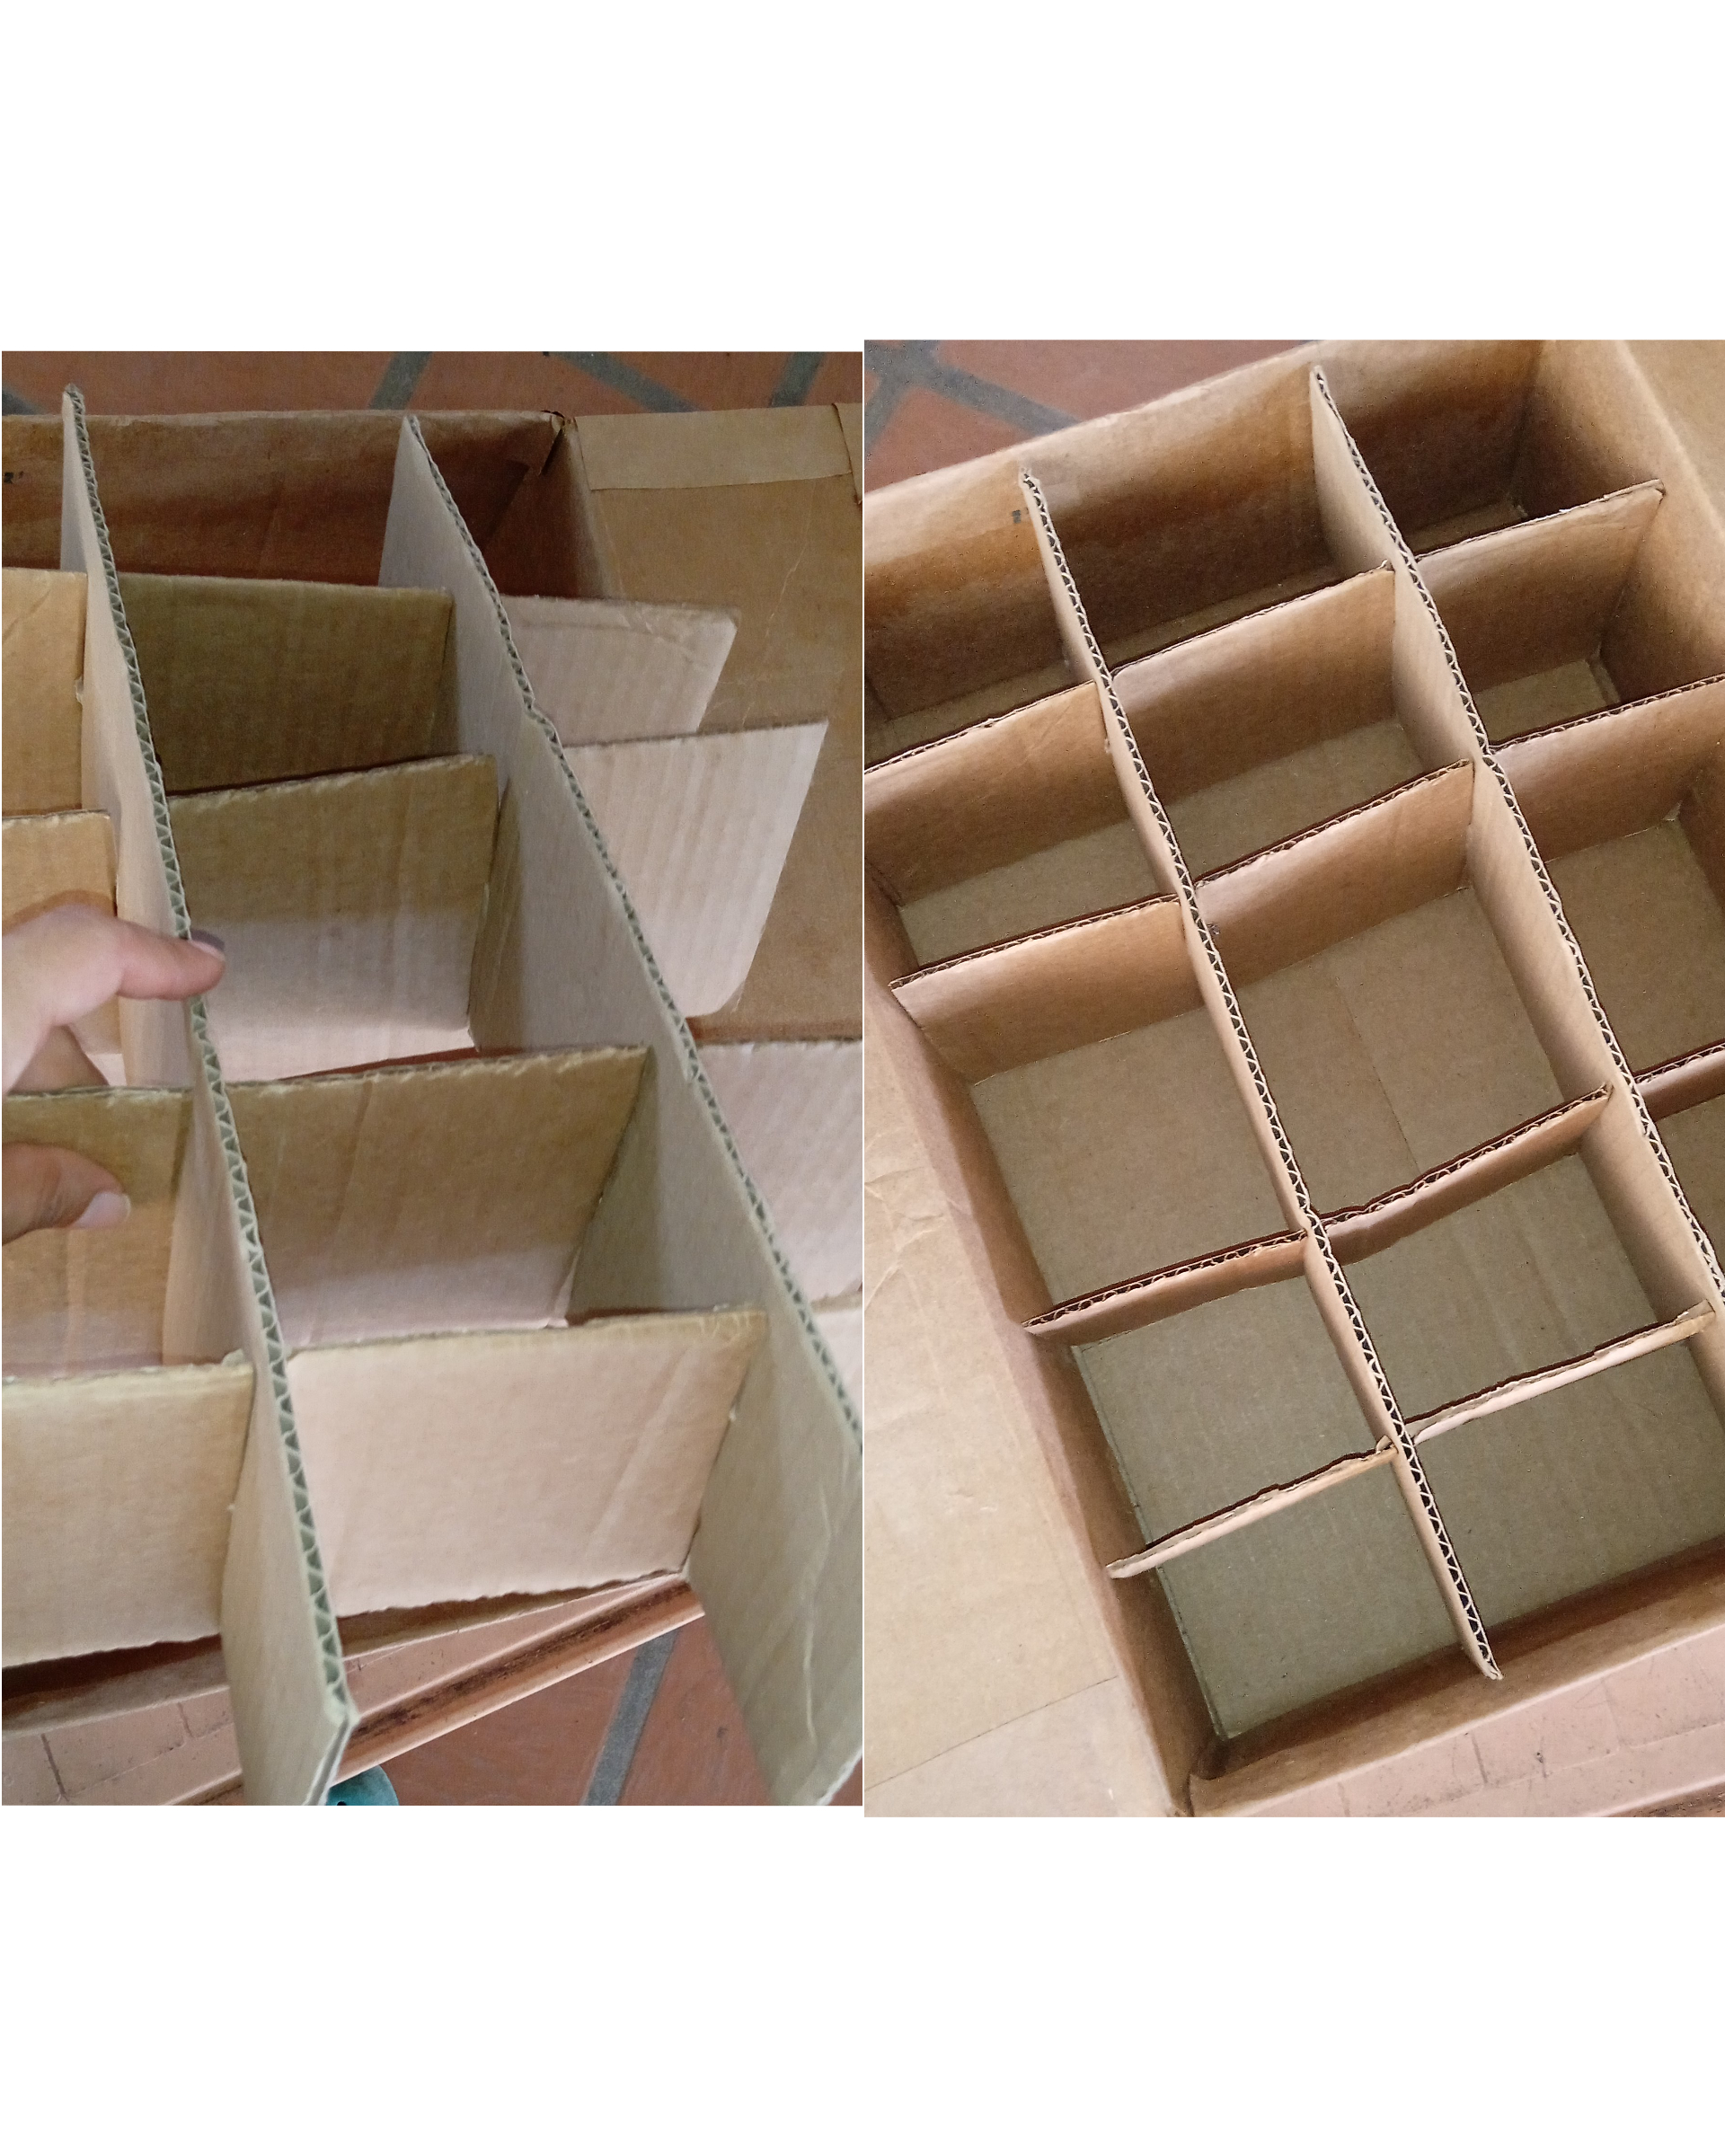
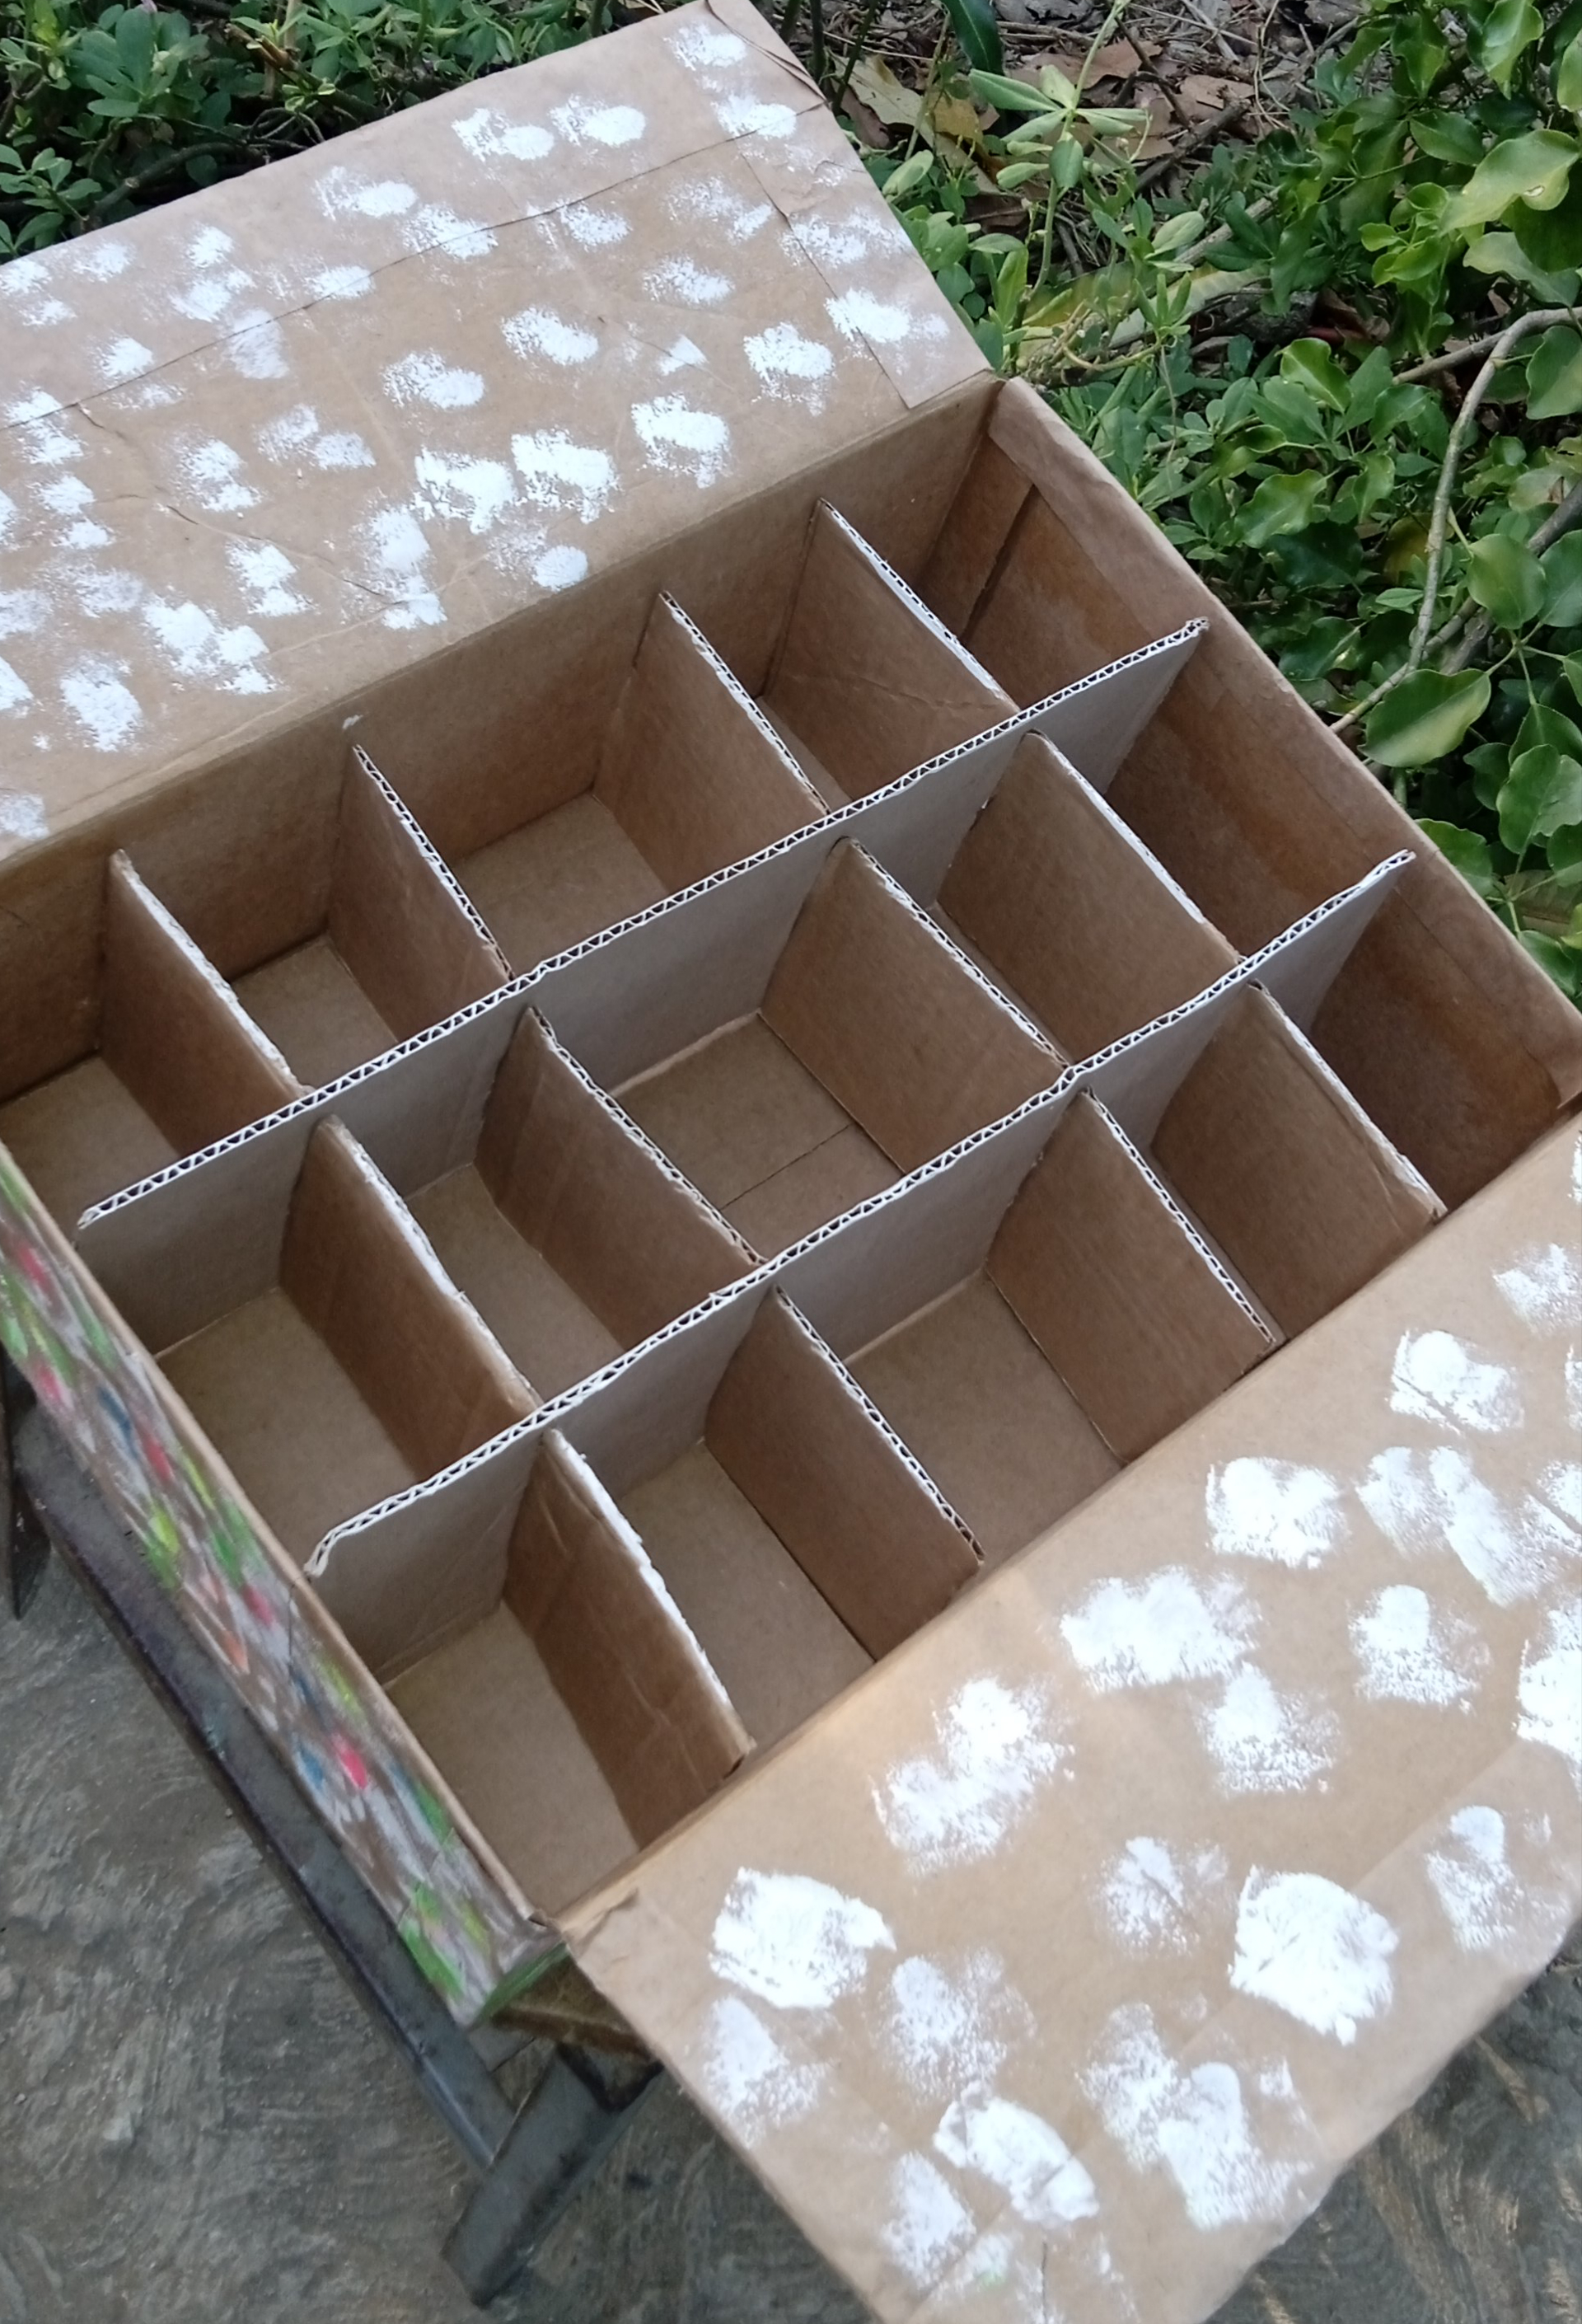
Usé retazos de cartón para armar las divisiones del centro, tome las medidas de largo y ancho de su interior y marque y corte 4 trozos pequeños, siempre tratando de que se mantengan firmes. Para eso hay que cortar de manera exacta su tamaño.
I used pieces of cardboard to assemble the divisions in the center, take the measurements of the length and width of the interior and mark and cut 4 small pieces, always trying to keep them firm. For that, its size must be cut exactly.
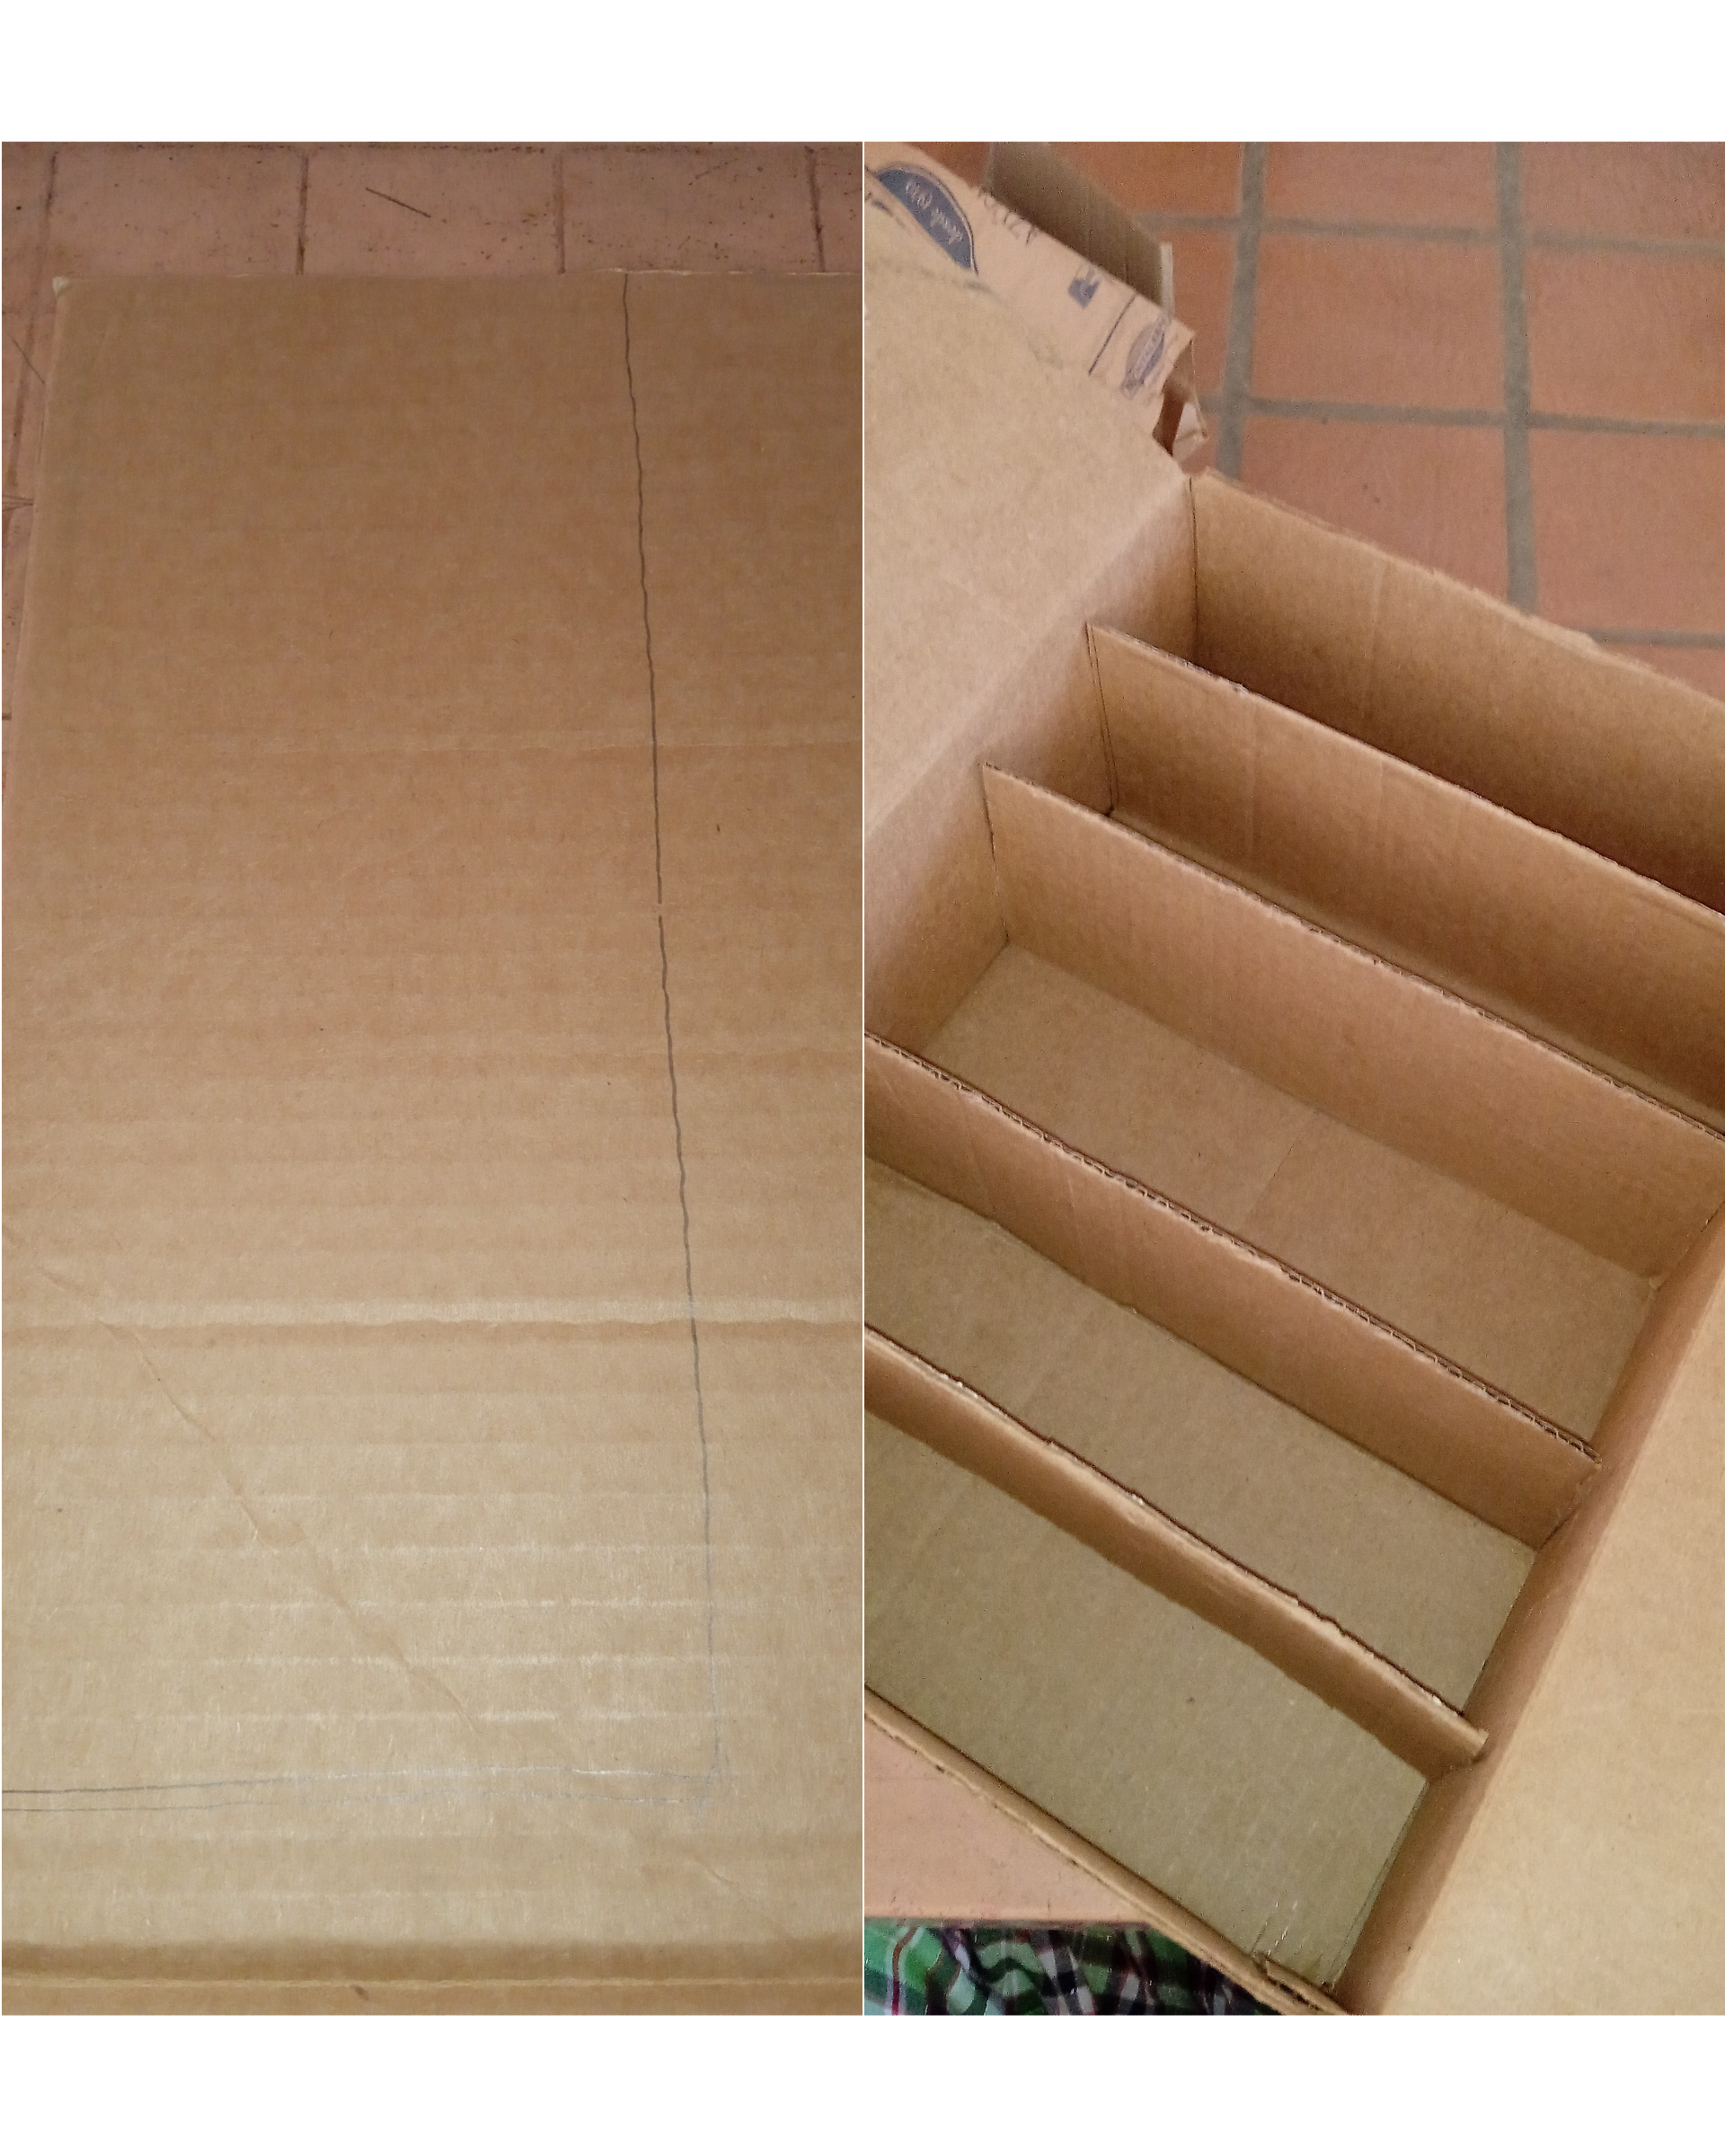
Y con dos trozos de cartón más largo hice dos divisiones más. Esto lo harás acorde al tamaño de la caja. Debes medir muy bien, es la clave. Para insertar una entre otra debes medir y hacer pequeños cortes que permitan que cada trozo de cartón encaje en otro.
And with two longer pieces of cardboard I made two more divisions. You will do this according to the size of the box. You must measure very well, it is the key. To insert one between the other you must measure and make small cuts that allow each piece of cardboard to fit into another.
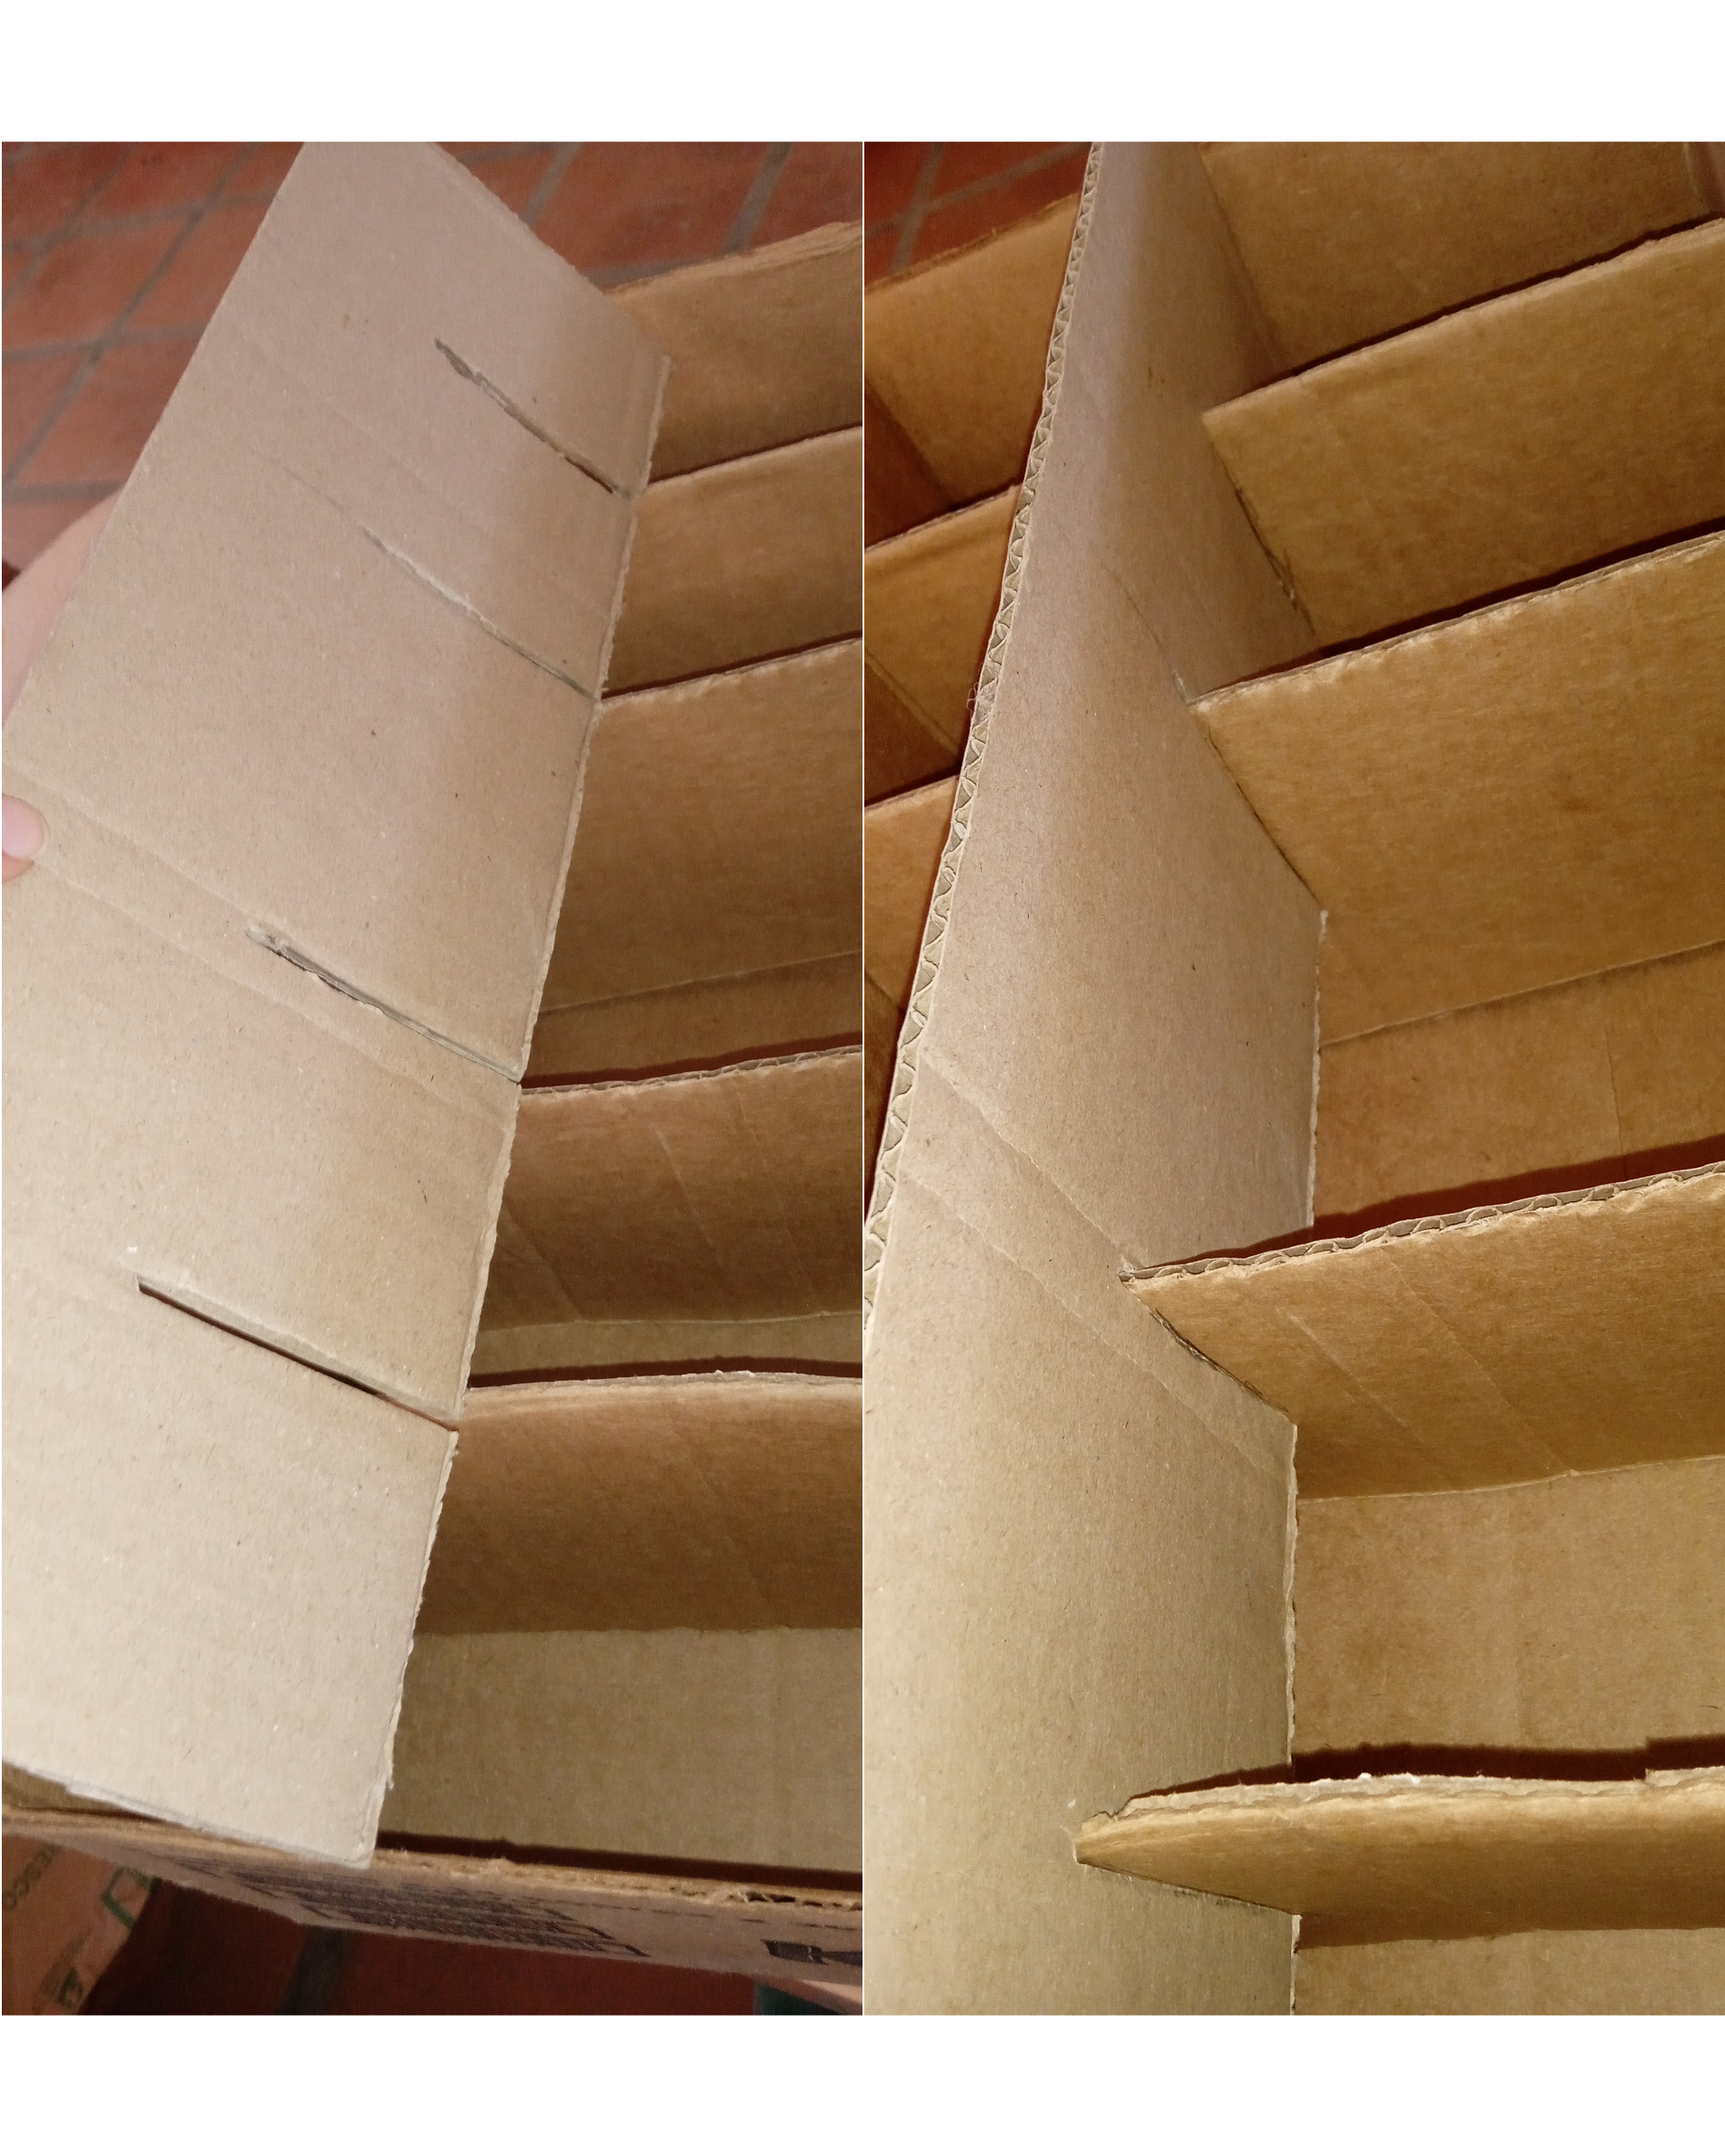
Esta parte puede ser la que más tiempo te lleve porque debes asegurarte de que todas las piezas encajen y tengan el tamaño correcto. Tuve que cortar y recortar varias veces hasta llegar al punto de que todo estuviese en su debido lugar.
This part may take the longest because you need to make sure that all the pieces fit together and are the correct size. I had to cut and trim several times to the point that everything was in its proper place.
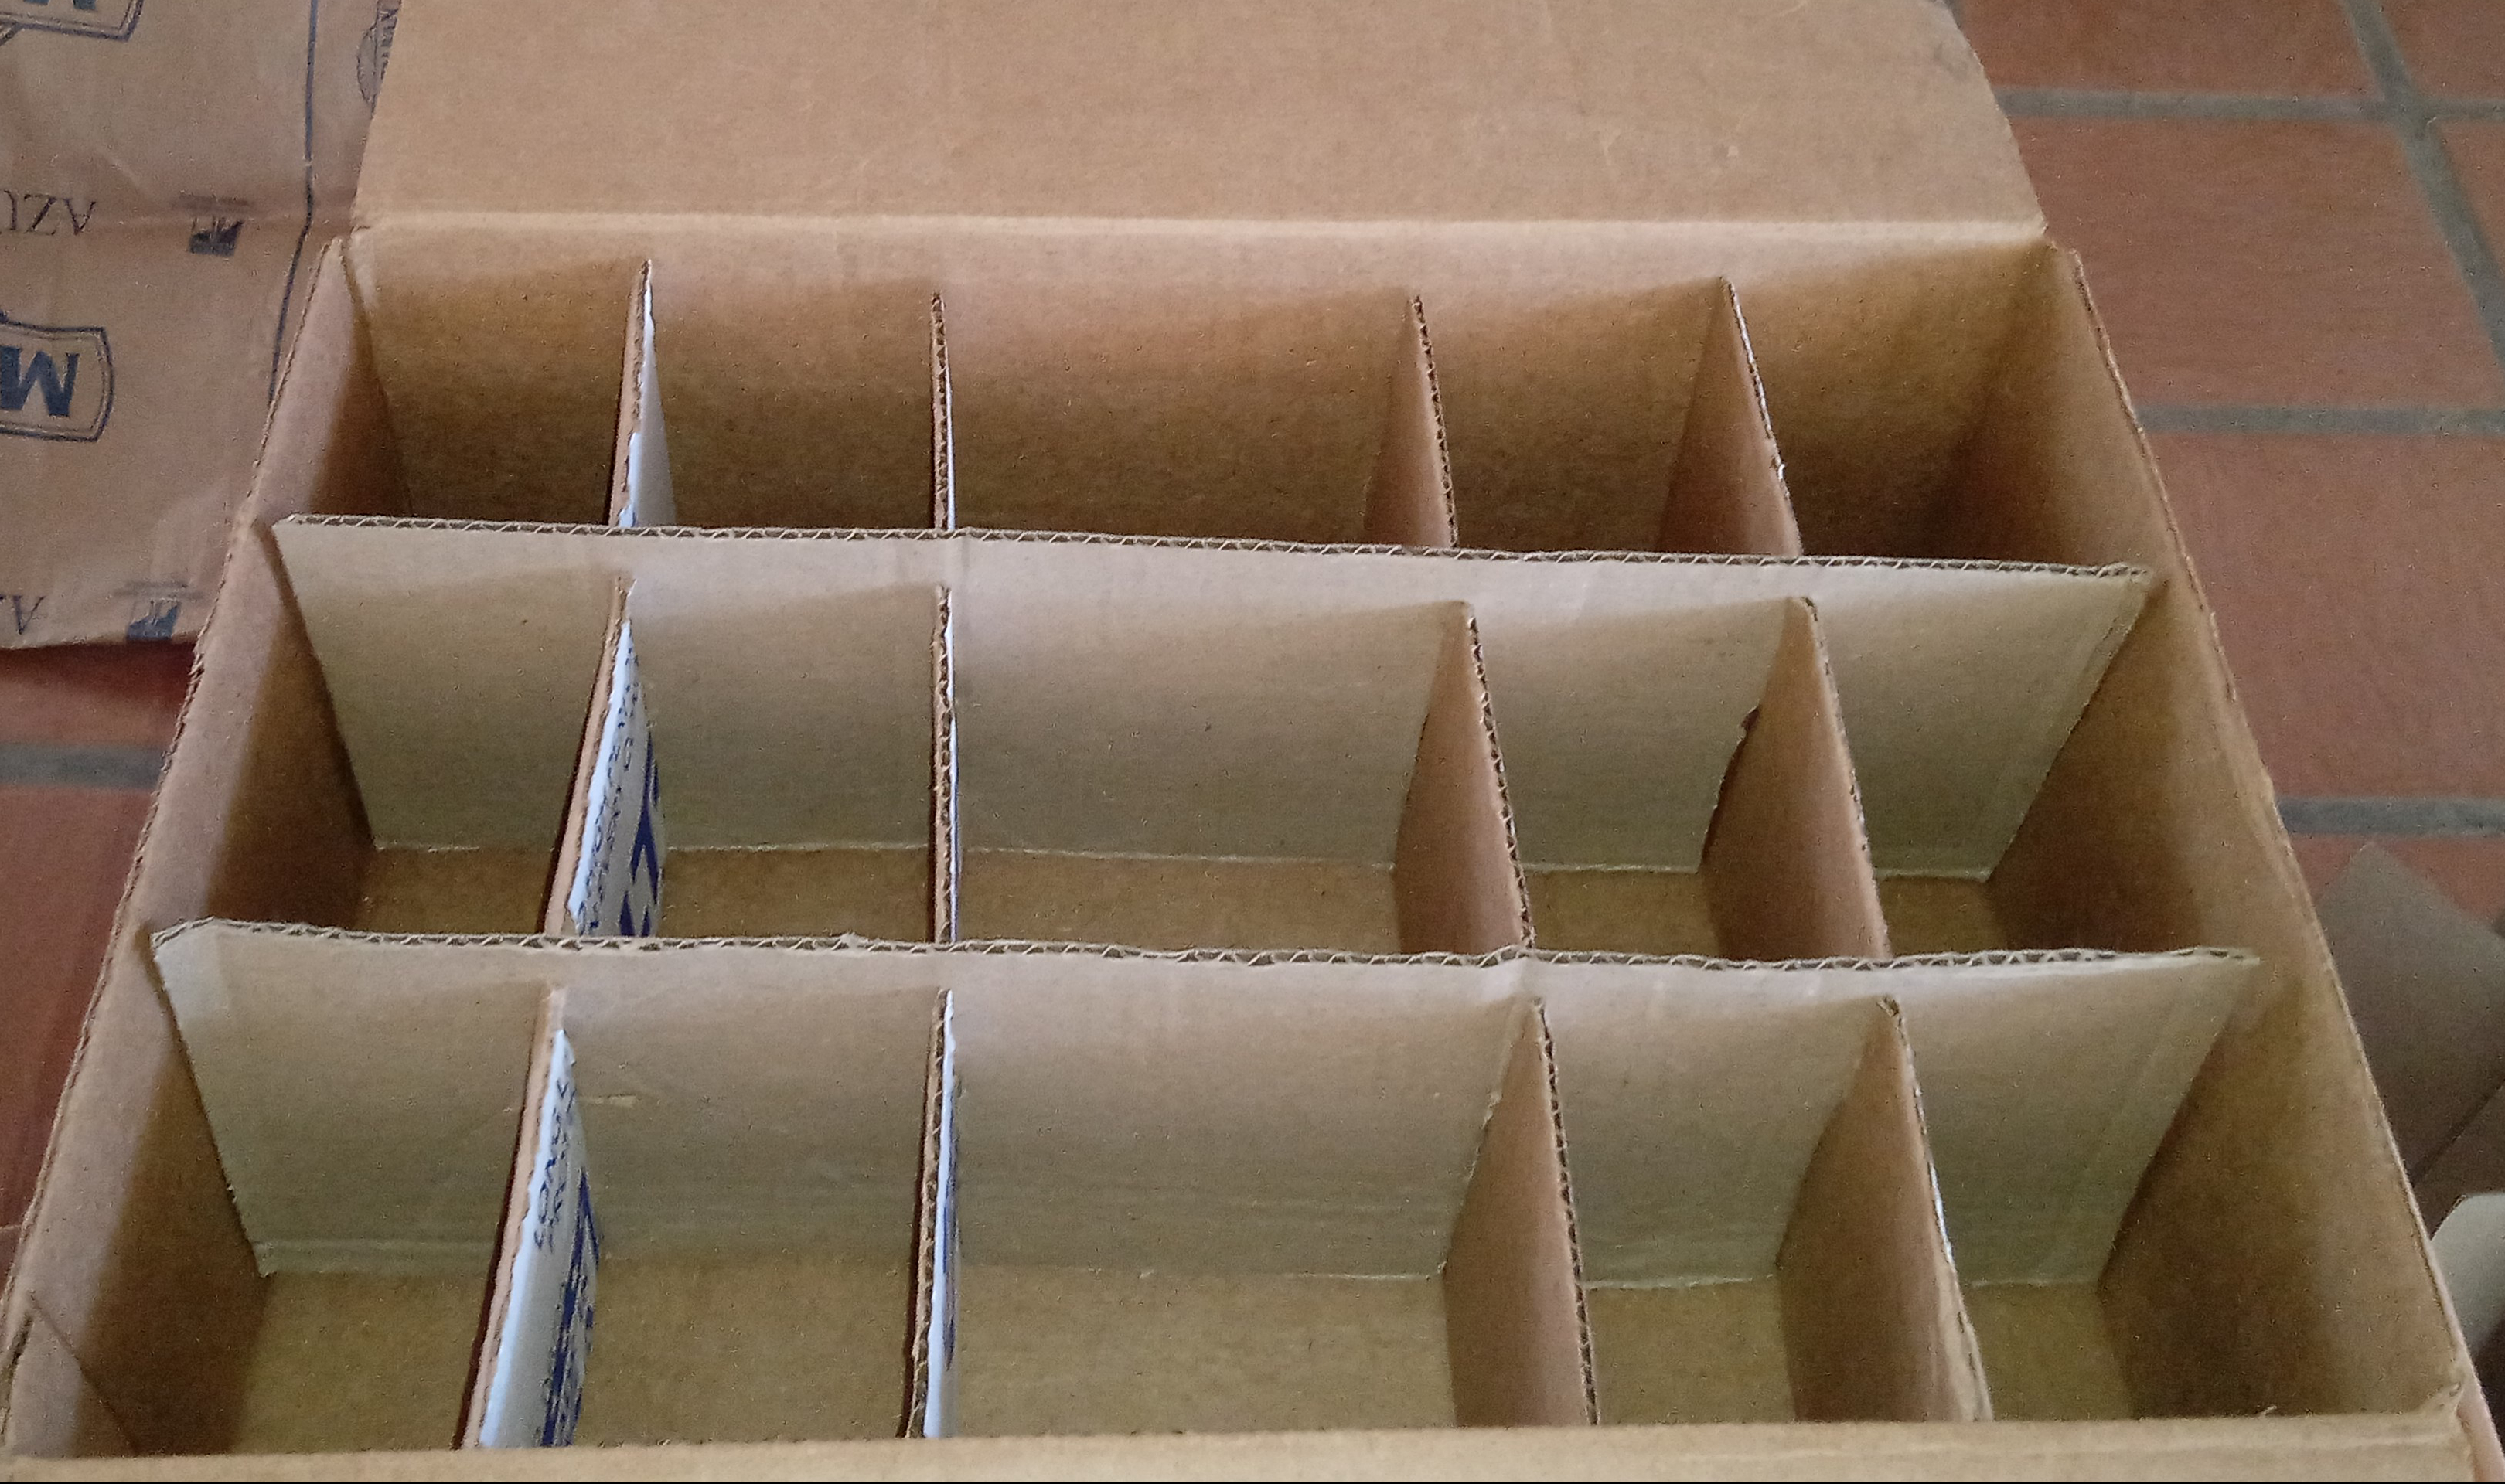
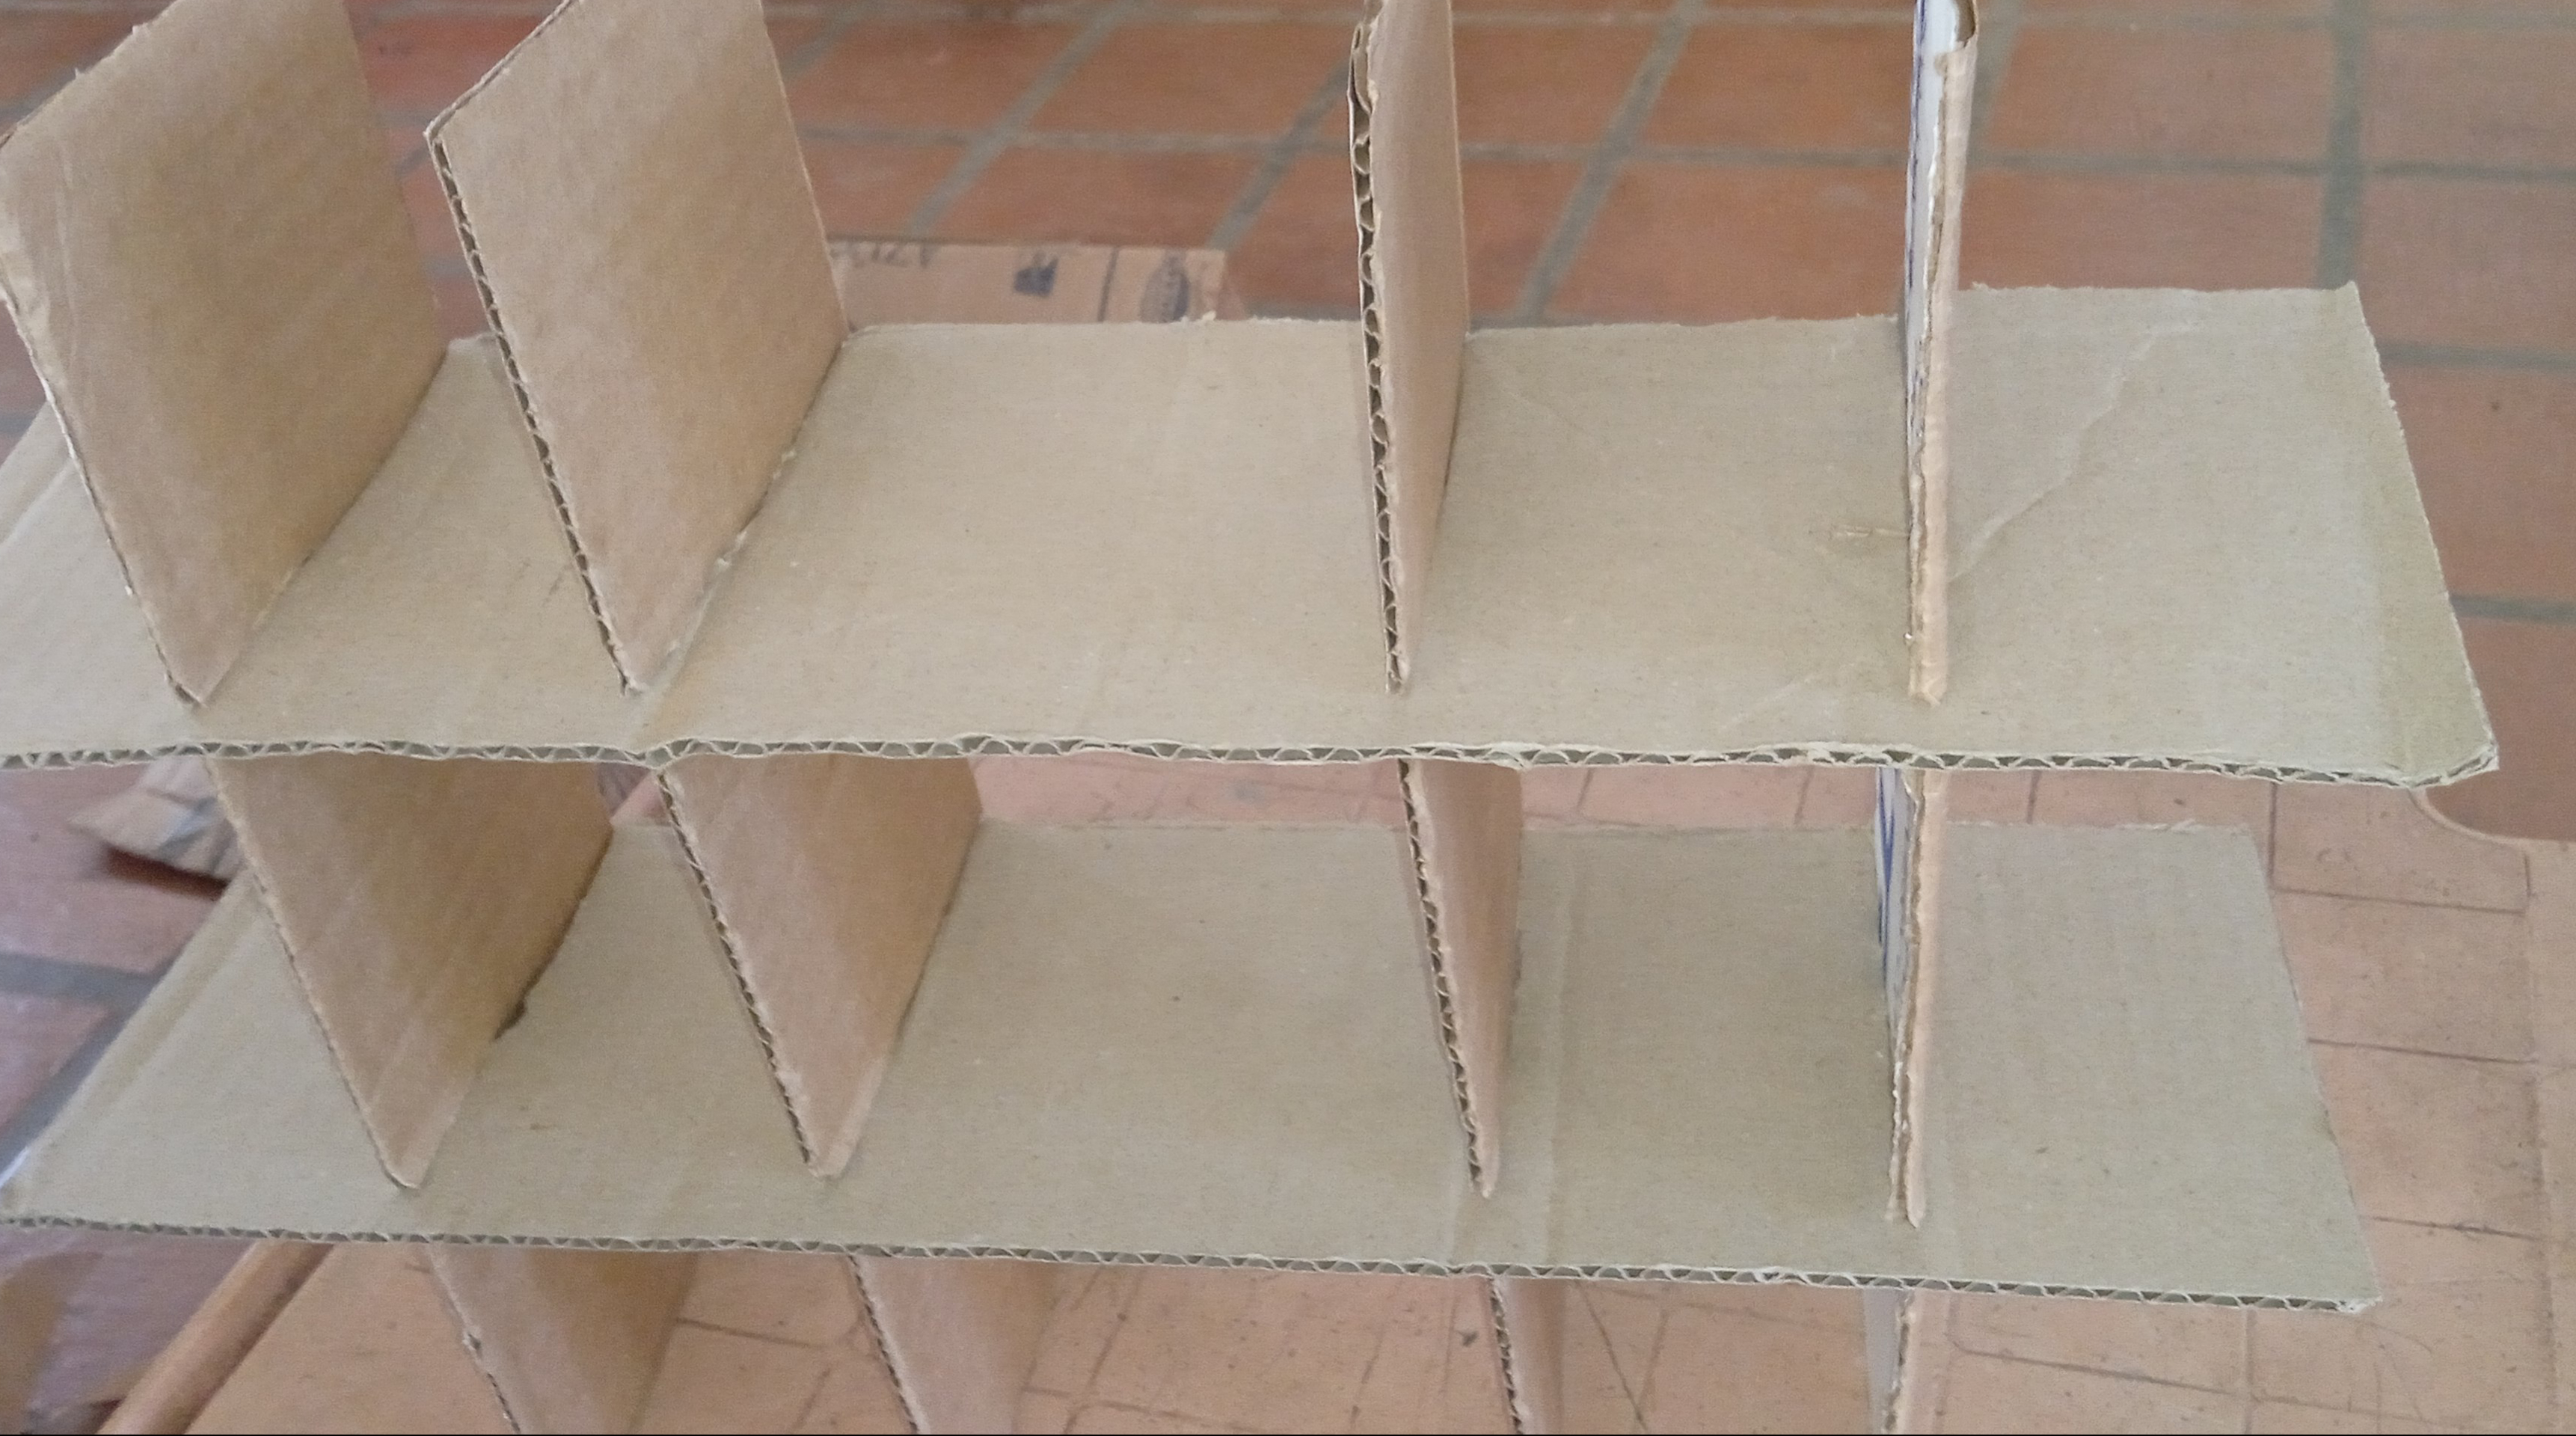
La estructura del interior no está asegurada, puedes quitar y poner según el uso que le vayas a dar. Yo la retiré para seguir trabajando en la caja.
The structure of the interior is not insured, you can remove and put it according to the use that you are going to give it. I withdrew it to continue working on the box.
Ahora usaremos el papel, hay que cortar en trozos e ir descartando lo que este dañado. Yo lo corté todo en trozos de diferentes tamaños porque no es importante, solo debe estar limpio y seco. Con la brocha o pincel vamos colocando engrudo en la superficie de la caja y pagaremos papel, encima le aplicaremos más engrudo para asegurar que quede bien pegado.
Now we will use the paper, we have to cut it into pieces and discard what is damaged. I cut everything into pieces of different sizes because it is not important, it just needs to be clean and dry. With the brush or brush we will place paste on the surface of the box and we will pay for paper, on top we will apply more paste to ensure that it is well glued.
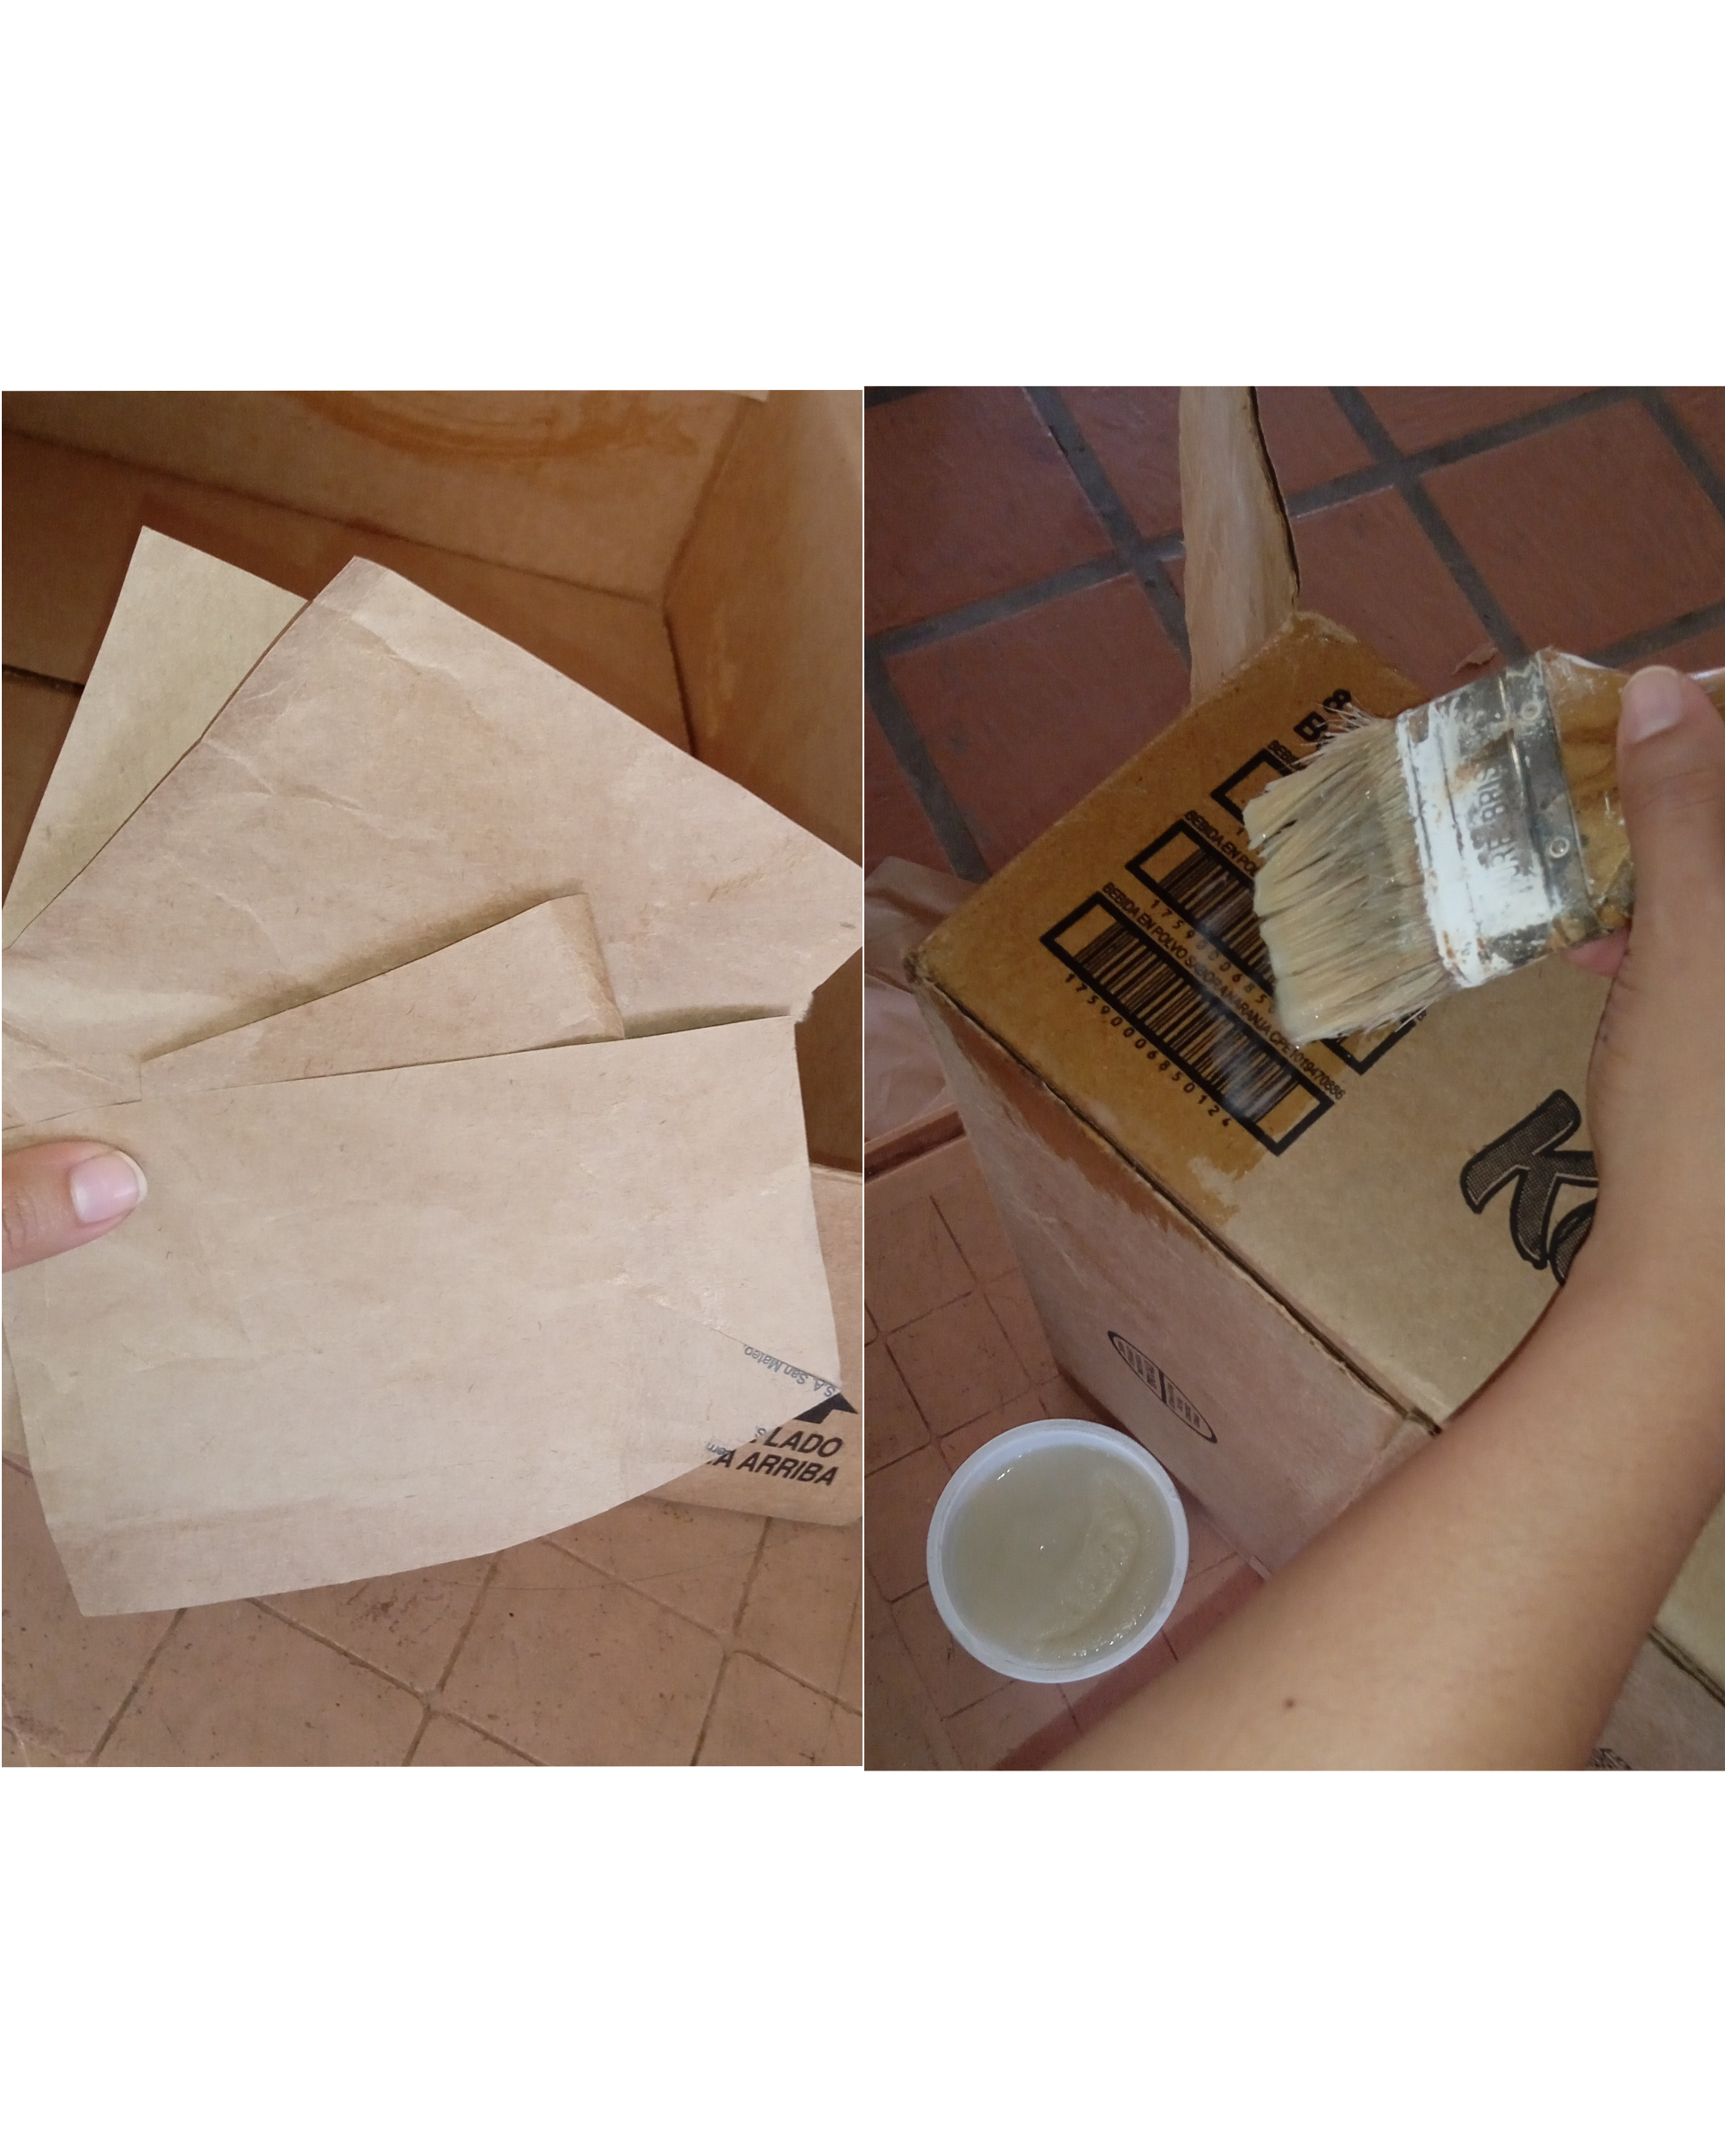
Es una tarea que debe hacerse por partes, yo me ayudó con las manos para sacar el aire de abajo del papel y que quede bien estriado. Hay que tener cuidado con los bordes y esquinas, es como envolver un regalo y no tiene la mayor complicación. Dale la forma al papel antes de pegarlo poco a poco cubre cada parte de la caja.
It is a task that must be done in parts, I helped myself with my hands to get the air out from under the paper and make it well lined. You have to be careful with the edges and corners, it is like wrapping a gift and it does not have the greatest complication. Give the paper the shape before gluing it little by little cover each part of the box.
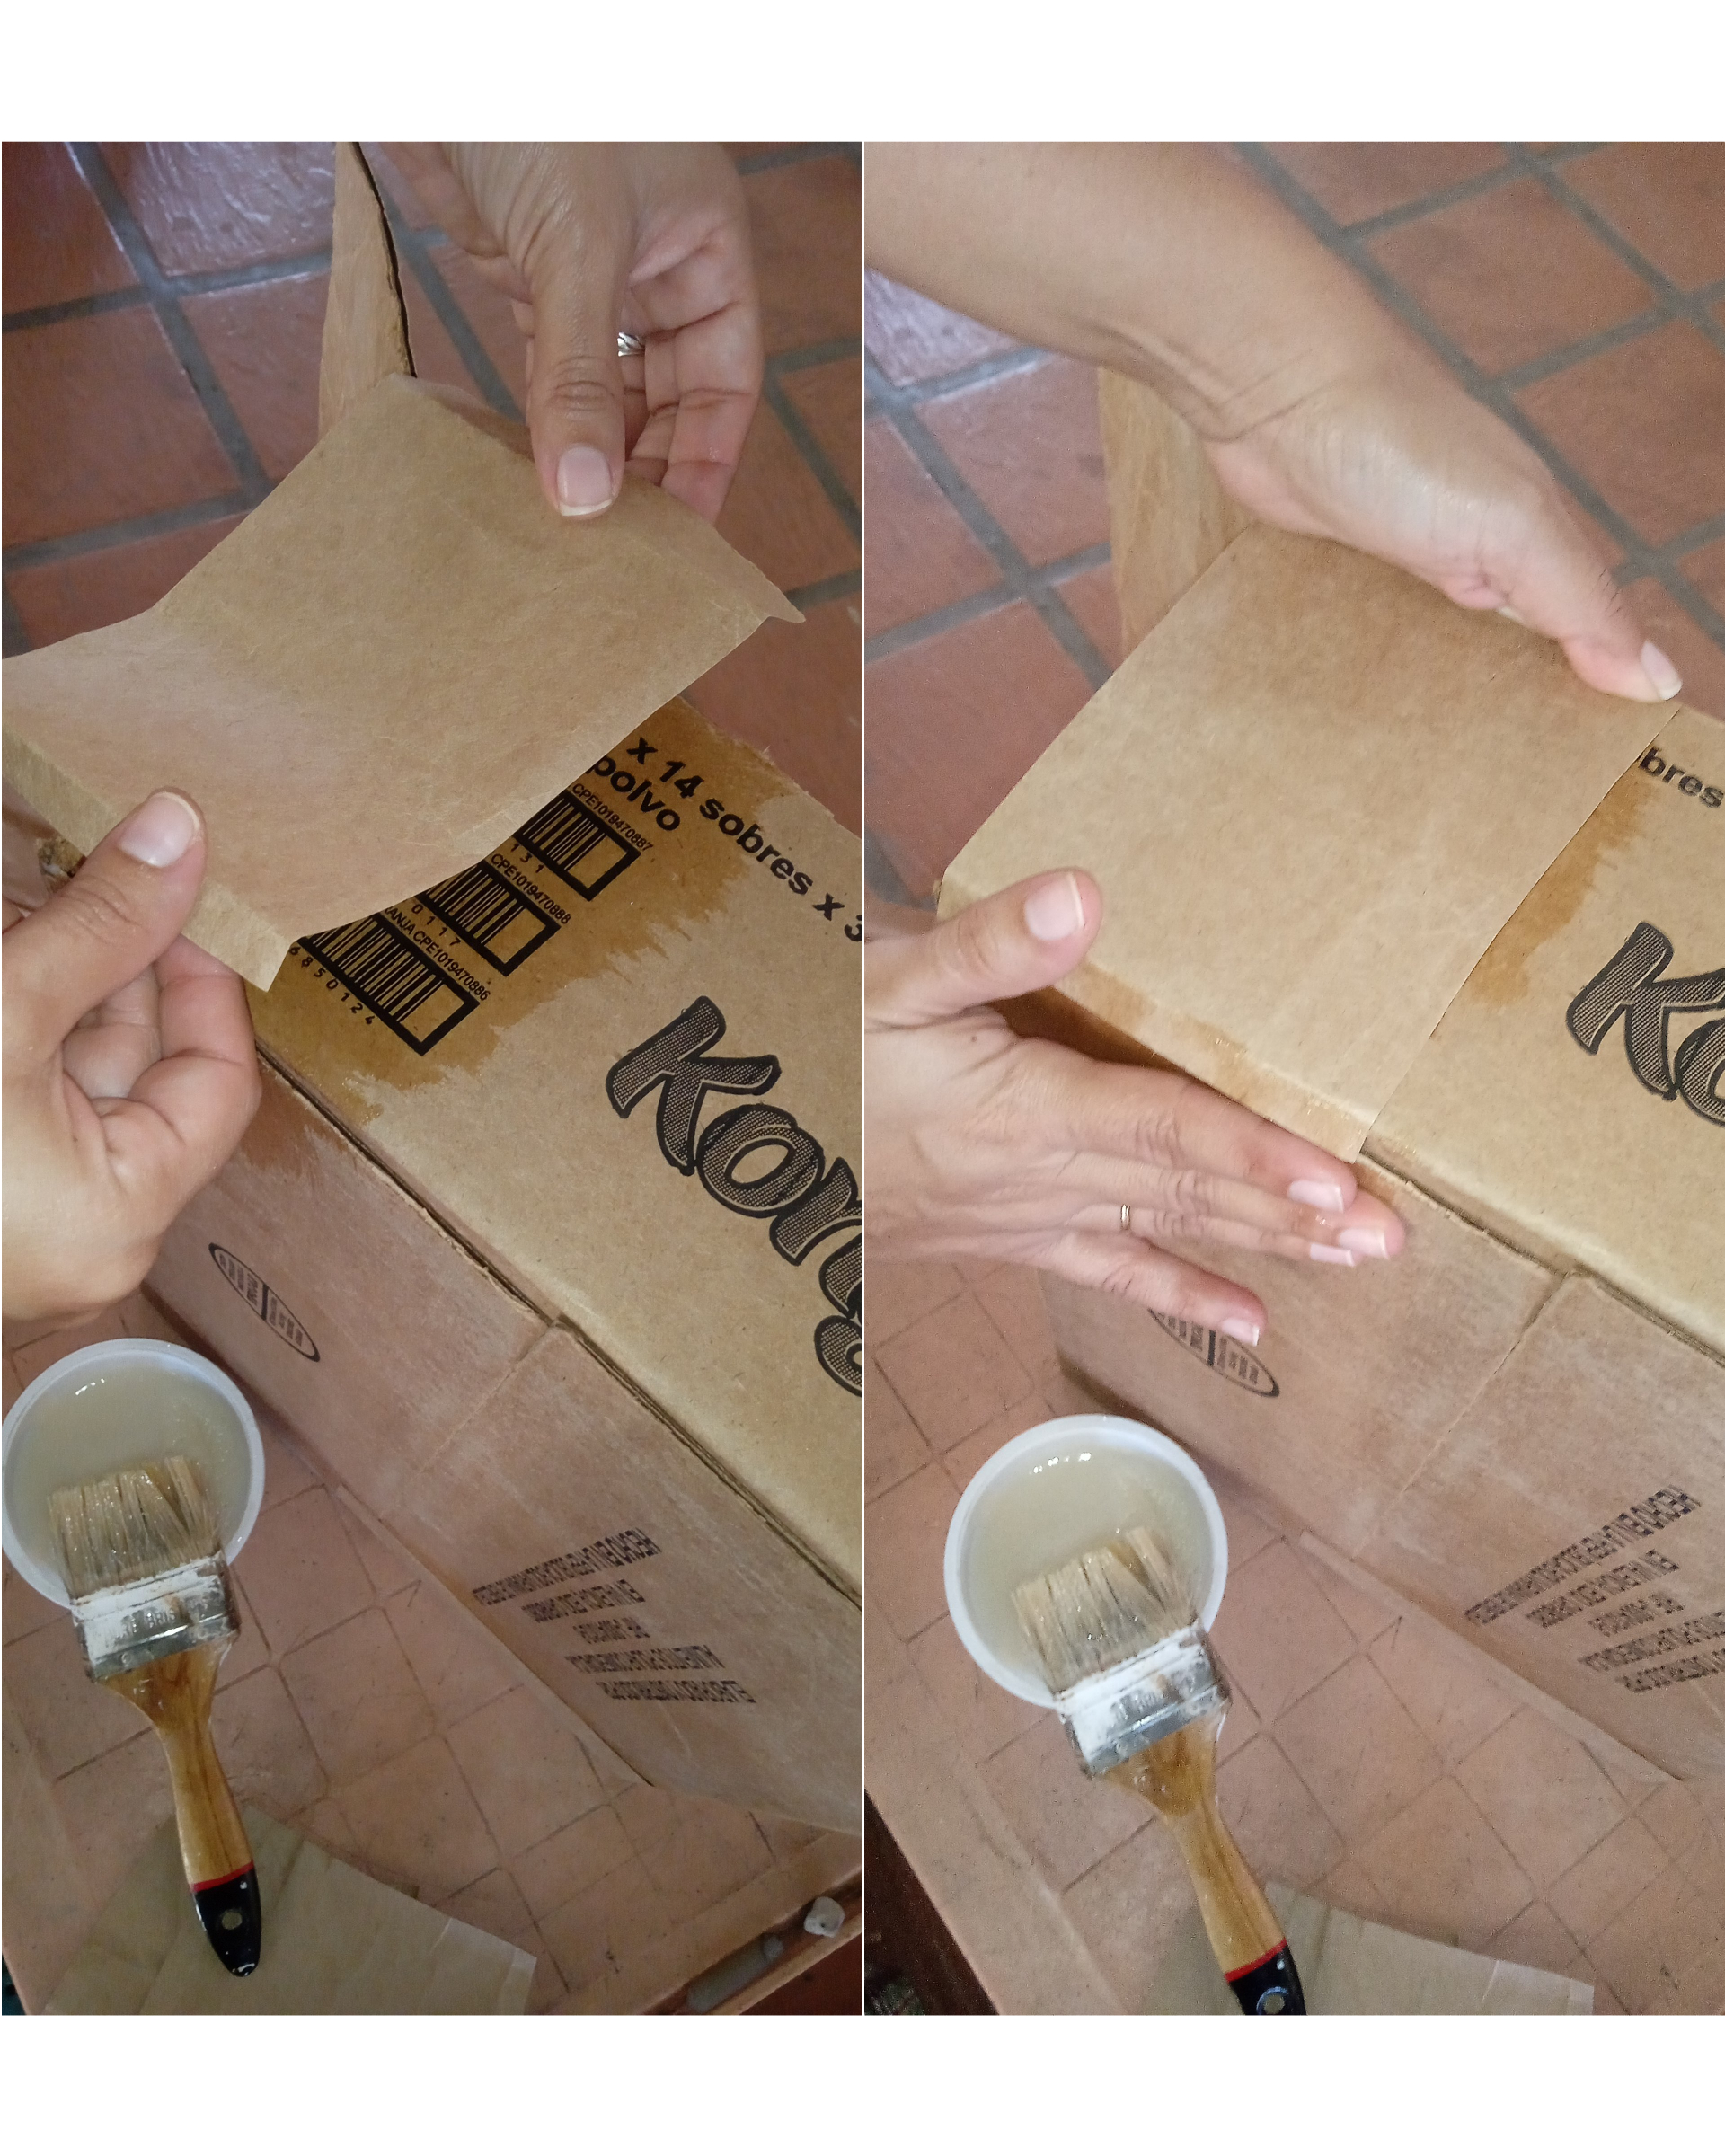
Yo trabajé en un lado de la caja y la puse al sol para secarse. Después de terminar todos los lados le aplique una capa de engrudo por todas partes, incluso adentro, y la puse a secar al sol. Después de un rato notarás que es fuerte y resistente. Esto no tarda más de dos horas.
I worked on one side of the box and put it in the sun to dry. After finishing all the sides, I applied a layer of paste everywhere, even inside, and put it to dry in the sun. After a while you will notice that it is strong and resistant. This takes no more than two hours.
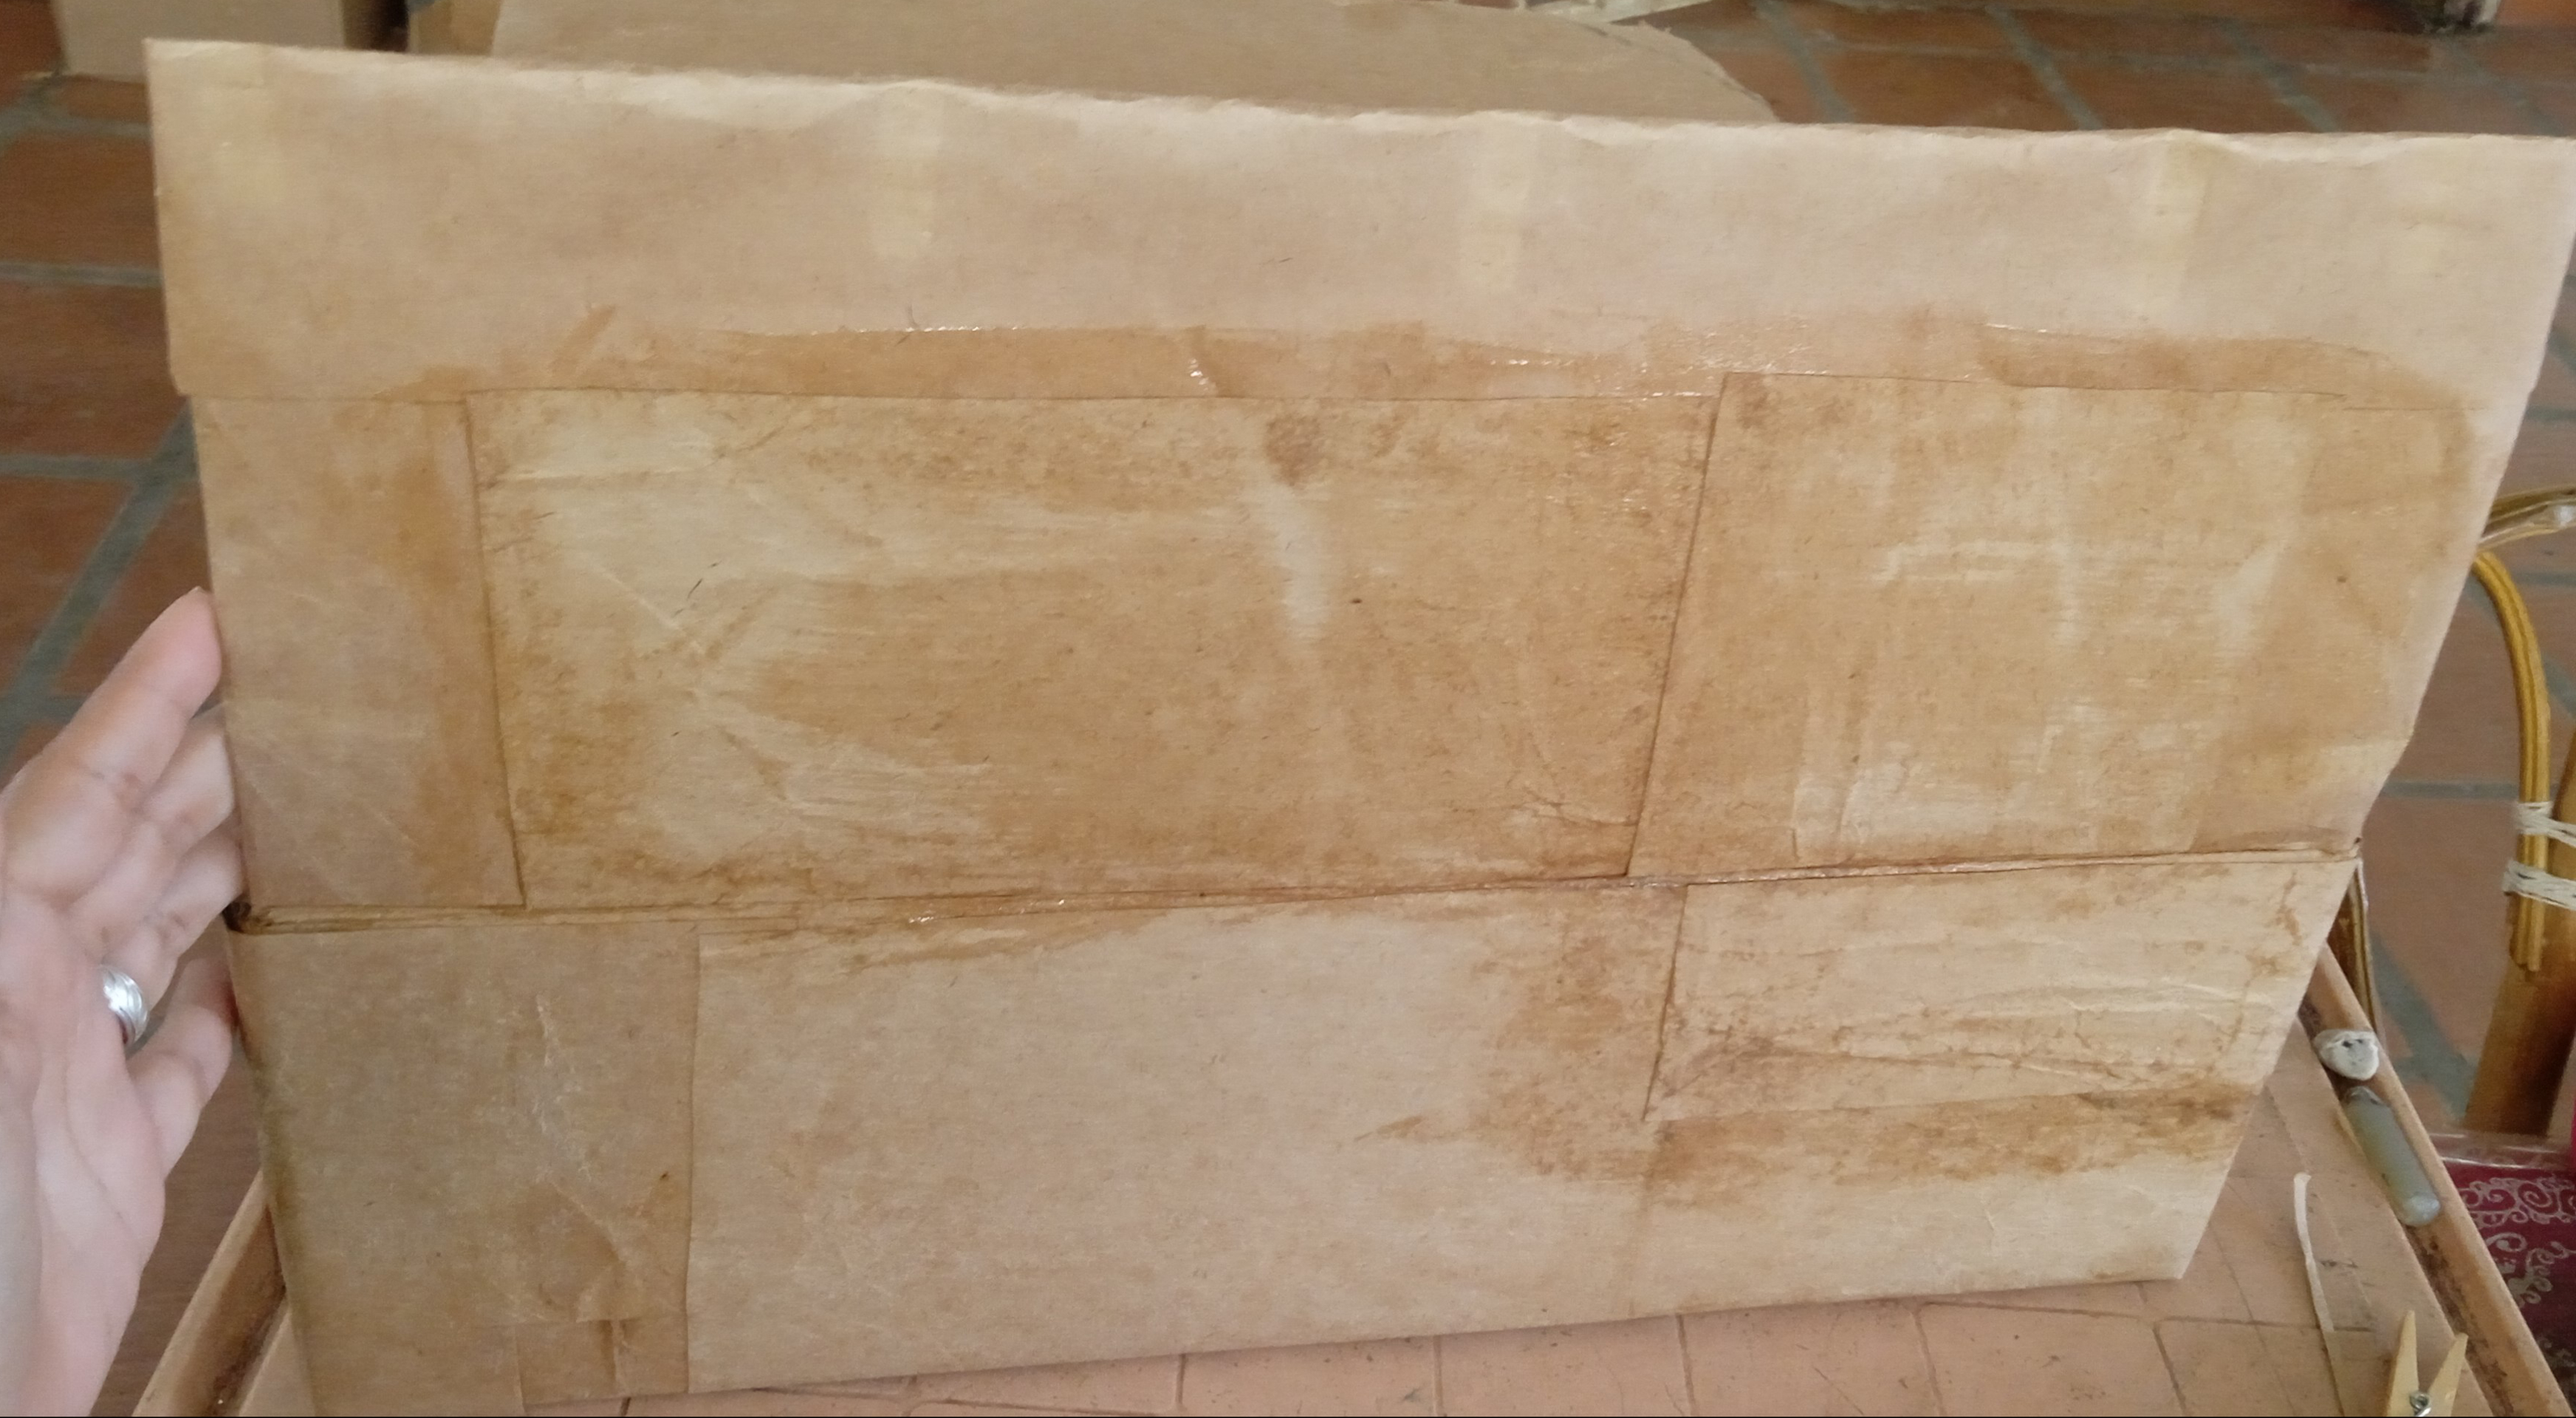
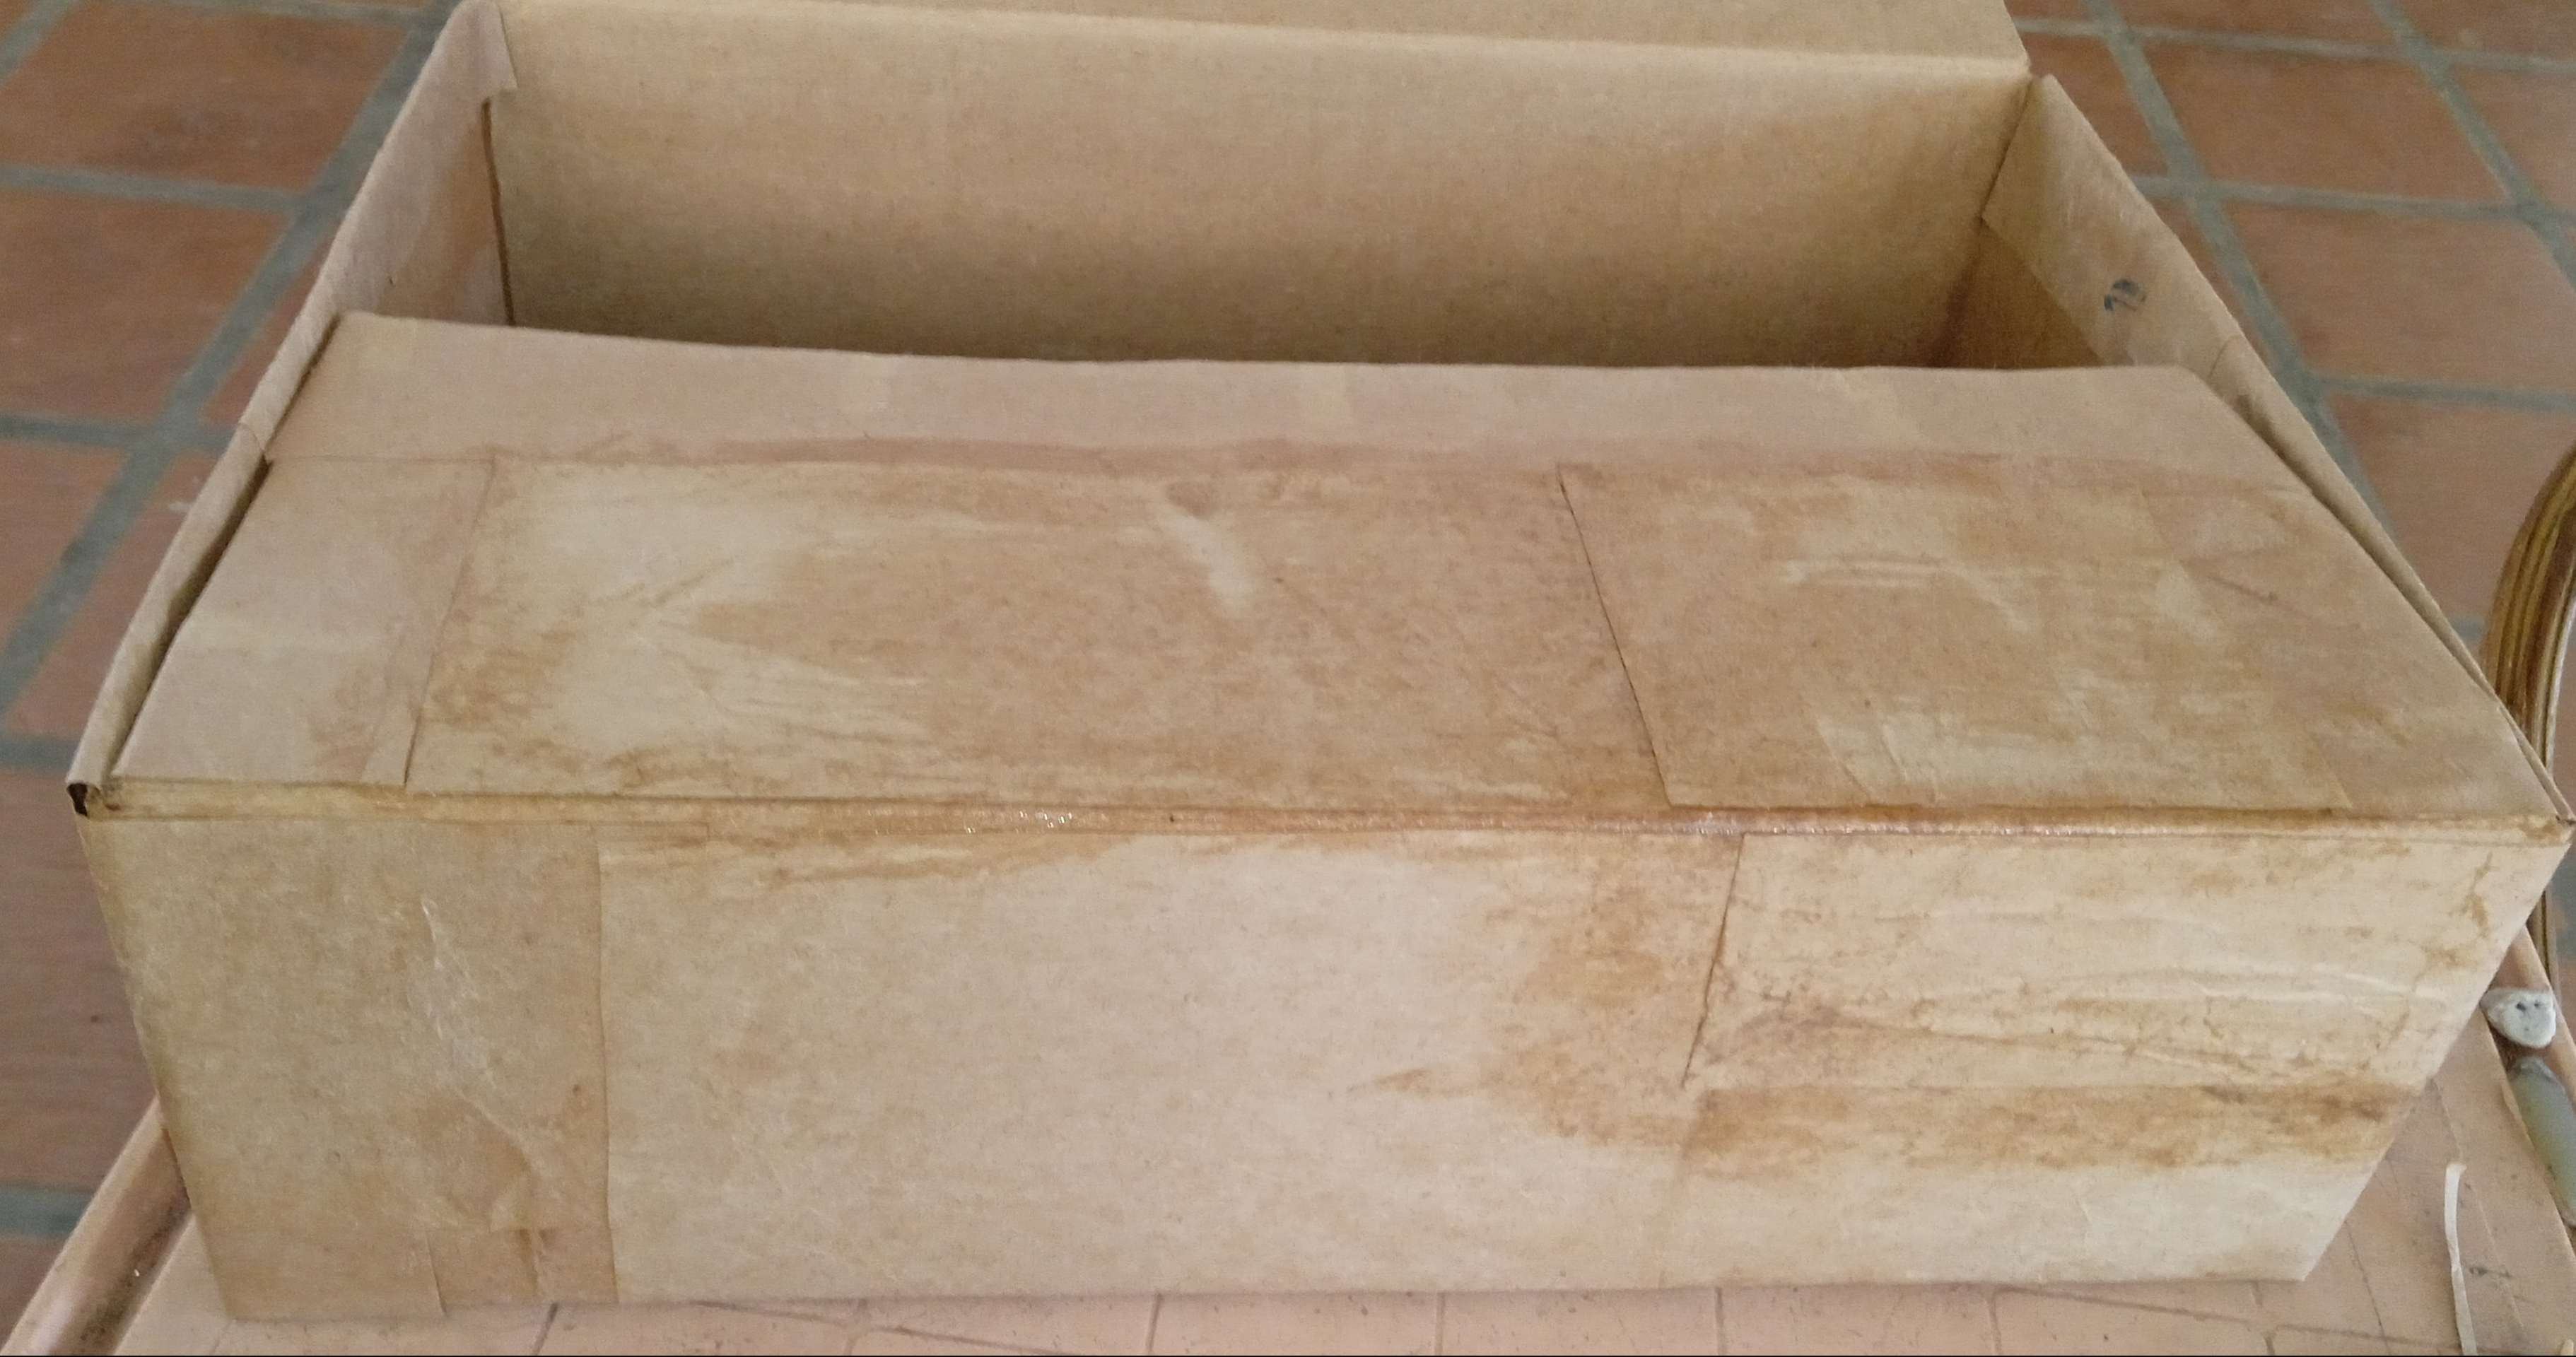
No debes cubrir los pliegues de las tapas para que pueda abrir y cerrar con normalidad. Después de estar seca así debe verse. A mí me gusta mucho como se ve con este color porque incluso parece madera.
You should not cover the folds of the lids so that it can open and close normally. After being dry it should look like this. I really like how it looks with this color because it even looks like wood.
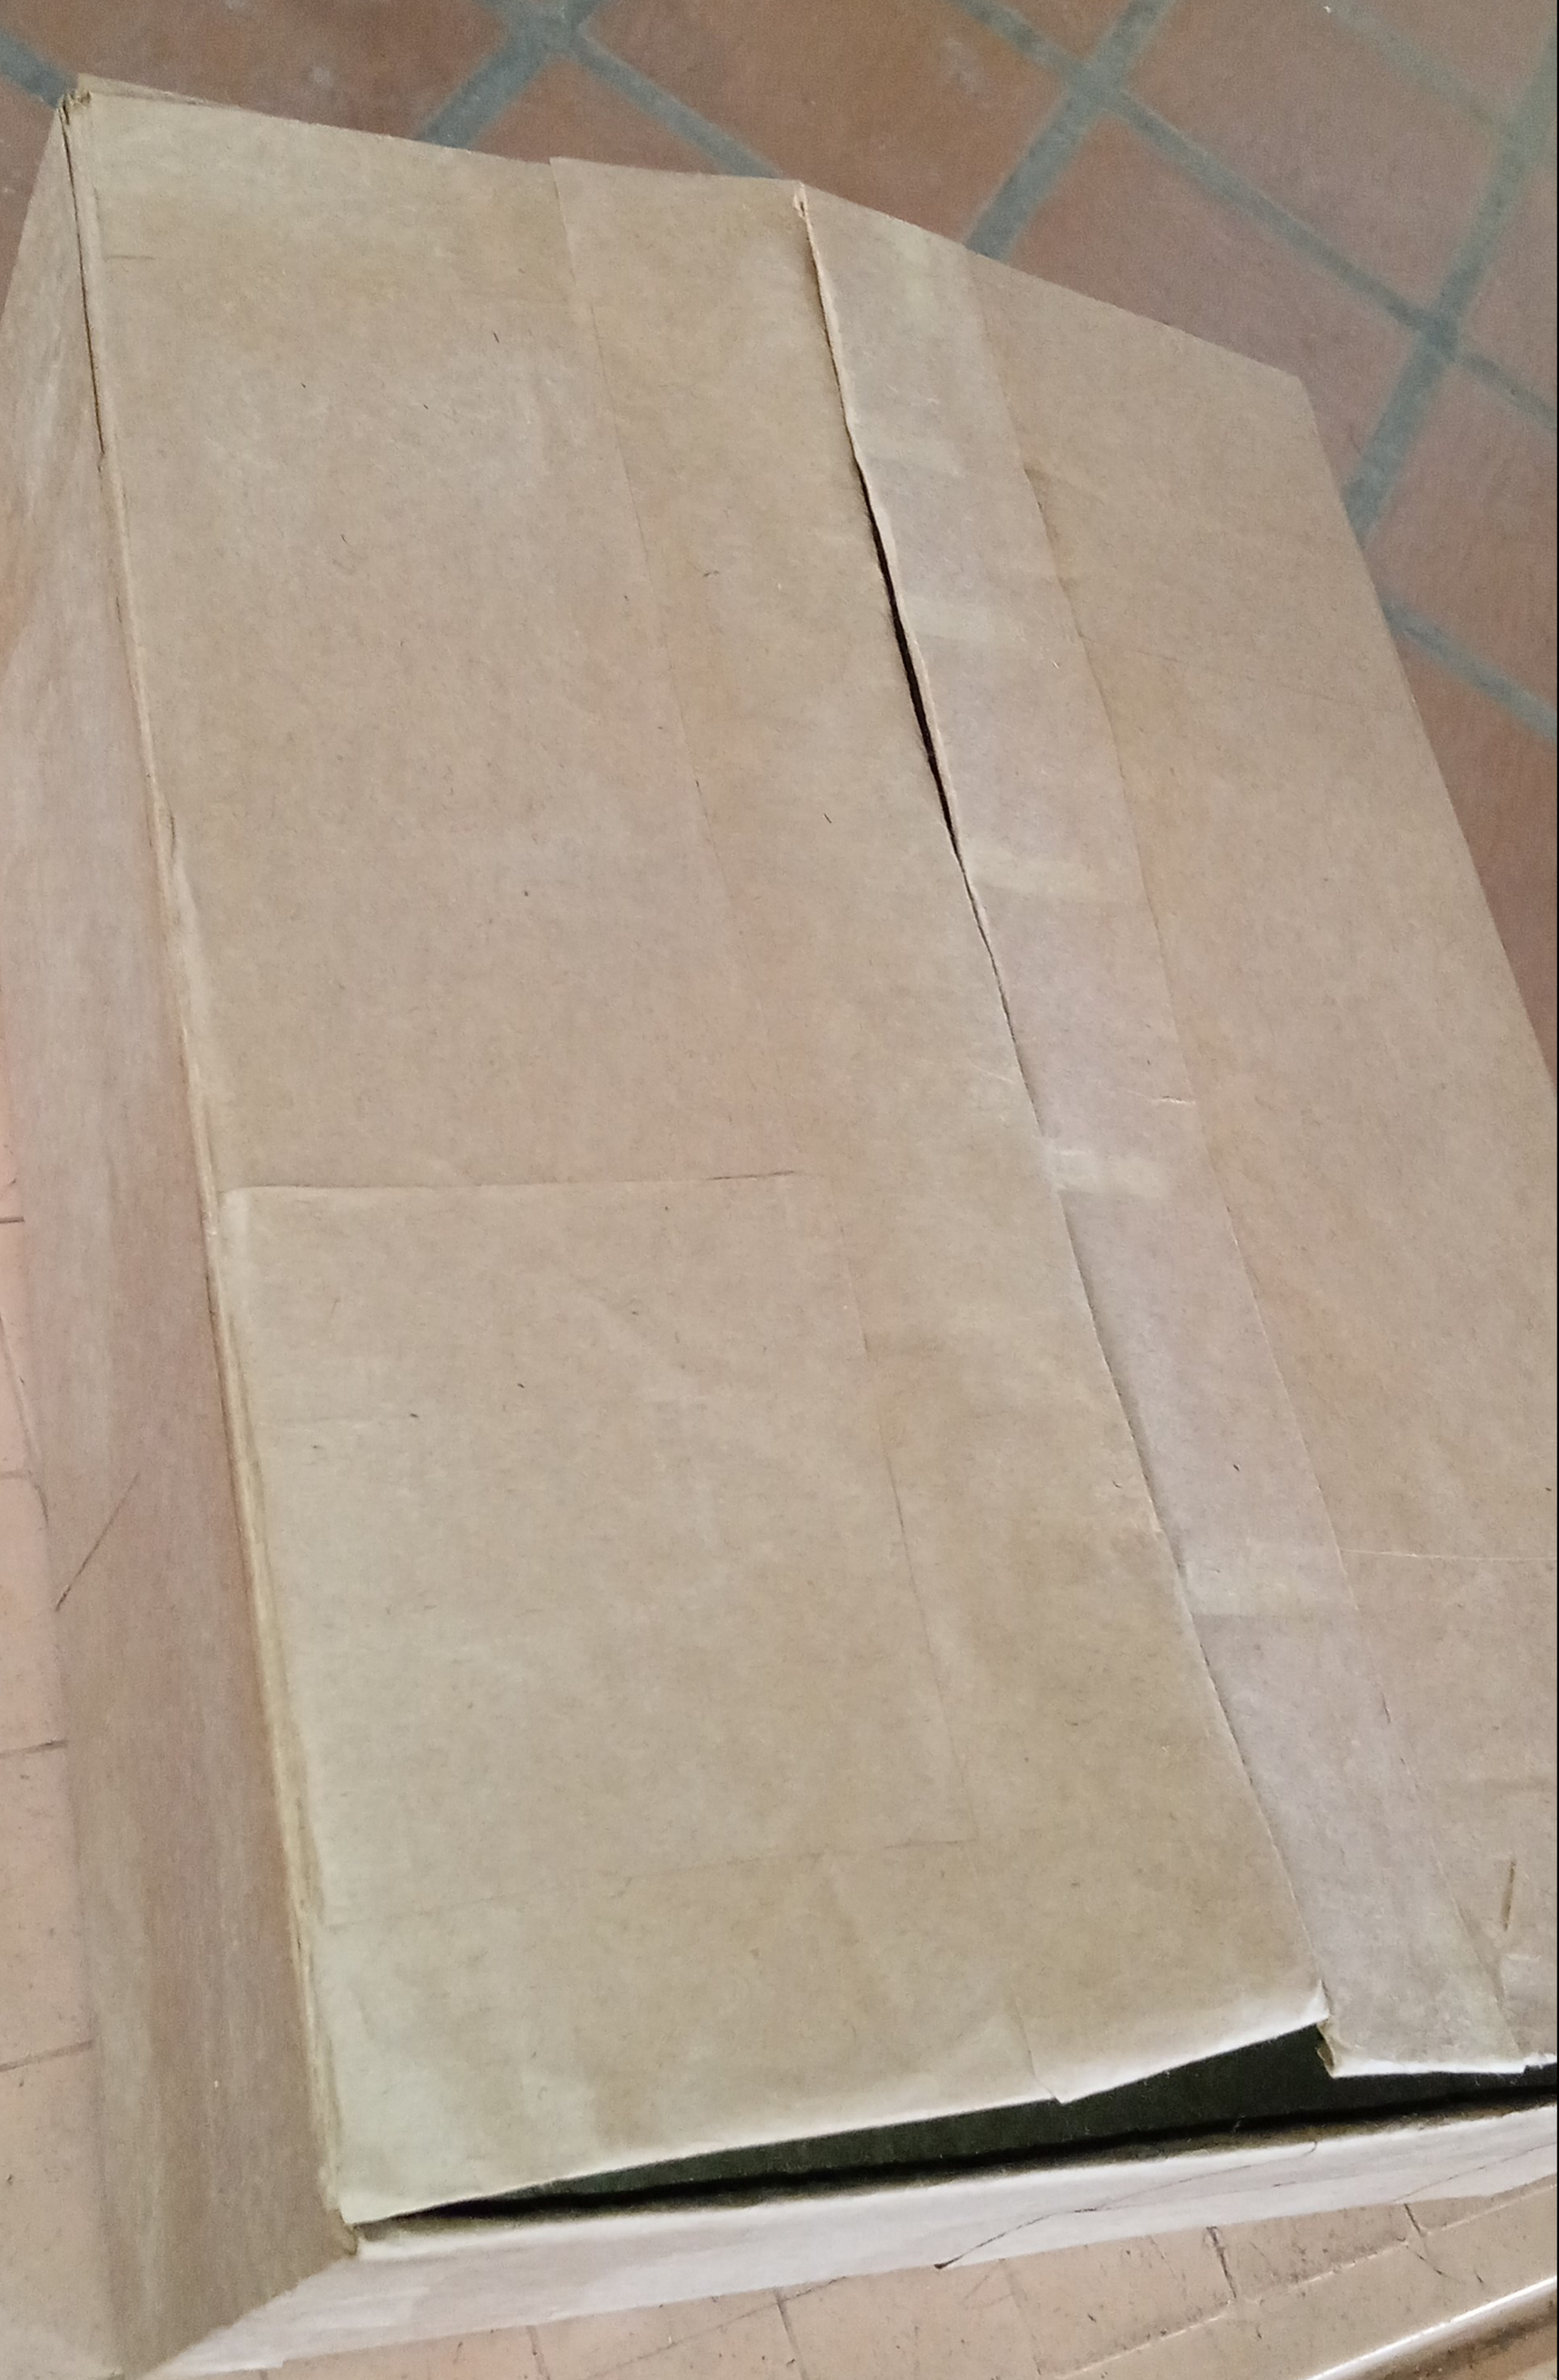
Coloca de nuevo su estructura en el interior de la caja.
Put its structure back inside the box.
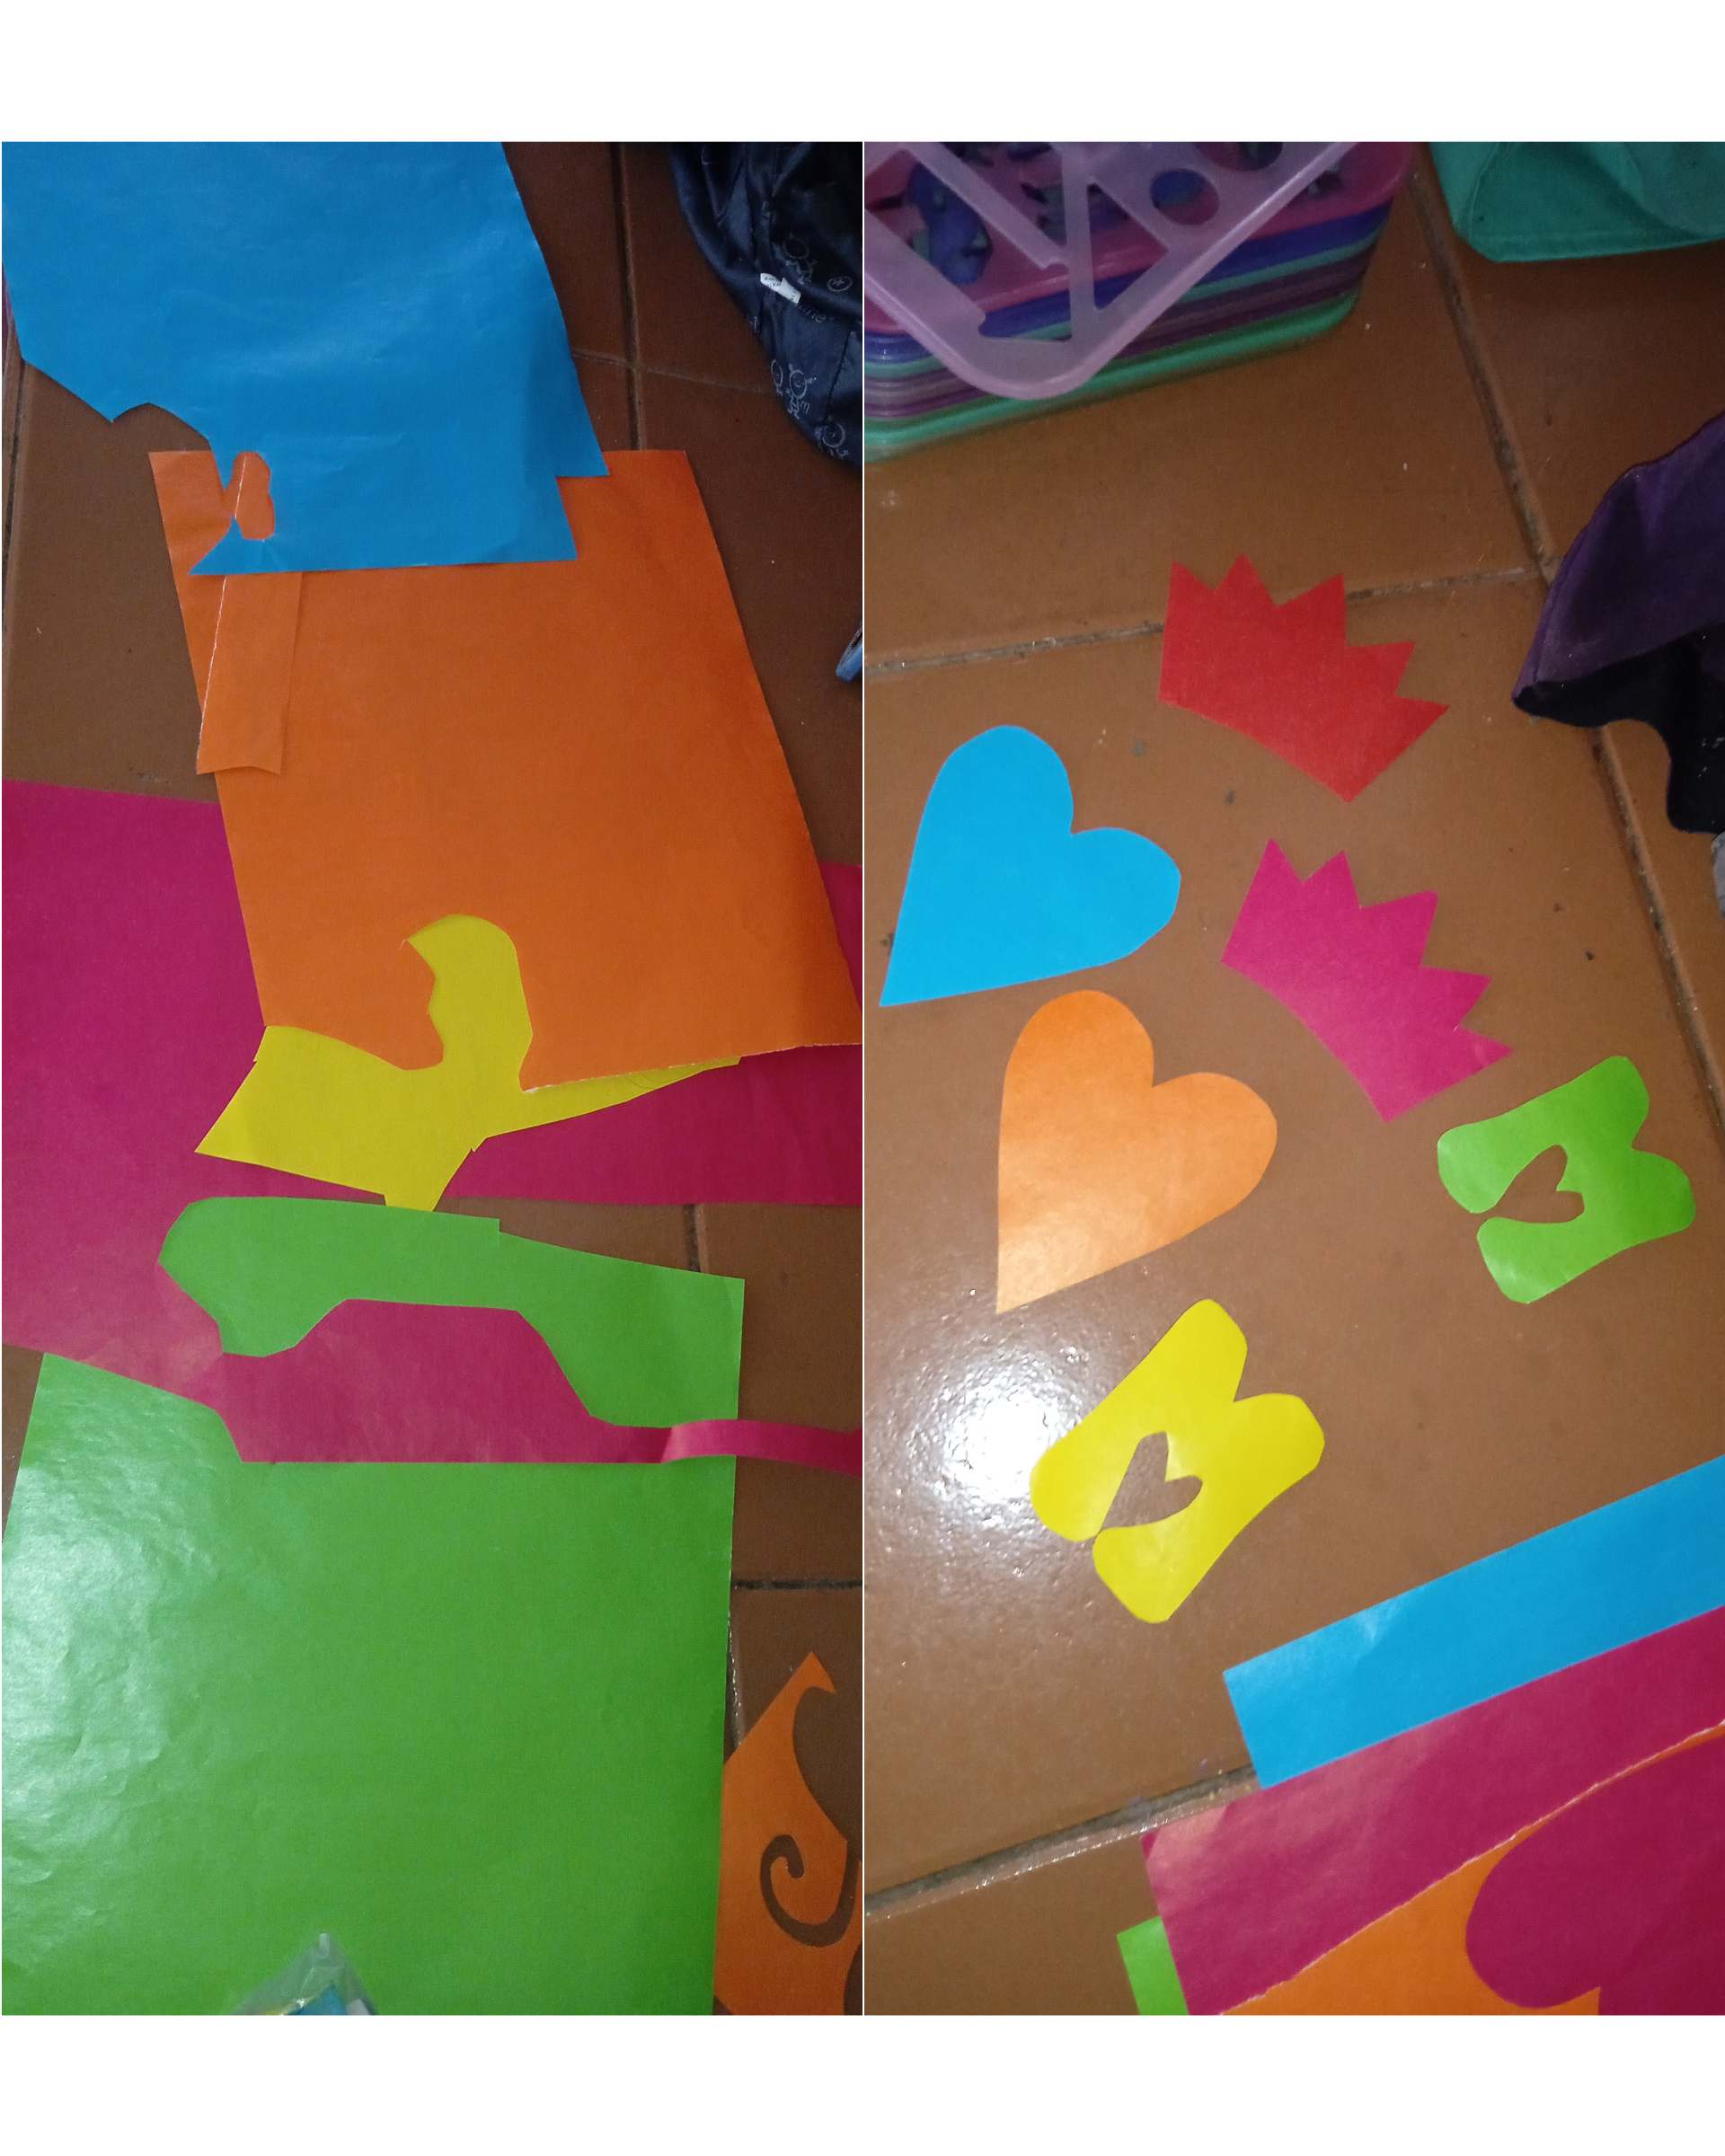
Tienes miles de opciones para decorar, yo usé papel silueta de varios colores y corté dos letra M, dos corazones y dos coronas. Pegue en su tapa con el mismo engrudo.
You have thousands of options to decorate, I used silhouette paper of various colors and cut two letter M, two hearts and two crowns. Glue on your lid with the same paste.
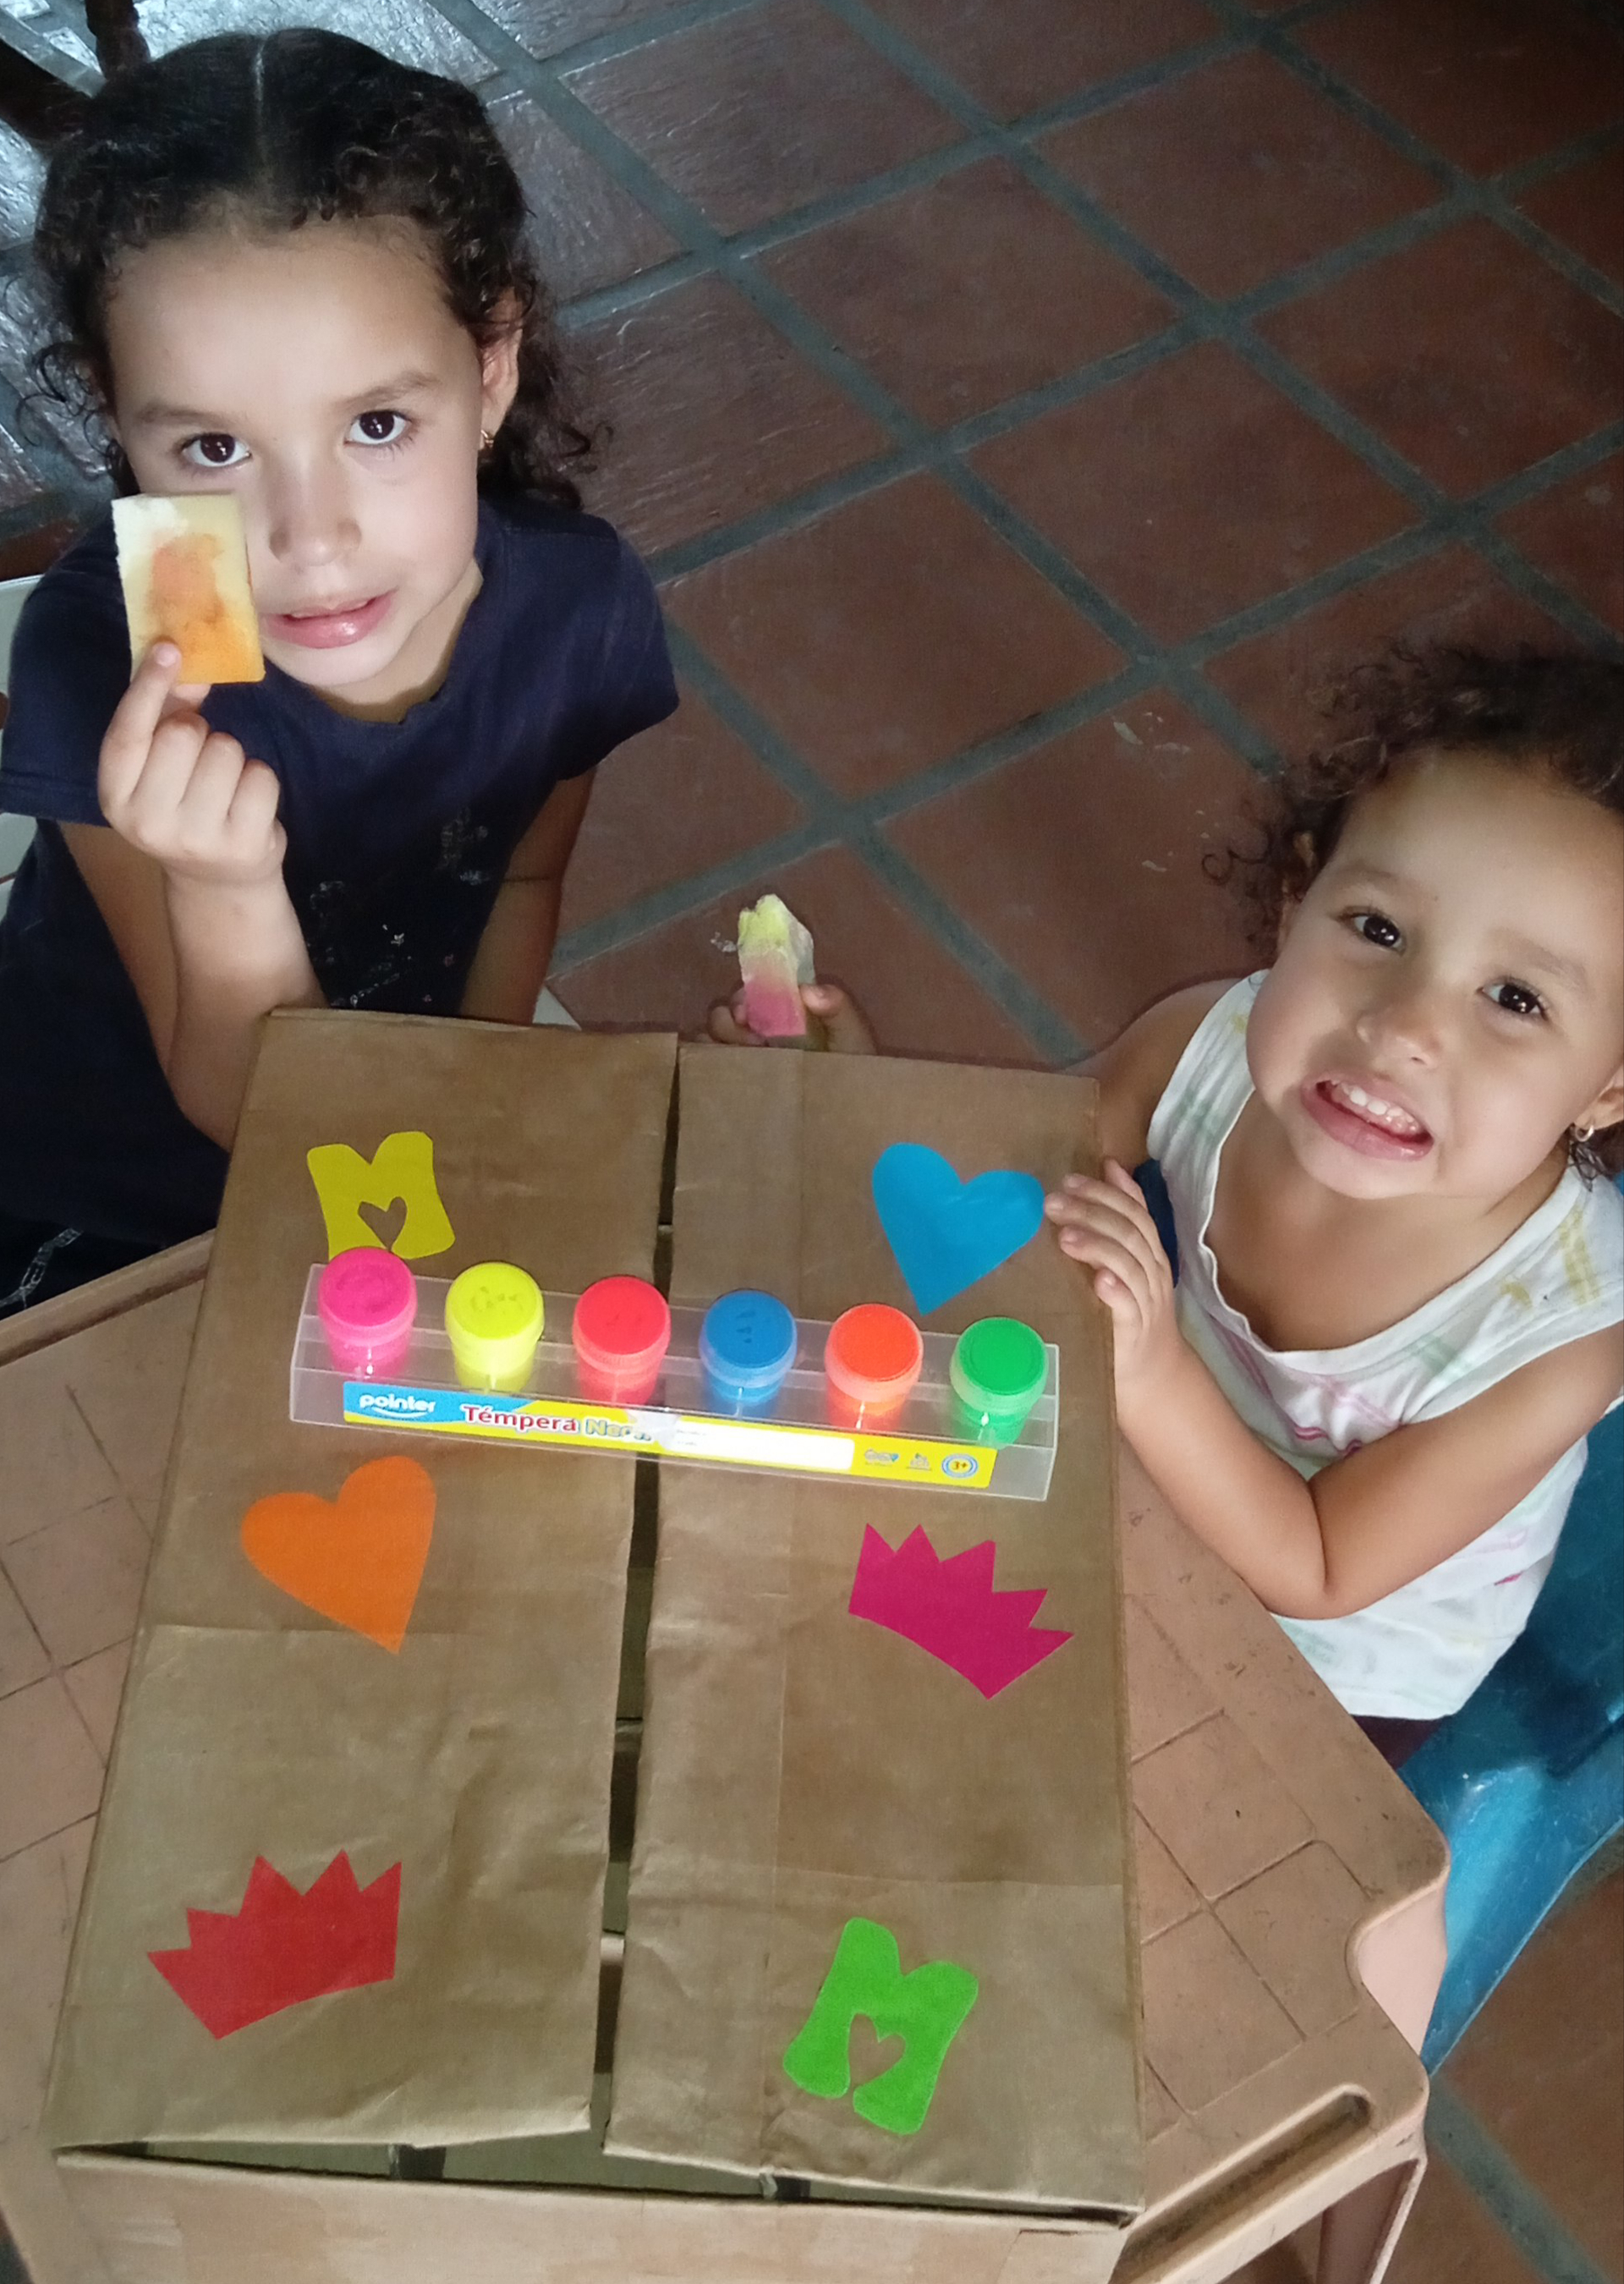
Y para el toque final, mis hijas me ayudaron a darle un poco de color con témperas y esponjas. La idea era que ellas participarán en la creación de este organizador y se divirtieran pintando conmigo.
You have miles of decorating options, I used multi-colored silhouette paper and cut out two letter Ms, two hearts, and two crowns. Glue on your lid with the same paste.
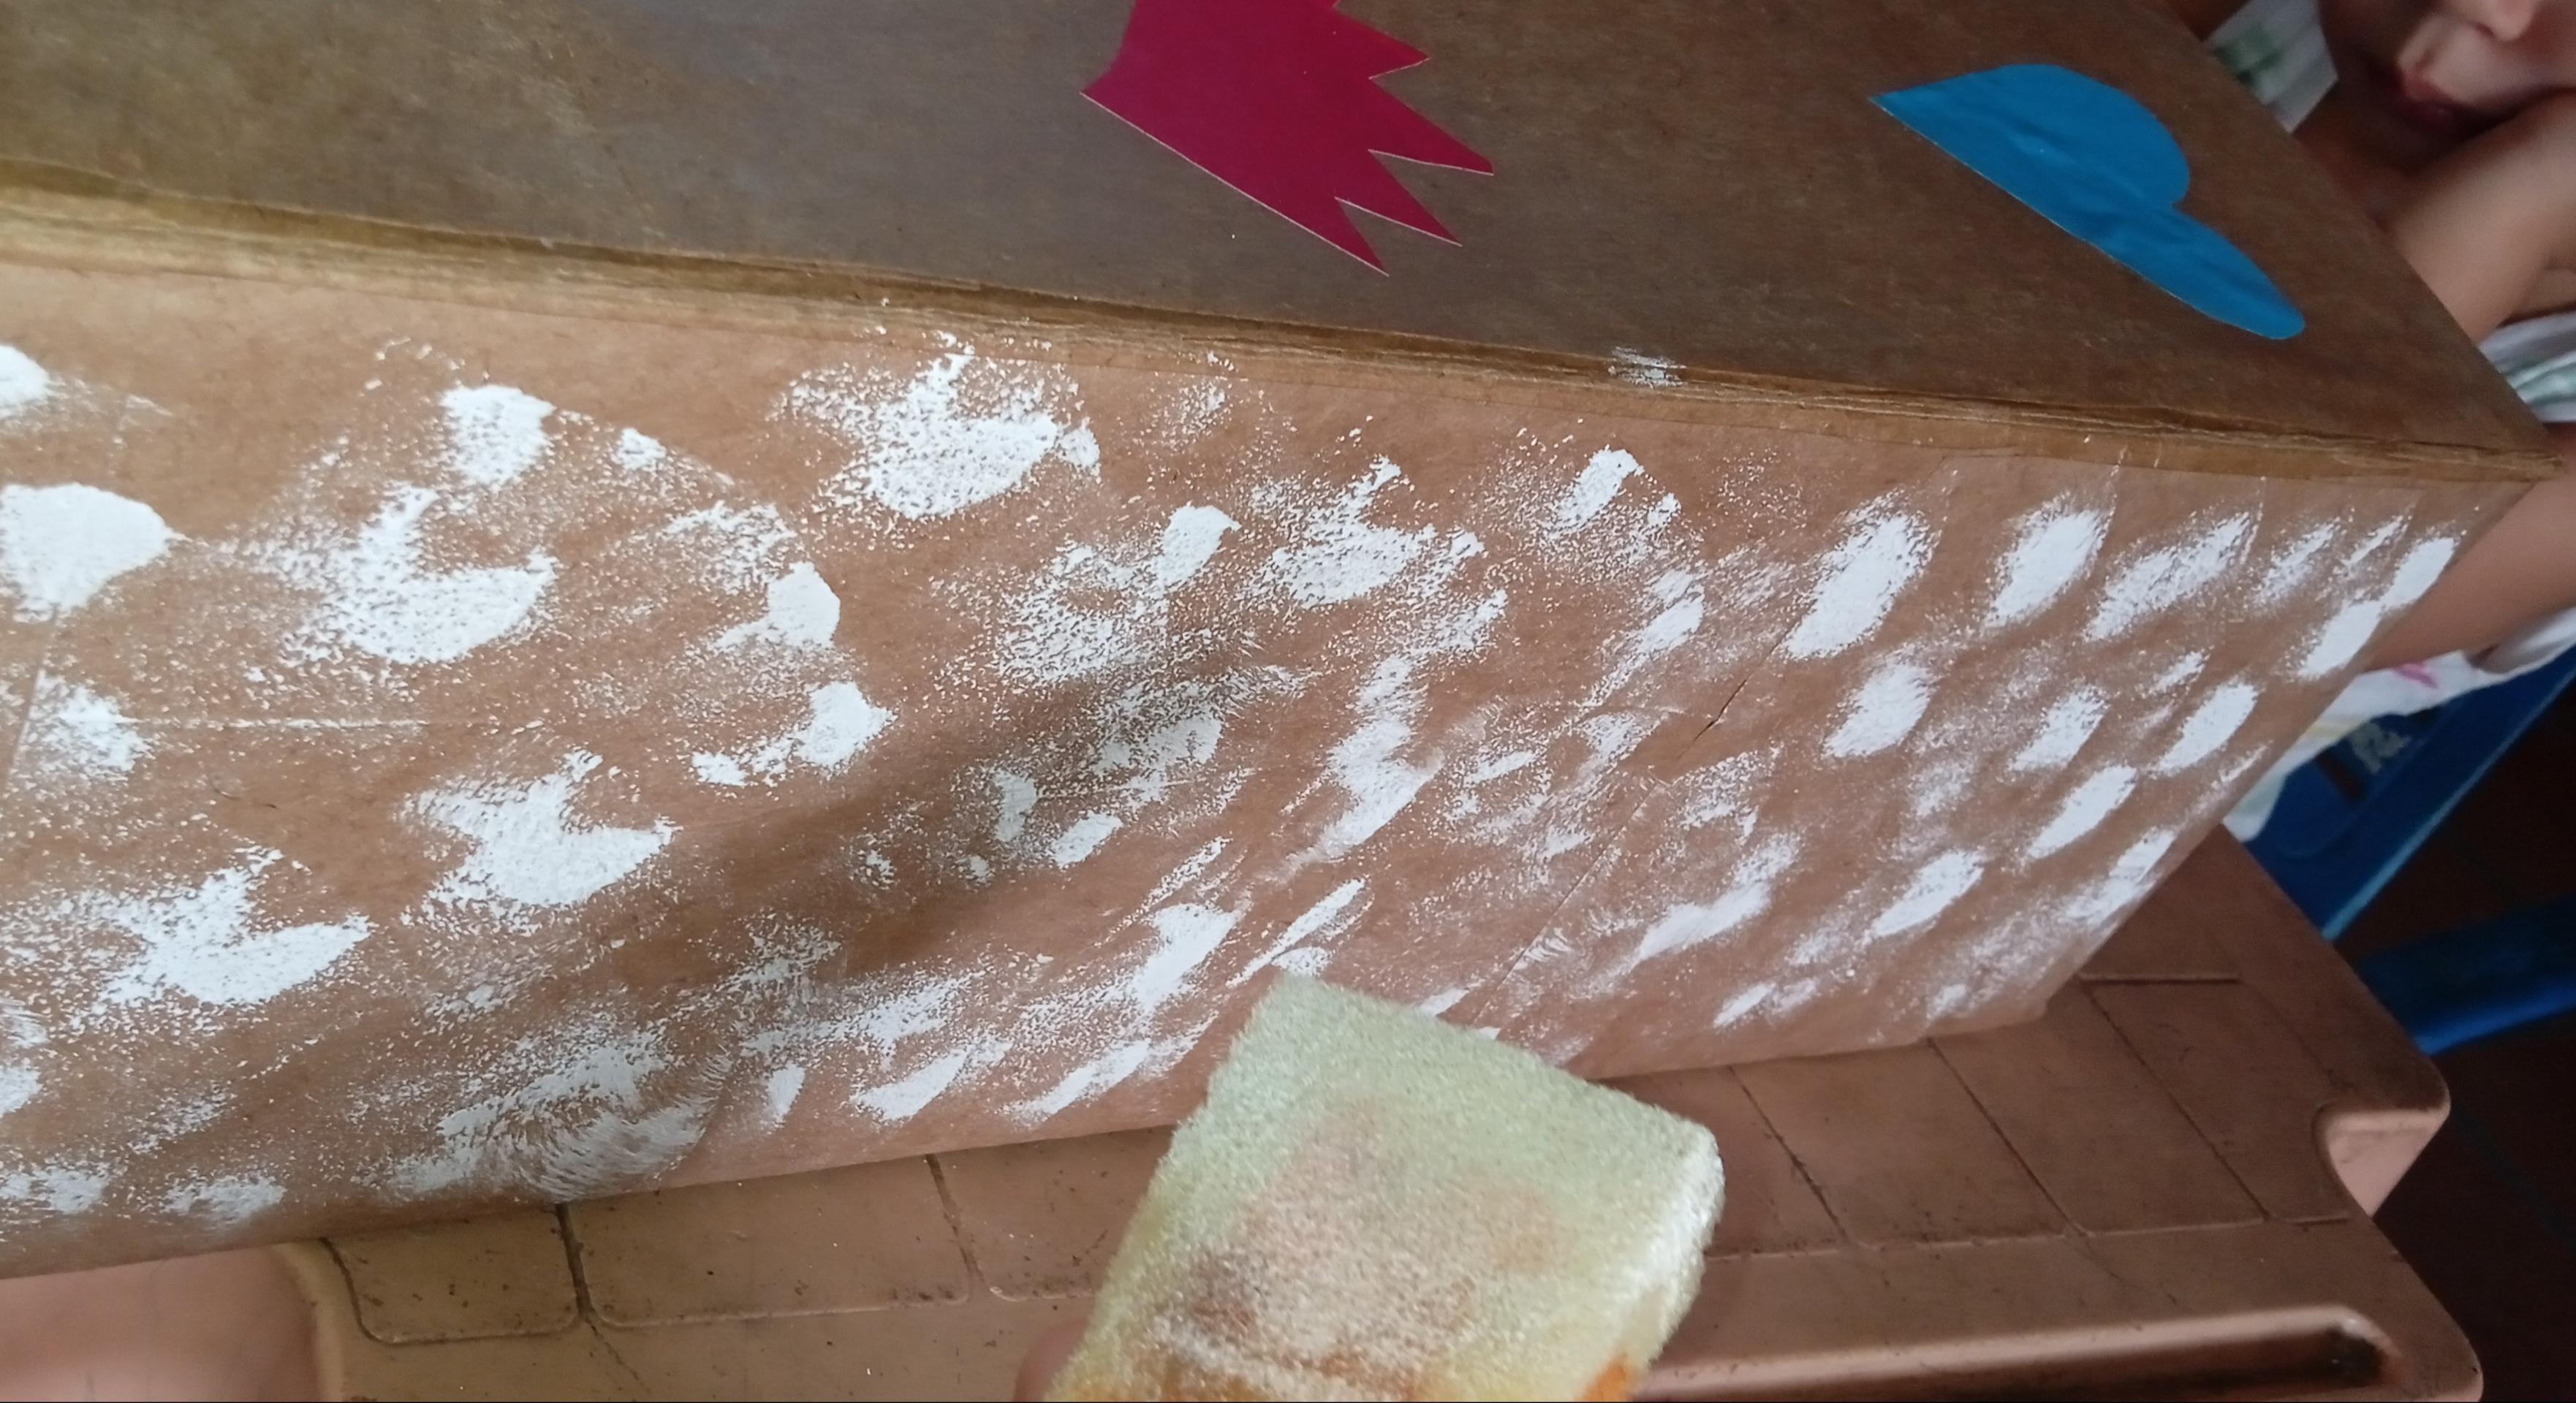
Comencé con pintura blanca de base y la aplicamos con esponja porque no tenía suficiente pintura, pero si no es tu caso entonces pinta completa y se verá súper mejor.
I started with white base paint and we applied it with a sponge because it did not have enough paint, but if it is not your case then paint it completely and it will look super better.
Y en un abrir y cerrar de ojos ya mi Organizador tiene color. Los créditos para mis hijas jajaja, o malo es que derramaron algunas pinturas pero todo quedó muy lindo.
And in the blink of an eye my Organizer has color. The credits for my daughters hahaha, or bad is that they spilled some paintings but everything was very nice.

Puedes pintar su parte Interior, su color y decoración puede ser como tú quieras, incluso le puedes agregar detalles en foami, encaje, tela o piedras.
You can paint its Interior part, its color and decoration can be as you want, you can even add details in foami, lace, fabric or stones.

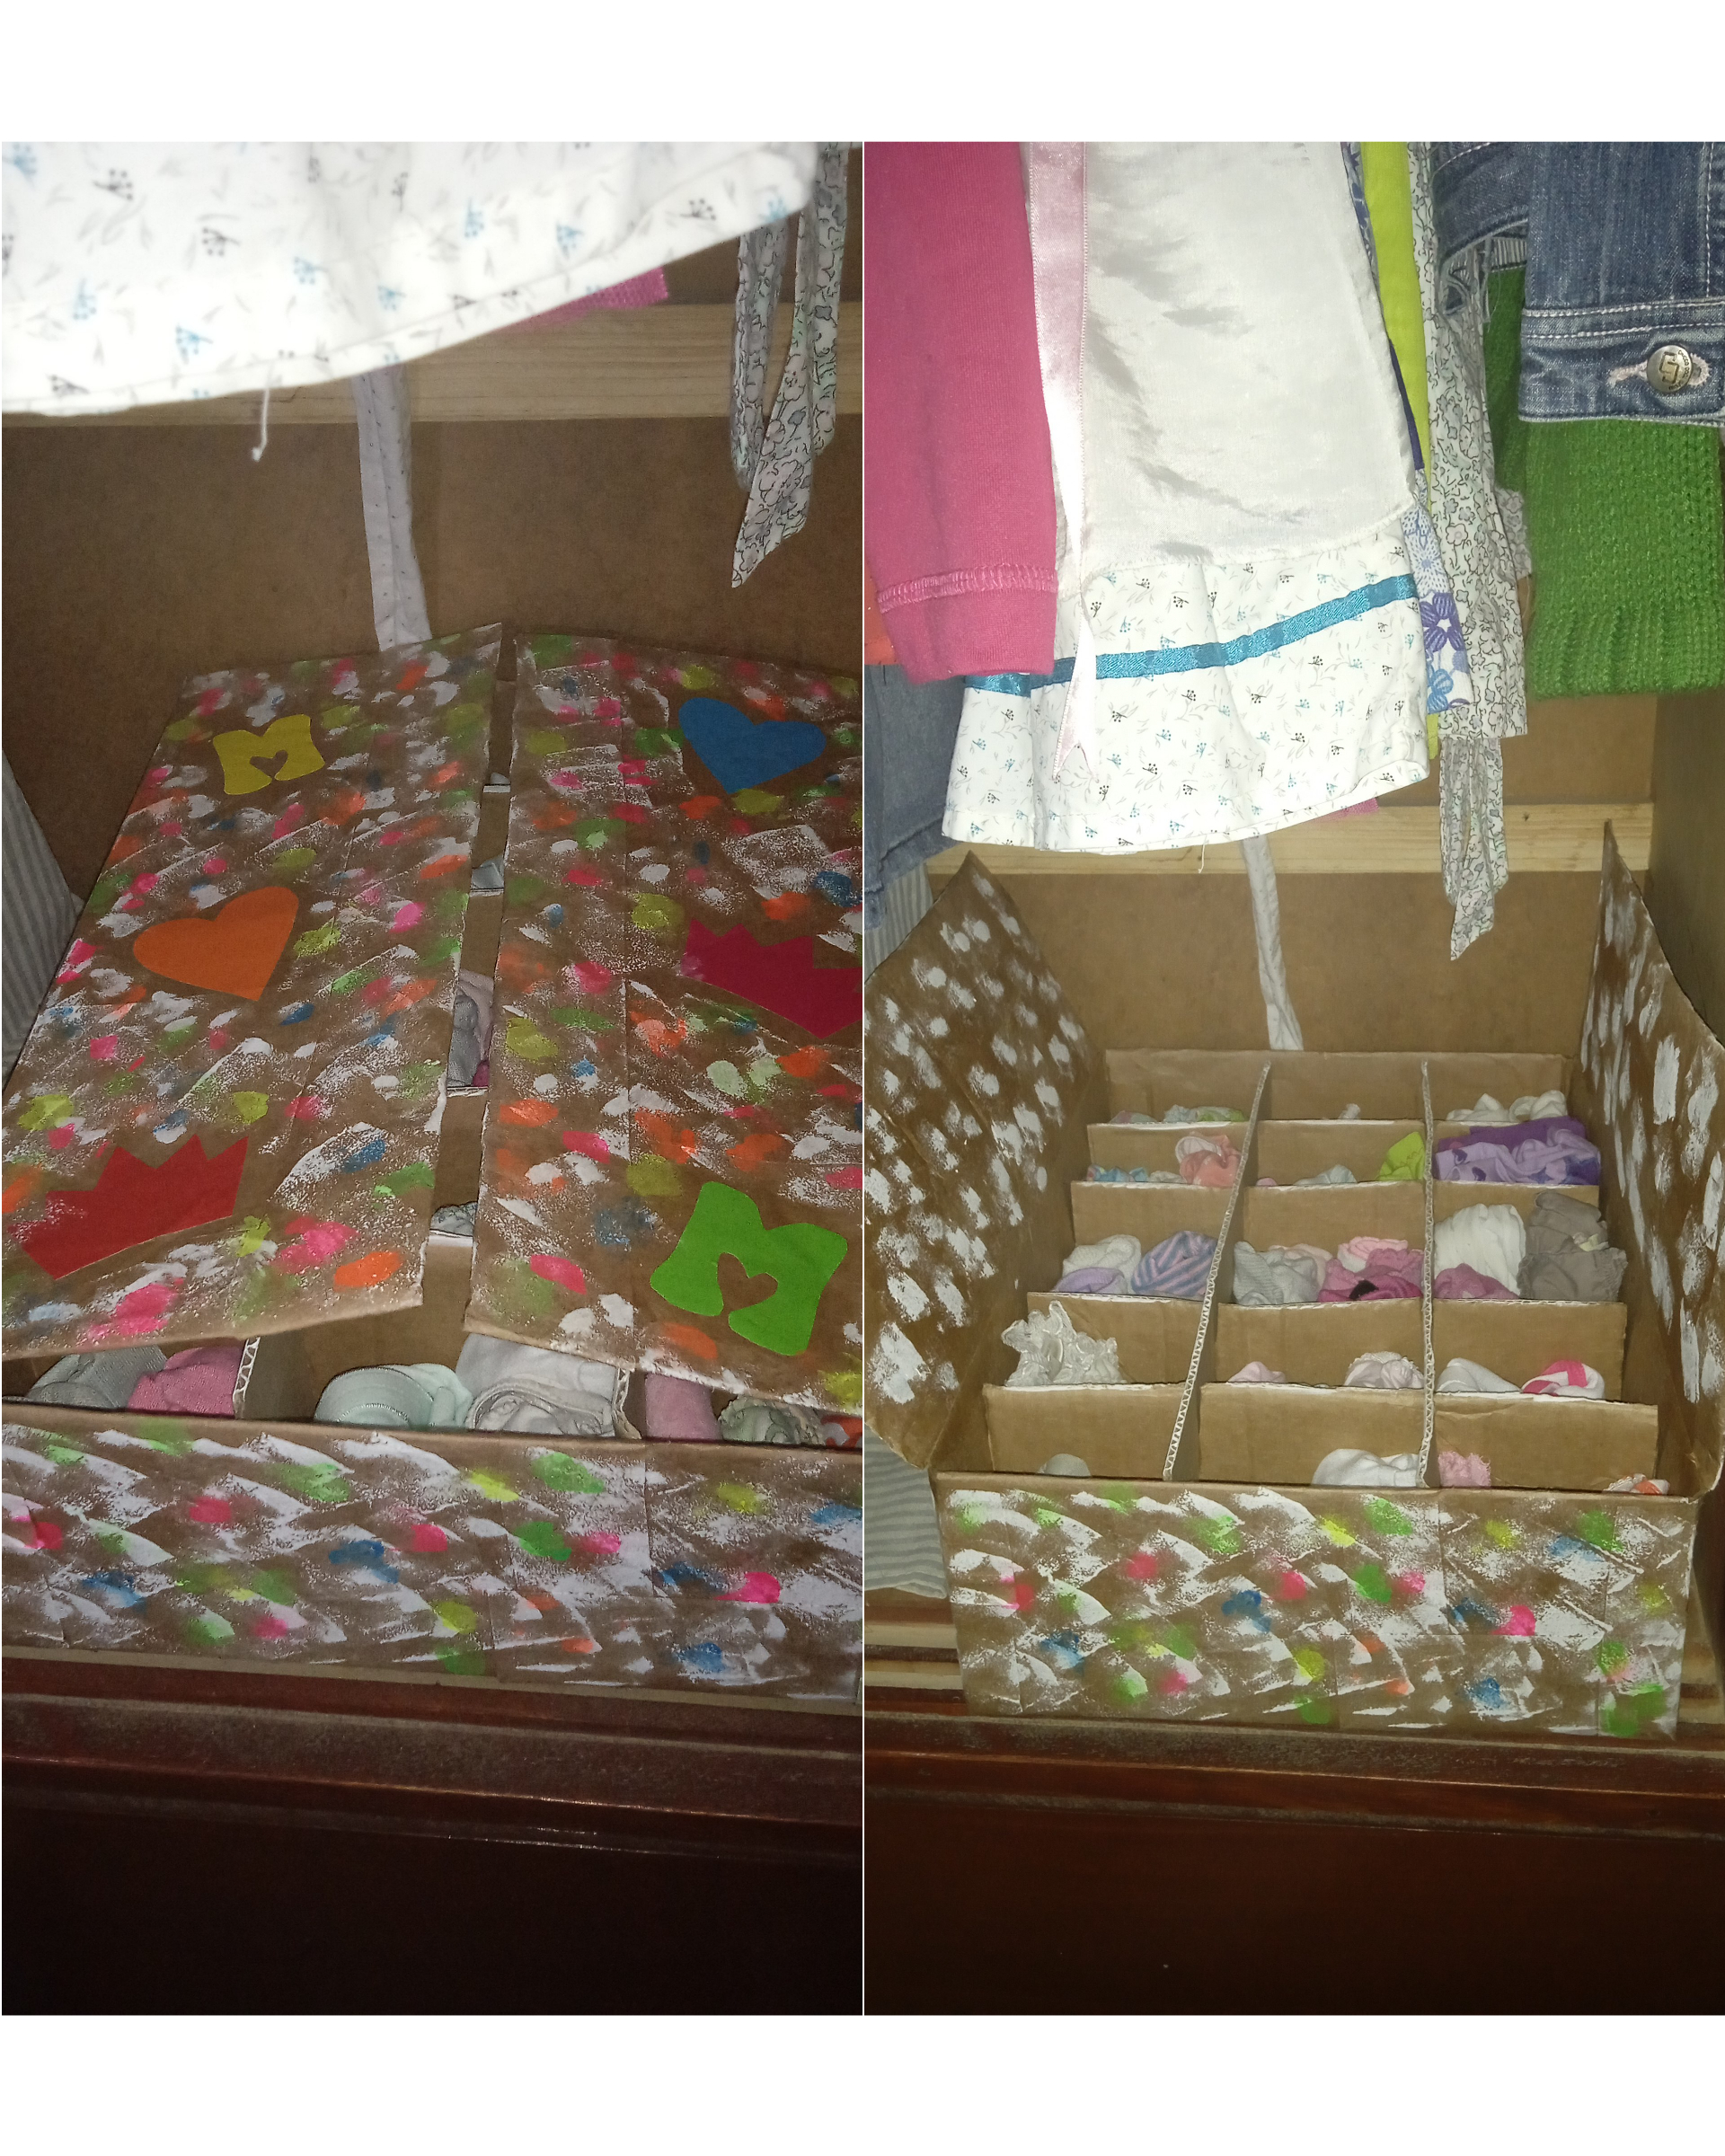
Cabe perfectamente en el closet de mis niñas y en un lugar donde ellas mismas las puedes alcanzar. Además su uso puede variar ya que al sacar la estructura del Interior obtenemos una caja con mucho espacio para guardar.
It fits perfectly in my girls' closet and in a place where they can reach them themselves. In addition, its use may vary since when removing the structure from the Interior we obtain a box with a lot of storage space.
Me encantó participar en esta iniciativa y por eso quiero invitar a @marivic10 y a @maryfegil29 para que participen y se unan a esta nueva comunidad. Gracias por llegar hasta aquí.
I loved participating in this initiative and that is why I want to invite @marivic10 and @maryfegil29 to participate and join this new community. Thanks for getting here.
Has sido votado por
PROYECTO ENLACE
'Conectando Ideas y Comunidades'
PROYECTO ENLACE es un proyecto de curación de habla hispana enfocado en recompensar contenido de calidad y apoyar autores en su proceso de crecimiento en HIVE.
Creemos y apostamos por el futuro de esta gran plataforma, y estamos muy emocionados de poder hacerla crecer junto a esta comunidad. Así que te invitamos a usar nuestra etiqueta ENLACE y estar atento a todas las actividades que tenemos preparadas y que estaremos publicando en breve.
¿QUIERES AUTOMATIZAR TUS GANANCIAS DE CURACIÓN? SE PARTE DEL PROYECTO ENLACE APOYANDO A NUESTRO TRAIL EN HIVE.VOTE INGRESA AQUÍ PARA CONOCER LOS DETALLES.
¿QUIERES INVERTIR ENLACE? DESCUBRE COMO HACERLO Y GENERAR INGRESOS DE FORMA SEMANAL MEDIANTE TU DELEGACIÓN DE HP AQUÍ TE EXPLICAMOS COMO.
Te invitamos a participar en nuestro servidor de Discord: https://discord.gg/3S9y7BbWfS
Atentamente
EQUIPO ENLACE 2021
Congratulations @mairimgo23! You have completed the following achievement on the Hive blockchain and have been rewarded with new badge(s):
Your next target is to reach 400 replies.
You can view your badges on your board and compare yourself to others in the Ranking
If you no longer want to receive notifications, reply to this comment with the word
STOPEsta hermosa esa caja, muy práctica súper original. Saludos
Te quedo muy bonito amiga, felicidades. 👏
Quedó muy bonito tu proyecto...genial. Reciclando todo es mejor ♻️♻️♻️
Saludos amiga, es una idea muy práctica y como lo mencionas puede tener diferentes usos. Gracias por compartir.
Es una idea muy práctica para guardar y para hacer con los pequeños de la casa, gracias a ti por comentar.
Congratulations, your post has been upvoted by @dsc-r2cornell, which is the curating account for @R2cornell's Discord Community.
Enhorabuena, su "post" ha sido "up-voted" por @dsc-r2cornell, que es la "cuenta curating" de la Comunidad de la Discordia de @R2cornell.
De verda que esta es una super idea. Quedo muy bien y es ideal para organizar espacios. Gracias por compartir. Ademas te comento que, esas plantillas que salen en una foto, me recuerdan unas que tiene mi mama, son iguales. :) Saludos. Exitos.
Si y es muy resistente y durable el cartón cuando lo trabajas con papel y engrudo, he hecho muchos otros proyectos y tengo otros por hacer. Gracias por comentar.
Esta genial cesta idea podría servir para los gabeteros que lo tengo desordenados. Gracias por compartir tu experiencia en tan grata compañía. Saludos un gran placer visitarte y leer tu creativo post.