Hi Folks
This is part 2 of my series exploring the Goblin Camp area of Baldur's Gate 3.This area is a major part of the act 1 story and there is quite a lot to talk about and discover here.
You can find part 1 of this series here...
https://hive.blog/hive-140217/@celticheartbeat/baldur-s-gate-3-saving-arabella-the-tiefling-child-recruiting-wyll-the-blade-of-frontiers-and-heading-to-the-goblin-camp
Our main objective in this area is to free a Druid named Halsin who has been captured by the Goblins.The only way to do this is to kill the 3 Goblin leaders.Of course being that this is a Dungeons and Dragons game it s entirely possible to make an evil character and join the goblins and lead an attack on the Druid grove instead.
For this play through I am sticking with the good alignment and trying to do the right thing where possible...So these goblin leaders gotta go!
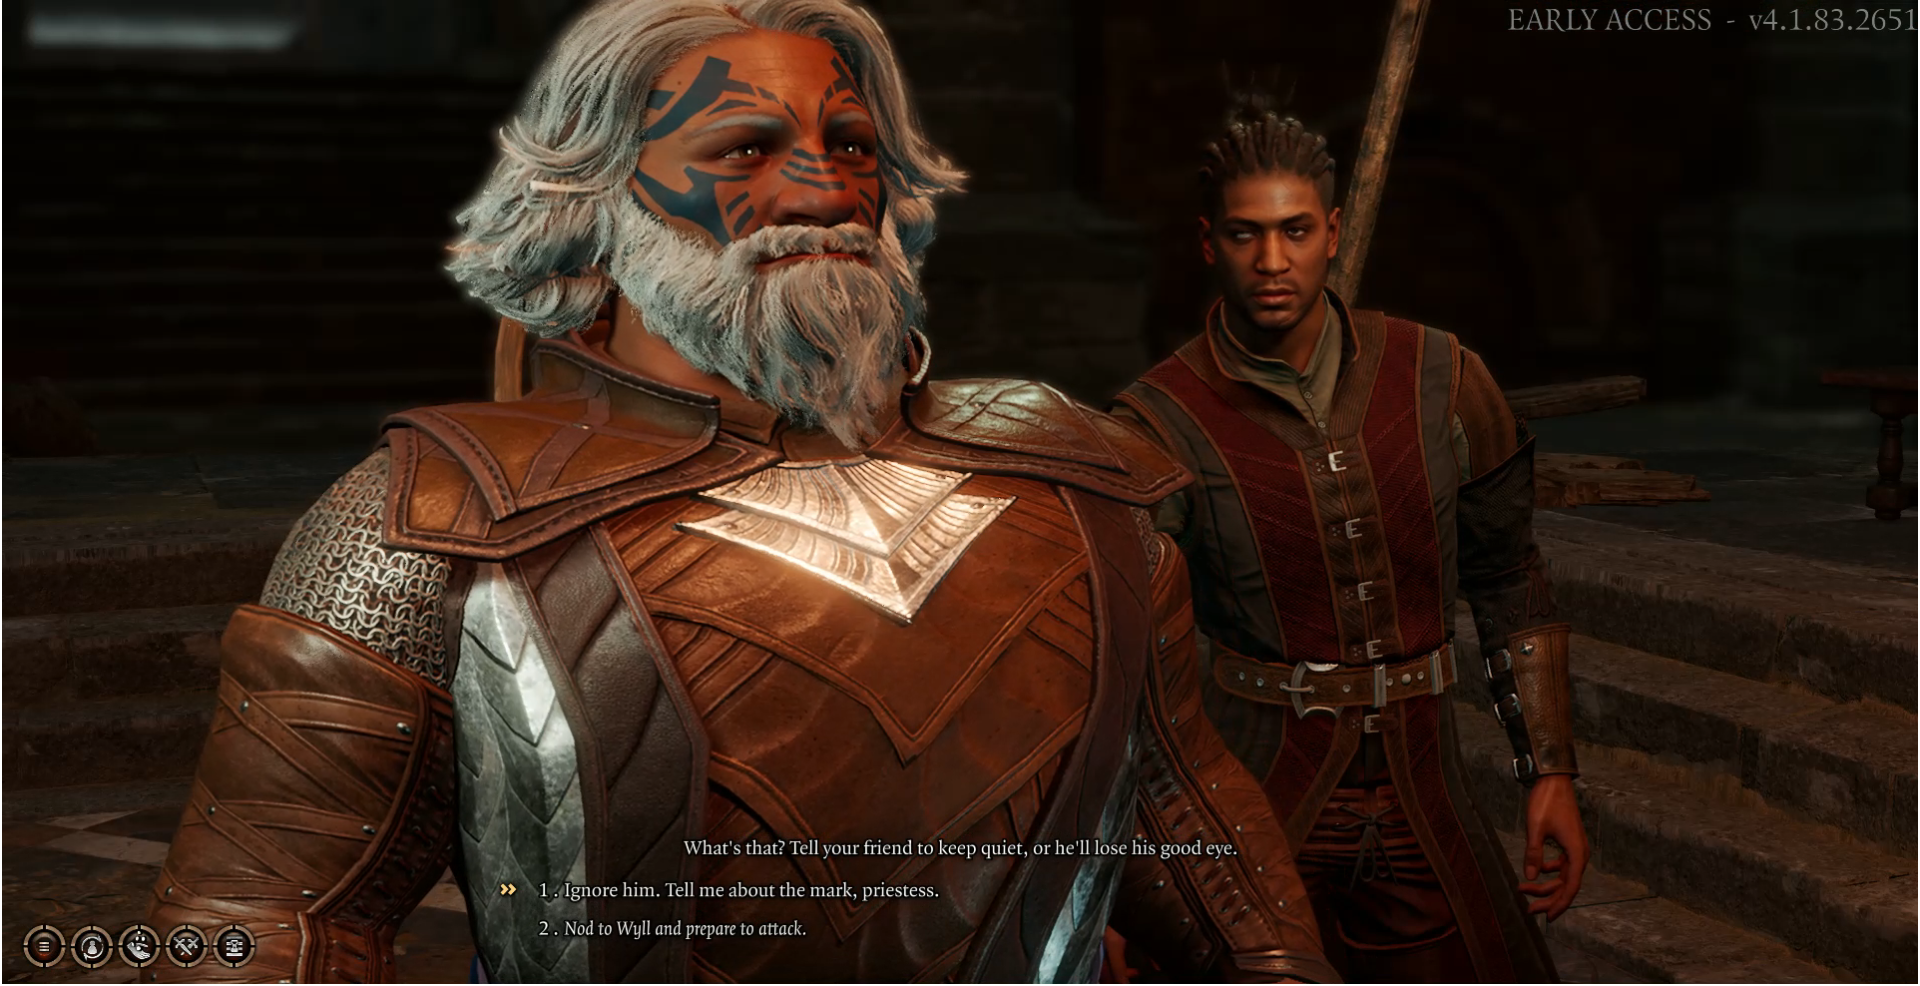
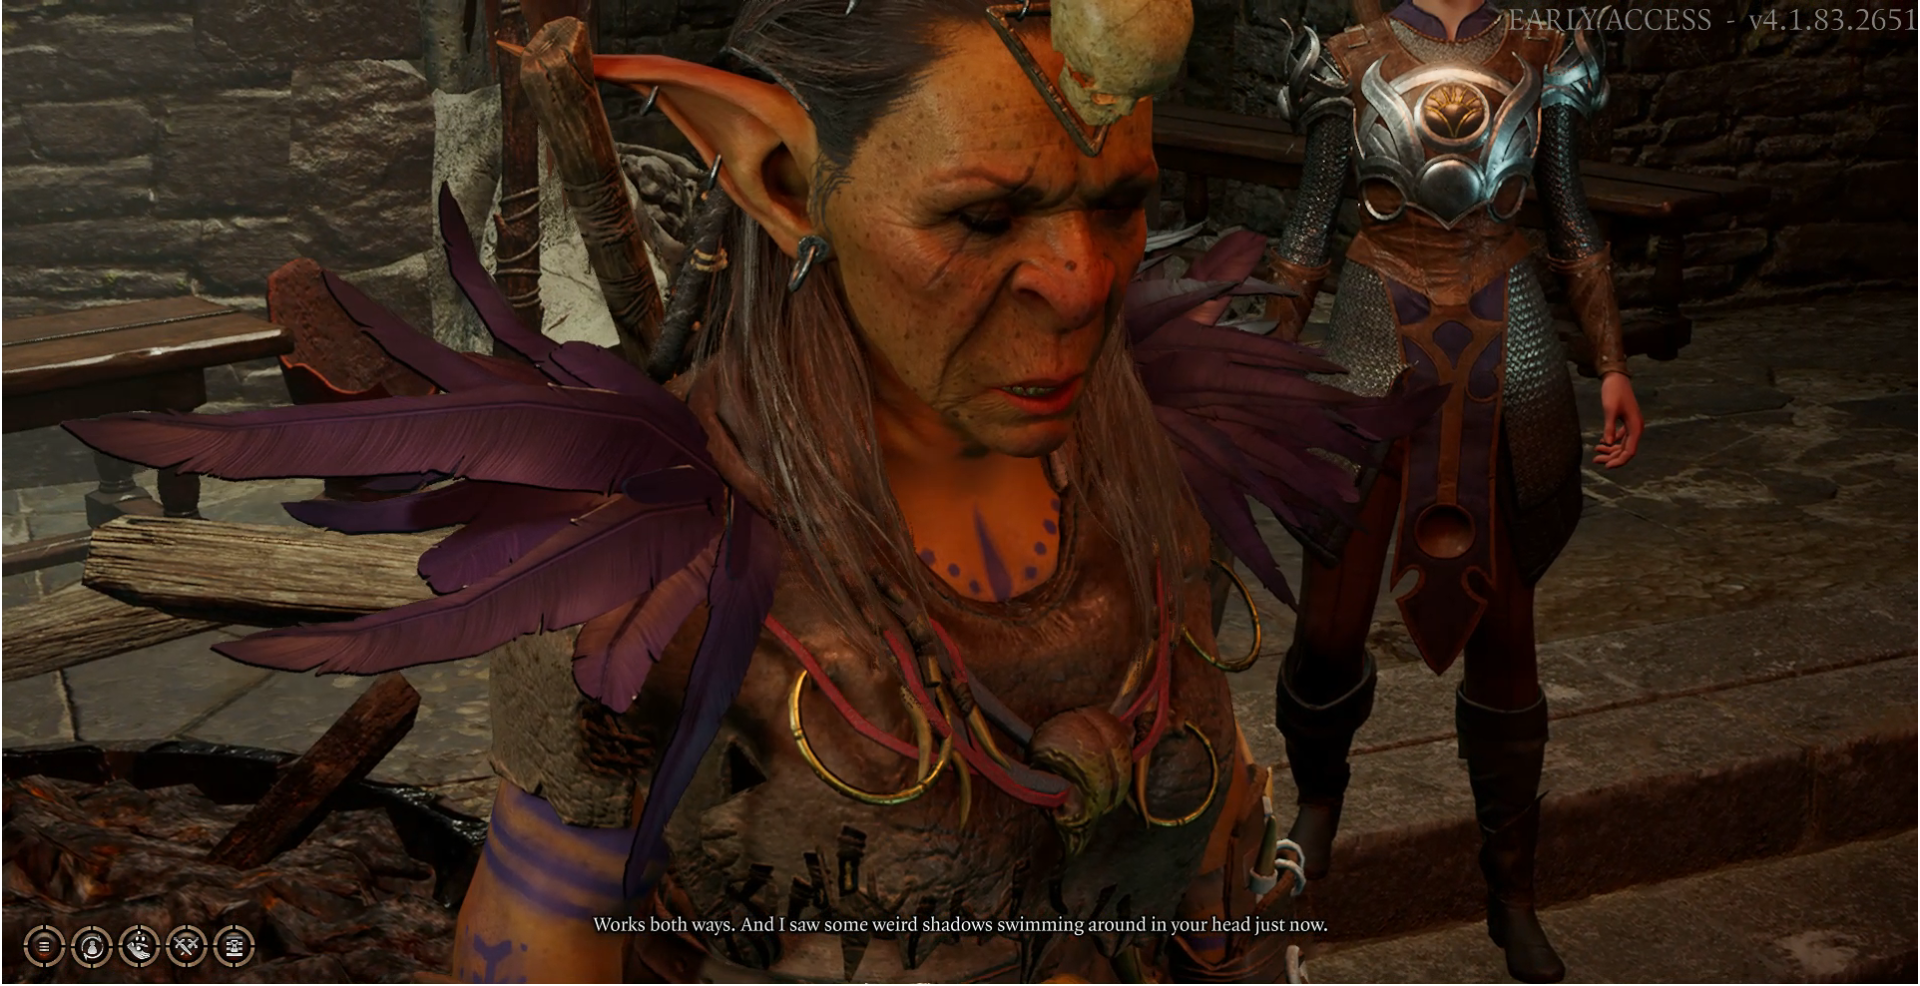
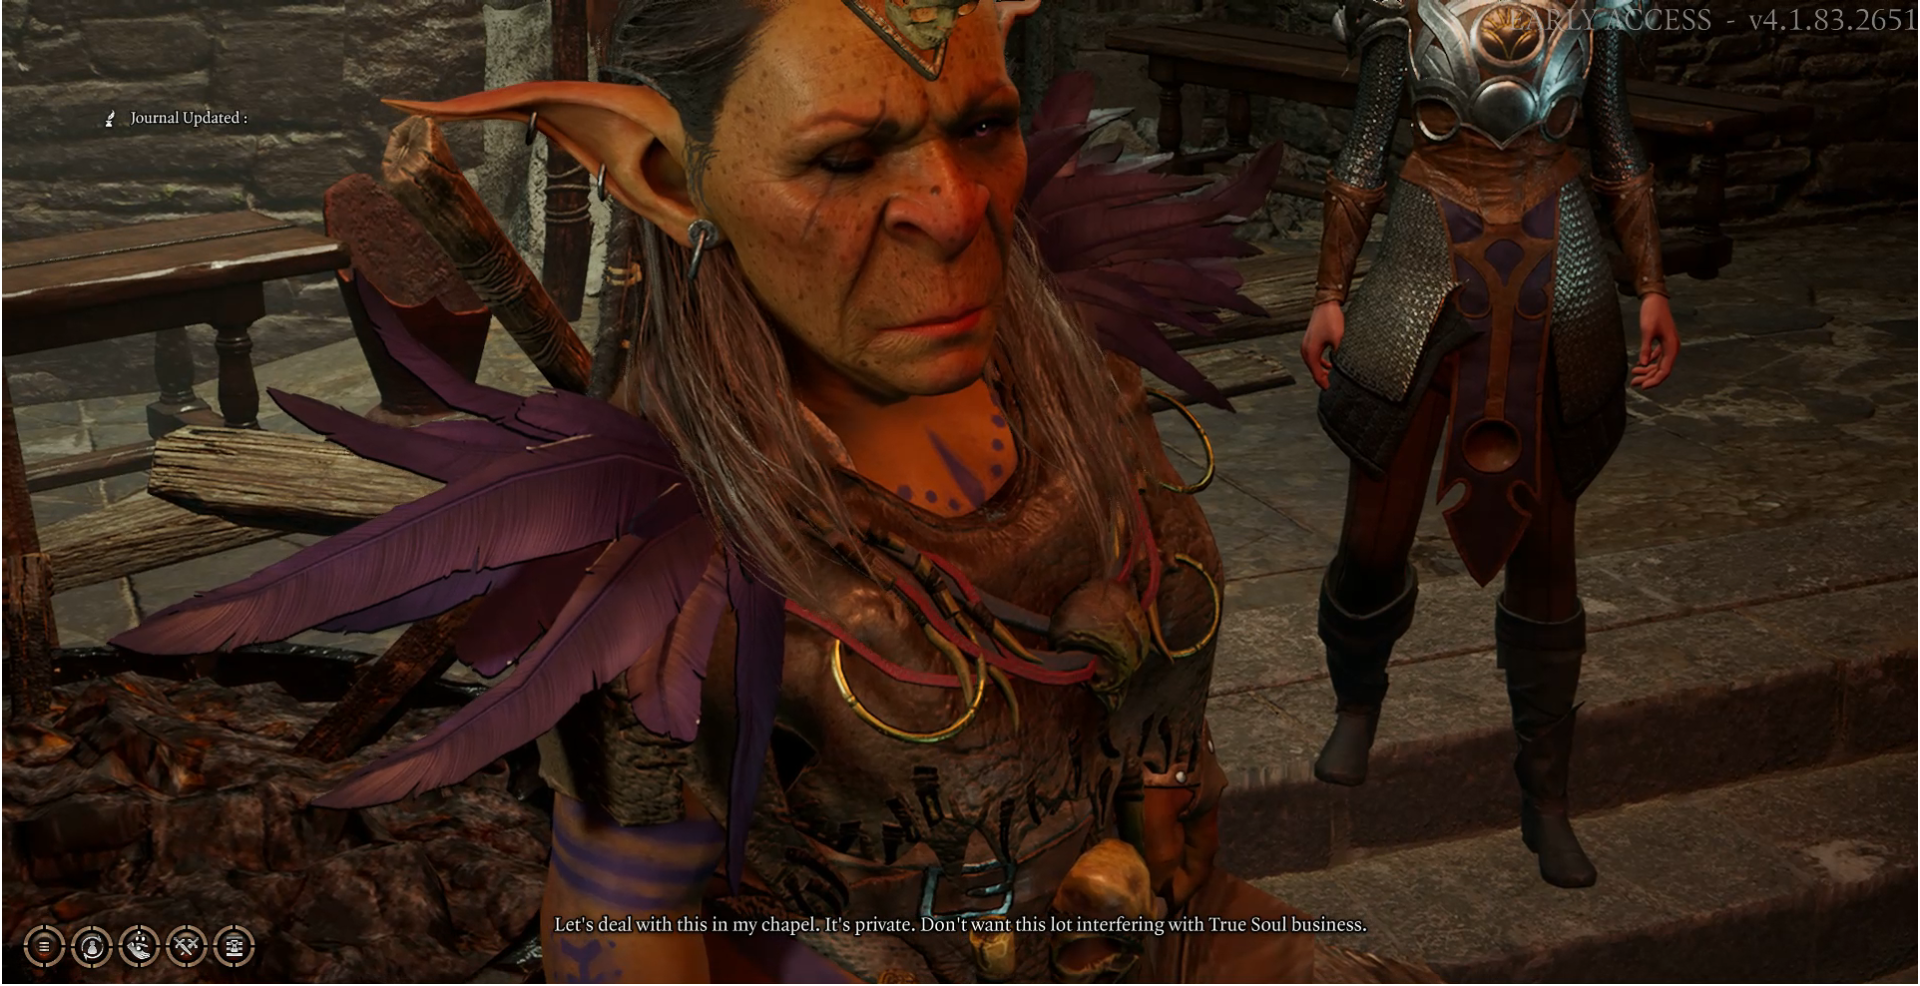
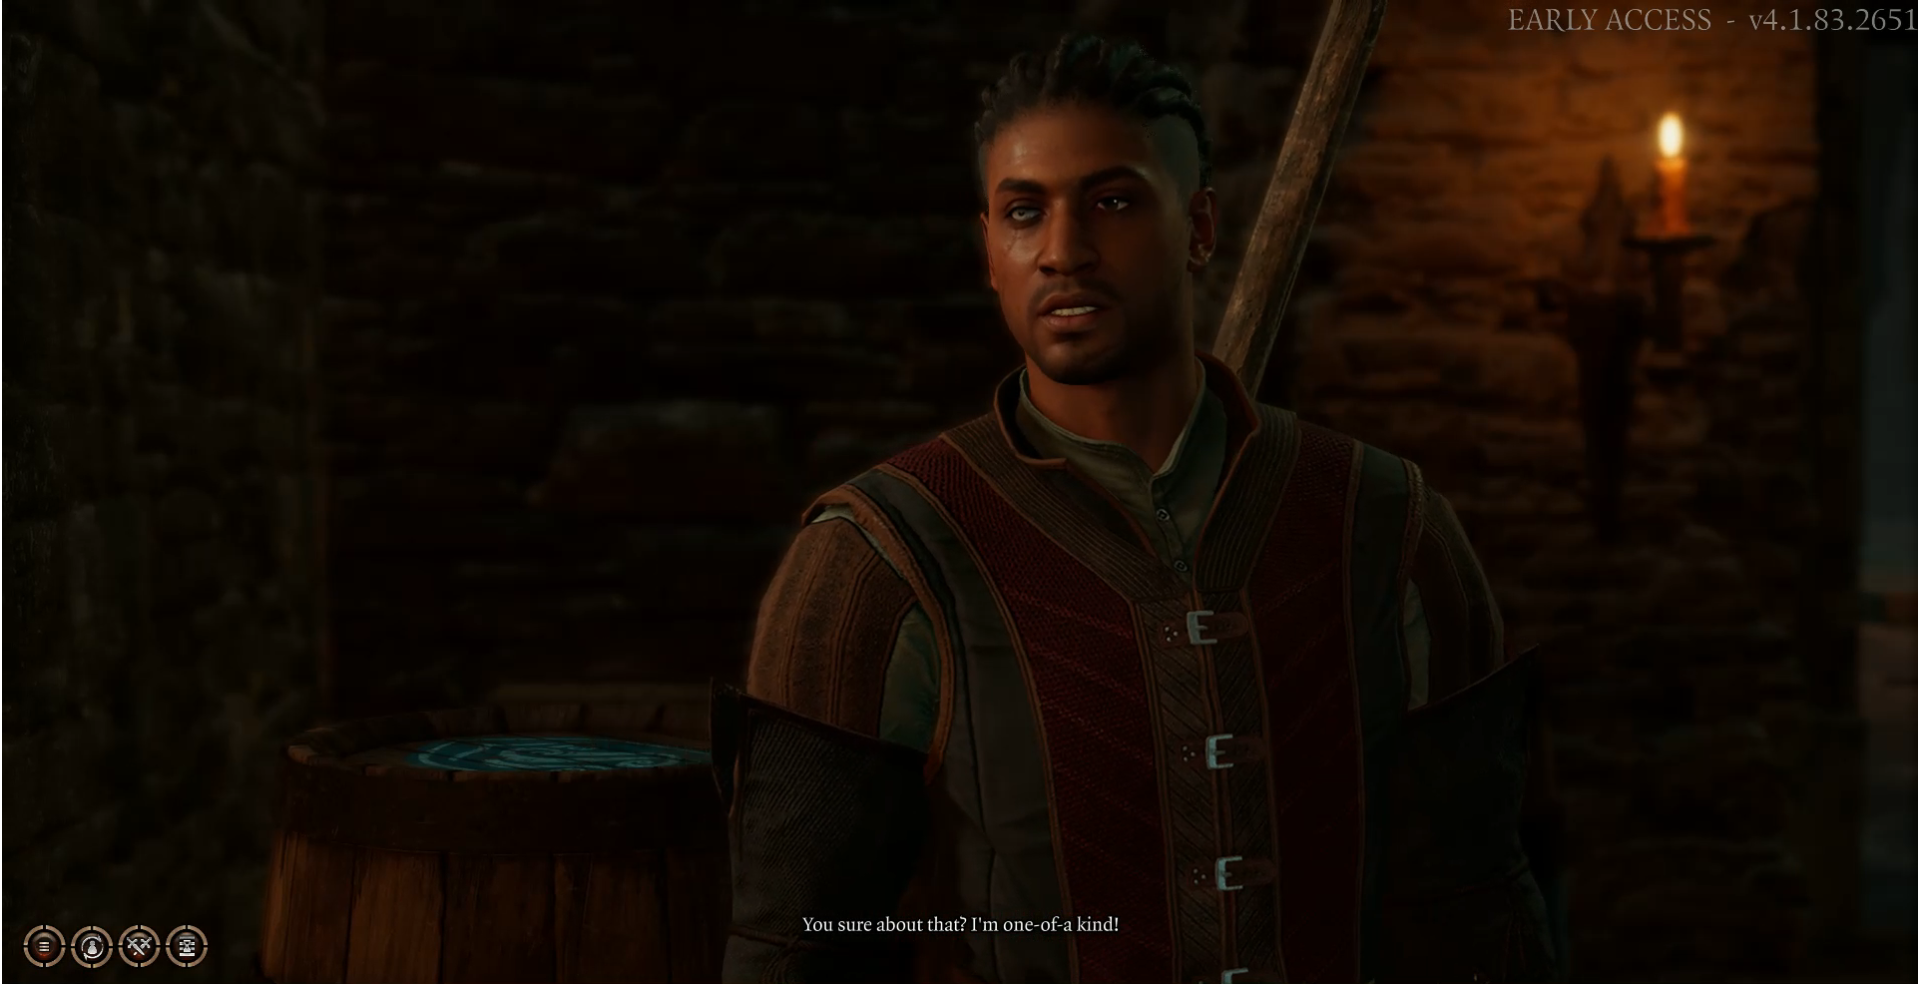
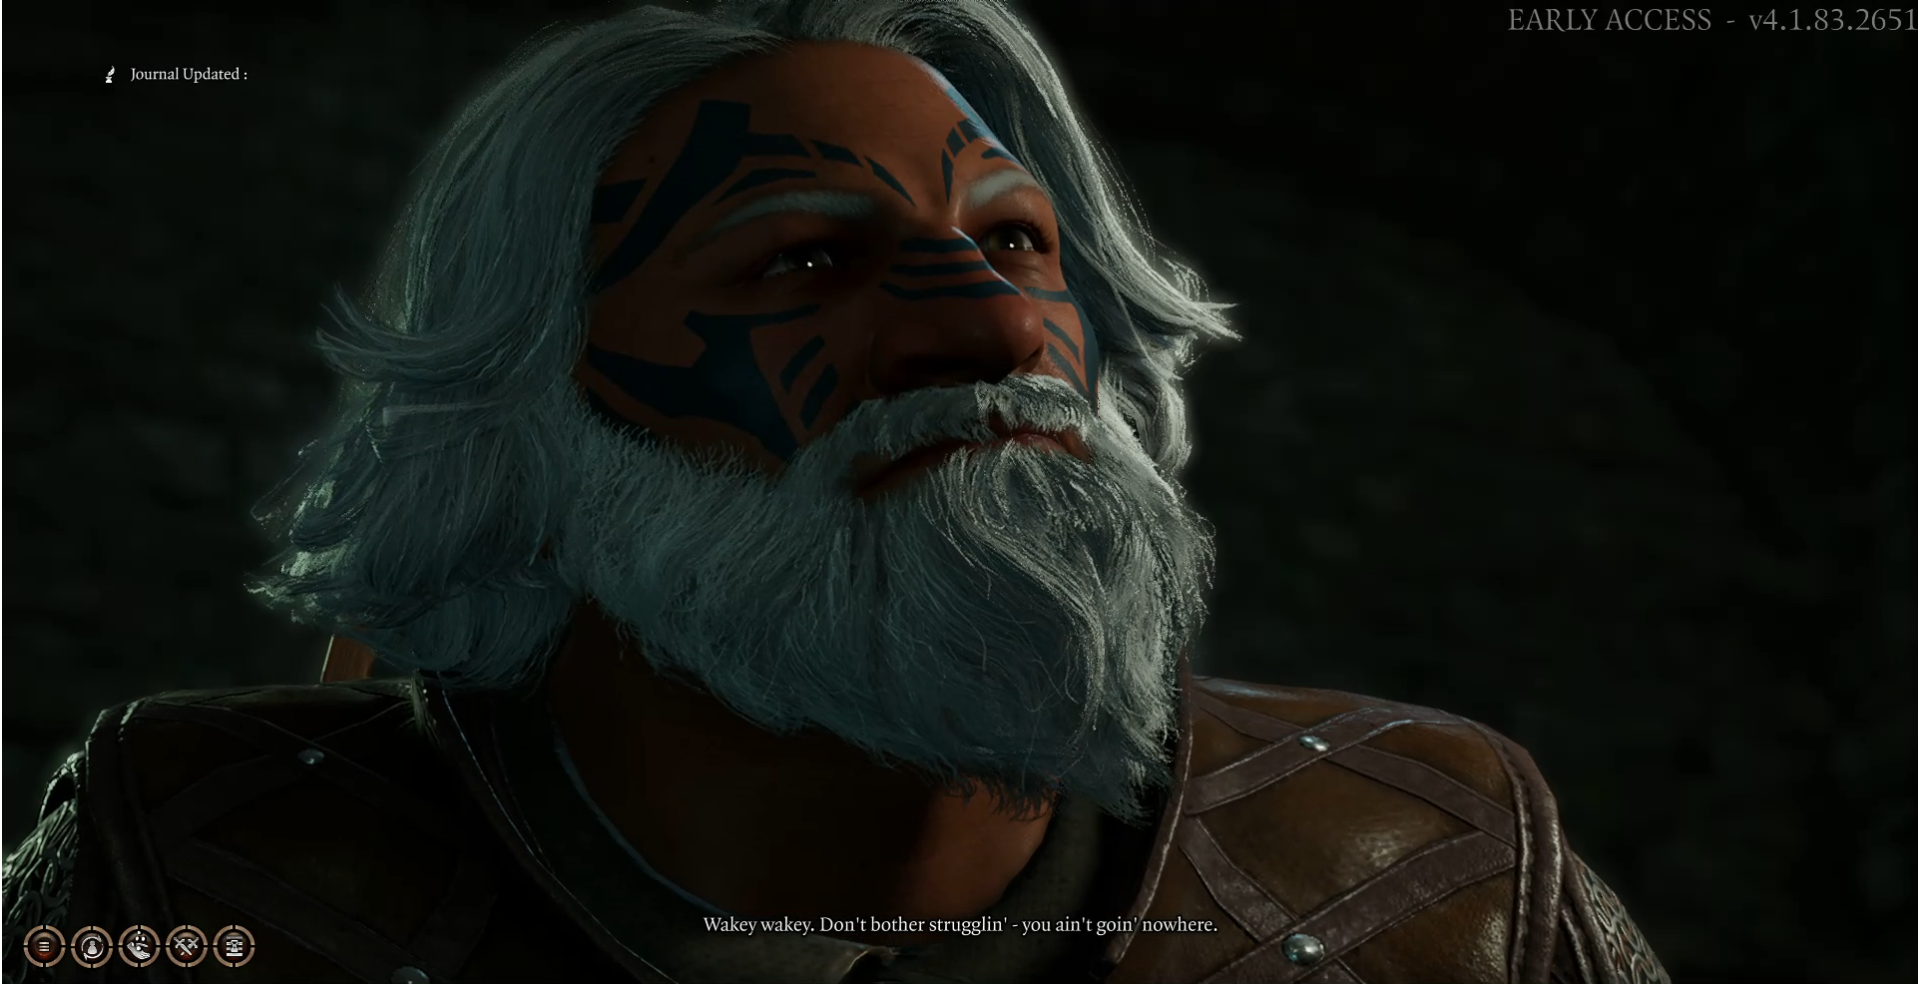
The first leader we need to take out is Priestess Gut...A goblin High Shaman...
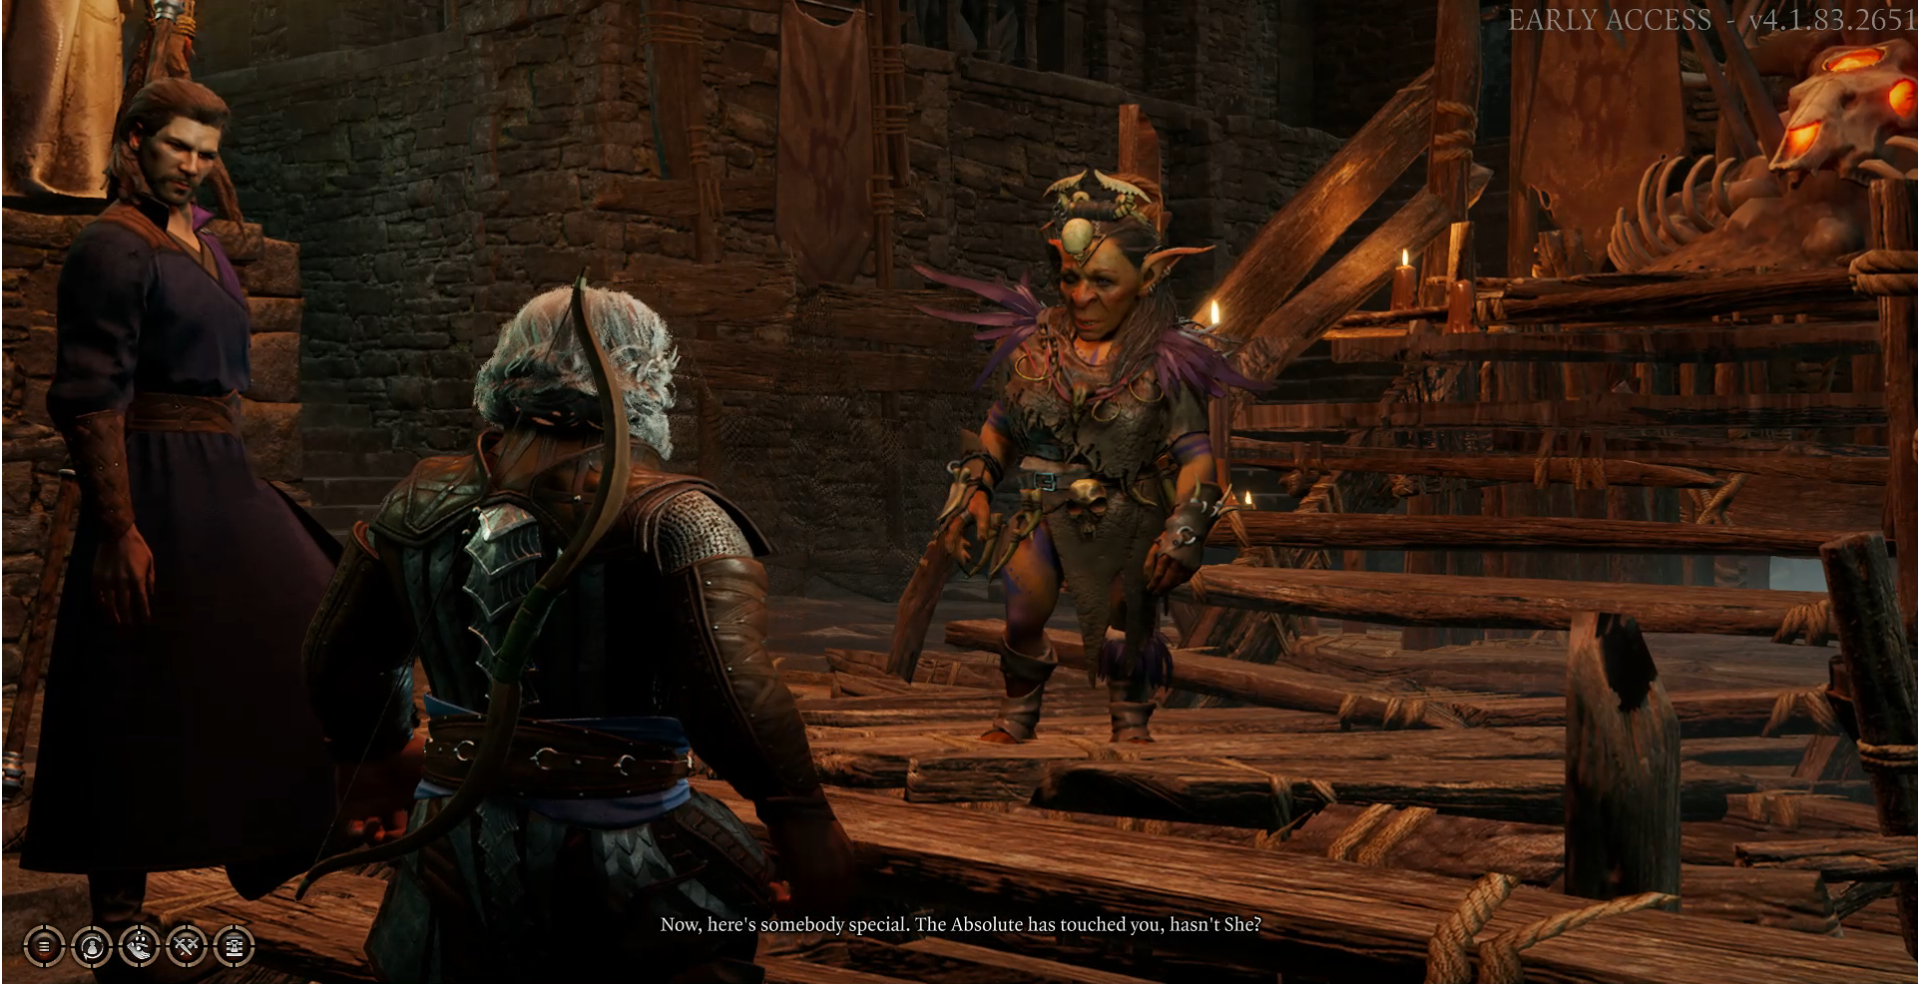

If we go for the option to attack her right away its going to bring around another 7 or 8 npcs to her aid.3 Elven archers and 4 or 5 other goblins.
Although this fight is not impossible it is pretty damn difficult to go down the 4 vs 8 road...You need to get real lucky on every attack and dice roll and you would require a lot of healing potions.
In this video I explain the correct approach to taking The Priestess out with out alerting all the other npcs nearby.
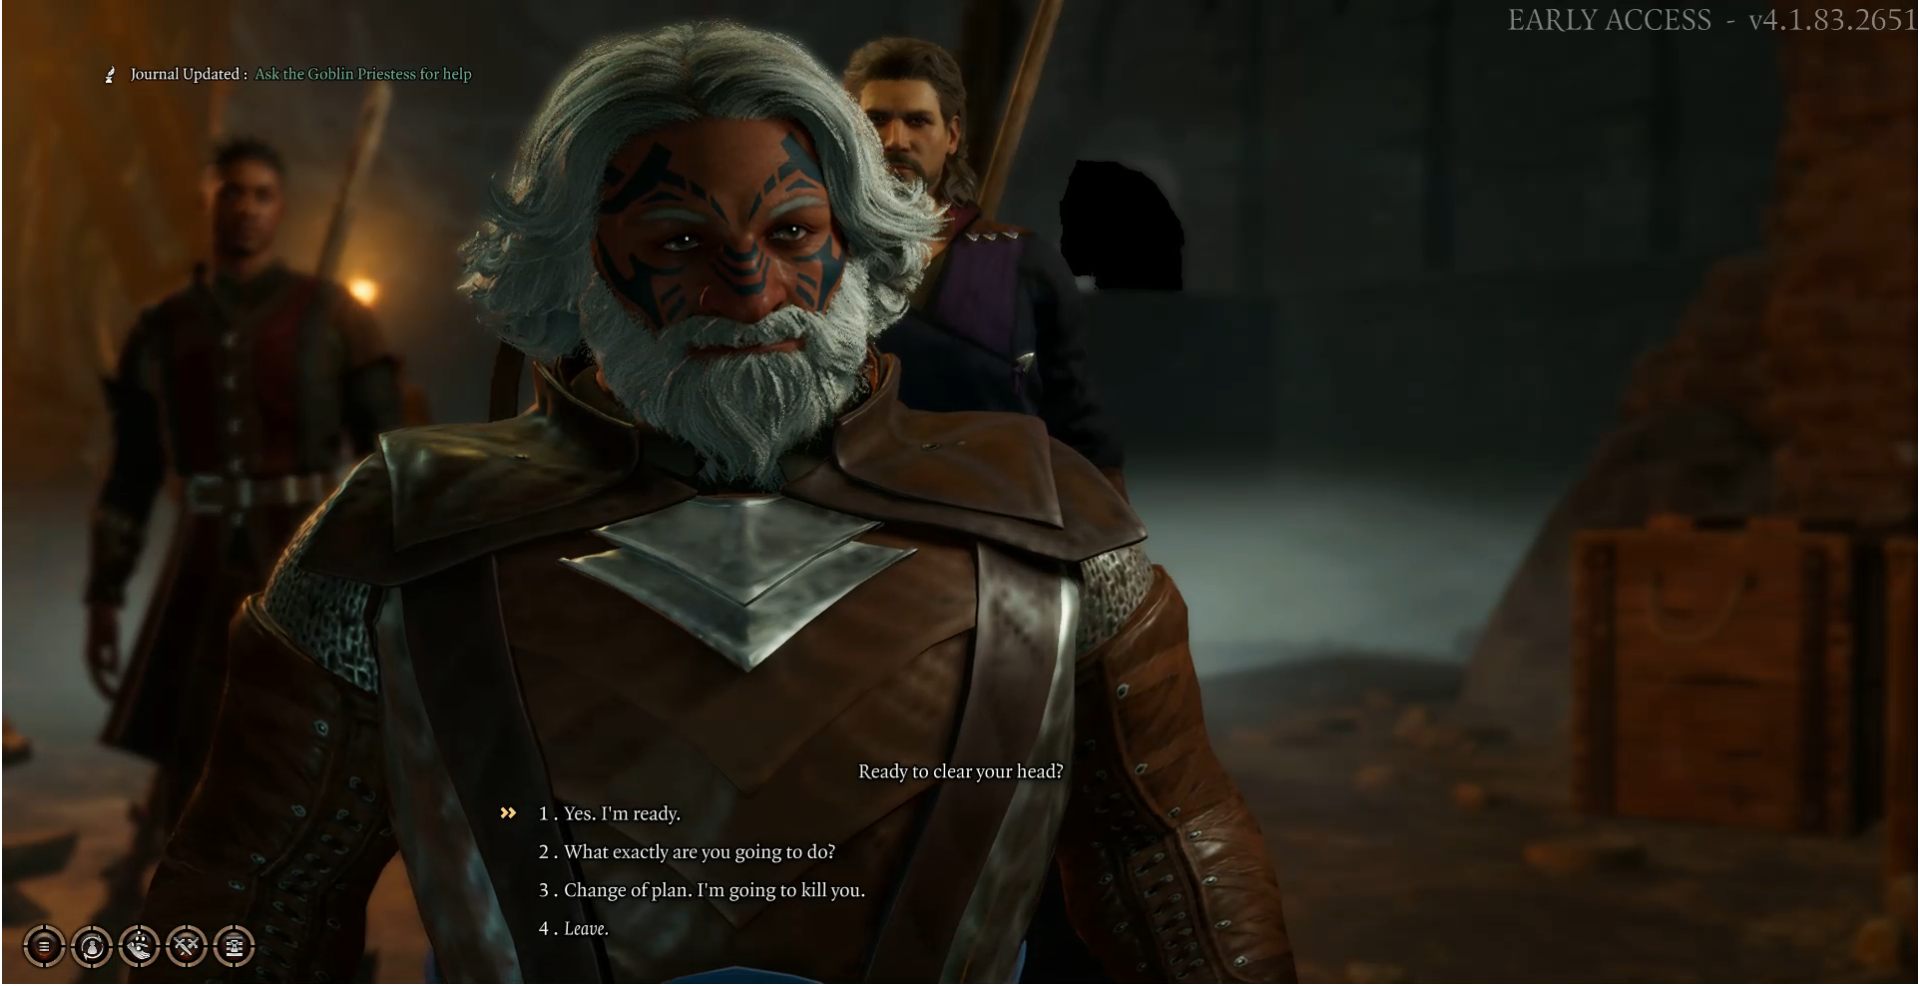
First we got to choose the option of letting her brand us with the mark of the Absolute.
Wyll wants to attack right away but we already know this will most likely end with a party wipe...
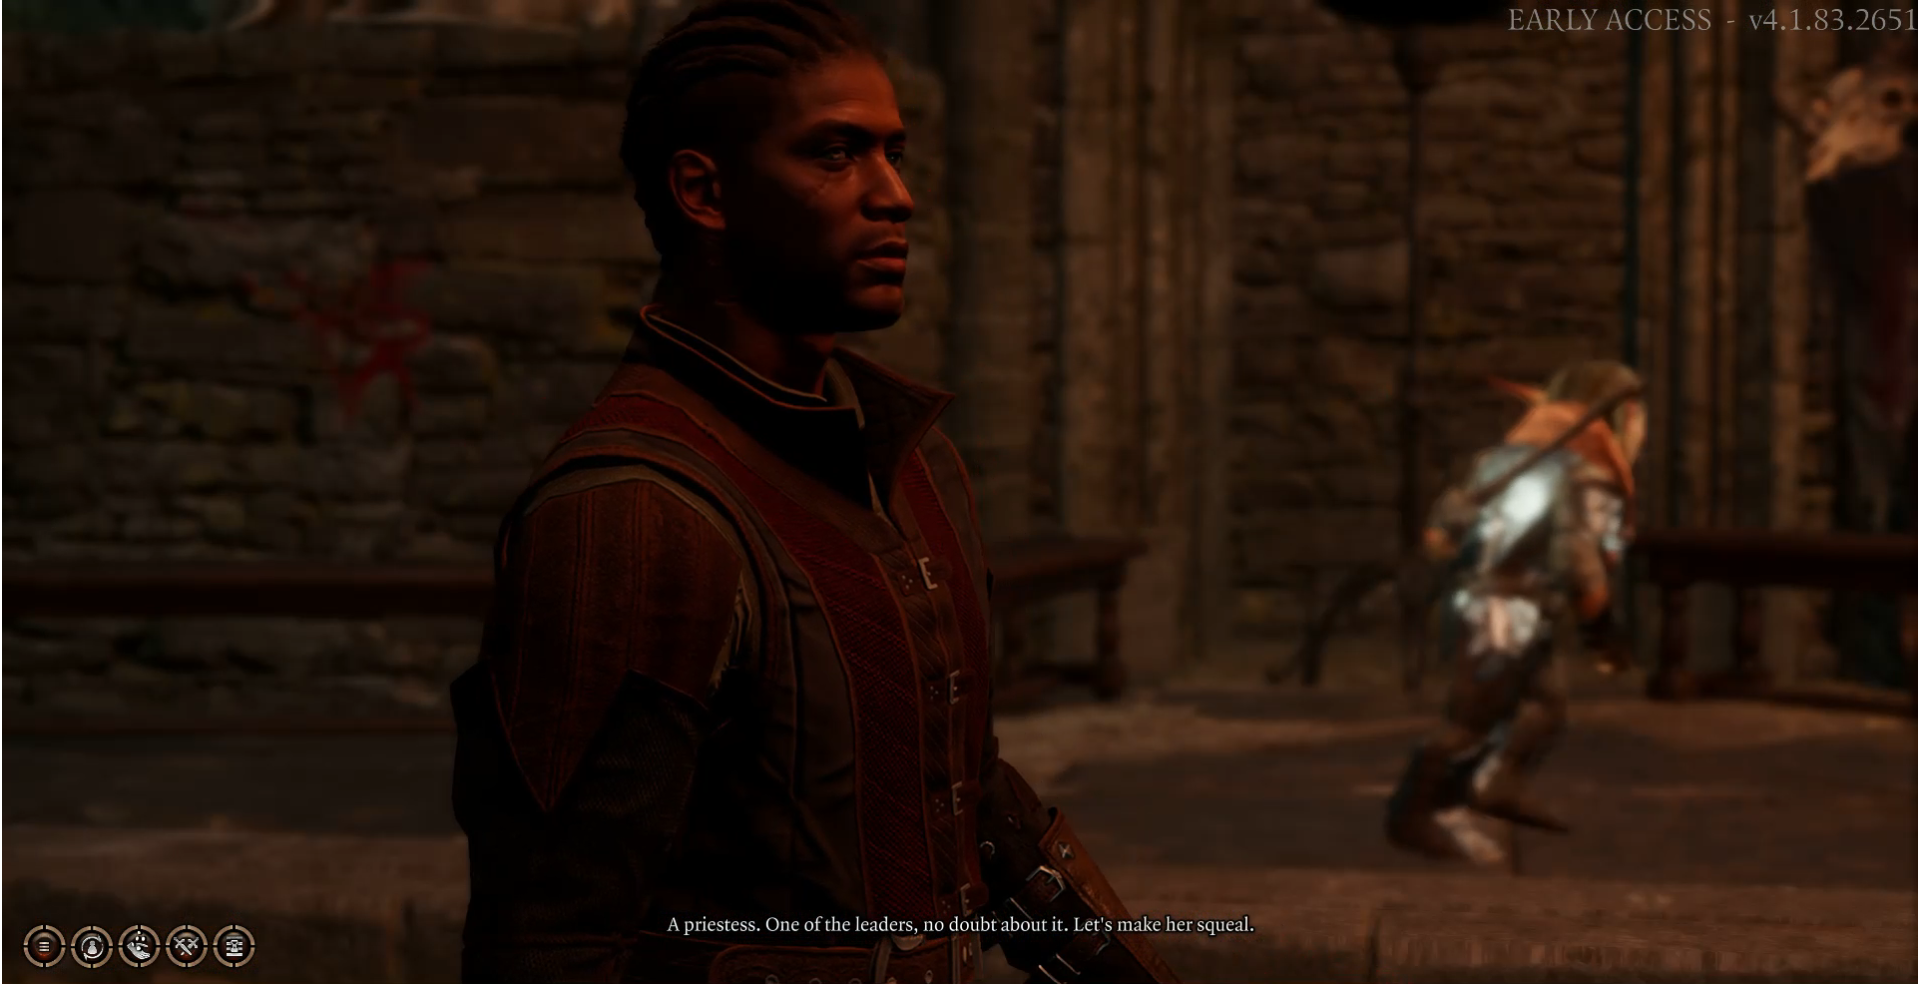
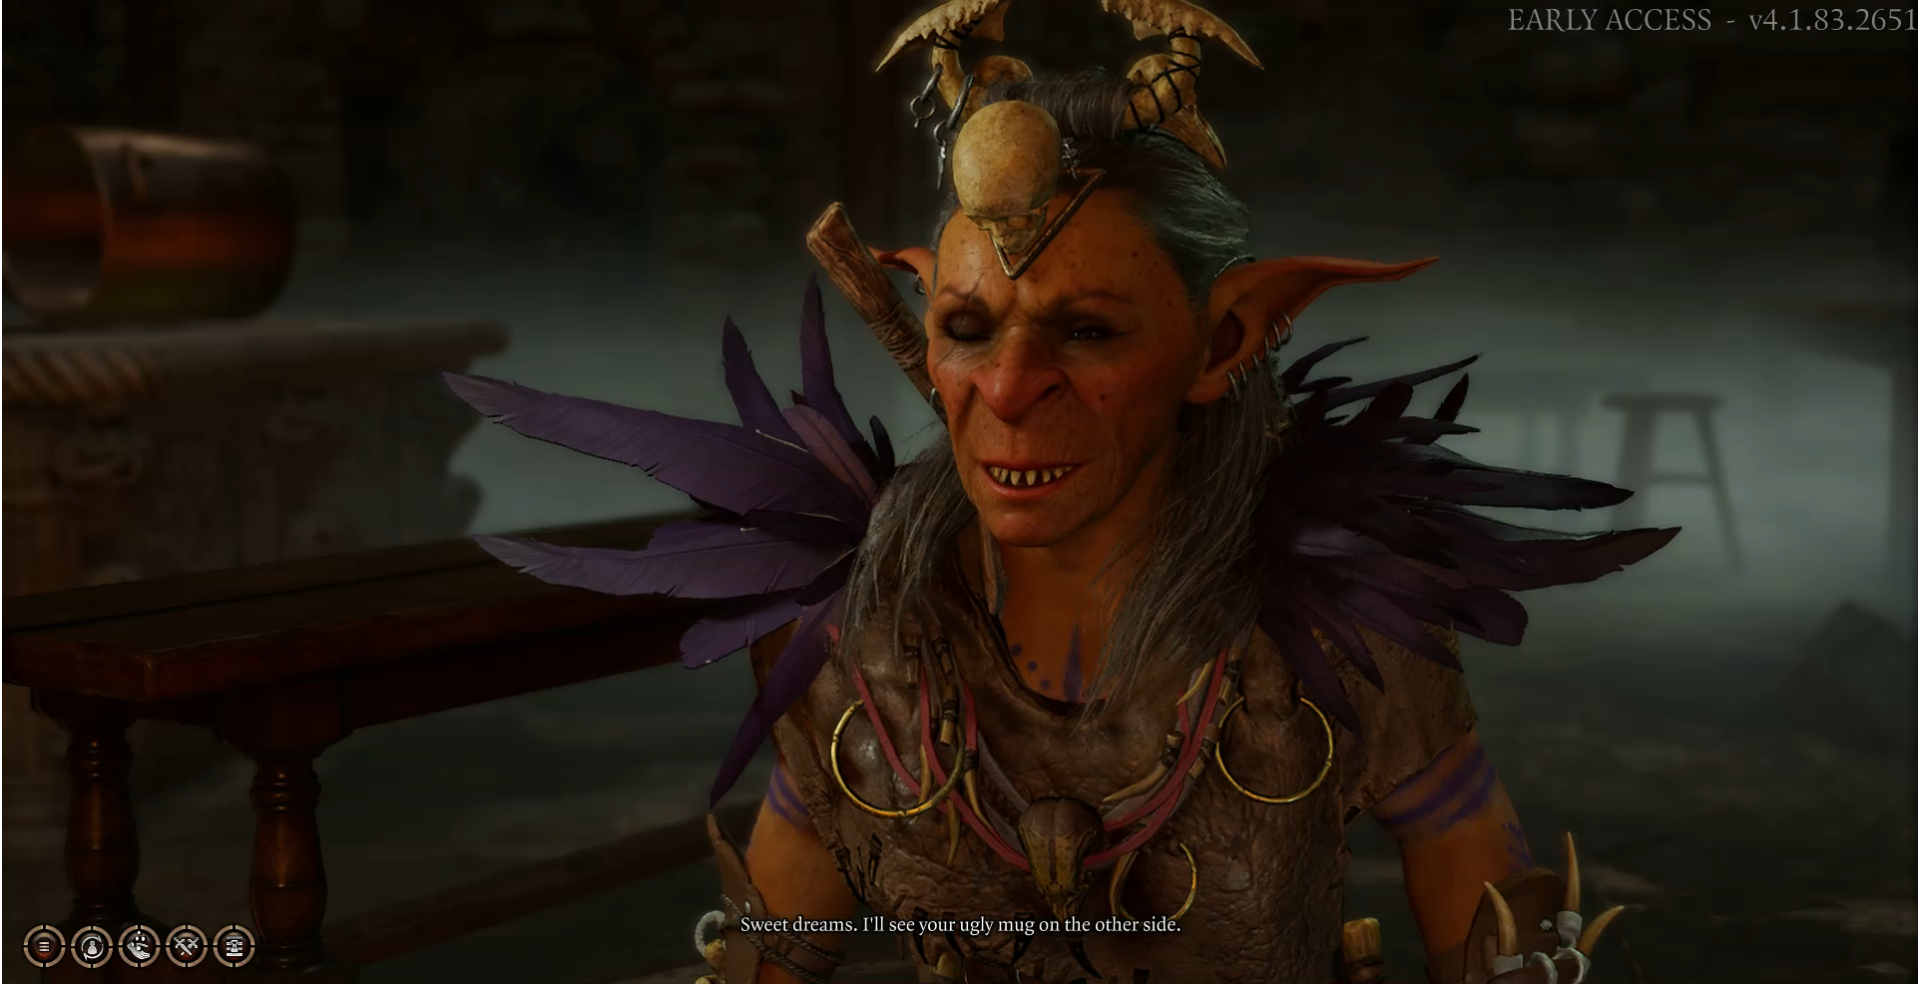
Priestess Gut tells him to keep quiet or he will lose his other eye....
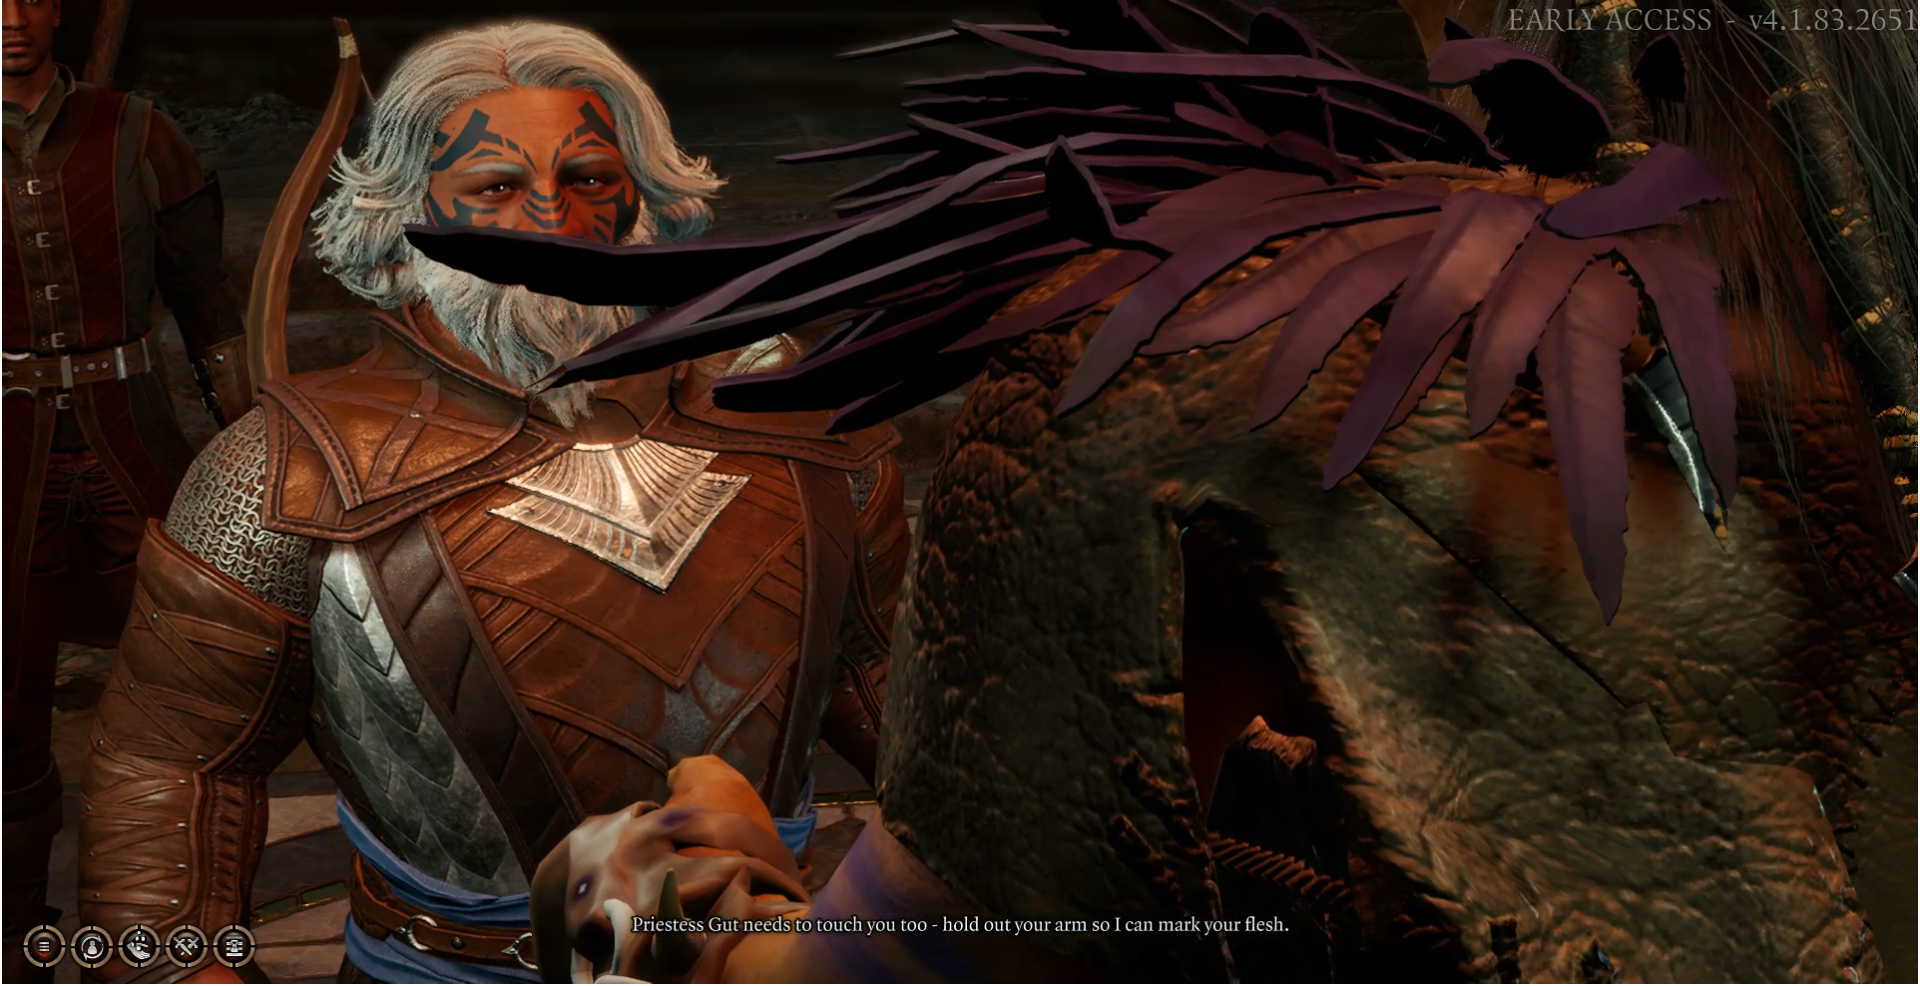
Got to ignore Wyll for now and let her brand me...
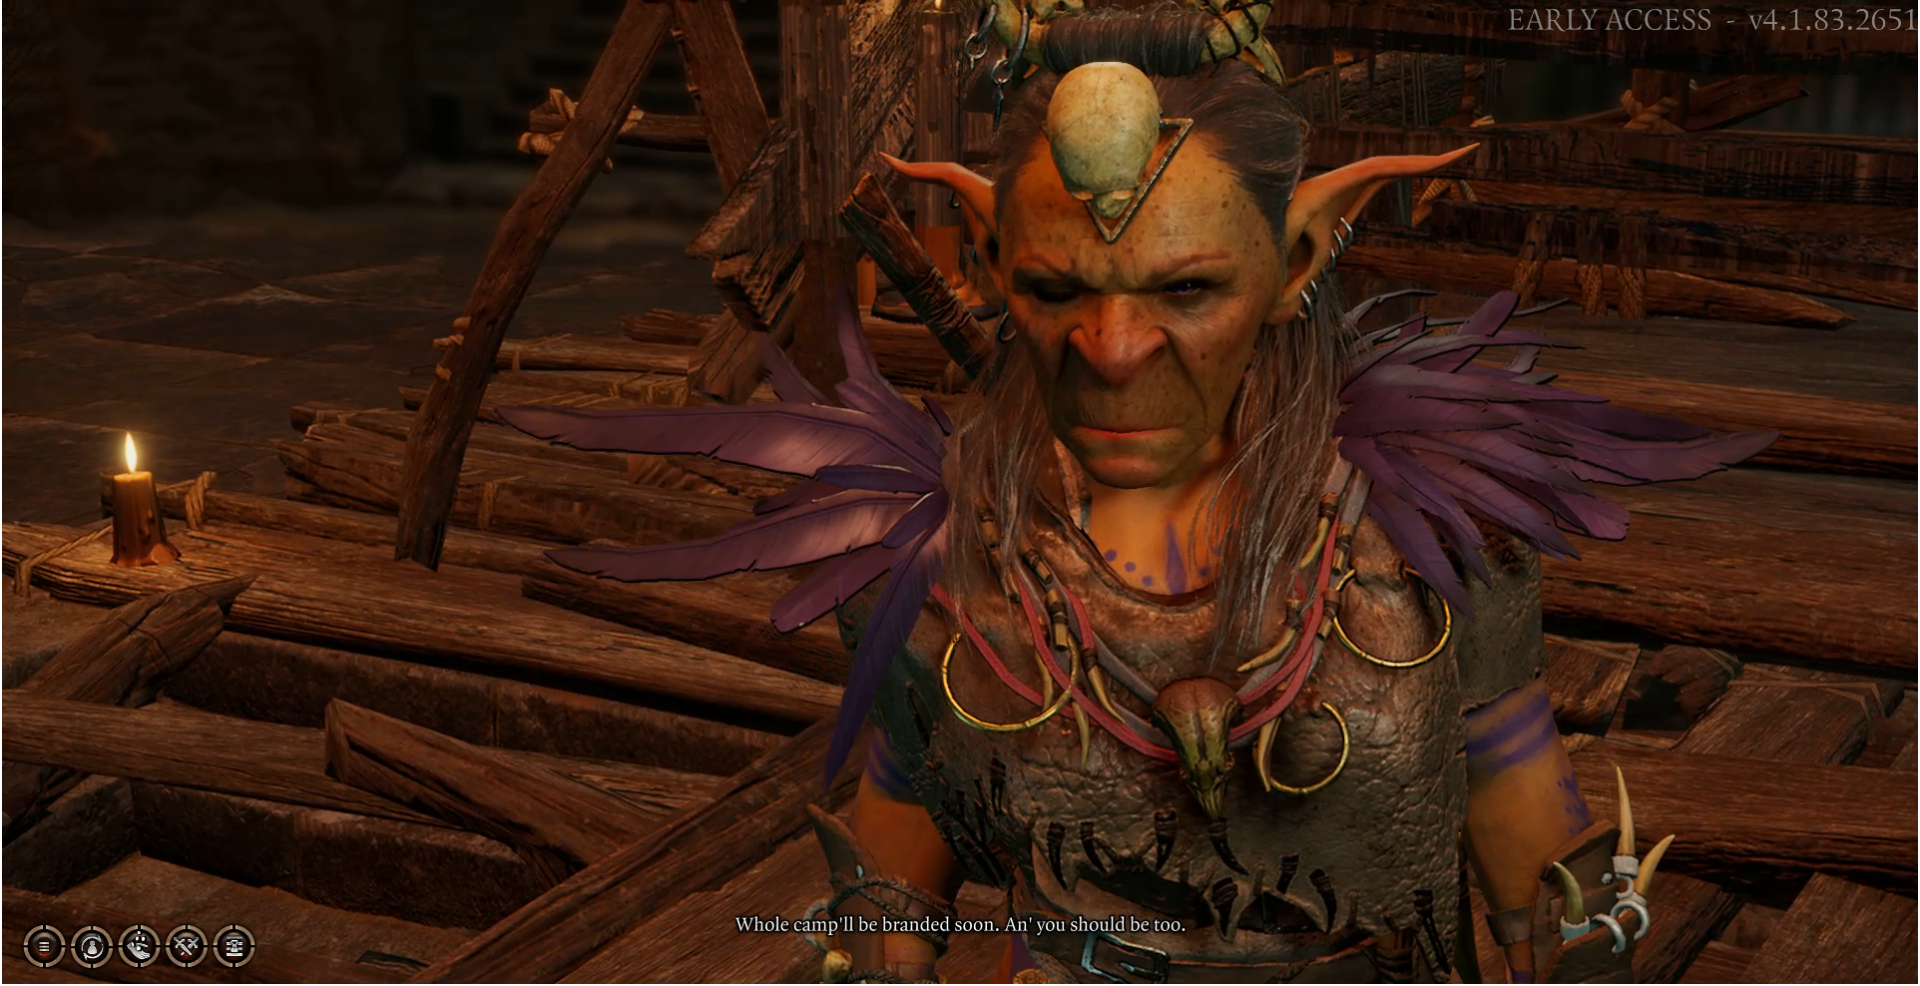
Gotta hold out your hand for a branding...this is gonna hurt!
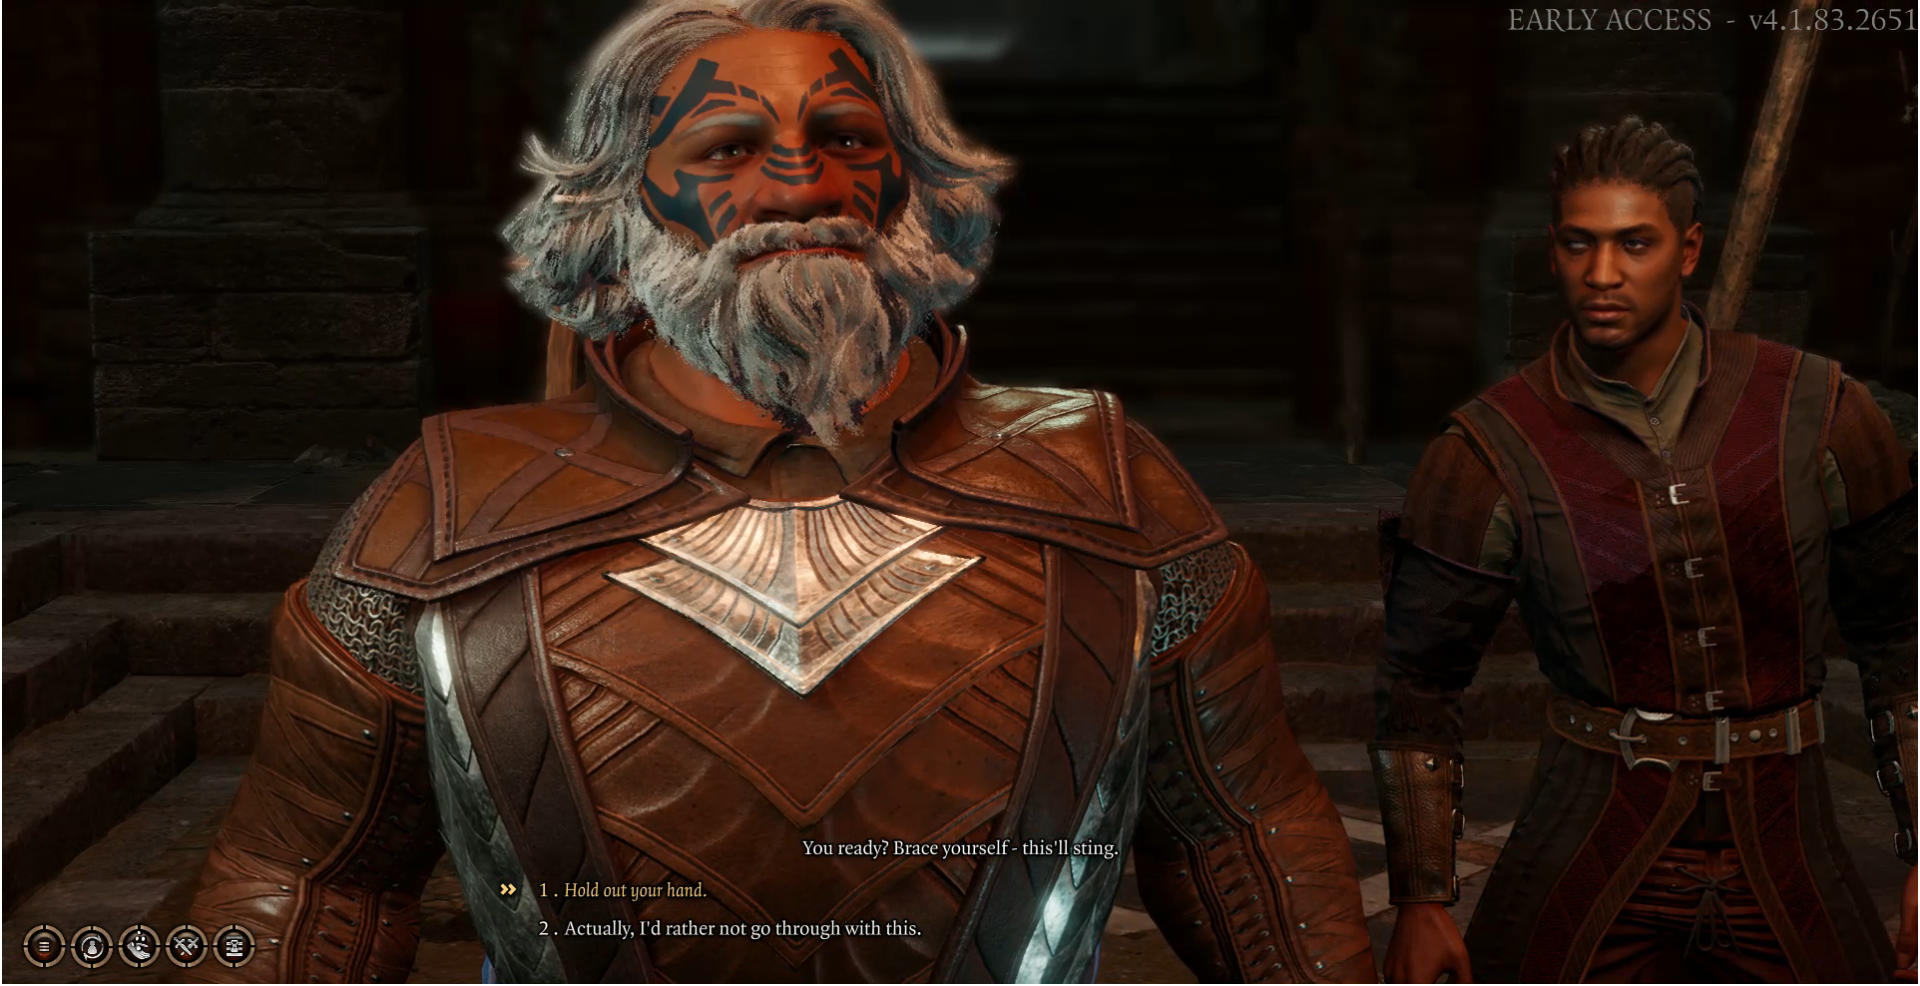
Everyone in the party disapproves but its the best way to proceed...

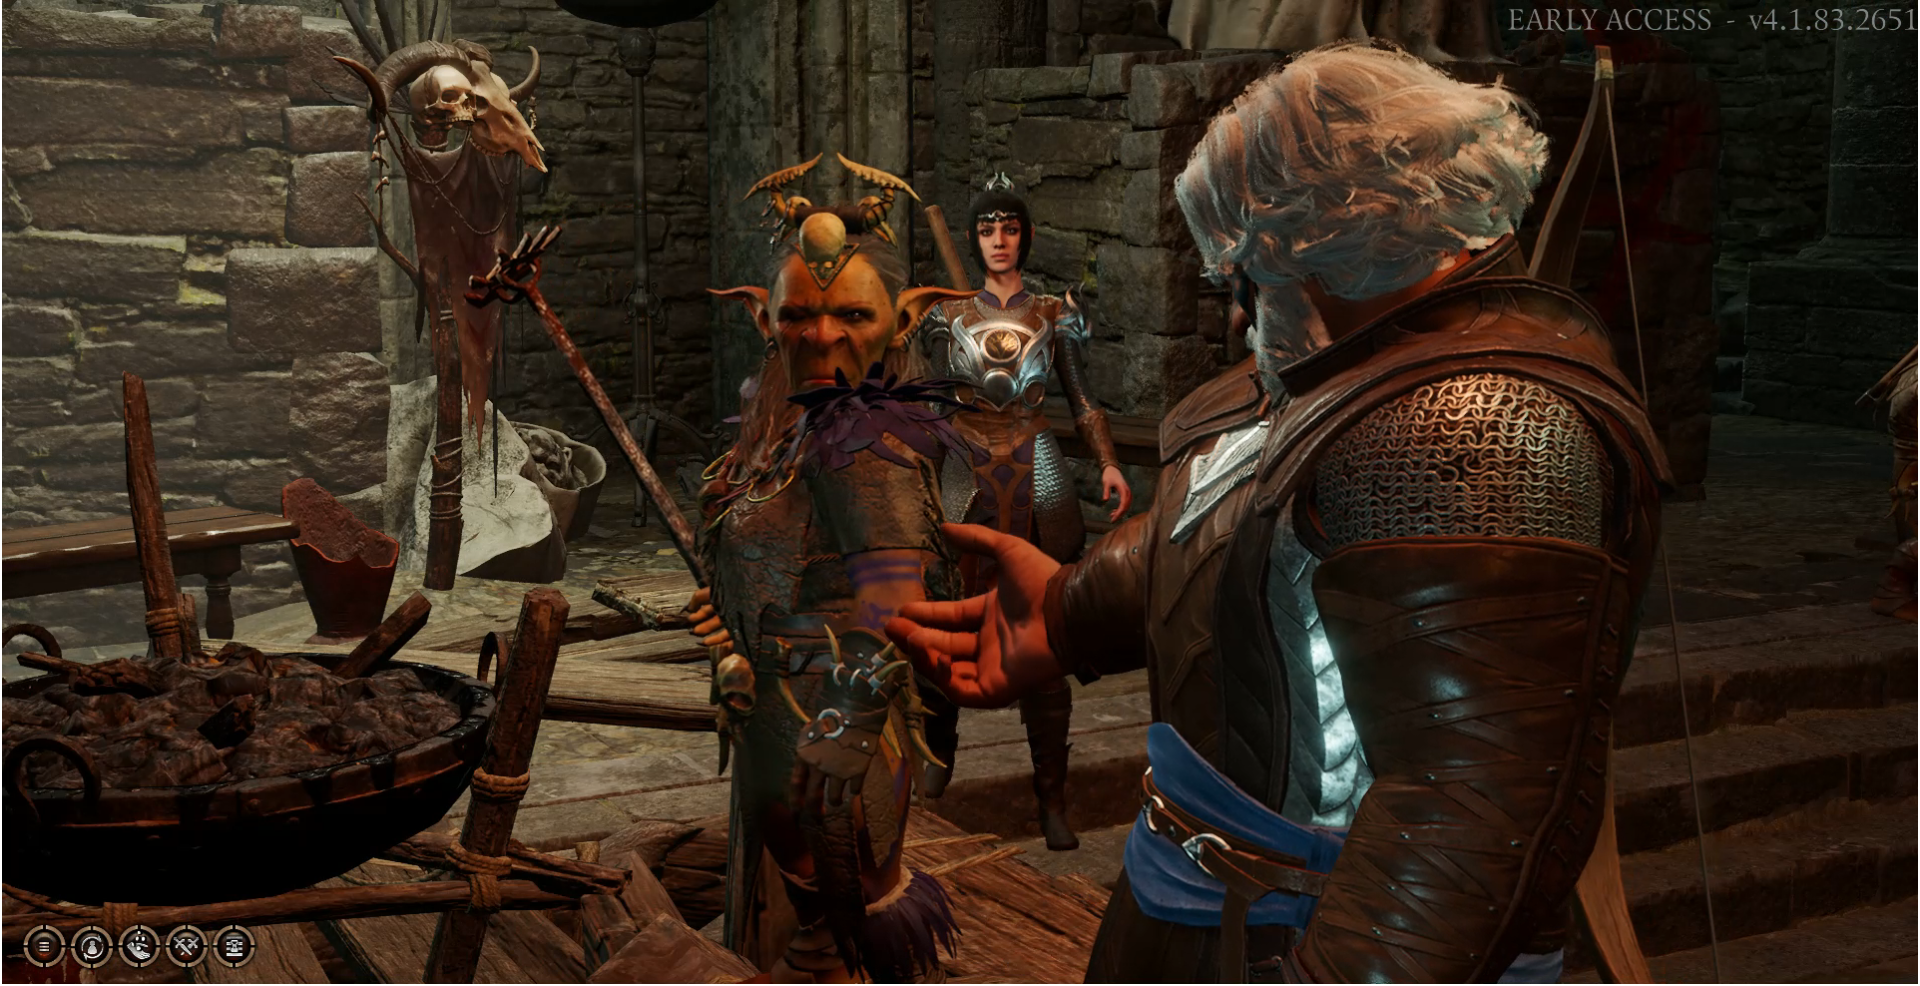

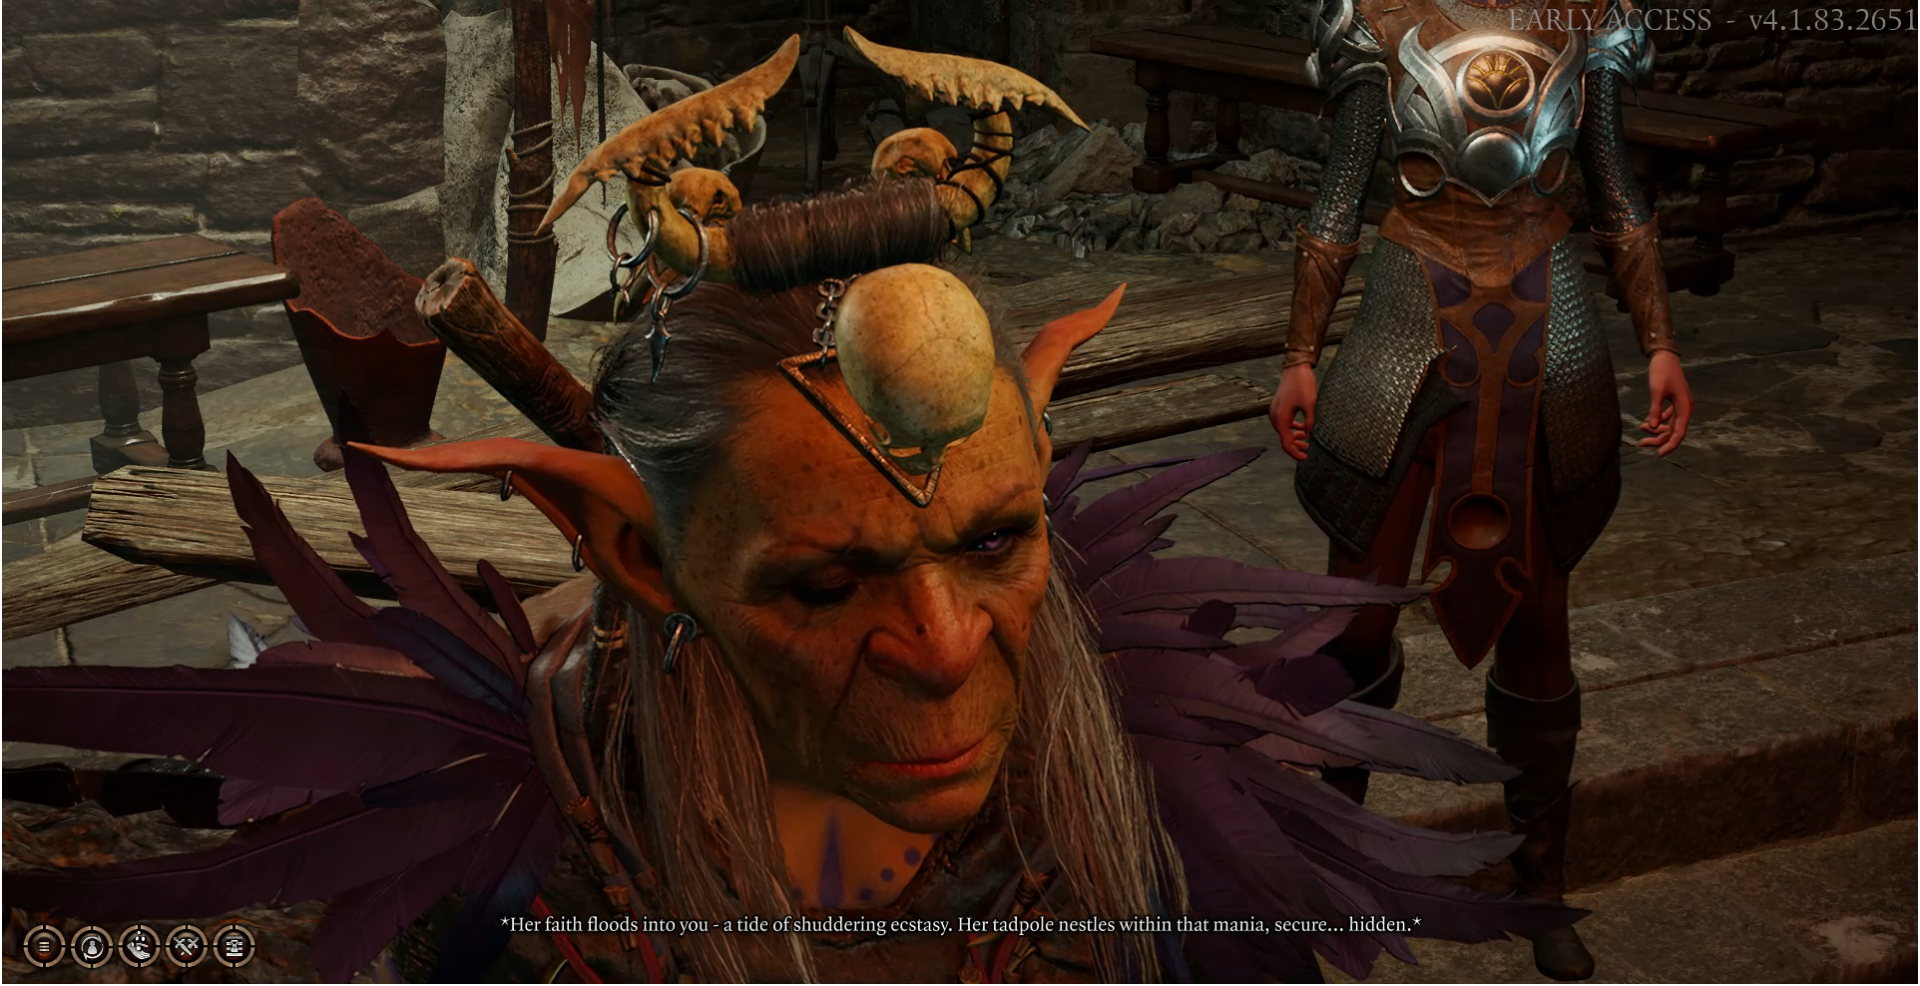
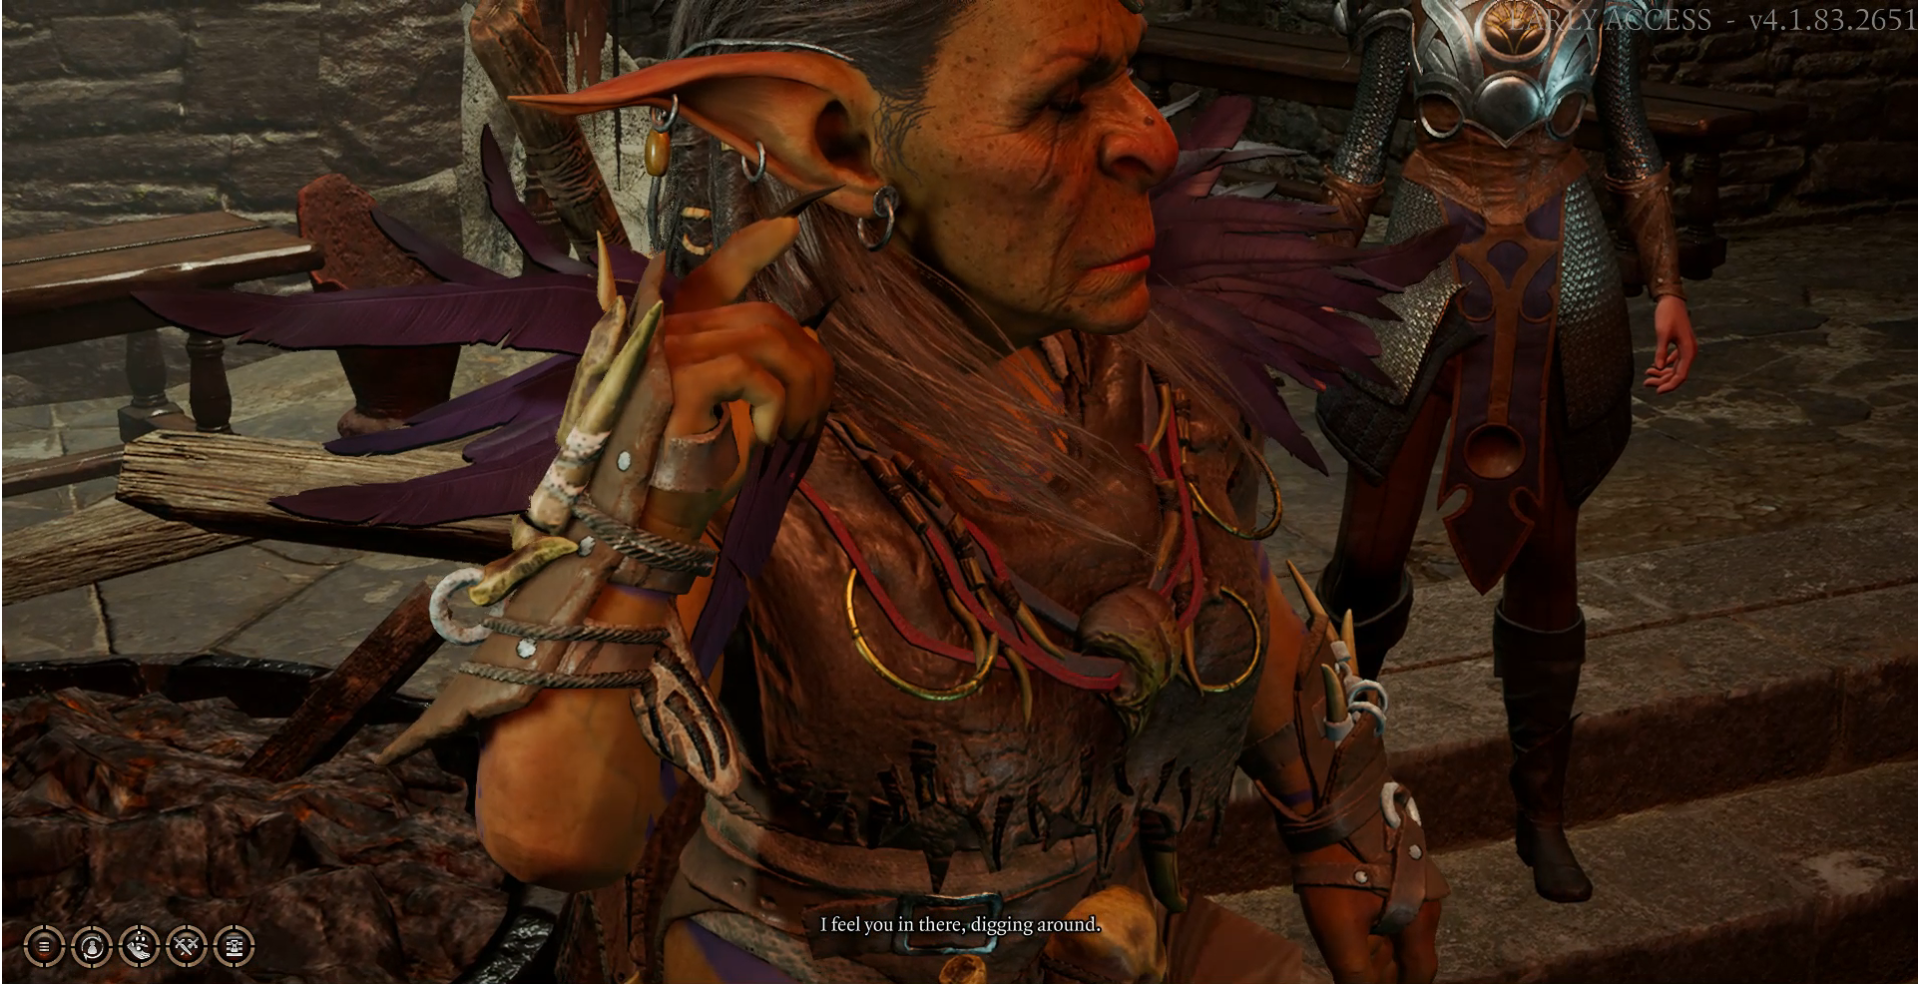
As we wince in pain the Priestess senses we have a mind flayer tadpole in our heads and offers to help remove it.
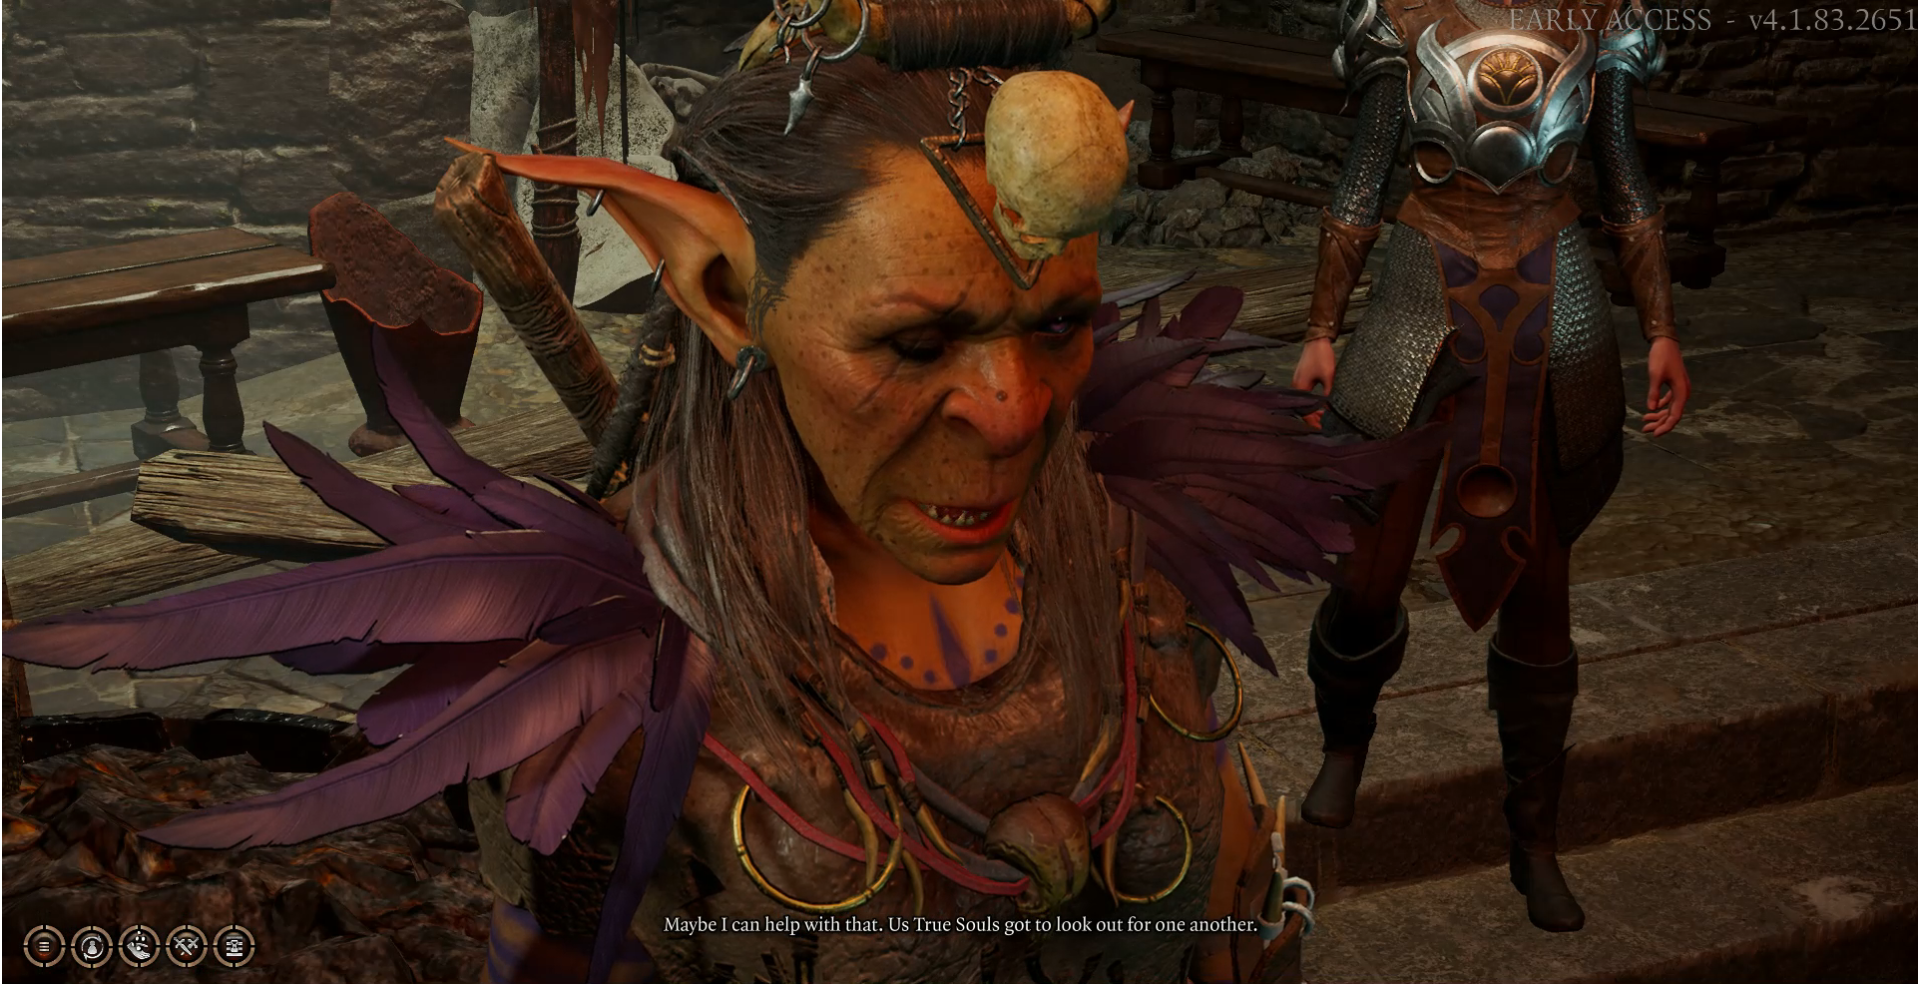
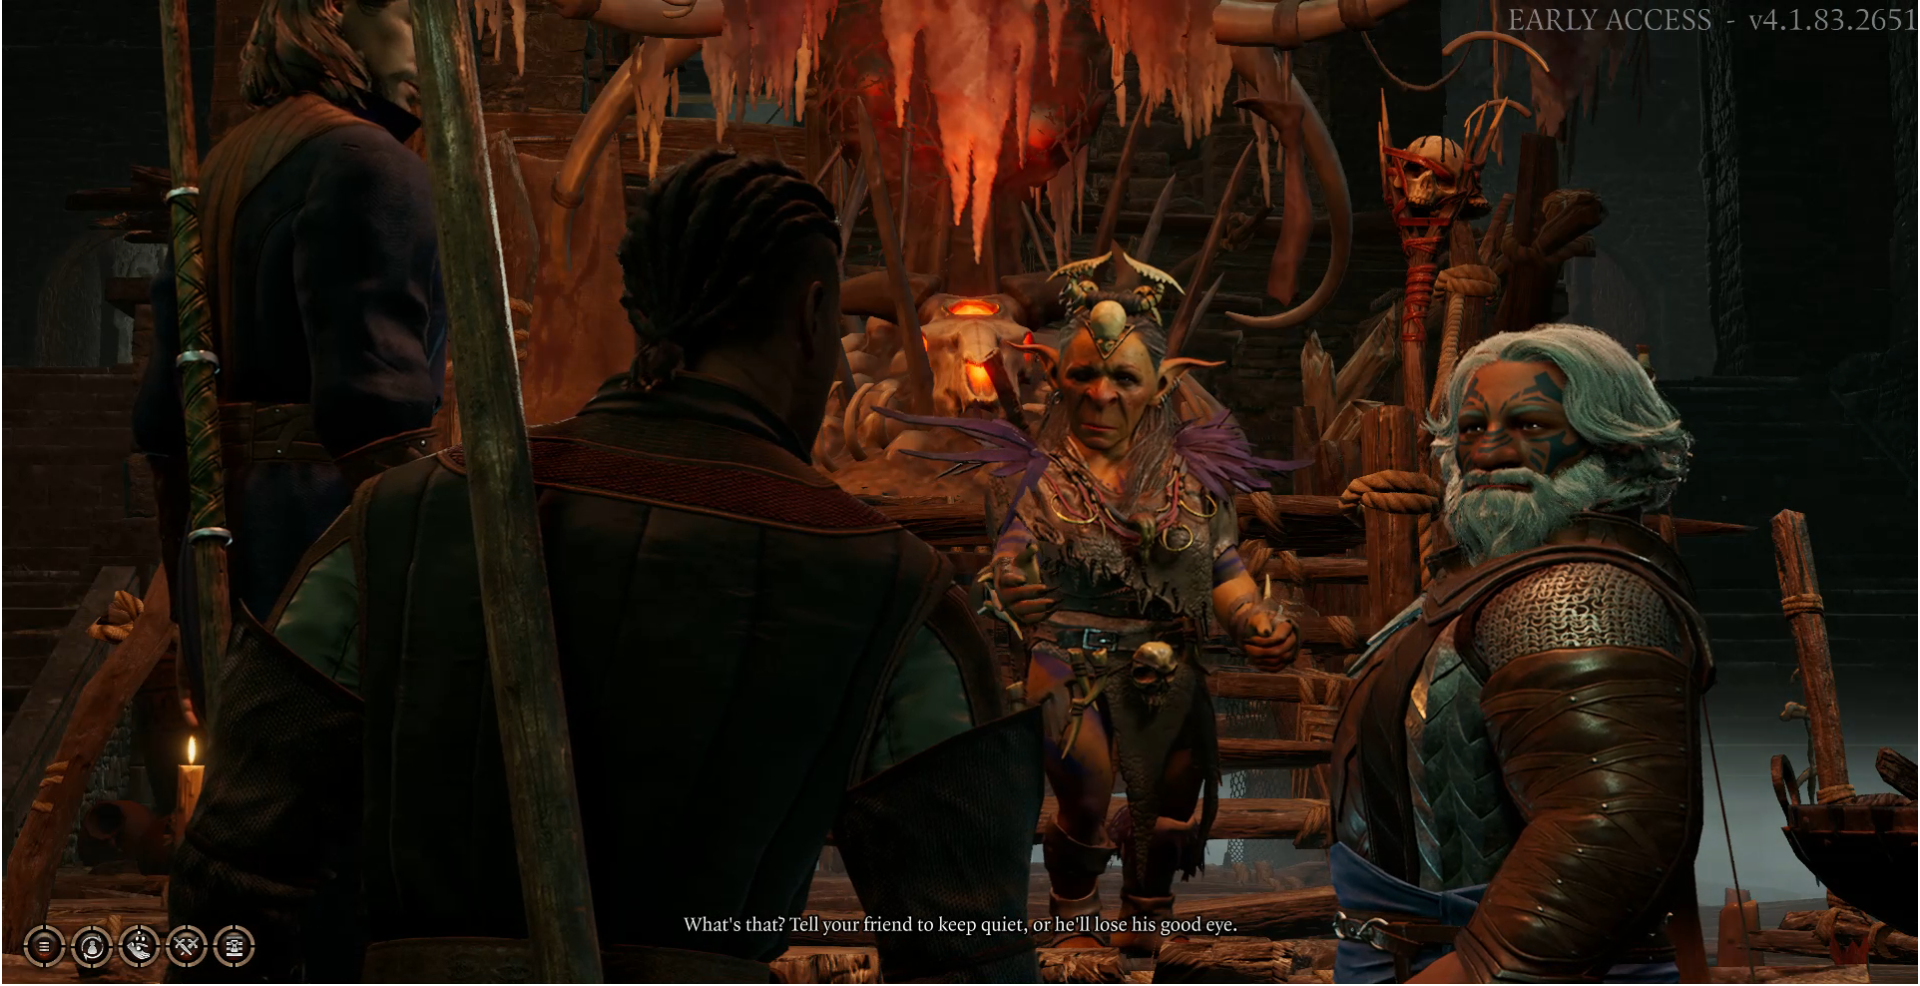
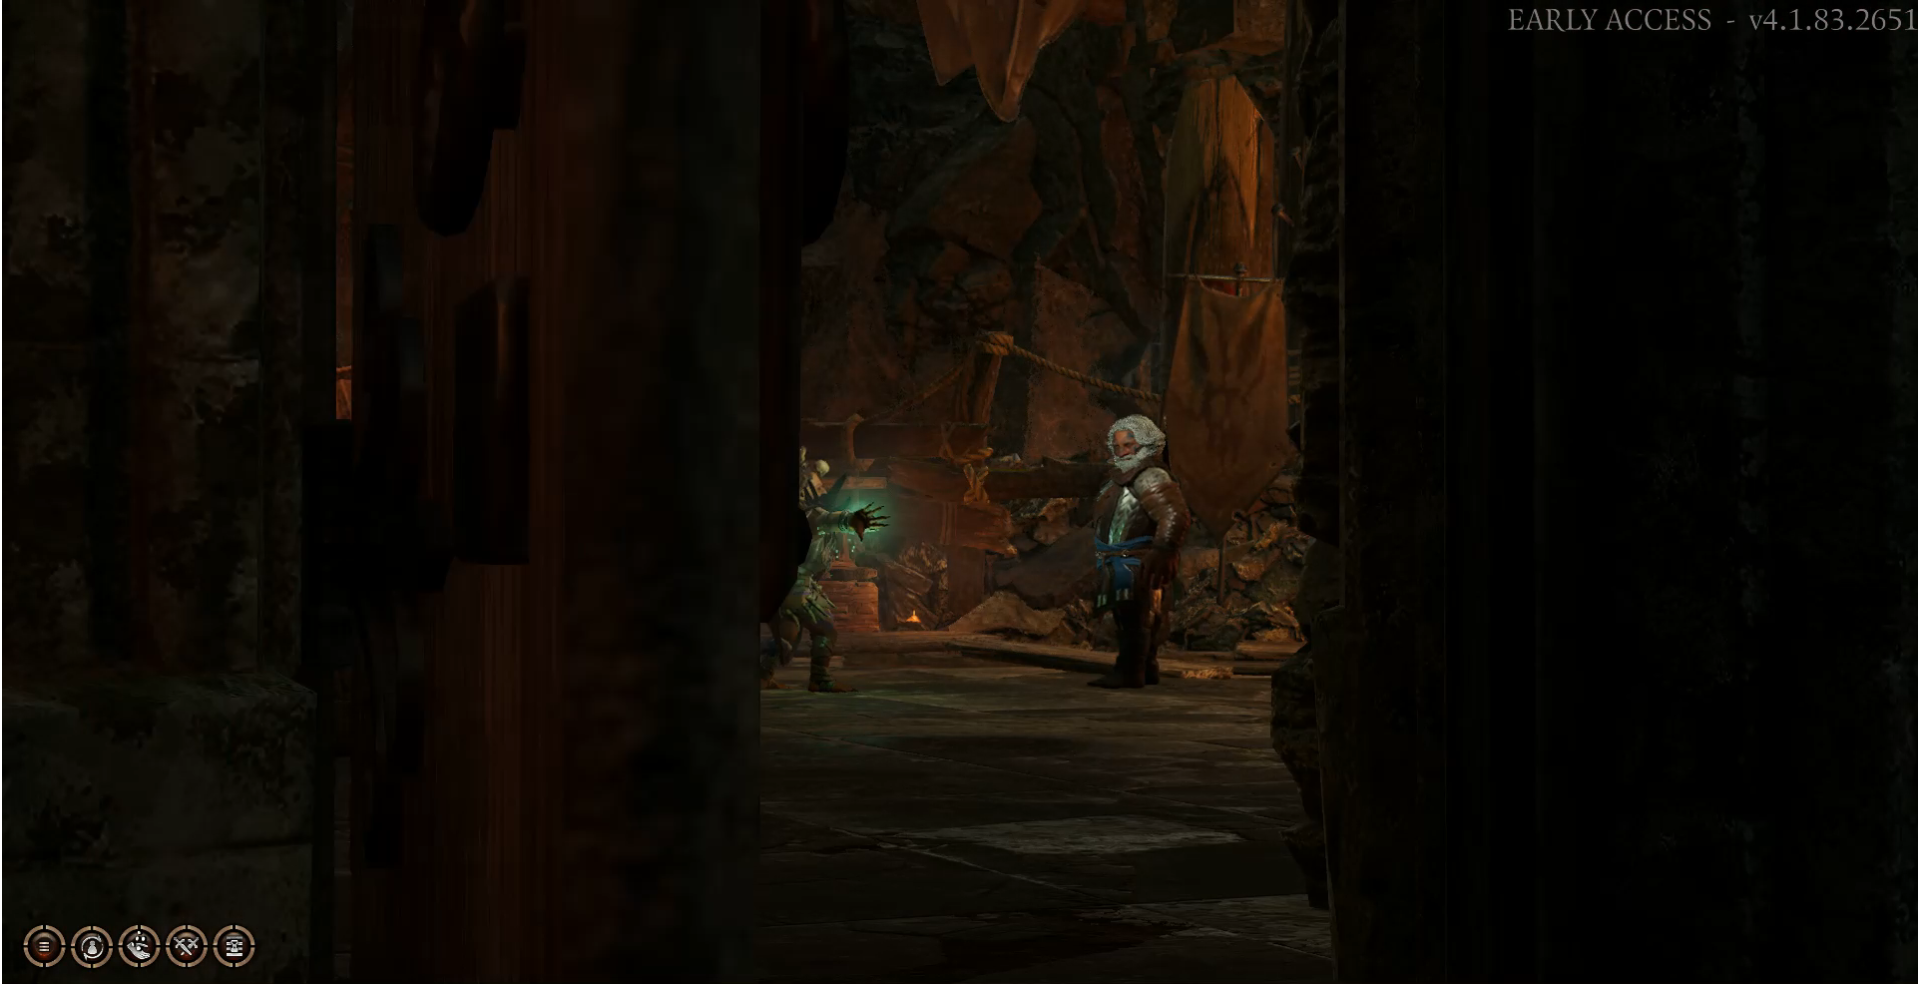
When the dialogue options appear we gotta choose the 3rd one so the Priestess will leave the area she is in a take us to her Chapel separating herself from the npcs that will come to her aid.
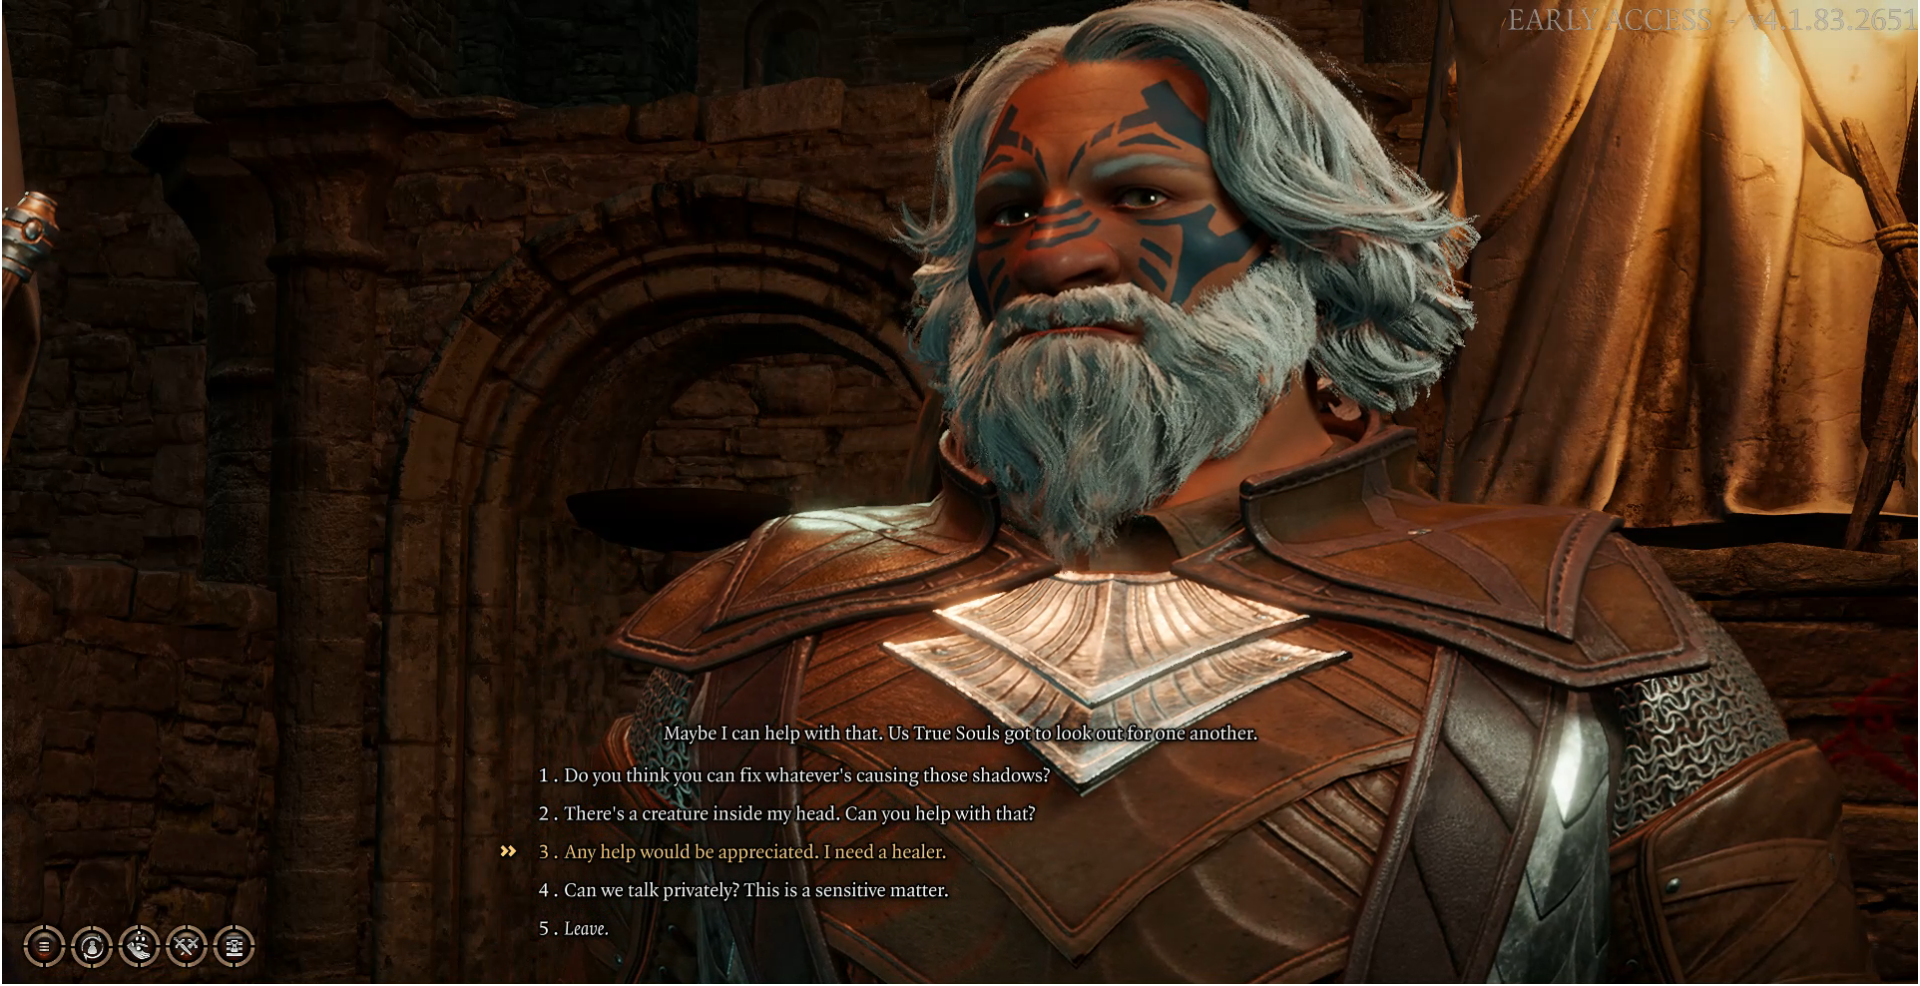
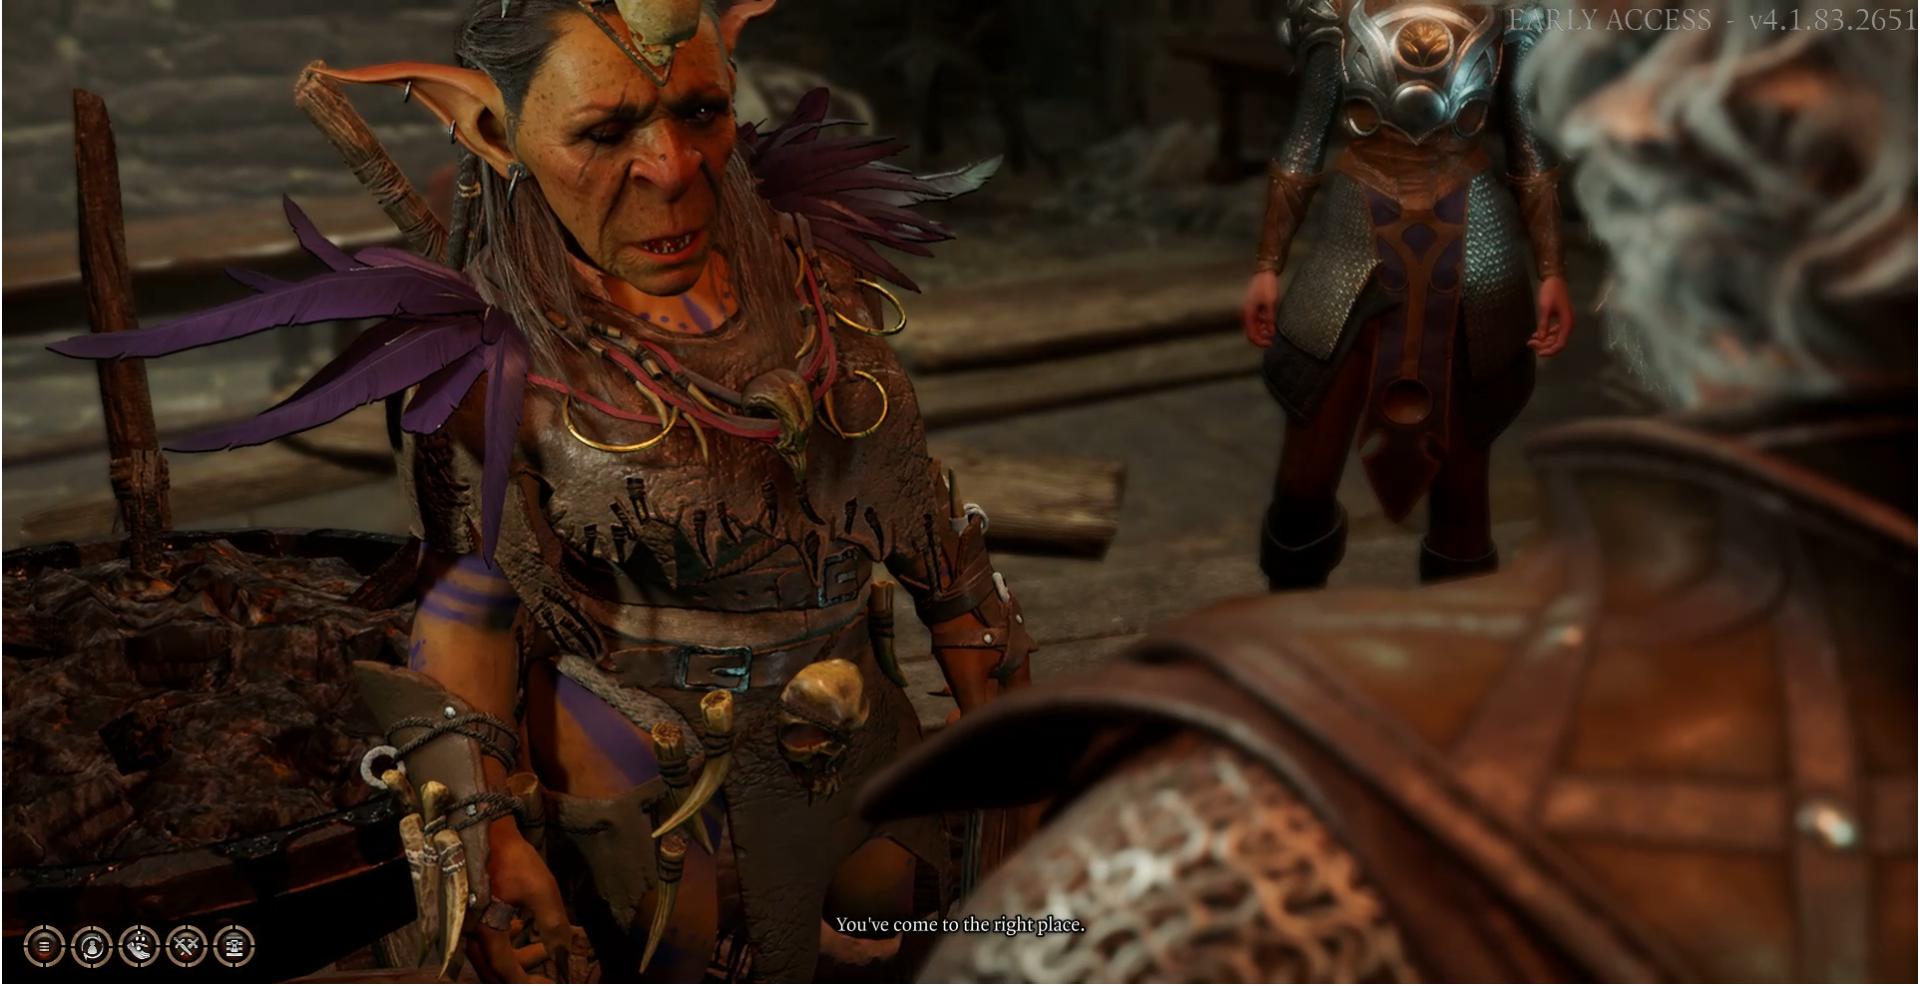

Ok now that we have her in the chapel there are still a few decisions to be made...
If we choose to flat out attack her here we have the advantage of all the other nps being outside of the room.
It is likely we will kill the priestess before the others come to her aid but even with her dead we will still have to fight several other nps.I tried this twice and wiped twice but I felt this would be a much easier way to handle this big fight rather than trying it while we are out in the open and surrounded.
If you do things this way the npcs will have to come to you in the room and you can handle them in smaller groups but its still a tough fight.If you manage to do this however it will result in the most exp that can be gained from this encounter.
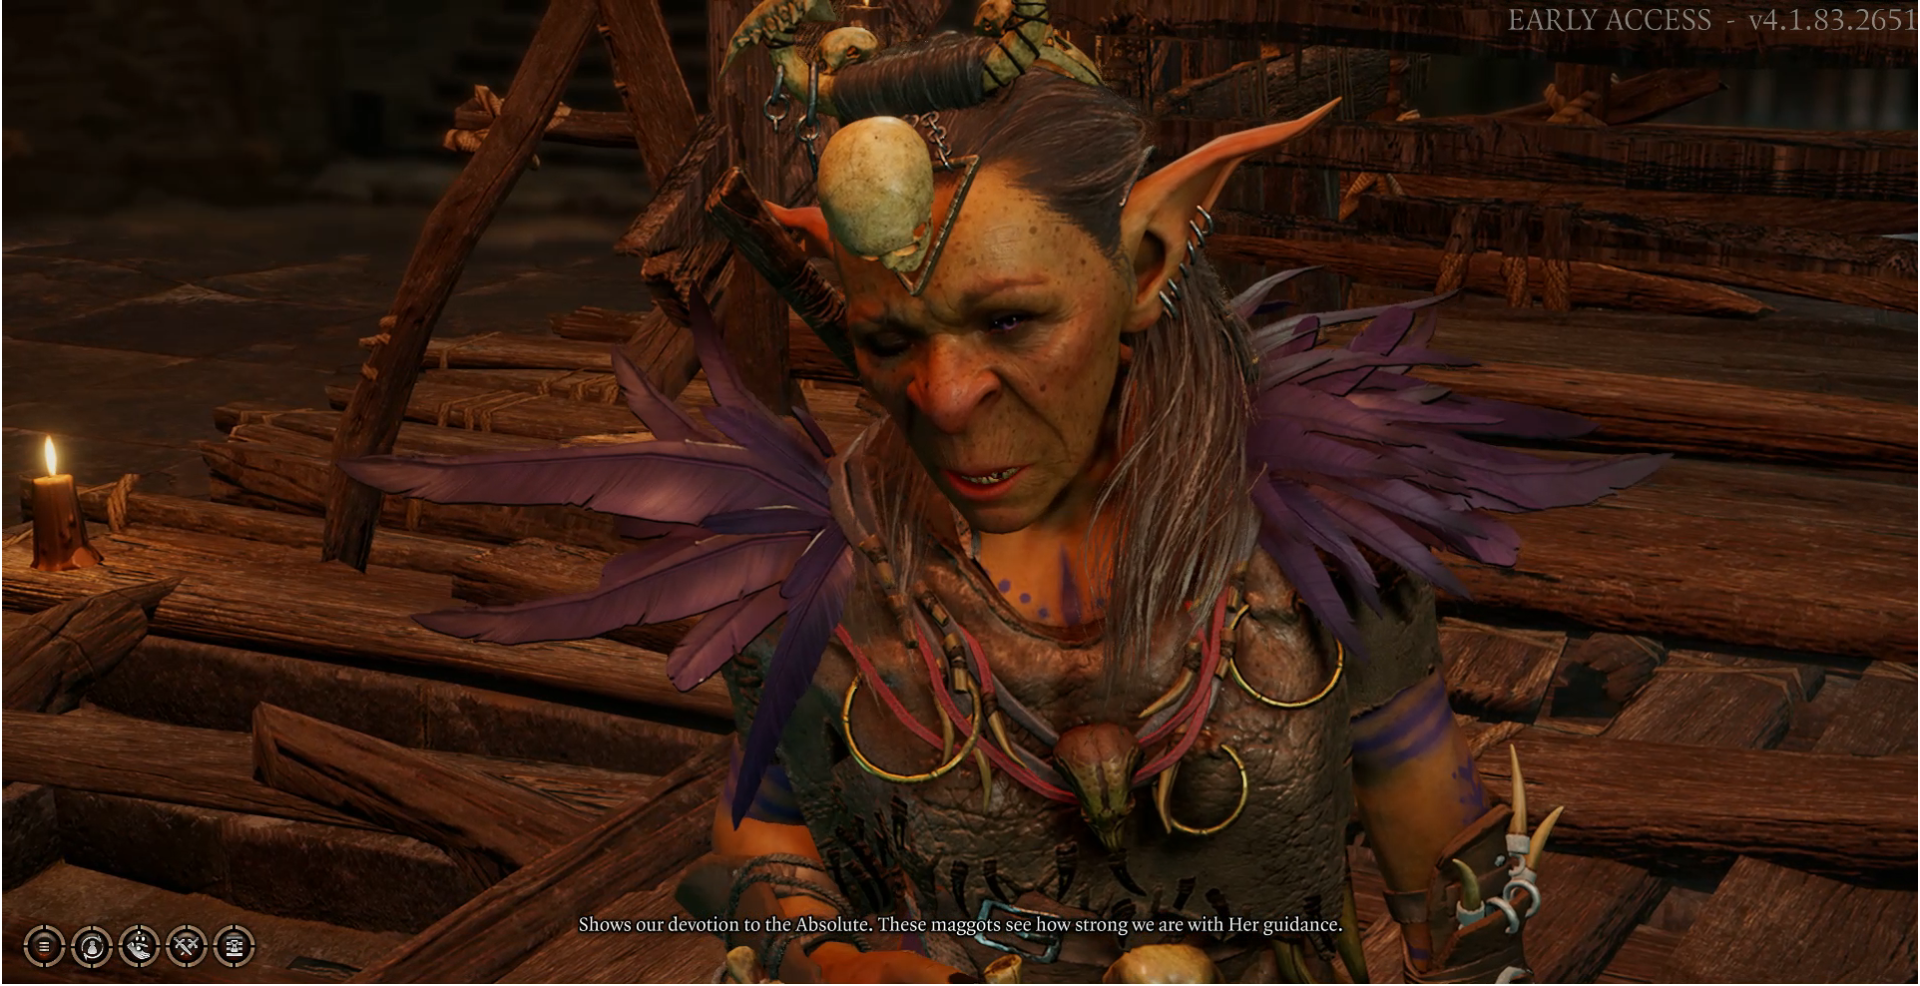
I was curious to see what would happen if I allow her to go through with her healing ritual.To do this we need to be alone with her in the chapel so we need to disband the party.


At first I thought the only way to do this was to tell the other members to head back to camp...

It turns out this isn't the correct path,if you do this the Priestess will tell you that you are unclean and will have you drink a potion to cleanse yourself.
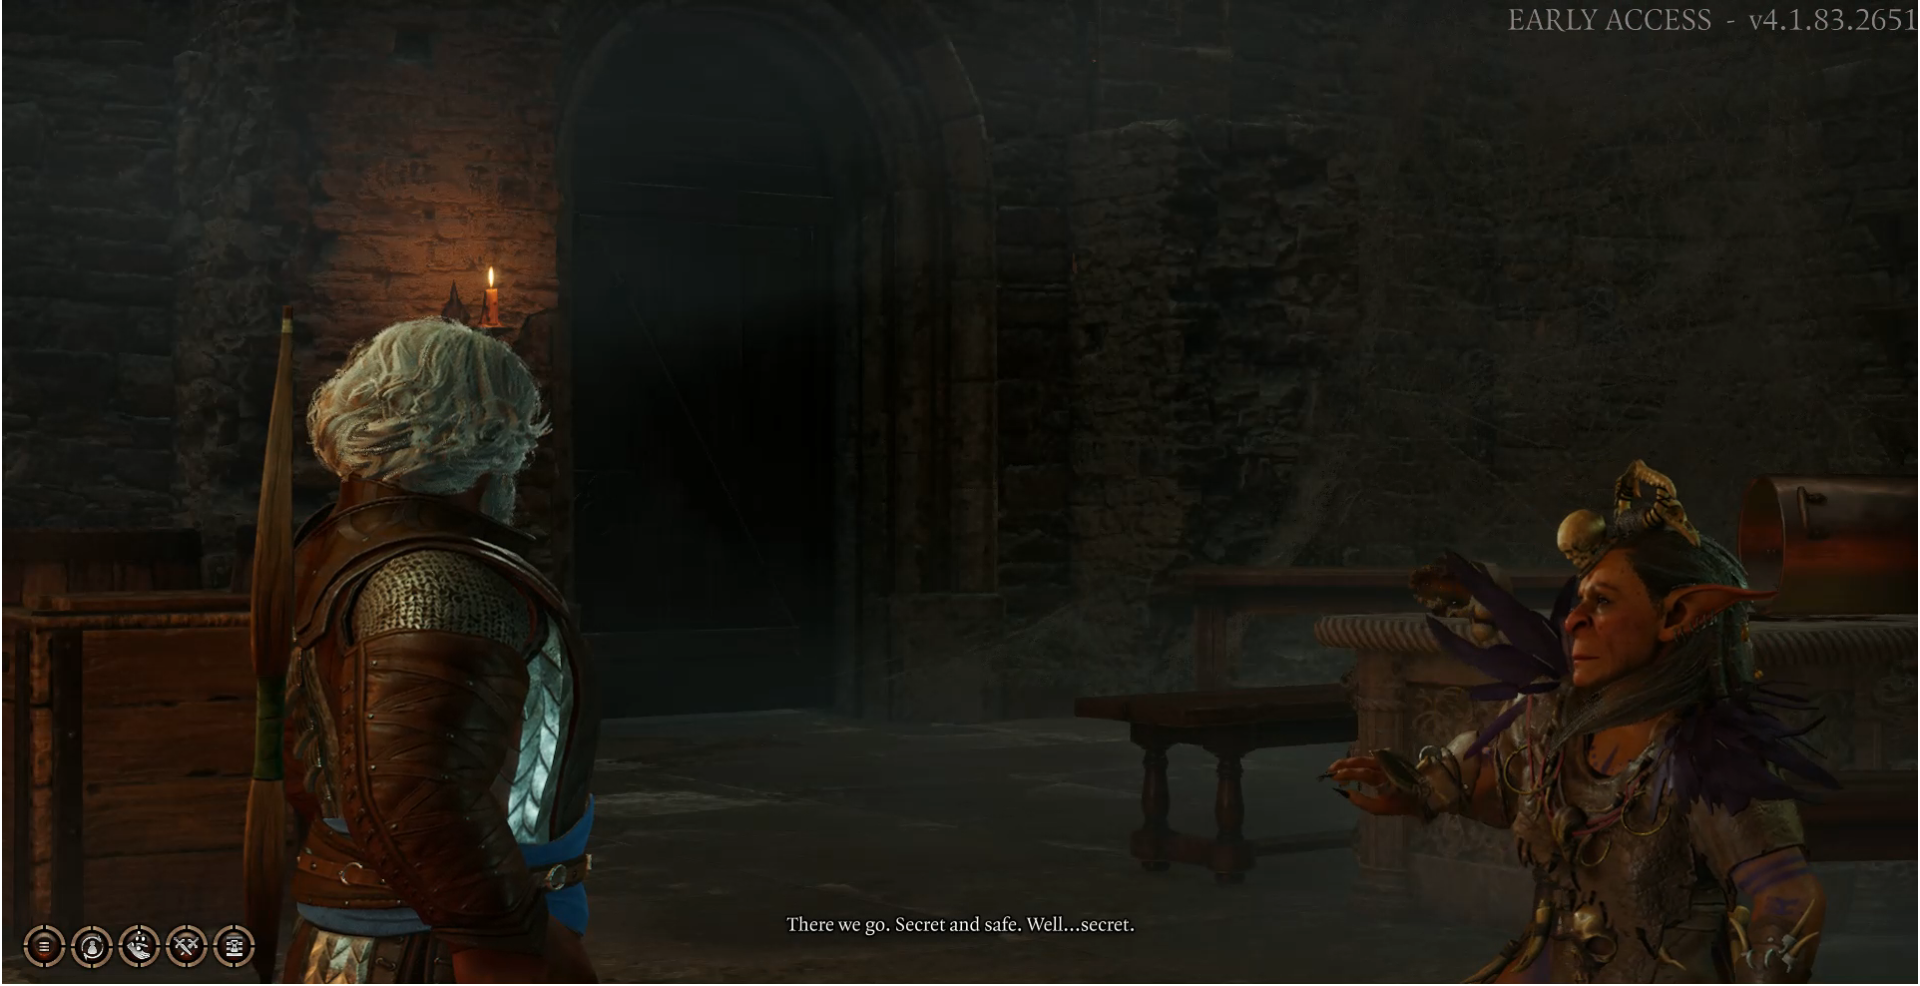
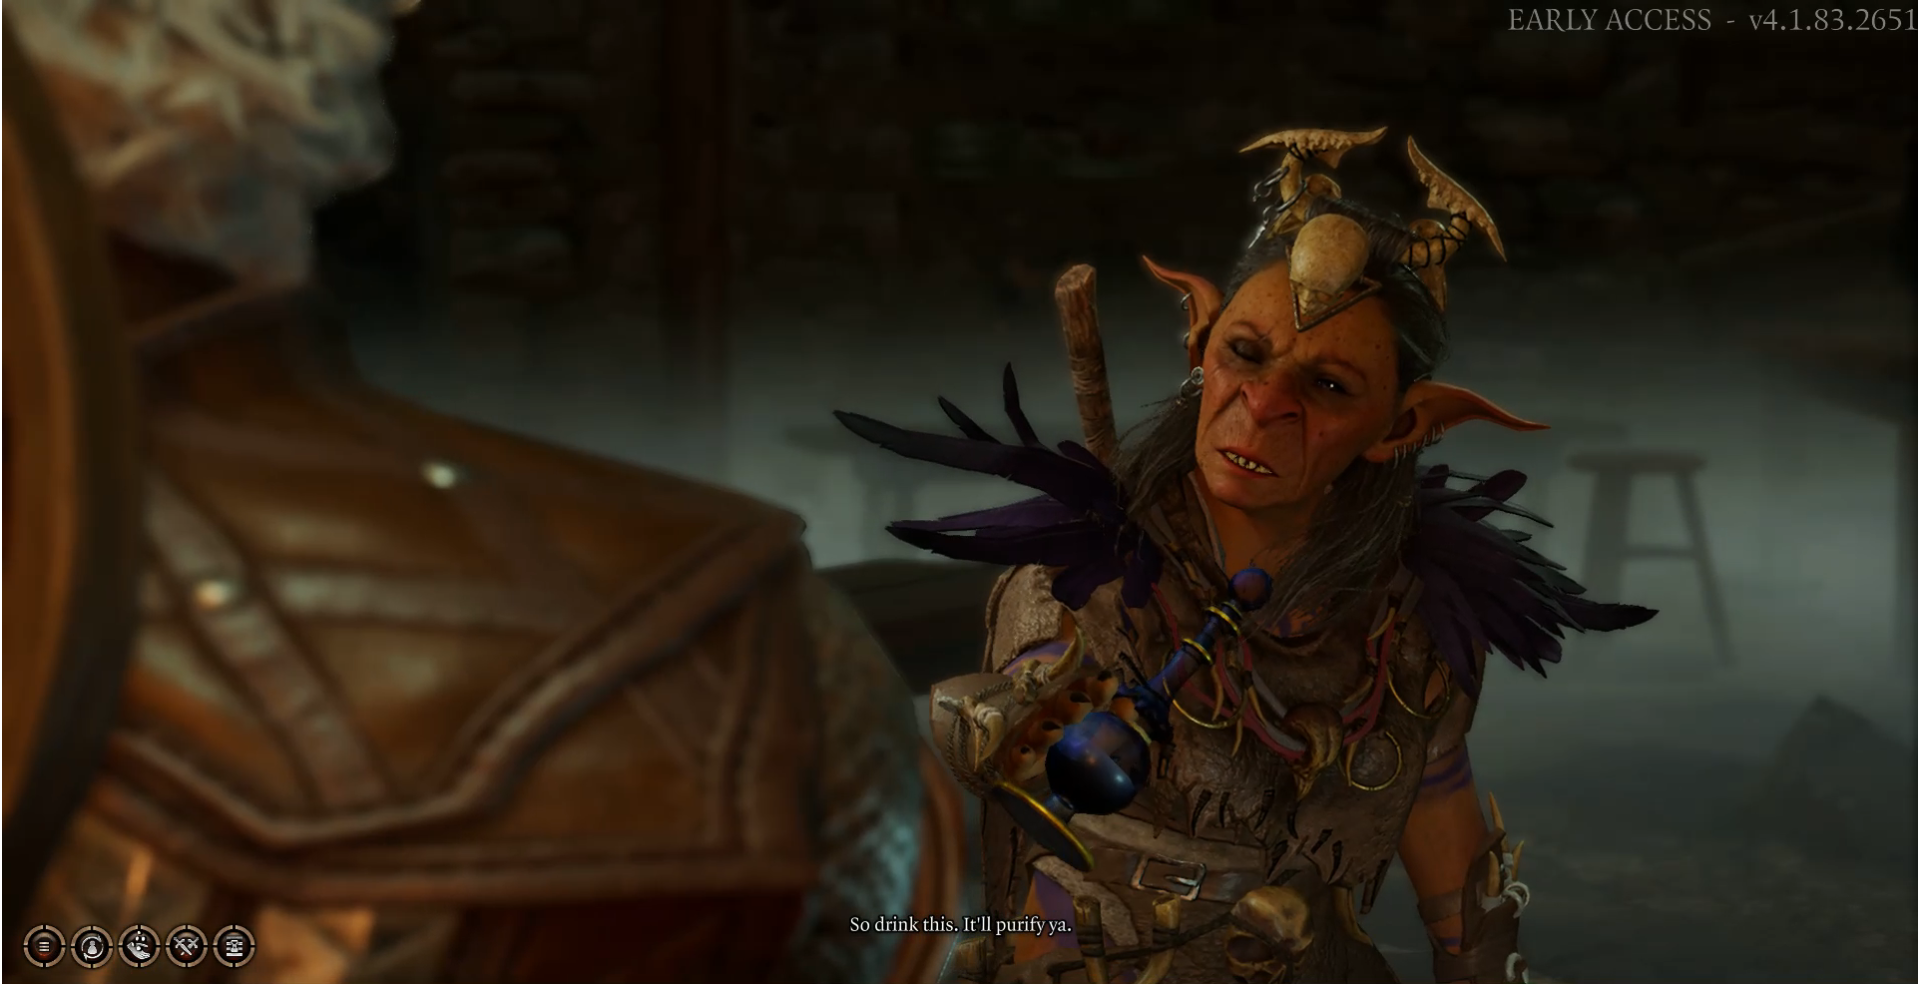
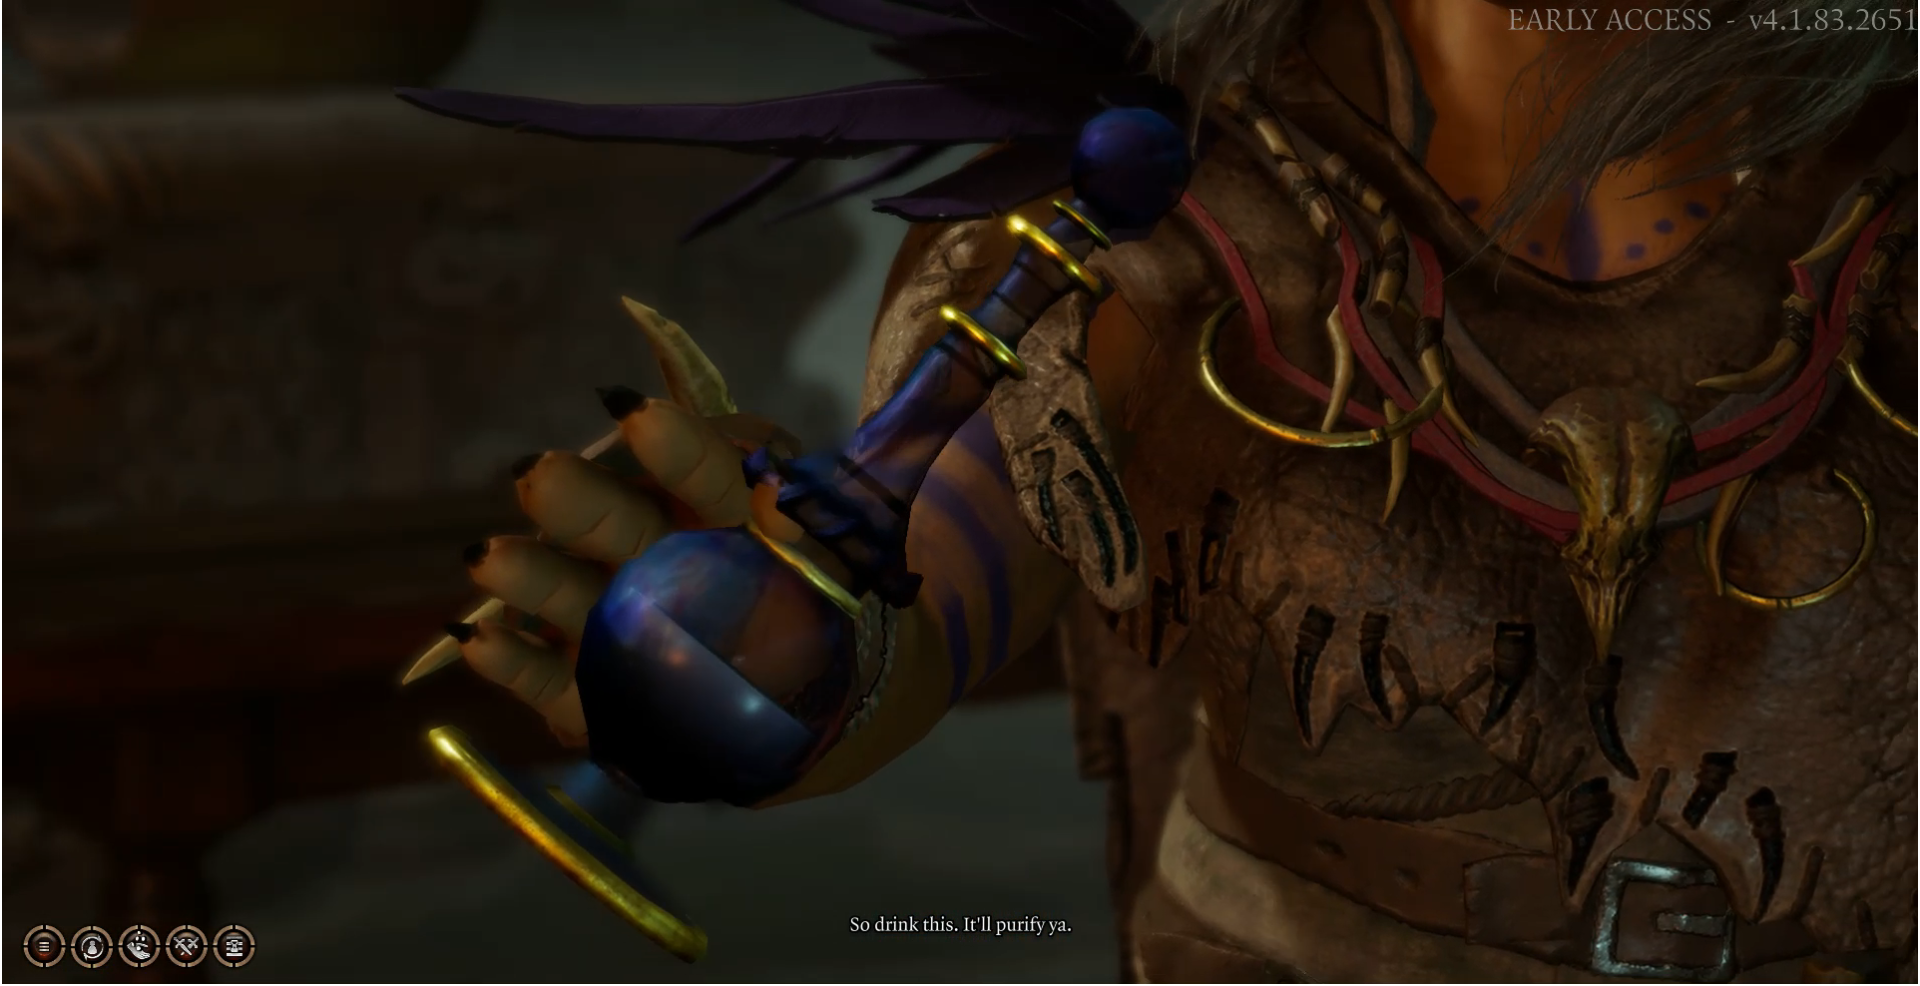
Detecting hints of Wolfsjackal blood your senses tell you that she is giving you a sleeping potion .I ignored this warning and drank the potion anyway to see what would happen...

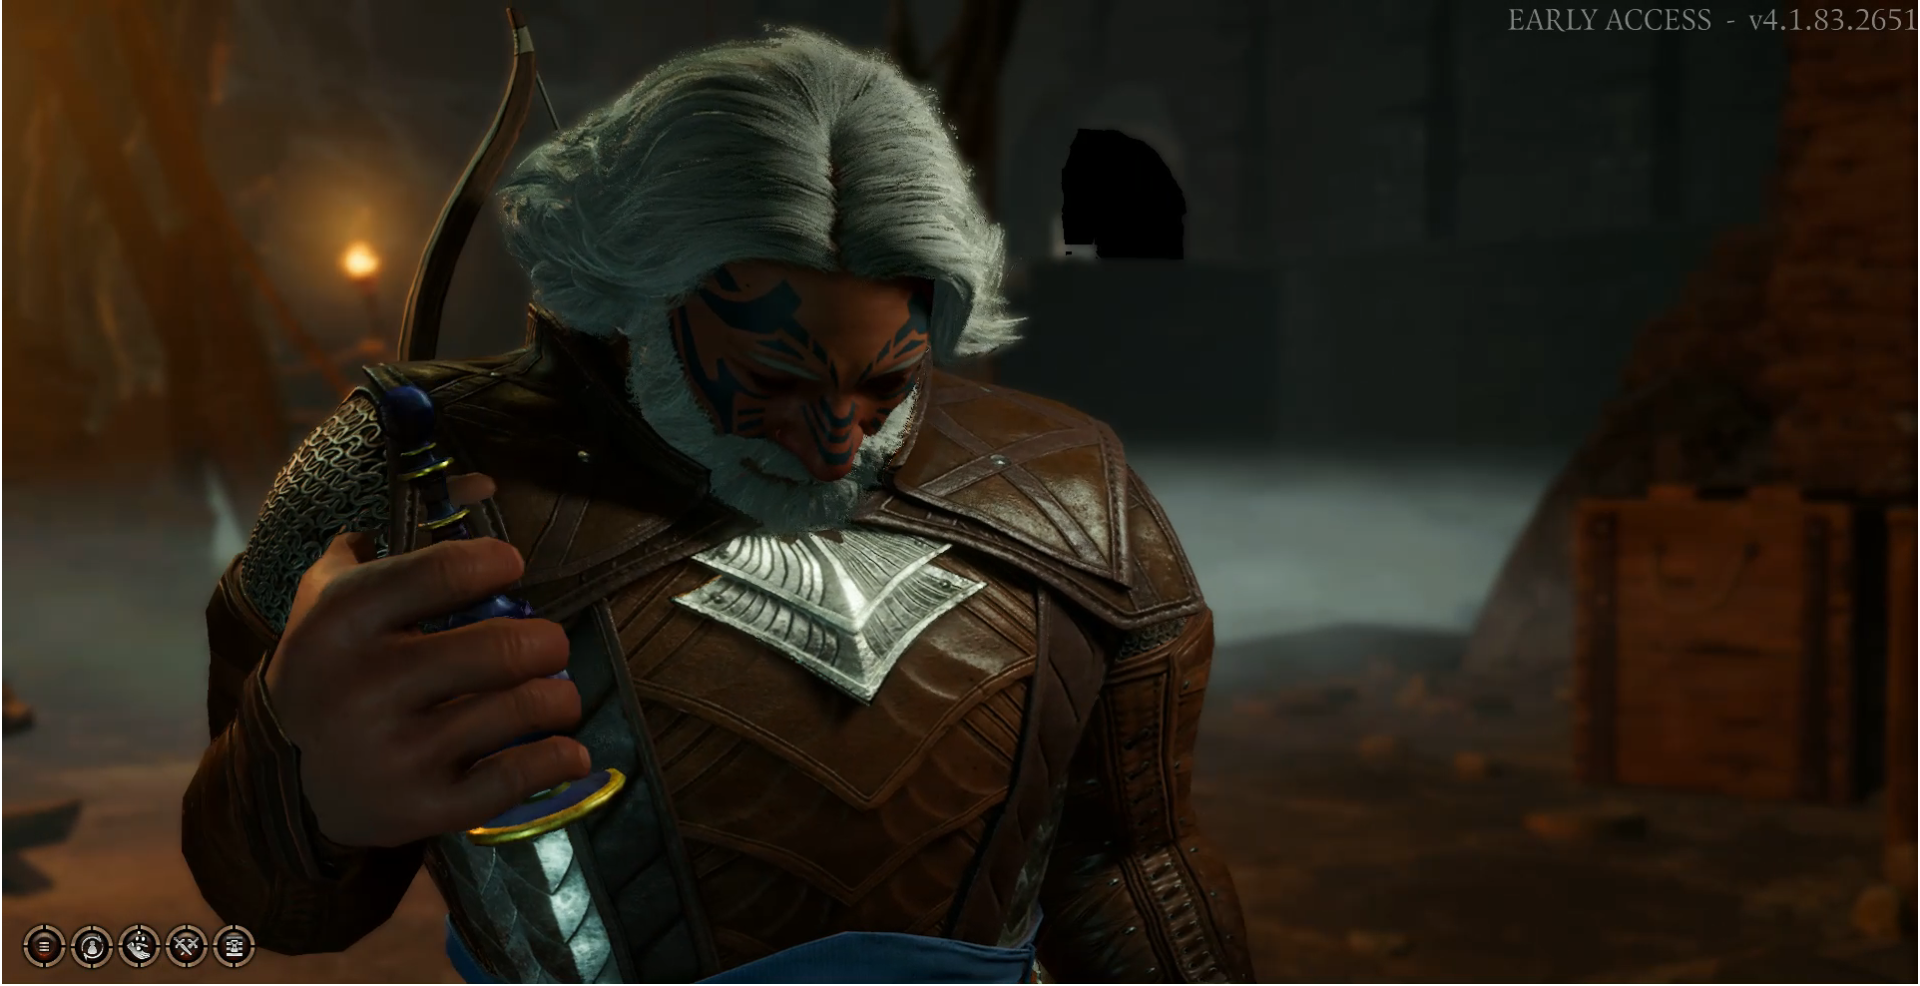
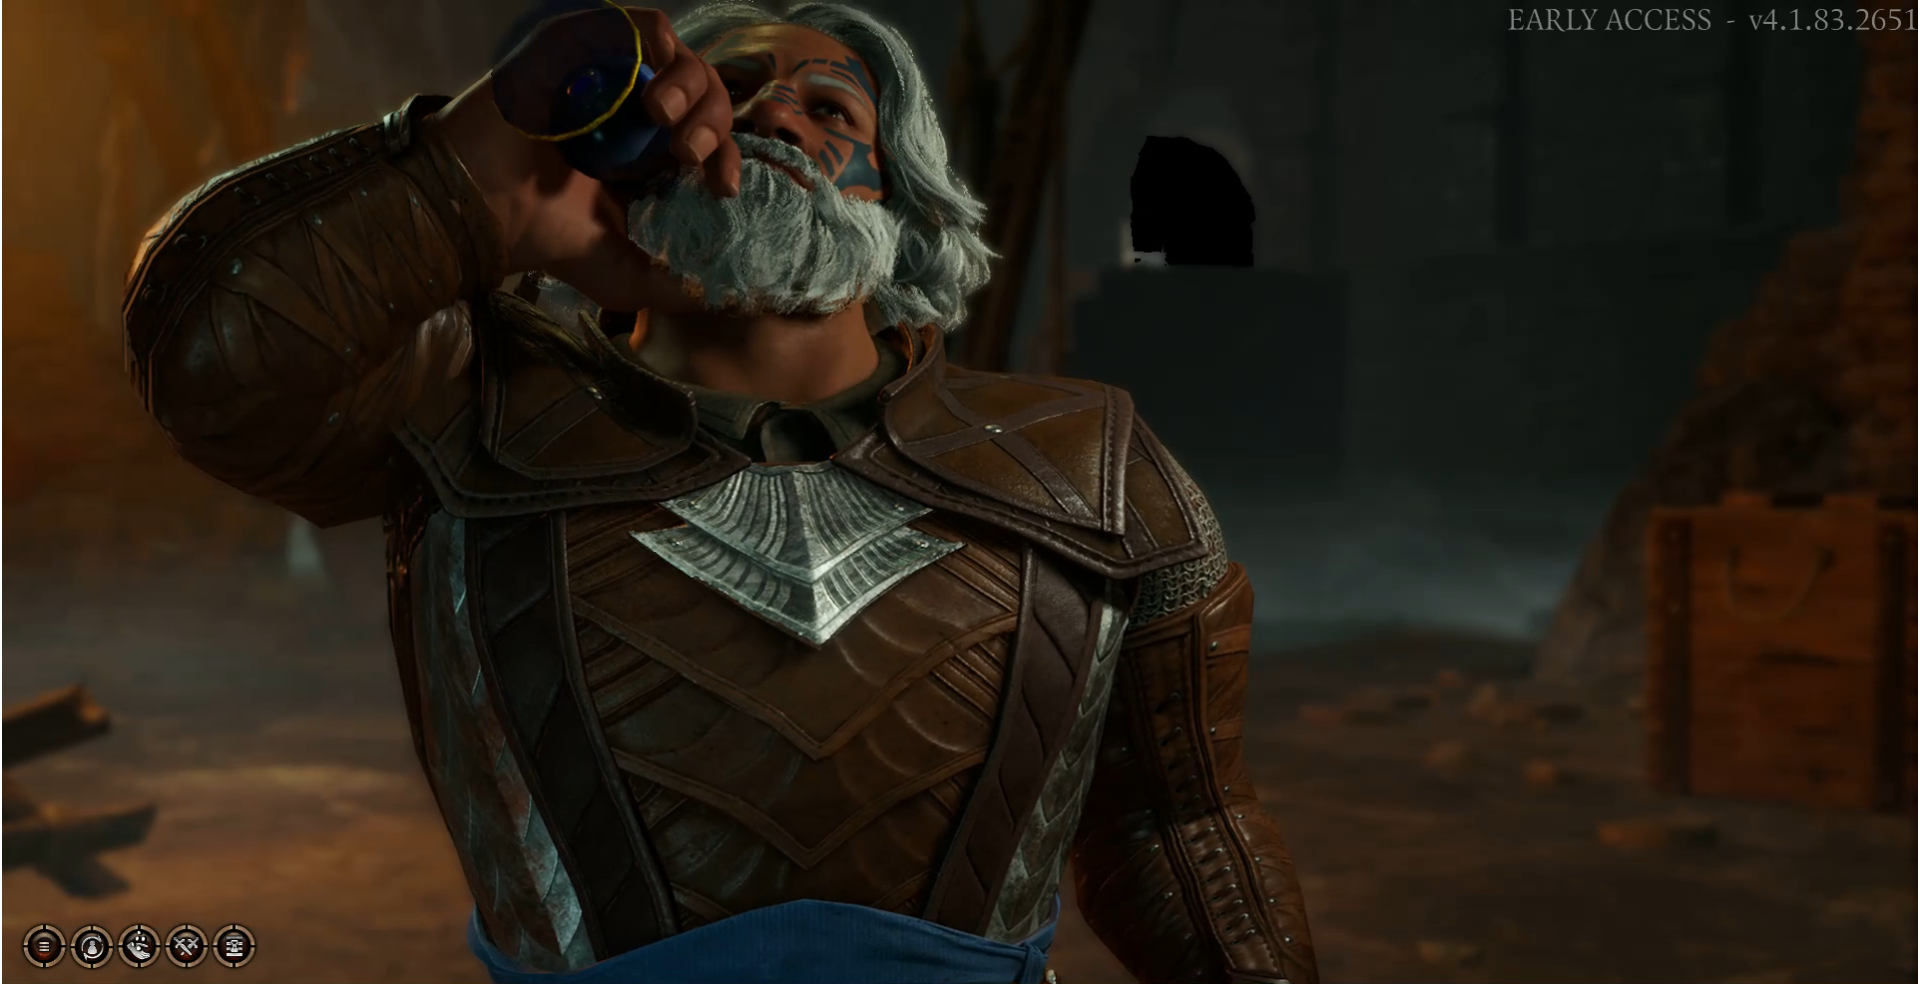
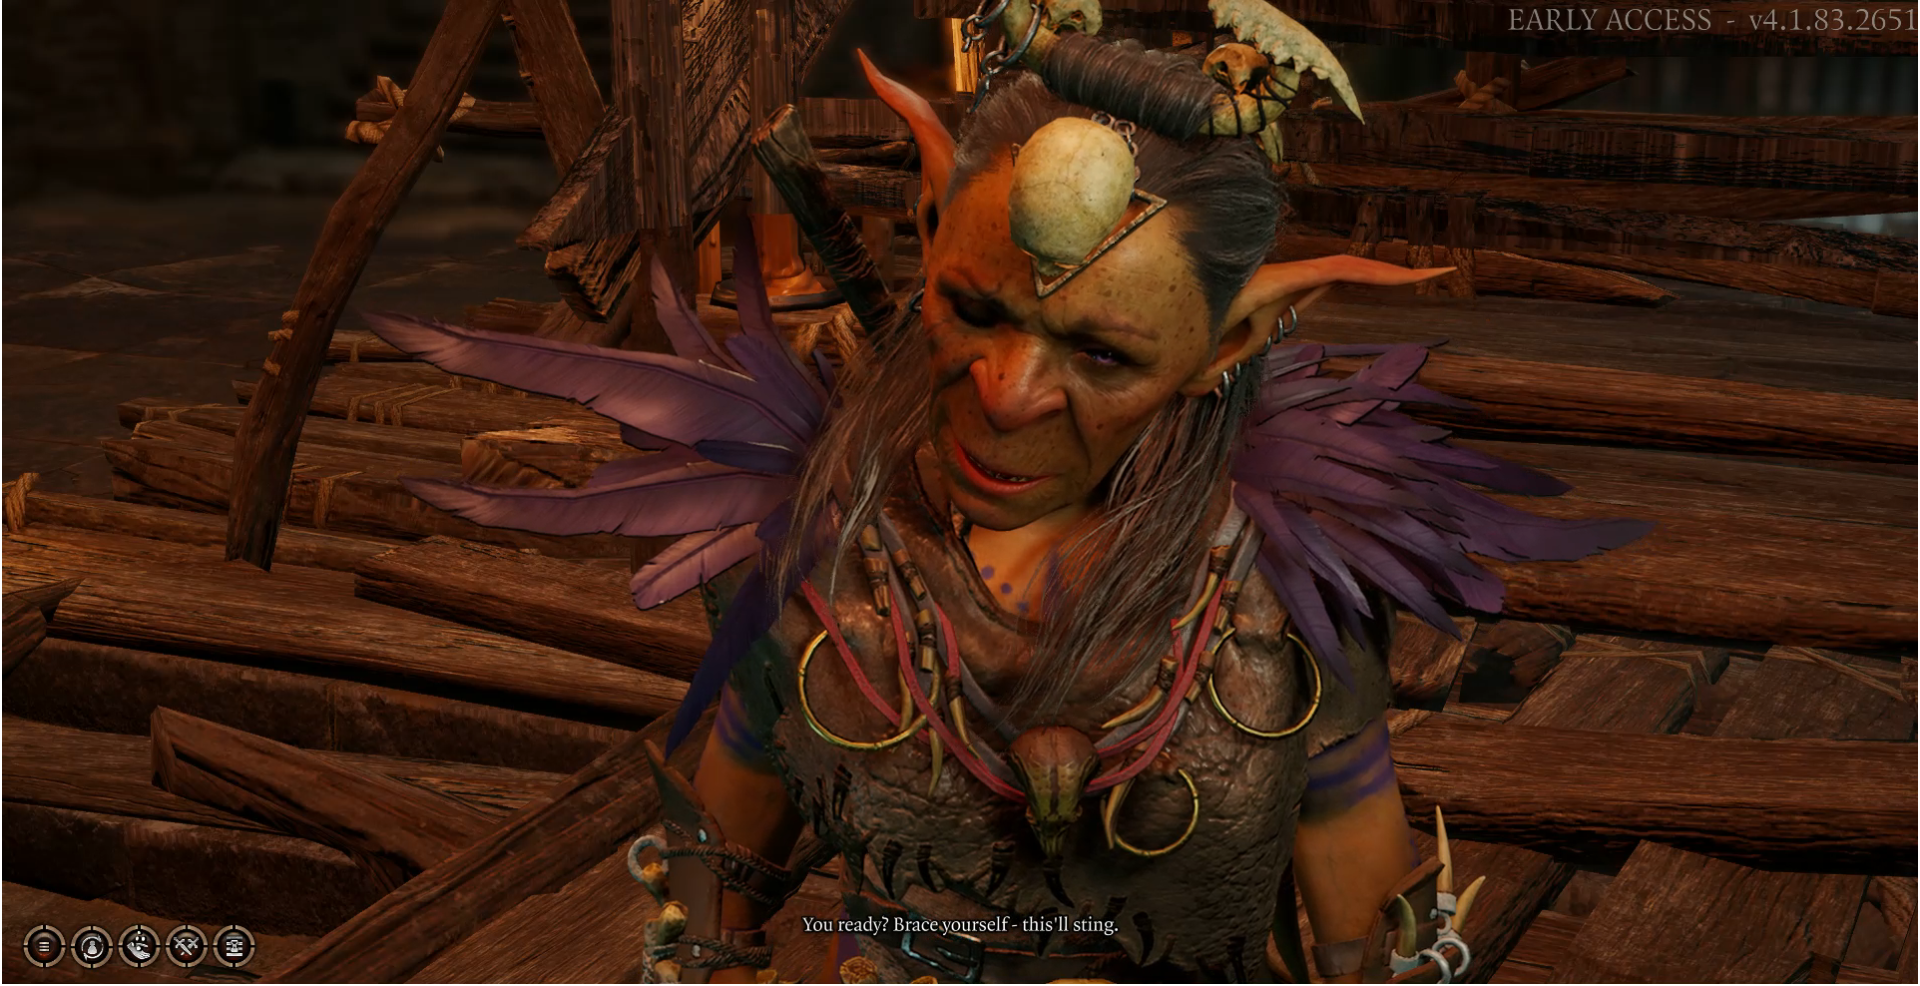
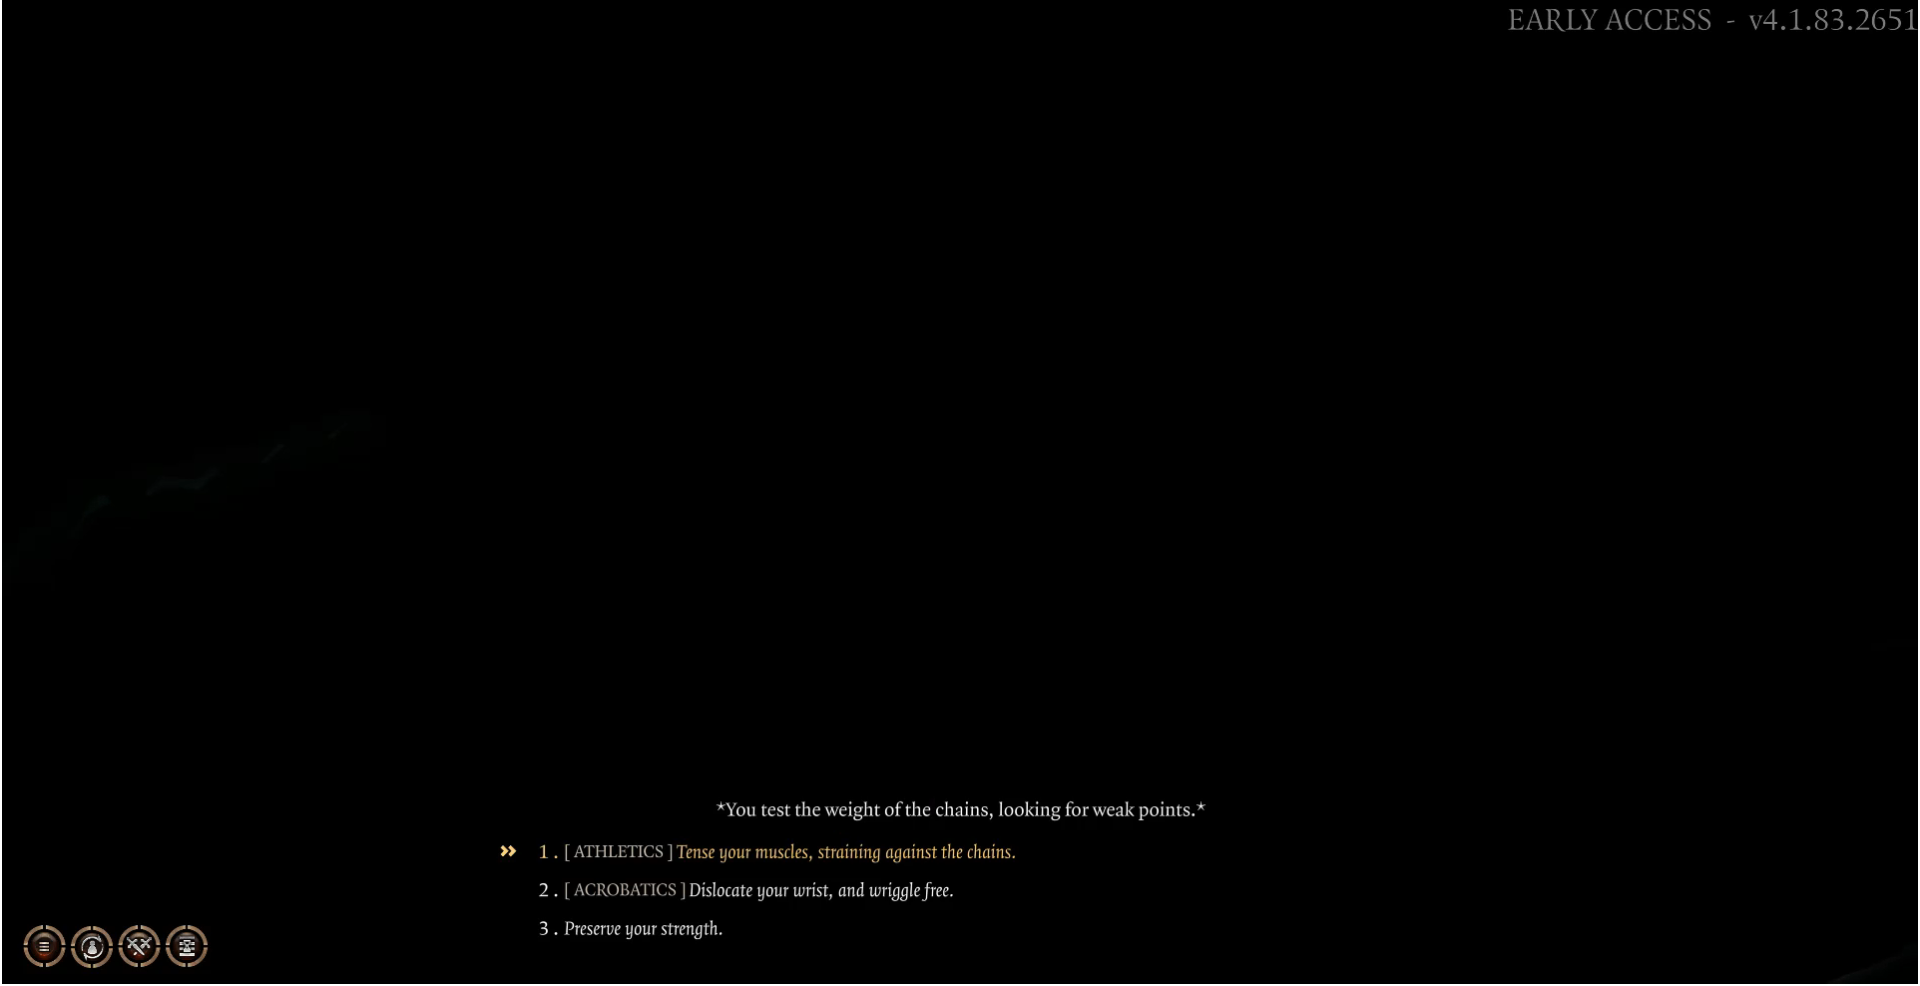
It turns out doing this is a bad idea....You will awake to find your self bound in chains in the Priestesses private chambers...
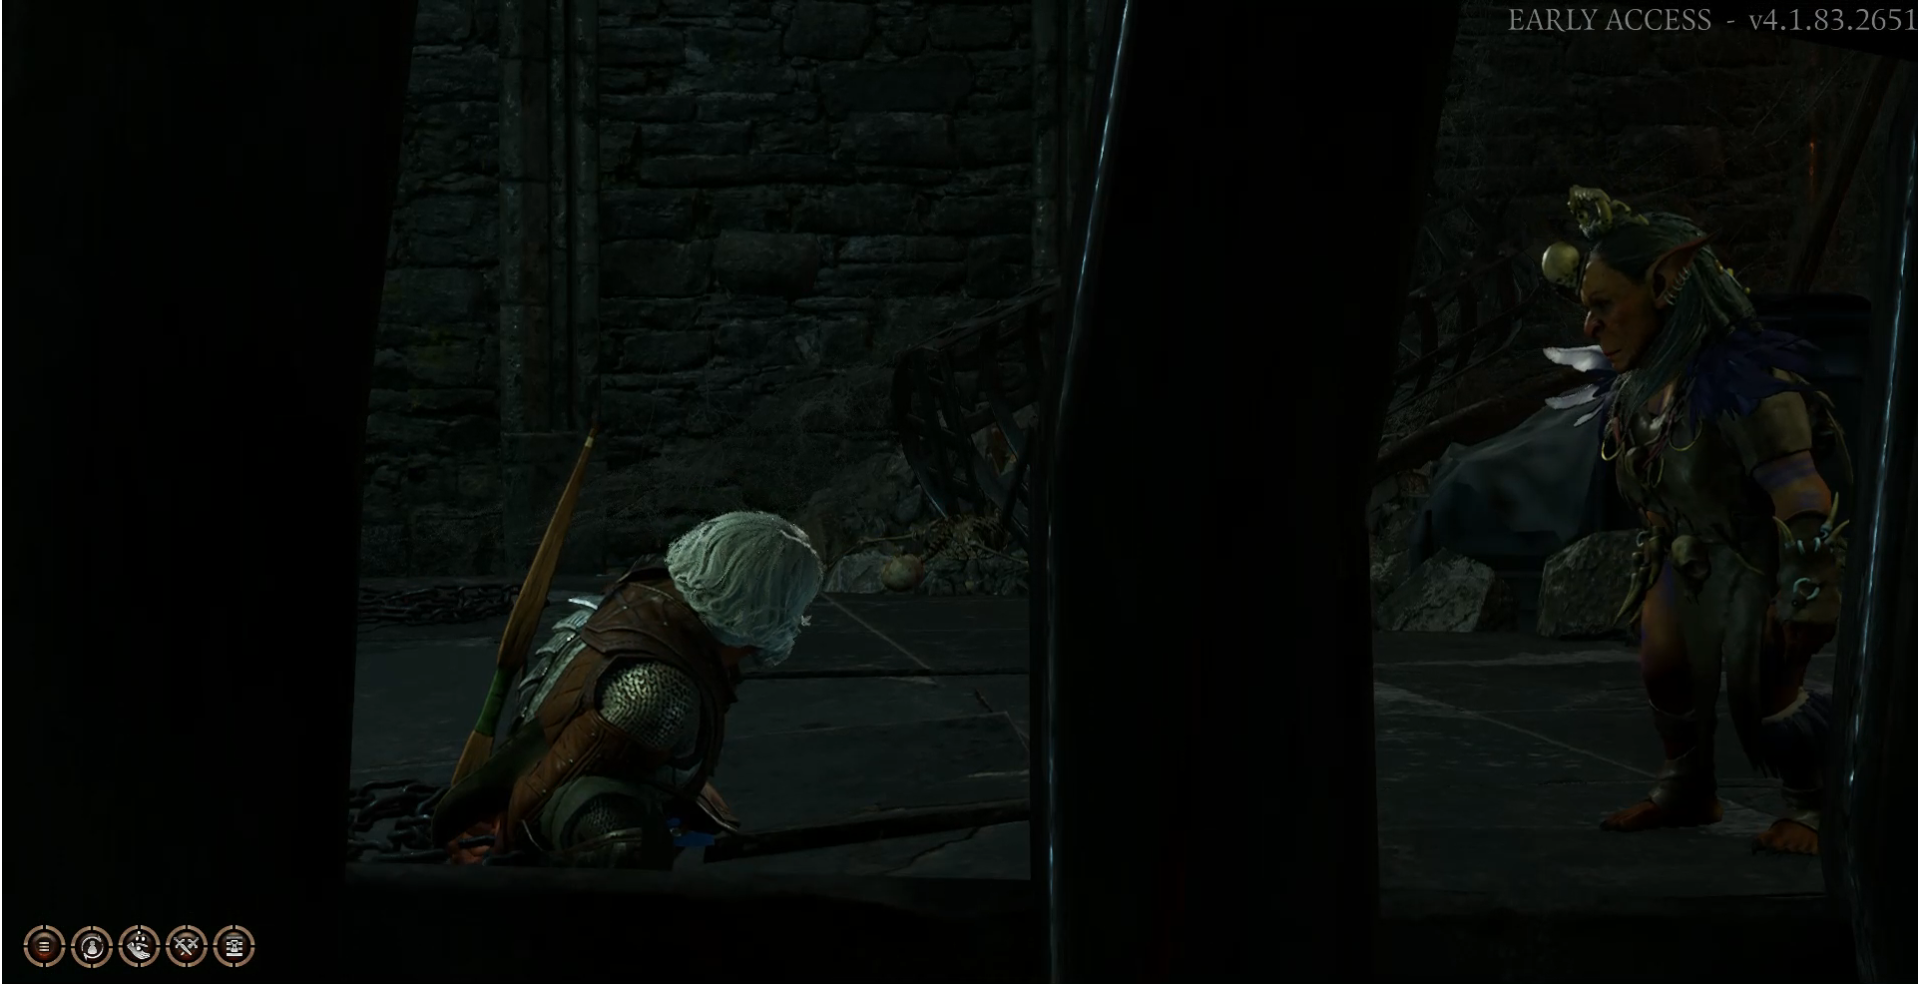
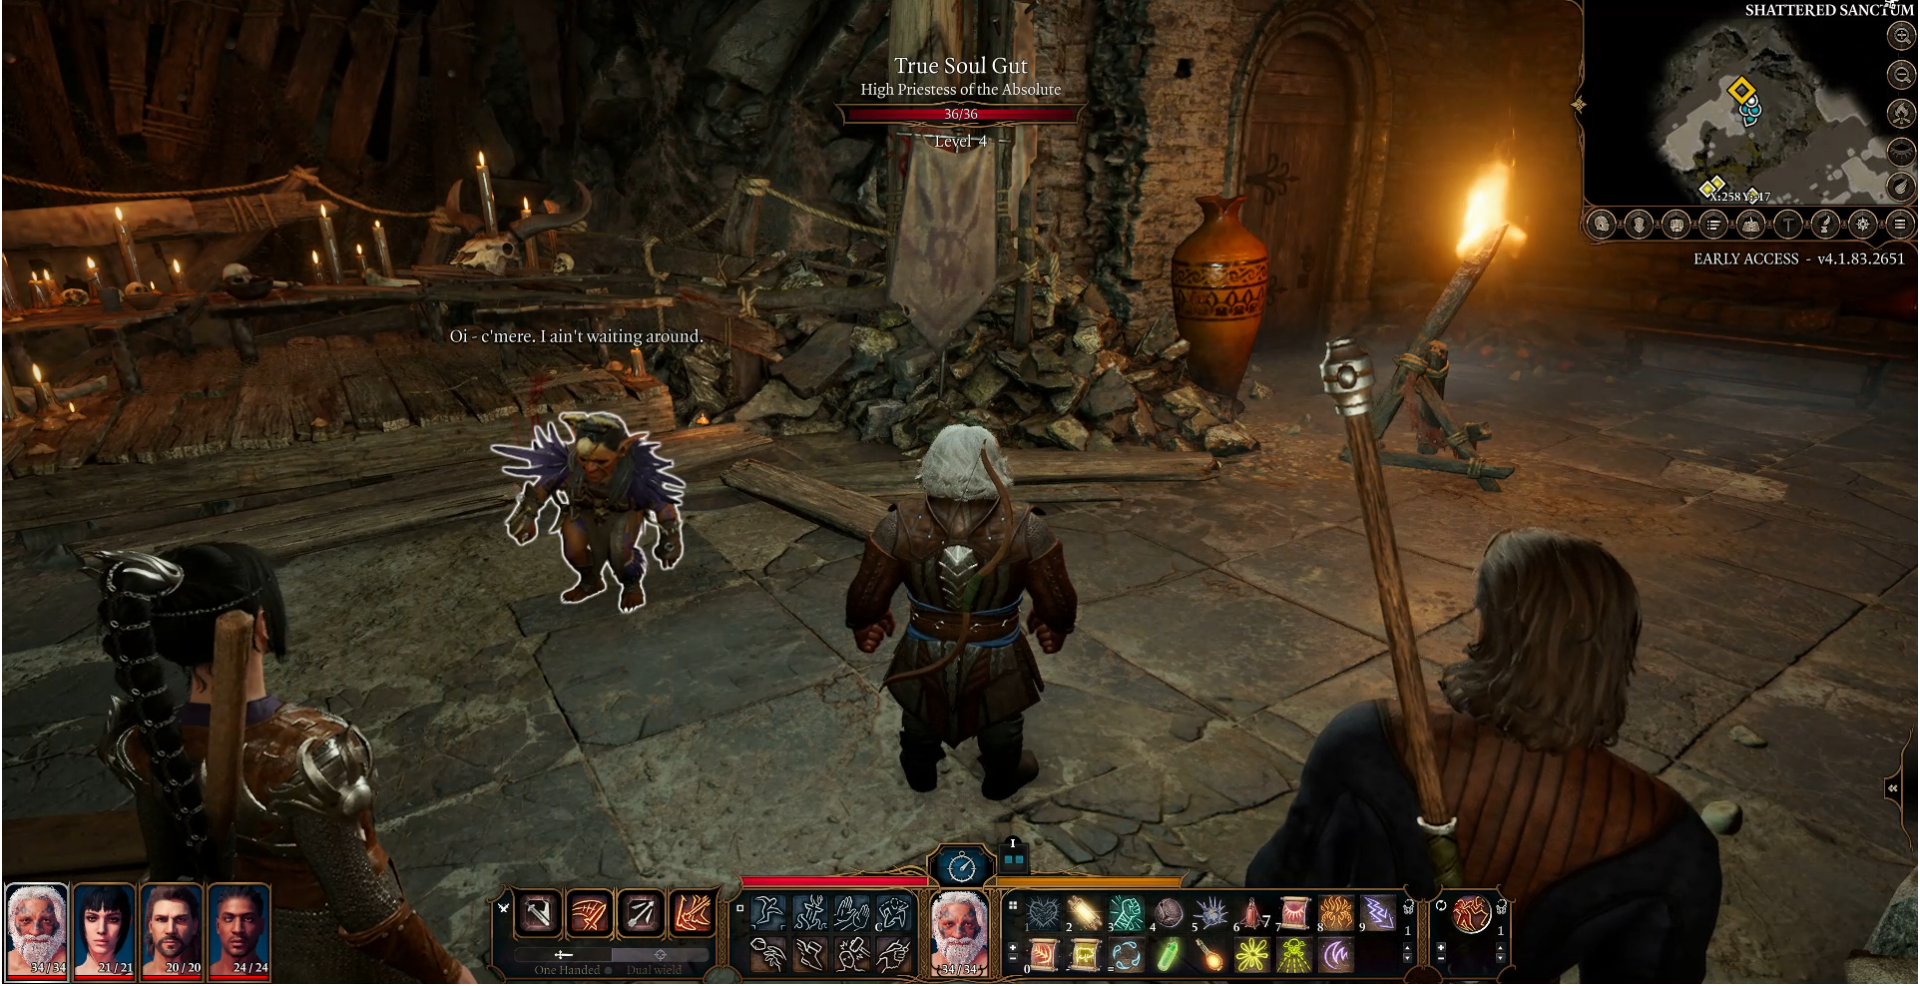
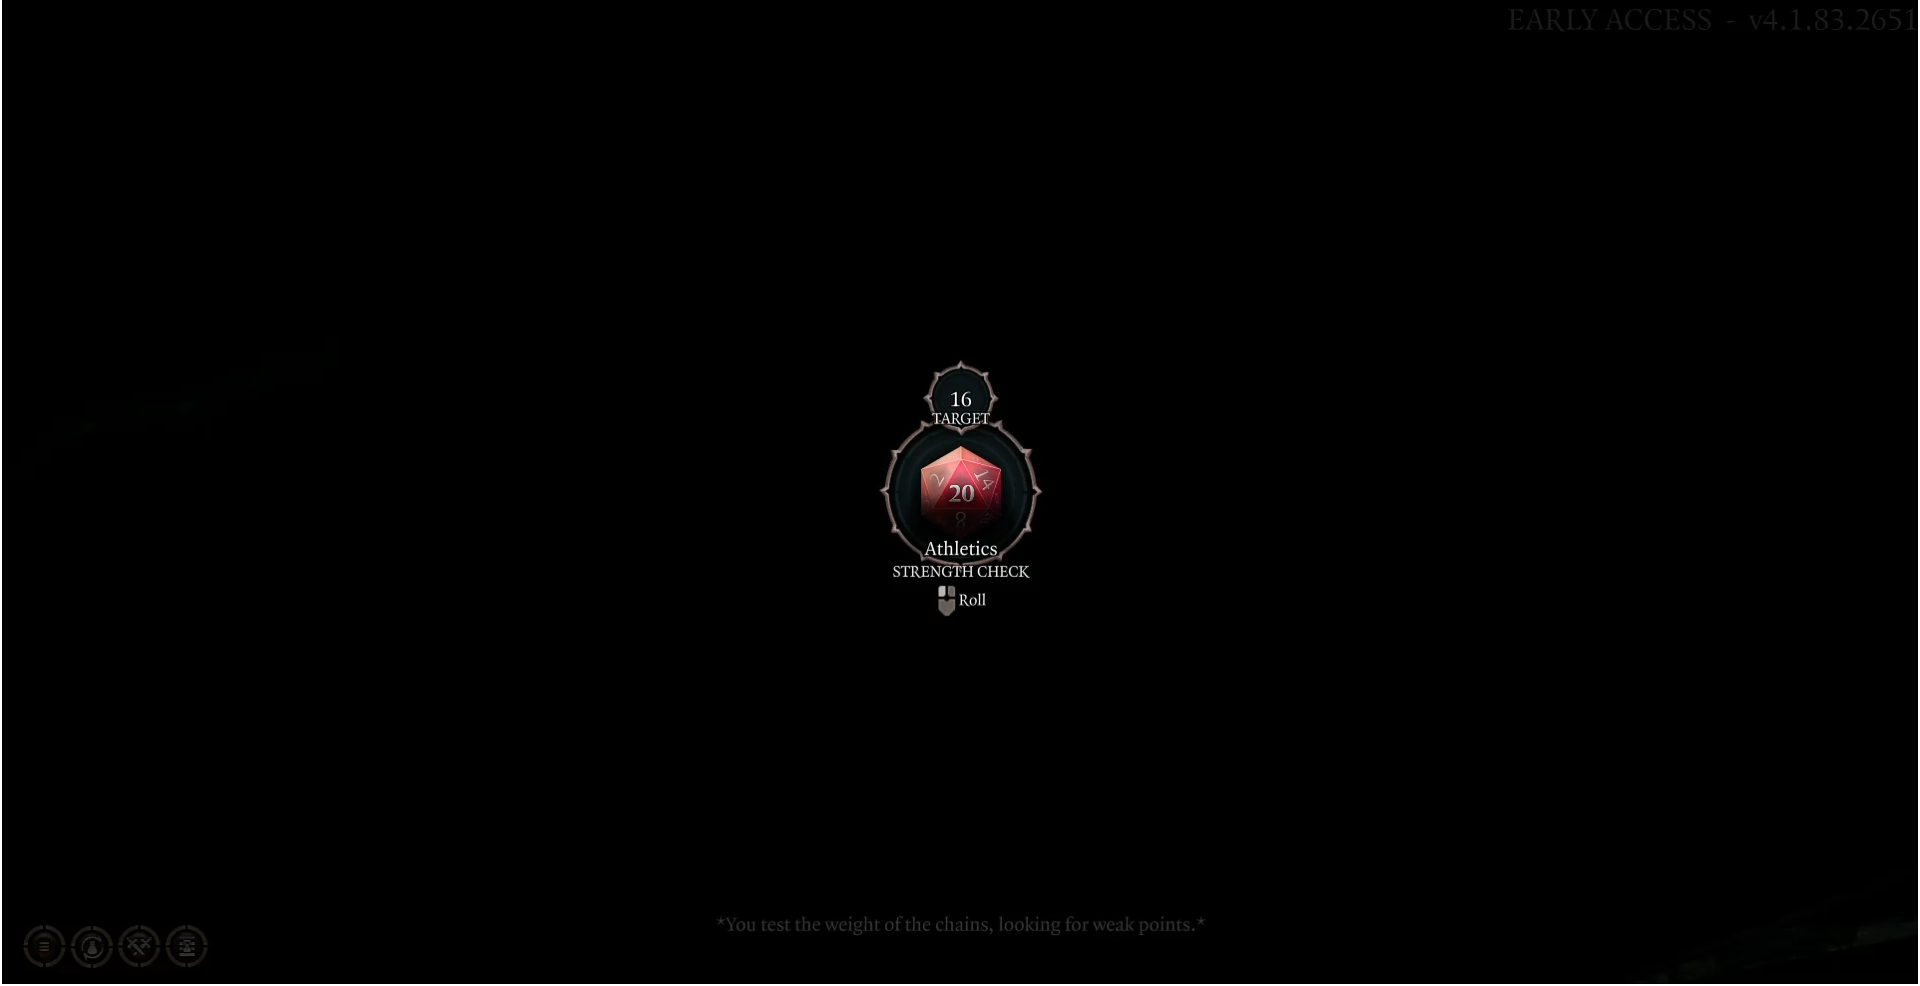
If you get lucky and perform a successful athletics check you can break the chains and try fighting The Priestess on your own without the aid of your party members....only problem with this option is that her Ogre bodyguard Polma is in the other room.

.jpg)
Polma has 75 hitpoints and can one shot your character if she lands a critical attack...
.jpg)
.jpg)
.jpg)
There is a part of the floor you can attack making the floor fall away killing anyone standing on it instantly.I am pretty sure if you position yourself correctly and dont stand on the stones yourself but make sure The Priestess and her bodyguard are on the stones you can single handedly take them both out by cracking the stones and letting them fall to their death.
.jpg)
Foolishly I tried this option while my character was standing on the stones and I died instantly.Still i'm pretty sure this is one way to handle both the Priestess and her bodyguard at the same time....That cracked floor has got to be there for a reason.
.jpg)
.jpg)
So finally let's look at the option that worked for me.
It turns out you can separate your party without sending them back to camp.To do this you just have to click on a characters portrait in the bottom left hand corner and pull them away until the chain brakes.This means this character can now be controlled independently of the group.
.jpg)
So what I did was have all 3 of my party members "unchained" and had them hide in the shadows on the far right of the room.
.jpg)
This tricked the priestess into closing the door thinking we were alone.When this happened I attacked with my main character and did not click the end turn button.If you click end turn she will summon the other nps to her aid.Since the other party members are operating independently they can each take a turn attacking from the shadows.
.jpg)
.jpg)
.jpg)
.jpg)
.jpg)
.jpg)
.jpg)
.jpg)
.jpg)
.jpg)
.jpg)
.jpg)
.jpg)
By doing things this way we can kill the priestess before she has a chance to shout for aid.This worked surprisingly well and I was happy to find out the game offers such various options for dealing with these encounters.I suspect there is a lesson to be learned here and these kind of unorthodox ways of approaching things will recur throughout the game.
With the priestess dead we can loot a key from her body as well as a few other items including this Absolutes Warboard shield for our cleric and a Absolutes Talisman for our main character.
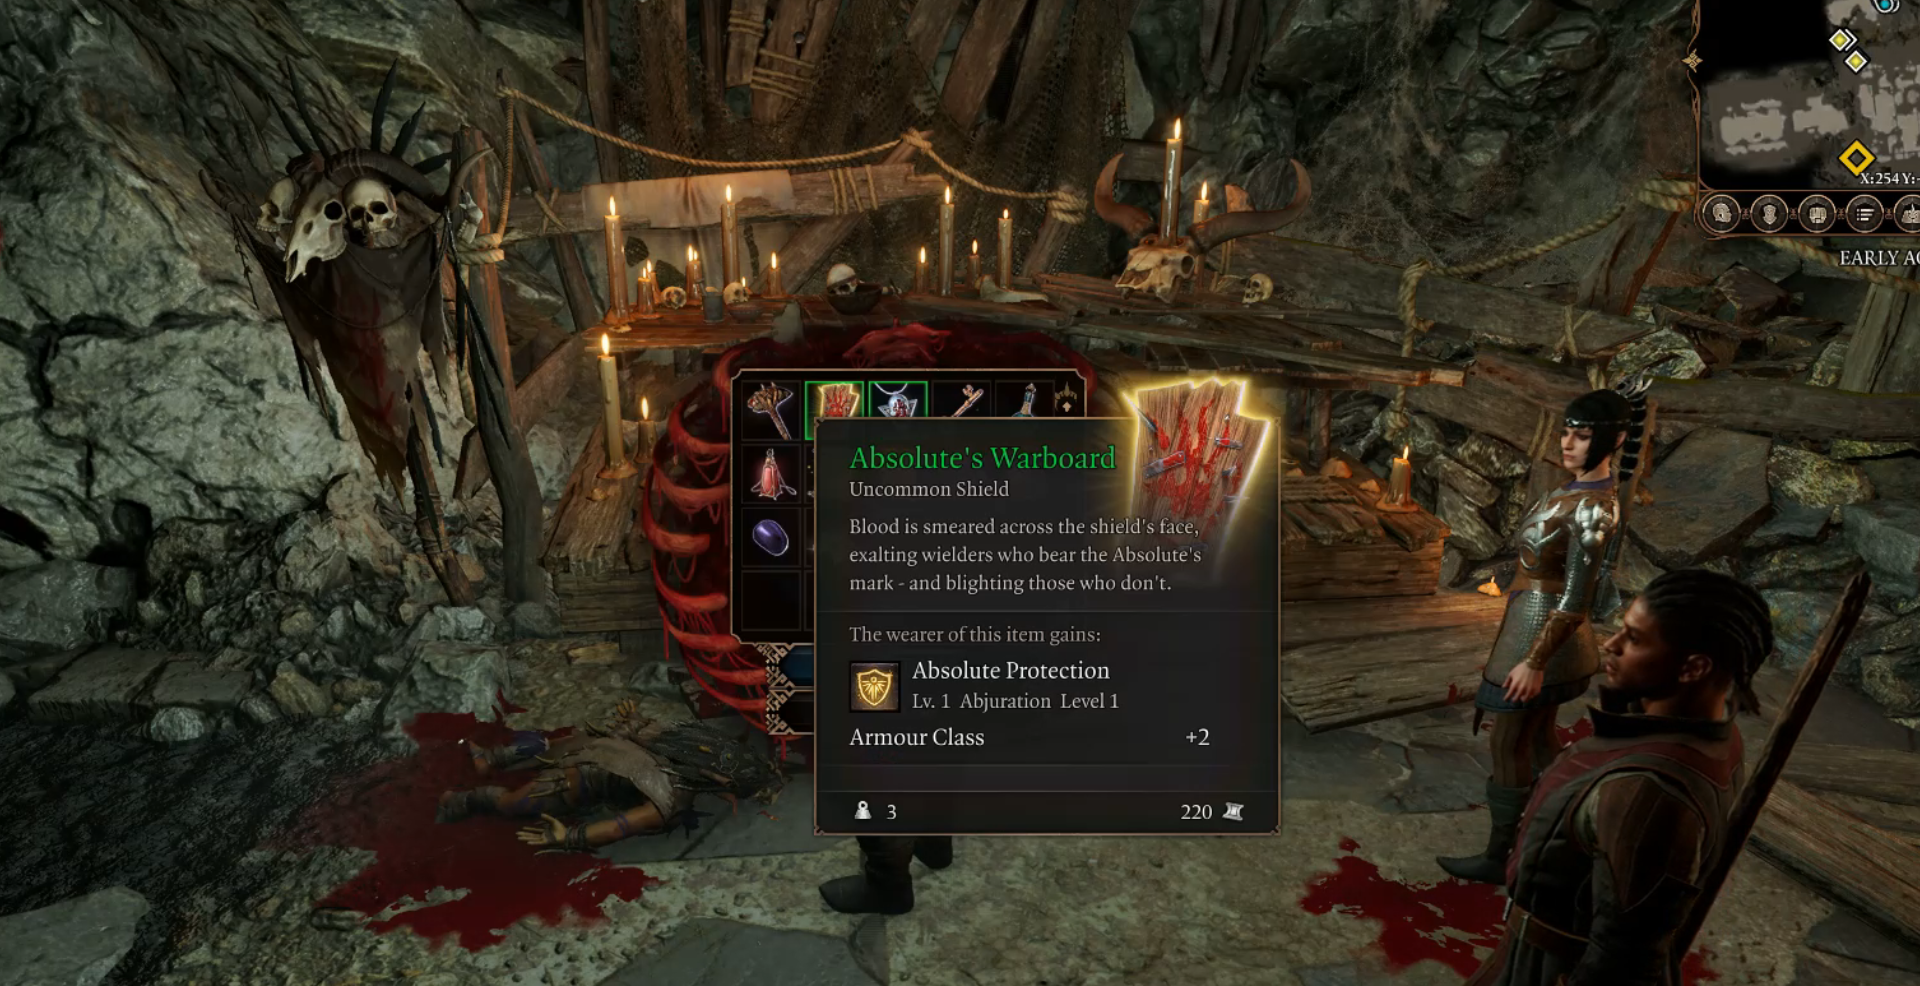
.jpg)
It is worth noting here that by accepting the mark of the absolute from the Priestess we no longer get negative effects from using Absolute gear like the gloves of Absolution we acquired earlier in the game.Without this mark the negative status effects impair the user as well as the enemies you attack.
The key we looted from the priestess opens the door to her chambers where her bodyguard Polma is still waiting for us.This time we have the whole party to fight her with.Its still a fairly tough fight given the ogres huge amount of hitpoints. 75 hit points is a fair bit to deal with at level 3 but we did kill her the on the first attempt.
.jpg)
.jpg)
%20(2).jpg)
.jpg)
.jpg)
Surprisingly the bodyguard has no loot but looking around the various shelves and crates in the Priestesses chambers we find various scrolls and some very useful greater healing potions.
.jpg)
.jpg)
.jpg)
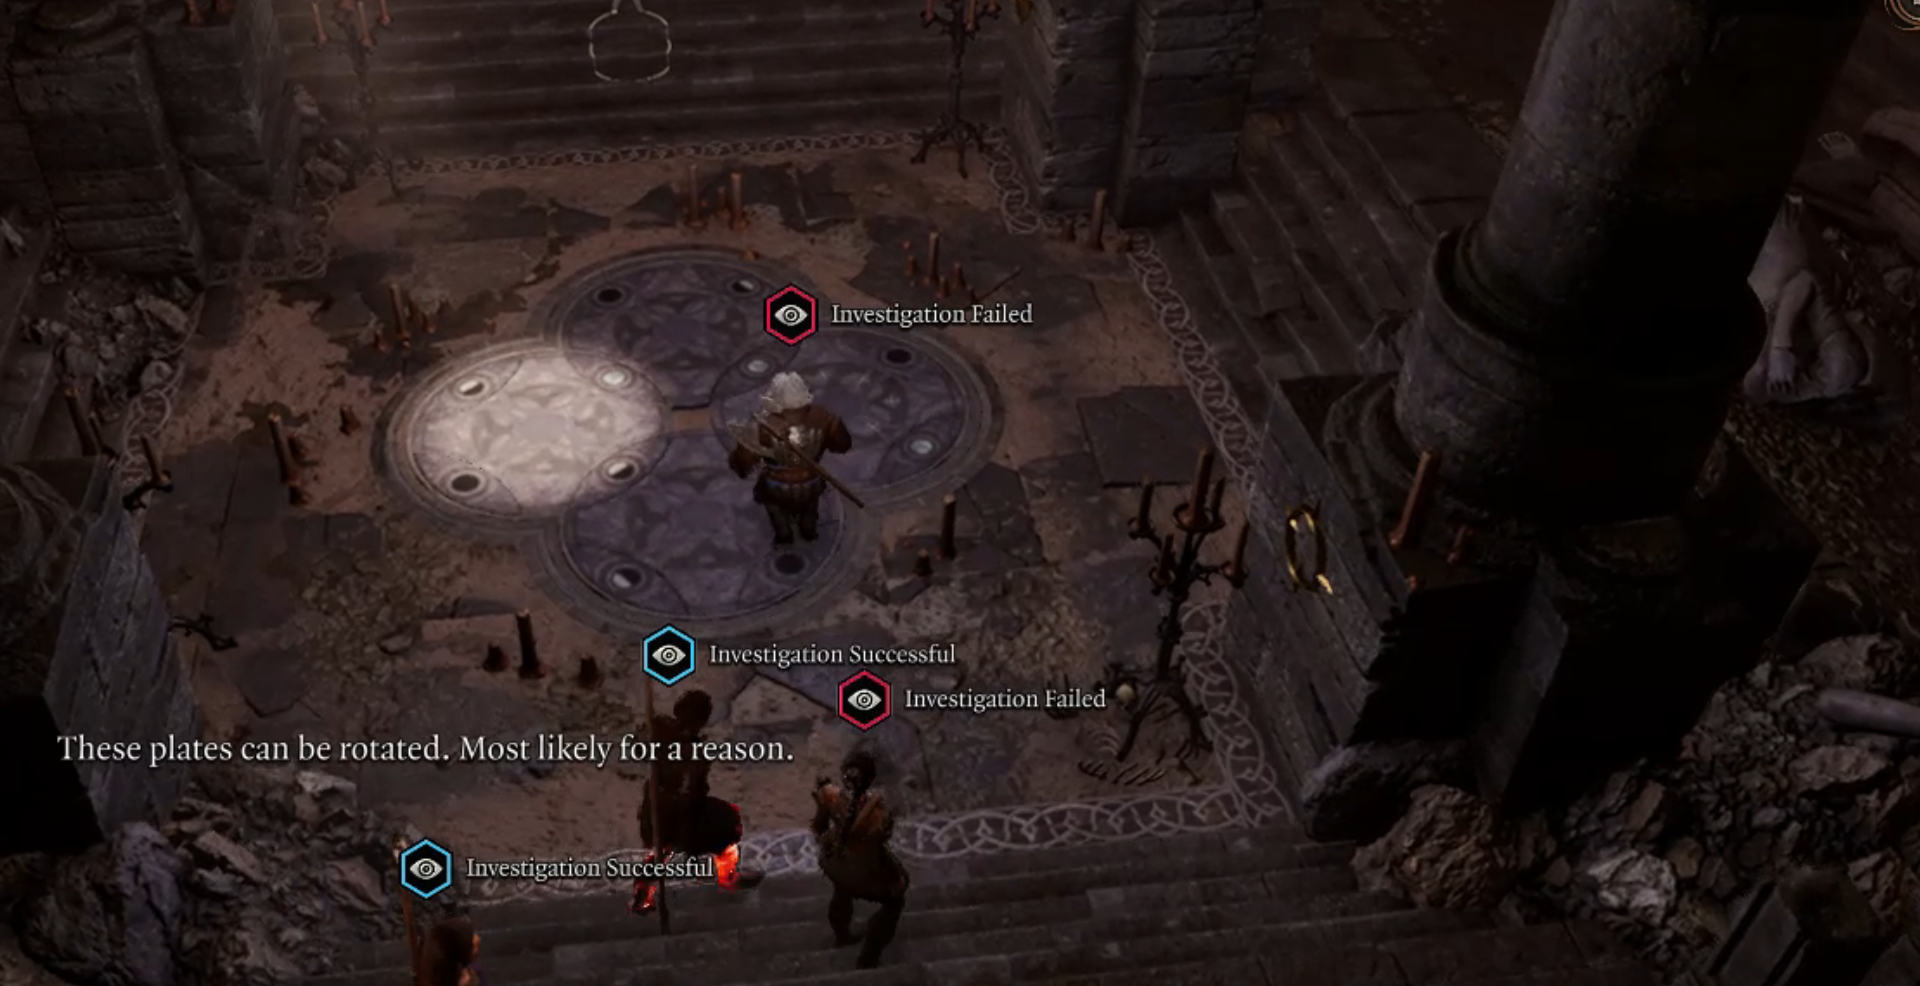
It seems that the main reason to come into his area is to find the moon puzzle on the floor of the ritual chamber.Solving this puzzles opens a door which leads into the Underdark.
I chose to hold of heading into the Underdark for now instead deciding to take out the remaining 2 goblin leaders,rescue the Arch Druid Halsin and head back with him to see how his arrival back at the Druid grove will affect the events unfolding there.
At some point we will return to this moon puzzle and head into the Underdark, for now the next enemy on our hit list is Dror Ragzlin....
To be continued in...
Part 3 - Defeating Dror Ragzlin The Hobgoblin Boss

Congratulations @celticheartbeat! You have completed the following achievement on the Hive blockchain and have been rewarded with new badge(s) :
Your next payout target is 3000 HP.
The unit is Hive Power equivalent because your rewards can be split into HP and HBD
You can view your badges on your board and compare yourself to others in the Ranking
If you no longer want to receive notifications, reply to this comment with the word
STOPCheck out the last post from @hivebuzz:
Great walkthrough, i stumbled upon this in google...