Up to this point I have documented the very cool things about the Color Grid Technique in Part 1, and Part 2. As with most interesting techniques there are usually some downsides. That is what I will cover in this document. I will then describe two different methods I've found to compensate for these negatives.
Due to the fact that the color grid technique operates by averaging the color of the texture on a per triangle basis it does not look particularly nice when applied to low poly art styles that use textures to give a lot of extra detail that is important. Sometimes it works just fine depending upon how the model was designed. It also can have an uncanny valley effect if you have super detailed terrain textures and the color grid models are showing a different look. The second technique for compensating works well for terrain textures.
Where Color Grid goes to die...
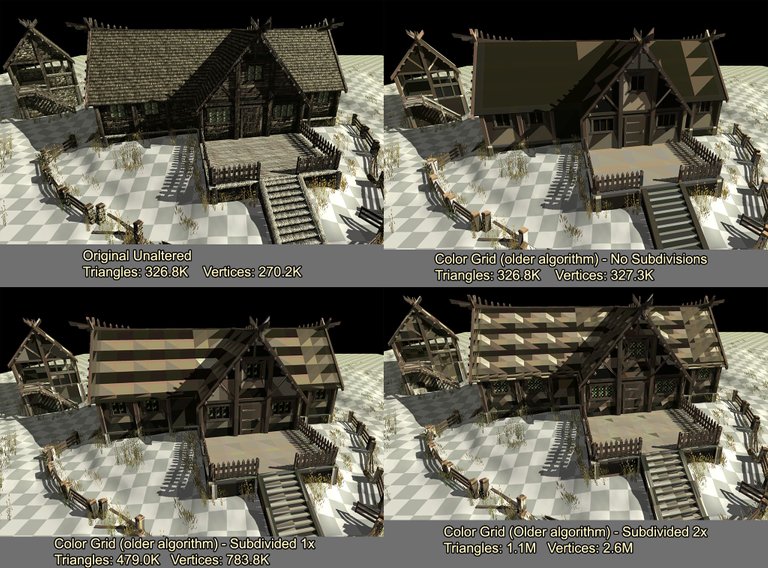
One of the techniques that can be used that works for some objects is to subdivide the object (split it's triangles into smaller triangles). Then you can still use the single shared material property of the Color Grid. Yet for some things it simply does not work. You would need to subdivide some objects so many times that it would be bad. If the topology and the texture of the object are just right sometimes the subdivision approach is viable.
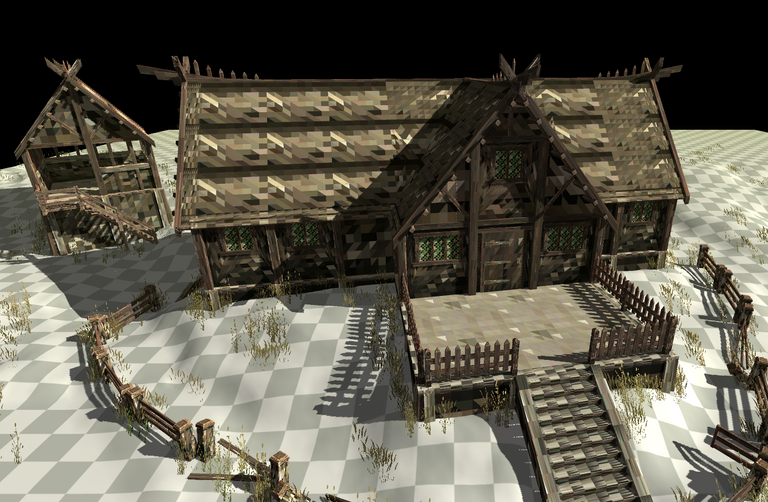
Here is the most I sub-divided this particular image to show you how it would look:
That one is subdivided using an older algorithm of mine and is 3.5 Million triangles, 9.9 Million Vertices. It still performs on my video card just as good as any of the others. It looks good in some places. The fence posts don't look that bad, and the windows look pretty good. Other parts though are UGLY and I wouldn't want to use them.
I ran into this problem years ago when I was first experimenting with this.
The approach that is acceptable for my needs...
I decided that perhaps I could pixelize a texture. For me this is running through the texture and averaging a square section of pixels and setting all of those pixels to that single texture. This will give it a pixelized look. In addition, if I desired after this process I could actually reduce the size of the original texture.
When I first played Valheim I immediately recognized the look of the art. It looked a lot like the results I get when pixelizing. Let me show you.
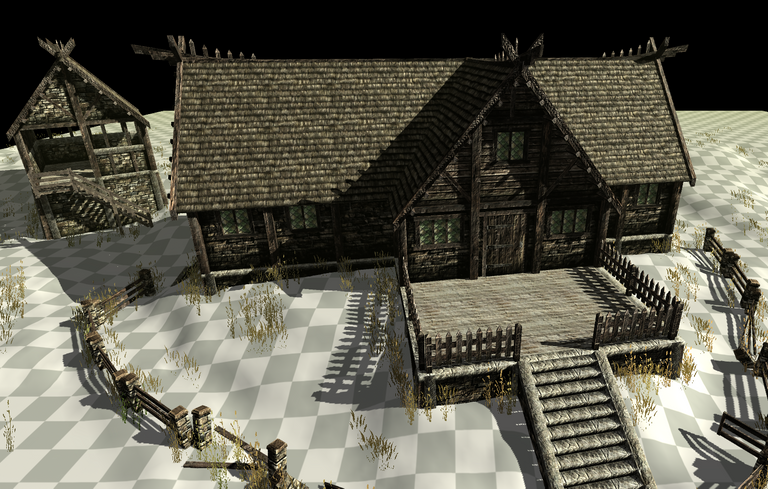
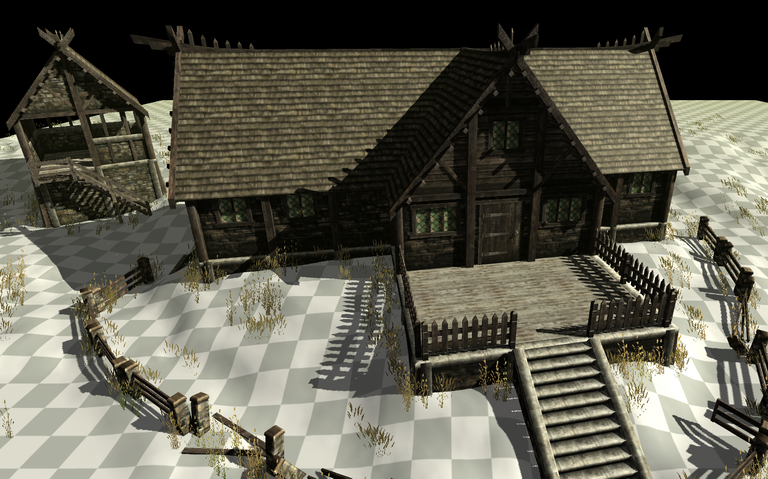
The Original
Pixelize the image 4 pixels x 4 pixels
You could comfortably cut your texture size in half using that setting if you wanted.
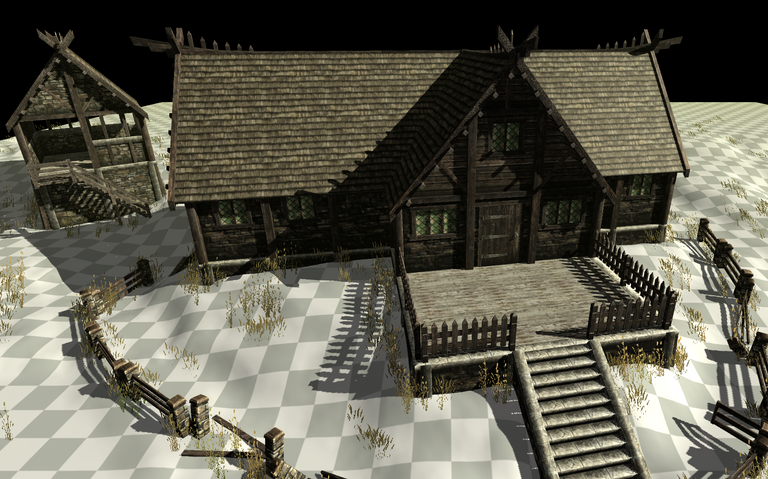
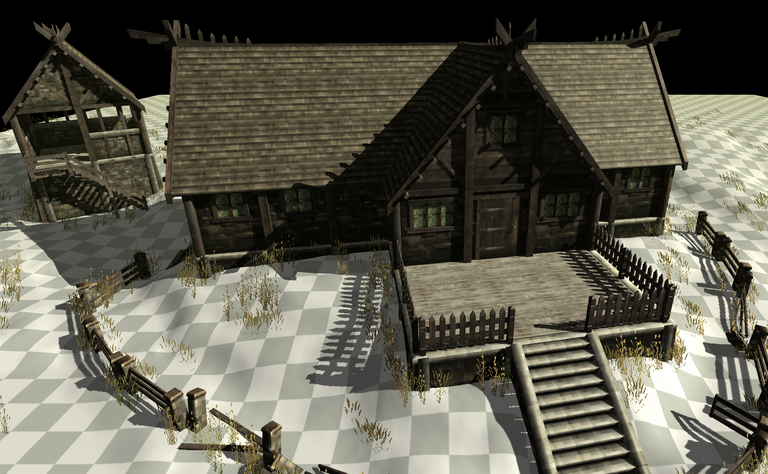
Pixelize the image 8 pixels x 8 pixels
With this setting you could safely divide your original texture size by 4. If you started with a 1024x1024 texture you could now store it as 256x256.
Pixelize the image 16 pixels x 16 Pixels
You could divide your original texture size by 8.
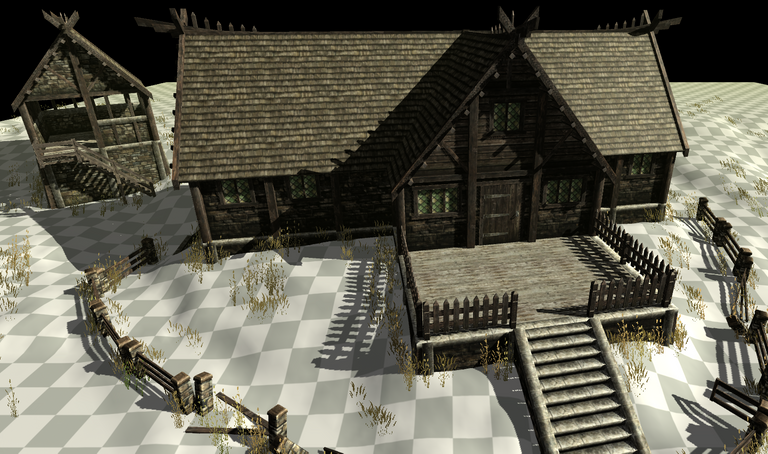
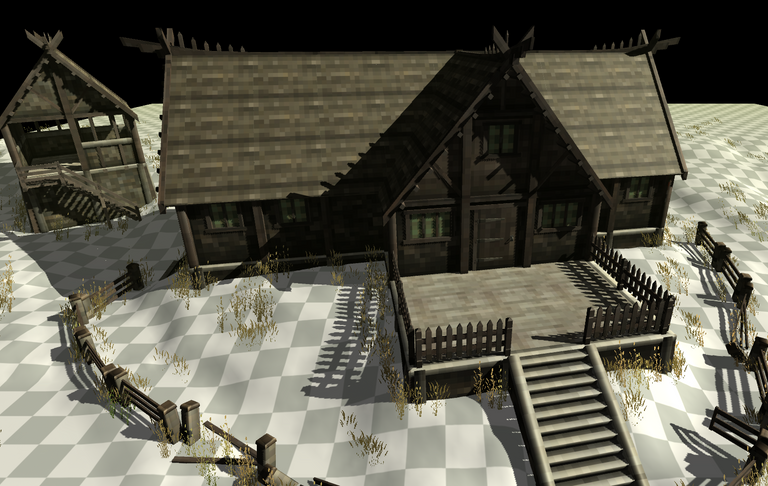
Pixelize the image 32 pixels x 32 Pixels
You could divide your original texture size by 16. With this particular model and it's textures this is probably the one I'd use with my other Color Grid items. It varies depending upon the source material. You really need to play around and find what looks good to you. Though with the ability to reduce your textures so much you could easily work on atlasing most of your models and assets that use this pixelization of textures approach. That will enable you to keep the number of additional materials beyond those used by Color Grid to a minimum.
This looks about like the style in Valheim to me. I will show you one more level before I consider this example sufficiently demonstrated.
Pixelize the image 64 pixels x 64 pixels
You could safely divide your original texture size by 32!! Note: I say safely because I am still leaving the textures with 2x2 pixels after downscaling so that they will hopefully play nicely with any MIP mapping.
In my experiments this second technique combined with the Color Grid works pretty well. This is likely the approach I will use for the two projects I am actively working on now.
Conclusion...
This concludes what I planned to write about the Color Grid technique. I may do further posts showing some creature conversions from different sources later. I hope you found it enjoyable and if you are a developer perhaps it gave you some useful ideas.
