
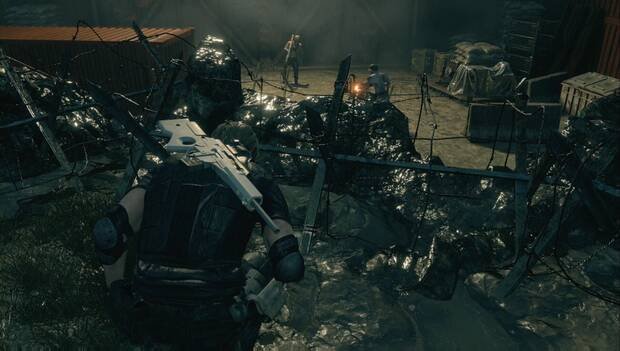
The end of Chapter 12 of Resident Evil 4 Remake has served as a farewell to the Castle. We enter the third region of the game, the island where, if all goes as it should, Leon should be able to rescue Ashley and put an end to all this chaos. Once you have control of Leon, move forward a little and you can use the binoculars to scout the area. No, those machine guns are not good news.
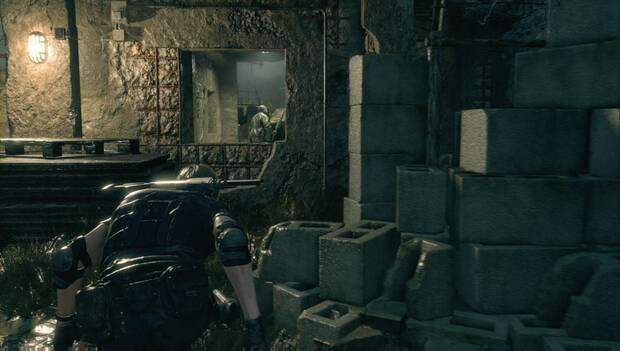
In the cave, go northeast to find the Peddler. The vendor has several new items, including a treasure map and a new Briefcase with more capacity. Then go west of the cave and you can position yourself behind the machine gun, changing the place where it points and allowing you to pass with ease. Move forward a little further and wait for the enemy patrolling with his back to the window to cross behind him. If you hurry you can stab him before he turns, if not, hide behind the ladder and stab him hard while he's not looking
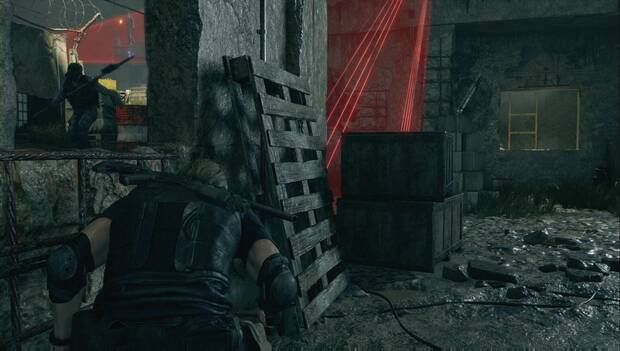
Now go up the ladder and deactivate another machine gun. Now go down and pass by being careful that the guy with the electric baton doesn't see you. Go past leaving the machine gun you just moved on the right and hide under the window, waiting for the guy with the baton to pass by on patrol and turn his back to you.
When he's passed, jump over the window frame, hide in the corner and wait for him to pass by the structure again on patrol. Obviously, come out as soon as his back is to you and slit his throat. If you take too long, you'll be discovered. Continue left until you see a tower in the northwest corner that you can climb to backstab another enemy
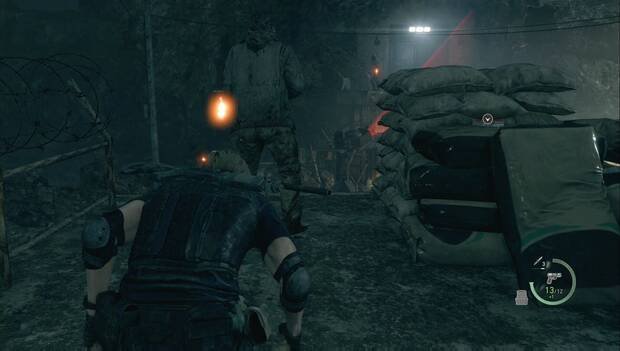
There are two enemies left: one at the top of the stairs and one patrolling the path to the left of it. If you go back to the hallway where you killed the first enemy, it's possible to just headshot the one on the stairs, leaving only the one on the path. After doing so, you can shoot each spotlight in the central tower. This will allow you to go for the Pearl Bracelet in the southwest area. It's worth noting that if you get spotted, things will get tense. Two extra enemies will appear, one looking like a boar's head like the ones in town but with a rather lethal machine gun in hand. Disable the machine guns and go through the northeast door to reach another section of caves. The enemies will see you here, but there will be no warning, just a normal fight. Be careful when you see the bridge, an enemy will rush you head on. A good shotgun blast to the face and you finish off with "Don't look at me with that face, I'm scared too, Paco" and that's it.
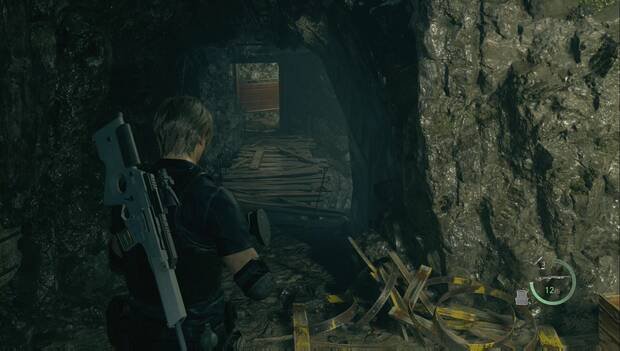
The area after going up the ladder is much easier to do in stealth. The enemies are spread out very badly for them and you won't have any problem stabbing them all. Make sure you pick up the Golden Feline before continuing. The path is now very simple, but be careful of the crazy guy with the rocket launcher. You can use it to kill his friends, though. After going through the next door, you can take out another gunner from the ledge.
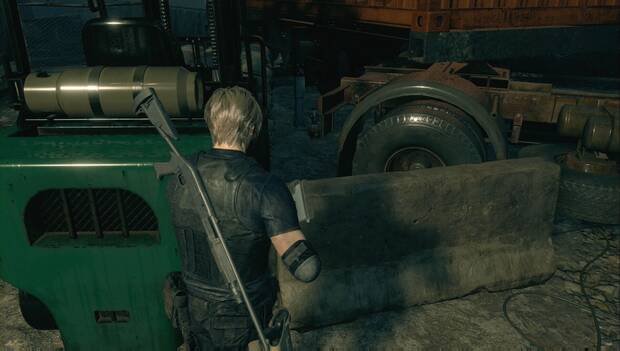
Go down the stairs to the east to finish off the enemies, collect resources, the Elegant Crown treasure and destroy the Mechanical Castellan #13, between the green forklift and the truck.
Continue west-northwest and deactivate the explosive in the next door. Once in the Surveillance Room, pick up the Indigo Tear. Ignore the ladder and go up the other stairs. The enemies, in a display of stupidity, will eat the explosives.
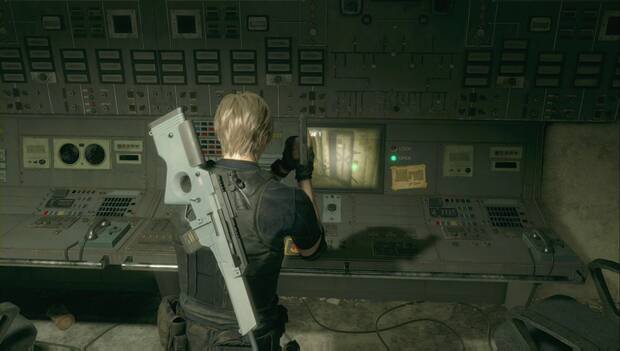
In the next room, press the button on the console and you can go through the door on the lower floor.

You will see a cutscene shortly after going through the door, and you can go down the side. There is a normal enemy and another one with a giant hammer downstairs. Look for the ladders (the doors are closed) and go down the only possible path. When you reach the kitchen area, which is still part of Services, pick up the second Indigo Tear. Now continue to the Peddler, pass by and go to this point to the northeast, where you can restore power and find a note about the key card you are looking for.

Go to the Dissections area, and pick up the Red Beryl (the other treasure is not accessible yet). To the northeast there is a door, you must match the symbols so that from above, the line connects to everything. If you have problems, the solution is below these lines.
In the next room, at the back, is the Key Card (Lv. 1). When you go out, the first regenerator will appear. Right now you don't have many options to defeat it, throw a grenade at it to cripple it and run away. You can now open the southeast door, where you will find a Gold Bar
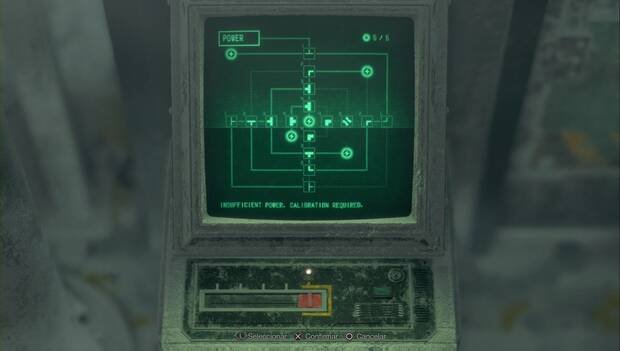
Now you have to go back to the power lever, activate it and go to the Freezer. Inside you will find another energy puzzle. You have the solution below these lines:
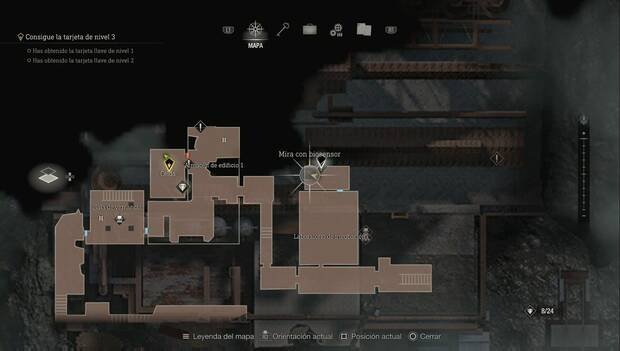
Inside you will find the LE 5, a submachine gun. Now you must place the key card at the back, but keep in mind that another regenerator will appear and you don't have much to do against it either. Shotgun the legs and wait for the card to be ready. With it in your possession, go to the southeast end of the area, being careful because the other regenerator will be in the way. You must reach the Systems room, where they will stop chasing you but there will be common enemies. Continue to the Incubation Laboratory. In addition to a good amount of resources, at the back you can pick up the Biosensor Scope. If you attach it to your rifle or LE 5, you can use the weapon to detect and kill the regenerator parasites.
We recommend mounting it on the Stingray, due to its penetrating power. Aim at the regenerators in the tubes in the room and position yourself so that you shoot at least two parasites with your first shot, to take advantage. In addition to various items to sell, one of them will drop the Wrench, which you need to use at the Terminal in the north room, insert the Key Card and get the Key Card (Lv. 3) after eliminating a handful of enemies. Now go west, opening a shortcut to Building 1 Warehouse. If you want, before continuing, you can return to the regenerator area and kill them, they will leave treasure. Then go to the marker, open the door and go to Chapter 14.


The images were taken from my PS4
The gifs were created on the blog gif page, you can use it, it's totally free
Congratulations @infinitelove14k! You have completed the following achievement on the Hive blockchain And have been rewarded with New badge(s)
Your next target is to reach 200 upvotes.
You can view your badges on your board and compare yourself to others in the Ranking
If you no longer want to receive notifications, reply to this comment with the word
STOPCheck out our last posts: