A huge greeting to everyone in this amazing #HiveGaming community. I hope you’re all having an excellent day.
I'm here to share with you the story mode of Kill Zone 2, where we’ll accompany Sev, the sergeant of the ISA (Interplanetary Strategic Alliance) special forces, as we fight our way across the Salamun Bridge.
Stay tuned and enjoy!
Un saludo enorme a todos en esta increíble comunidad #HiveGaming. Espero que estén pasando un excelente día.
Vengo a compartir con ustedes el modo historia de Kill Zone 2 en el que tendremos que acompañar al sargento de las fuerzas especiales de la ISA (Interplanetary Strategic Alliance) Sev mientras nos abrimos paso por el Puente de salamun.
No se muevan de sus pantallas y disfruten.
The Salamun Bridge mission in Killzone 2 is one of the most enjoyable for me, as it offers intense combat and might be one of the game’s most challenging levels, packed with frantic firefights, ambushes, and strategic encounters that truly test our skills as players.
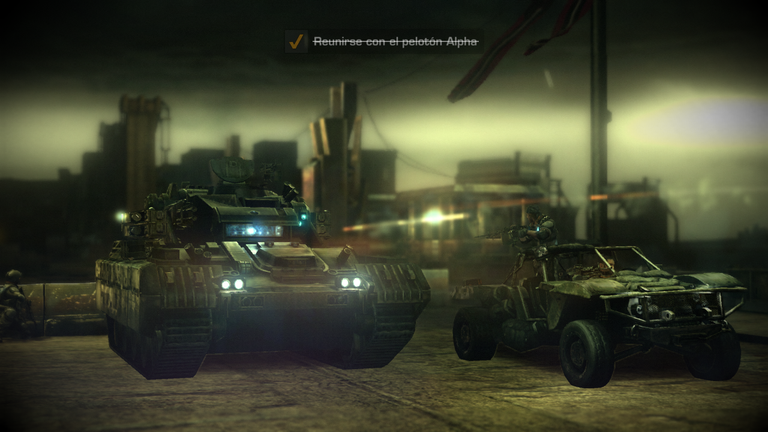
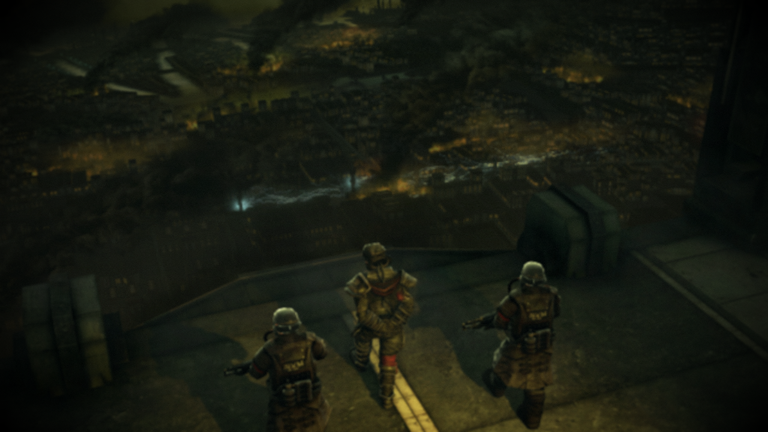
The mission begins with the ISA team attempting to cross the Salamun Bridge to secure a route toward the Helghast capital, Pyrrhus, and bring our convoy through.
La misión del Puente Salamun en Killzone 2 es una de las que mas he disfrutado , ya que ofrece un intenso combate y podria ser uno de los niveles más desafiantes del juego, repleto de tiroteos frenéticos, emboscadas y encuentros estratégicos que ponen a prueba nuestra habilidad como jugador.
La misión comienza con el equipo ISA intentando cruzar el puente Salamun para asegurar una ruta hacia la capital helghast, Pyrrhus y llevar nuestro convoy.

To achieve this, Sev’s squad—our character—and Garza need to deactivate the Helghast defenses on the bridge, a complex objective given that the enemy has raised the bridge and fortified the area, forcing us to use strategies to advance through this hellish battleground.
Para esto, el pelotón de Sev nuestro personaje y Garza necesita desactivar las defensas helghast en el puente, un objetivo complejo dado que el enemigo ha elevado el puente y fortificado el área, obligandonos a usar estrategias para poder avanzar en este infierno.


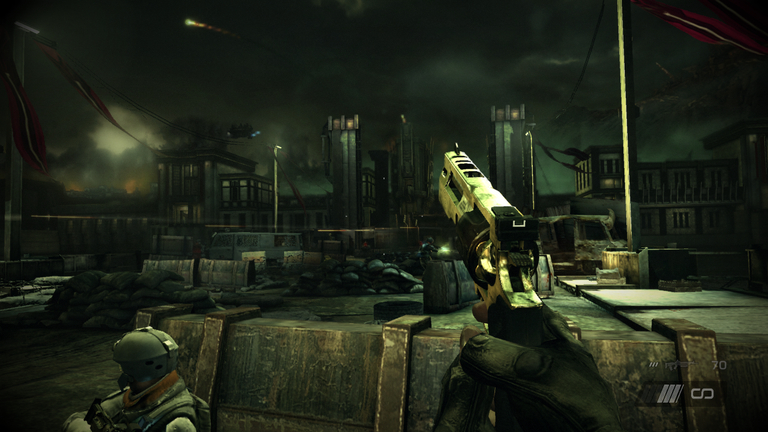
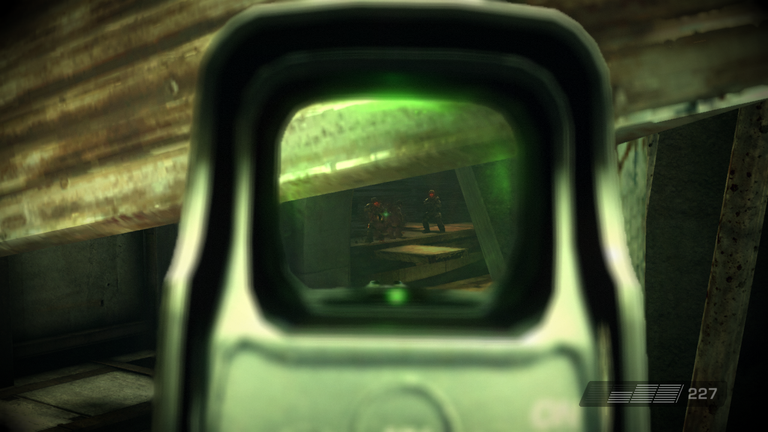
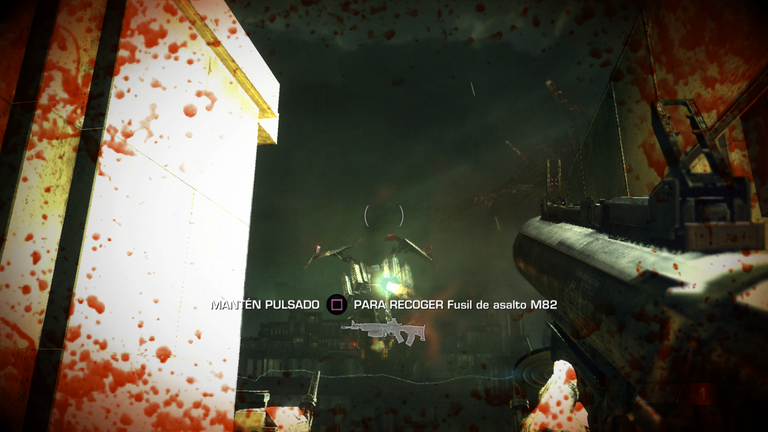
At this point in the mission, we need to deactivate a Helghast anti-aircraft cannon and use it to clear the area. This involves taking out enemy soldiers in the vicinity and securing the artillery platform to allow the ISA convoy to cross safely. To do so, we can use special weapons found in this level, such as grenade launchers and sniper rifles, which are useful for taking out Helghast soldiers positioned at higher vantage points.
Al llegar a esta parte de la misión, debemos desactivar un cañón antiaéreo helghast, y de paso usarlo para limpiar la zona. Esto implica eliminar a los soldados enemigos en el área y asegurar la plataforma de la artillería para permitir que el convoy ISA cruce de forma segura. Para hacerlo, podemos usar armas especiales que se encuentran en el nivel, como lanzagranadas y rifles de francotirador, que resultan útiles para eliminar a los soldados helghast en las posiciones más elevadas.

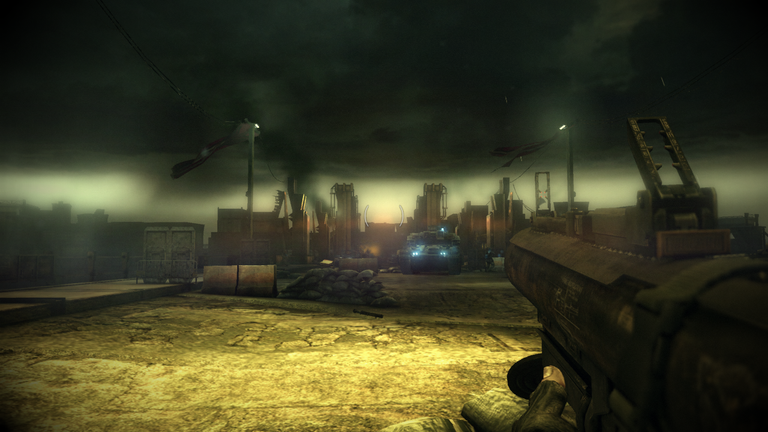
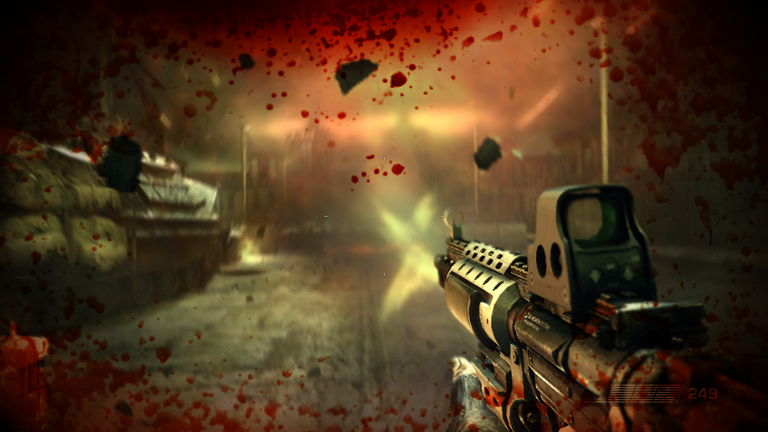
The key is to advance carefully and take advantage of cover on the left side of the bridge, shooting strategically placed explosive barrels to quickly eliminate groups of enemies. Throughout the mission, it’s crucial to avoid exposed areas, as enemies are positioned at higher levels and can use rocket launchers and machine guns to halt our advance—and they cruelly taunt us when they take us down.
La clave es avanzar cuidadosamente y aprovechar los cobertores en el lado izquierdo del puente, disparando barriles explosivos estratégicos para eliminar grupos de enemigos rápidamente. A lo largo de la misión, es crucial evitar las zonas expuestas, ya que los enemigos están posicionados en niveles elevados y pueden hacer uso de sus lanzacohetes y ametralladoras para frenar lnuestro avance y se burlan cruelmente cuando nos eliminan.

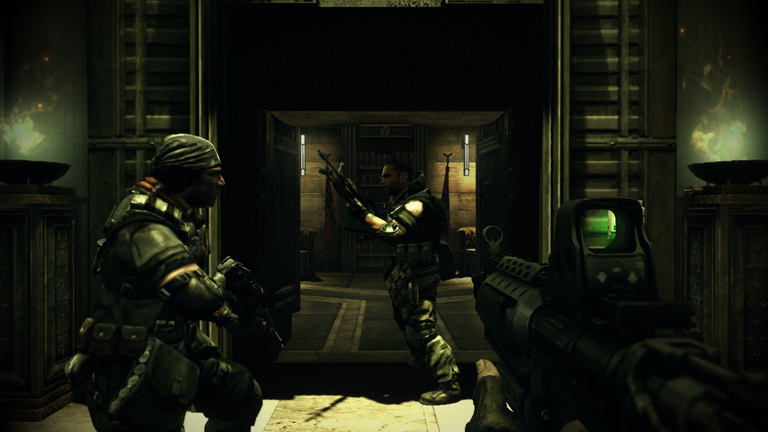
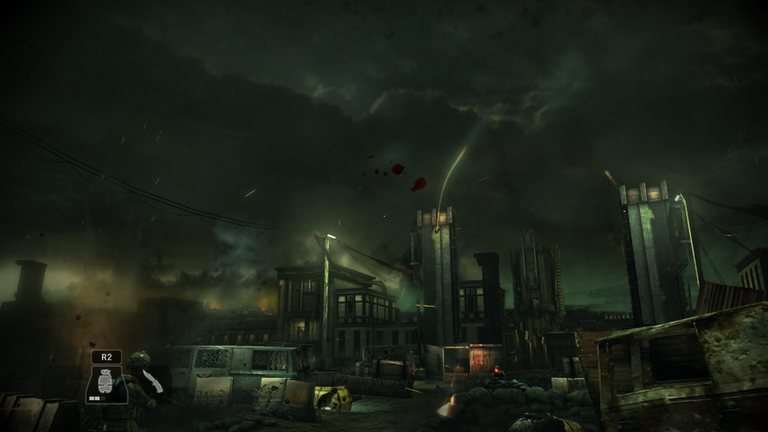
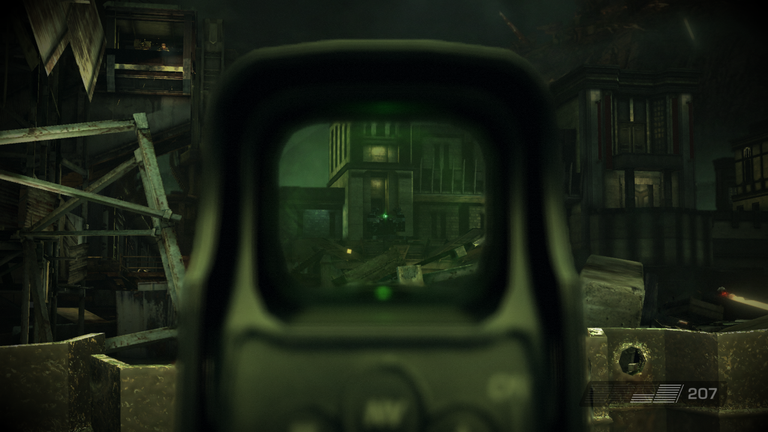
The final phase of the Salamun Bridge mission culminates in a fierce showdown with RPG units and fortified soldiers in bunkers. After battling through them, we head toward the entrance of the building that leads to Radec Academy. This section is intense, as each wave of enemies tries to hold their position with heavy fire and ambushes from multiple angles. Players must stay alert, as the bridge design and its structures allow enemies to take cover and set up highly effective ambushes, with their advanced AI making them even more dangerous.
La fase final de la misión en el puente Salamun culmina en un feroz enfrentamiento con unidades de RPG y soldados fortificados en búnkeres. Tras enfrentarnos a estos, nos dirigimos hacia la entrada del edificio que conduce a la academia de Radec. Esta sección es intensa, ya que cada oleada de enemigos intenta mantener su posición con fuego pesado y emboscadas desde varios ángulos y debe permanecer alerta, ya que el diseño del puente y sus estructuras permite a los enemigos cubrirse y emboscar de manera efectiva y su nivel de inteligencia los hace aun mas peligrosos.
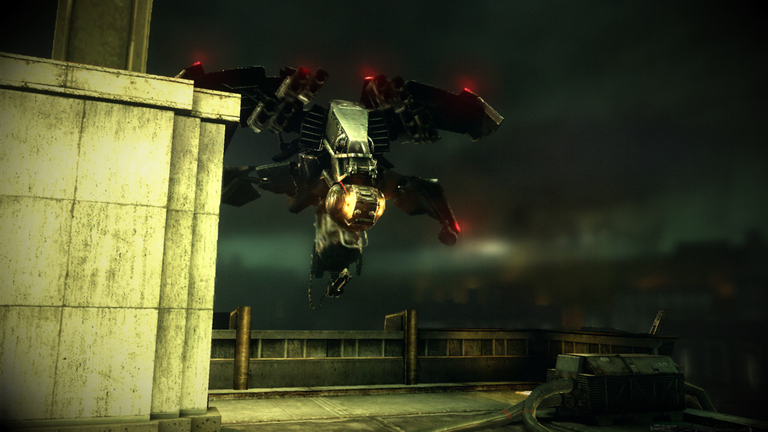
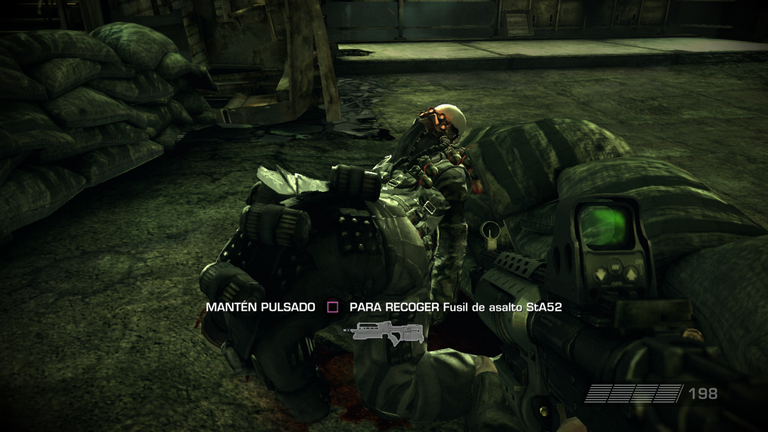
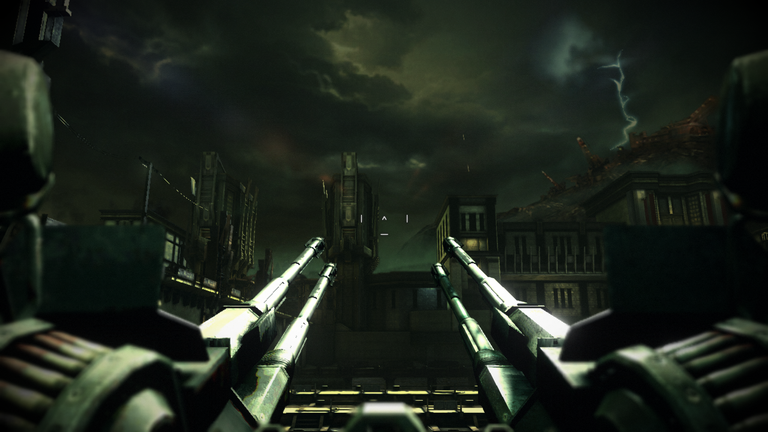
This sentry gave me a real fight since the space was extremely tight, leaving me completely exposed, and I died a few times. But I finally managed to take it down.
Este centinela me dio tremenda lucha ya que el espacio era super reducido y estaba completamente expuesto y mori unas cuantas veces,pero finalmente logre derribarlo.

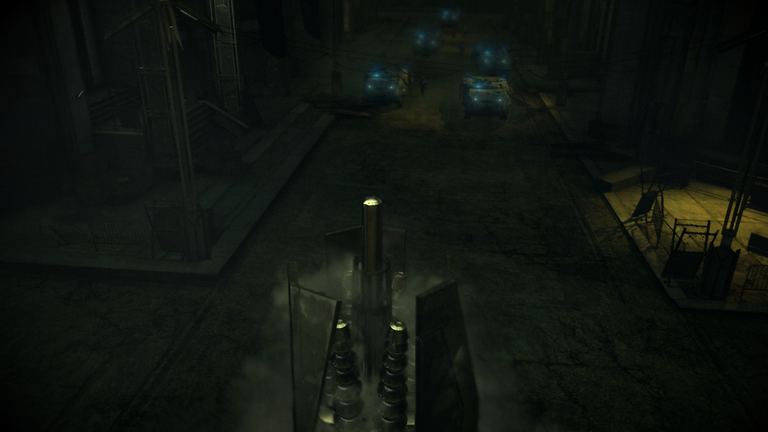
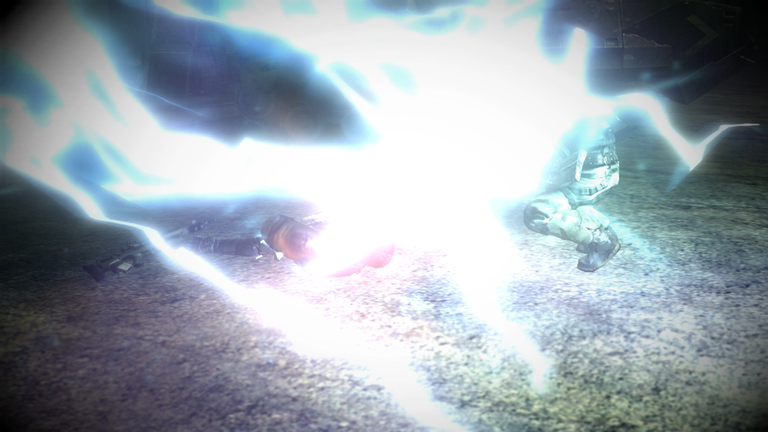
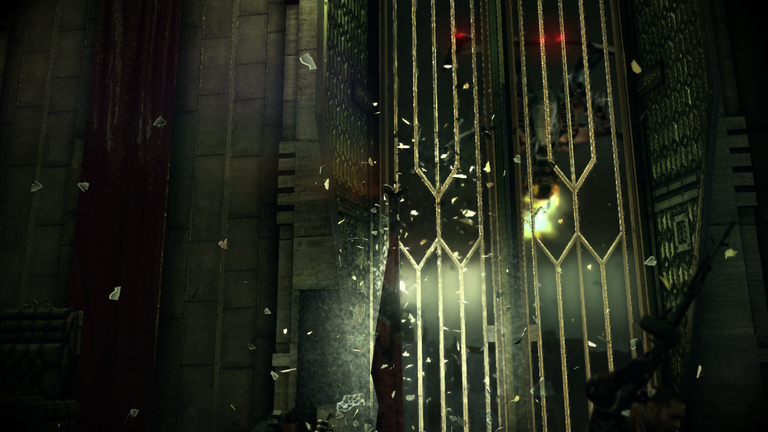
Just when everything seemed to be over and calm, something began to emerge from below—it turned out to be a defense system that repelled our offensive. This system is designed to prevent enemy forces from advancing and to protect the Helghast positions on the bridge.
Cuando todo parecio llegar a su final y tranquilizarse comenzo a salir algo de el subsuelo, resultó ser un sistema de defensa que repelio nuestra gran ofensiva ya que está diseñado para impedir el paso de las fuerzas enemigas y proteger las posiciones Helghast en el puente.

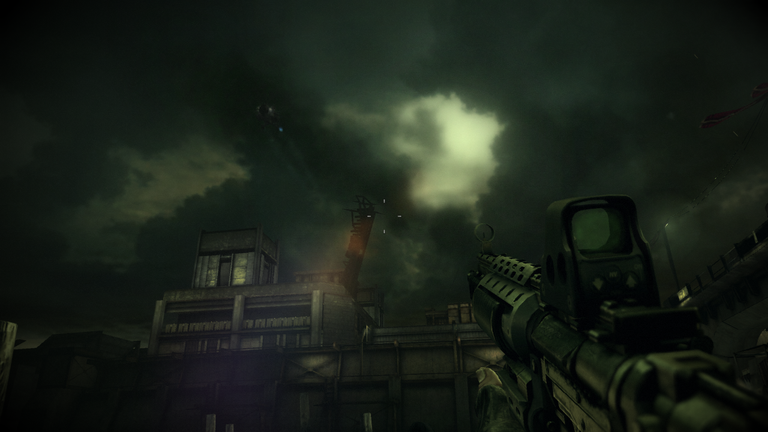
In addition to the electrified defense system, one of the most memorable moments in this section is the appearance of Radec, the Helghast forces’ commander. Although Radec doesn’t engage directly in combat in this chapter, he makes a brief appearance, watching our squad’s progress from a distance and following a routine that hints at his methodical, strategic approach. This encounter foreshadows future confrontations, as Radec is a crucial antagonist in this incredible game’s storyline, known for his intelligence and combat skill.
Además del sistema de defensa electrificado, uno de los momentos más memorables de esta sección es la aparición de Radec, el comandante de las fuerzas Helghast. Aunque Radec no participa directamente en el combate en este capítulo, hace una breve aparición, observando el avance de nuestro escuadrón desde la distancia y siguiendo una rutina que sugiere su enfoque metódico y estratégico. Este encuentro presagia futuros enfrentamientos, ya que Radec es un antagonista crucial en la narrativa de este juegazo y es conocido por su inteligencia y habilidad en el combate.
This is just a glimpse of the challenges yet to come.
Esto solo es una muestra de los desafios que estan por venir.