Hello to all of my fellow Hive gardeners!
Spring is finally here! I have tried my best to be patient this year and ignore the many false starts that we get here in the North-East of England. However, after a long wait I am finally confident that the last frost is behind us and I can get to work. Hopefully that last statement doesn't come back to bite me! 😆

With that said, here is my first update of the year for 2024. I'm still far from an expert in the garden but I'm trying to keep learning and become a little more proficient/efficient each season. That's where you guys come in! If you have any useful tips and tricks that you've learned along the way then keep me updated in the comments. I'll look forward to following along with all of your journey's as the the season progresses and the posts start flowing.

So what have I improved on?
First off I decided that I was going to brave the drizzle and get myself outside earlier this year. I often find myself becoming a major homebody throughout the winter months, which along with my mental health issues can make motivation early in the year quite hard to come by. I'm proud to say that I have managed to stay significantly more active this time though. Adding and sticking to more regular walks and yoga practice have made a real difference!
As it pertains to the garden I decided that my first step would be to address the issue that annoys me (and I'm sure a lot of you too) the most...SPACE! As I'm sure you'll agree, there is simply never enough of it! Organisation is not my strong suit but no matter how hard I have tried so far I always seem to suffer from overcrowding in my beds and pots. I often find myself buying seeds impulsively from my favourite sellers on Ebay and once I have bought them I'm often over eager to get growing without necessarily having planned out where all of this new growth will go.
After a lot of online trawling during the cold and wet wintery days I stumbled across a cheap and easy solution, which was to use the modest space that I have to vastly expand my container capabilities. Firstly I had a look at what I already had lying around in the garden and got to work.
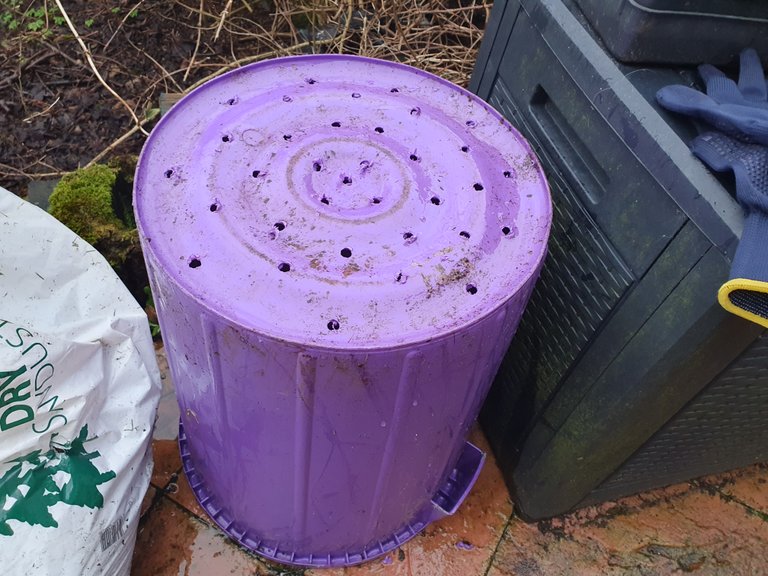
I found this plastic bin that had formerly been used as storage for horse feed by my wife's parents. As we have 2 cats and 2 dogs I saw this as a decent opportunity to have another container that would be safe from prying snouts or worse...the cats! I drilled some holes in the bottom for drainage before indulging in a cheeky bit of Hugelkultur. 😀 This technique involves using decaying wood and plant matter to fill out the bottom of a bed or container, saving on filling with expensive compost as well as creating an environment that is rich in organic matter. It also helps to maintain air pockets within the soil structure, which reduces the chance of root systems becoming waterlogged or anaerobic and consequently rotting.
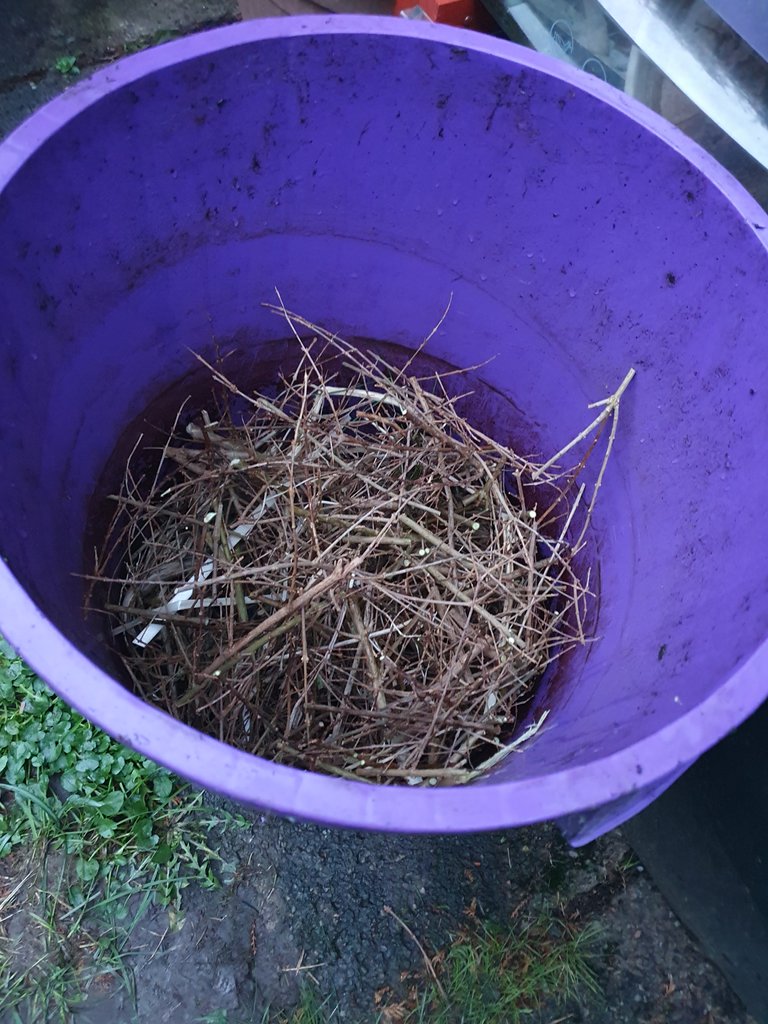
I used last year's hedge trimmings that I'd been having a lot of trouble getting rid of without paying for the local council to come out and collect it. Cutting it all up by hand was time consuming but worthwhile.
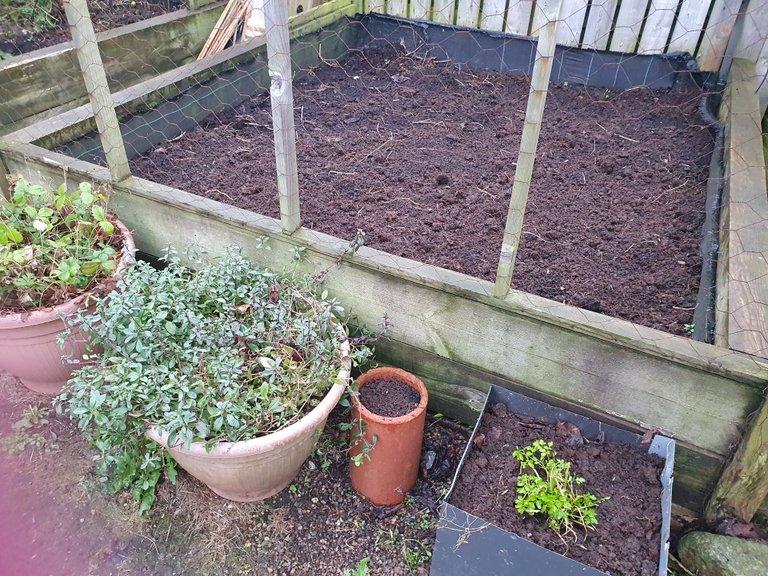
My next task was to make sure that my main beds were weed free and ready for the coming growing season. This is a basic one but I've found that doing a thorough job now saves a lot of time further down the line when seedlings are rapidly growing and things are a little more hectic.
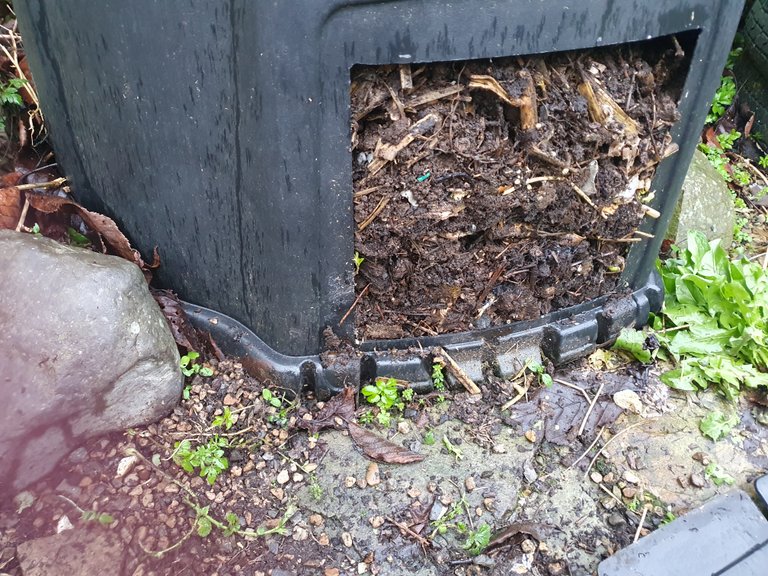
Having won the early skirmish in the war on weeds I added the spoils to the compost bin with our regular kitchen scraps and focussed on adding some more carbon layers in the form of shredded paper. I'd probably benefit from having another bin so I could give the material in there time to finish, however for now I'll continue to fill what I have and sieve out compost from the bottom as needed.
As I previously mentioned, my relative lack of activity through the winter left me with a lot of time to think and work out how I could squeeze more produce out of the space I have. My initial thought had been to create some more raised beds however, on reflection the financial outlay to buy in the timber and fill my large beds was not insignificant and I'd already utilised all of the offcuts to provide a secluded growing space for invasive mint plants.
The answer therefore had to be to increase the amount of container growing I can do beyond adding the odd repurposed one here and there. Through a little luck and a lot of help from the YouTube algorithm the solution became clear.
Source
Huw Richards is a content creator and now successful author that is definitely worth checking out. I've been following his channel 'Huw's Garden' since i started gardening and bought his first book 'Veg in One Bed' and I can honestly say his expertise has been invaluable. I am in no way affiliated but I'm sure he appreciates the support.
I realised that if I made a small investment now then I could get a lot more out of my garden and do it in a convenient and cost effective way. I shopped around online and managed to find a seller that sold stacks of 10 of the containers shown above for the very reasonable price of £35 including delivery to my door.
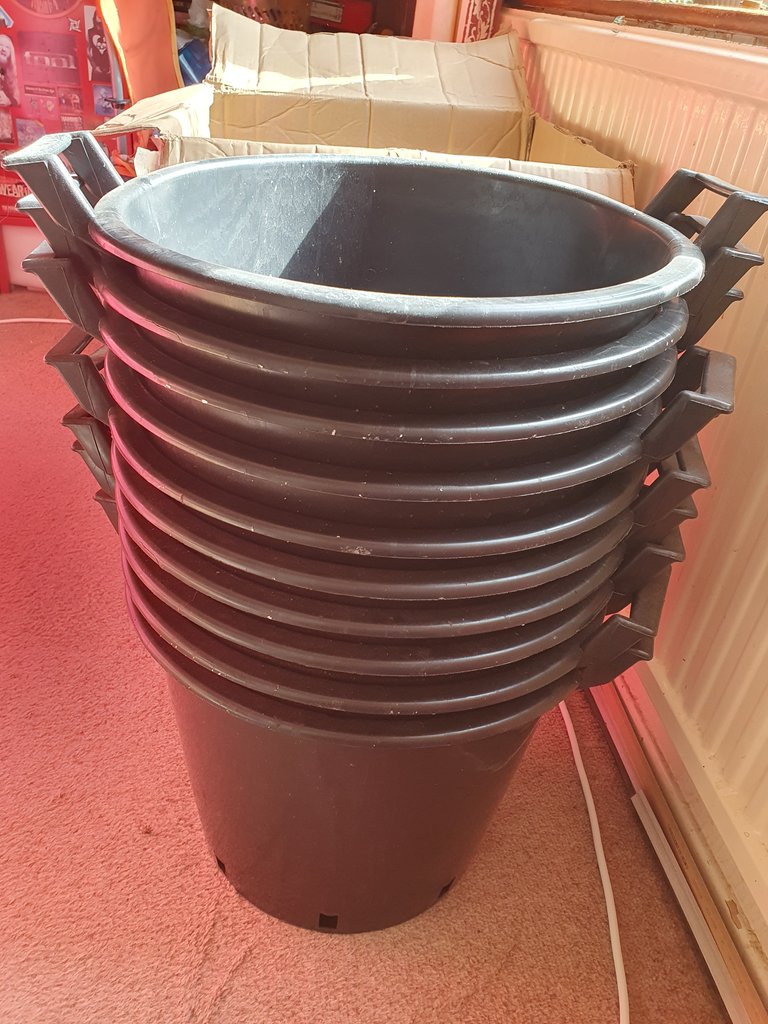
The tubs are made from a food safe plastic, contain plenty of drainage holes and are light but durable, as well as being easy to reposition and empty thanks to the handles.
After watching some more content from experienced growers I opted for the 30 litre tubs as they aren't too expensive to fill while being big enough for the majority of veg growing staples. I decided that I would use the bulk of my purchase for potatoes as it's something we use a lot of, being a family of 4. Based on some of the trials I had seen, the 30 litre containers should produce an average of 15 lbs of tubers each. These estimates persuaded me that it's time to get serious about my potato potential so I ordered some 'Red Duke of York' seed potatoes and began to clear the area in which I would situate my new containers.
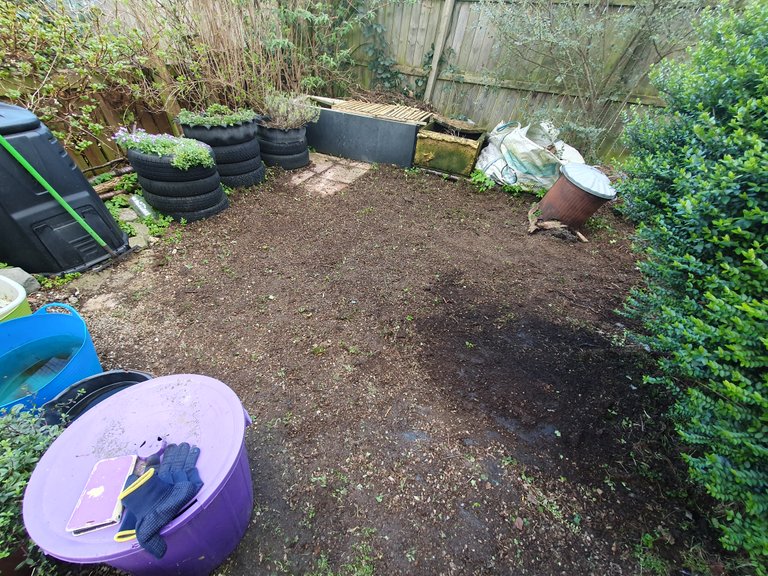
This area in the centre of my back garden has been somewhat neglected over the past couple of years and a lot of weeds and wildflowers such as Dandelions and Cleavers (sticky weeds). It took me a few hours to rake all of the roots out of the gravel but we had a couple of sunny days this week so I was happy to be doing something useful in the fresh air.
As things stand I have started off many seedlings indoors and a few hardy varieties outdoors too but that's something for a future post. I covered the area above in a layer of cardboard to prevent any weeds from growing back and got my tubs outside to hold the cardboard down until it gets damp. Now, I wait. The seed potatoes have been sent out from the seller up in Scotland and should be here in a few days and it'll be all action again. Until then, that's all from me. Thank you very much if you managed to stick with me this far. I'll hopefully be back in the not to distant future with some thriving plants to report on.
*All photographs in this post are my own and may be used without credit.


Hi @brucegryllis, Thank you for participating in the #teamuk curated tag. We have upvoted your quality content. For more information visit our discord https://discord.gg/8CVx2Am
Very nice! I've been doing a bucket garden off and on for a while now an the biggest thing is you need to give the roots room to grow. If you put it in too small of a container, you can run into issues. They also need a lot more water because the water in the container dries out and drains away quickly. I wish you the best of luck!
Thanks for the advice Bozz. I think I'm going to mulch the containers with straw or grass clippings to help reduce water loss. Should help with evaporation as well as holding some water that will leech in to the compost when it gets dry.
Sounds like a solid plan! I use 5 gallon buckets, but I fully cut the bottom out. Then I fill it with topsoil. If you don't have many flowers around I would also plant some of those to bring in the pollinators. I had to hand pollinate my zucchini plants one year with a paintbrush.
Those are 8 gallon. Yeah thankfully we have some heavy flowering bushes on the borders but I've started off some marigolds and nasturtiums in the house already that I'm going to use for interplanting. I've not tried zucchini yet, do you do them in a greenhouse?
No, I just let them grow out in my small raised bed. If you do it right you should have more than you need all summer with just a few plants.
Really cool informative and interesting blog. I also like gardening!

Thank you very much for stopping by and glad you found it informative!
!HUESO
Click on this banner, to be directed to the Virtual World Discord and learn more about the curation project.
!PIZZA
I liked there... 👍
Congratulations @brucegryllis! You have completed the following achievement on the Hive blockchain And have been rewarded with New badge(s)
Your next target is to reach 3000 upvotes.
You can view your badges on your board and compare yourself to others in the Ranking
If you no longer want to receive notifications, reply to this comment with the word
STOP