Hello dear Hivers!
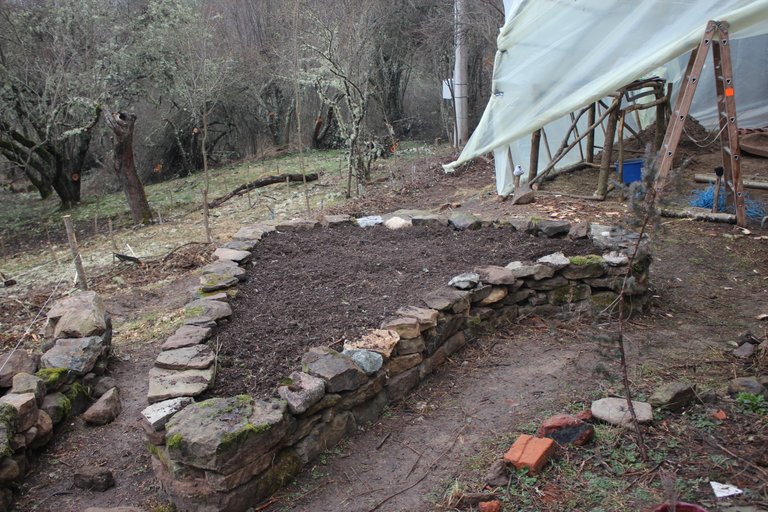
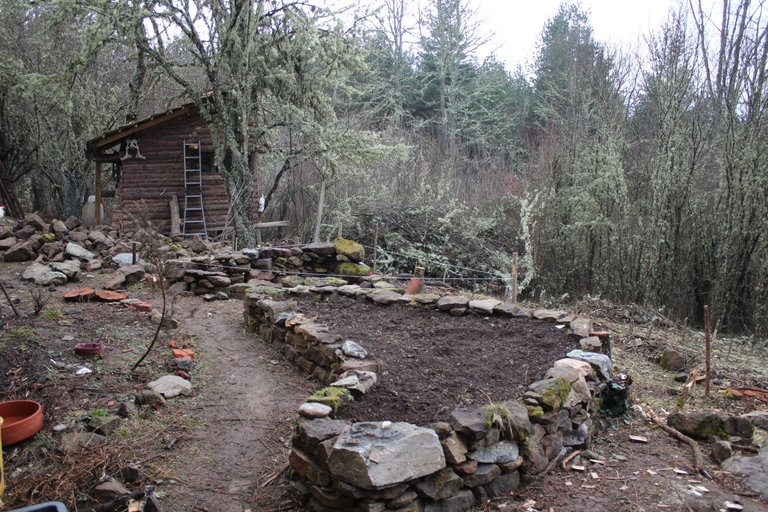
Today I'm sharing our experience of building raised beds with dry stone walls.
This is our first (almost) spring on our property, the Maha Mahalla on @thepromisedland. We aim to produce most of our food by ourselves, so we need to provide sufficient growing spaces for all the veggies we will need to feed us - not just during the growing season, but also after, when the fields are empty and covered in snow.
We are most blessed with the fact that @thepromisedland provides us with more area suitable for cultivation that four hands could possibly manage. This gives us the freedom to experiment with the availabe spaces and takes away the pressure of needing to make the very best out of each cm² of land.
Also this leaves us range to implement esthetic features that might be not the most productive in terms of food production, but give a character to the space and with their appearance can spread a more harmonic atmosphere than just rows of vegetables all over the place. Kind of soul-food.
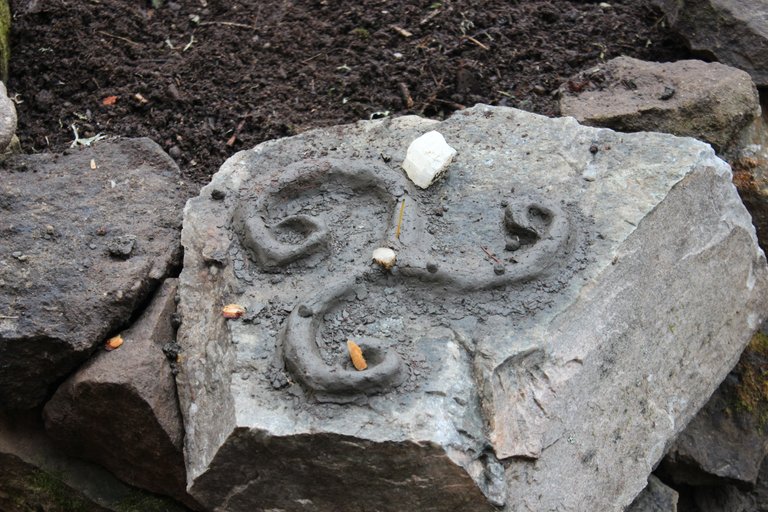
If there is any kind of structure planned to be build, we first like to sit back and think which materials are possible to be used and what is already available. As @thepromisedland beautifully showed us in this post (https://peakd.com/@thepromisedland/flowing-in-nature-s-cycle), we discovered a ruin close to our house with an abundance of beautiful rocks covered in moss. - The universe provided us the needed materials, we just had to grab them!
Having transported many loads of them with buckets and a wheelbarrel to the garden, the construction process could begin.
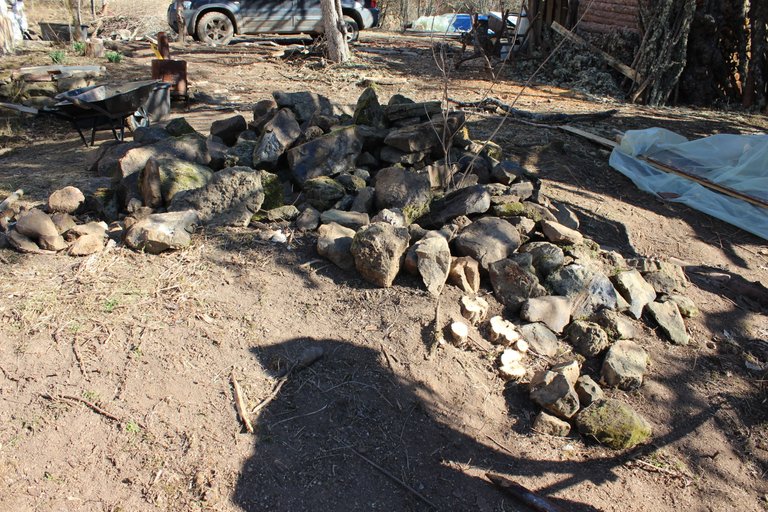
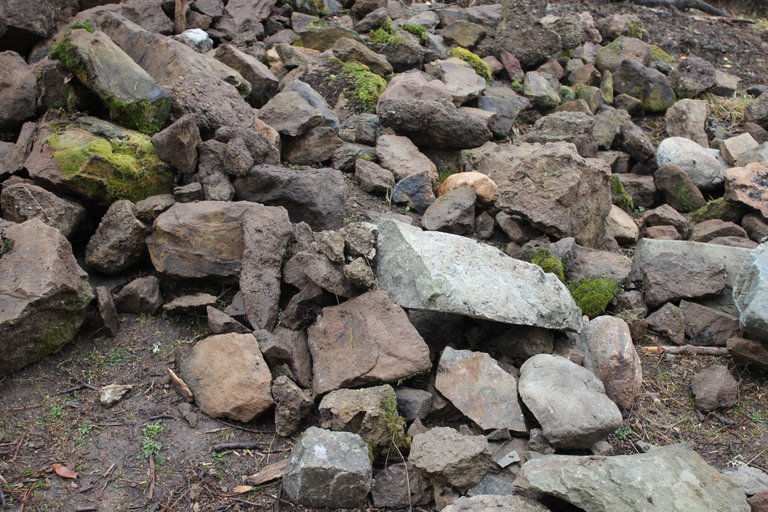
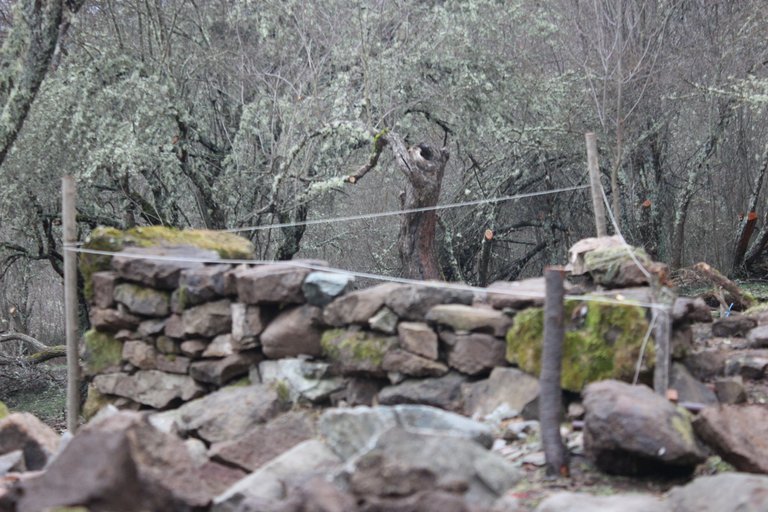
First it was needed to mark the area the raised beds should be built. For this we used wooden posts and connected them with a string to find a level line.
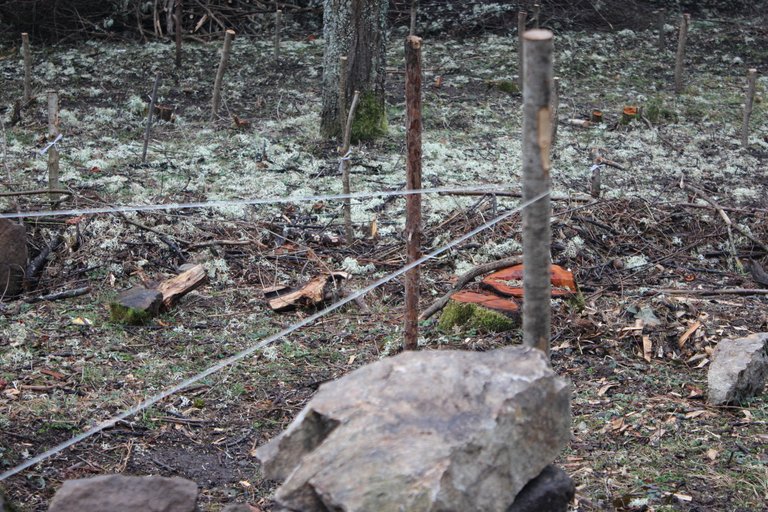
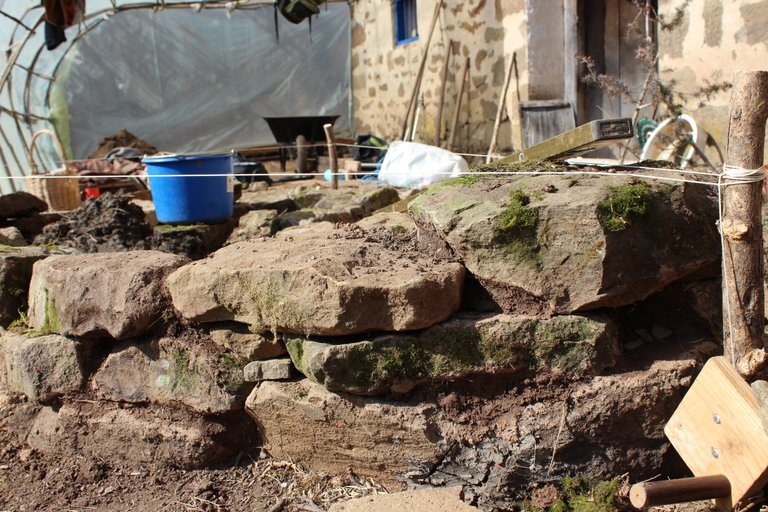
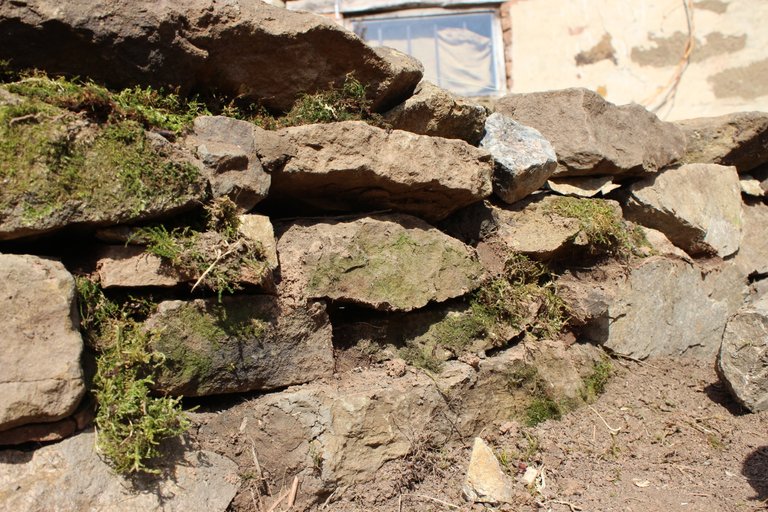
A quite important thing to focus at is the stability of the foundation of the lowest row of rocks holding and stabilizing the whole structure. To secure this lowest row we simply dug the print of the rock a few cm deep in the ground and made sure they are in a strong connection (e.g. locked in, be flush) with the rocks to their left/right. Once we made it all along the marked string and close the circle, we got a good first view of what the raised bed may look like. Having so much choice of rocks and spots where to put them made it actually quite simple to find a fitting stone for every spot. I realised after a few hours of searching and finding the suitable rock that for me this work is a very intuitive process with thinking rather happening in the background (Of course everything should be about level and the corners built strong).
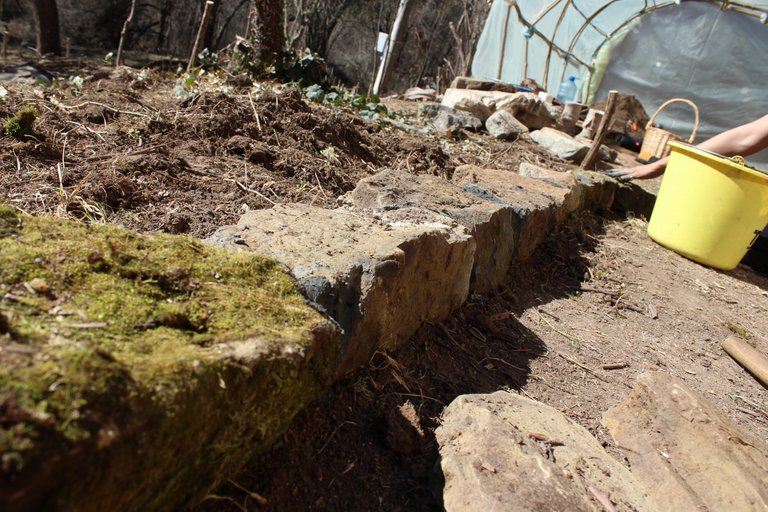
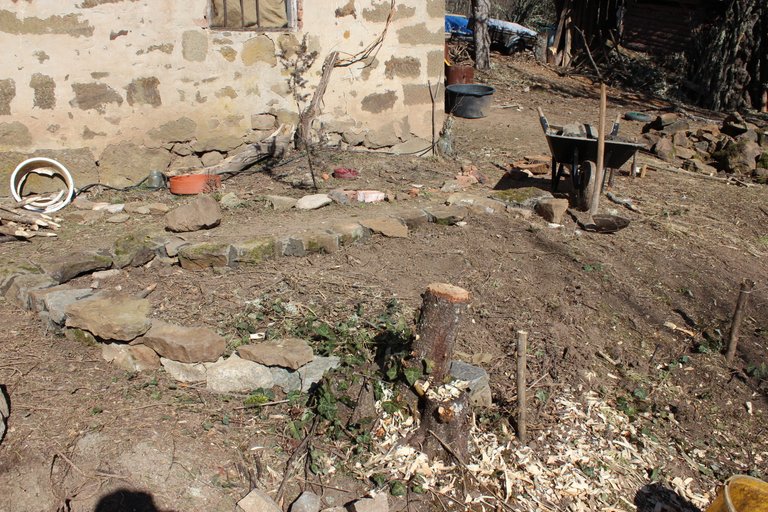
Some advises I can give to the one who intends to build a dry stone wall similar to what we did here are:
- Build the foundation as strong as possible, using rather big rocks
- Like with bricklaying it is advised to place the rocks in a "T-crossing" meaning the center of the rock placed on top of two rocks should be at the point where these two lower stones are touching each other.
- If a rock does not sit stable on it's place, help yourself with small stones that you can shuff under the corners to lock the rock
- Using the biggest rocks available to you for the corners adds another extra of stability to the wohle structure
- For longevity and additional useability of the wall it is nice to finish the top row with long and flat rocks that cross over several rock connections below. That gives stability and provides a nice space for sitting down and having a break.
Here a few more examples and insights in the work:
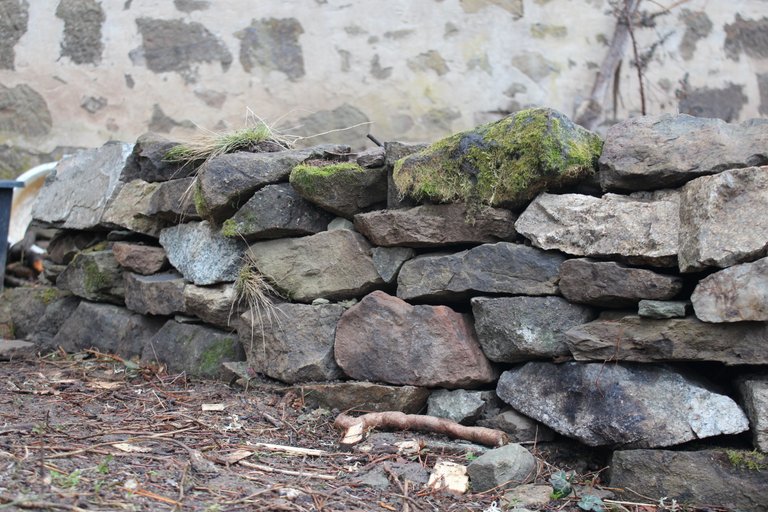
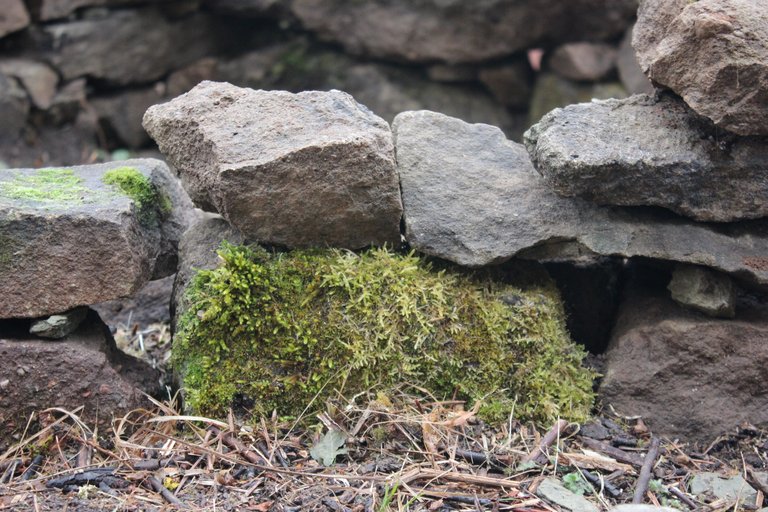
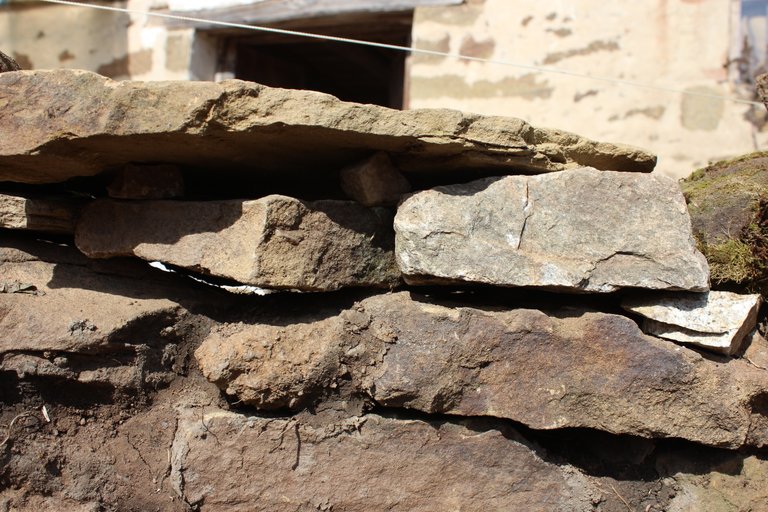
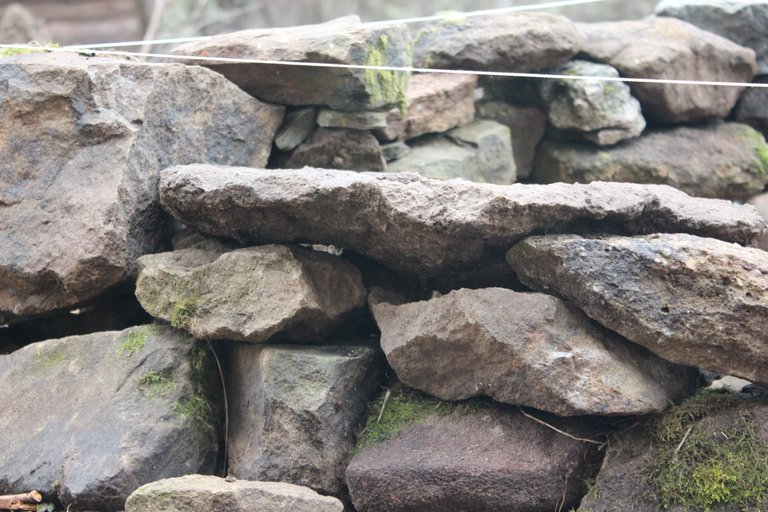
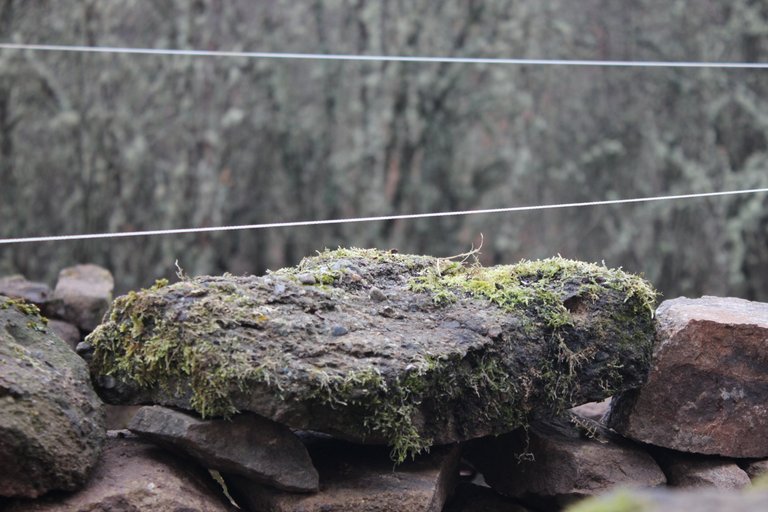
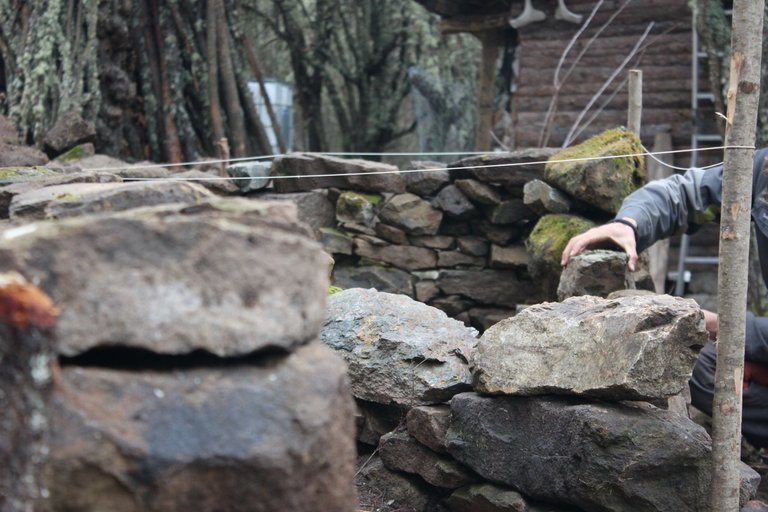
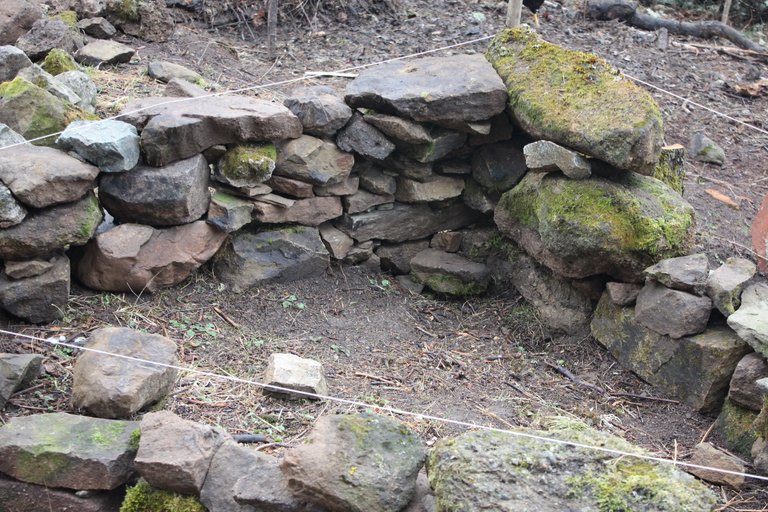
Please note that I am no professional in what I'm doing and just sharing own experiences and experiments. Would such a way of building walls create enough stability to carry a roof? - I would say yes, for how long is questionable though.
Enough about rocks for today...
Thank you everybody for your time. I appreciate any comments, suggetions and questions that may come up.
Til the next project, M.M.
What a beautiful creation ❤️🌈
You are a master🌻
Thank you dear😊
We are all masters and students 🕉
Congratulations @maha.mahalla! You have completed the following achievement on the Hive blockchain And have been rewarded with New badge(s)
Your next target is to reach 50 upvotes.
You can view your badges on your board and compare yourself to others in the Ranking
If you no longer want to receive notifications, reply to this comment with the word
STOPCheck out our last posts:
Support the HiveBuzz project. Vote for our proposal!
Awesome, I love this mindset;
And since the Universe favors courage, of course it provided 🙏💚
Thank you for showing your journey, looking forward to see how you make this place into your kind of Sanctuary 🌱
Thanks for the heads up! :)
If we change the way we look at things we will see that the possibilities are limitless. A few years ago I most likely would have been going to the next material shop to buy expensive wooden planks that wouldn't last half the time.
I'm amazed by the interest and support from so many here. This motivates to share more and let you all be part of the transformation happening here.