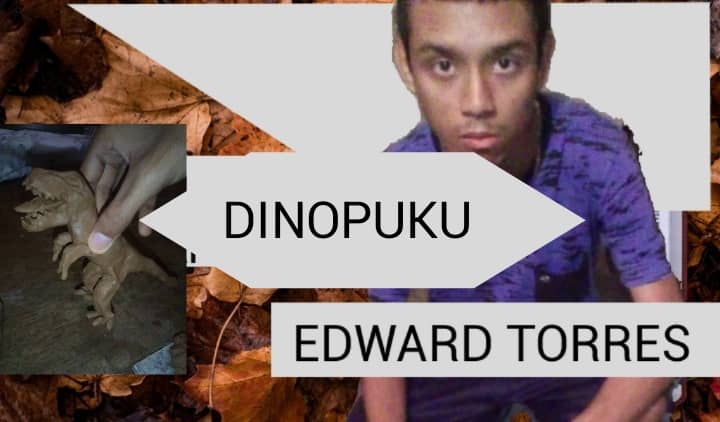
source foto tomada con mi celular y editada en paint
El enlase de este concurso podemos observarlo aquí https://hive.blog/hive-142415/@nahupuku/my-dinopuku-entry-for-cbrs-infographic-contest-hive-142415
Hay que tener en cuenta que recrear un dinosaurio en Arcilla es algo complicado ya que la cabeza y su cuerpo así como las extremidades son muy particulares.
Aquí podemos observar el proceso creativo en el cual me base para intentar crear un dinosaurio de Arcilla https://hive.blog/hive-142415/@nahupuku/dinopuku-algunos-artes-ai
Antes de continuar quiero agradecer por los materiales al vecino Miguel que me facilito la arcilla, esta la consiguió en un terreo arcilloso serca de la comunidad
Para comenzar a hacer este dinosaurio llamado DINOPUKU Comenzare con obtener una arcilla que tenga textura como plastilina ya que si esta muy seca se cuartea la misma, y si esta muy aguada las piesas no se podran sostener, por que la idea es que la piesa luego de seca pueda sostenerse de pie.
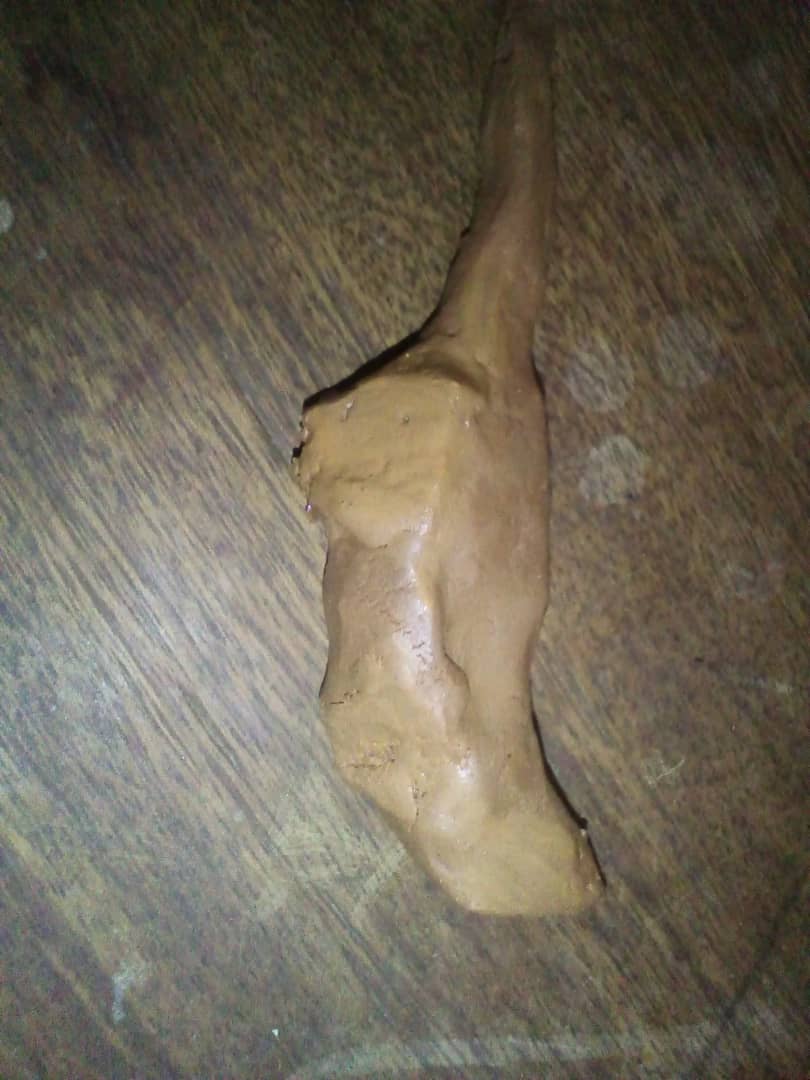
- Lo primero y las sencillo de hacer son las patas de arriba que son cortas que tienen que quedar algo como así.
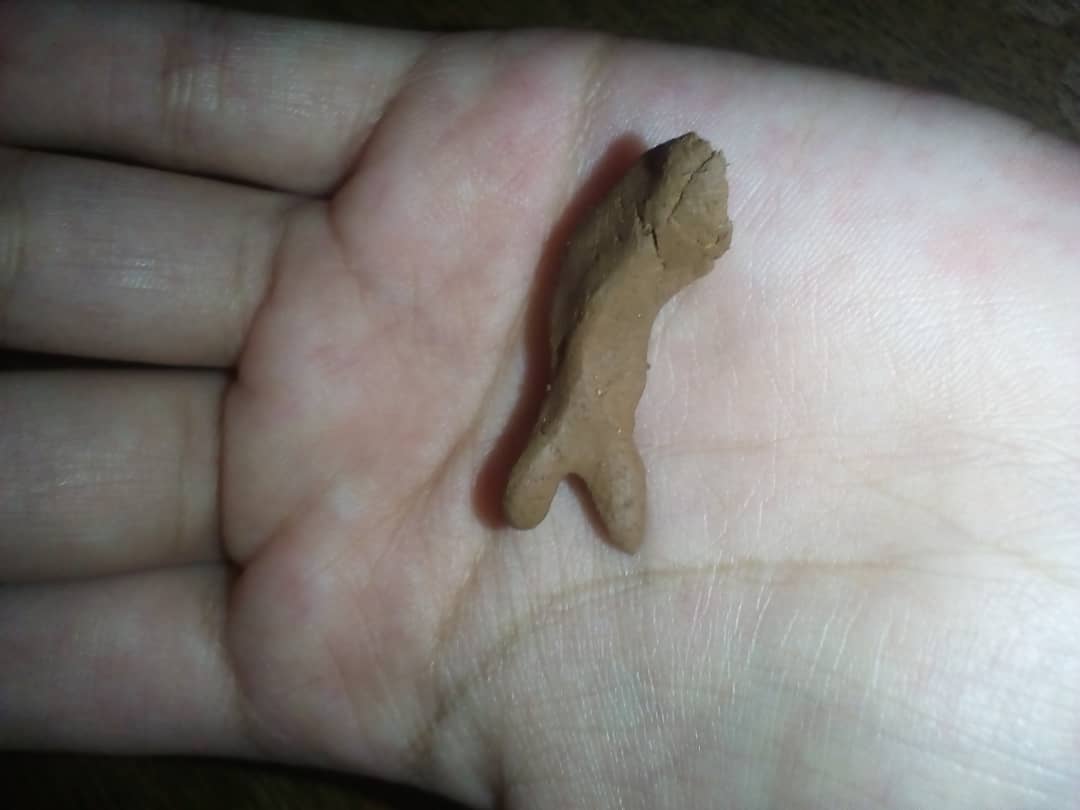
source foto tomada con mi celular y editada en paint
- Bueno ahora intentare hacer las patas que sostendrán toda la figura recomiendo que en su interior coloquen palillos para que cuando toda la mezcla se seque tenga una fuerza superior para soportar el peso de cuando tengamos la figura armada.
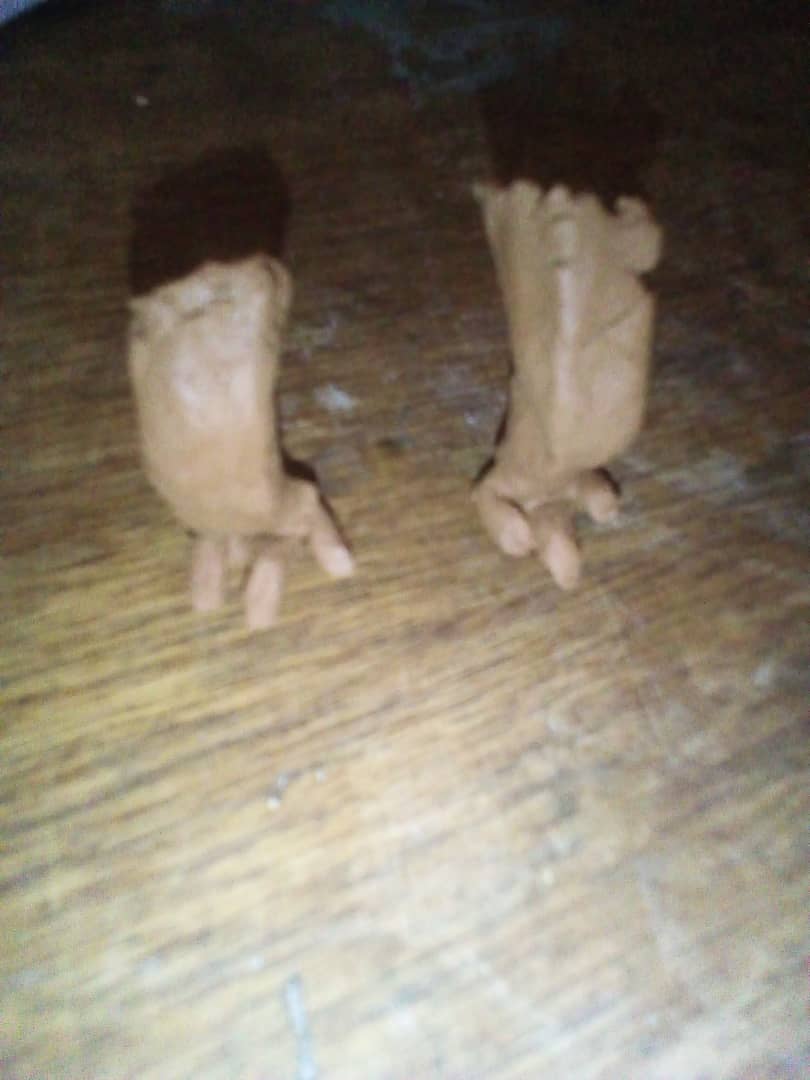
source foto tomada con mi celular y editada en paint
Recordemos que intento recrear el DinoPUKU rojo que sale en esta publicacion https://hive.blog/hive-142415/@nahupuku/dinopuku-otros-artes-ai-parte-2
- Ahora recreare la parte del cuerpo que es una de las importantes por que debe tener fuerza y estabilidad para sostener la cabeza y tener estabilidad
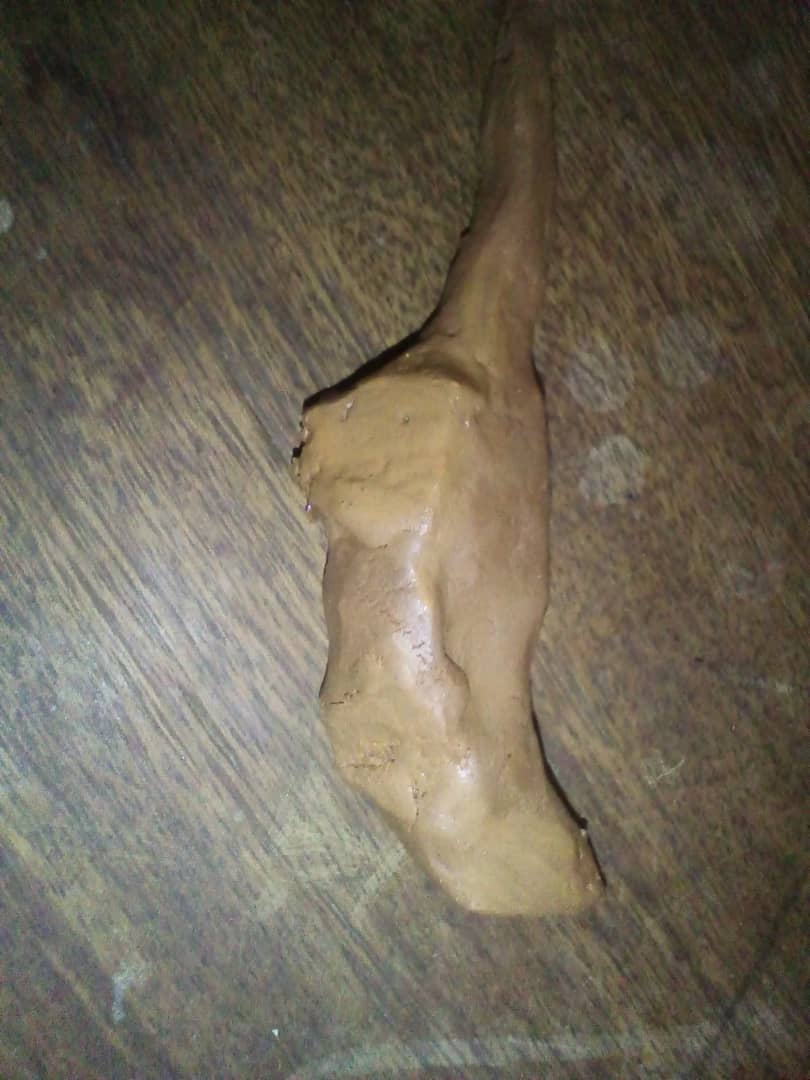
source foto tomada con mi celular y editada en paint
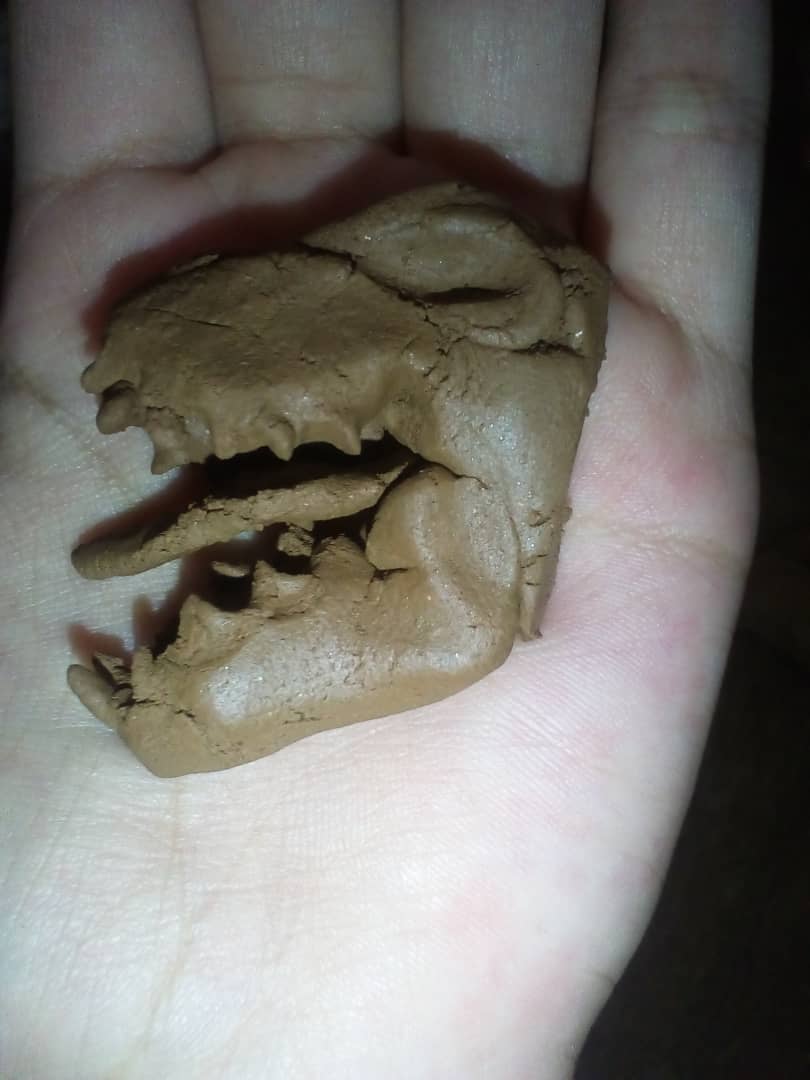
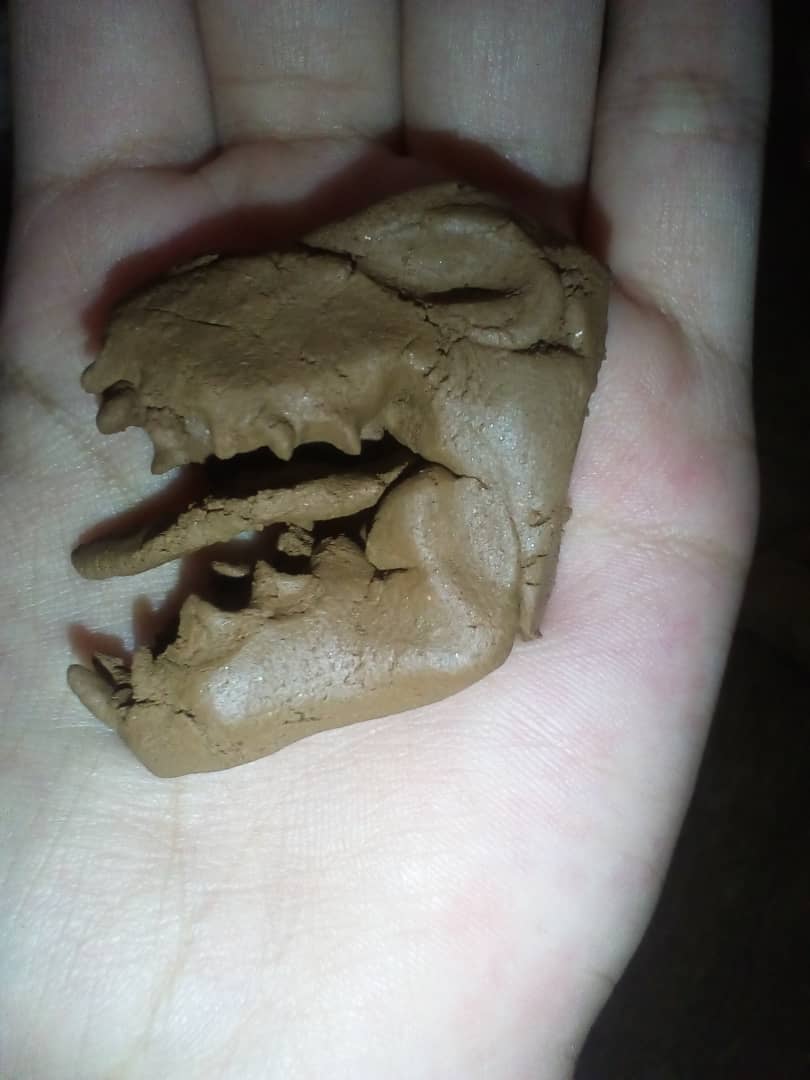
- LLego el momento de hacer la cabeza una parte de las mas difíciles por que tiene muchos detalles lo mejor que me quedo fue así.
source foto tomada con mi celular y editada en paint
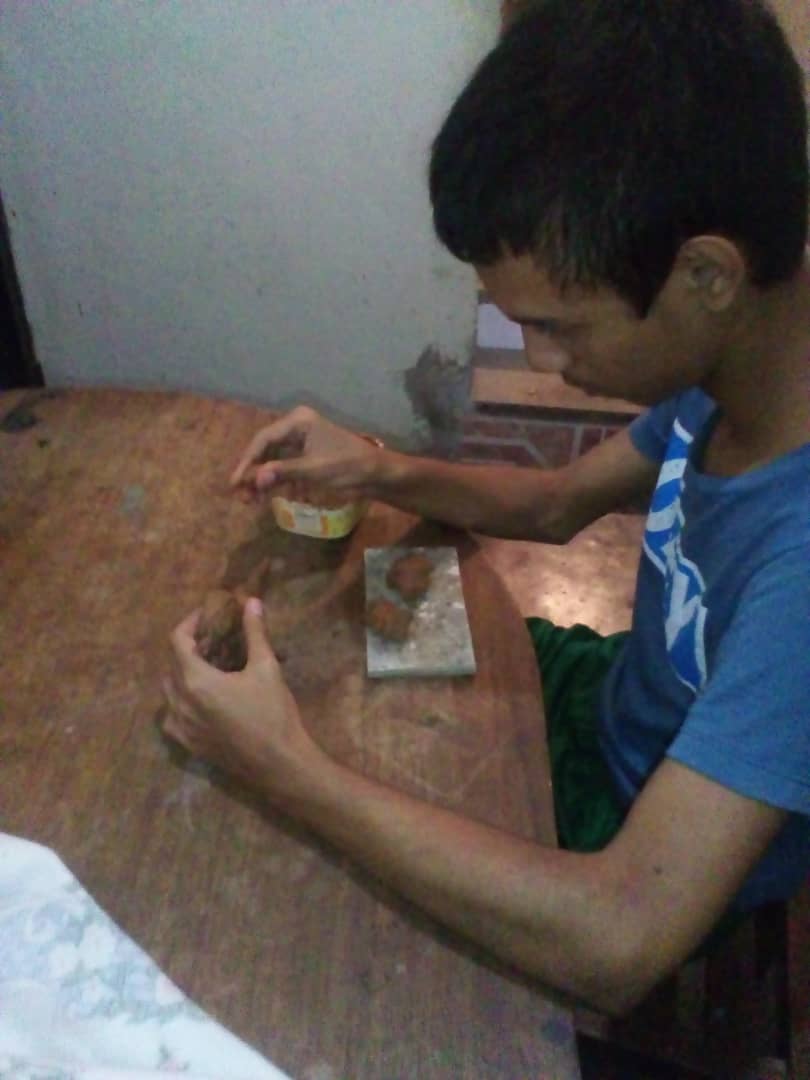
- Ensamblando todo para ver el resultado final
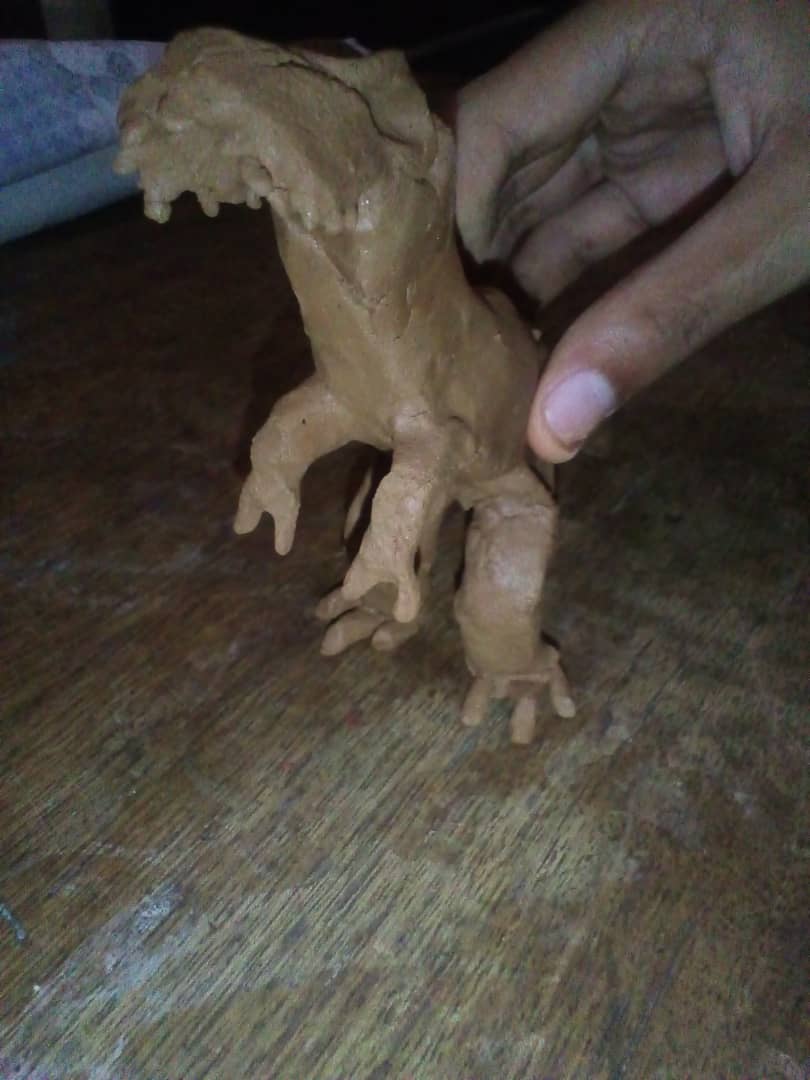
- Detalle final es que como tenia la arcilla muy aguada se le callo la mandíbula al dinosaurio jajaja observen
source foto tomada con mi celular y editada en paint
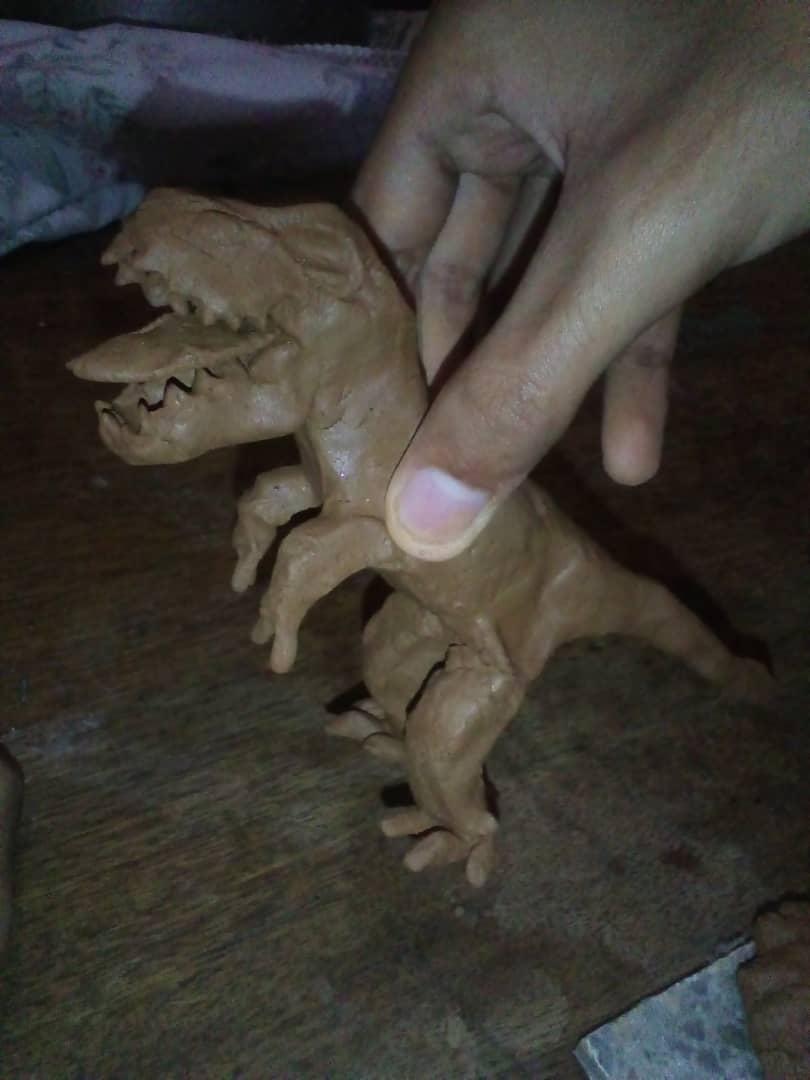
- bueno este es el resultado final espero que les haya gustado, saludos a todos
source foto tomada con mi celular y editada en paint
Gracias por ver mi post
source foto tomada con mi celular y editada en paint
Esta publicacion es apoyada por mi gato Domino si el me da su voto de aprobación por que no puedes hacerlo tu? jajaja saludos

ENG

source photo taken with my cell phone and edited in paint
The link to this contest can be seen here https://hive.blog/hive-142415/@nahupuku/my-dinopuku-entry-for-cbrs-infographic-contest-hive-142415
Keep in mind that recreating a dinosaur in clay is somewhat complicated since the head and body as well as the limbs are very particular.
Here we can observe the creative process on which I base myself to try to create a Clay dinosaur https://hive.blog/hive-142415/@nahupuku/dinopuku-algunos-artes-ai
Before continuing, I want to thank neighbor Miguel for the materials, who provided me with the clay, he got it in a clayey field near the community.
To start making this dinosaur called DINOPUKU I will start with obtaining a clay that has a texture like plasticine because if it is too dry it cracks, and if it is too watery the pieces will not be able to hold, because the idea is that the piece will be later dry it can stand up.
- The first and the easiest thing to do are the top legs that are short and have to be something like this.

source photo taken with my cell phone and edited in paint
- Well now I will try to make the legs that will support the whole figure, I recommend that you place toothpicks inside so that when the whole mixture dries it will have a superior strength to support the weight of when we have the figure armed.

source photo taken with my cell phone and edited in paint
Let's remember that I try to recreate the red DinoPUKU that appears in this publication https://hive.blog/hive-142415/@nahupuku/dinopuku-otros-artes-ai-parte-2
- Now I will recreate the part of the body that is one of the important ones because it must have strength and stability to support the head and have stability
source photo taken with my cell phone and edited in paint
- The time has come to make the head one of the most difficult parts because it has many details, the best thing that stayed with me was like this.
- Assembling everything to see the final result

source photo taken with my cell phone and edited in paint
- Final detail is that since the clay was very watery, the jaw of the dinosaur fell silent hahaha observe

source photo taken with my cell phone and edited in paint
- well this is the final result I hope you liked it, greetings to all

source photo taken with my cell phone and edited in paint
Thank you for viewing my post

source photo taken with my cell phone and edited in paint
This publication is supported by my cat Domino if he gives me the vote of approval of him why can't you do it? hahaha greetings
Super cool te quedó
Bueno realmente está iniciativa de la infografía era de otra comunidad de Holanda, la cual fue un concurso de infografías que culminó la semana pasada. Pero aún así está genial. Otro asunto. En la comunidad PukuMundo de lunes a viernes le damos prioridad a otro tipo de post: PukuConcurso de música rock la voz Cantante, canto a capella. Para que sepas para la próxima. Sábado y domingo son los días que puedes publicar este tipo de contenido! Un gran pukuabrazo y te quedó genial la pieza de arcilla.
gracias lo tomare en cuenta solo que como soy nuevo no sabia que los post ramdon eran solo los fines de semana pero gracias. yo me dedico a crear figuras asi por que me gusta los dinosaurios
Si no te preocupes
Igual me gustó mucho y te quedó bueno
Excelente que te haya gustado el dino entonces
Yo lo hice en 1995 jeje
Mano, que buena esta iniciativa que tuviste, te felicito.
Fuiste bastante creativo y de verdad que el resultado se parece bastante al Dinopuku original.
Muy bien!