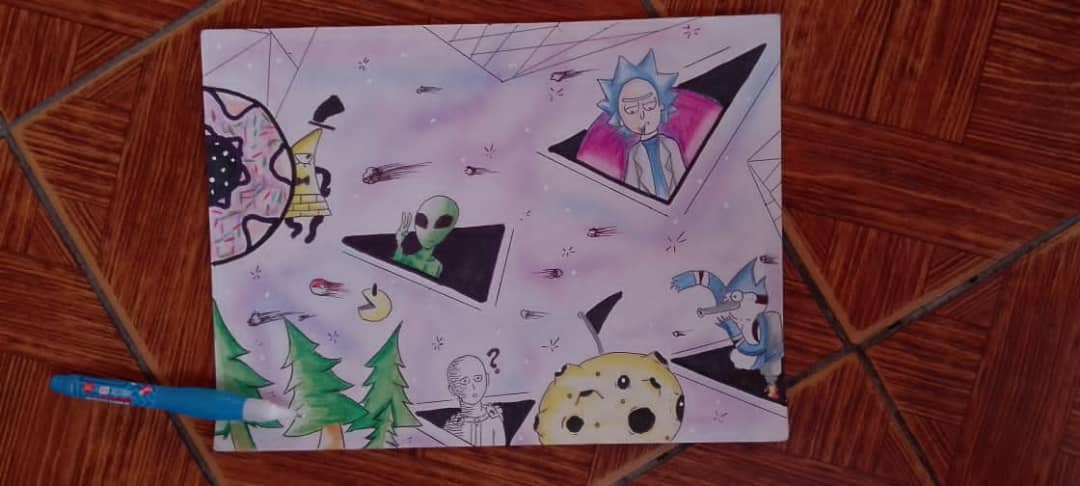
Hola amigos de Hive Diy espero que esten bien y tengan un buen inicio de semana, aquí les presento el paso a paso de como hacer un dibujo con Efecto Galaxia el cual lo podrían usar para cualquier creacion que quieran hacer espero les guste.
Hello friends of Hive Diy, I hope you are well and have a good start to the week, here I present the step by step of how to make a drawing with Galaxy Effect which you could use for any creation.
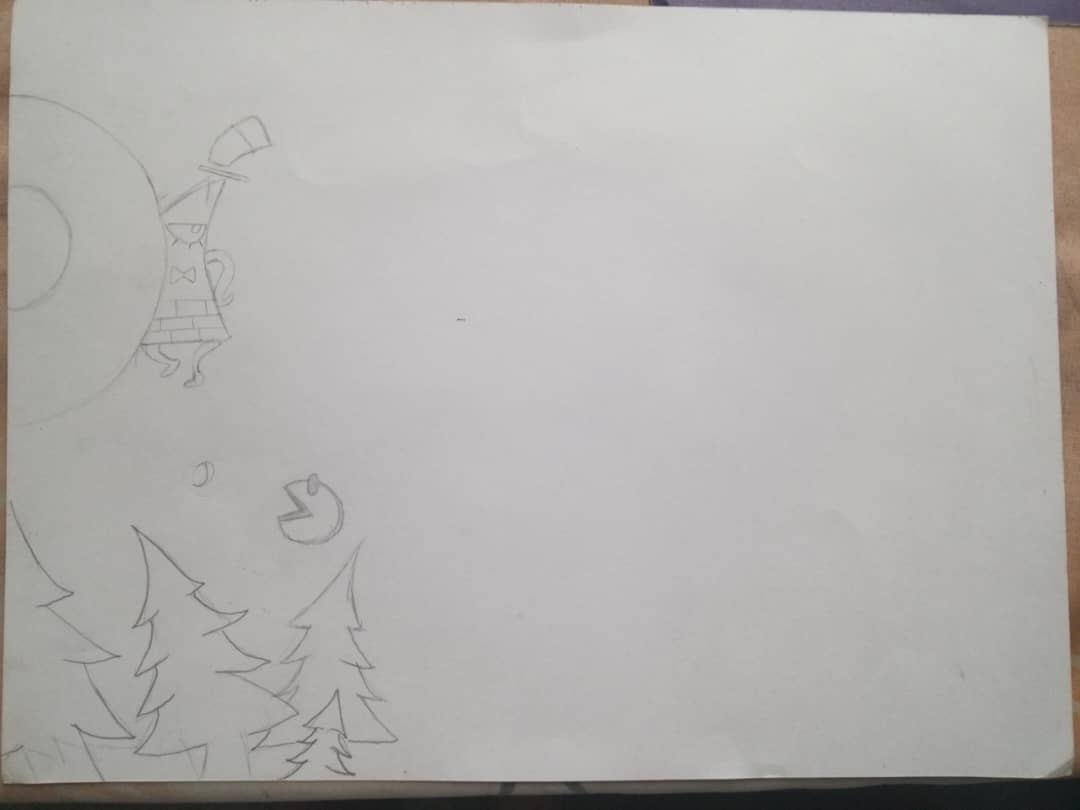
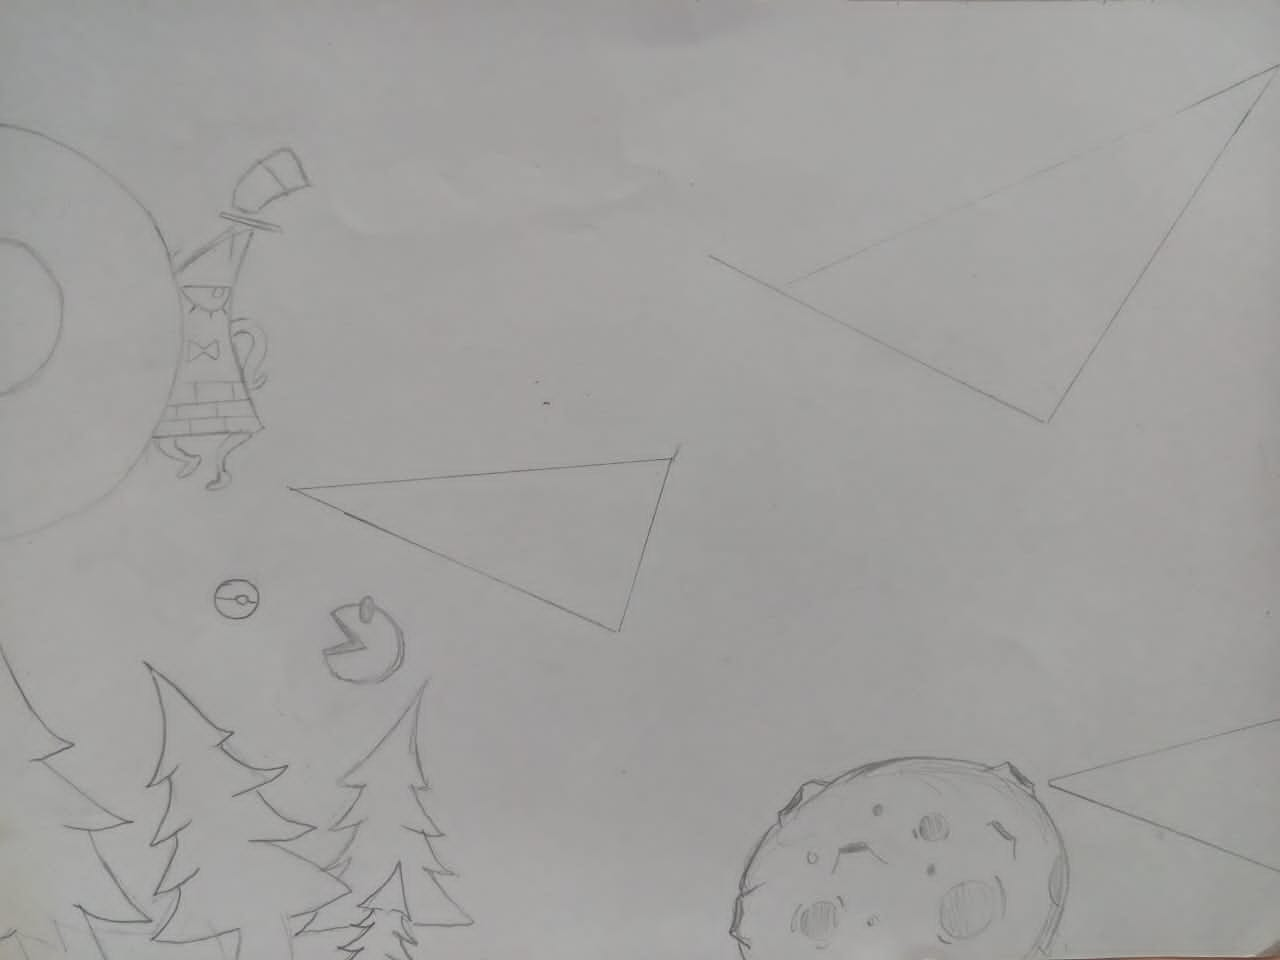
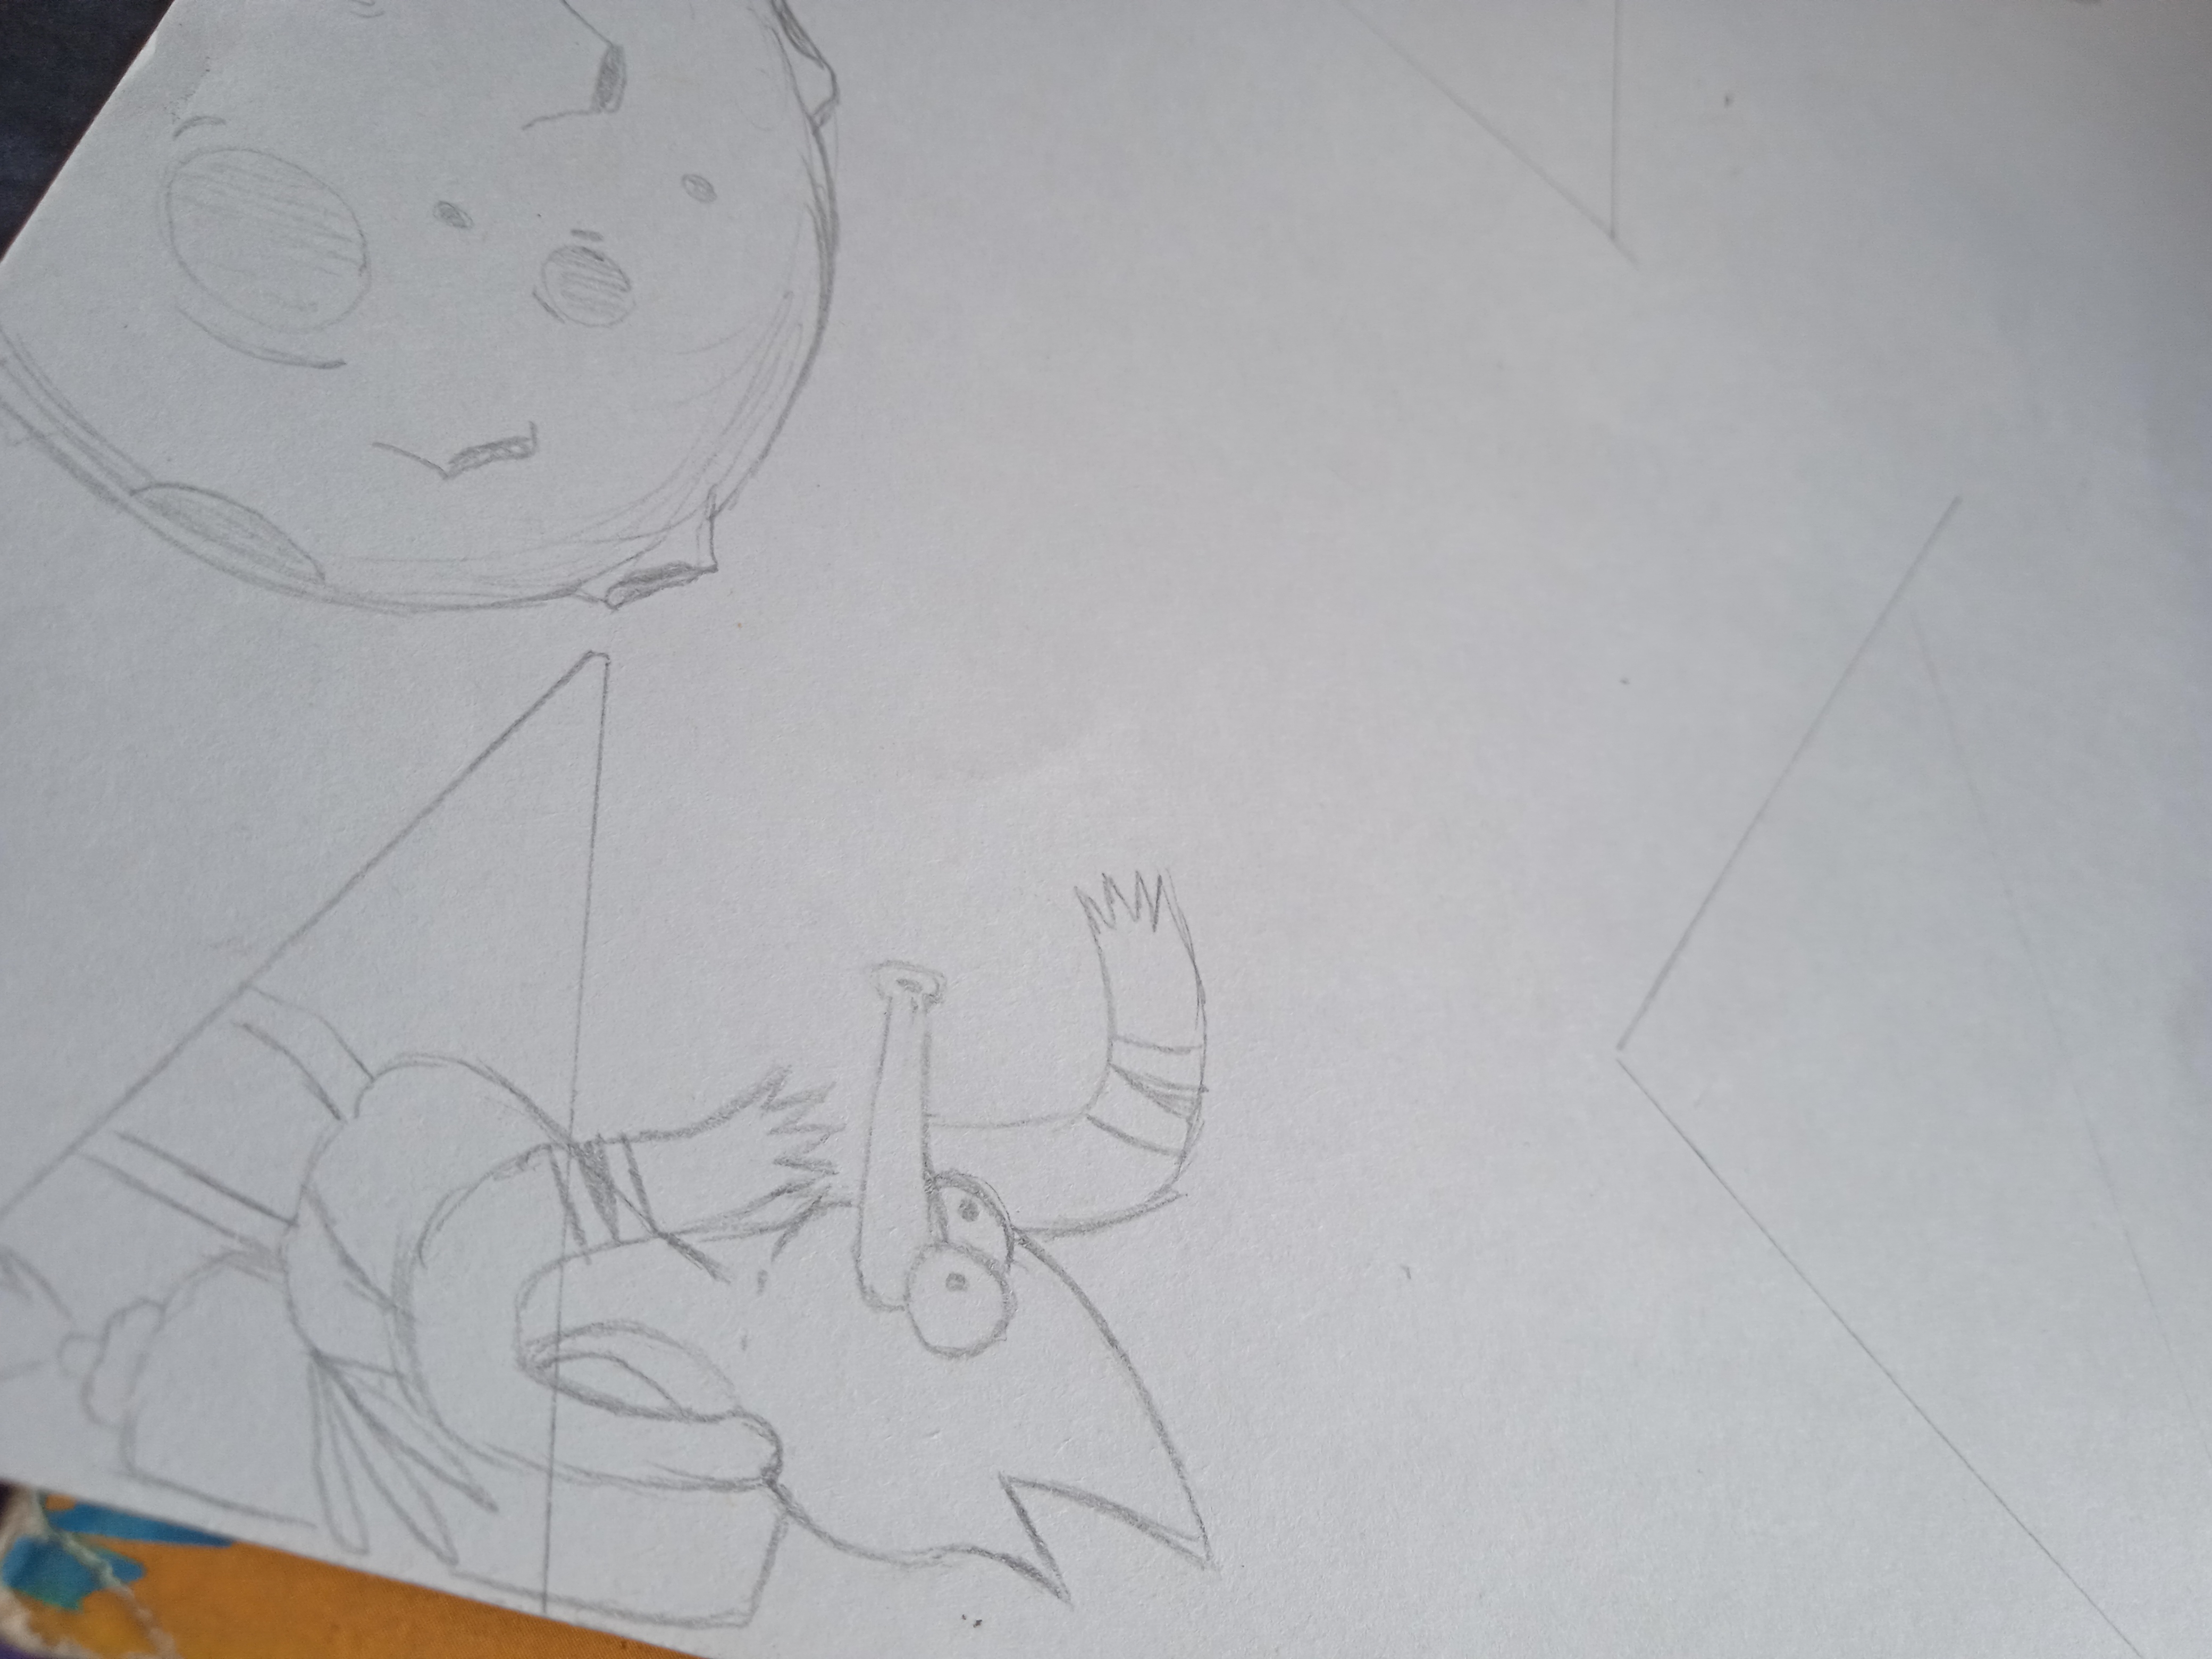
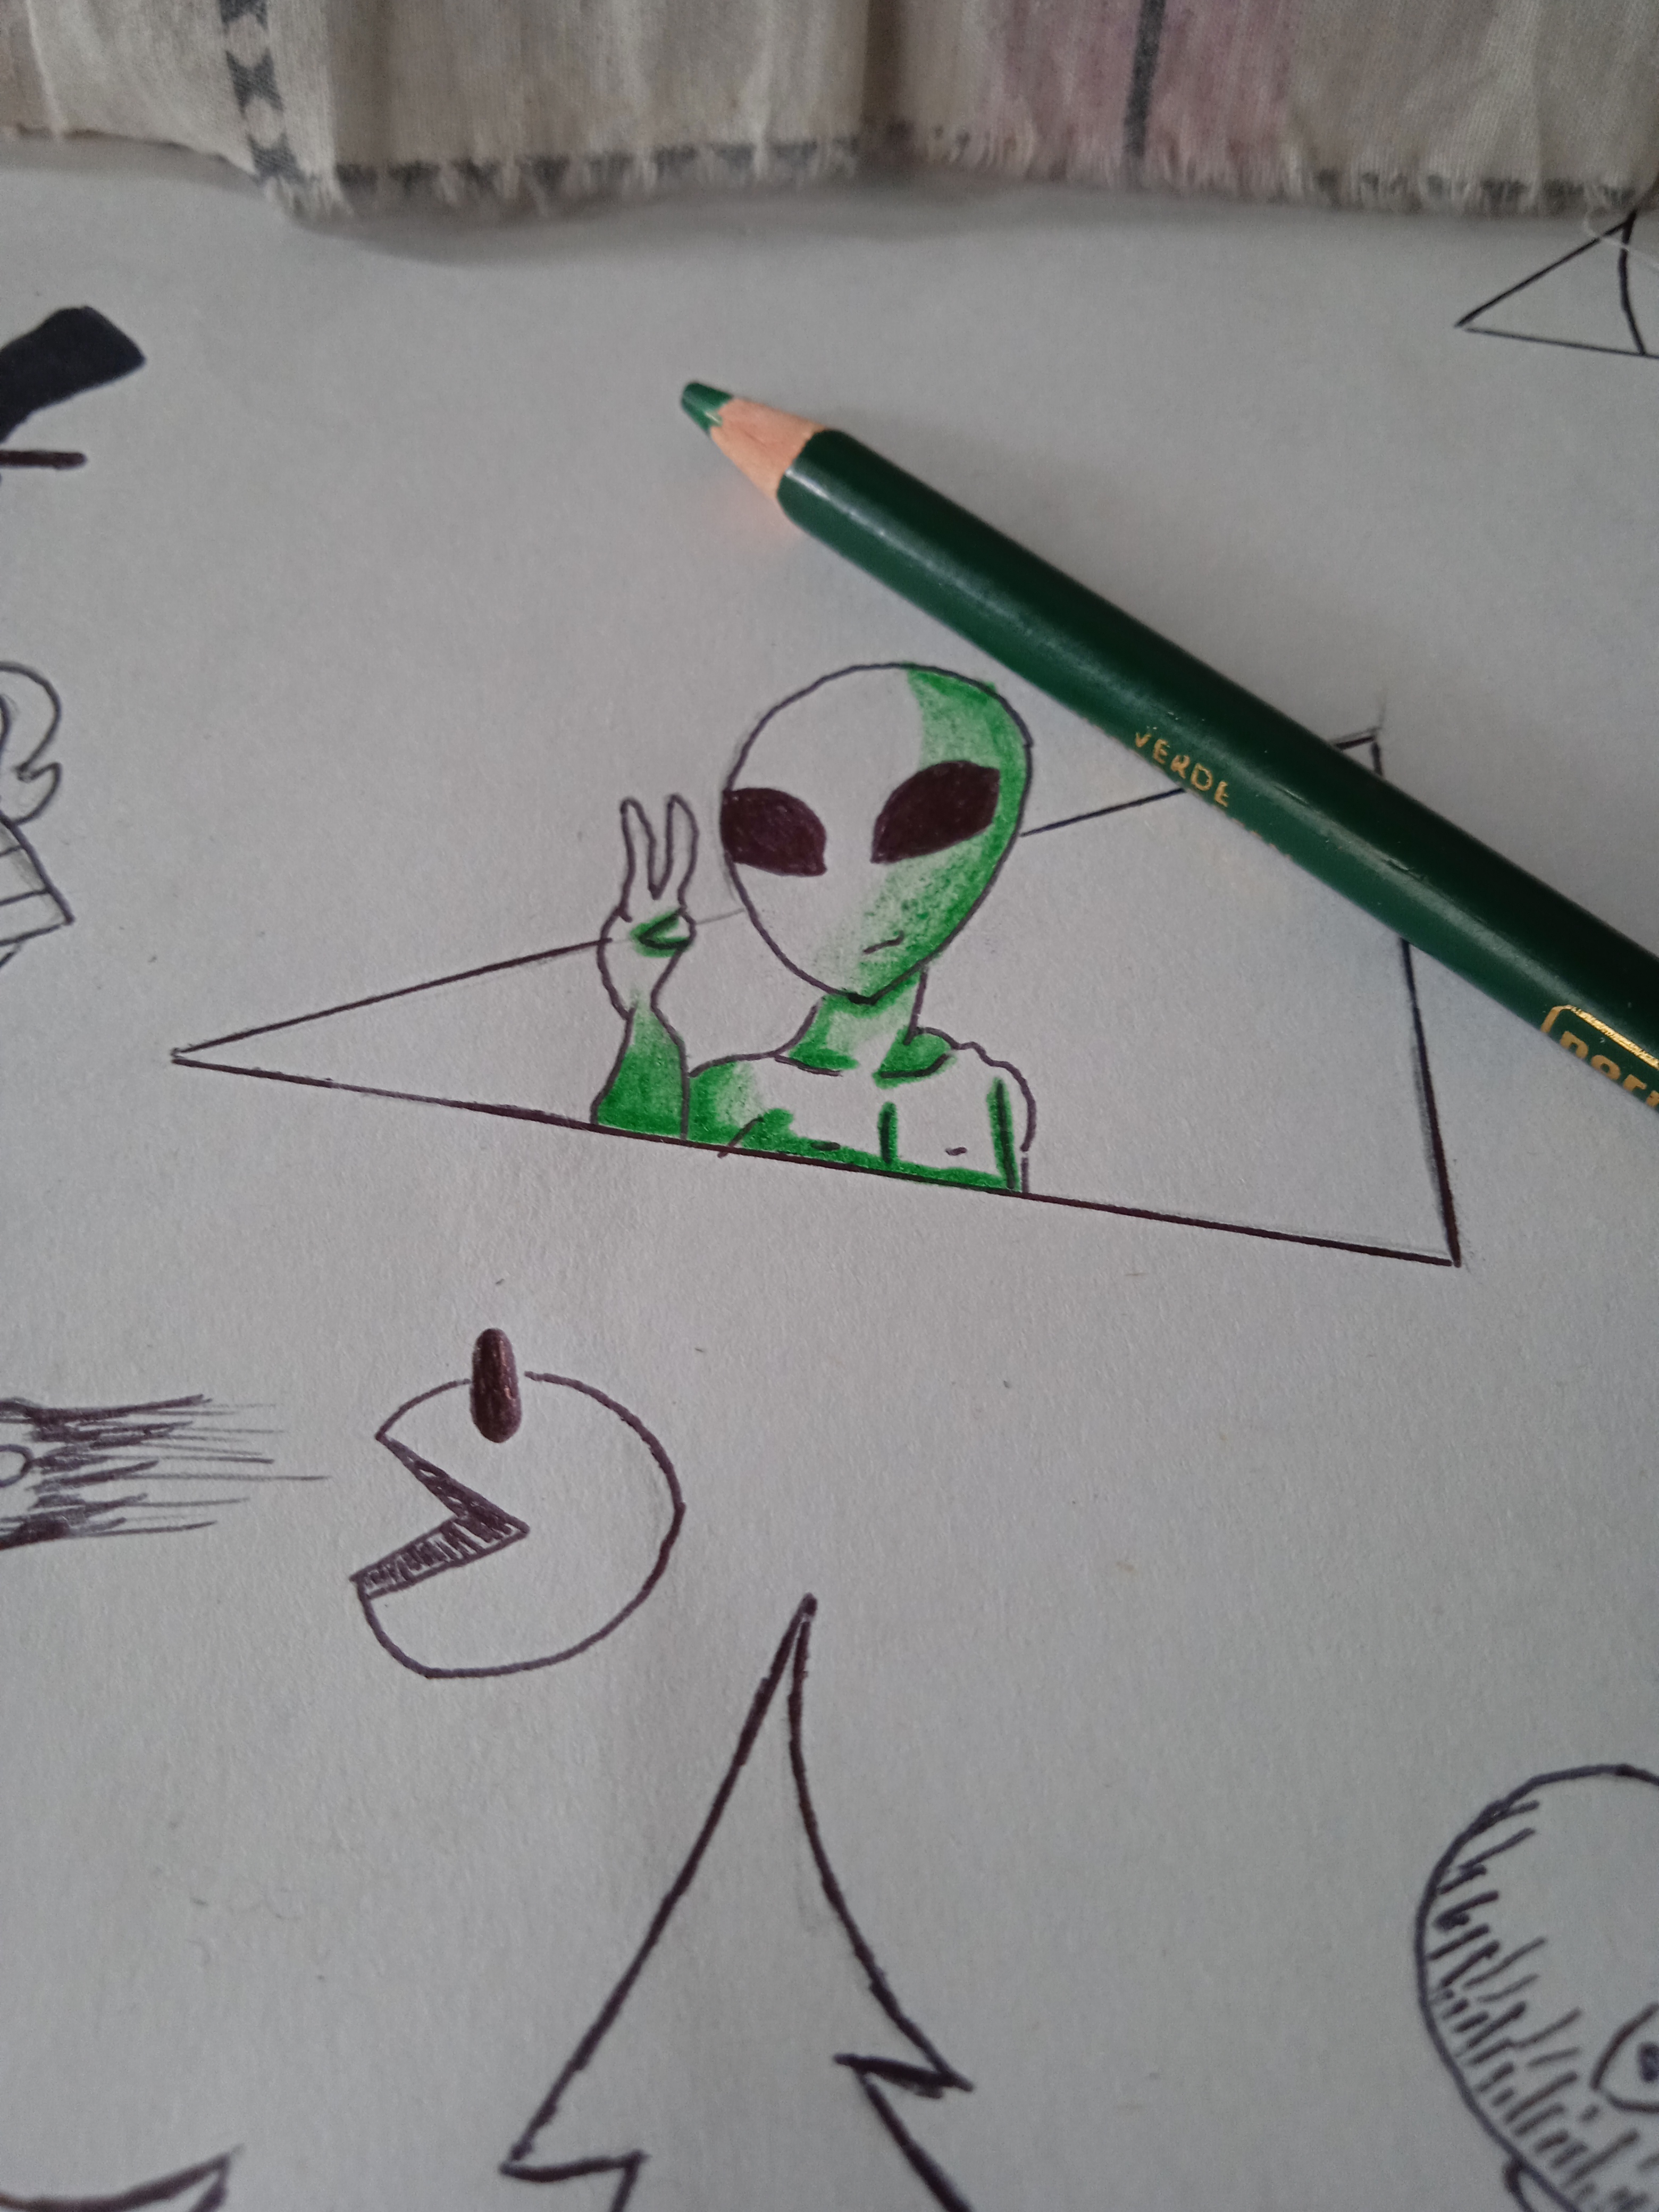
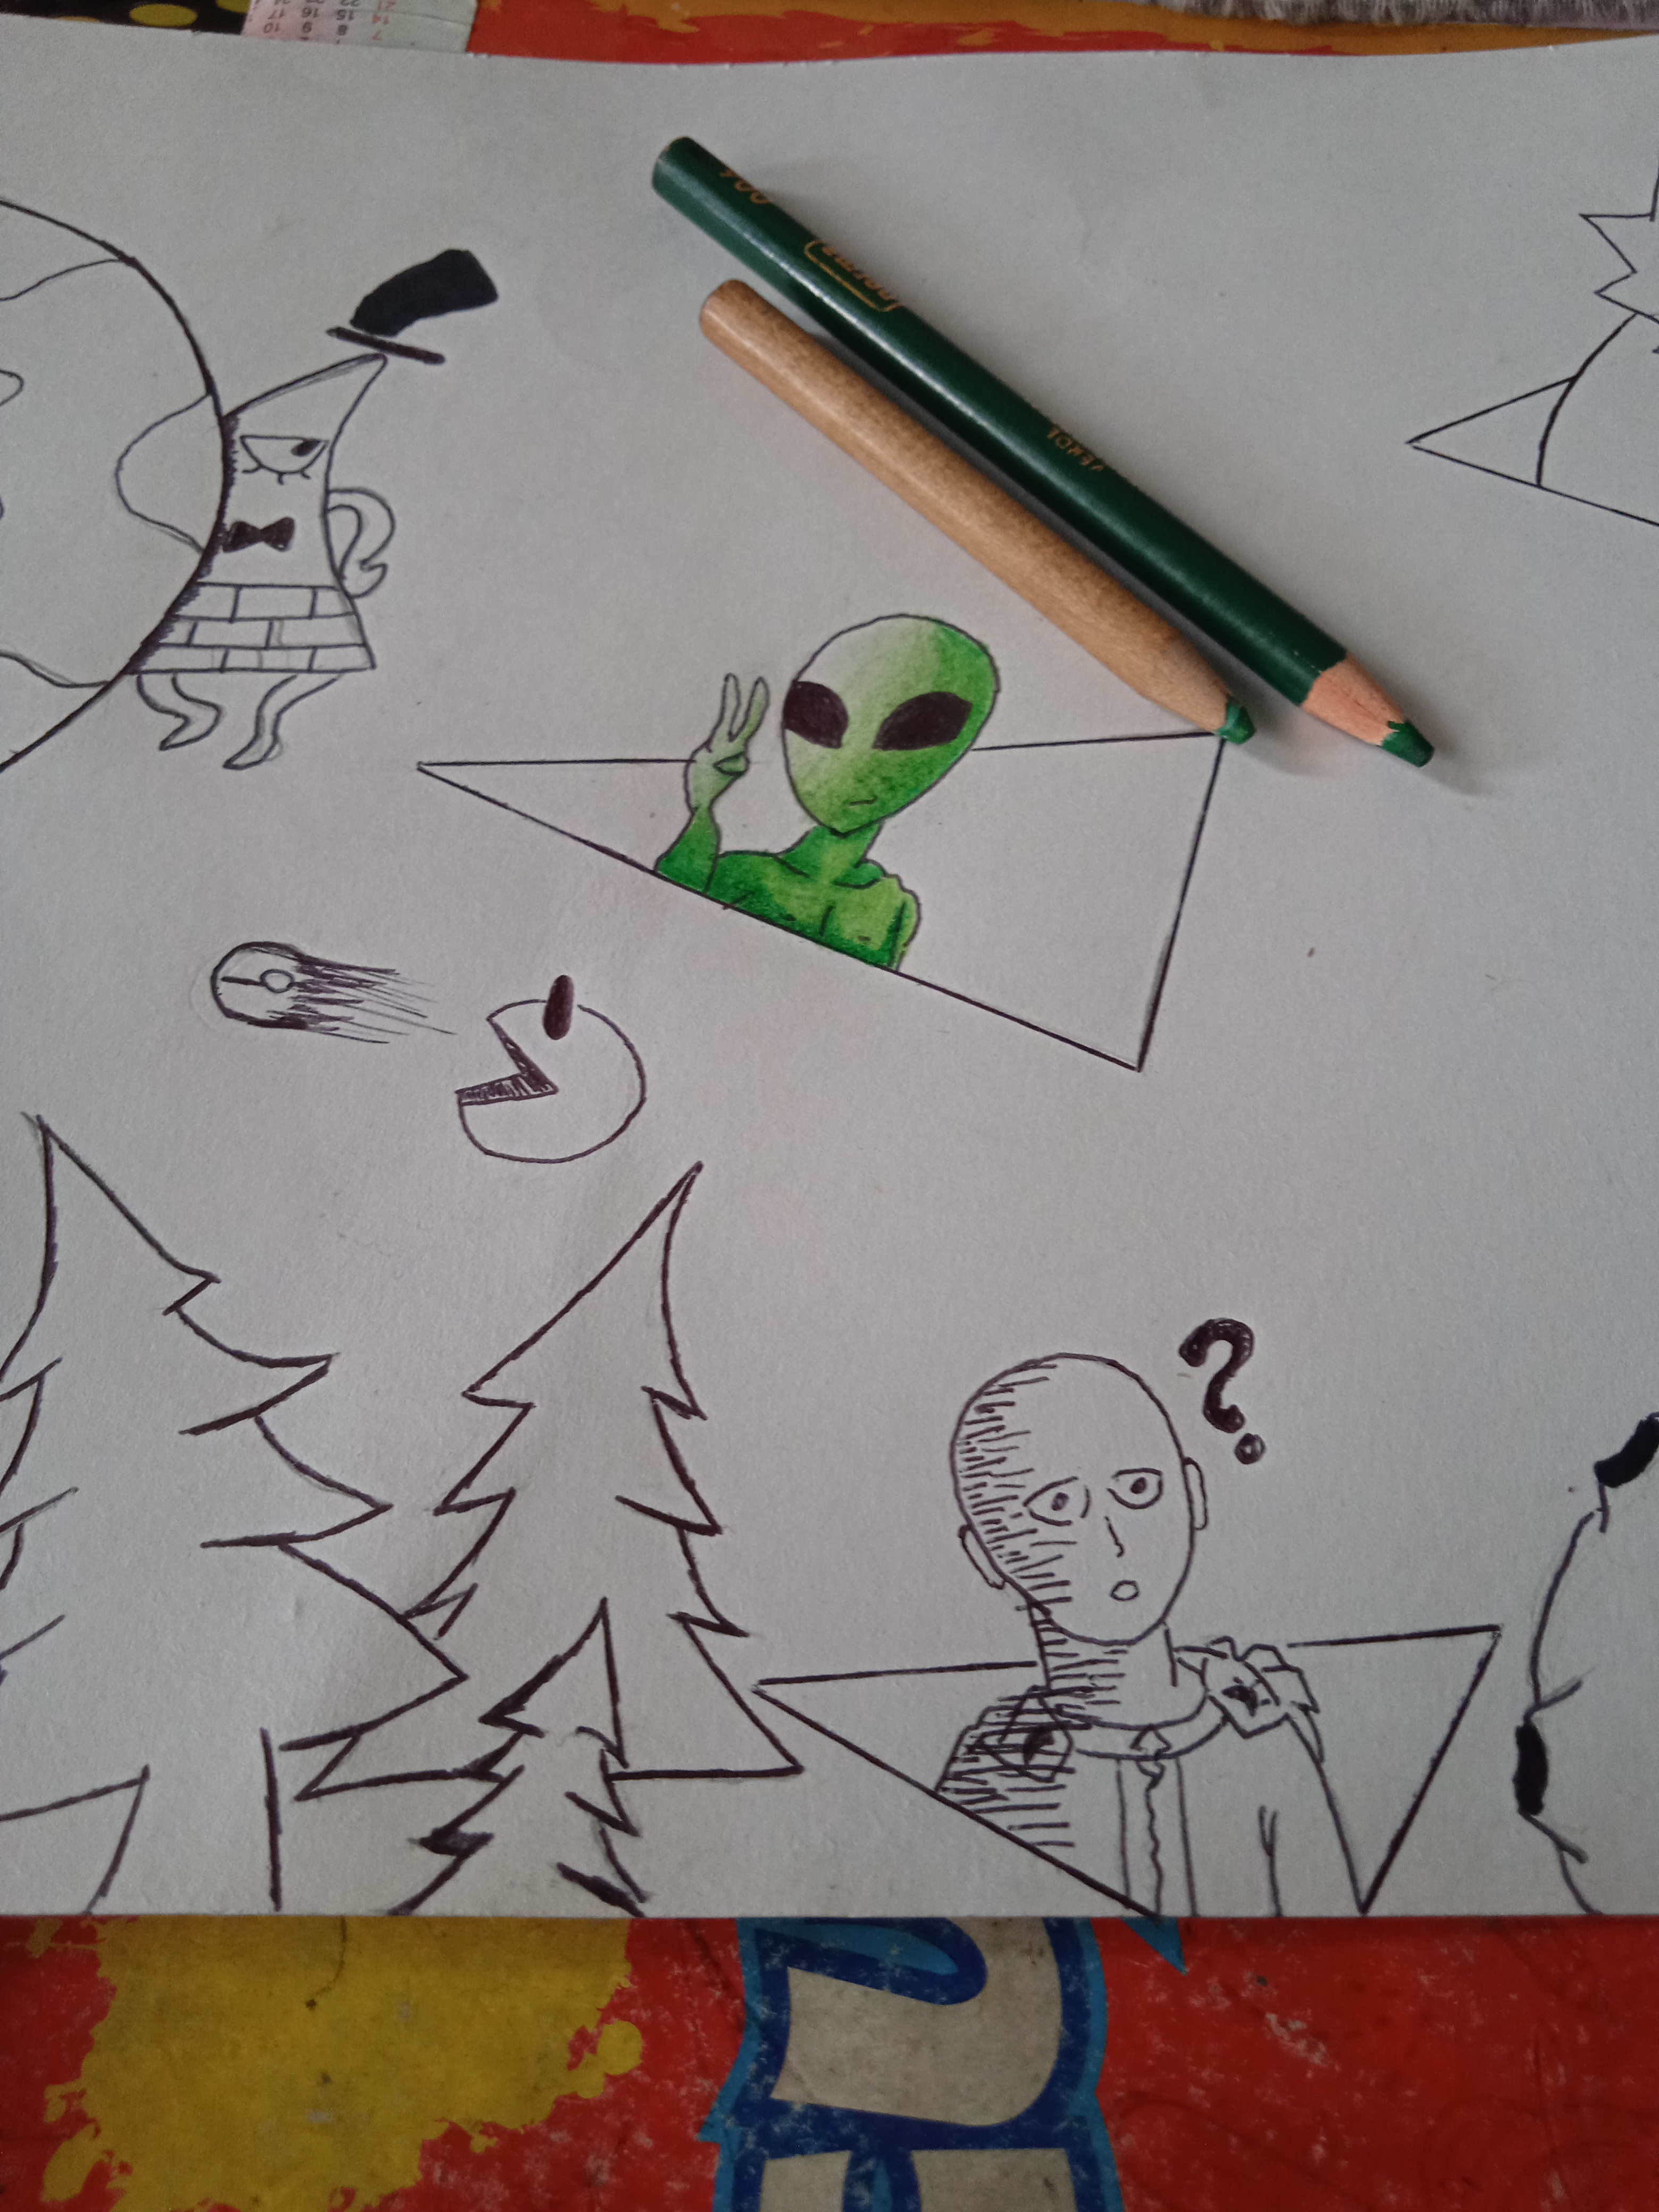
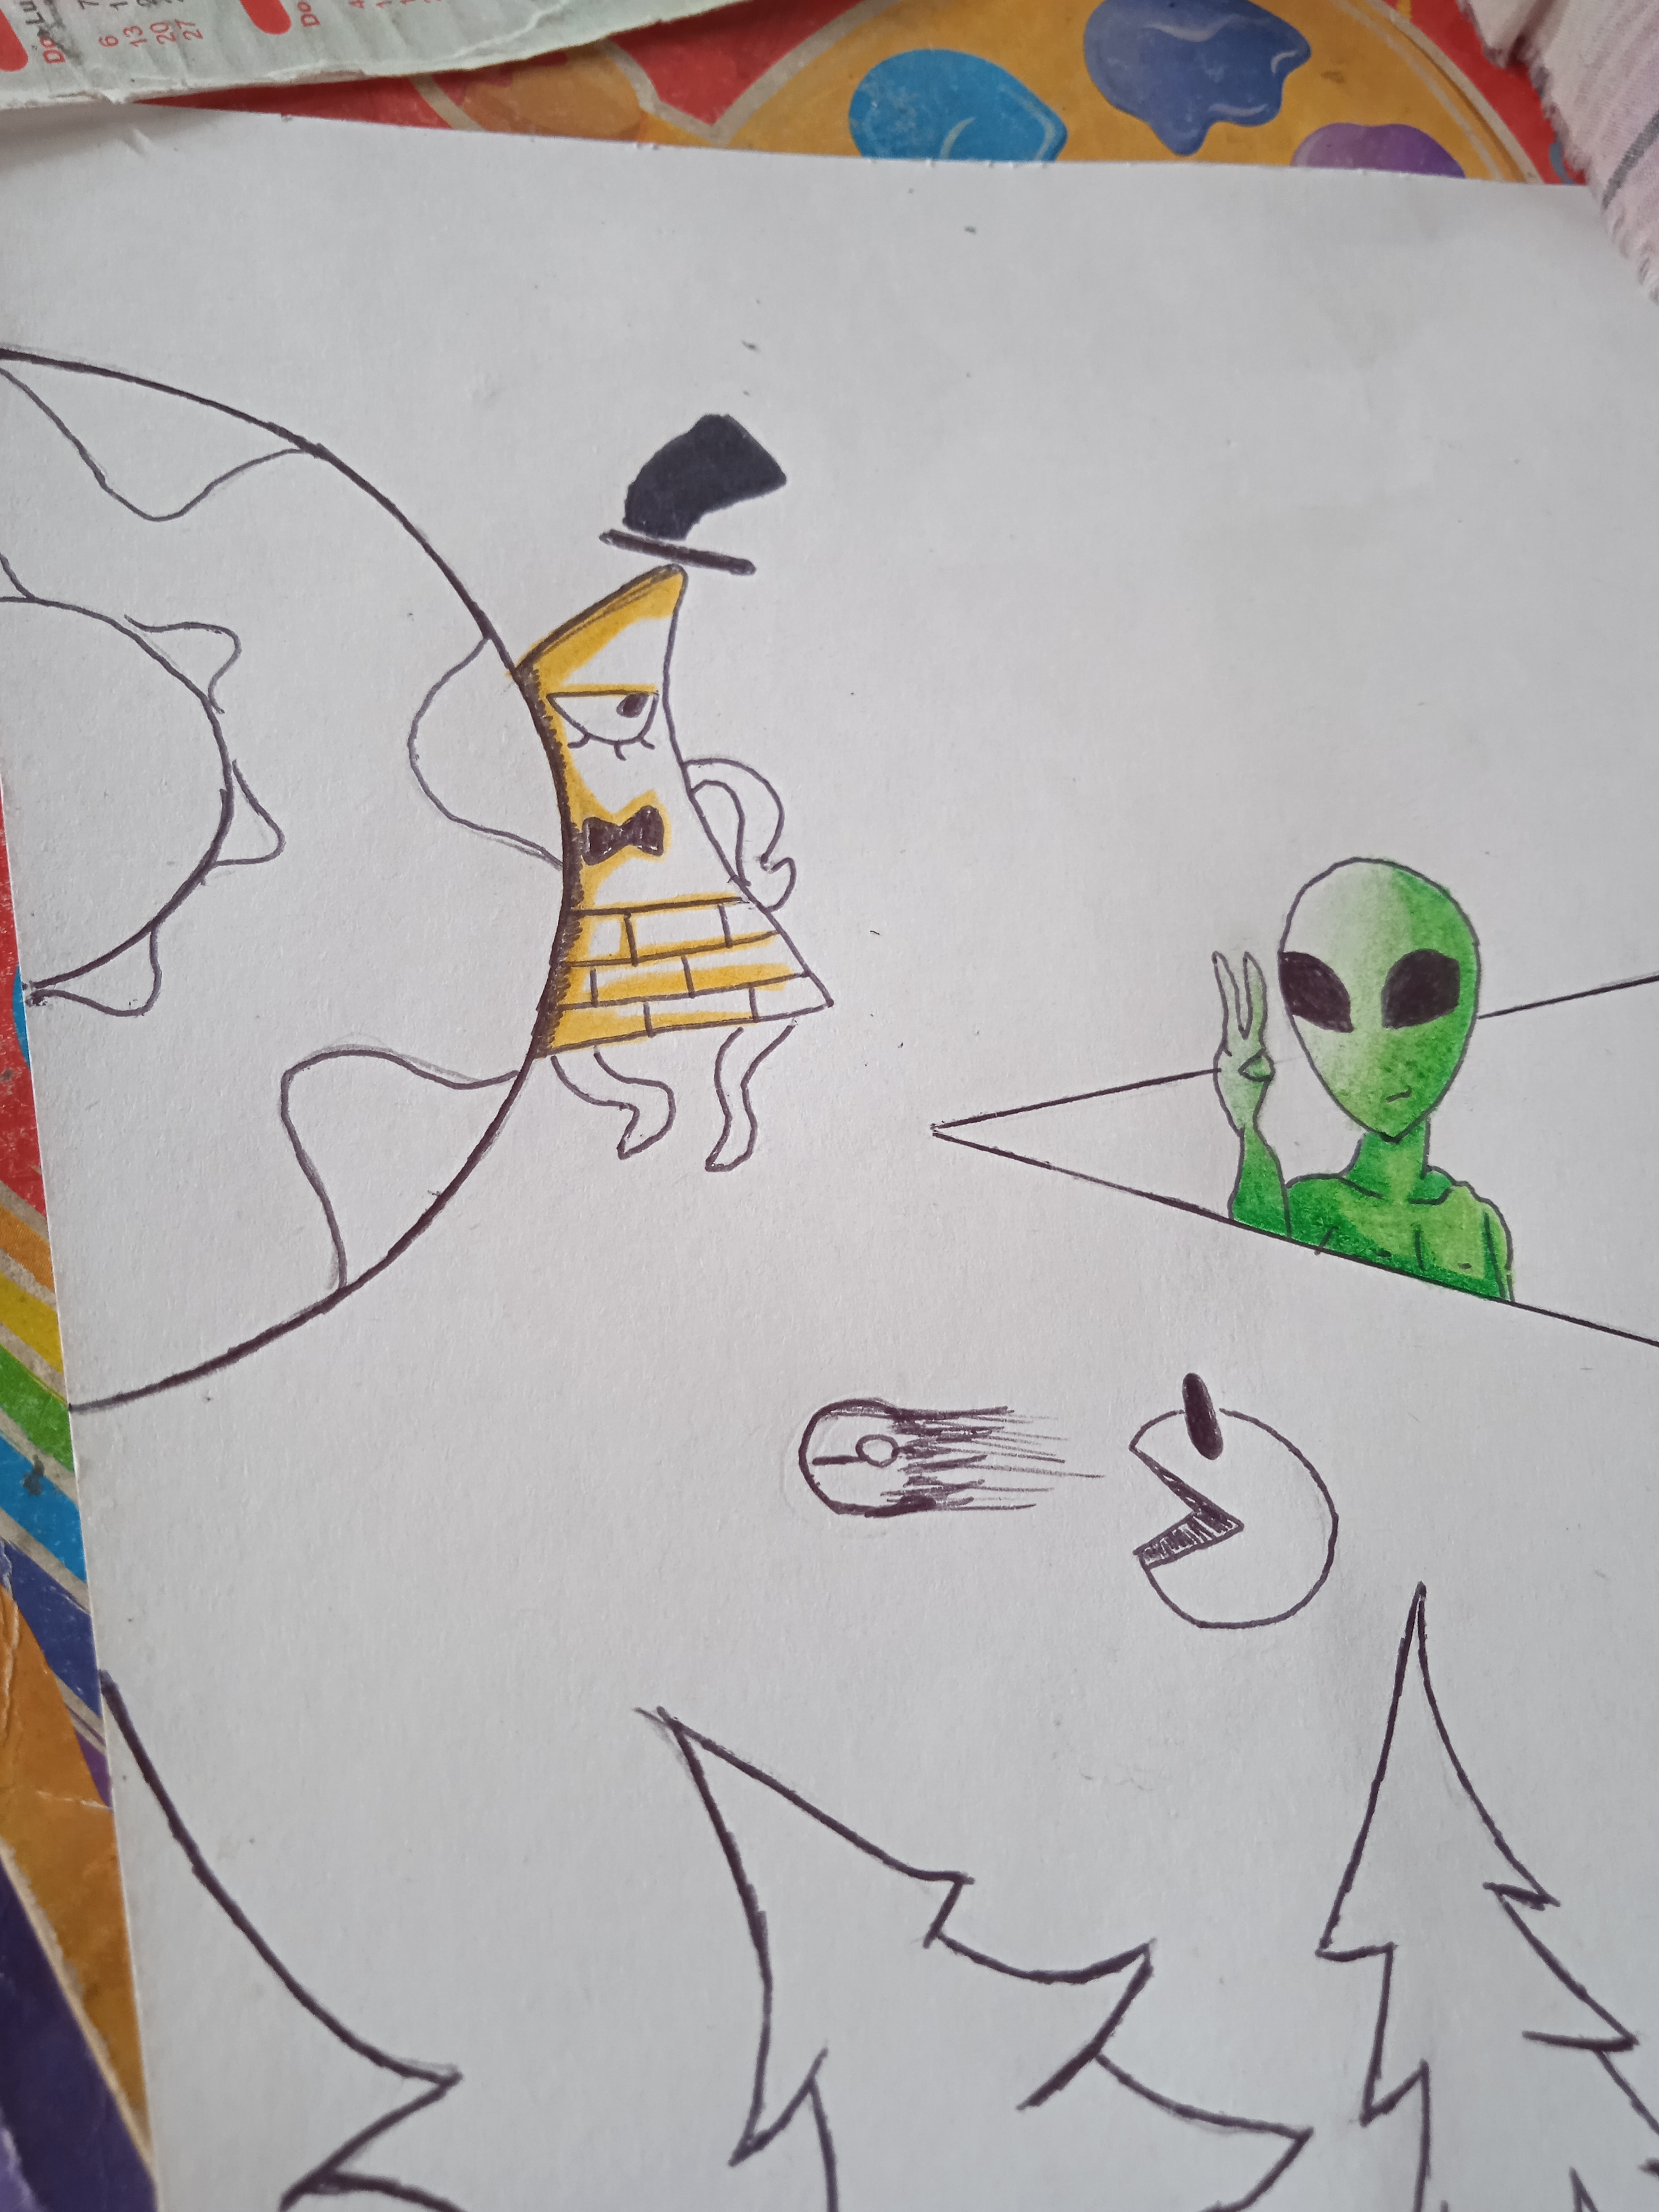
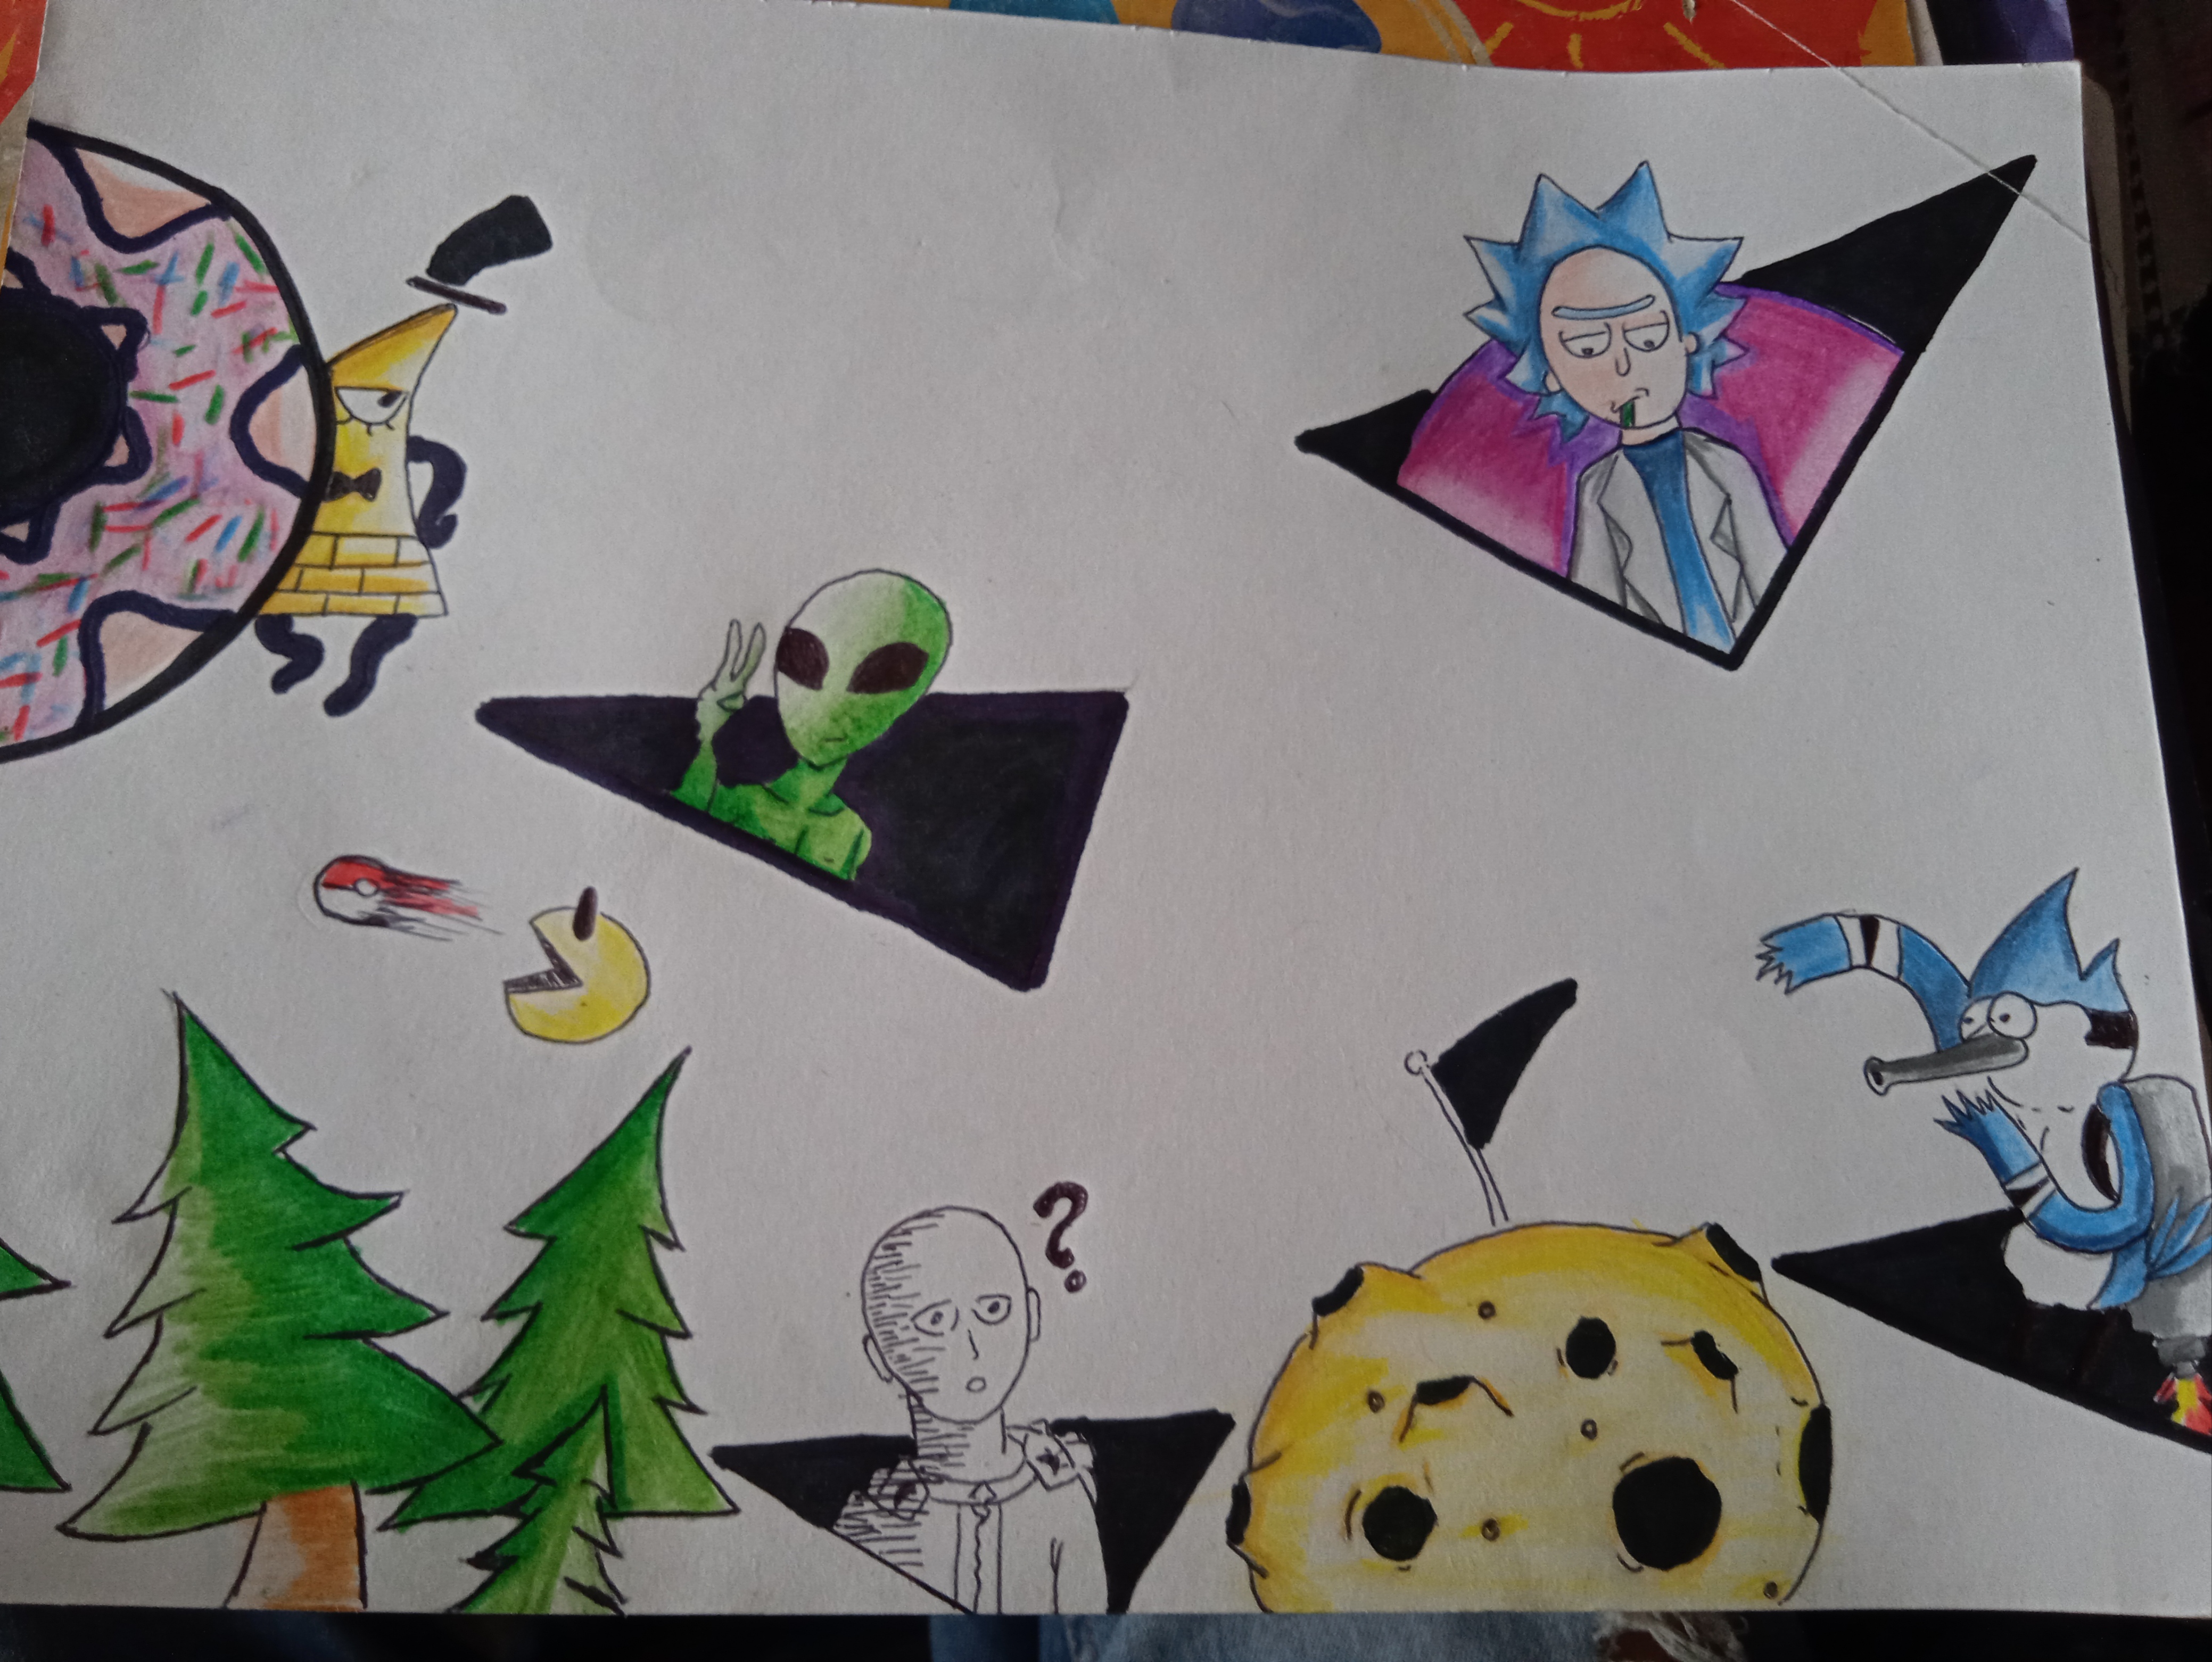


Empezaremos con el boceto haciendo algunos personajes, haremos a Bills cipher de la serie "Gravity Fall", seguido a eso dibujaremos a Pacman, dibujaremos la forma de una dona y añadiremos algunos árboles como detalles
We will start with the sketch by making some characters, we will make Beerus cipher from the series "Gravity Fall", after that we will draw Pacman, we will draw the shape of a donut and we will add some trees.

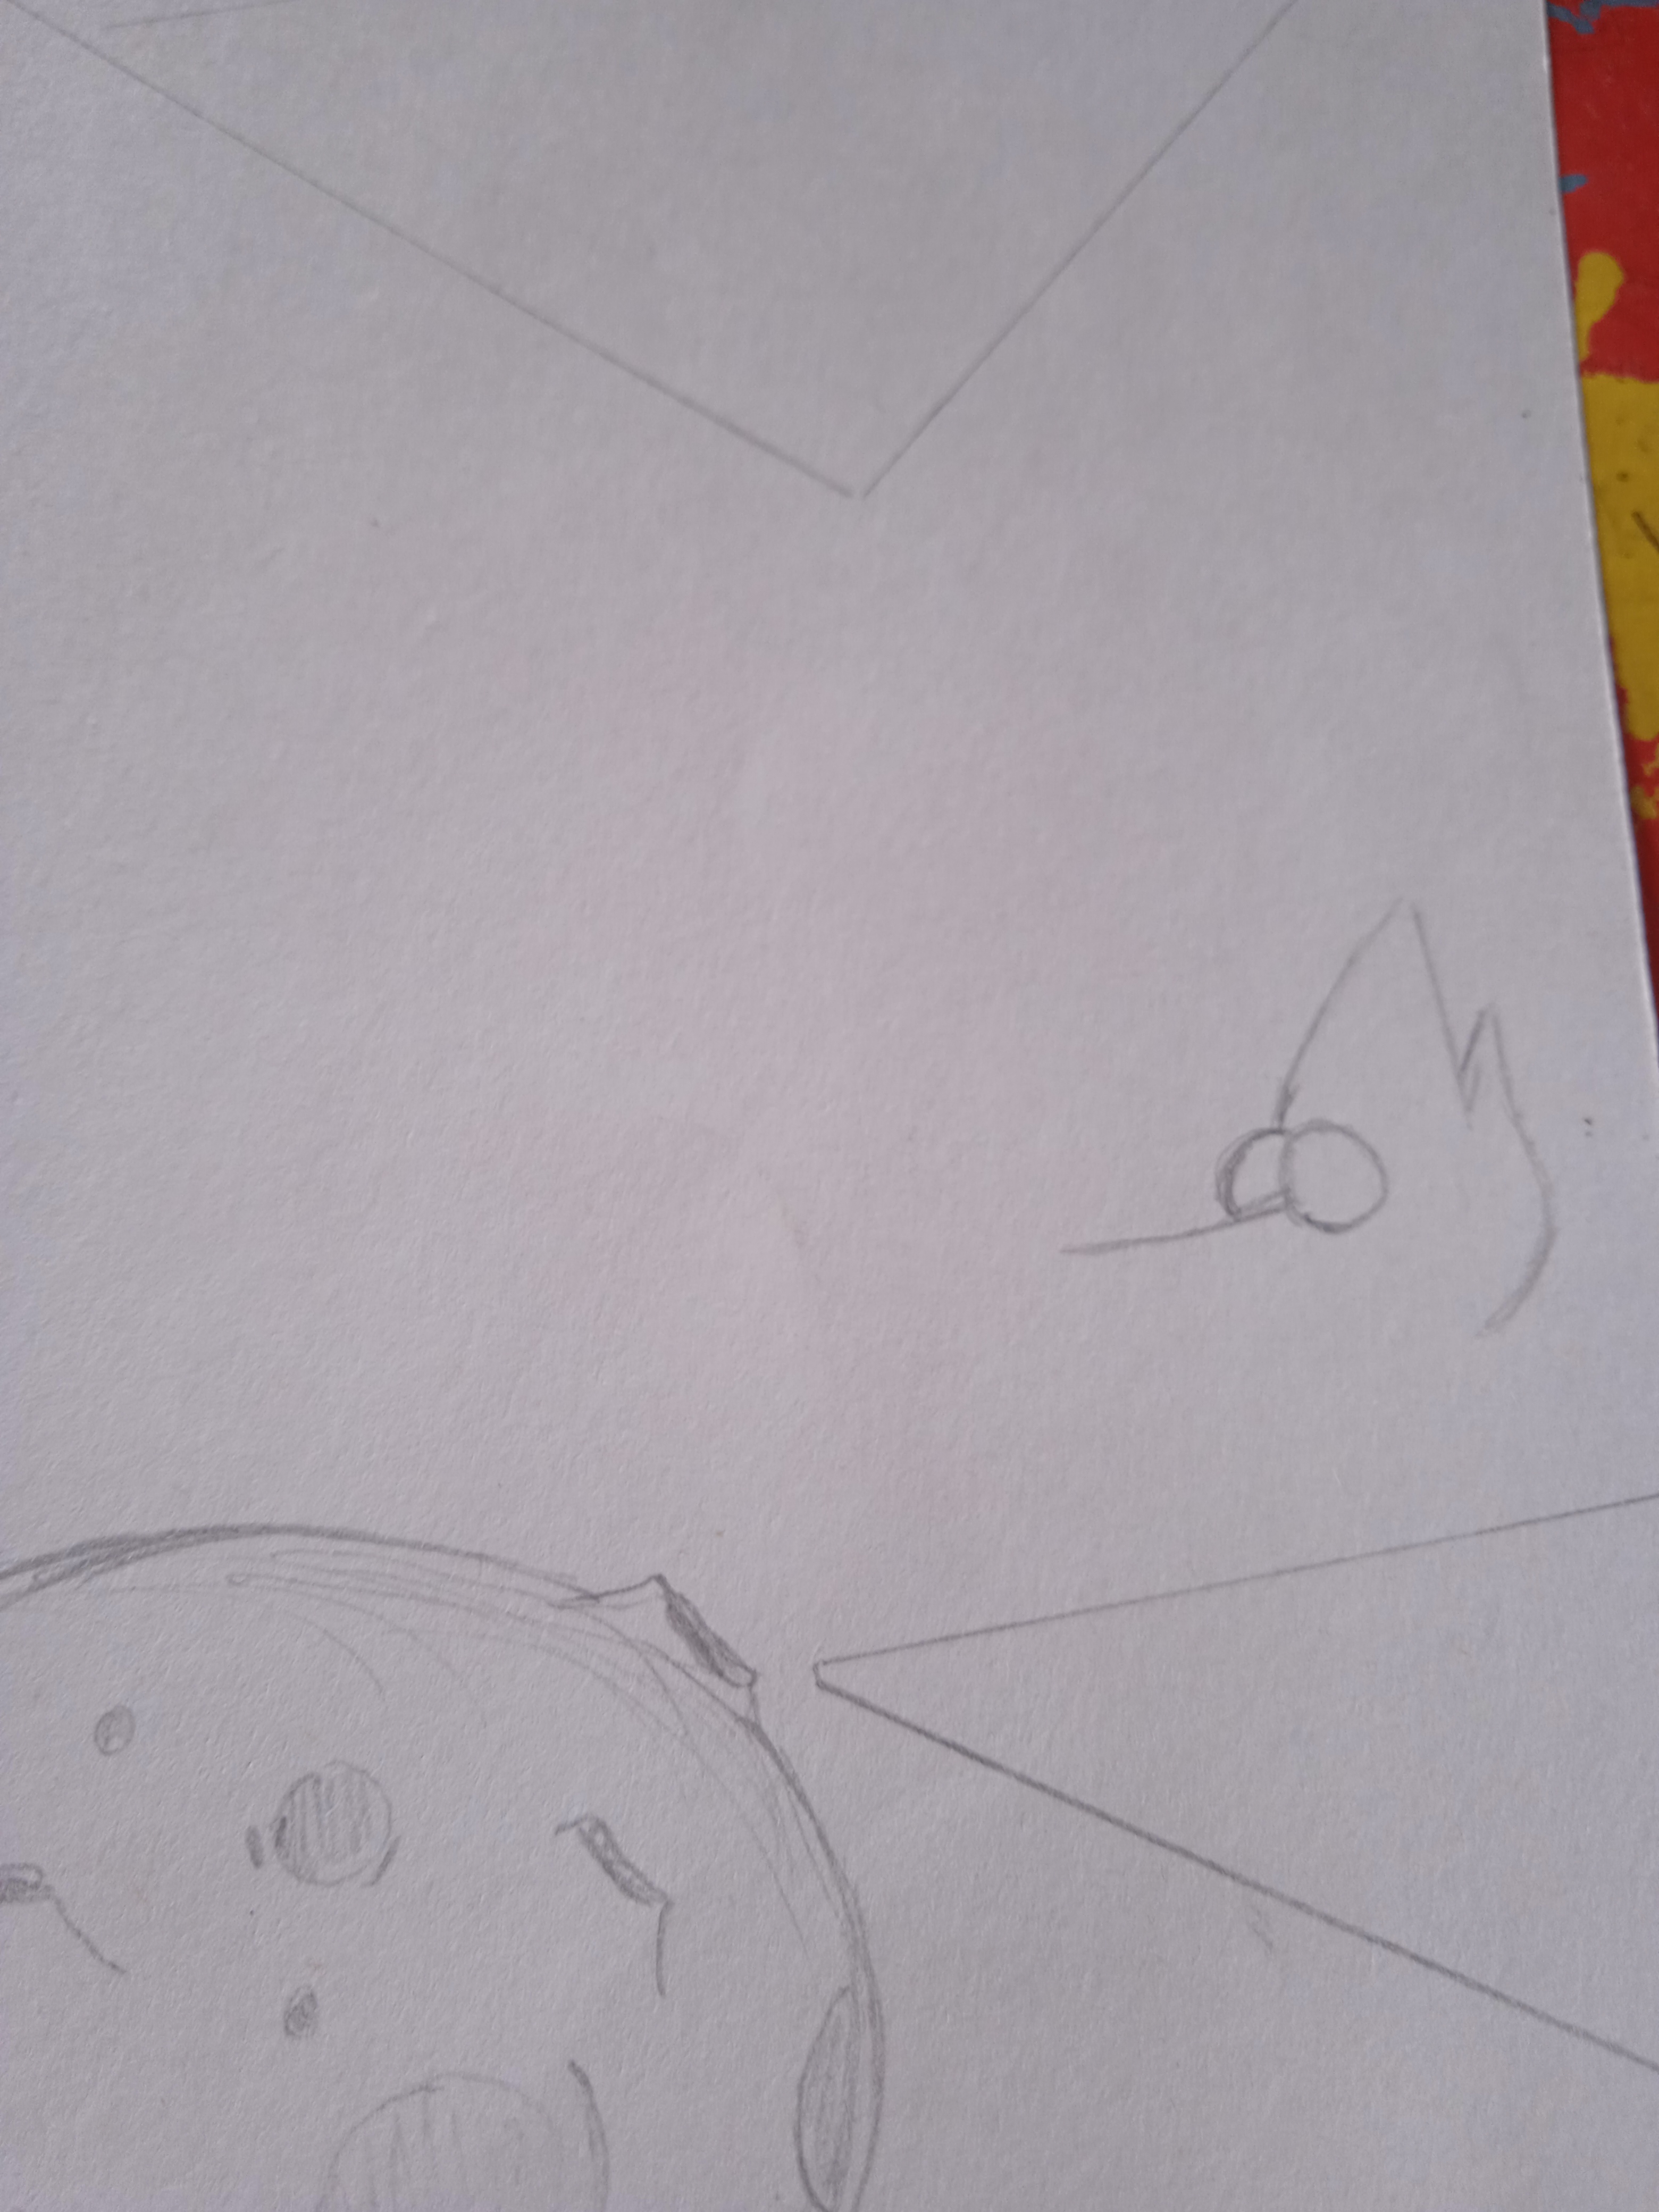
A continuación dibujaremos un planeta y haremos un par de triángulos, los cuales haran como portales en nuestro dibujo, en ellos dibujaremos los otros personajes
Next we will draw a planet and make a couple of triangles, which will act as portals in our drawing, in them we will draw the other characters

A continuación dibujaremos a "Mordecai" de la serie "Un show más"
Next we will draw "Mordecai" from the series "Just Another Show"

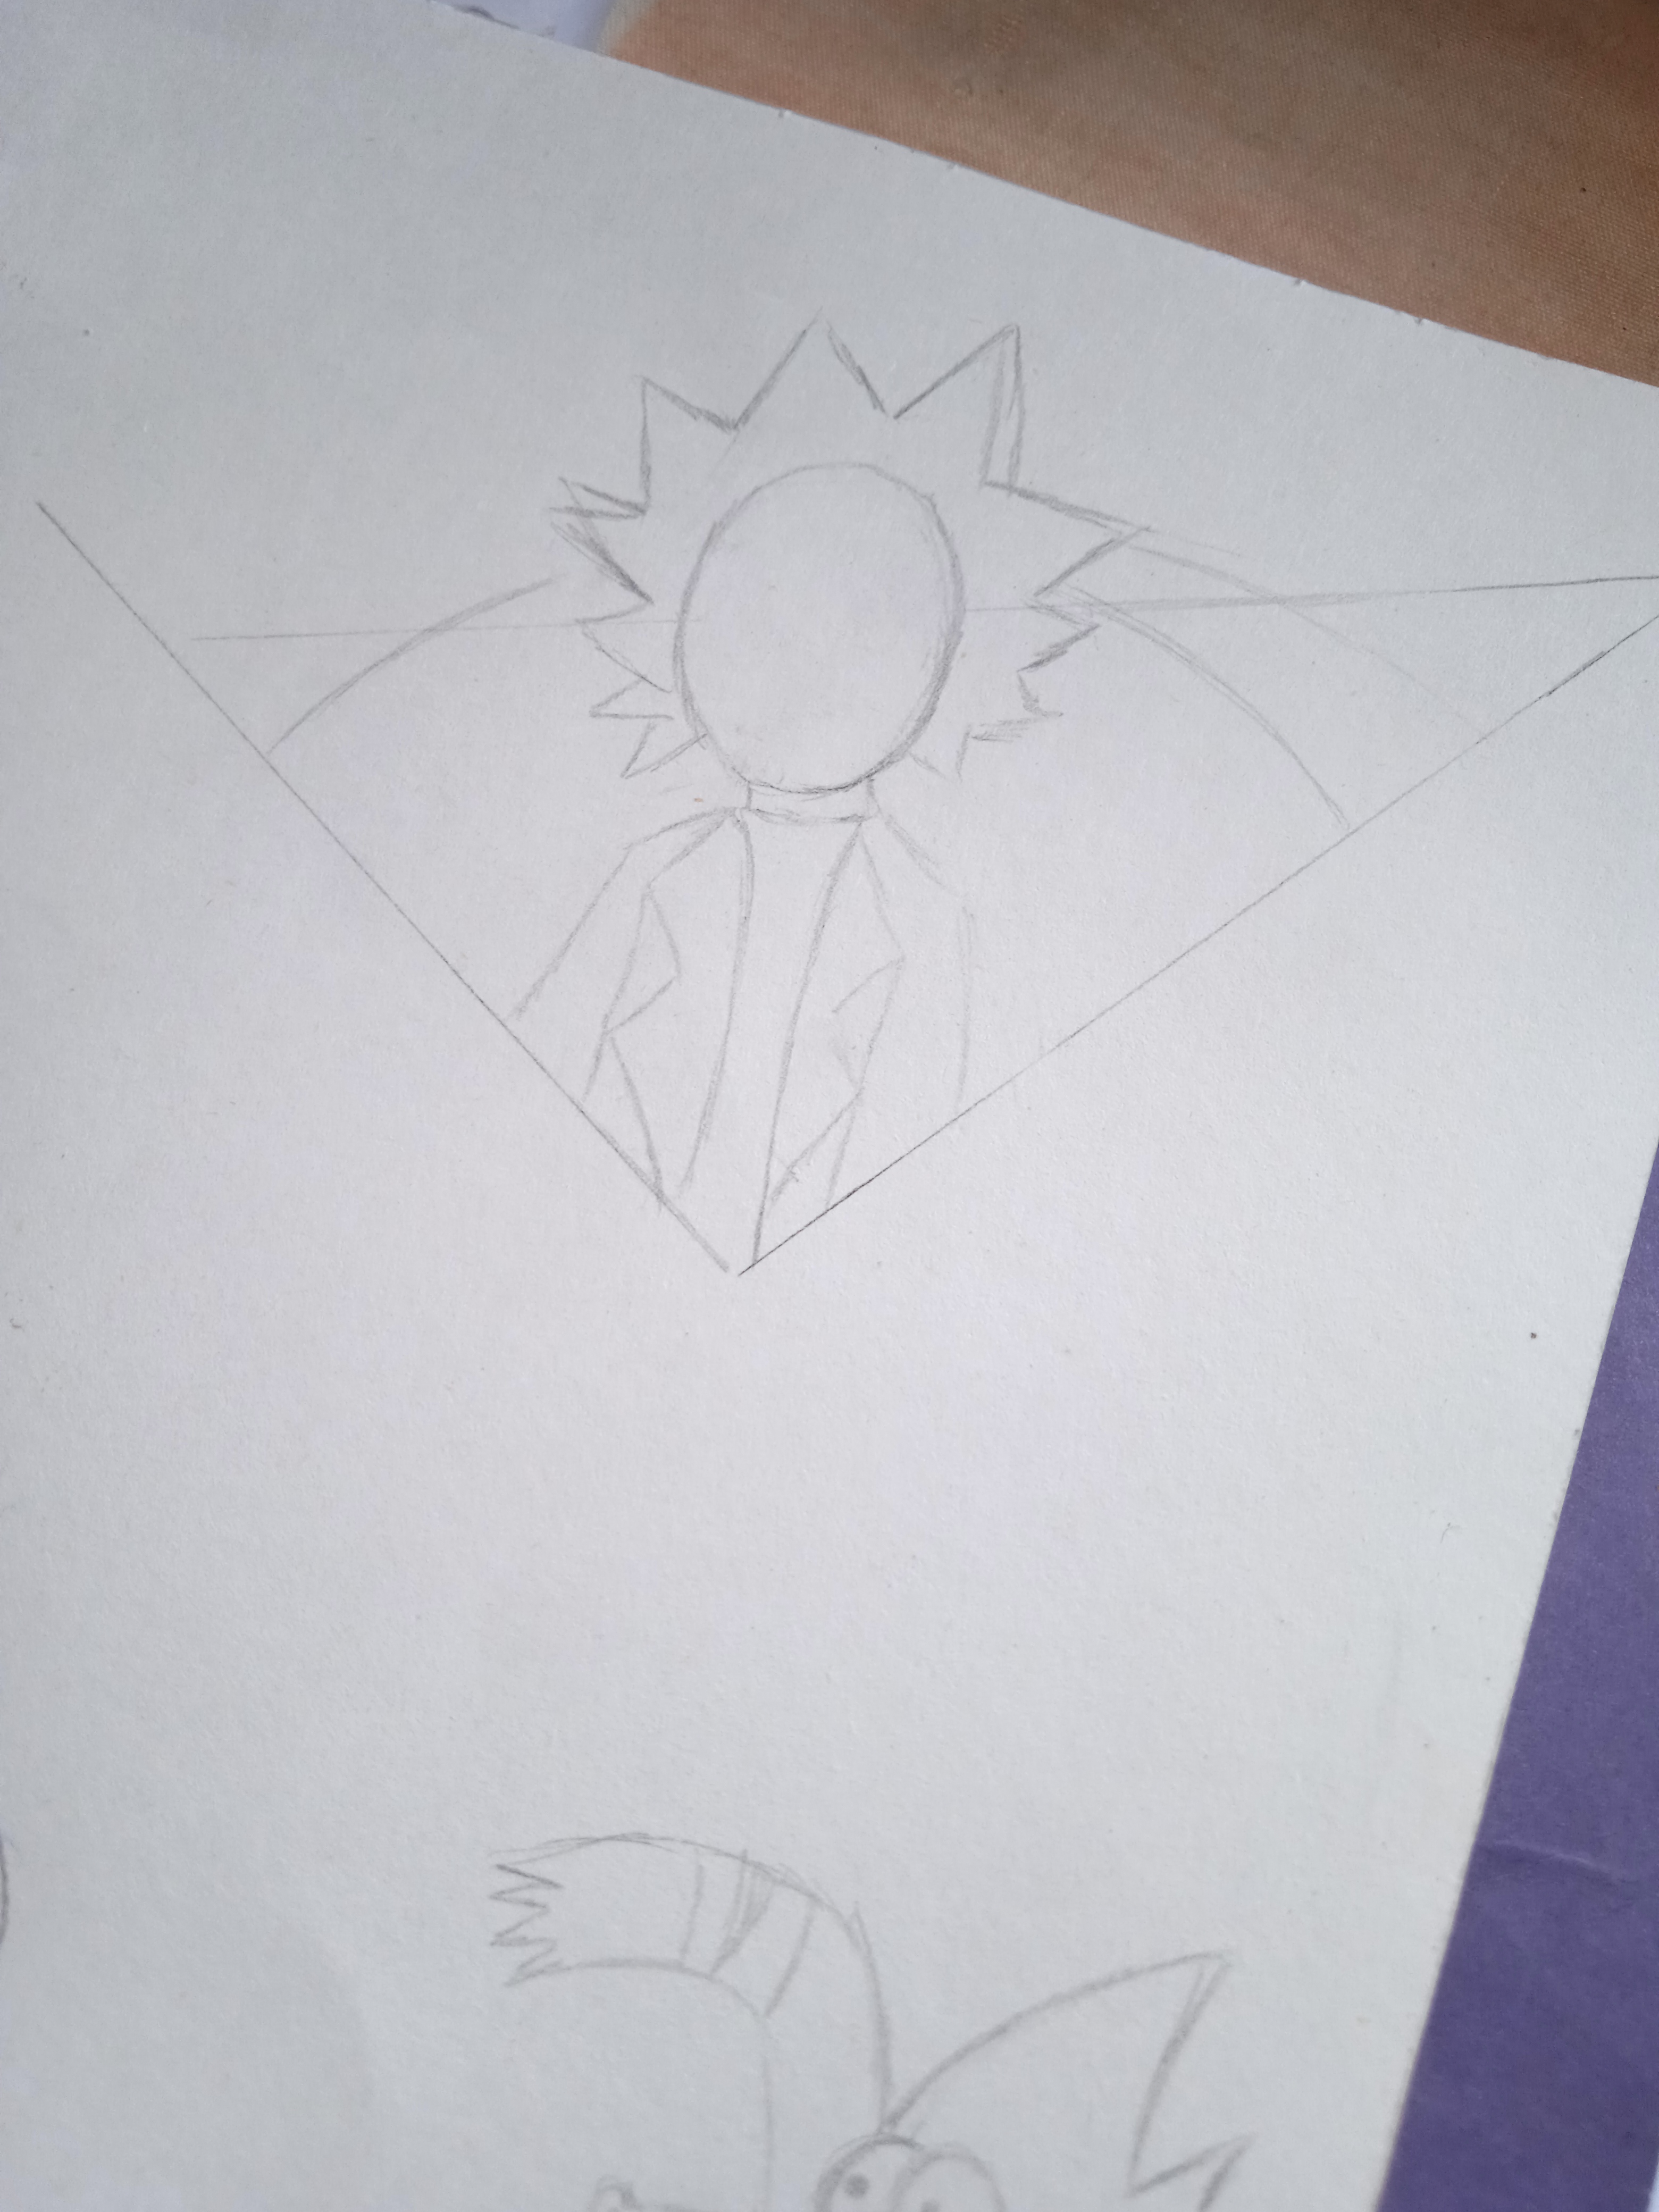
Mucha atencion aqui ya que el dibujo tiene que sobresalir del triángulo para que le de profundidad, esto lo haremos en cada dibujo.
Pay close attention here since the drawing has to stand out from the triangle to give it depth, we will do this in each drawing.

Luego dibujaremos a "Rick" de la serie "Rick y Morti ", a este le haremos una forma circular detras como un planeta.
Then we draw "Rick" from the series "Rick and Morty", we will make a circular shape behind him like a planet

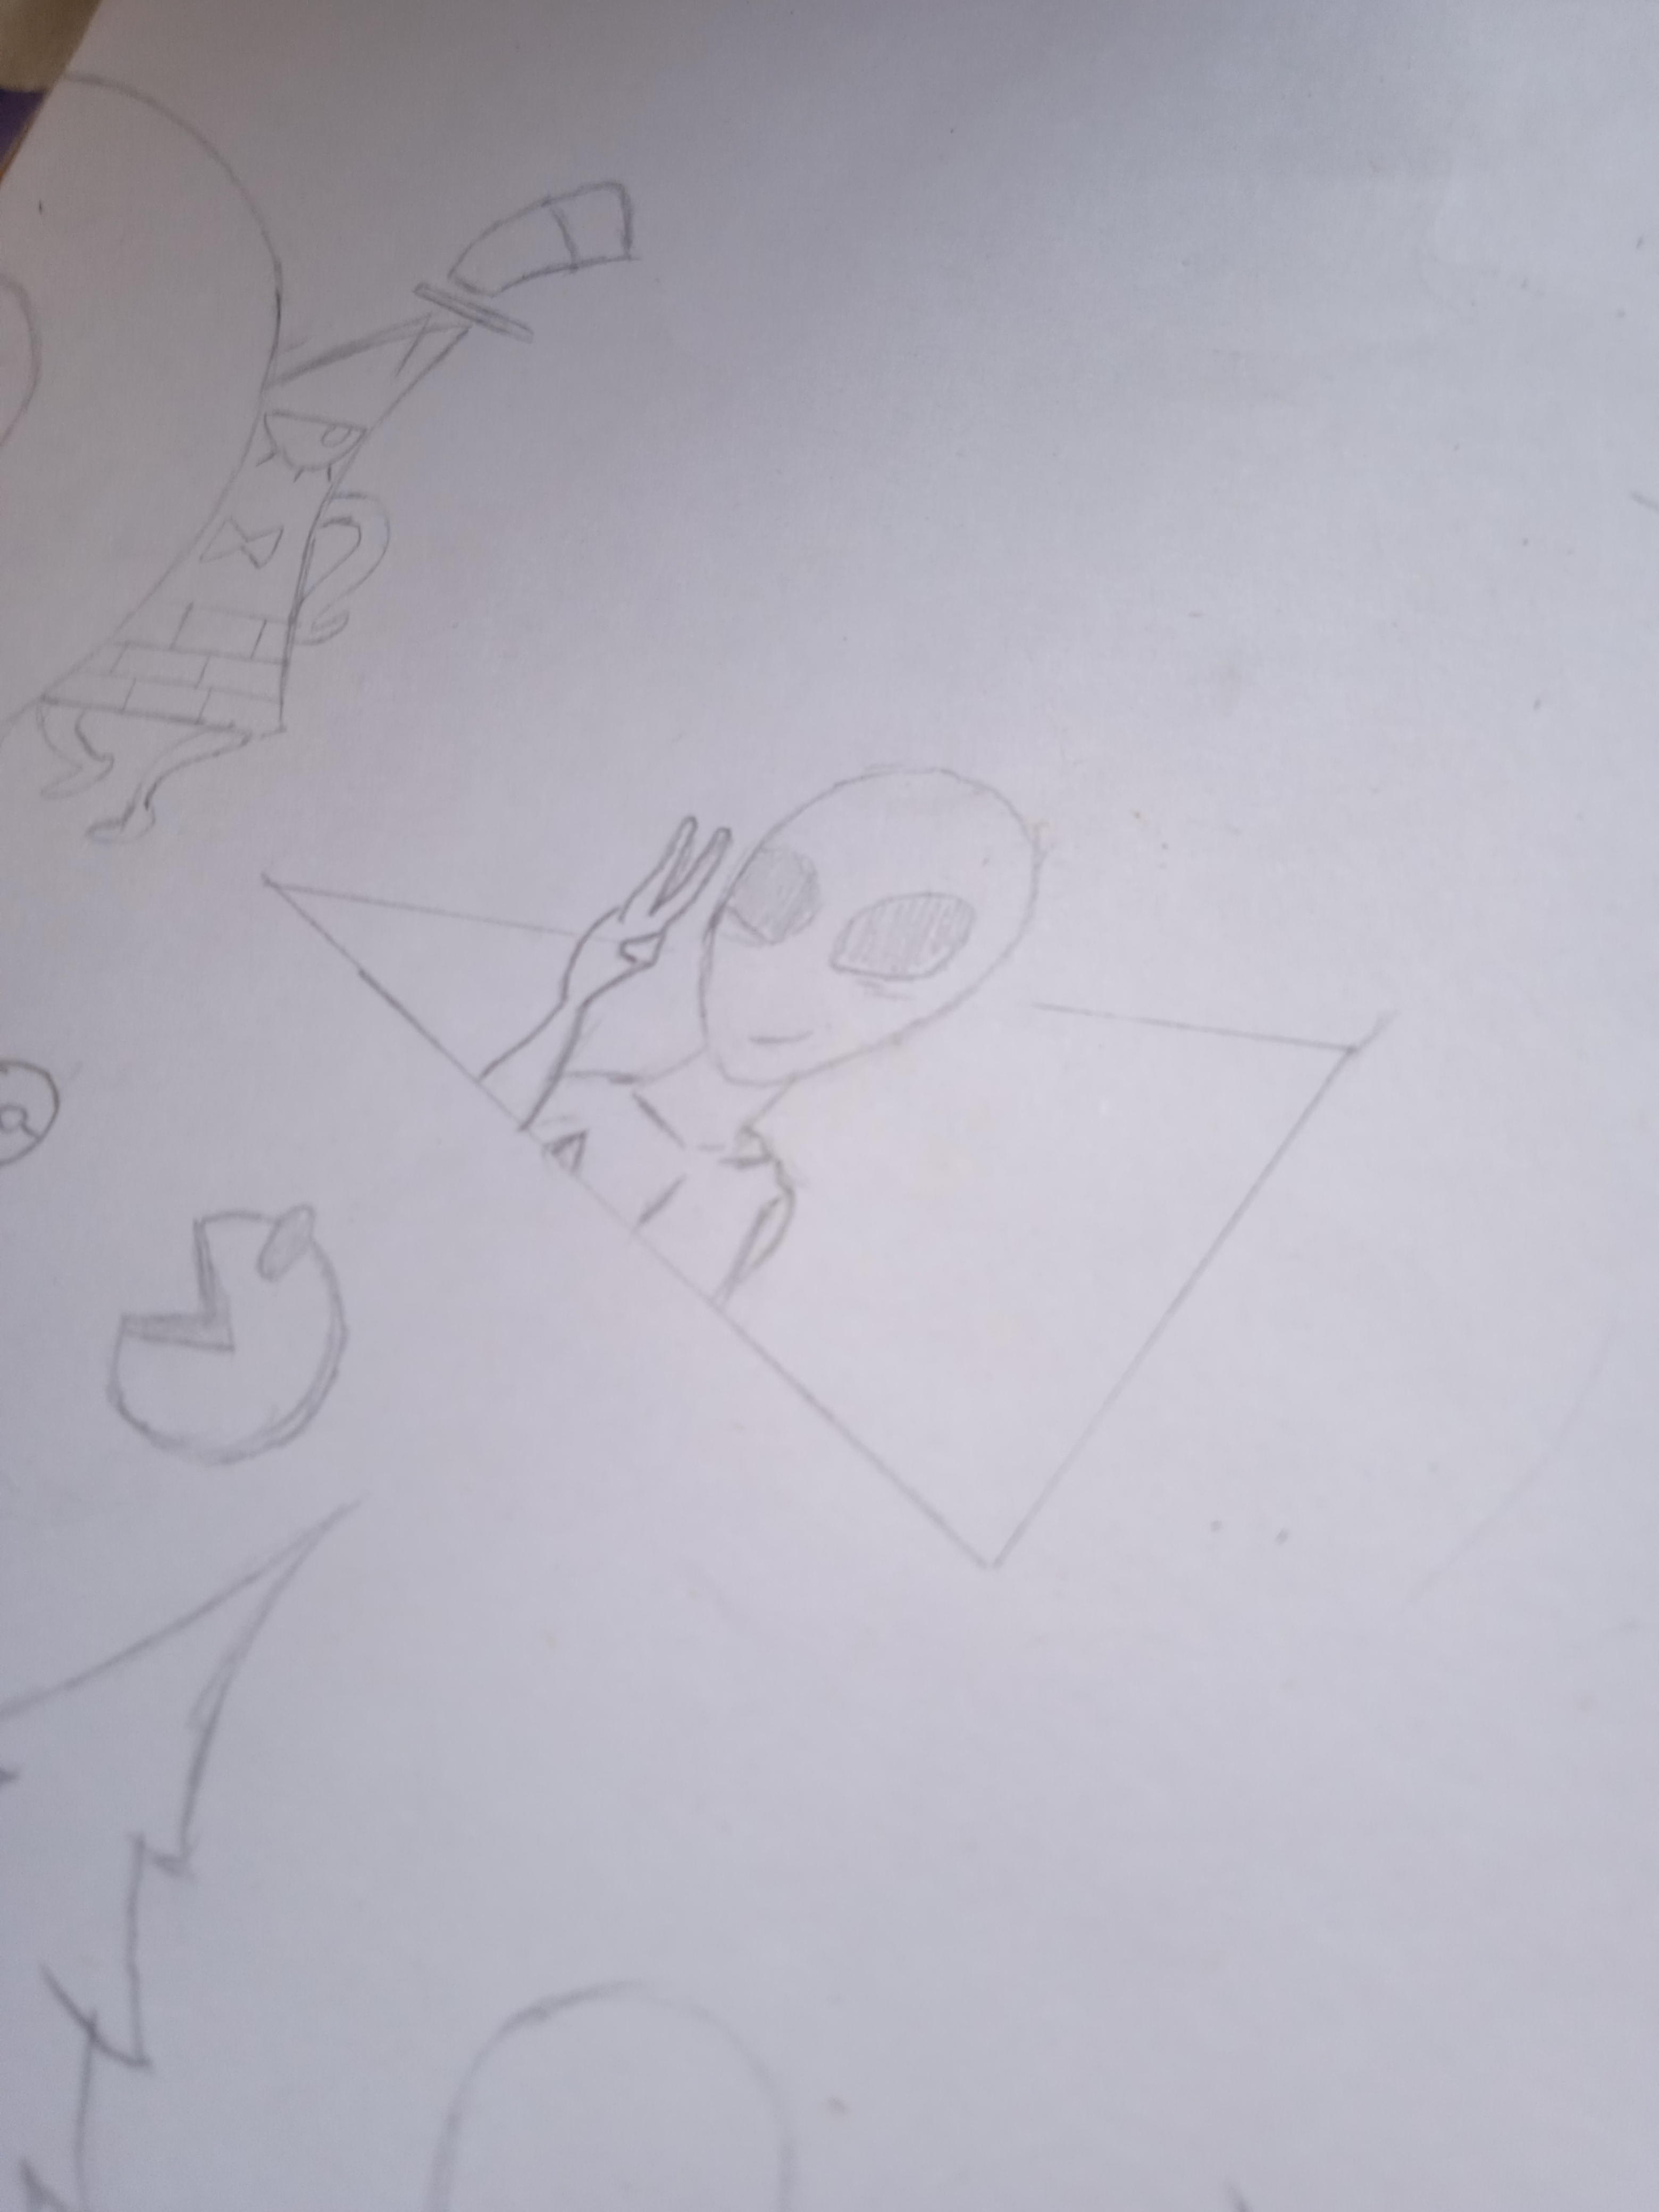
El siguiente dibujo que haremos sera el de un alien, tomen en cuenta hacer el dibujo sobresaliendo del triángulo que usamos como portal. Recuerden que pueden hacer otros personajes, los que ustedes deseen
The next drawing we will make will be that of an alien, keep in mind to make the drawing protruding from the triangle that we use as a portal. Remember that you can make other characters, the ones you create.
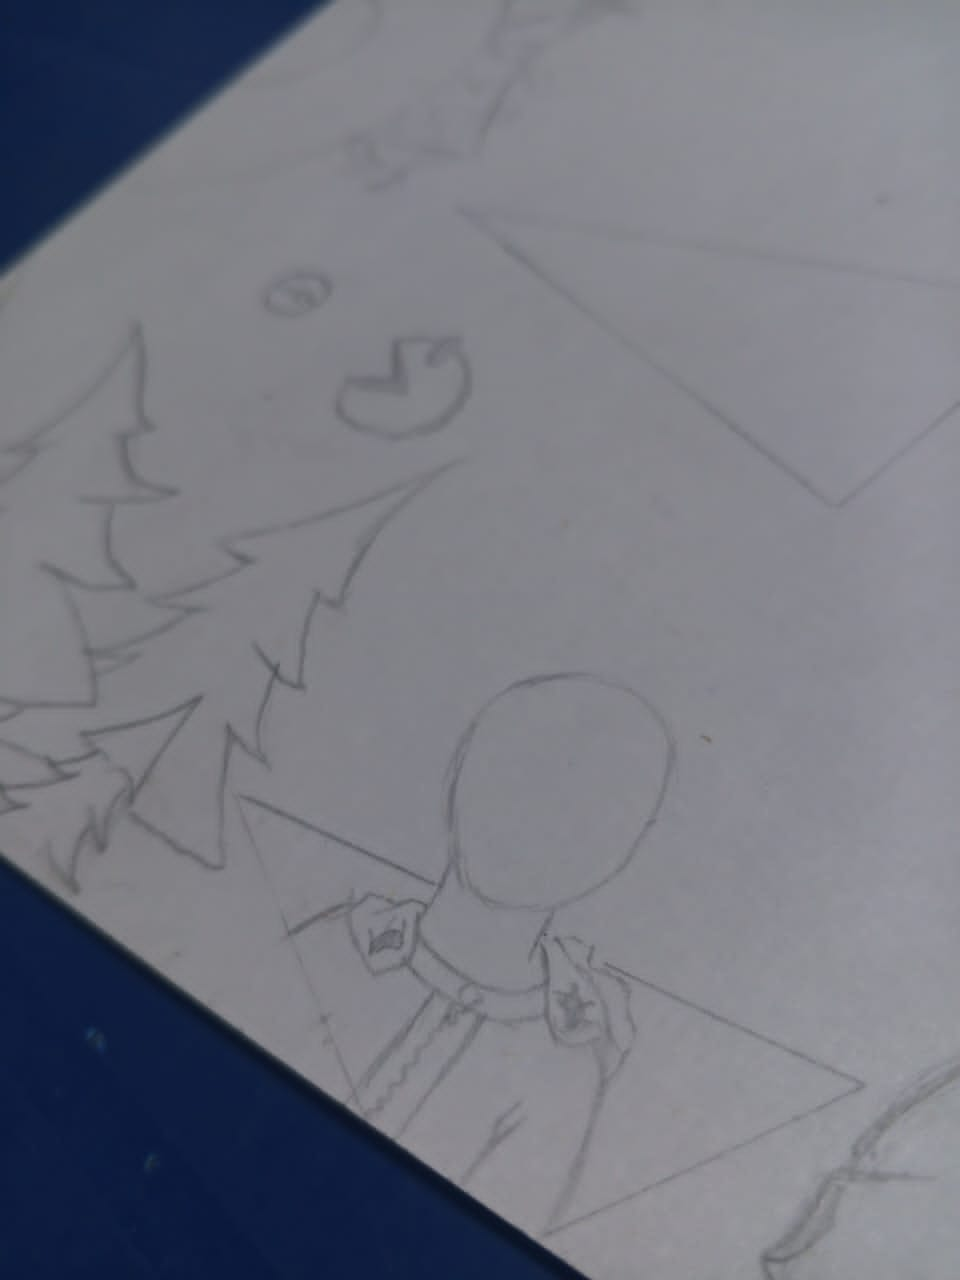
A continuación haremos como ultimo personaje a "Saitama" del anime "one punch man"
Next we will make "Saitama" from the anime "one punch man" as the last character

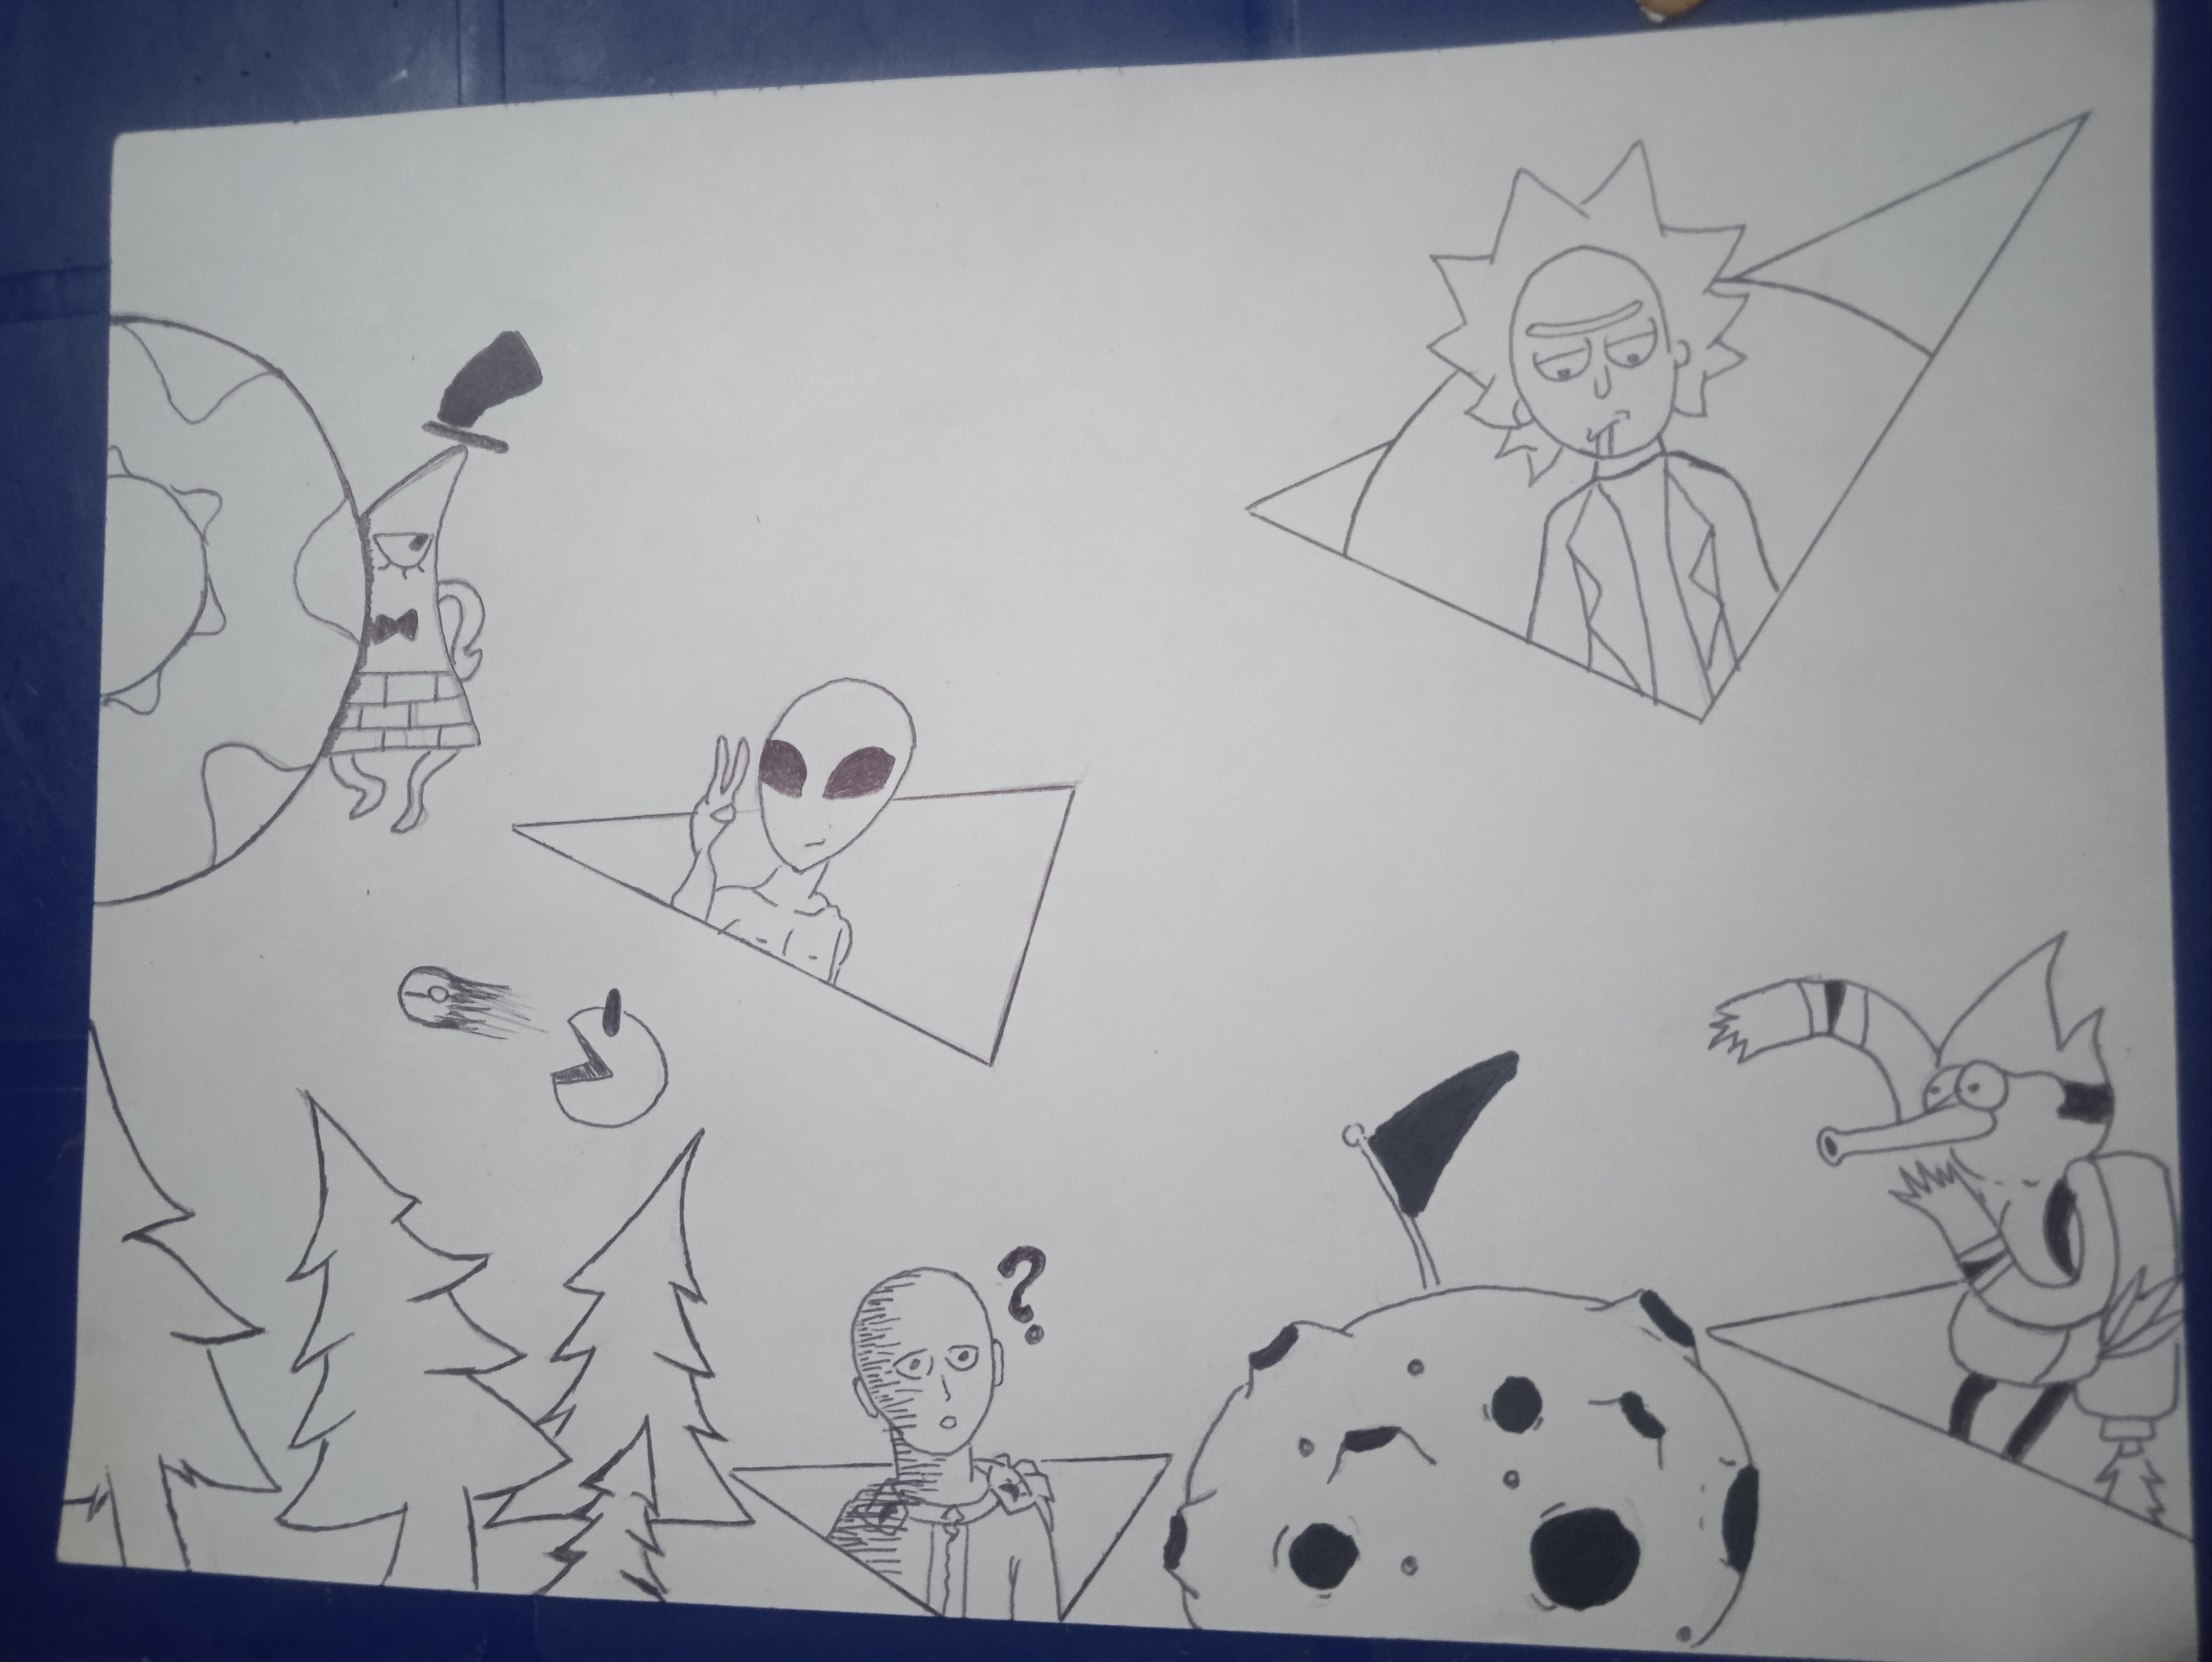
Ya con eso tendríamos nuestro boceto listo y solo nos faltaría delinear todo el dibujo antes de colorear
With that we would have our sketch ready and we would only need to outline the entire drawing before coloring.

Para el coloreado aplicaremos primero los colores oscuros y luego los claros.
For coloring we will apply the dark colors first and then the light ones.

Para el coloreado del alien usaremos un color verde oscuro y uno claro, aplicaremos primero el oscuro oara marcar las sombras y luego el claro dejando un espacio en blanco que será el punto de iluminación
To color the alien we will use a dark green color and a light one, we will first apply the dark one to mark the shadows and then the light one, leaving a white space that will be the highlight point.

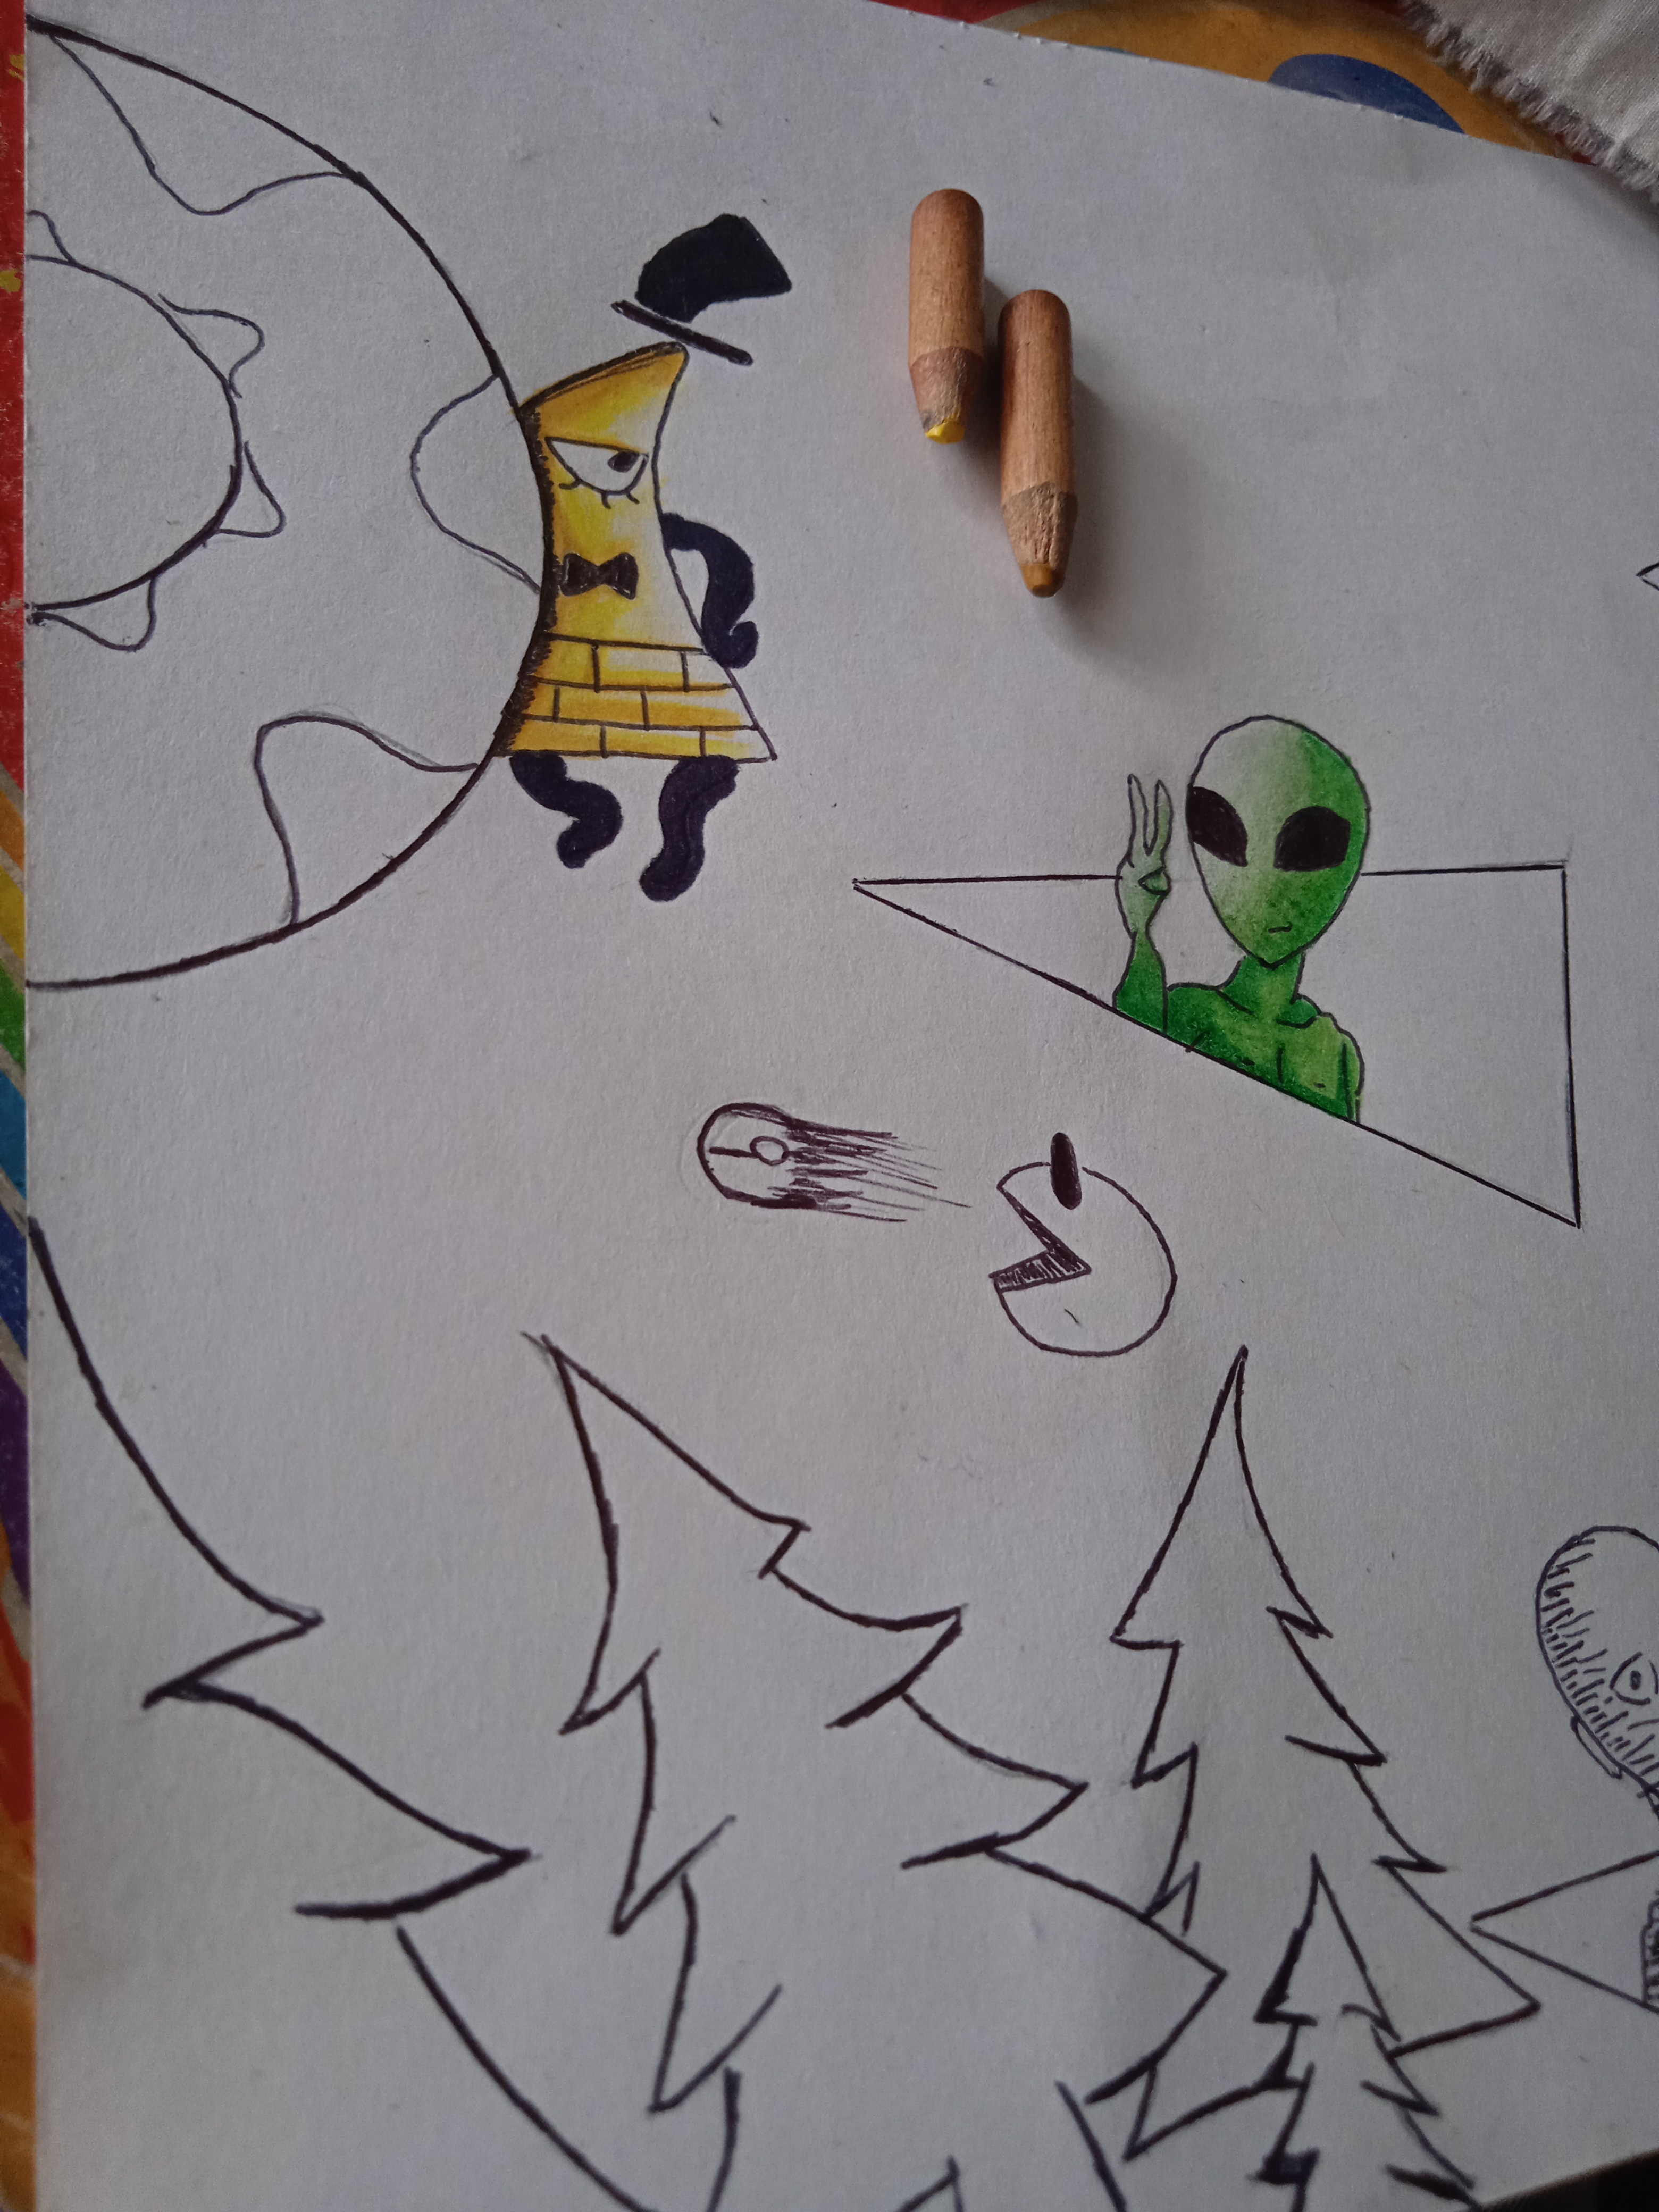
la Misma técnica aplicaremos para el siguiente personaje, utilizaremos el color amarillo mostaza y amarillo claro
We will apply the same technique for the next character, we will use the color mustard yellow and light yellow

Luego de aplicar esta tecnica en cada personaje rellenaremos los triángulos con marcador negro para darle profundidad, tengan cuidado al usar marcadores a base de alcohol ya que se puede regar por fuera del triángulo
After applying this technique on each character, fill in the triangles with black marker to give them depth,Be careful when using alcohol-based markers as it can spread outside the triangle.

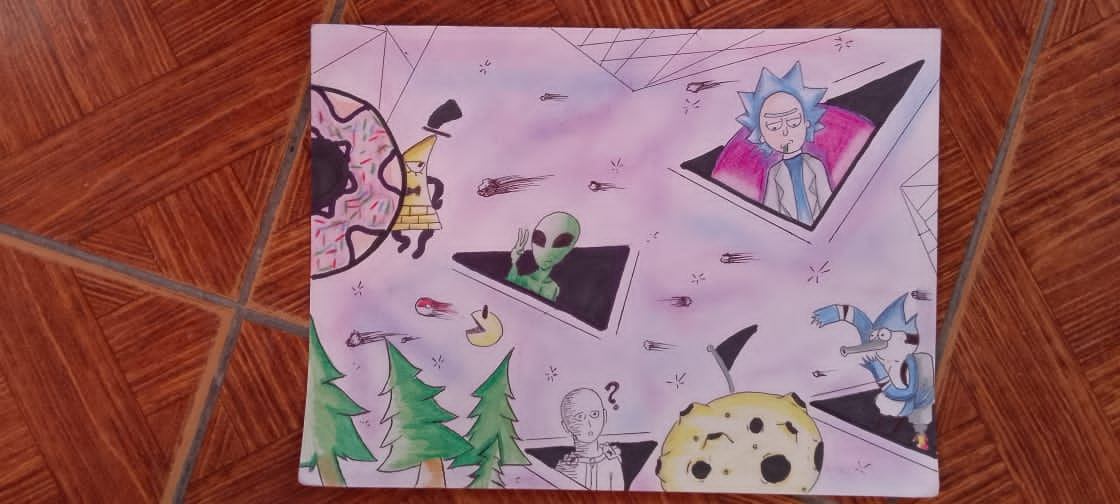
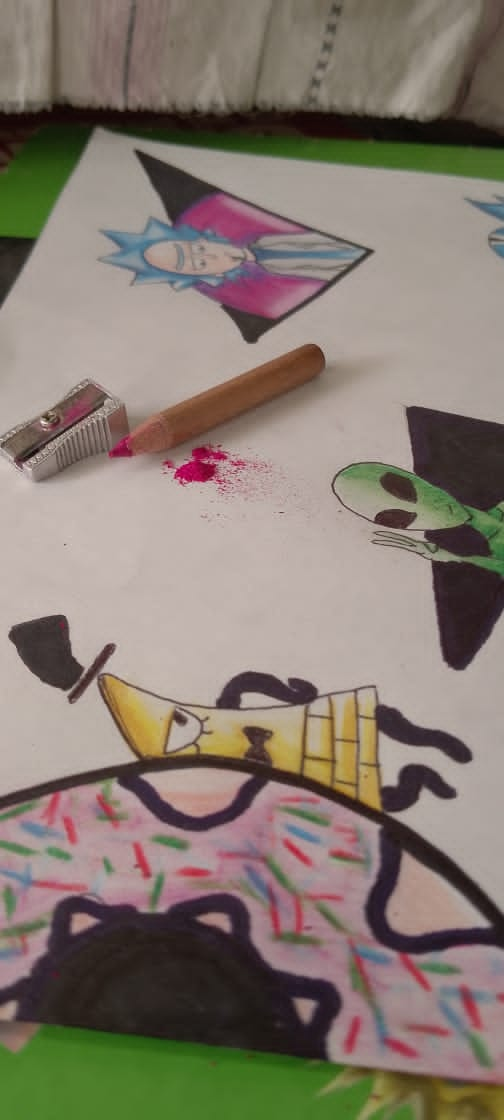
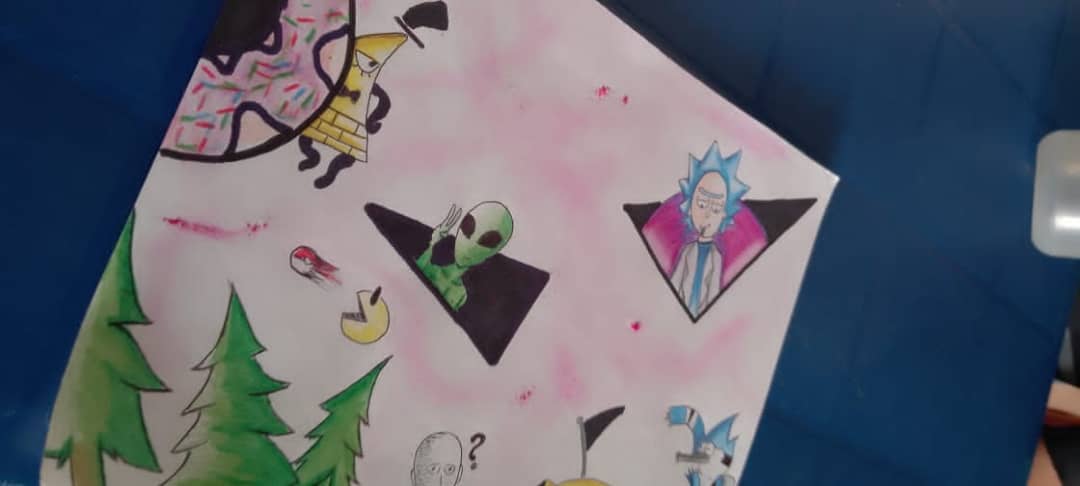
Ya con esto solo nos quedaría añadirle el efecto galaxia, para ello usaremos los colores rosado , morado y azul, lo primero que haremos sera afilar nuestro color rosado y el residuo lo esparciremos por toda la hoja, difuminado el color y dejando espacios en blanco, este difuminado lo podemos hacer con el dedo o con un hisopo
With this we would only have to add the galaxy effect, for this we will use the colors pink, purple and blue, the first thing we will do is sharpen our pink color and we will spread the residue over, We can do this blurring with a finger or a cotton swab.
 |  |
|---|
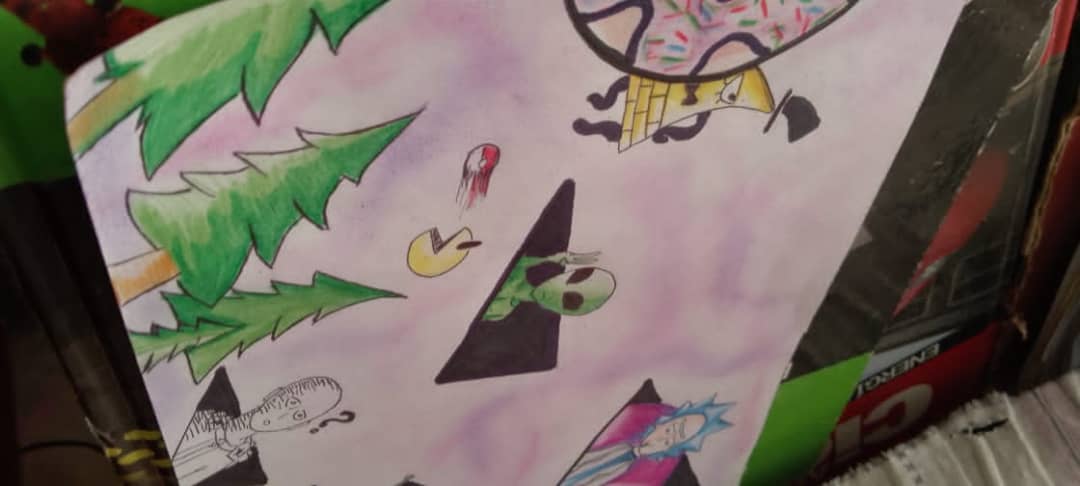
lo mismo haremos con el color morado y azul recordando dejar espacios en blanco, este proceso lo repetiremos hasta que obtengamos el resultado deseado, recuerden que pueden usar la combinación de colores que deseen.
We will do the same with the purple and blue color, remembering to leave blank spaces, we will repeat this process until we obtain the desired result,remember that you can use any color combination you want.
 |  |
|---|
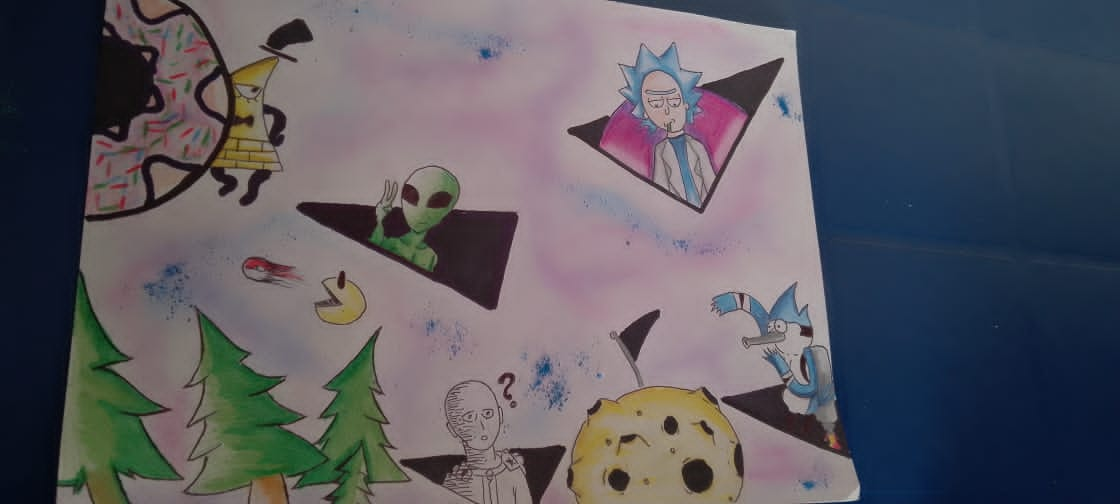
Despues de obtener nuestro resultado deseado añadiremos unos detalles como meteoritos y estrellas con bolígrafo, podemos hacer un par de lineas en los bordes de la hoja y añadir los detalles que queramos
After obtaining our desired result we will add some details such as meteorites and stars with a pen, We can make a couple of lines on the edges of the sheet and add the details we want

Por ultimo añadiremos un toque especial aplicando puntos blancos con un lápiz corrector, para hacer semejanza a destellos espaciales, en caso de no tener un lápiz corrector podemos usar un poco de pintura blanca y hacer los puntos
Finally we will add a special touch by applying white dots with a correction pencil, to resemble space sparkles, If you don't have a correction pencil, you can use a little white paint and make the dots.

Espero que les haya gustado recuerden que pueden aplicar esta tecnica para cualquier tipo de arte
I hope you liked it, remember that you can apply this technique for any type of art
Amé el coloreado 💙✨
Gracias 😁
Es un proceso en donde se debe tener bastante paciencia para hacer todo eso
Gracias hermano te invito a que lo intentes
Bueno trataré de hacerlo
aha that looks great, thanks for sharing.