Hello everyone!
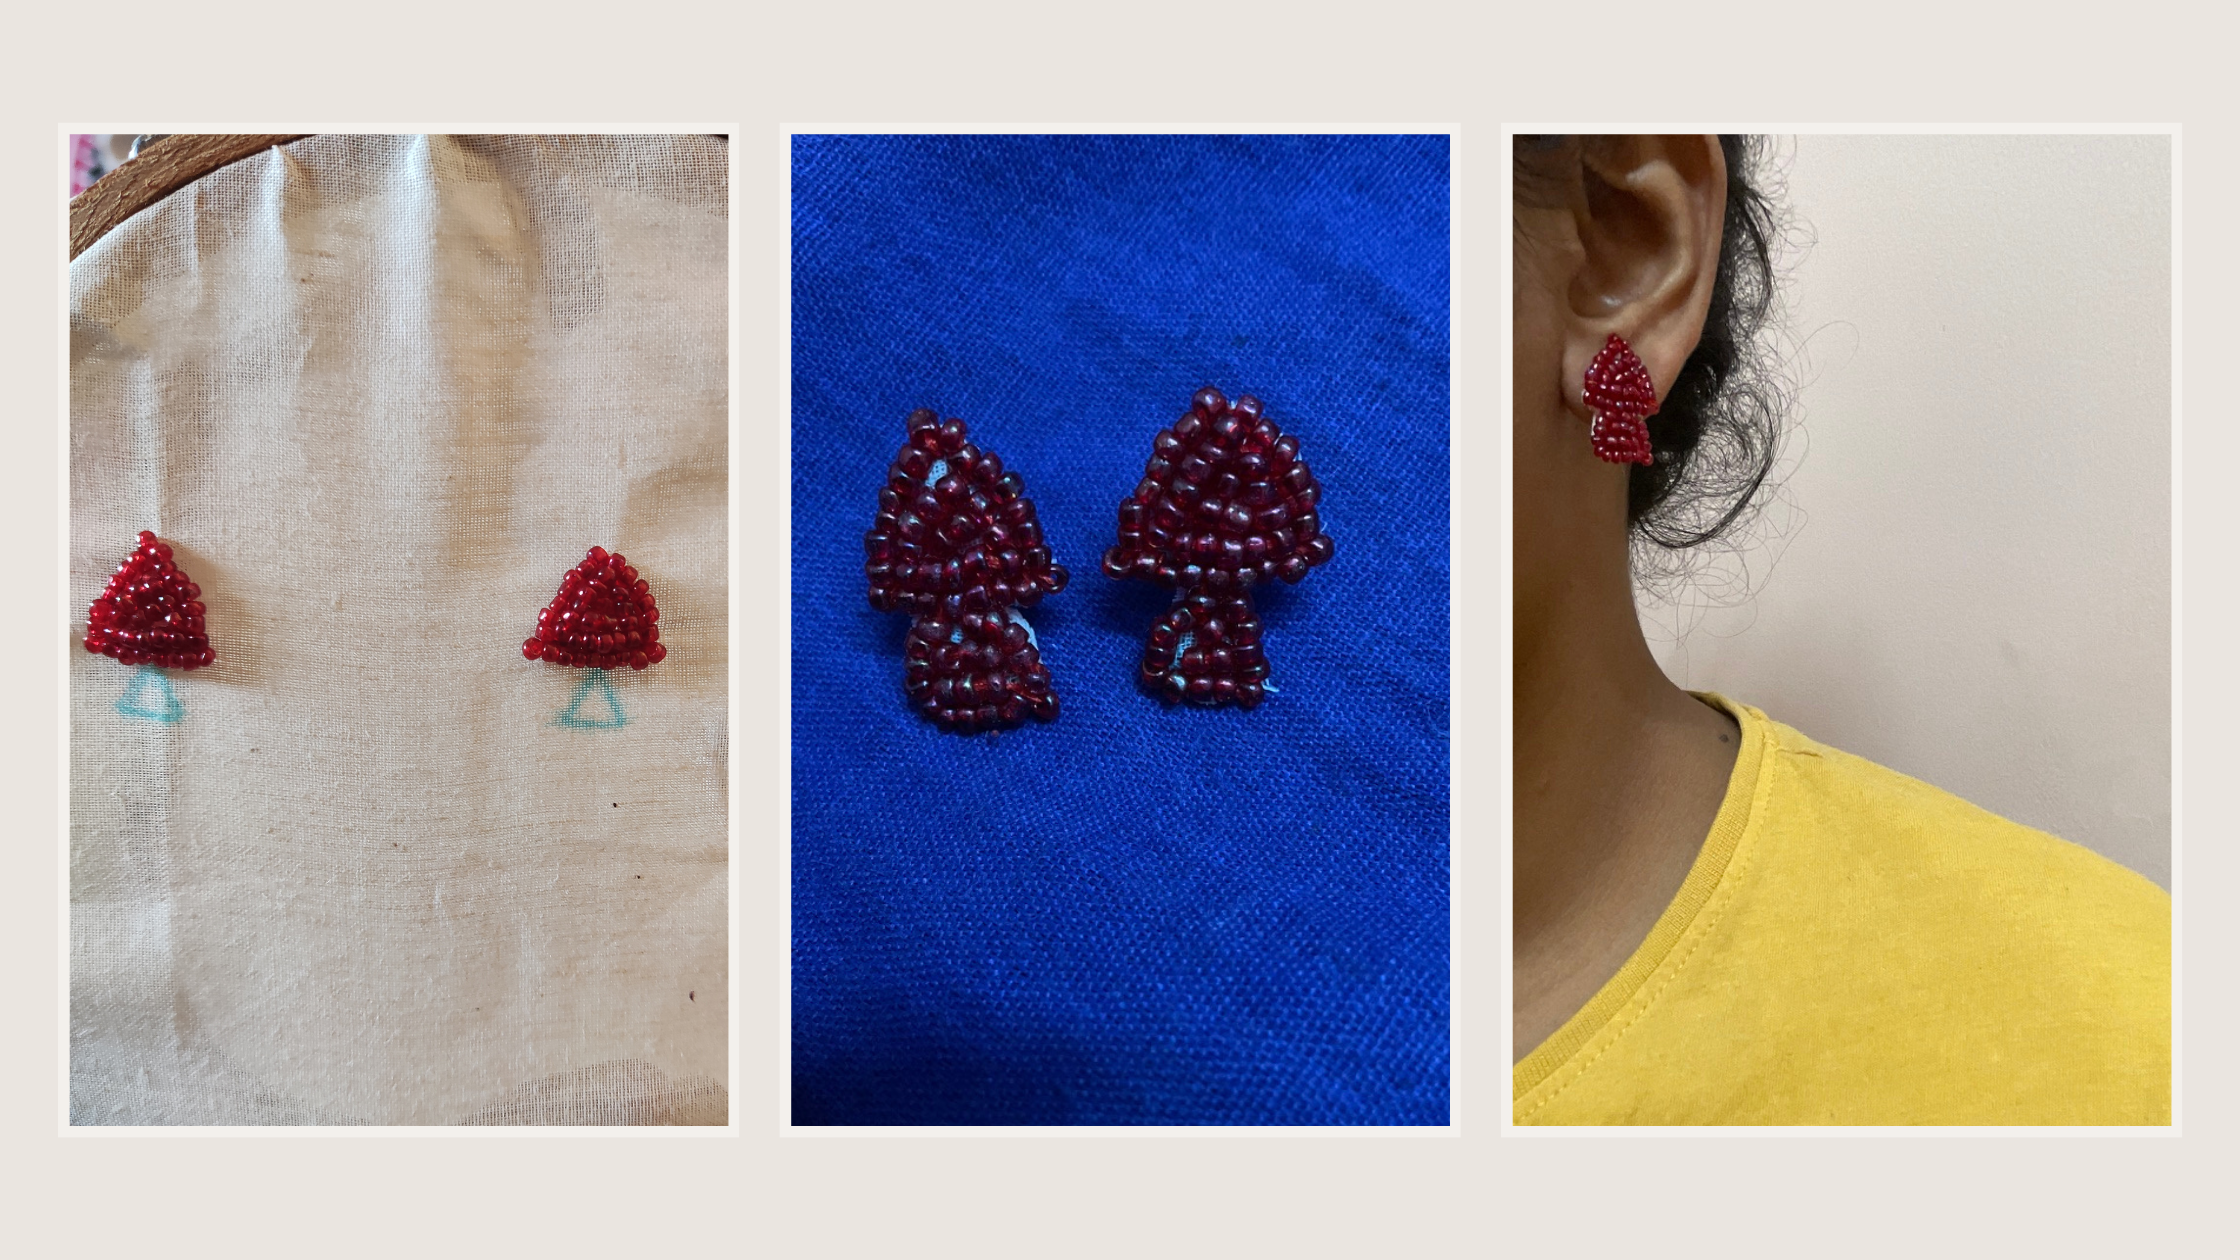
I've finally tried to make an earring using the beads I bought on the fabric and it turned out just fine. It can be made perfect but this attempt gave me the confidence to keep going. I always worry about perfection and not try things. So, this time, it was a desperate move to test it out and here's the result.

It all started with drawing two triangles on the fabric.
Lesson number 1: Choose a matching colour fabric to the colour of the bead.
Choosing the similar colour will help to hide any imperfection in the sewing patterns. However, I wanted to see where I'm going wrong with this project and hence I chose a contrast colour. After drawing the pattern, I fit the fabric in the embroidery hoop and tightened it.

I would prefer to draw the design before putting the fabric on the hoop. Otherwise it might loosen the fabric when we push down to draw on it while keeping on the embroidery hoop.
My design was pretty simple, two triangles of different sizes. I used a stencil to trace the shape and it worked well. Then it is time to have the fun sewing the beads on to the fabric.
Lesson Number 2: Choose the right needle and thread
I used needle number 12 for this project since the beads are really small. This is one thing you should also keep in mind before starting such projects. Some beads, especially cut beads and sugar beads can have tiny holes and other needle sizes won't go through them.

Once the rows are completed, I filled in the inside of the triangle and the shapes were created. I was pretty happy it came out pretty recognisable along with a bit of mistakes in the middle.
Then, I cut out the patterns and decided to glue it to a paper for support and stability. I cut down the similar shape and used a fabric glue to attach them on the back of the beads. I should work on finding better ways to trim the fabric and fold it on the back. Maybe next time I'll try soldering iron. Today, I was scared of spoiling the stitches.


Well, once that was done, I glued the backing to the paper and fabric and kept it to dry. That was it. The earring was ready. it took me more than 3 hours to do this whole project and maybe months of thinking about it. So, I'm really happy I gave it a shot and I'm looking forward to many more interesting projects to take up.
Here's a short video of how I created it. I'll see you soon!
Bye!
Congratulations @peachemorange! You have completed the following achievement on the Hive blockchain And have been rewarded with New badge(s)
Your next target is to reach 100 upvotes.
You can view your badges on your board and compare yourself to others in the Ranking
If you no longer want to receive notifications, reply to this comment with the word
STOP