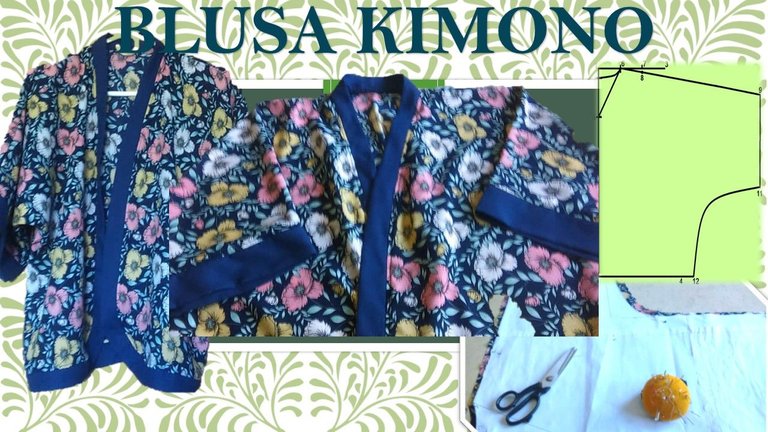
Warm greetings, my dear friends of #NeedleWorkMonday, to whom I am grateful for your continued support and comments that encourage me to continue sharing with you my experiences and knowledge.
First of all I wish you a happy start of the week and may this be a week full of blessings for you, may Jesus the Lord fill you with his light, may the star of Bethlehem illuminate your eyes and guide you to worship Jesus, as the magi did.
I am back with a new project, easy, simple and elegant, that I hope you can take advantage of, both to enhance your own closet and for your personal business. Said project is a kimono blouse and, as always, I'm bringing you the pattern and the making, so
Hands on the scissors!
Saludos cordiales, mis apreciados amigos de #NeedleWorkMonday, a quienes estoy agradecida por su continuo apoyo y comentarios que me animan a seguir compartiendo con ustedes mis experiencias y conocimientos.
Primeramente les deseo un feliz inicio de semana y que ésta sea una semana llena de bendiciones para ustedes, que Jesús el Señor pueda llenarlos con su luz, que la estrella de Belén ilumine sus ojos y los guíe a adorar a Jesús, como hicieron los magos.
Estoy de regreso con un nuevo proyecto, fácil, sencillo y elegante, que espero puedan aprovechar, tanto para aumentar sus propios guardarropas como para sus negocios personales. Dicho proyecto es una blusa tipo kimono y, como siempre, les traigo el patrón y la elaboración, así que
¡Manos a las tijeras!
Trazado del patrón / Tracing the pattern
1-Colocamos el punto 1, desde ahí hacia abajo medimos el largo de la blusa y marcamos el punto 2, unimos con línea recta. 2-A la derecha del punto 1 medimos una cuarta parte del contorno de busto y colocamos el punto 3, unimos con línea recta. 3-Del punto 2 hacia la derecha medimos una cuarta parte del contorno de caderas, y colocamos el punto 4, unimos con línea recta. 4-Del 1 al 5, largo de escote, unimos con línea recta, del 1 al 6 ancho de escote, unimos con línea recta. 5-Del 6 al 7 largo del hombro. 6-Del punto 7 hacia abajo medimos 1 cm y marcamos el punto 8. 7-Del punto 8 medimos el largo de la manga y colocamos el punto 9, unimos 6, 8 y 9 con línea recta. 8-Del punto 9 hacia abajo, medimos el ancho de la manga y colocamos el punto 11, unimos con línea recta. 9-Del punto 4 hacia la derecha aumentamos 5 o más cm según nuestro gusto, para darle mayor holgura a la blusa colocando el punto 12, unimos con línea curva al punto 11. 10-Para la parte trasera, utilizamos el mismo patrón, con la diferencia del escote del cuello: bajamos de 1 hacia abajo 3 cm, marcamos el punto 10, y unimos con línea curva 10 y 6. 1-Colocamos la tela doblada en 2 y cortamos la pieza trasera(una sola pieza). 2-Cortamos 2 piezas de la parte delantera. 3-Cortamos 3 cintas de una tela unicolor, también puede ser de la misma tela, esto es a gusto propio. 1-Unimos por el hombro. 2-Unimos por el costado. 3-Cosemos, doblamos y pegamos la cinta a las mangas, luego repisamos la costura. 4-La cinta para colocar en todo el contorno de la blusa la doblamos, cosemos y en la parte de atrás en el ruedo la unimos antes de terminar la costura, luego la repisamos. NOTA: Esta blusa puede ir abierta o cerrarla con un broche, o colocar un cinturón, a gusto propio. And just like that you can also make this elegant blouse that can be worn alone or with something underneath, like a cardigan. I hope I have been useful to learn a little more about this wonderful world of cutting and sewing. Don't forget to comment and ask any questions you may have, I am at your service. Y así de sencillo puede usted también elaborar esta elegante blusa que puede usarse sola o con algo abajo, tipo cardigan. Espero haberles sido útil para aprender un poco más de este maravilloso mundo del corte y confección. No olviden comentar y preguntar cualquier duda que pudiera haberles quedado al respecto, pues estoy a vuestro servicio.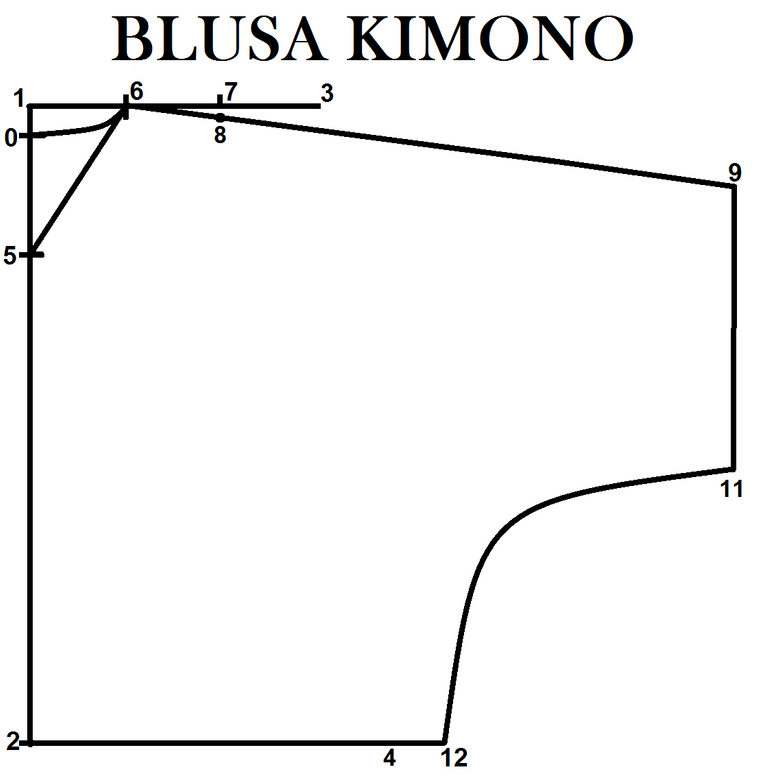
Place point 1, from there downwards measure the length of the blouse and mark point 2, join with a straight line
To the right of point 1 we measure a quarter of the bust contour and place point 3, we join with a straight line.
From point 2 to the right we measure a quarter of the hips contour, and we place point 4, we join with a straight line.
From 1 to 5, neckline length, we join with a straight line, from 1 to 6 neckline width, we join with a straight line.
From 6 to 7 shoulder length.
From point 7 down we measure 1 cm and mark the point 8.
From point 8 measure the length of the sleeve and place point 9, join 6, 8 and 9 with a straight line.
From point 9 downwards, measure the width of the sleeve and place point 11, join with a straight line.
From stitch 4 to the right, we increase 5 or more cm according to our taste, to give more looseness to the blouse by placing stitch 12, we join with a curved line to stitch 11.
For the back part, we use the same pattern, with the difference of the neckline: we go down 3 cm from 1 to the bottom, mark the point 10, and join with curved line 10 and 6.
Corte de las piezas / Cutting of the parts
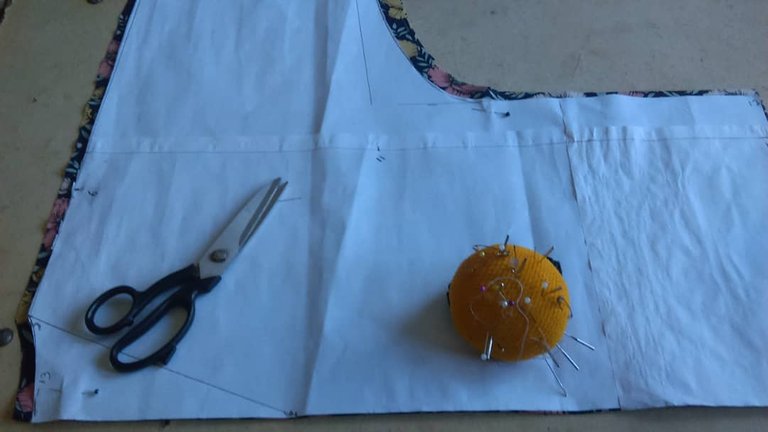
Place the fabric folded in 2 and cut the back piece (one piece).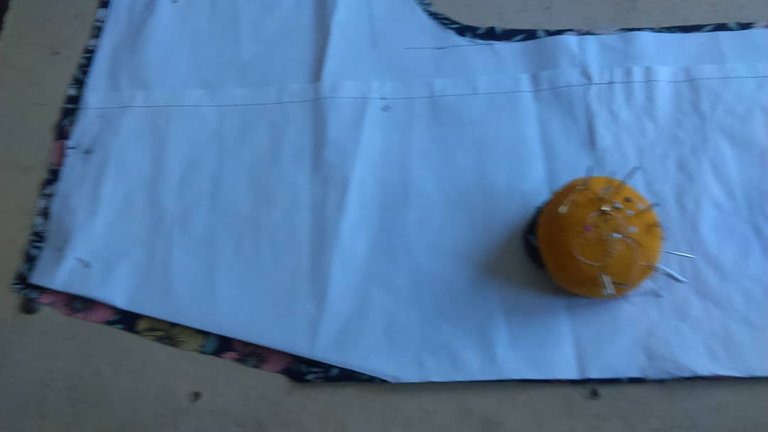
Cut 2 pieces of the front part.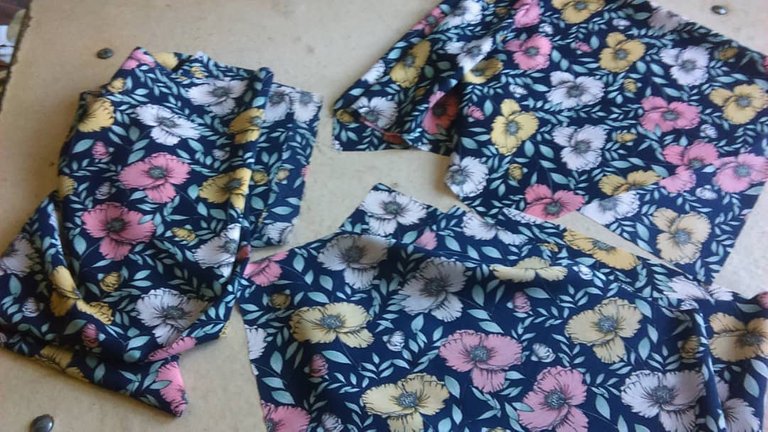
Aquí se ven las 3 piezas cortadas.
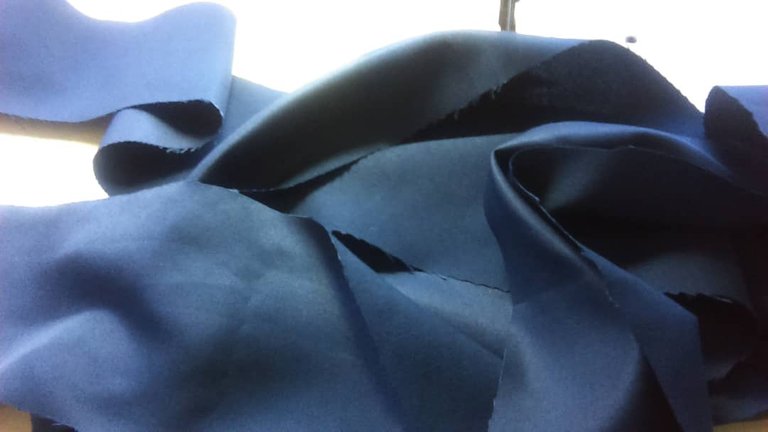
Cut 3 ribbons of a unicolor fabric, it can also be of the same fabric, this is to your own taste.
Confección / Making up
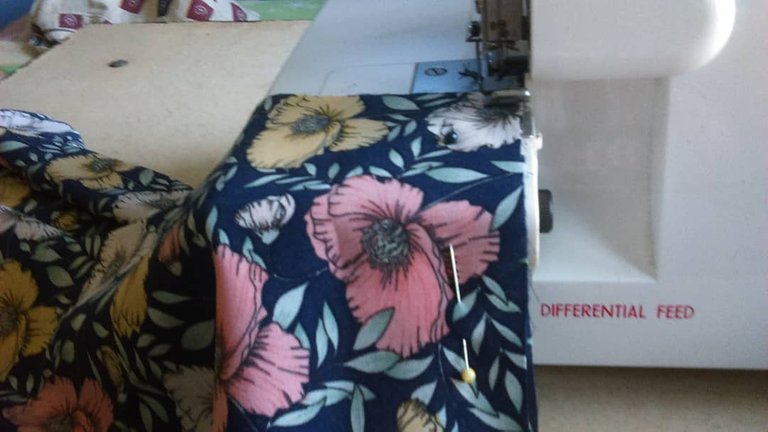
Join at the shoulder.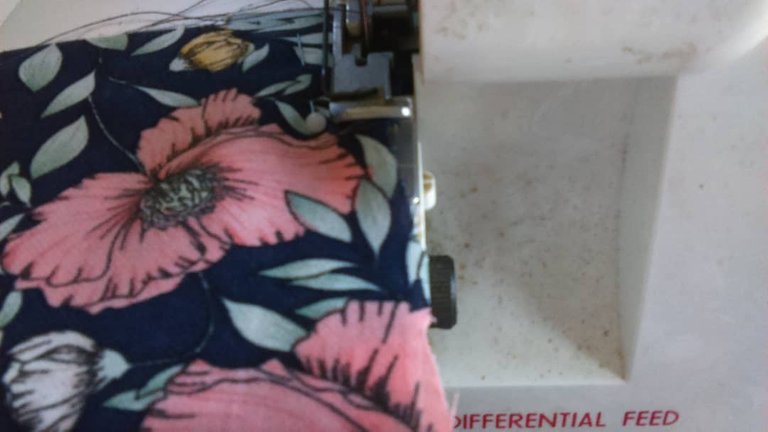
Join at the side.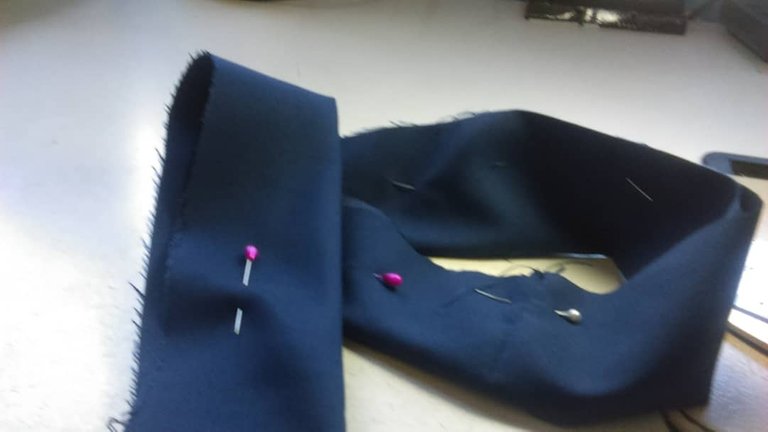
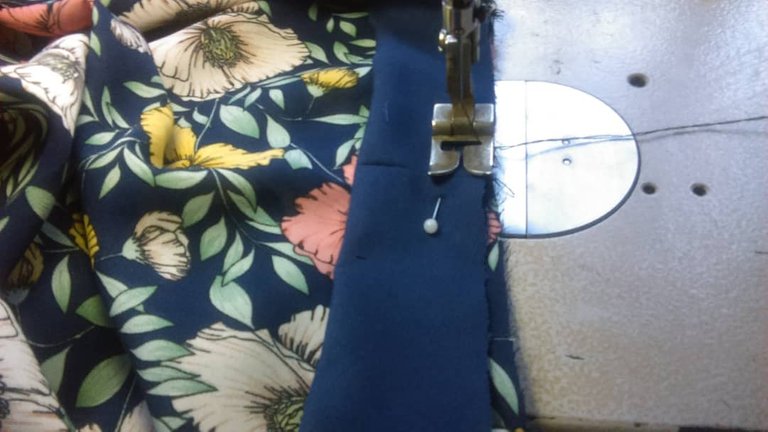
We sew, fold and glue the ribbon to the sleeves, then we repeat the sewing.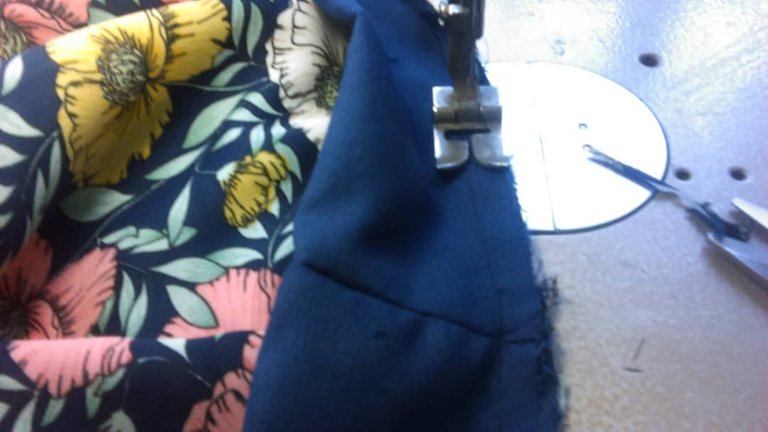
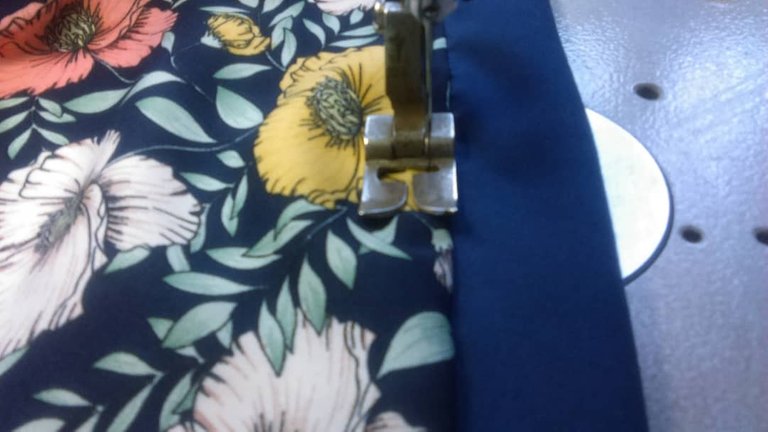
The ribbon to be placed all around the blouse, we fold it, sew and join it at the back in the hem before finishing the seam, then we repeat the sewing.
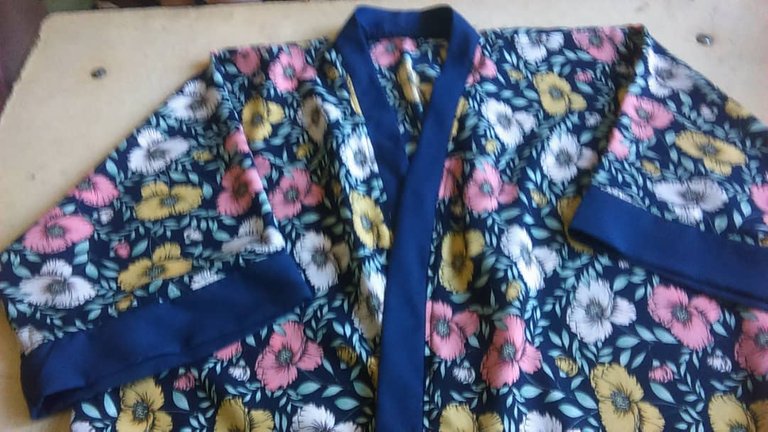
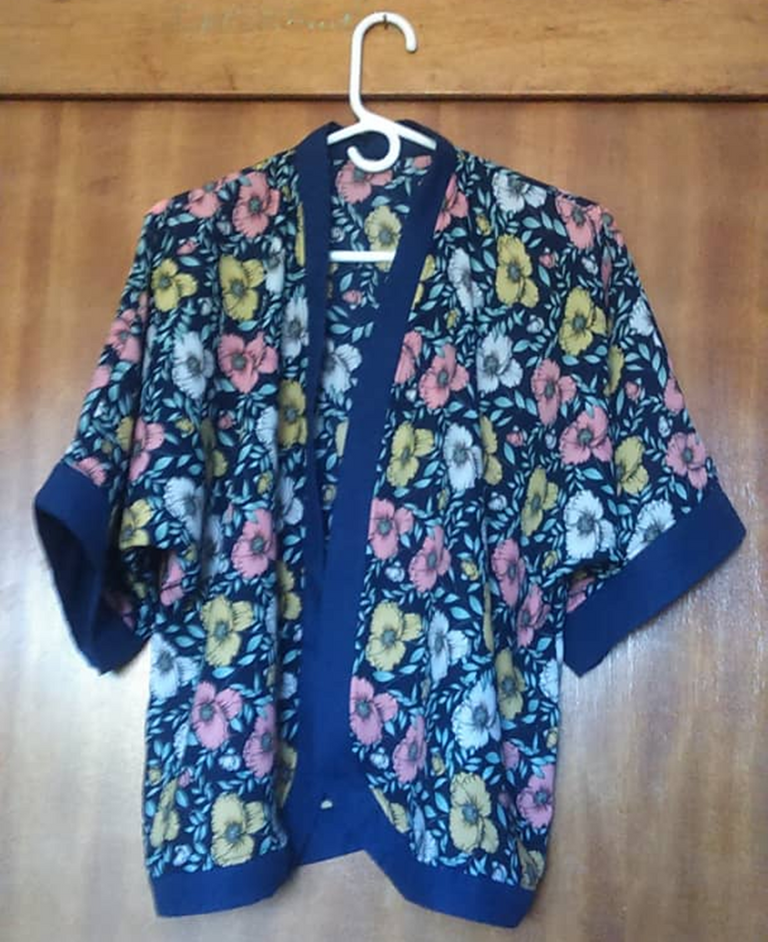
Aquí puede verse el resultado final.
The final result can be seen here.
ATTENTION: This blouse can be open or close it with a brooch, or place a belt, as you like.
Until the next stitch!
¡Hasta una próxima puntada!