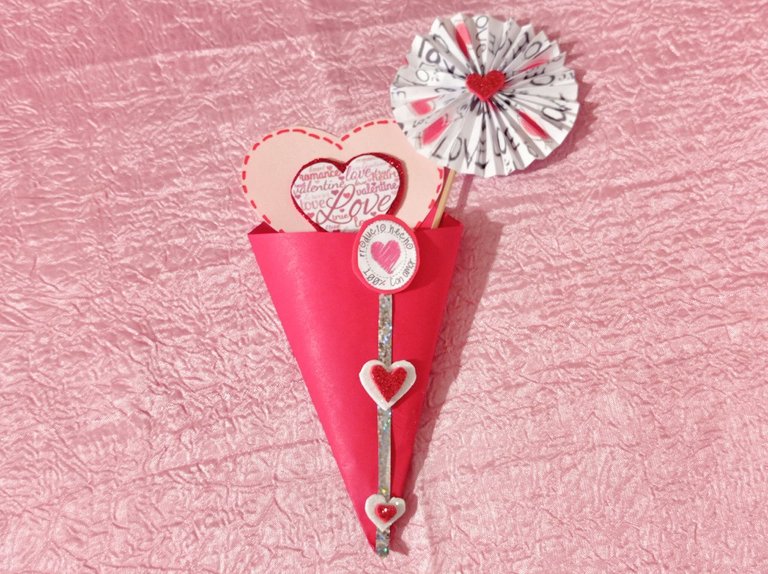
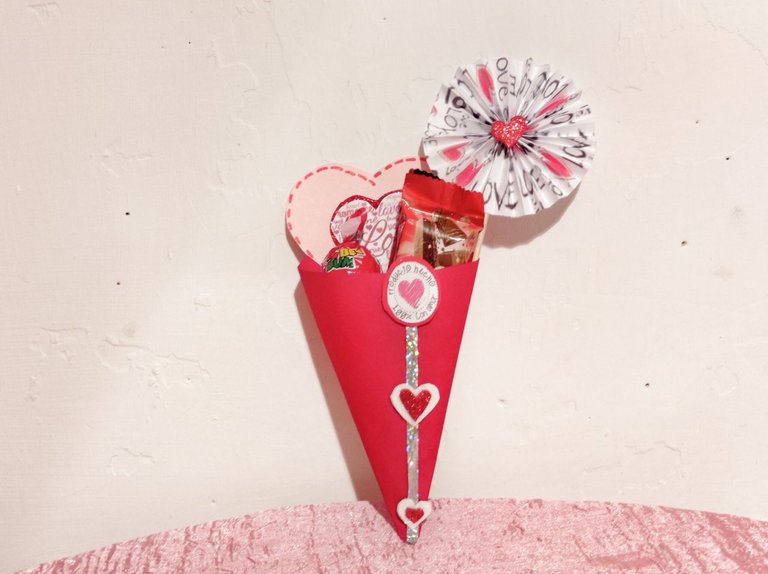
Hola amigos de hive, hoy quiero compartir con ustedes este mini cono para dulces que hice, esta es una opción para darle un pequeño detalle a un ser querido ya que se aproxima el día del amor y la amistad, se puede colocar cualquier golosina pequeña como chocolates, chupetas y cosas asi, es algo sencillo de realizar y lo mejor es que el resultado final queda genial.
Hello friends of hive, today I want to share with you this mini candy cone that I made, this is an option to give a small detail to a loved one as the day of love and friendship is approaching, you can place any small candy like chocolates, lollipops and things like that, it is something simple to do and the best thing is that the end result looks great.
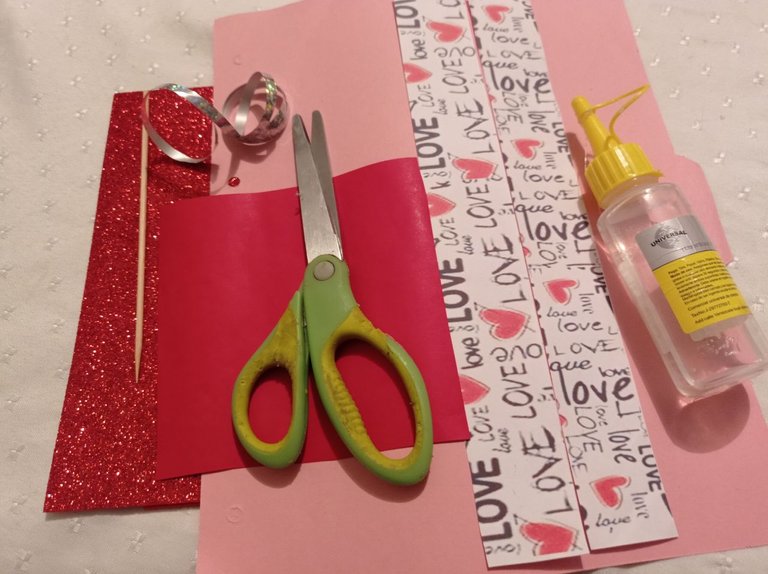
Materiales – Materials
Cartulina
Foami
Tijera
Silicón
Regla
Lápiz
Cinta decorativa
Cardboard
Foami
Scissors
Silicone
Ruler
Pencil
Decorative tape
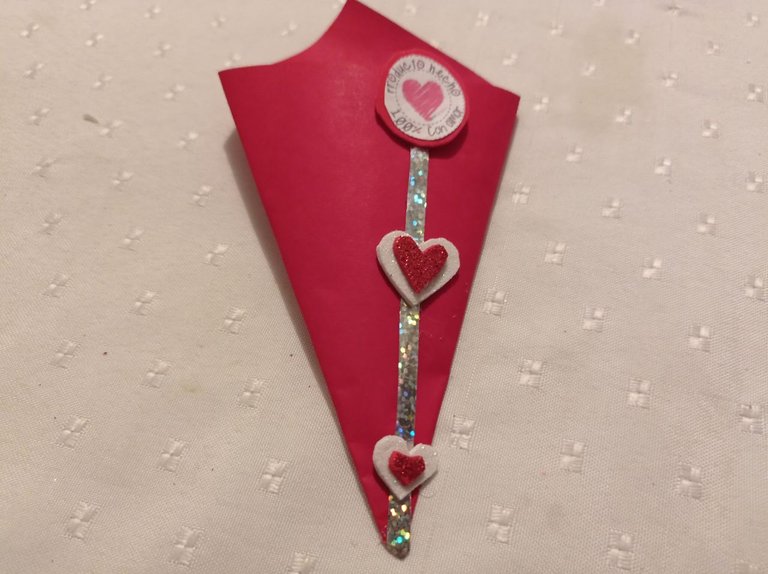
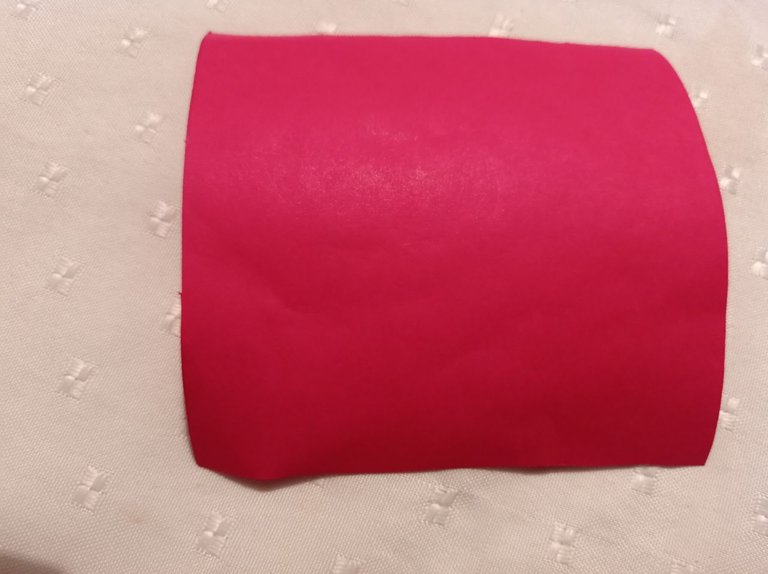
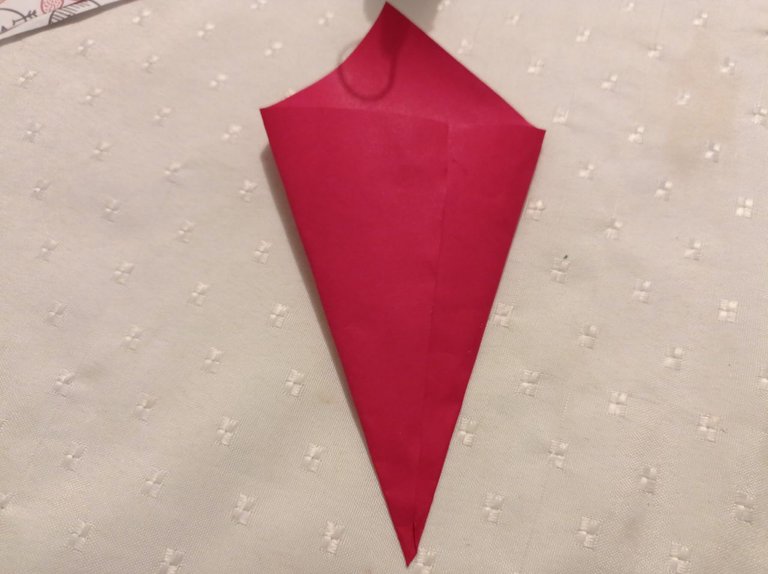
Primero comenzamos midiendo con la regla un cuadrado de 12 cm x 12 cm, luego de eso lo recortamos así podemos hacer la forma del mini cono, para asegurar colocamos silicón por el borde lo pegamos y presionamos un rato hasta que esté totalmente seco.
First we start measuring with the ruler a square of 12 cm x 12 cm, after that we cut it so we can make the shape of the mini cone, to ensure we put silicone on the edge we glue it and press it for a while until it is completely dry.
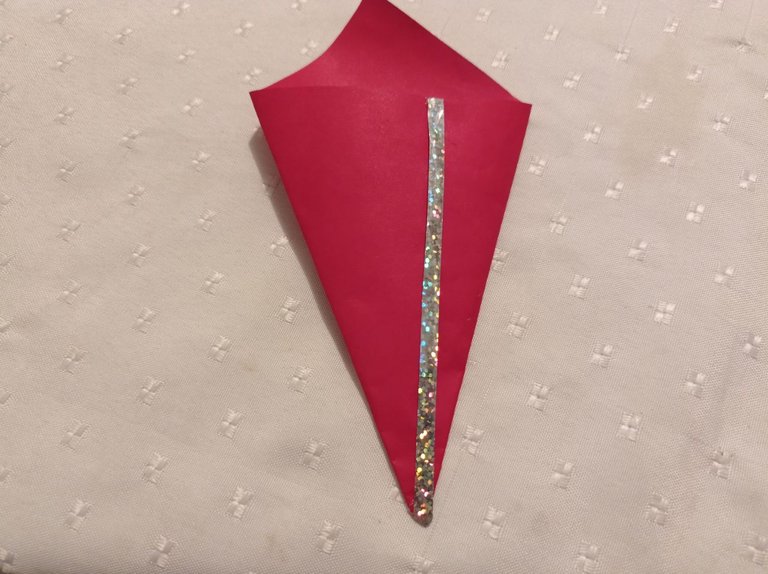
Now we place the decorative ribbon on the part that shows the union of the cardboard, then we make some hearts that will decorate the mini cone and we can also print something to place it.
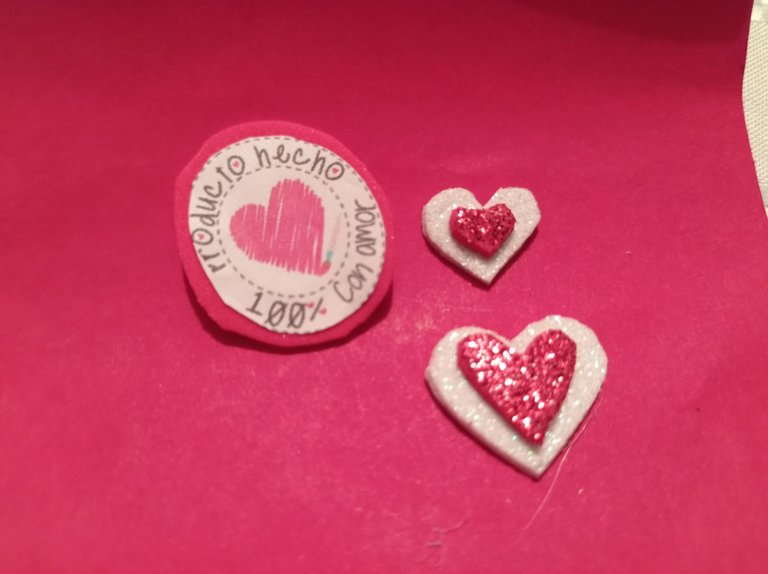
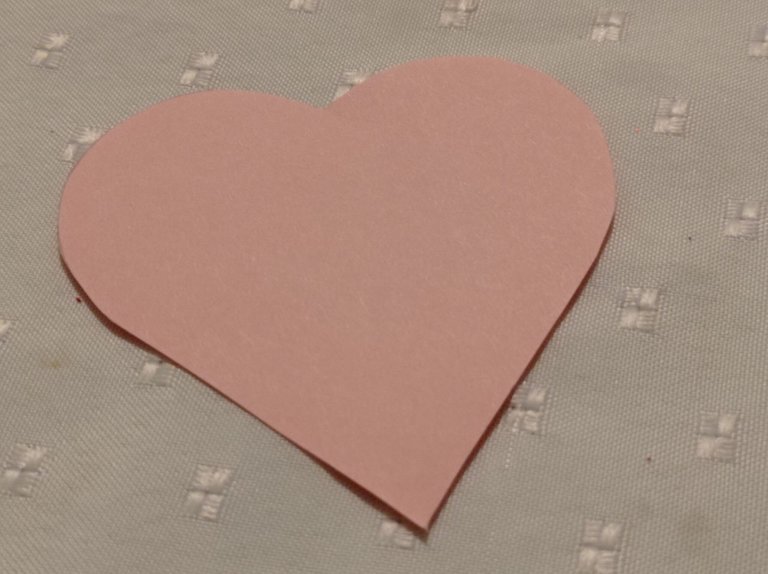
With most of the ornaments ready we glue them on the mini cone in the way we want to place them, then with a heart-shaped mold we mark on the cardboard so we can cut them out.
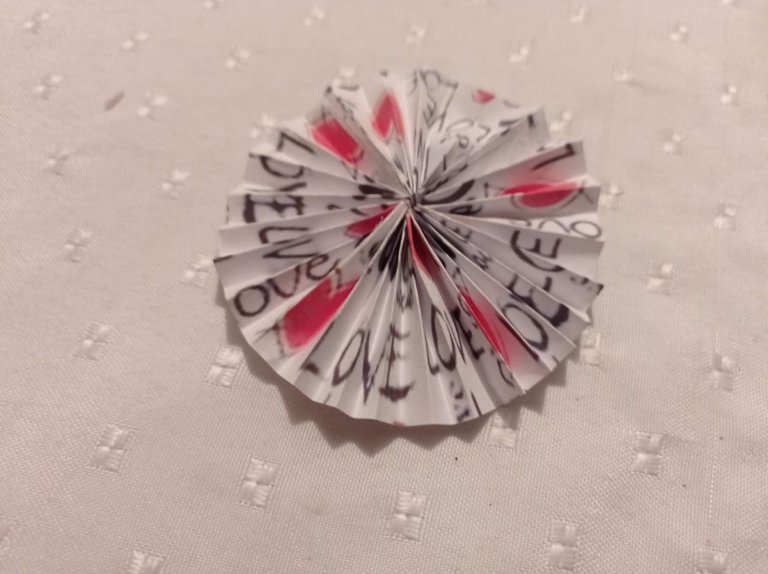
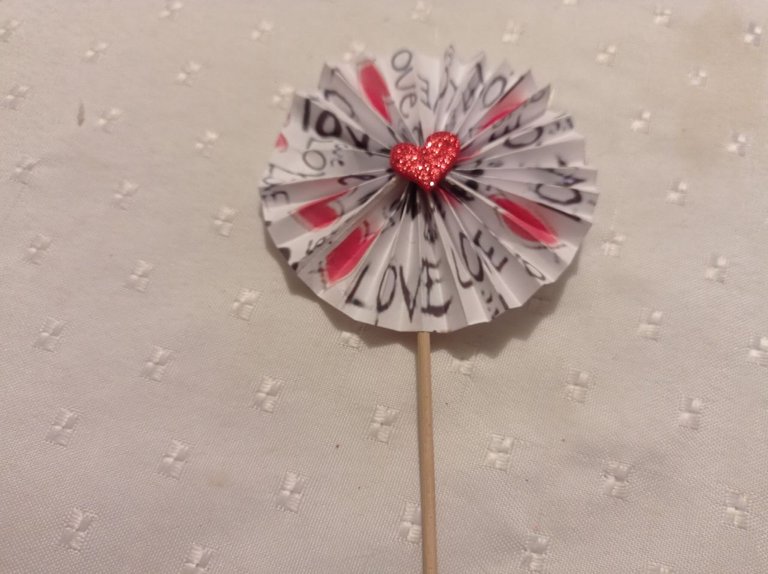
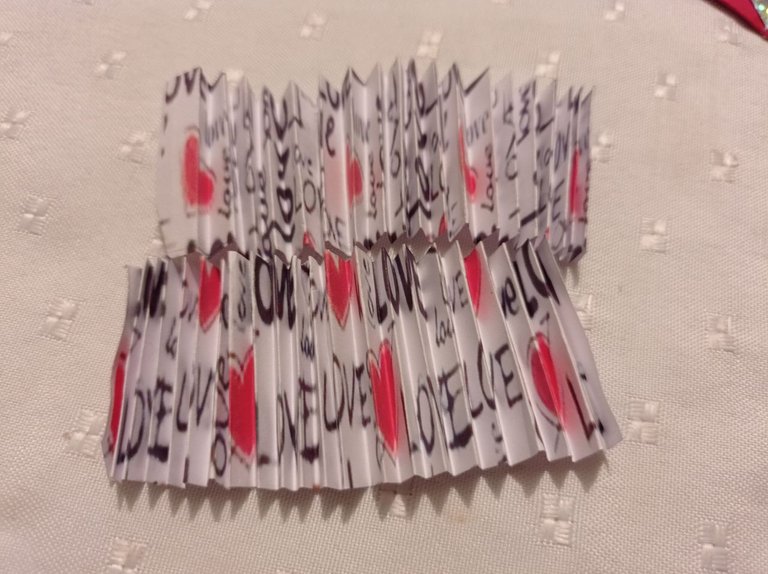
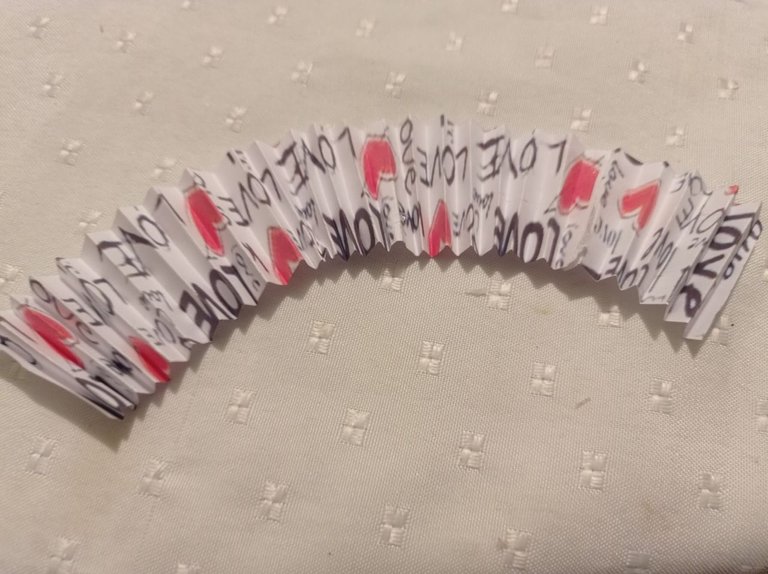
Now we make a small fan to give it a better touch, so let’s start by cutting two 4 cm wide strips of paper to start making folds, when we have finished folding we glue the two strips together.
With the two strips glued together we glue the two ends together again so that it takes the shape we want, so that it stays fixed we simply glue a circle of cardboard on the back, in the front of the center we make a small heart of foami and place it, we finish by placing the height stick in the back.
Finally what we do is glue the heart that we previously cut and on top of it we glue the other one, so to give it the final touch we place the fan inside and it will be ready.
Espero les guste.
I hope you like it
Gracias por Leer.
Thanks for reading
Fotos de mi propiedad.
Camara: Telefono Xiaomi Redmi note 9

Thank you for sharing this amazing post on HIVE!
non-profit curation initiative!Your content got selected by our fellow curator @hafizullah & you just received a little thank you via an upvote from our
You will be featured in one of our recurring curation compilations and on our pinterest boards! Both are aiming to offer you a stage to widen your audience within and outside of the DIY scene of hive.
Join the official DIYHub community on HIVE and show us more of your amazing work and feel free to connect with us and other DIYers via our discord server: https://discord.gg/mY5uCfQ !
If you want to support our goal to motivate other DIY/art/music/homesteading/... creators just delegate to us and earn 100% of your curation rewards!
Stay creative & hive on!
Chevere
Cute! 😍 like a bouquet but with candies 😄 thank you for sharing!
https://d.buzz
Its supper creativity, I love the design cuz it is looking very attractive.
Thanks for sharing your excellent efforts.
Thank you very much, the best thing is that it is something simple and beautiful.
Te quedo hermoso anyeli, se ve que haces bellezas, animo amiga, sigamos adelante que las manualistas estamos destacando bastante con nuestro contenido hermoso
Gracias amiga, claro que sí las manualidades están destacando bastante, tenemos que seguir así con nuestro contenido. Saludos