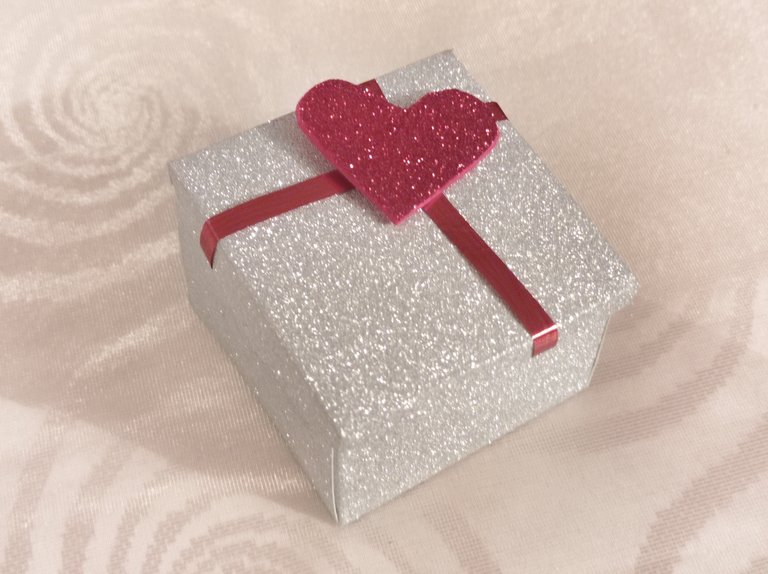
Hola amigos de hive, hoy quiero mostrarles como hice está hermosa mini cajita para regalar, un amigo me pidió ayuda ya que estará de aniversario con su novia está próxima semana y quería regalar un collar así que quería una cajita dónde colocarlo, se me ocurrió de hacer este modelo ya que no es difícil y queda muy linda. Pueden colocarle lo que quieran adentro y así darle un lindo detalle a la persona que quieran.
Hello friends of hive, today I want to show you how I made this beautiful mini box to give away, a friend asked me for help because he will be on his anniversary with his girlfriend next week and wanted to give away a necklace so I wanted a box where to put it, I thought of making this model because it is not difficult and it looks very nice. You can put whatever you want inside and give a nice detail to the person you want.
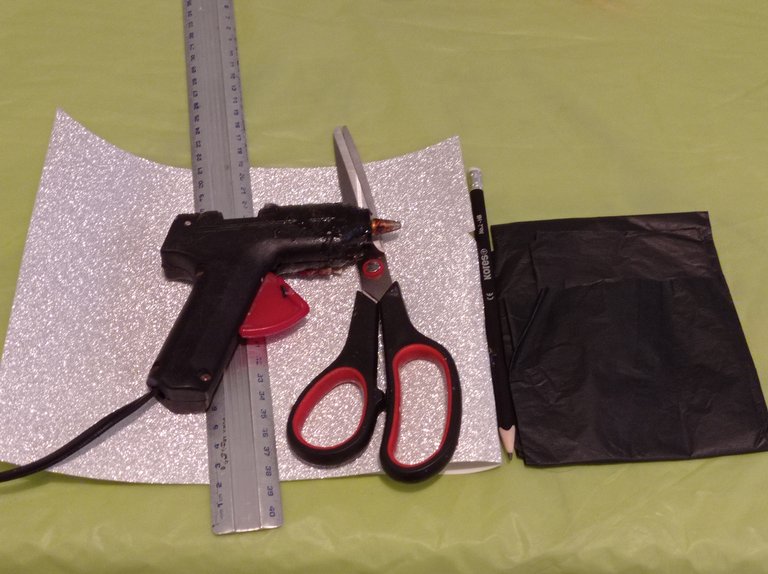
Materiales - Materials
- Cartulina
- Foami
- Tijera
- Silicón
- Tijera
- Lápiz
- Regla
- Cardboard
- Foami
- Scissors
- Silicone
- Scissors
- Pencil
- Rule
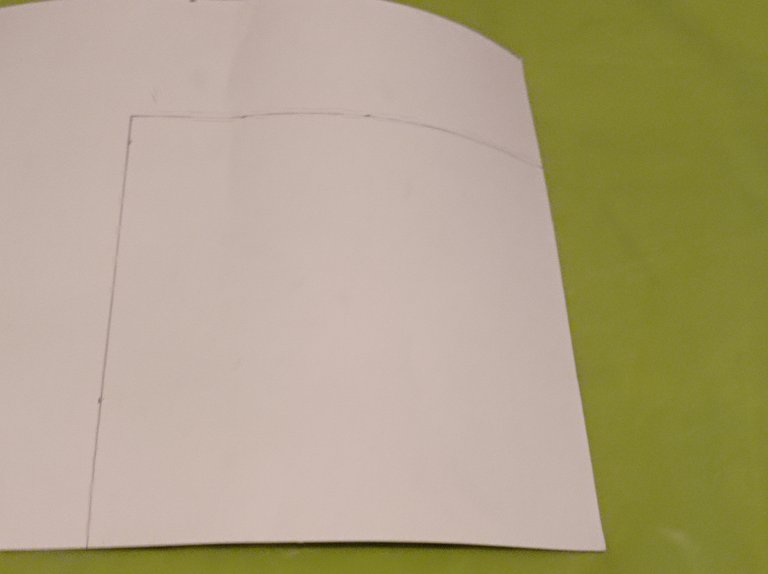
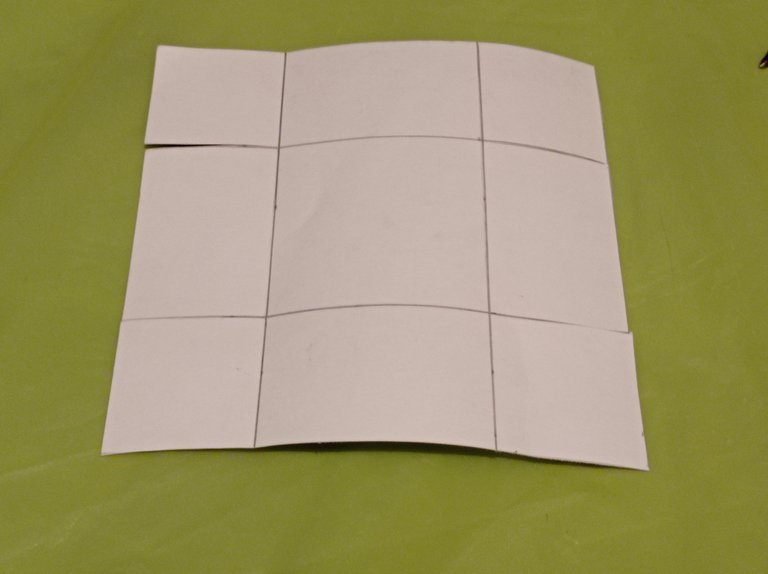
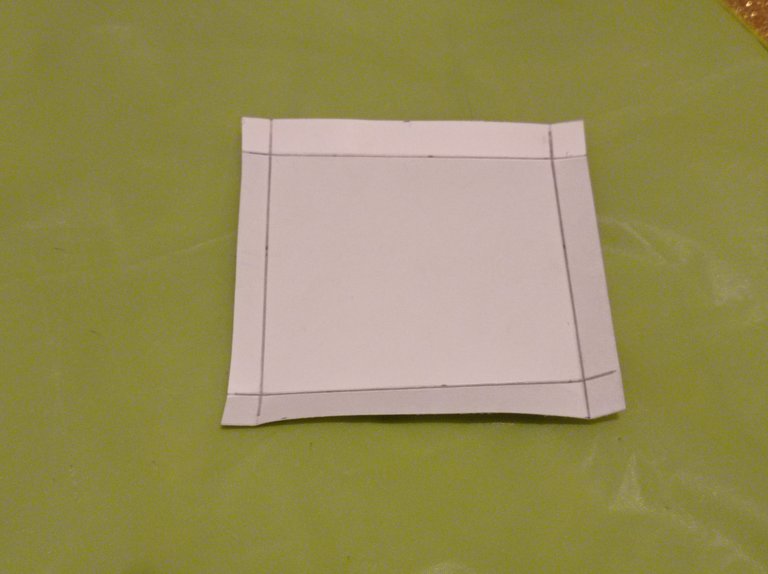
Primero comenzamos marcando en la cartulina un cuadrado de 14 x 14 cm para luego dentro de ese cuadrado podemos marcar como será la altura y ancho de la mini cajita, le colocaremos 4 cm de cada lado que será la altura y en la parte del medio será el ancho de 6 cm.
First we begin by marking on the cardboard a square of 14 x 14 cm and then within that square we can mark as will be the height and width of the mini box, we will place 4 cm on each side that will be the height and in the middle will be the width of 6 cm.
First we begin by marking on the cardboard a square of 14 x 14 cm and then within that square we can mark as will be the height and width of the mini box, we will place 4 cm on each side that will be the height and in the middle will be the width of 6 cm.
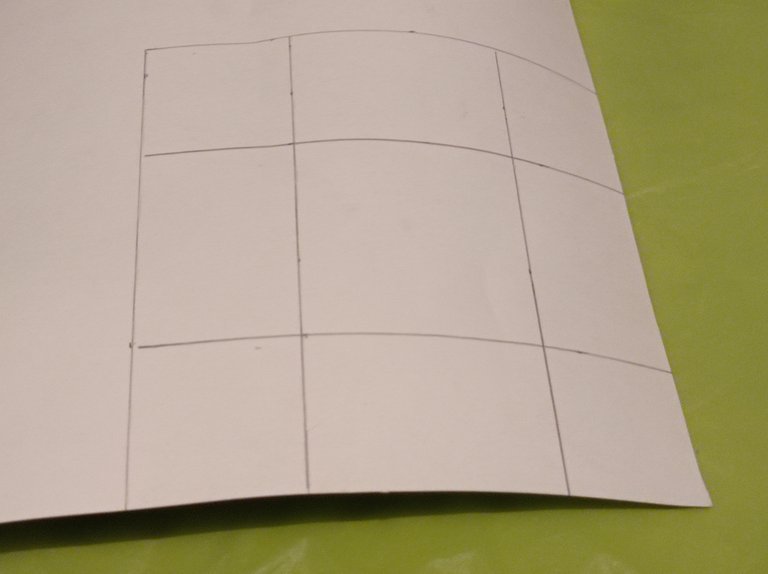
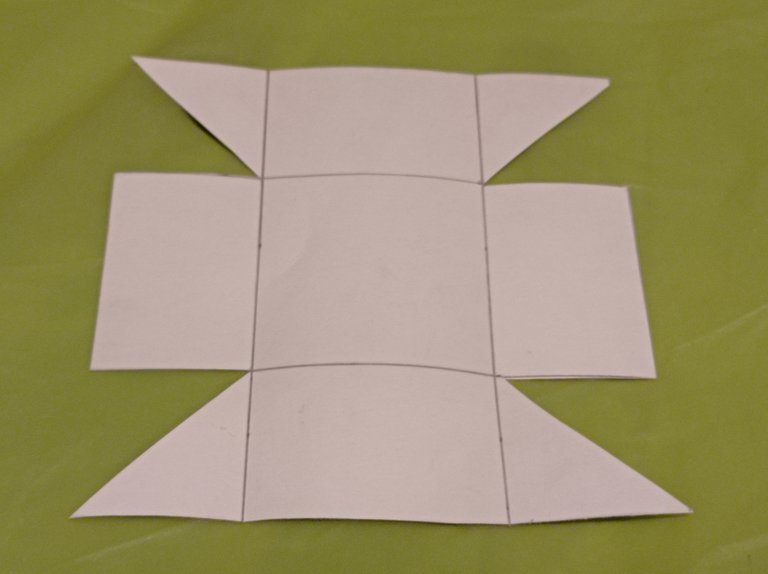
Ahora lo que haremos será recortar lo que marcamos para poder comenzar armar la cajita, luego empezamos a recortar las pestañas para eso simplemente cortamos un triángulo en la parte interior de cada cuadrado en las esquinas y listo.
Now what we will do is cut out what we marked to start assembling the box, then we start trimming the tabs for that simply cut a triangle on the inside of each square at the corners and that’s it.
Now what we will do is cut out what we marked to start assembling the box, then we start trimming the tabs for that simply cut a triangle on the inside of each square at the corners and that’s it.
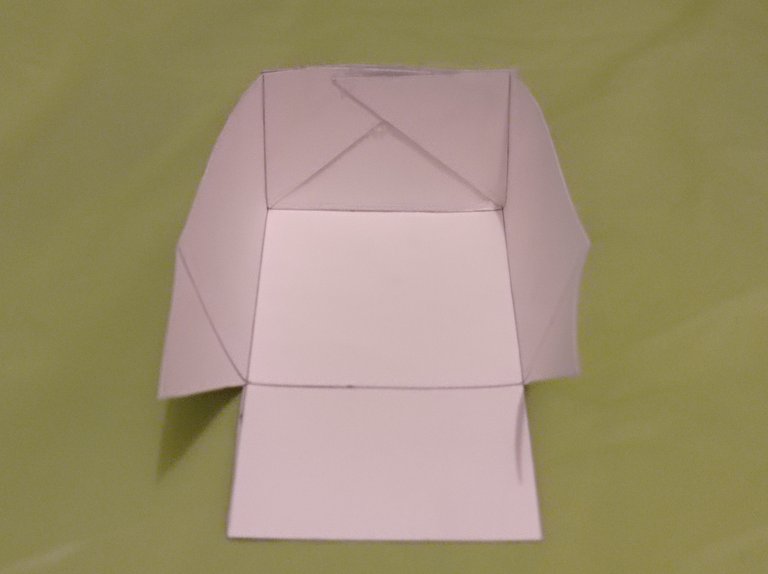
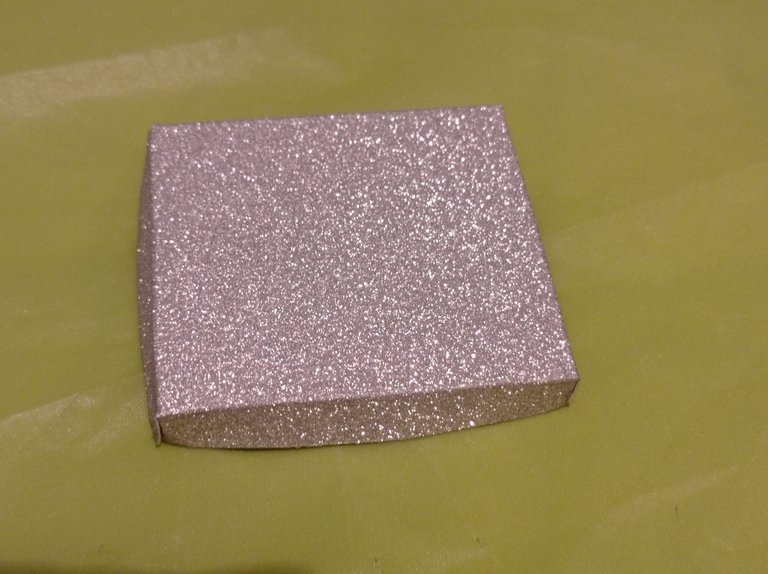
Luego podemos empezar a armar la caja, así que simplemente lo que hacemos es colocar las pestañas hacia dentro le colocamos silicón y lo pegamos a la pared de la caja y así repetimos el mismo proceso en el otro lado así tendremos casi lista.
Then we can start assembling the box, so what we do is simply place the tabs inwards we put silicone and stick it to the wall of the box and then we repeat the same process on the other side so we have almost ready.
Then we can start assembling the box, so what we do is simply place the tabs inwards we put silicone and stick it to the wall of the box and then we repeat the same process on the other side so we have almost ready.
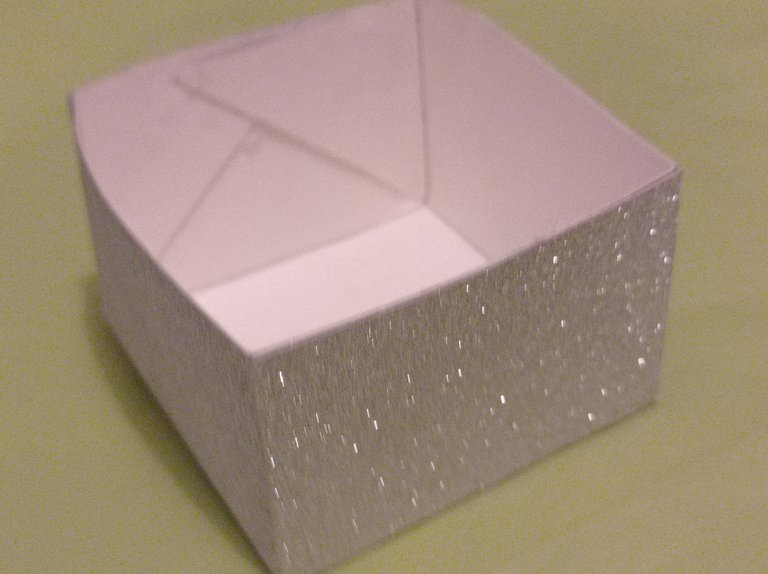
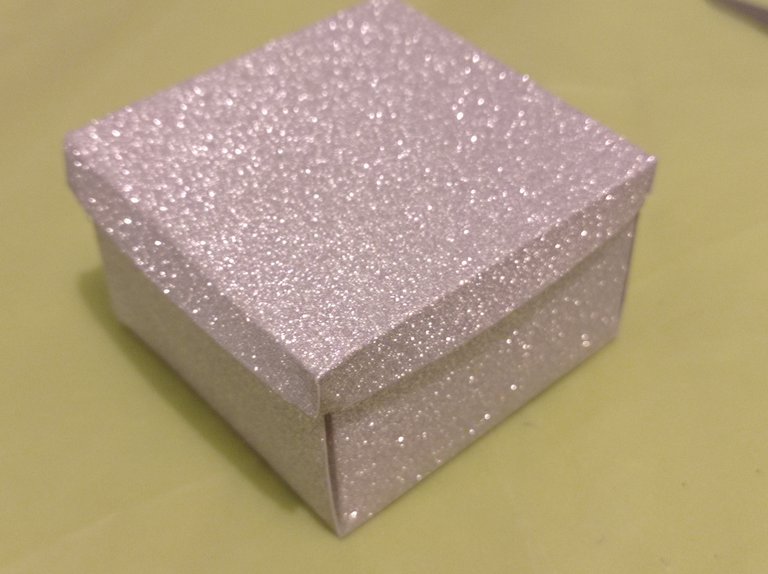
Lo que hacemos ahora es hacer la tapa de la cajita para eso cortamos un cuadrado de 8 x 8 cm para que no haya ningún problema cuando vayamos a colocar la tapa a la caja, luego haremos las pestañas 1 cm de cada lado y repetimos el mismo proceso anterior de cortar y pegar las pestañas hacia adentro asi tendremos lista la tapa.
What we do now is make the lid of the box for that we cut a square of 8 x 8 cm so that there is no problem when we put the lid to the box, then we will make the tabs 1 cm from each side and repeat the same process as before to cut and paste the tabs in so we have the lid ready.
What we do now is make the lid of the box for that we cut a square of 8 x 8 cm so that there is no problem when we put the lid to the box, then we will make the tabs 1 cm from each side and repeat the same process as before to cut and paste the tabs in so we have the lid ready.
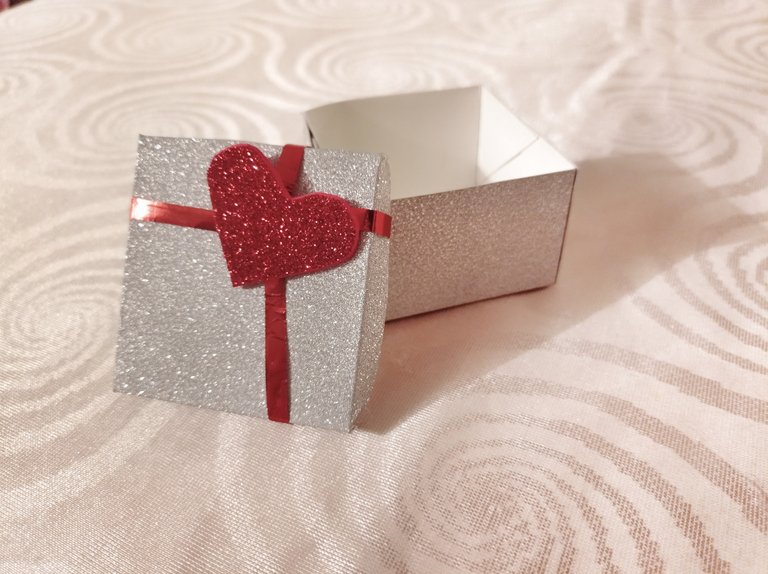
Por último lo que hacemos es decorar la tapa con cinta alrededor y le colocamos un corazón para darle el toque final y asi estará lista nuestra mini cajita para regalar.
Finally what we do is decorate the lid with tape around it and put a heart to give the final touch and so will be ready our mini box to give away.
Finally what we do is decorate the lid with tape around it and put a heart to give the final touch and so will be ready our mini box to give away.
Espero les guste.
I hope you like it
Gracias por Leer.
Thanks for reading
Fotos de mi propiedad.
Camara: Telefono Xiaomi Redmi note 9

Very usefull for upcomming valantines day😉
Yes it would be a good gift for Valentine's Day, but these days I will also make crafts for that day.
Your level lowered and you are now a Red Fish!