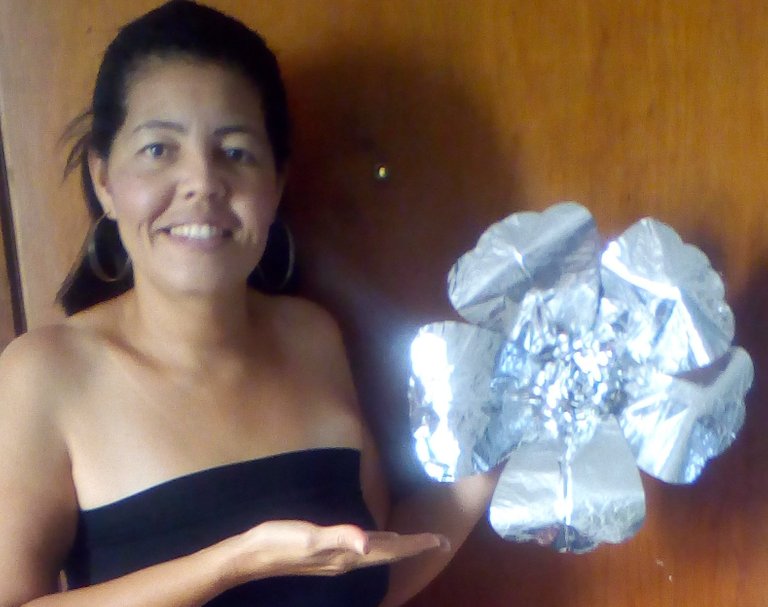
!Adoro las flores de papel! Y es que para mí son el toque perfecto y delicado para cualquier decoración, además de ser muy fáciles de hacer, pero lo más importante es que no se marchitarán y se pueden guardar para utilizar tantas veces como sea necesario complementándolas con otros detalles que marquen la diferencia y que las hagan resaltar.
I love paper flowers! And for me they are the perfect and delicate touch for any decoration, besides being very easy to make, but the most important thing is that they will not wither and can be saved to use as many times as necessary, complementing them with other details that make the difference and make them stand out.
Me encanta reutilizar y también soy amante de las cosas con brillo, ya sea glitter, piedras o papel metalizado, y en esta oportunidad les enseñaré a realizar hermosas flores de papel metalizado con bolsas de snacks, sí! escuchaste bien, SNACKS, estas son unas de las flores mas económicas que he hecho.
I love to reuse and I am also a lover of things with glitter, whether glitter, stones or metallic paper, and this time I will show you how to make beautiful metallic paper flowers with snack bags, yes! you heard right, SNACKS, these are some of the most economical flowers I have ever made.
Donde decidas colocarlas se verán muy lindas y lo mejor de todo es que nadie imaginará de que están hechas!
Wherever you decide to place them, they will look very nice and best of all, no one will imagine what they are made of!
MATERIALES PARA CADA FLOR
Bolsas *
1 circulo de cartón (14cm)
Alambre
Tenaza
Cinta métrica o regla.
Tijera
Marcador.
Pistola de silicon.
MATERIALS FOR EACH FLOWER
Bags *
1 cardboard circle (14cm)
Wire
Pliers
Tape measure or ruler.
Scissors
Marker pen.
Silicone gun.
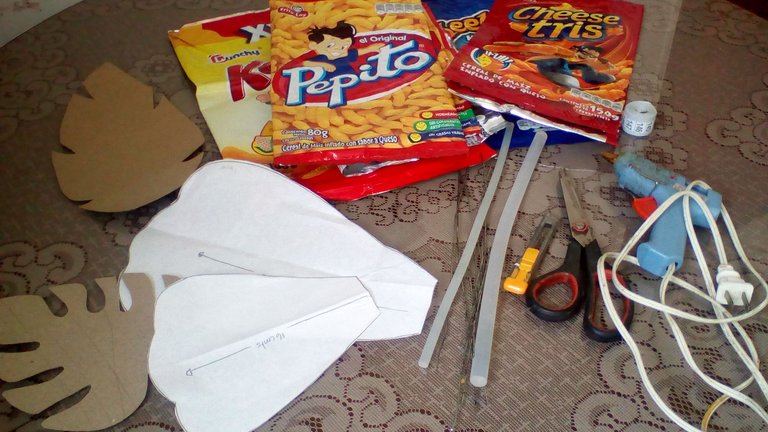
*Sugiero usar las bolsas que vienen en presentación de 80 grs y 110 grs de cada una podrás recortar 3 pétalos.
I suggest using the bags that come in presentation of 80 grs and 110 grs of each one you can cut 3 petals.
Puedes hacerlas del tamaño que desees en mi caso las necesitaba de aproximadamente 35 cm por eso hice cada pétalo de 16cm de alto.
A continuación les mostraré algunas imágenes para reforzar el paso a paso.
Lo primero que deberás hacer es seleccionar el molde de pétalos de su preferencia, marcarlos sobre la bolsa por el lado de afuera, mientras mas pétalos hagas más frondosa quedará la flor (yo las hice de 5 pétalos).
You can make them any size you want, in my case I needed them to be approximately 35 cm so I made each petal 16cm high.
Next I will show you some images to reinforce the step by step.
The first thing you should do is select the petal mold of your preference, mark them on the bag on the outside, the more petals you make the more lush the flower will be (I made them with 5 petals).
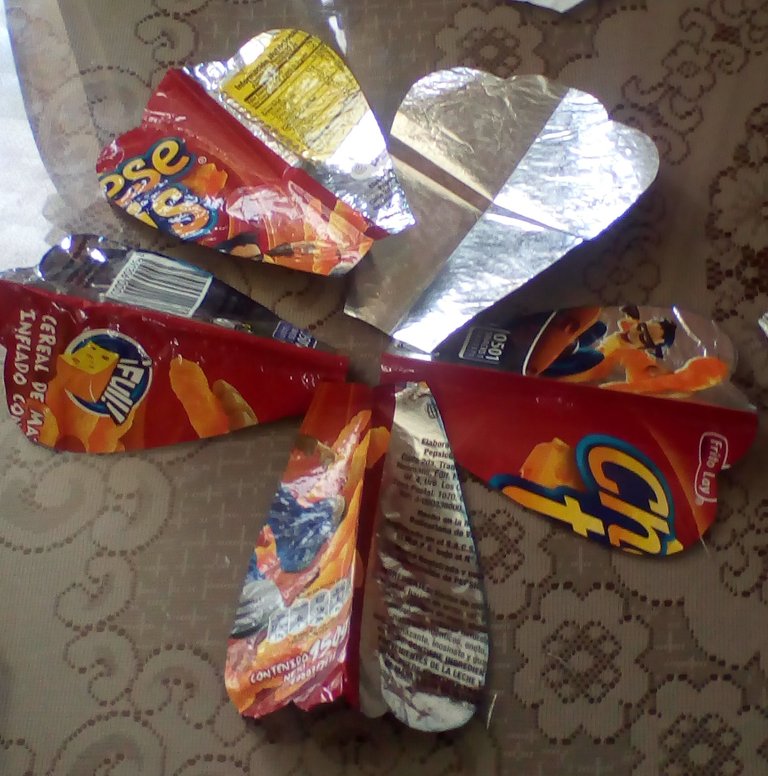
Una vez cortados todos los pétalos según el tamaño deseado, con la tenaza cortar trozos de alambre según el tamaño de los pétalos.
El siguiente paso será pegar el alambre con la pistola de silicón a lo largo del pétalo para darle movimiento. Una vez terminado este paso deberás darle un pequeño corte a la parte inferior de cada pétalo y pegar con puntos de silicón para darle profundidad y tratar con esto de imitar la caída natural de las flores.
Once all the petals have been cut to the desired size, use the pliers to cut pieces of wire according to the size of the petals.
The next step is to glue the wire with the silicone gun along the petal to give it movement. Once this step is finished you will have to give a small cut to the bottom of each petal and glue with silicone dots to give it depth and try to imitate the natural fall of the flowers.
Translated with www.DeepL.com/Translator (free version)
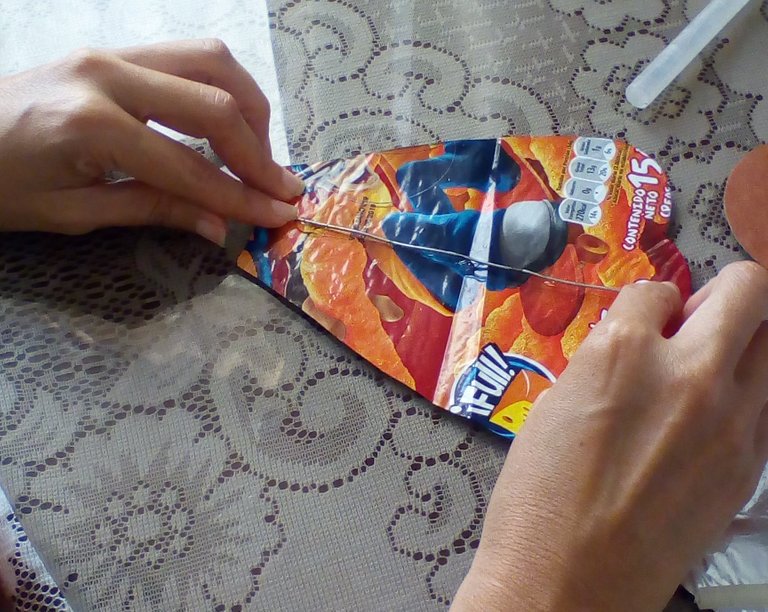
Para realizar los pistilos necesitarás cortar tiras del mismo material de aproximadamente 15 cm de ancho por 30 cm de largo, para luego doblarlas a la mitad y hacerle pequeños cortes dejando un borde de 1 cm de cada lado.
To make the pistils you will need to cut strips of the same material approximately 15 cm wide by 30 cm long, then fold them in half and make small cuts leaving a 1 cm border on each side.
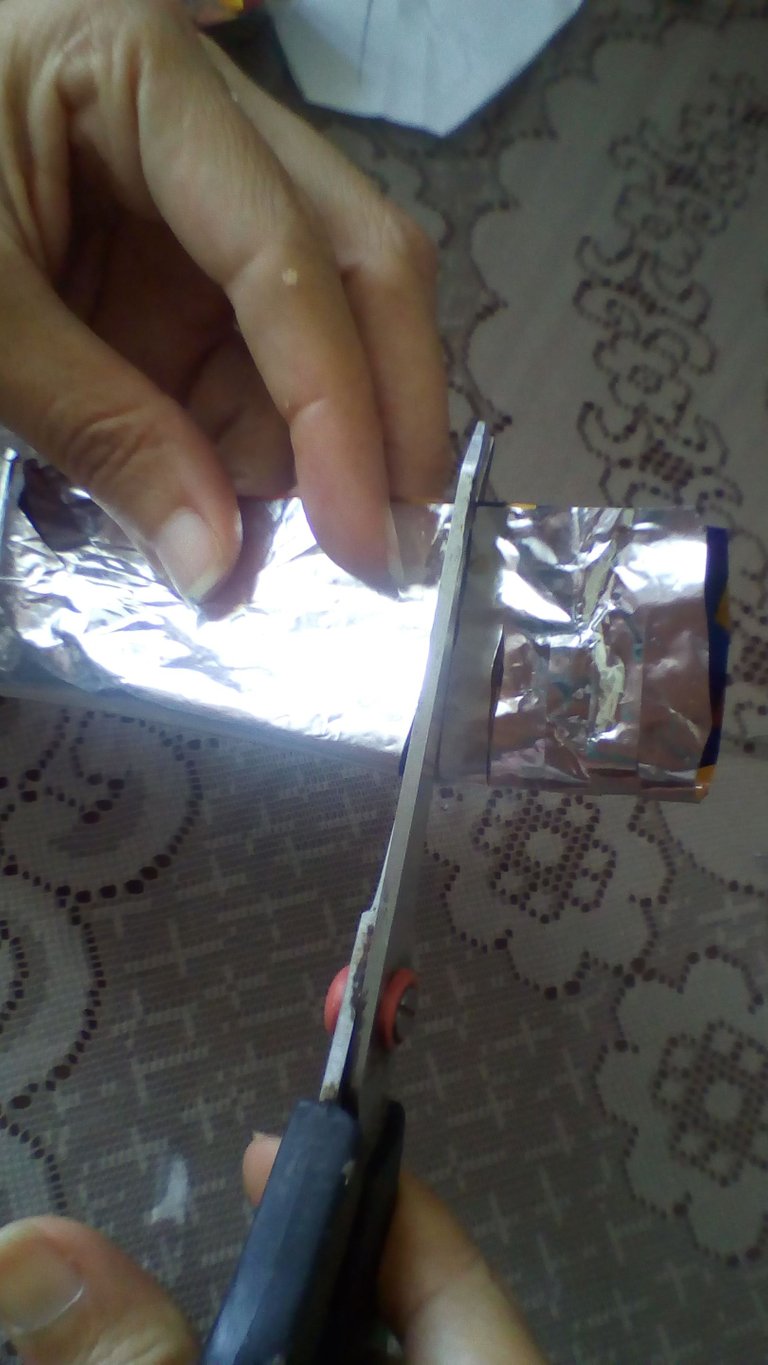
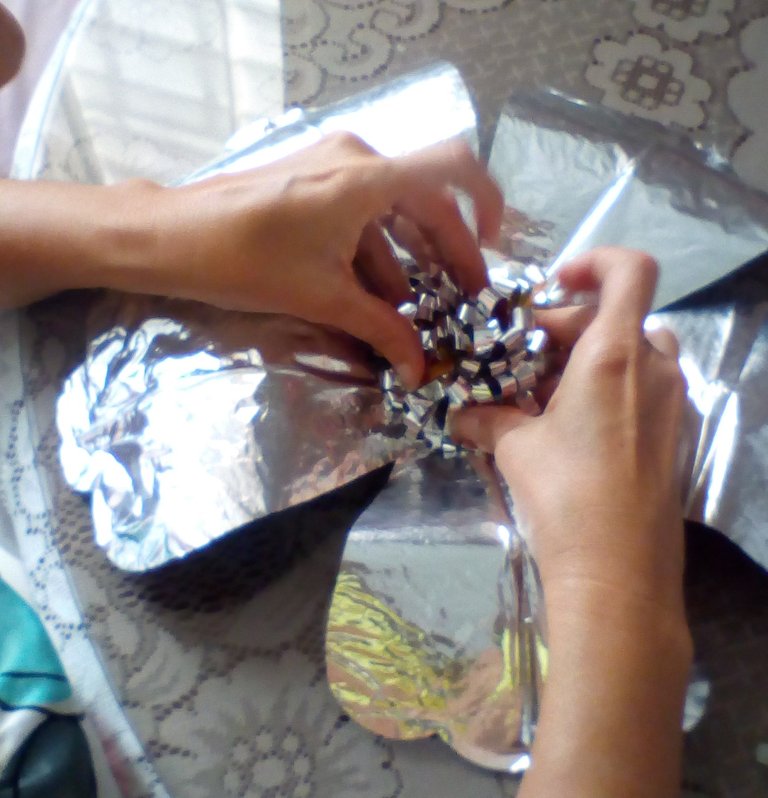
Ya cortado enrollarlo como se muestra en la imagen y formar el centro de nuestra flor.
Once cut, roll it as shown in the image and form the center of our flower.
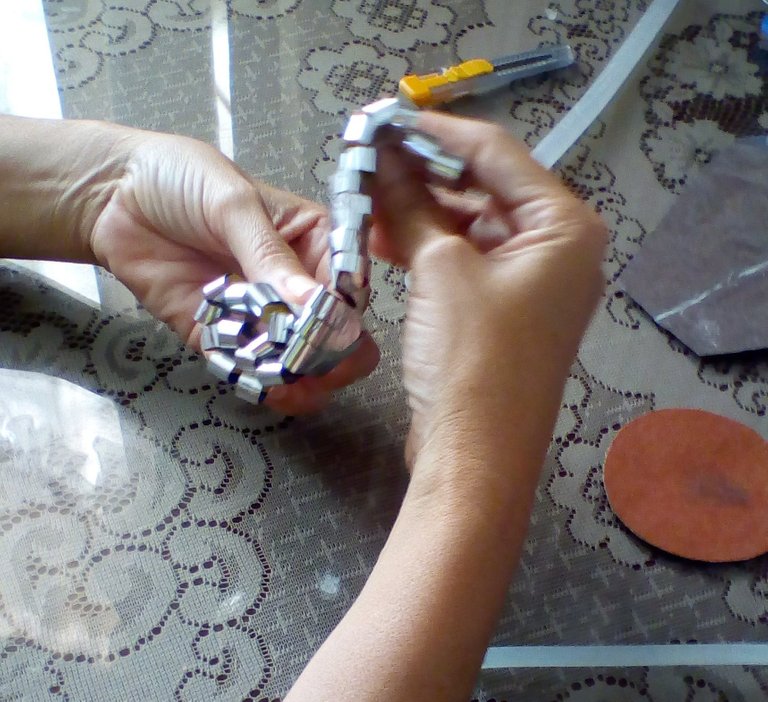
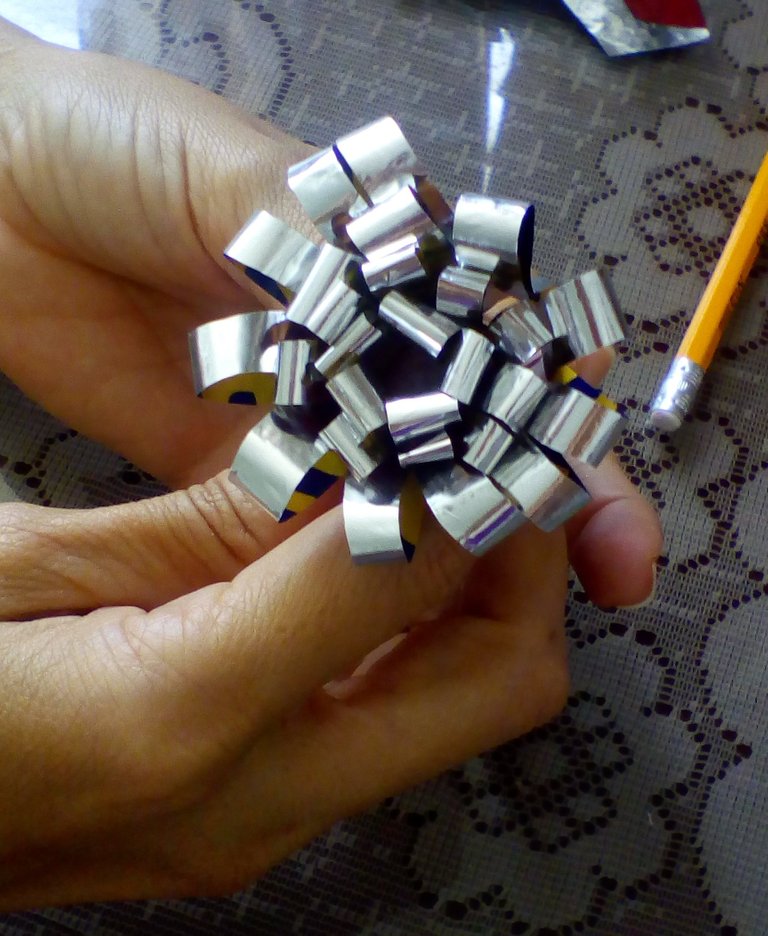
El pistilo debe quedar como muestra la siguiente imagen.
The pistil should look as shown in the following image.
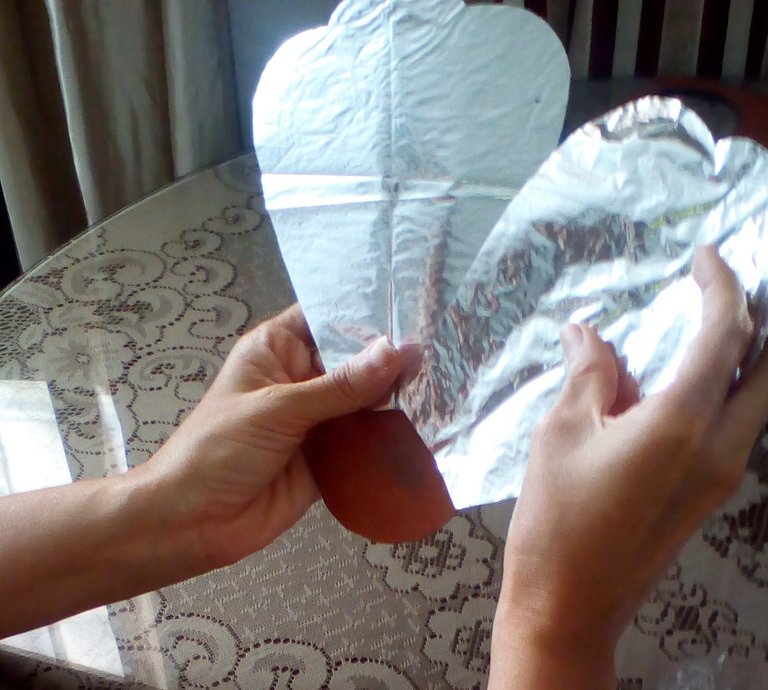
Realizados todos estos pasos tomamos el circulo de cartón y empezamos a pegar los pétalos uno por uno.
Once all these steps are done, we take the cardboard circle and start gluing the petals one by one.
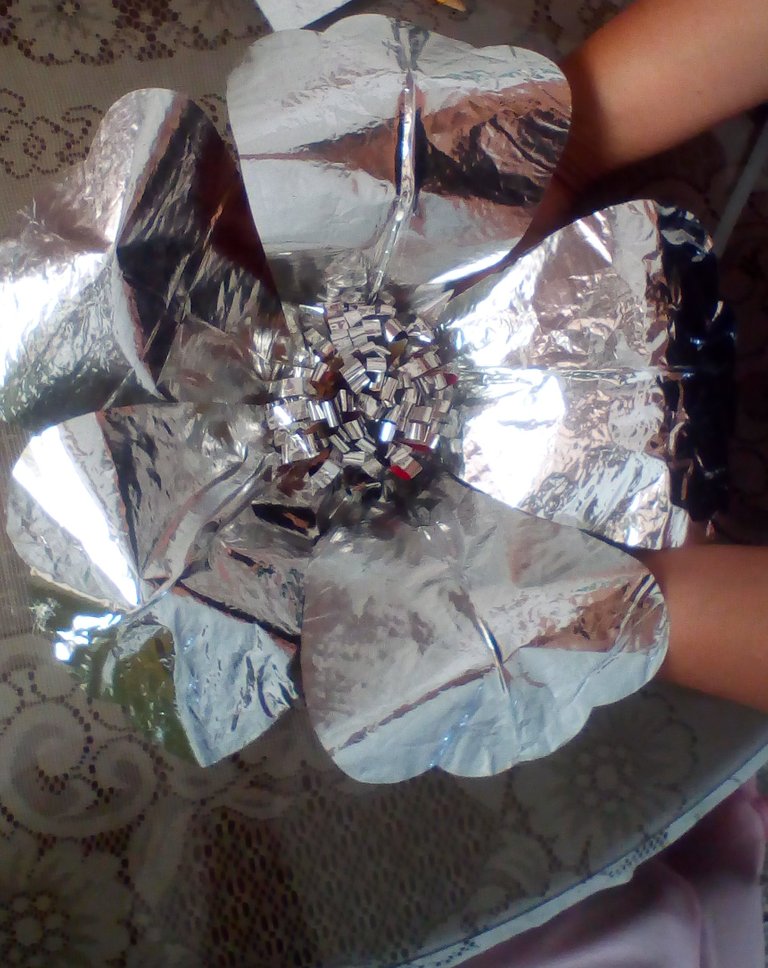
Finalmente colocamos el centro o pistilo y procedemos a darle movimiento a los alambres de cada pétalo para que nuestra flor tome forma.
Finally we place the center or pistil and proceed to give movement to the wires of each petal so that our flower takes shape.
Y listo!! puedes creer que de estas bolsas podías hacer flores tan hermosas? Pues ya ves que si, te invito a realizarlas, animate!
And that's it!! can you believe that you could make such beautiful flowers out of these bags? Well you can see that yes, I invite you to make them, cheer up!
Instagram:28anitamarchan
Congratulations @artesana! You have completed the following achievement on the Hive blockchain and have been rewarded with new badge(s) :
Your next target is to reach 400 upvotes.
You can view your badges on your board and compare yourself to others in the Ranking
If you no longer want to receive notifications, reply to this comment with the word
STOPCheck out the last post from @hivebuzz:
Support the HiveBuzz project. Vote for our proposal!