
Imagen de mi propiedad, editada en Canva.
Image of my property, edited in Canva.

Desde hace ya mucho tiempo no hago un tutorial. En esta oportunidad, les quiero compartir la forma en las que yo hago "Photocards" al estilo polaroid caseras. Estas son muy populares en la comunidad kpoper y son muy fáciles de hacer, ya que, no requieren muchos materiales y todos podríamos hacerlas.
It's been a long time since I've done a tutorial. This time, I want to share with you how I make homemade Polaroid Photocards. These are very popular in the kpoper community and are very easy to make, since, they do not require many materials and we all could make them.
Ejemplos de photocards estilo polaroid:
Examples of Polaroid style photocards:
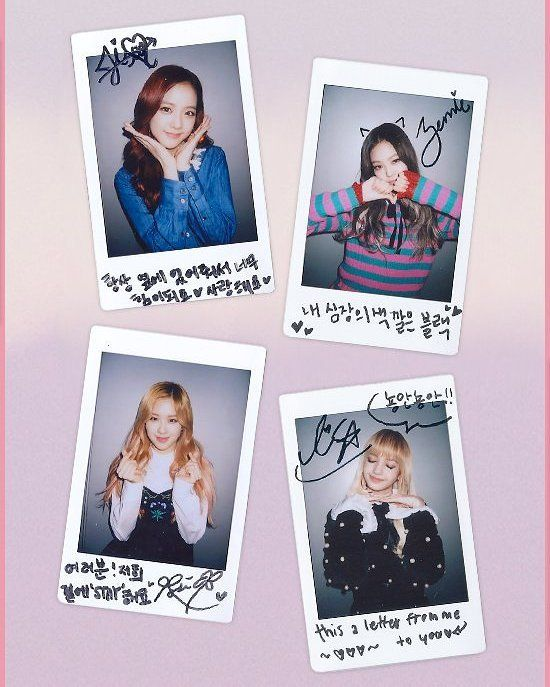
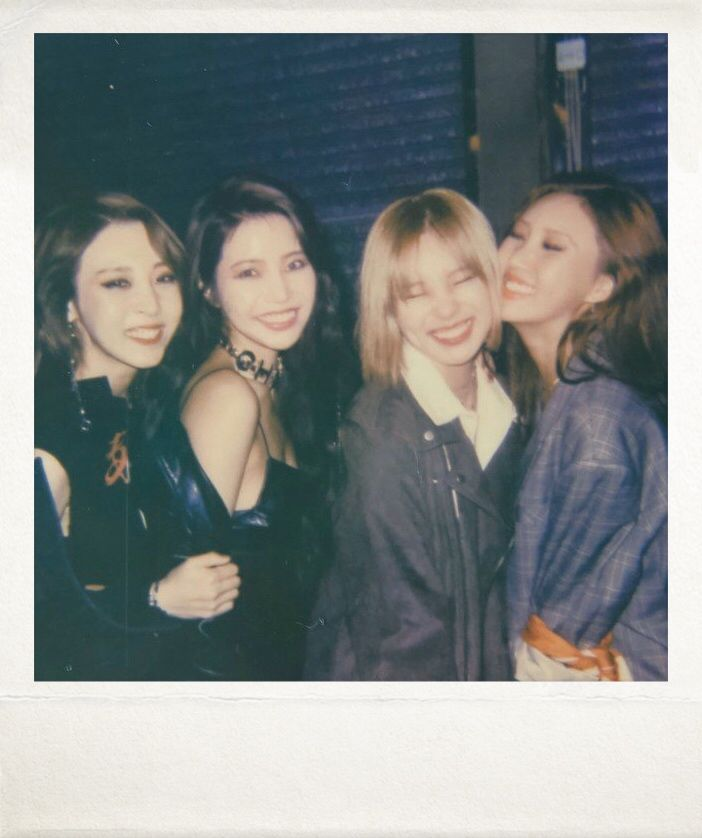
Estas imagenes no son de mi autoría, el link de donde las saqué son estos:https://www.pinterest.com/pin/764063893009121424/?nic_v2=1a3xxOMNi / https://ar.pinterest.com/pin/715087247073242999/
These images are not of my authorship, the link where I got them are these:https://www.pinterest.com/pin/764063893009121424/?nic_v2=1a3xxOMNi / https://ar.pinterest.com/pin/715087247073242999/
📷 📷 📷 📷 📷 📷 📷
Sin nada más que decir: ¡A comenzar con el tutorial!
With nothing more to say: Let's start with the tutorial!

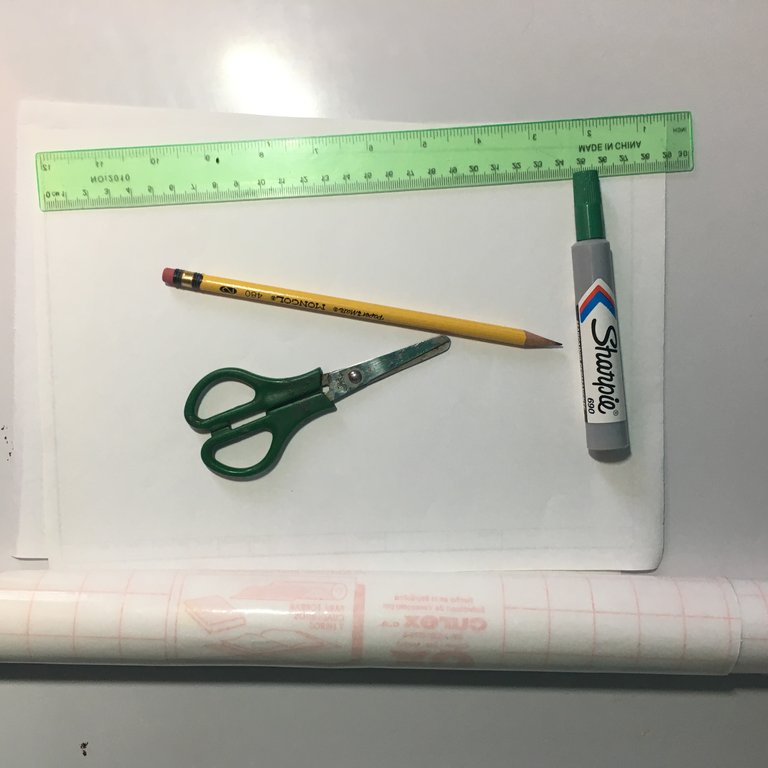
Los materiales que utilizaremos son:
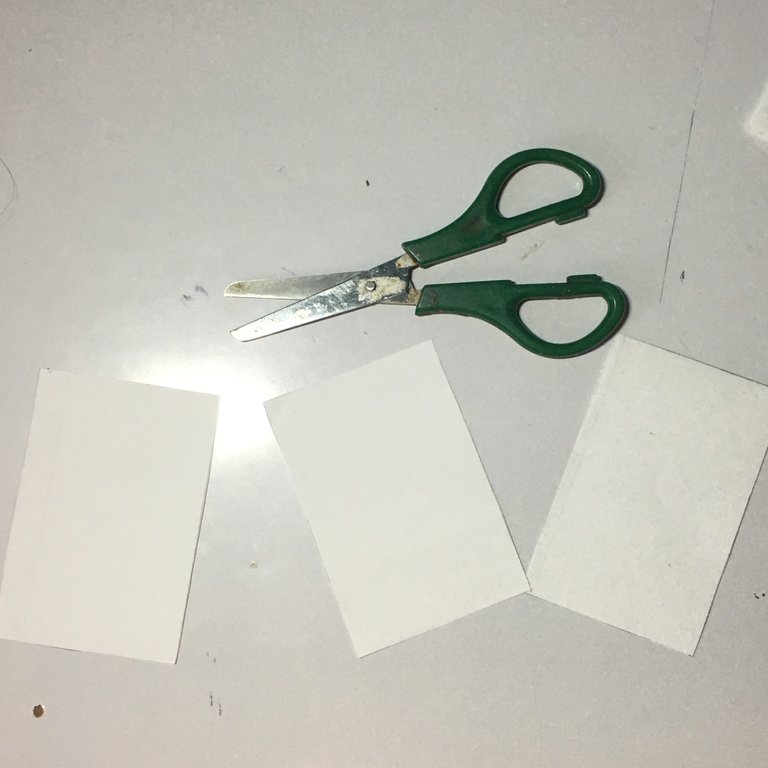
Papel o cartulina blanca.
Tijeras.
Regla.
Lapiz.
Marcador de cualquier color.
Papel contact.
The materials we will use are:
Paper or white cardboard.
Scissors.
Ruler.
Pencil.
Marker of any color.
Contact paper.

Marcaremos un rectángulo de 9 centímetros de alto por seis 6 de ancho y procedemos a recortar.
We will mark a rectangle 9 centimeters high by 6 centimeters wide and proceed to trim.
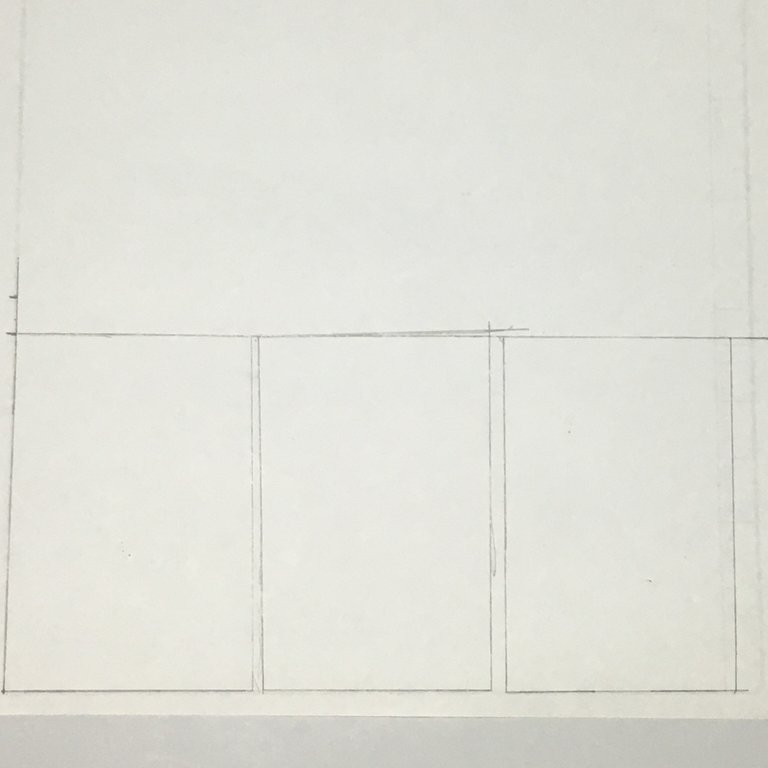

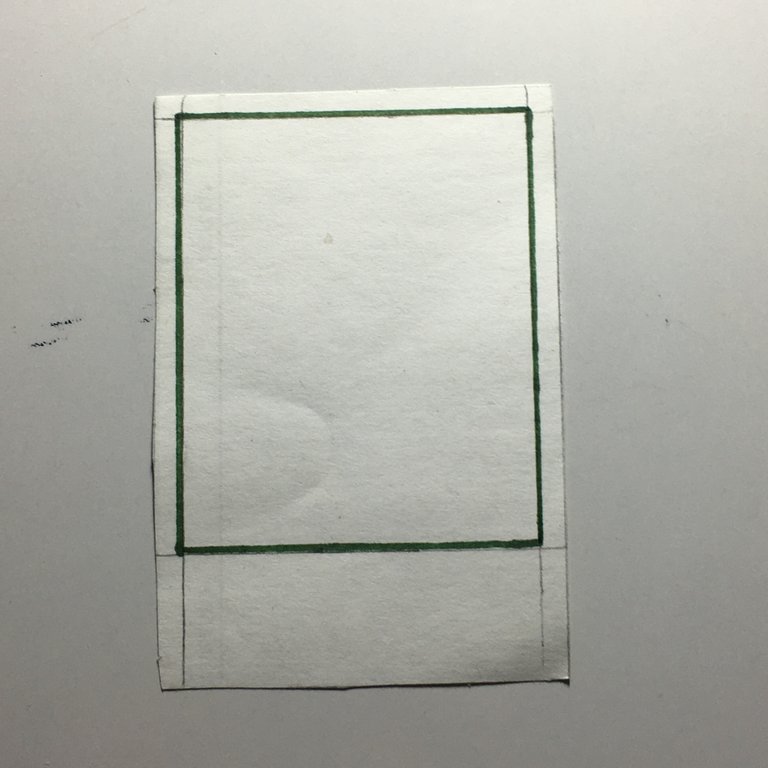
Luego marcaremos un margen de 0,4 centímetros en la parte de arriba, izquierda y derecha. Y en la parte de abajo un margen de 2 centímetros.
Then we will mark a margin of 0.4 centimeters at the top, left and right. And at the bottom a margin of 2 centimeters.

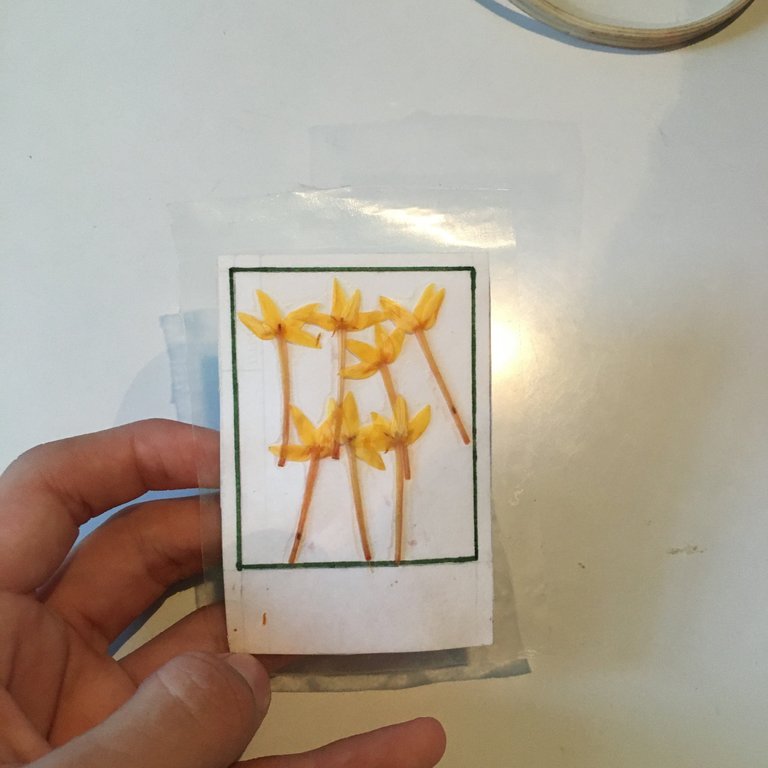
Vamos a cortar un pedazo de papel contact y se lo pegamos al papel y cortamos los excedentes, claro. Después de que ya hayamos dibujado o puesto una imagen dentro de los márgenes que ya hemos creado. En mi caso, yo puse algunas flores que encontré en mi jardín.
We will cut a piece of contact paper and stick it to the paper and cut off the excess, of course. After we have already drawn or placed an image within the margins we have already created. In my case, I put some flowers that I found in my garden.


Y ya que terminamos el proceso, pueden crear todas las que ustedes quieran.
And since we finished the process, you can create as many as you want.

𝐸𝓈𝓅𝑒𝓇𝑜 𝓆𝓊𝑒 𝓁𝑒𝓈 𝒽𝒶𝓎𝒶 𝑔𝓊𝓈𝓉𝒶𝒹𝑜 𝑒𝓁 𝓉𝓊𝓉𝑜𝓇𝒾𝒶𝓁, 𝓎 𝓆𝓊𝑒 𝓈𝒾 𝒹𝑒𝒸𝒾𝒹𝑒𝓃 𝒽𝒶𝒸𝑒𝓇𝓁𝑜 𝒹𝒾𝓈𝒻𝓇𝓊𝓉𝑒𝓃 𝒹𝑒 𝓈𝓊 𝑒𝓁𝒶𝒷𝑜𝓇𝒶𝒸𝒾ó𝓃 𝒸𝑜𝓂𝑜 𝓎𝑜 𝓁𝑜 𝒽𝒾𝒸𝑒. 𝑀𝓊𝒸𝒽𝒶𝓈 𝑔𝓇𝒶𝒸𝒾𝒶𝓈 𝓅𝑜𝓇 𝓁𝑒𝑒𝓇 𝓂𝒾 𝓅𝑜𝓈𝓉 ✌️
𝐼 𝒽𝑜𝓅𝑒 𝓎𝑜𝓊 𝓁𝒾𝓀𝑒𝒹 𝓉𝒽𝑒 𝓉𝓊𝓉𝑜𝓇𝒾𝒶𝓁, 𝒶𝓃𝒹 𝓉𝒽𝒶𝓉 𝒾𝒻 𝓎𝑜𝓊 𝒹𝑒𝒸𝒾𝒹𝑒 𝓉𝑜 𝒹𝑜 𝒾𝓉 𝓎𝑜𝓊 𝓌𝒾𝓁𝓁 𝑒𝓃𝒿𝑜𝓎 𝒾𝓉𝓈 𝑒𝓁𝒶𝒷𝑜𝓇𝒶𝓉𝒾𝑜𝓃 𝒶𝓈 𝐼 𝒹𝒾𝒹. 𝒯𝒽𝒶𝓃𝓀 𝓎𝑜𝓊 𝓋𝑒𝓇𝓎 𝓂𝓊𝒸𝒽 𝒻𝑜𝓇 𝓇𝑒𝒶𝒹𝒾𝓃𝑔 𝓂𝓎 𝓅𝑜𝓈𝓉 ✌️

50%Congratulations, @axeltheartist Your Post Got Boost By @hiveupme Curator.
"Delegate To @hiveupme Curation Project & Earn 95% Curation Rewards"
Contact Us : CORE / VAULT Token Discord Channel or Join Us : UPMELINK Web Site
Congratulations @axeltheartist! You have completed the following achievement on the Hive blockchain and have been rewarded with new badge(s) :
You can view your badges on your board and compare yourself to others in the Ranking
If you no longer want to receive notifications, reply to this comment with the word
STOPDo not miss the last post from @hivebuzz: