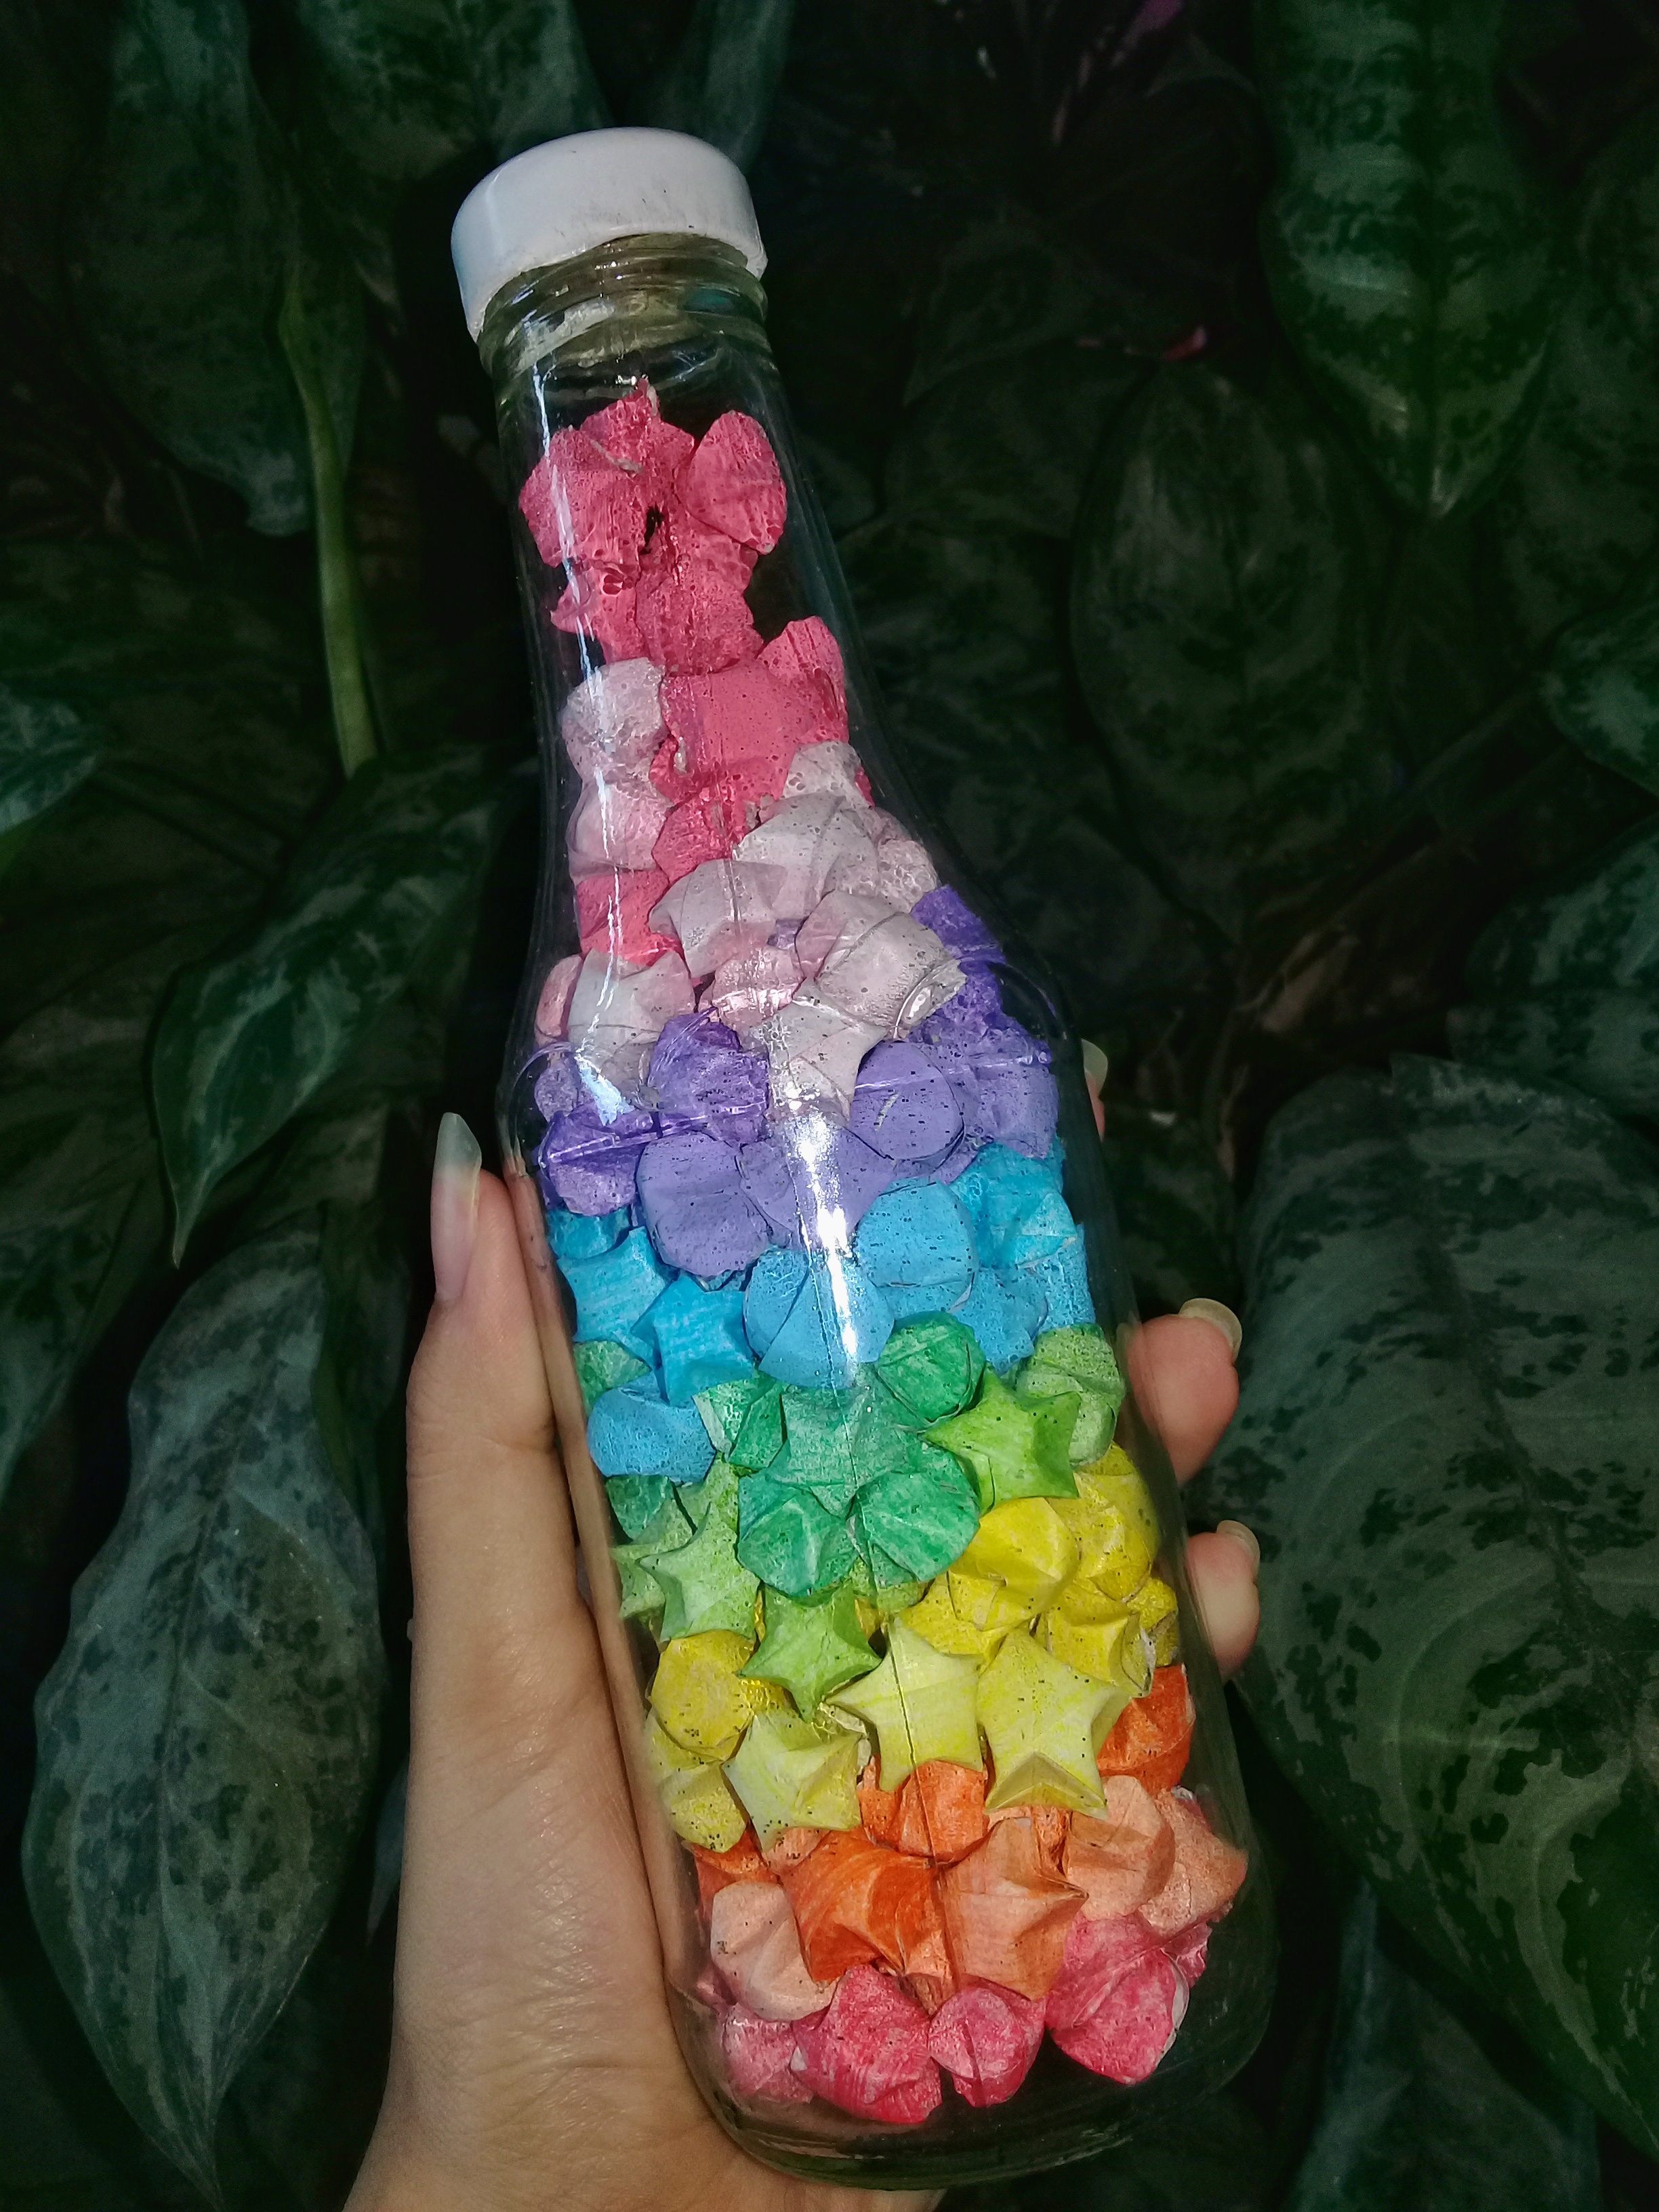
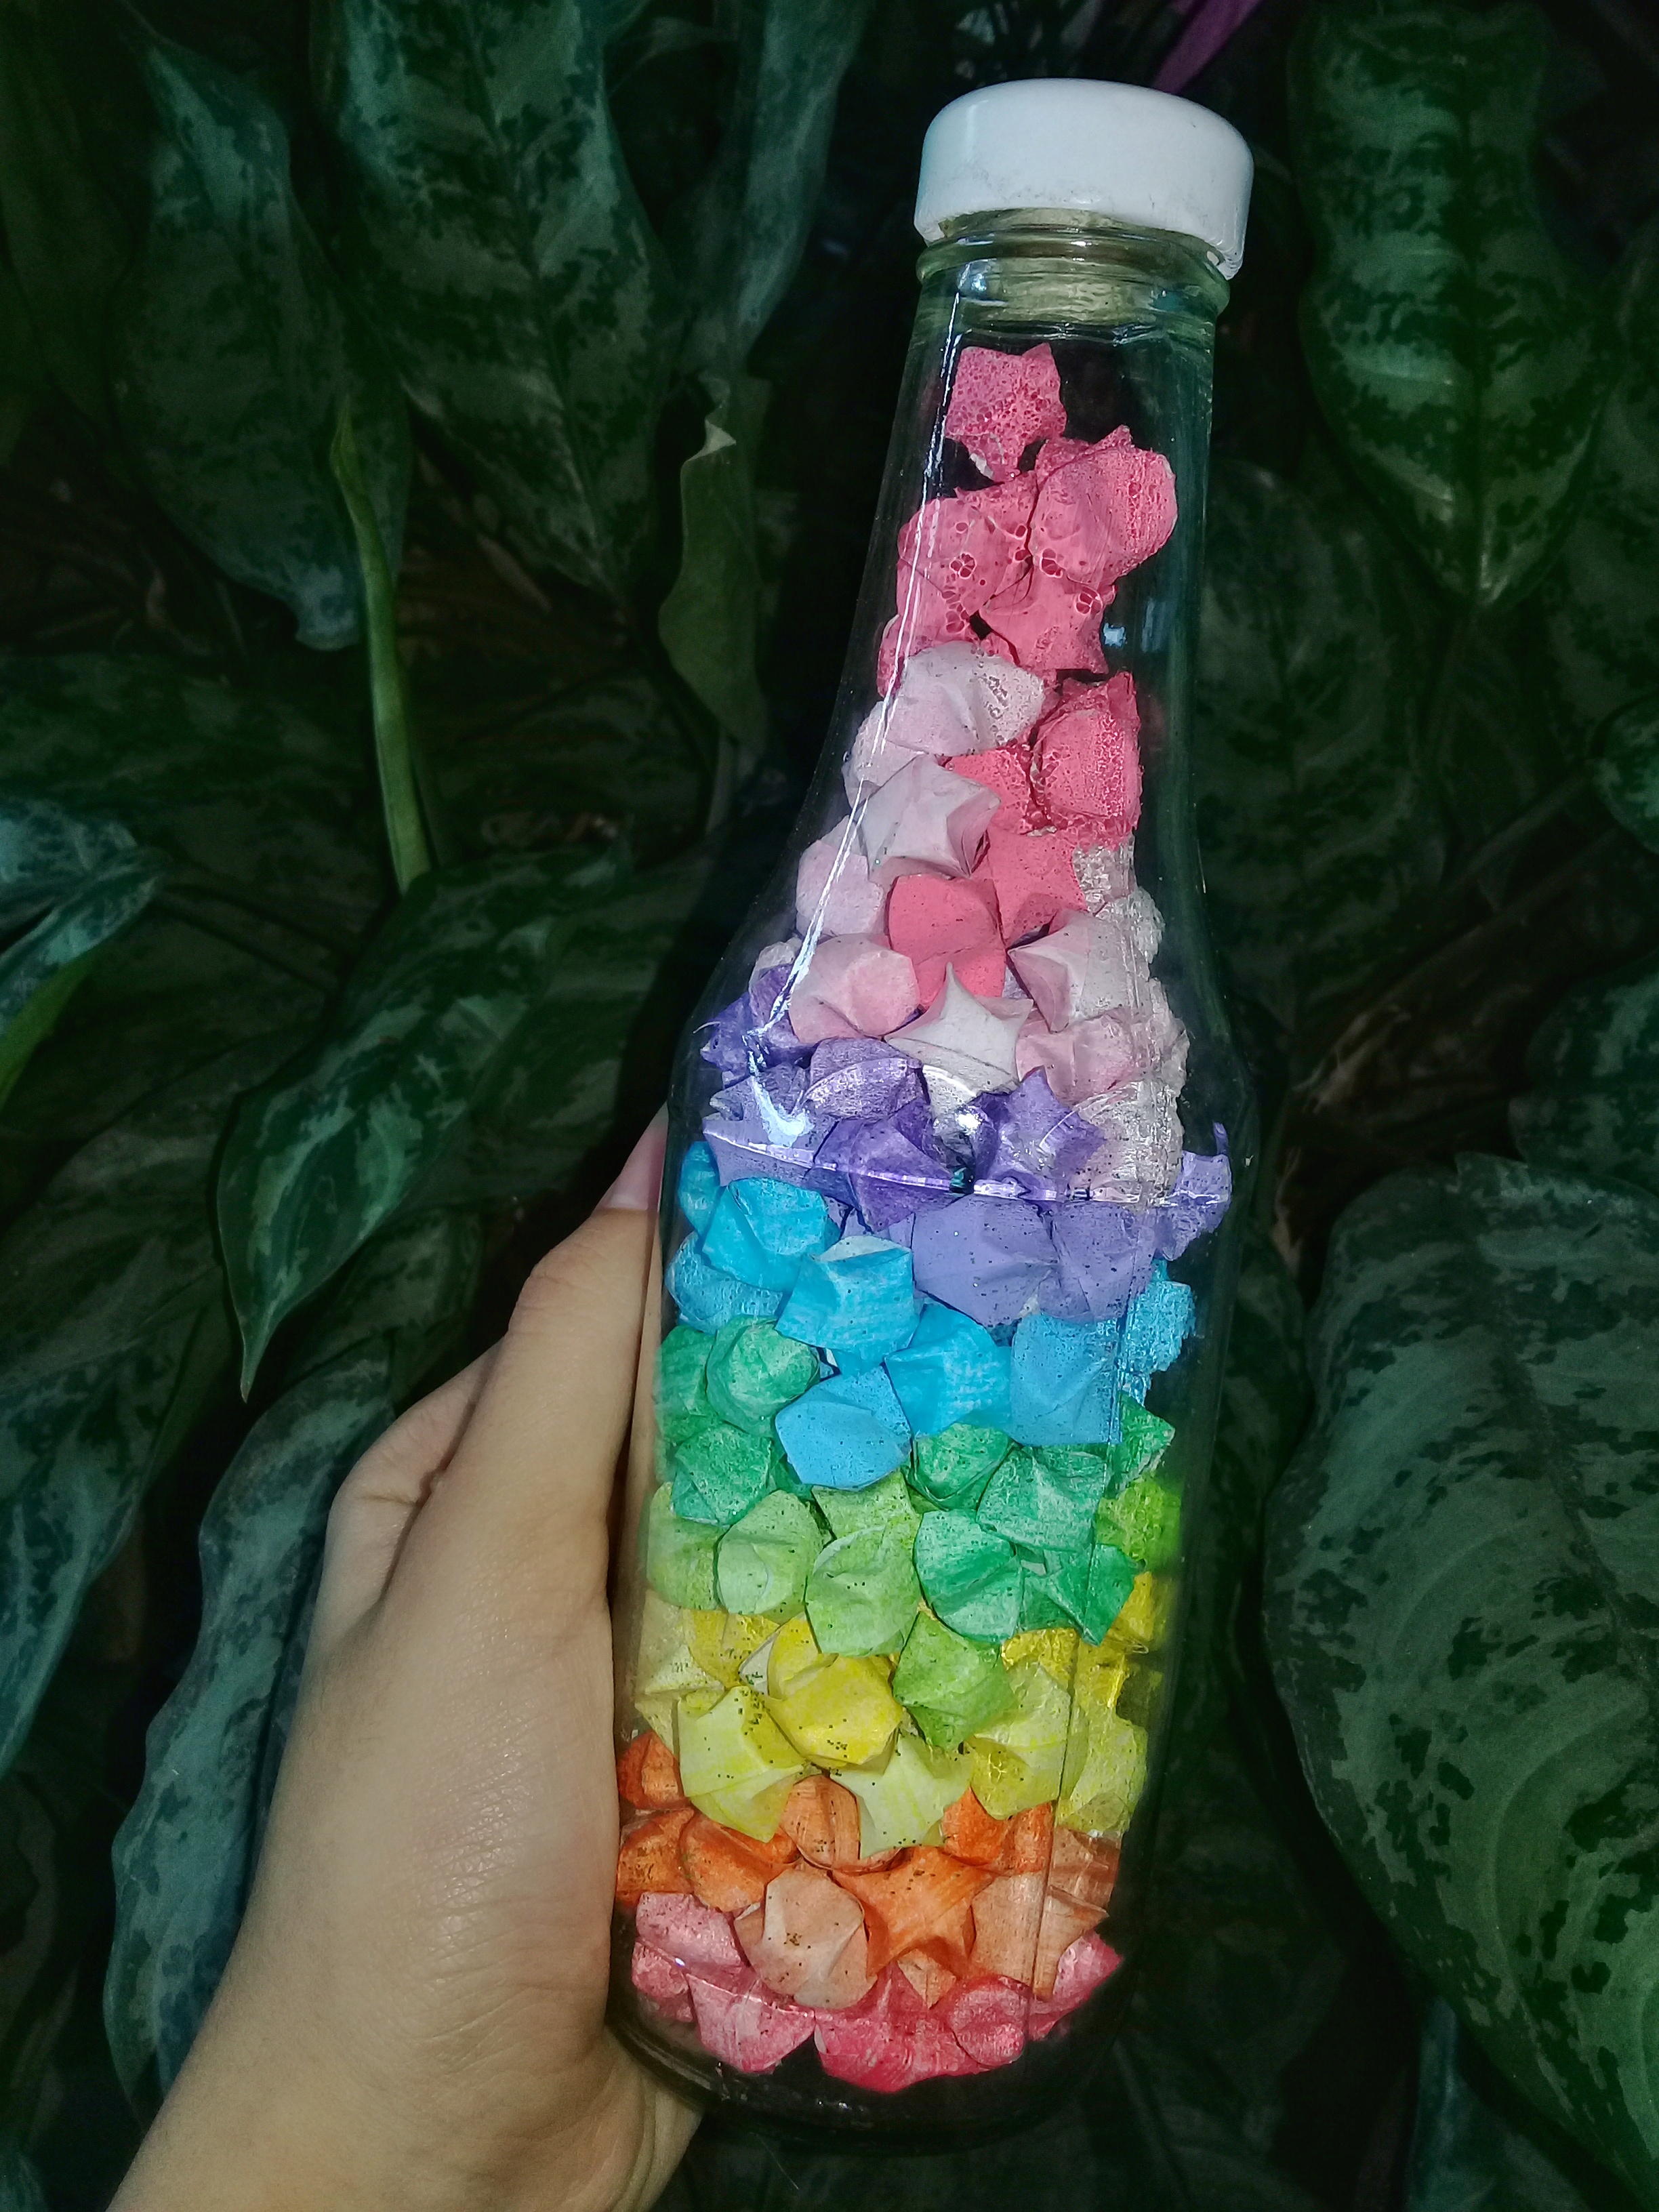
Hola! comunidad de hive. Hoy les traigo este tutorial de como hacer estás estrellitas de colores para rellenar cualquier envase, regalo o lo que ustedes deseen. Son muy fáciles de hacer y quedan muy bonitas para decorar. Sin más rodeos, comencemos:
![20210706_124810-01.jpeg](https://images.hive.blog/DQmYtmiynG511BhR1hL5t9FbUtK7p1YvDKFqdGieUUuEvKB/20210706_124810-01.jpeg)
Materiales
![20210703_185757-01.jpeg](https://images.hive.blog/DQmSjR4mVbQRpmYqYa9DxhkJcS8cRgn2DNwXfafQeDSyicQ/20210703_185757-01.jpeg)
Procedimiento
![20210703_185458-01.jpeg](https://images.hive.blog/DQmcPYgdTpjupHjqgS9nxJF7DPKVS8PhP6j9xEVmMoNGSpD/20210703_185458-01.jpeg)
Hello! hive community. Today I bring you this tutorial on how to make these colorful stars to fill any container, gift or whatever you want. They are very easy to make and look very pretty to decorate. Without further ado, let's get started:
![20210706_124810-01.jpeg](https://images.hive.blog/DQmYtmiynG511BhR1hL5t9FbUtK7p1YvDKFqdGieUUuEvKB/20210706_124810-01.jpeg)
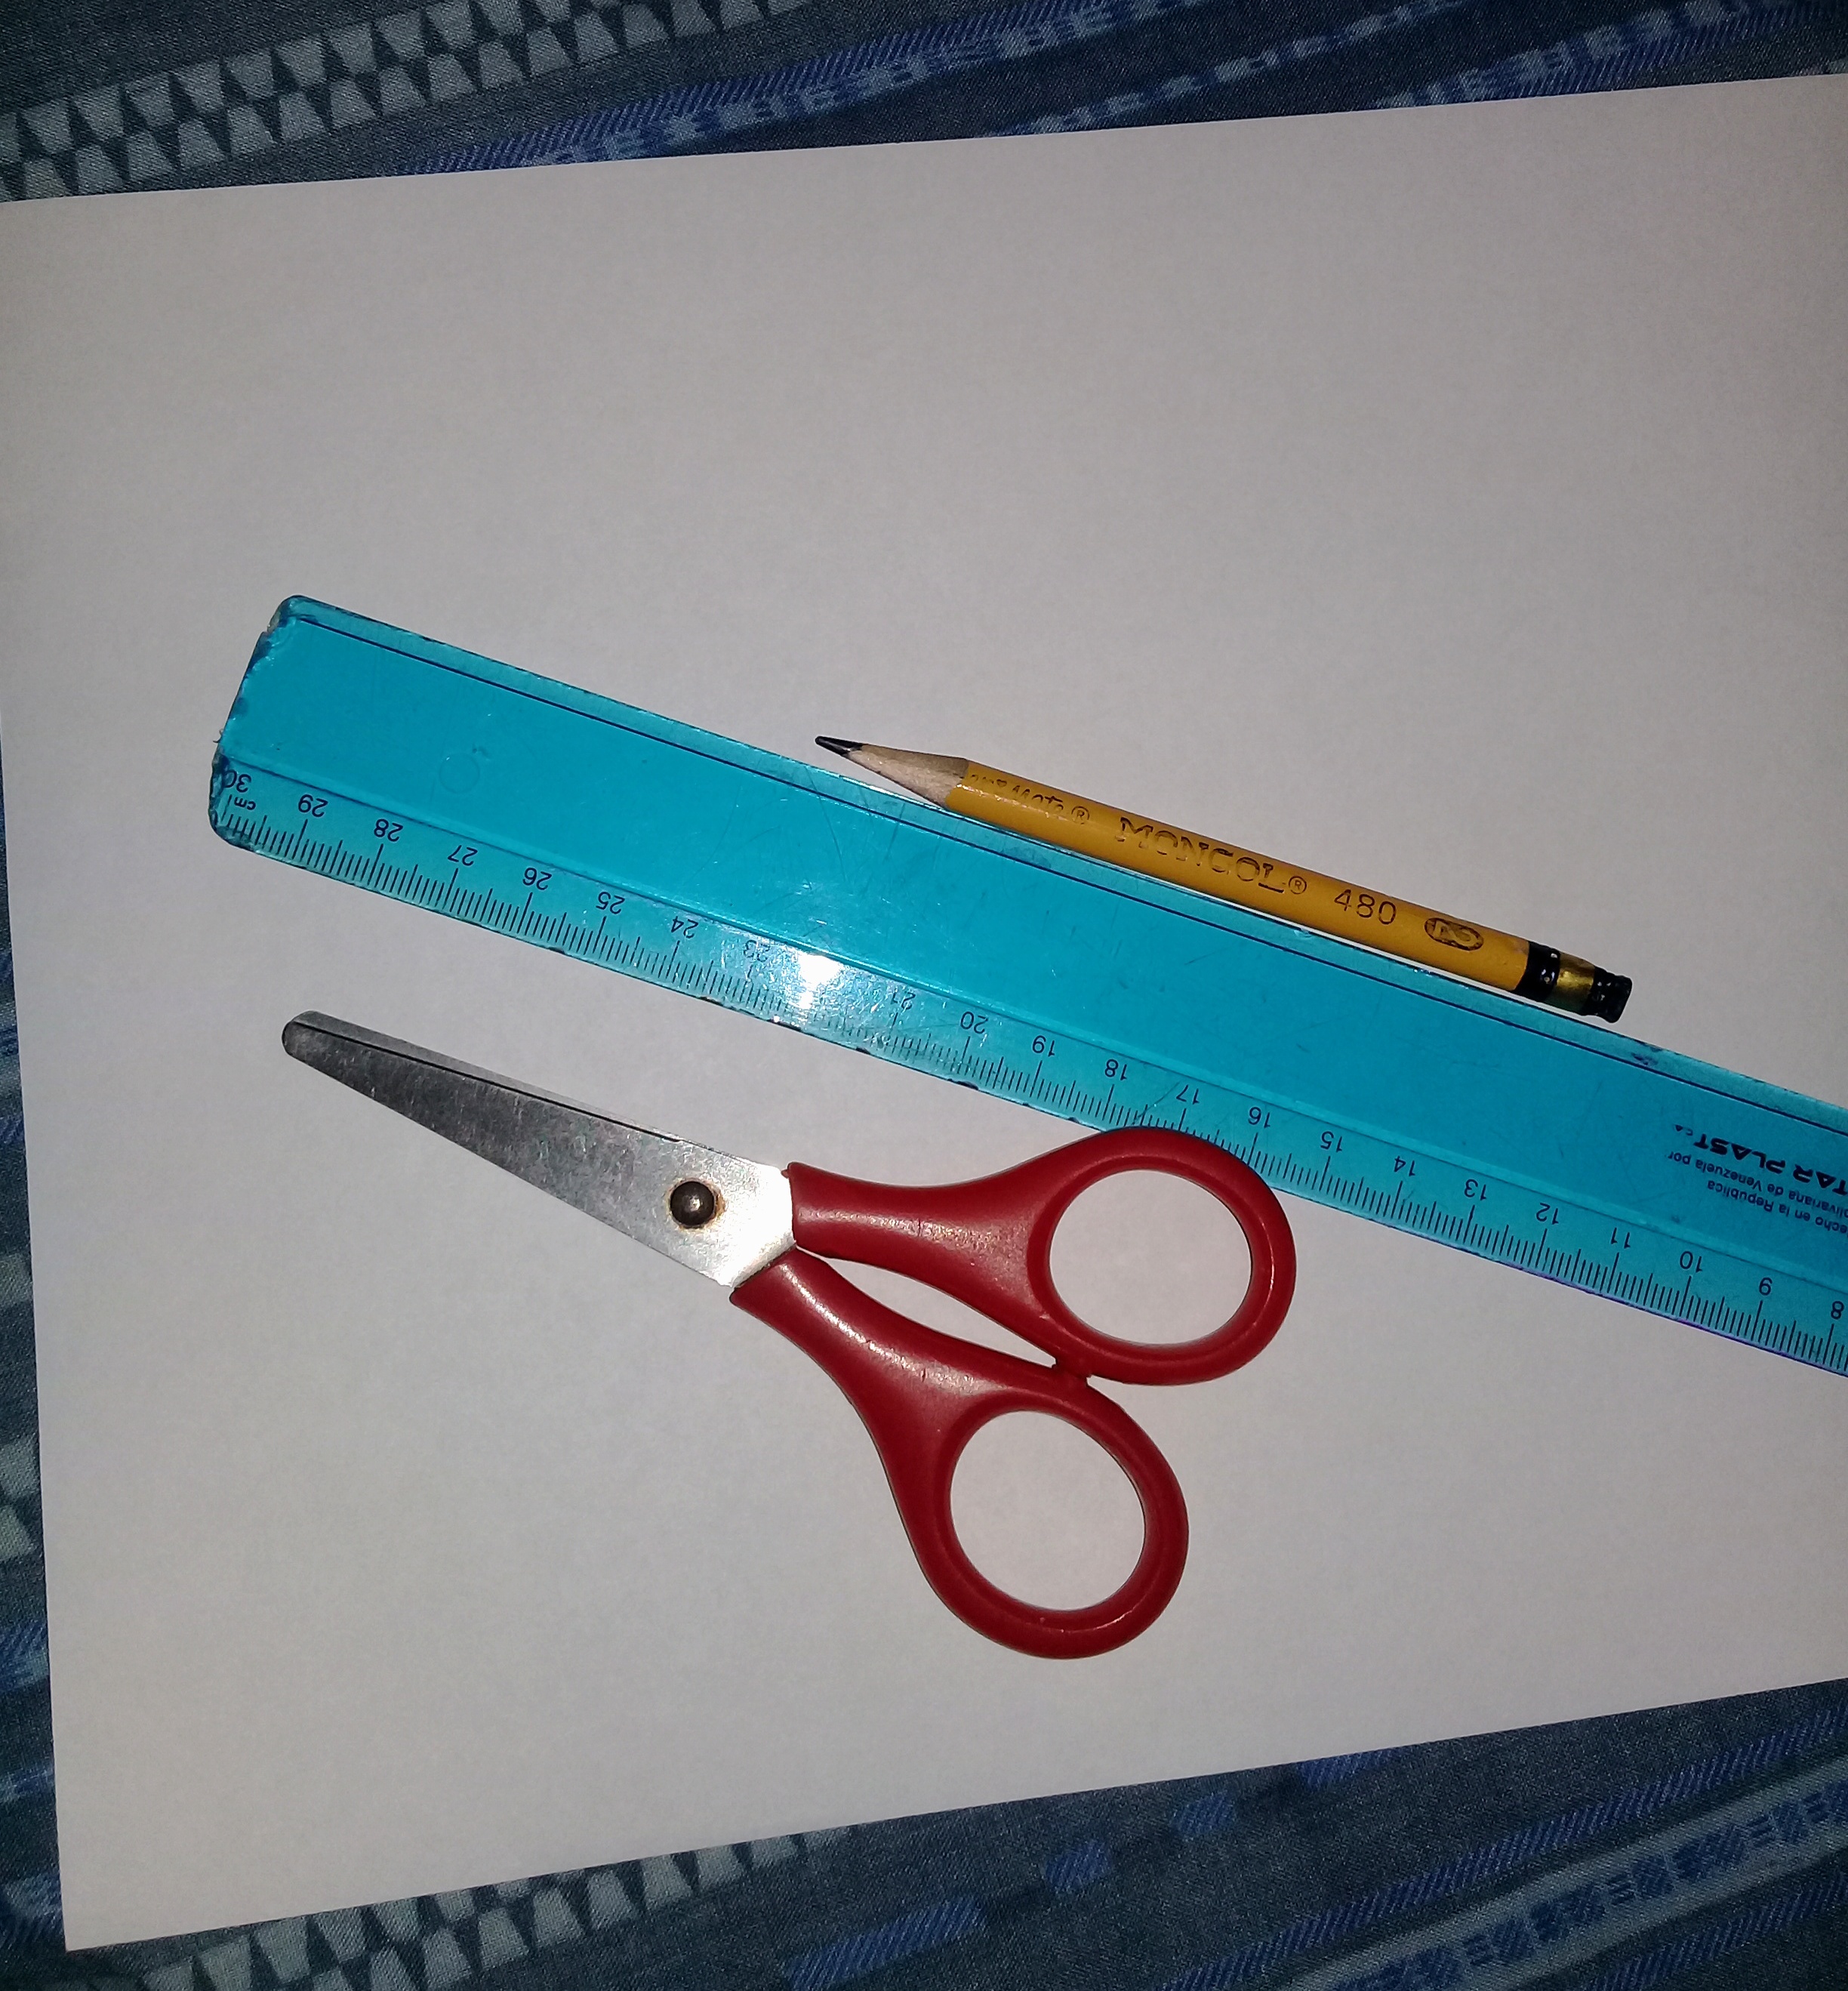
• Hoja de color tamaño carta
• Tijeras
• Una regla
• Lápiz
Materials
• Letter size colored paper
• Scissors
• A ruler
• Pencil
![20210703_185757-01.jpeg](https://images.hive.blog/DQmSjR4mVbQRpmYqYa9DxhkJcS8cRgn2DNwXfafQeDSyicQ/20210703_185757-01.jpeg)
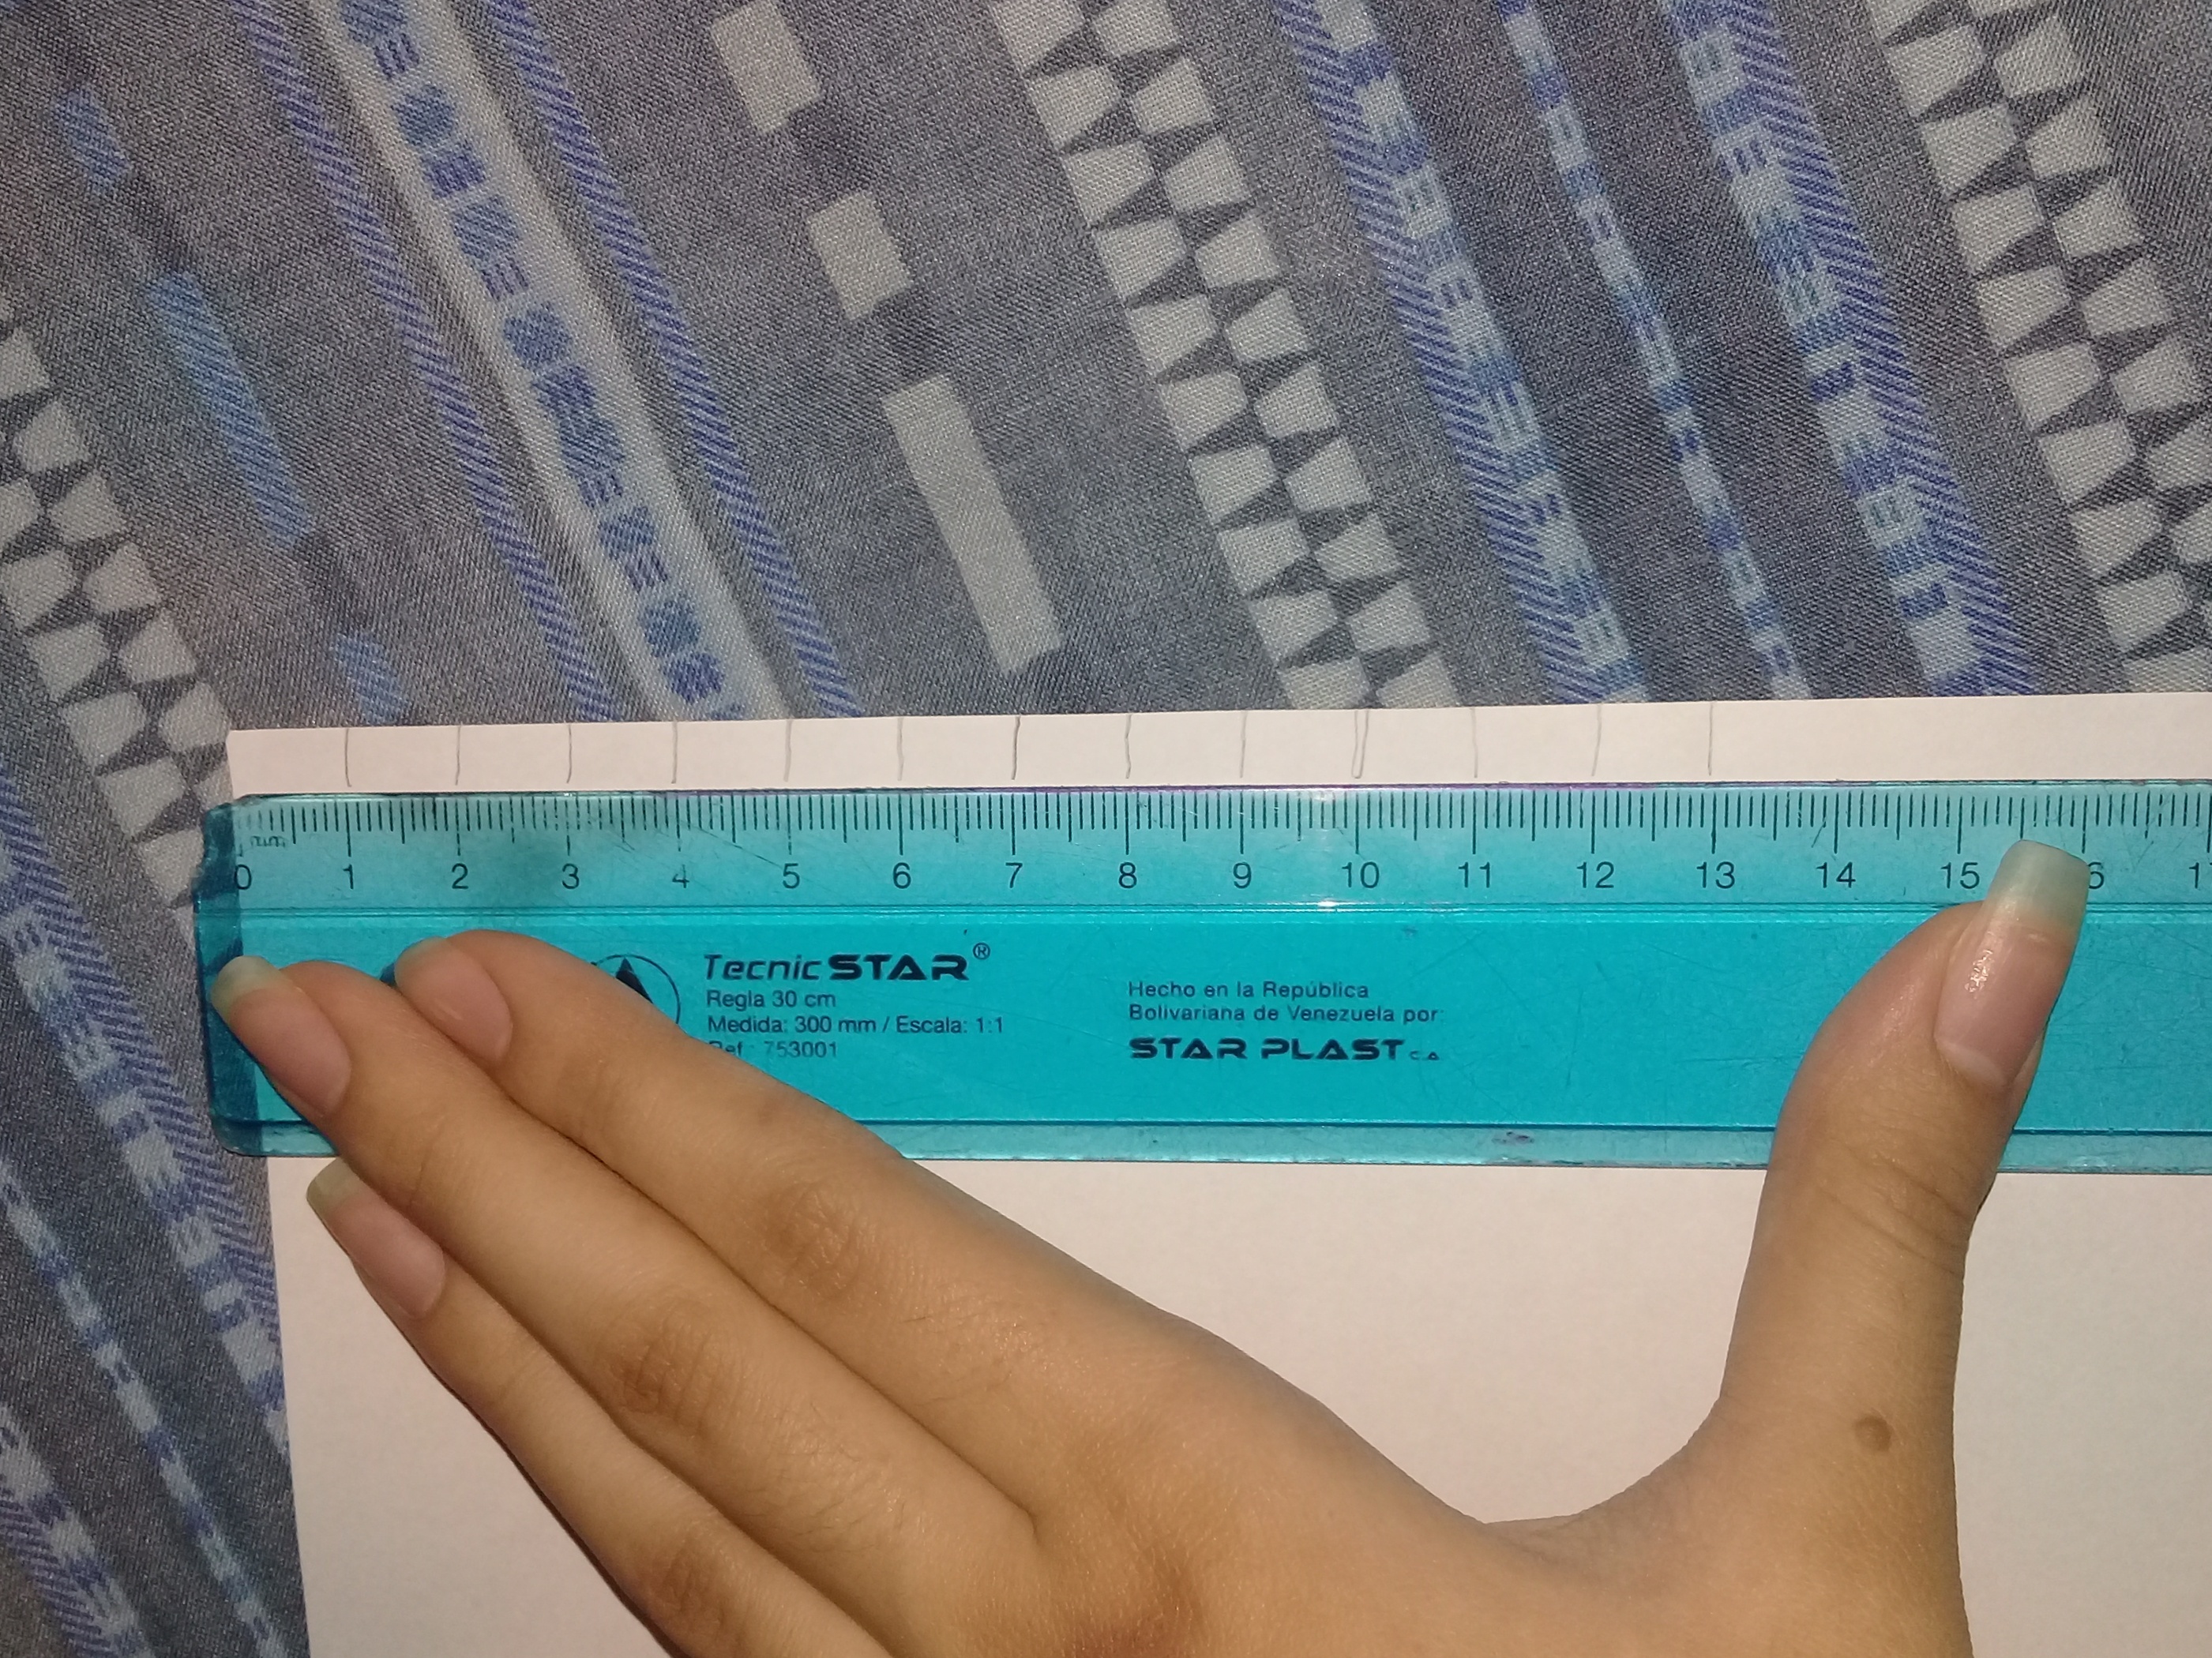
- En la parte superior de la hoja hacemos marcas a cada centímetro. Después hacemos el mismo procedimiento del otro lado.
Procedure
- On the upper side of the sheet we make marks every centimeter. Then we do the same procedure on the other side.
![20210703_185458-01.jpeg](https://images.hive.blog/DQmcPYgdTpjupHjqgS9nxJF7DPKVS8PhP6j9xEVmMoNGSpD/20210703_185458-01.jpeg)
2. Ya que tengas los puntos une cada segmento con una línea recta. Así:
![20210703_185904-01.jpeg](https://images.hive.blog/DQmTkWCJQHGiUZrQ64FhjfkXnwVrk56SEqSGM2dMShdEwca/20210703_185904-01.jpeg)
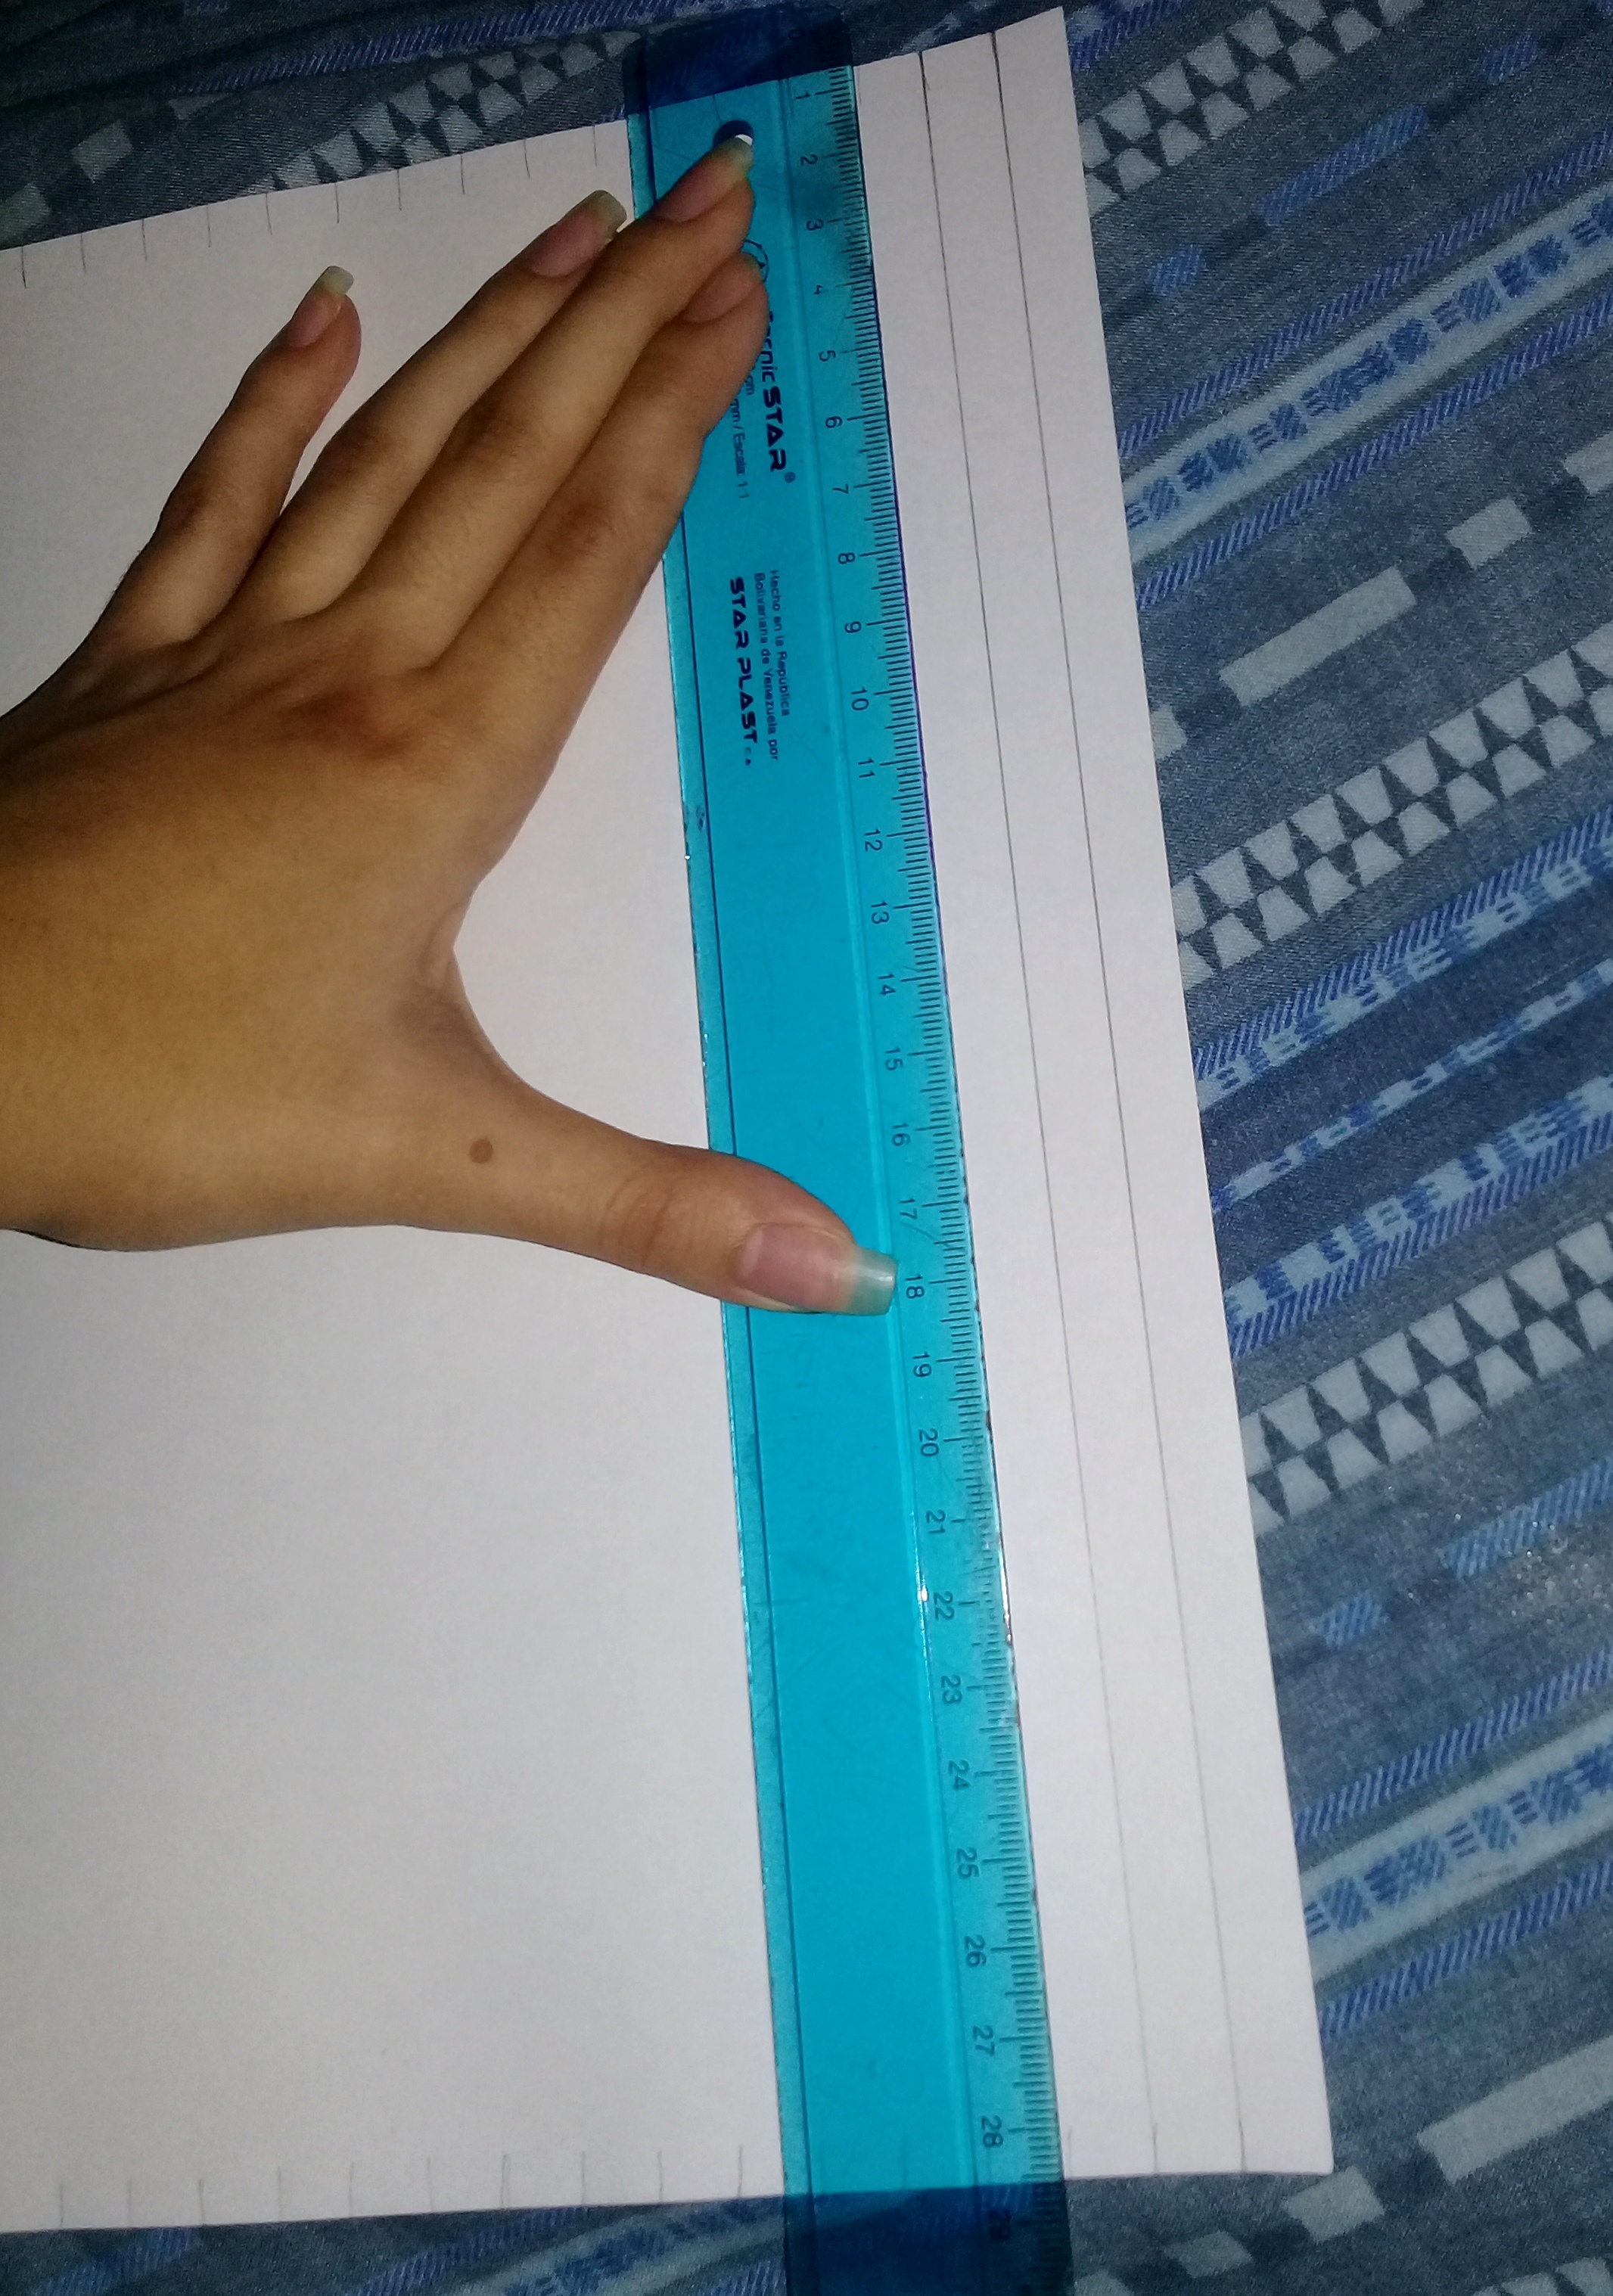
- Once you have the points join each segment with a straight line. Like this:
![20210703_185904-01.jpeg](https://images.hive.blog/DQmTkWCJQHGiUZrQ64FhjfkXnwVrk56SEqSGM2dMShdEwca/20210703_185904-01.jpeg)
3. Luego cortamos sobre las líneas
![20210703_190149-01.jpeg](https://images.hive.blog/DQmdU4dmrKBFjixfhQyeykZ5HuA6sysyHt3367BXoPB5QyK/20210703_190149-01.jpeg)
![20210703_190550-01.jpeg](https://images.hive.blog/DQmbThDfpk3crvdvvR5ncAjUhETUveDU9t6ogZKpKUtytR5/20210703_190550-01.jpeg)
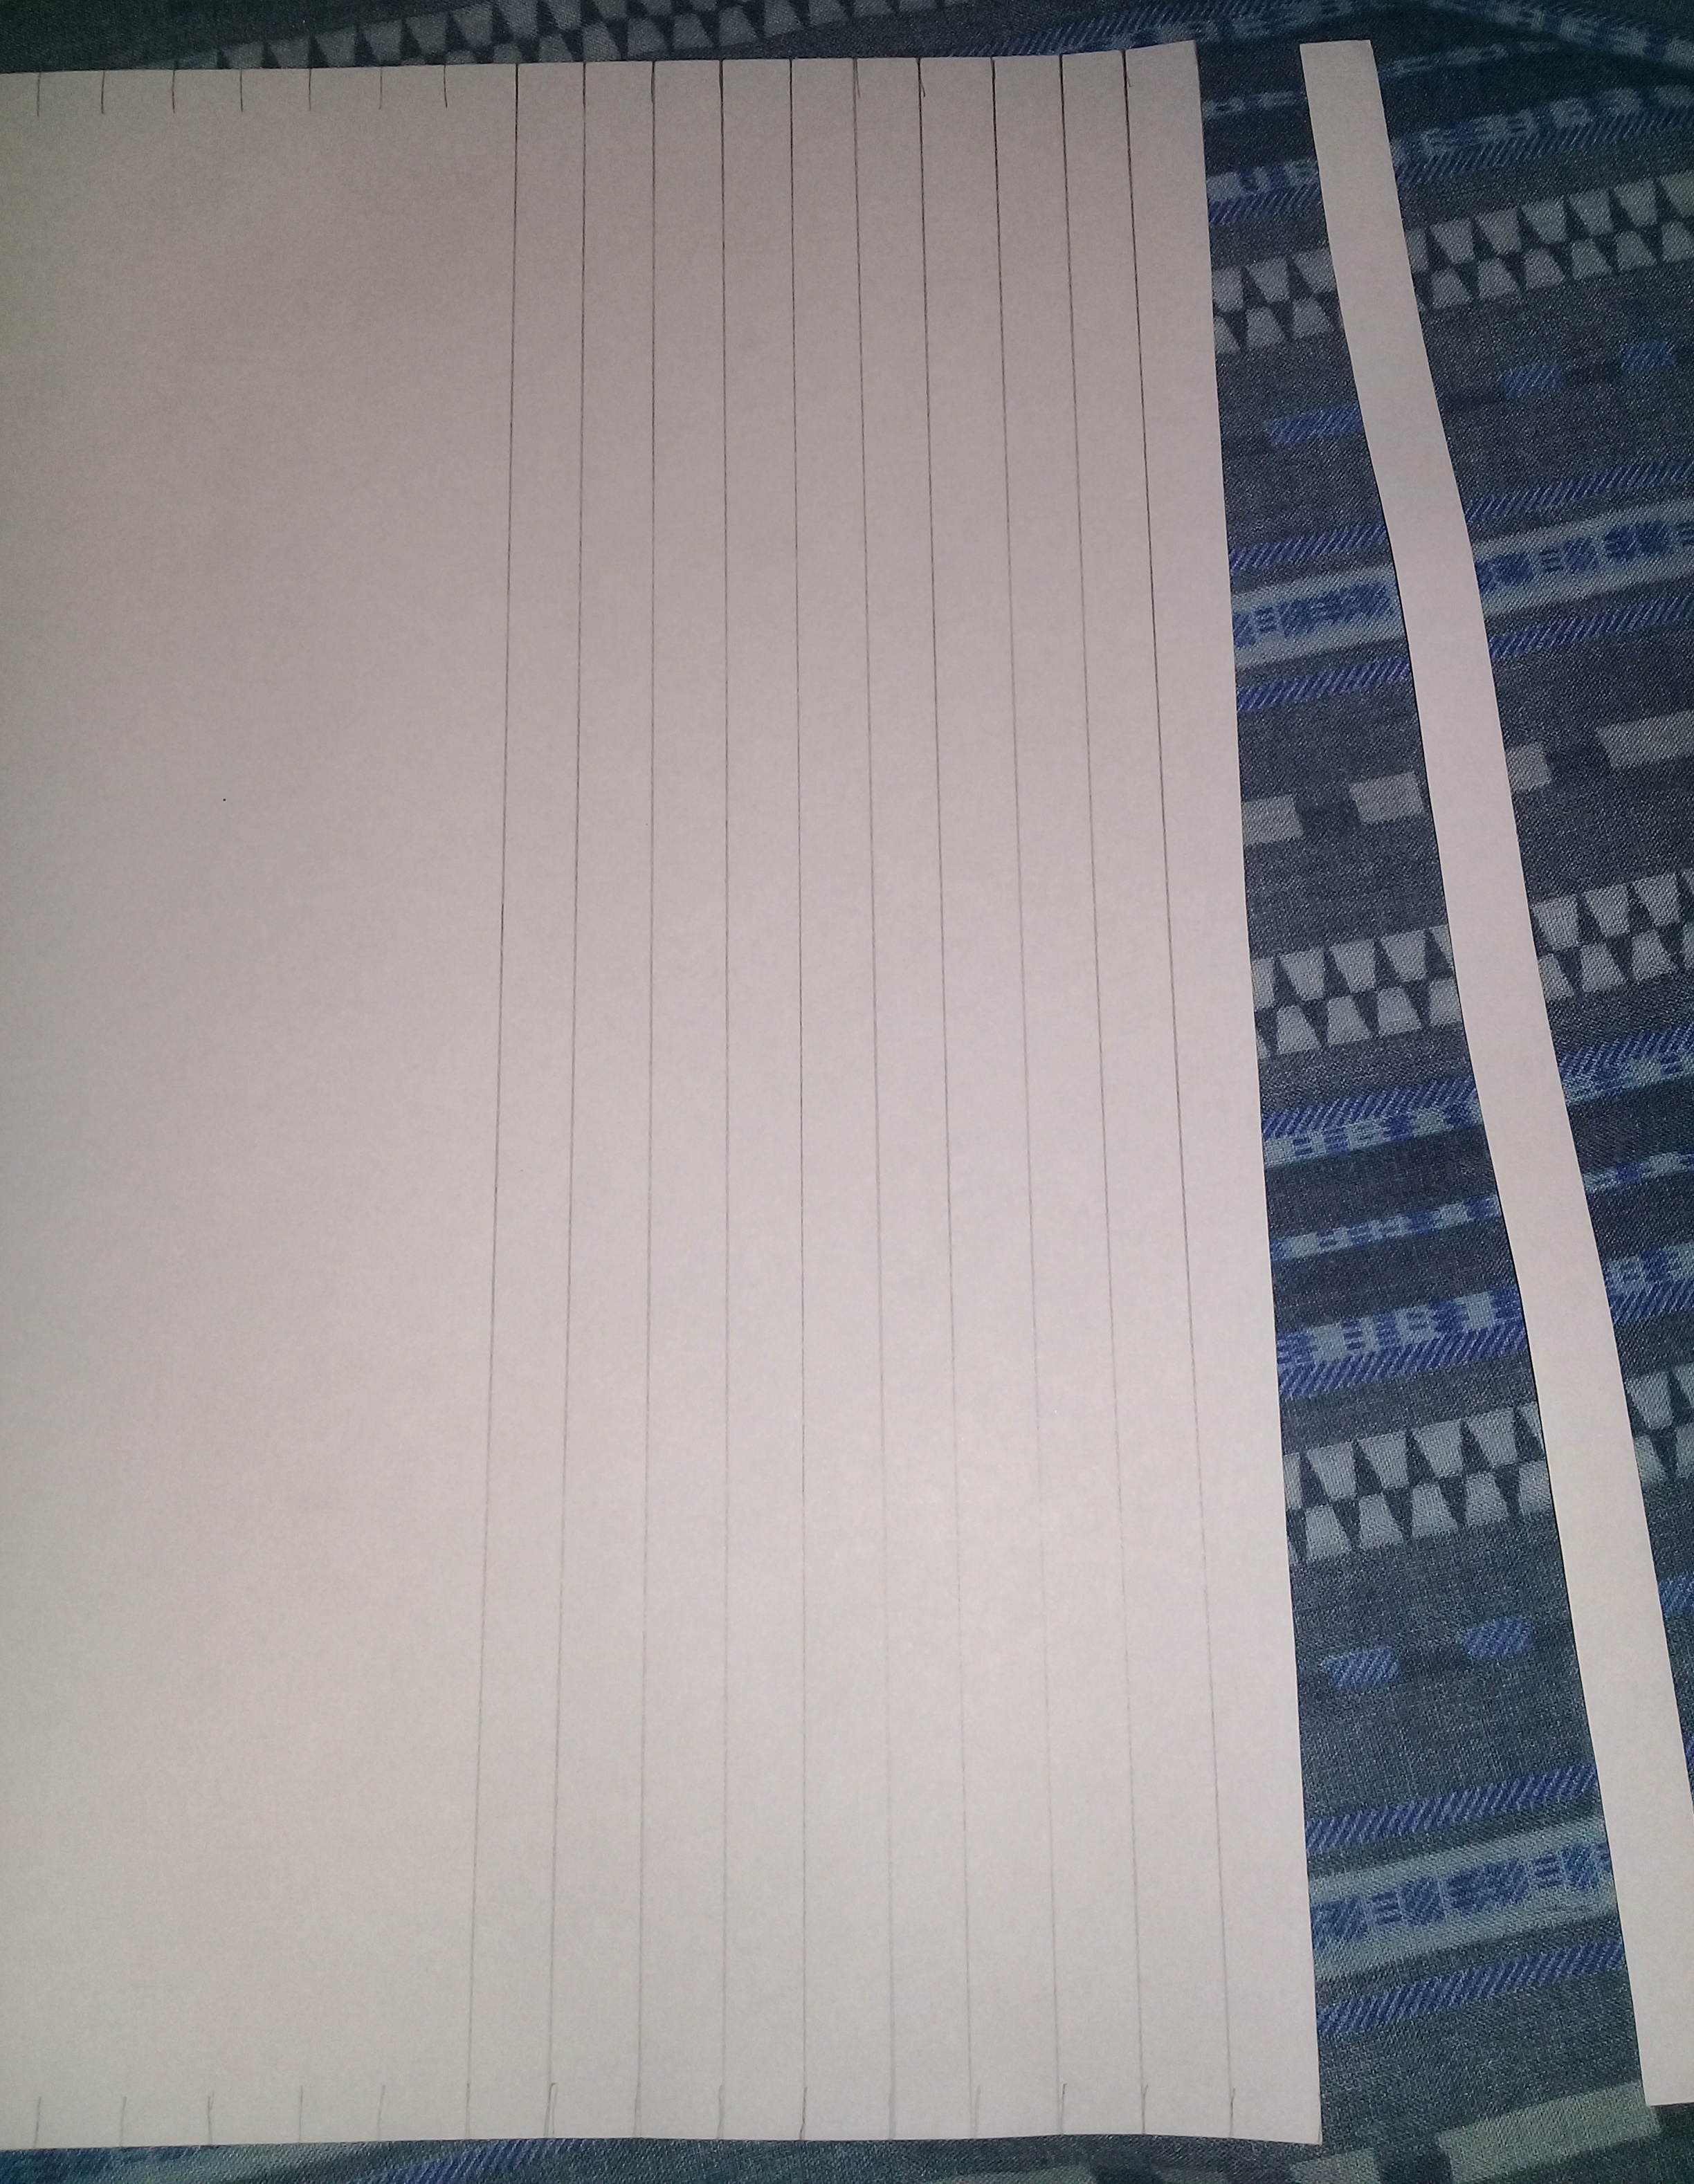
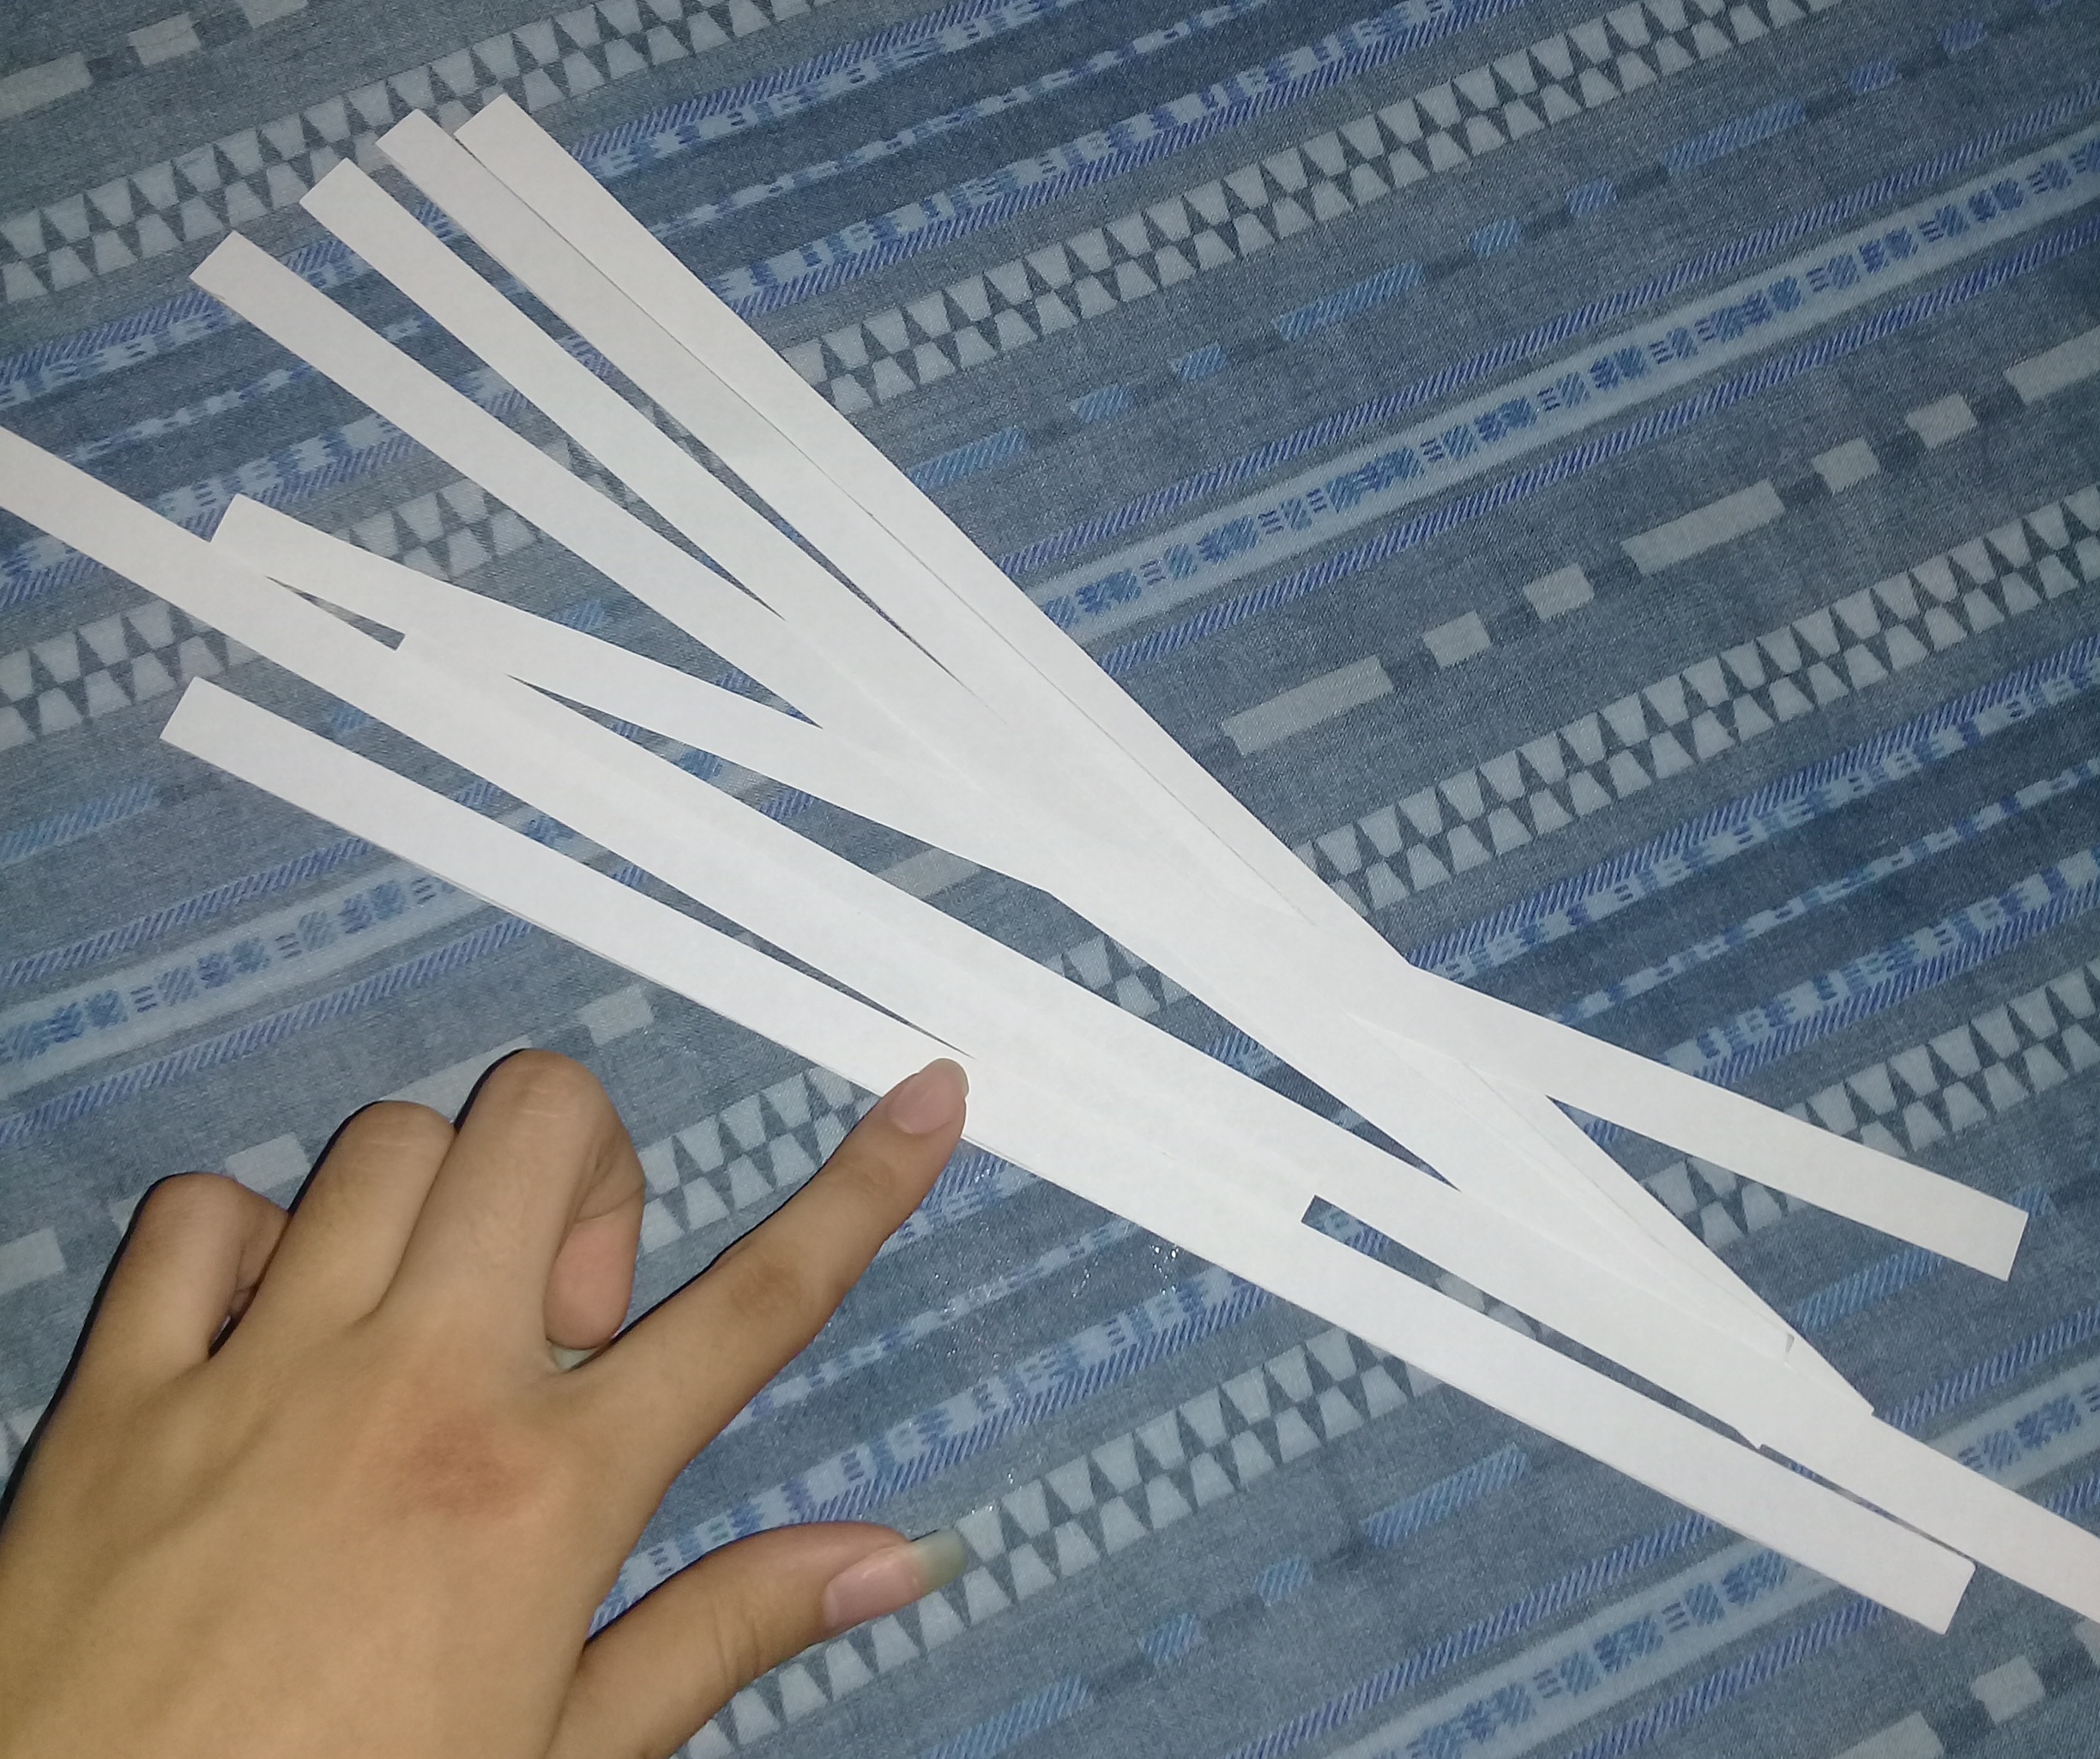
- Then we cut on the lines
![20210703_190149-01.jpeg](https://images.hive.blog/DQmdU4dmrKBFjixfhQyeykZ5HuA6sysyHt3367BXoPB5QyK/20210703_190149-01.jpeg)
![20210703_190550-01.jpeg](https://images.hive.blog/DQmbThDfpk3crvdvvR5ncAjUhETUveDU9t6ogZKpKUtytR5/20210703_190550-01.jpeg)
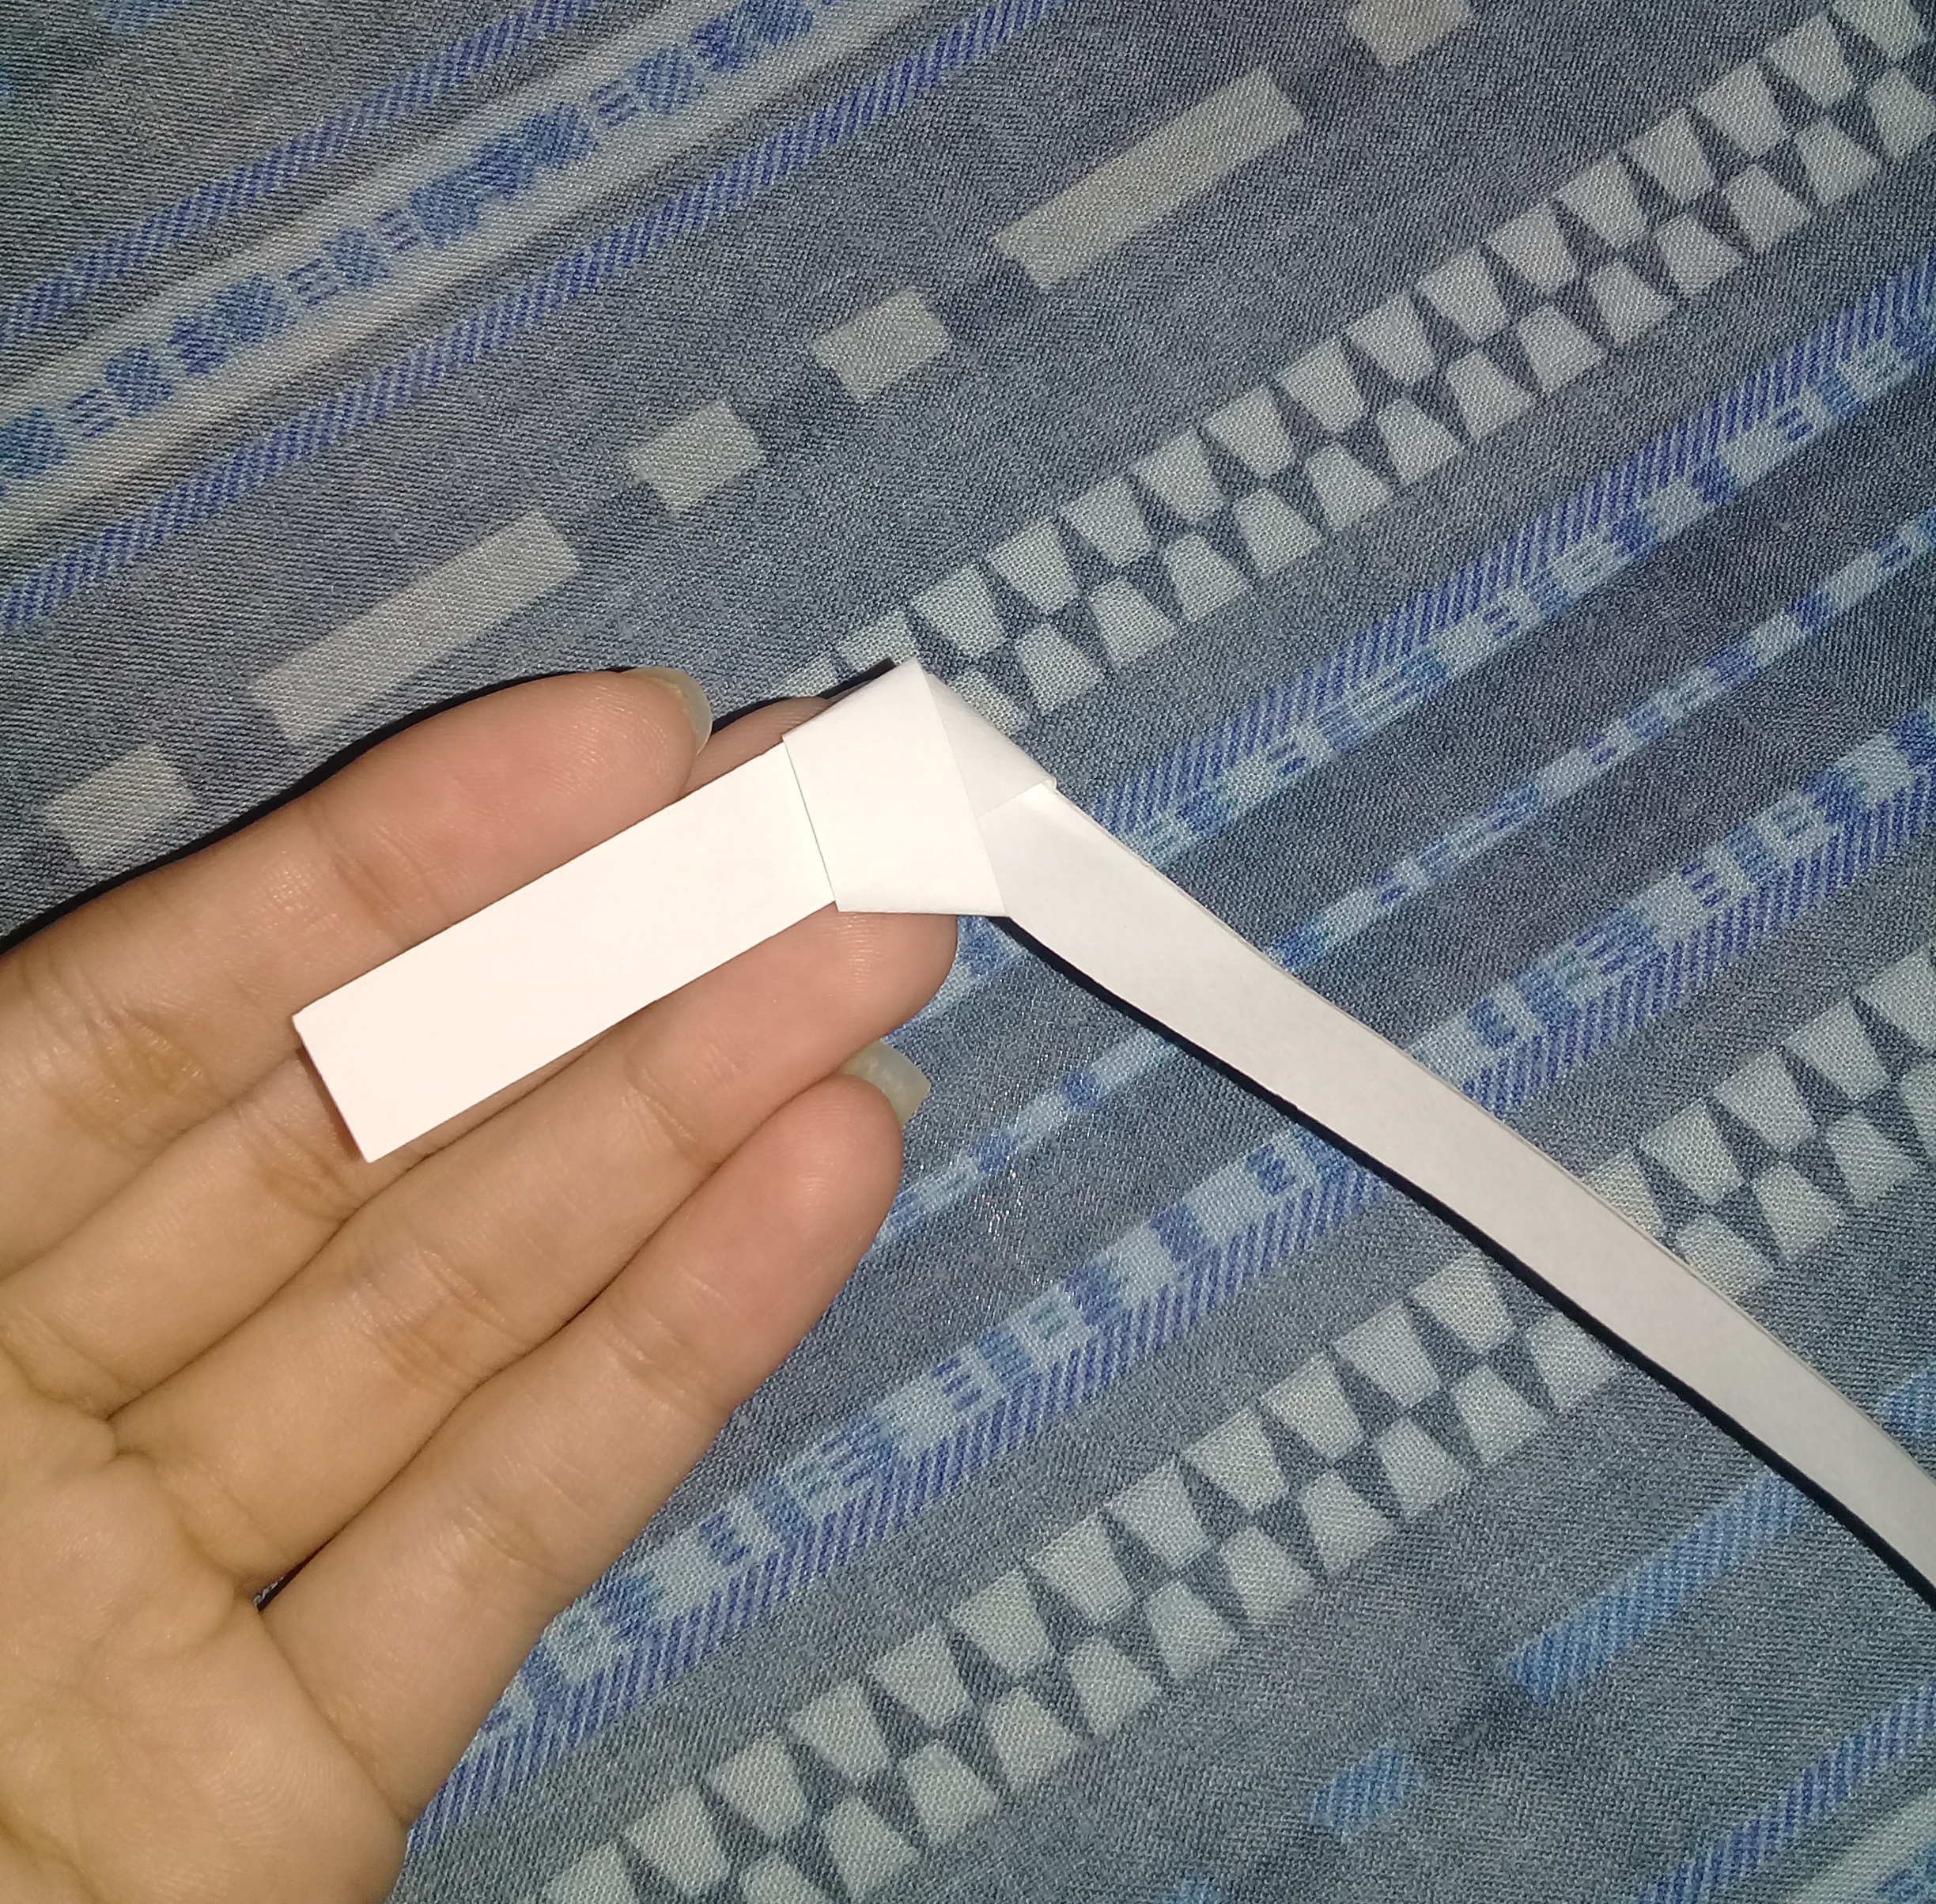
4. Después de esto tendremos muchas tiras de un centímetro de grosor. Tomamos una de las tiras y las demás las dejamos a un lado. Para comenzar a darle forma a la estrellita, doblamos el papel como el símbolo del cáncer, uno de los extremos debe de ser más corto.
![20210703_190711-01.jpeg](https://images.hive.blog/DQmSjKAWDms8HXeV9S27Fi1Ti2fWzGBamPEJ42cJvaayZk7/20210703_190711-01.jpeg)
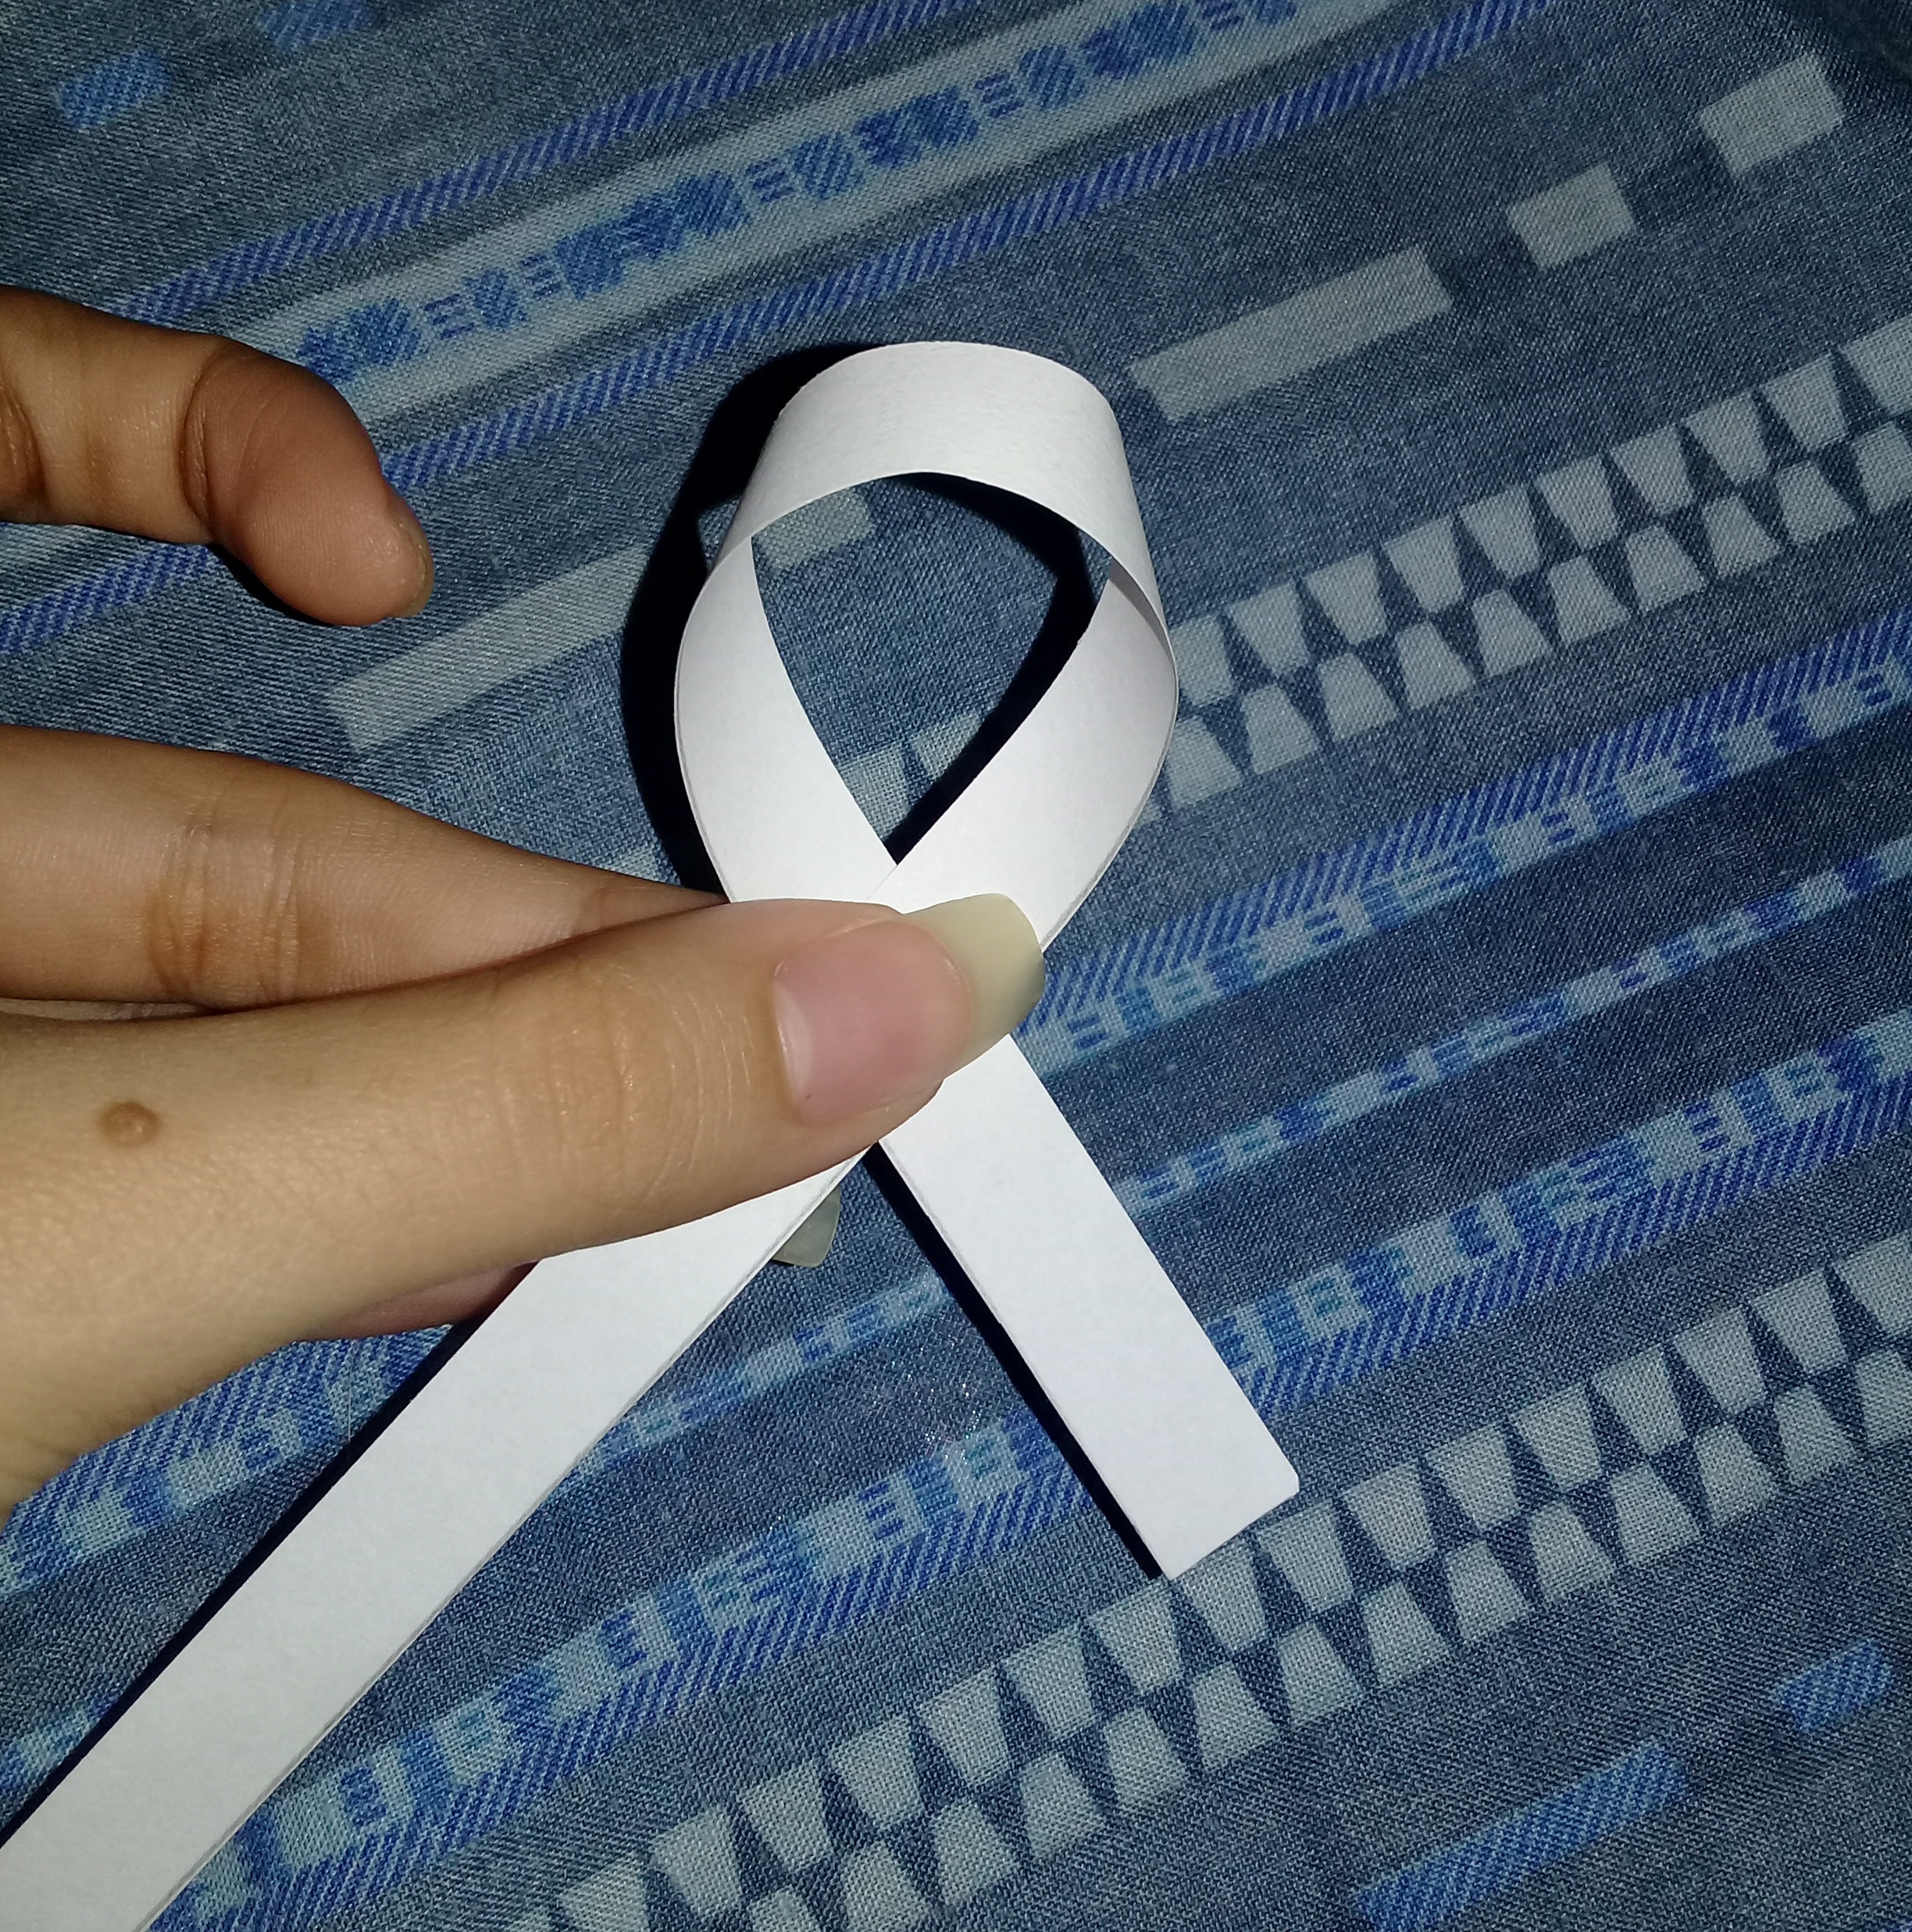
- After this we will have many strips of one centimeter thick. We take one of the strips and set the others aside. To start shaping the star, fold the paper like the cancer symbol, one end should be shorter.
![20210703_190711-01.jpeg](https://images.hive.blog/DQmSjKAWDms8HXeV9S27Fi1Ti2fWzGBamPEJ42cJvaayZk7/20210703_190711-01.jpeg)
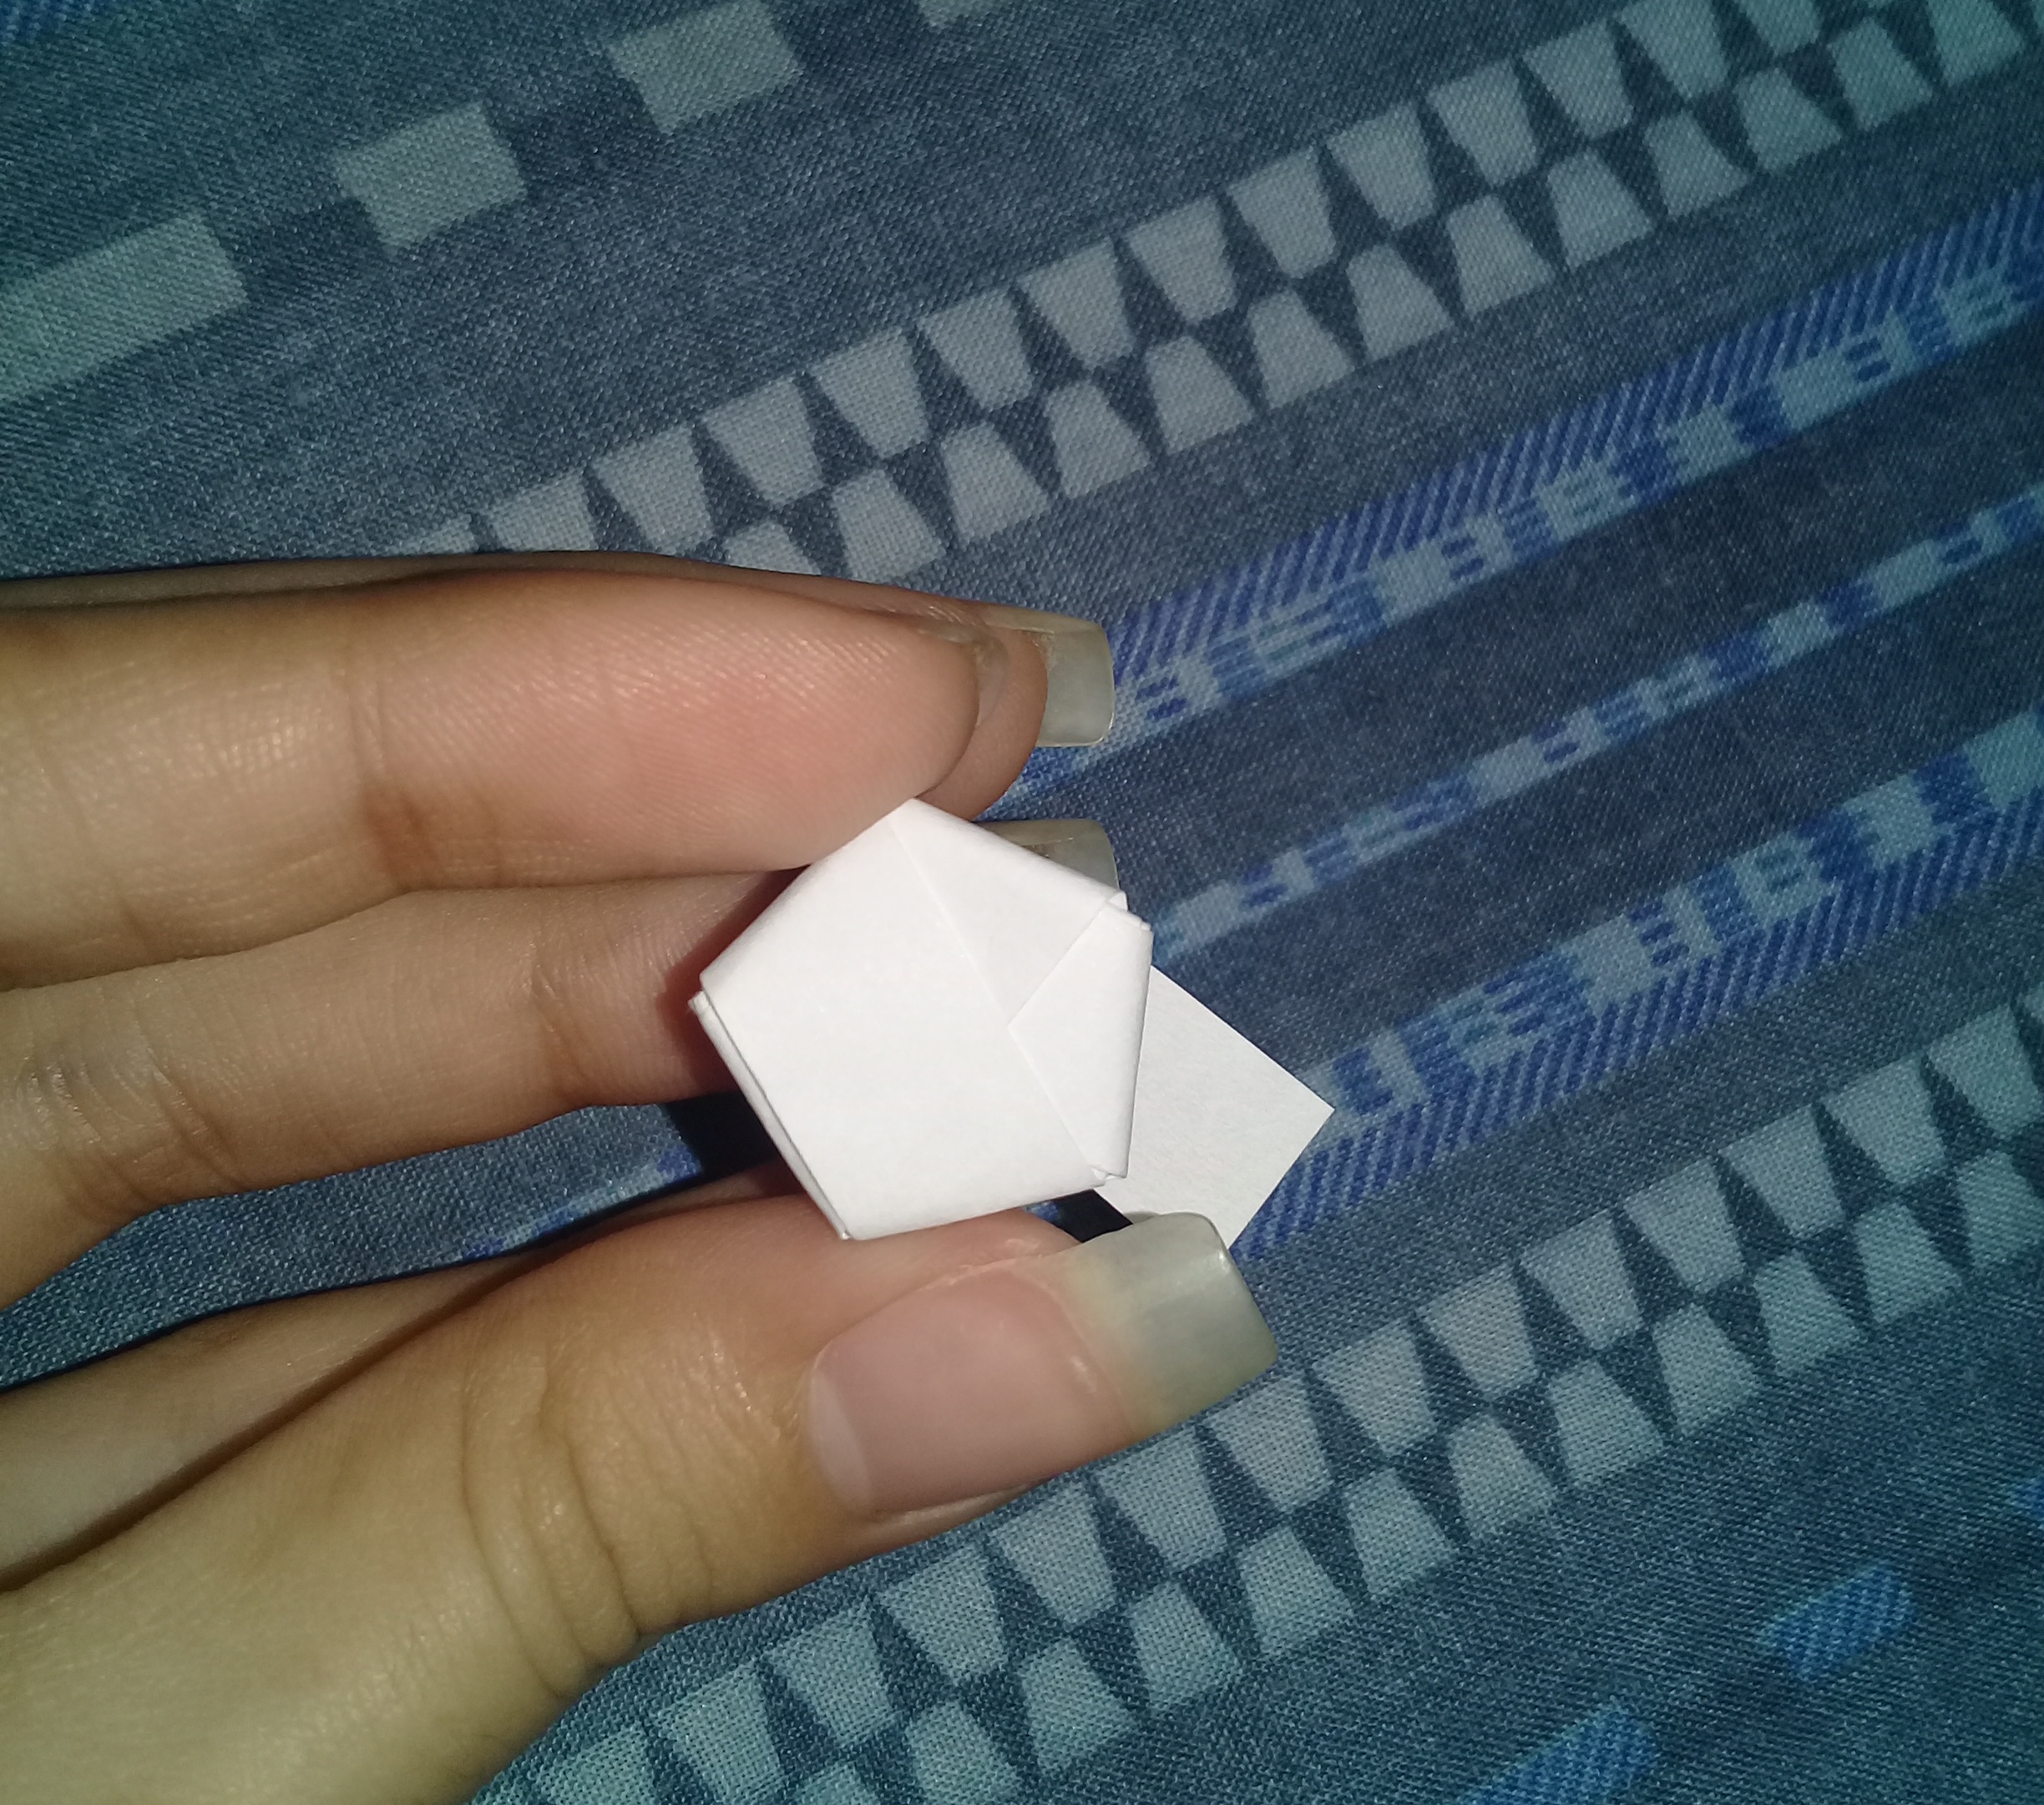
5. Introducimos la tira pequeña por dentro y jalamos las dos extremos hasta formar un Pentágono. Luego te dede de quedar una tira pequeñita, esa la doblas hacia atrás. Si la tira corta te queda como a mi, la costas un poco y ya después la doblas para atrás.
![20210703_190808-01.jpeg](https://images.hive.blog/DQmP4KfpfGMbpZ7dqaMobjfGA57mjWaV26uXz9KZQ8ibEpA/20210703_190808-01.jpeg)
![20210703_190840-01.jpeg](https://images.hive.blog/DQmcGN9995fWpTx1bwcyCGqHJjzmsmS9gNq5aCPbyGFdLSH/20210703_190840-01.jpeg)
![20210703_190954-02.jpeg](https://images.hive.blog/DQmZjjik9HygN6N2VcTWTcyr45KmD3qXMCQP125c6rjMMgk/20210703_190954-02.jpeg)
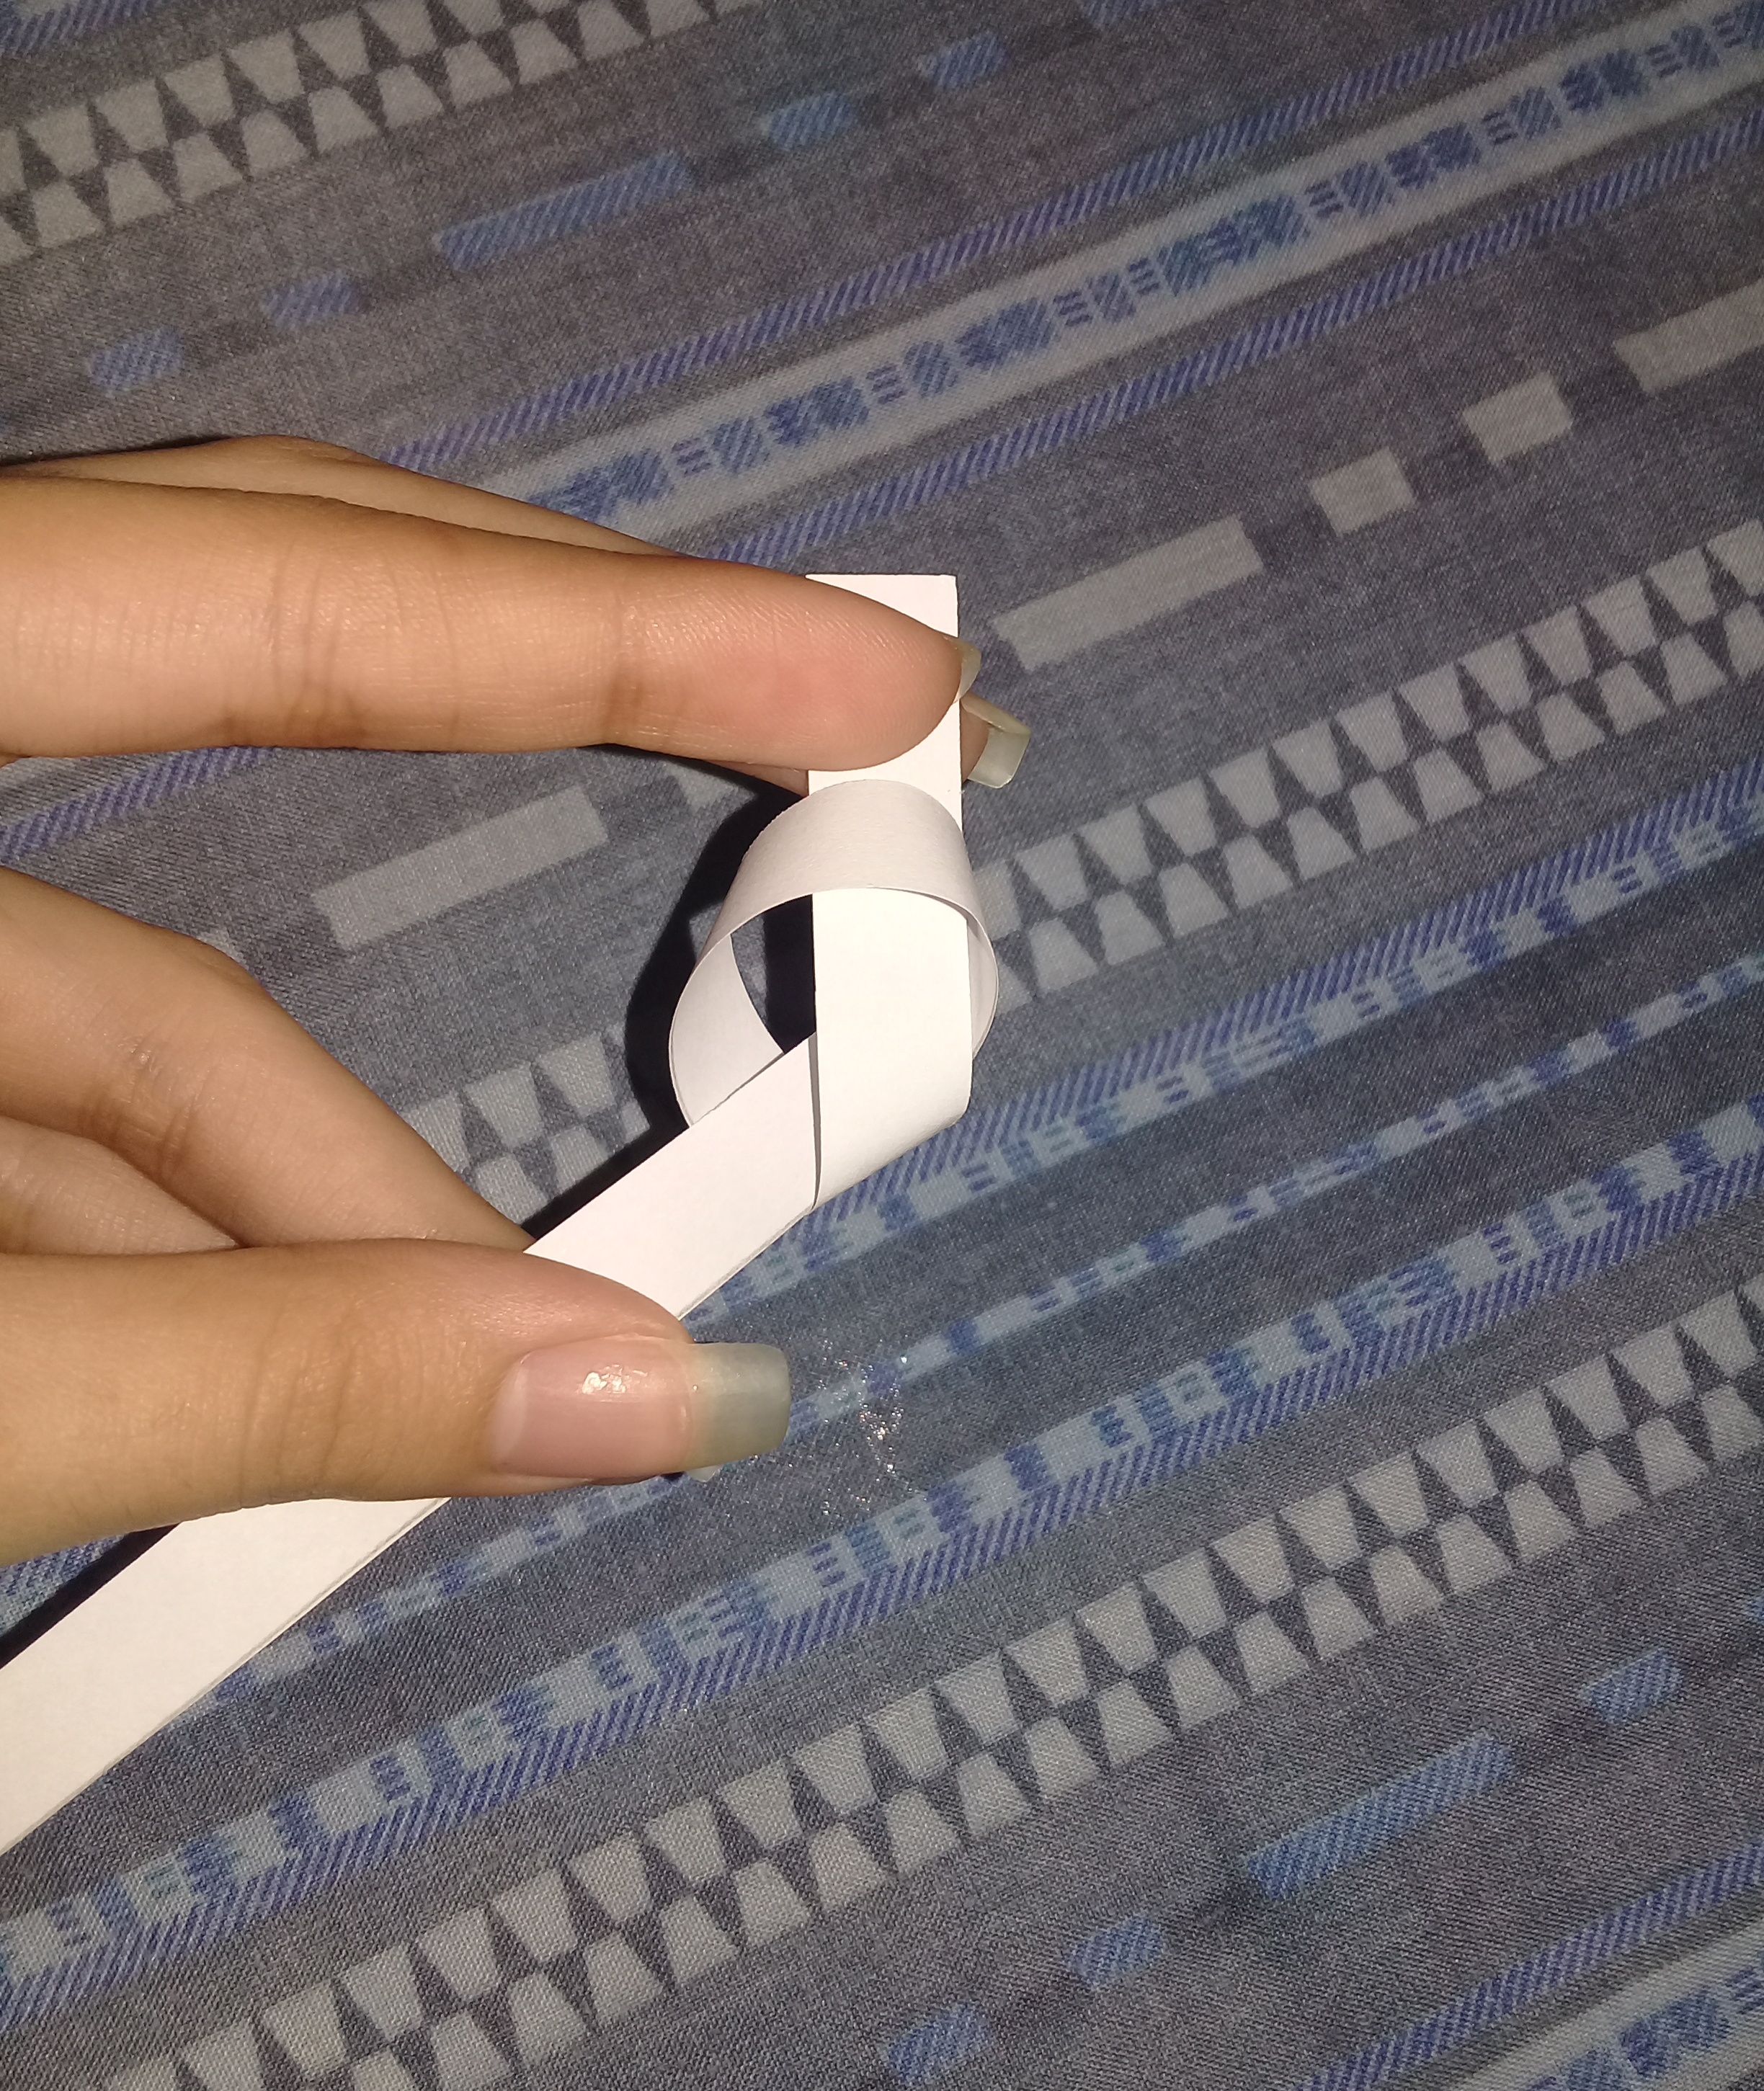
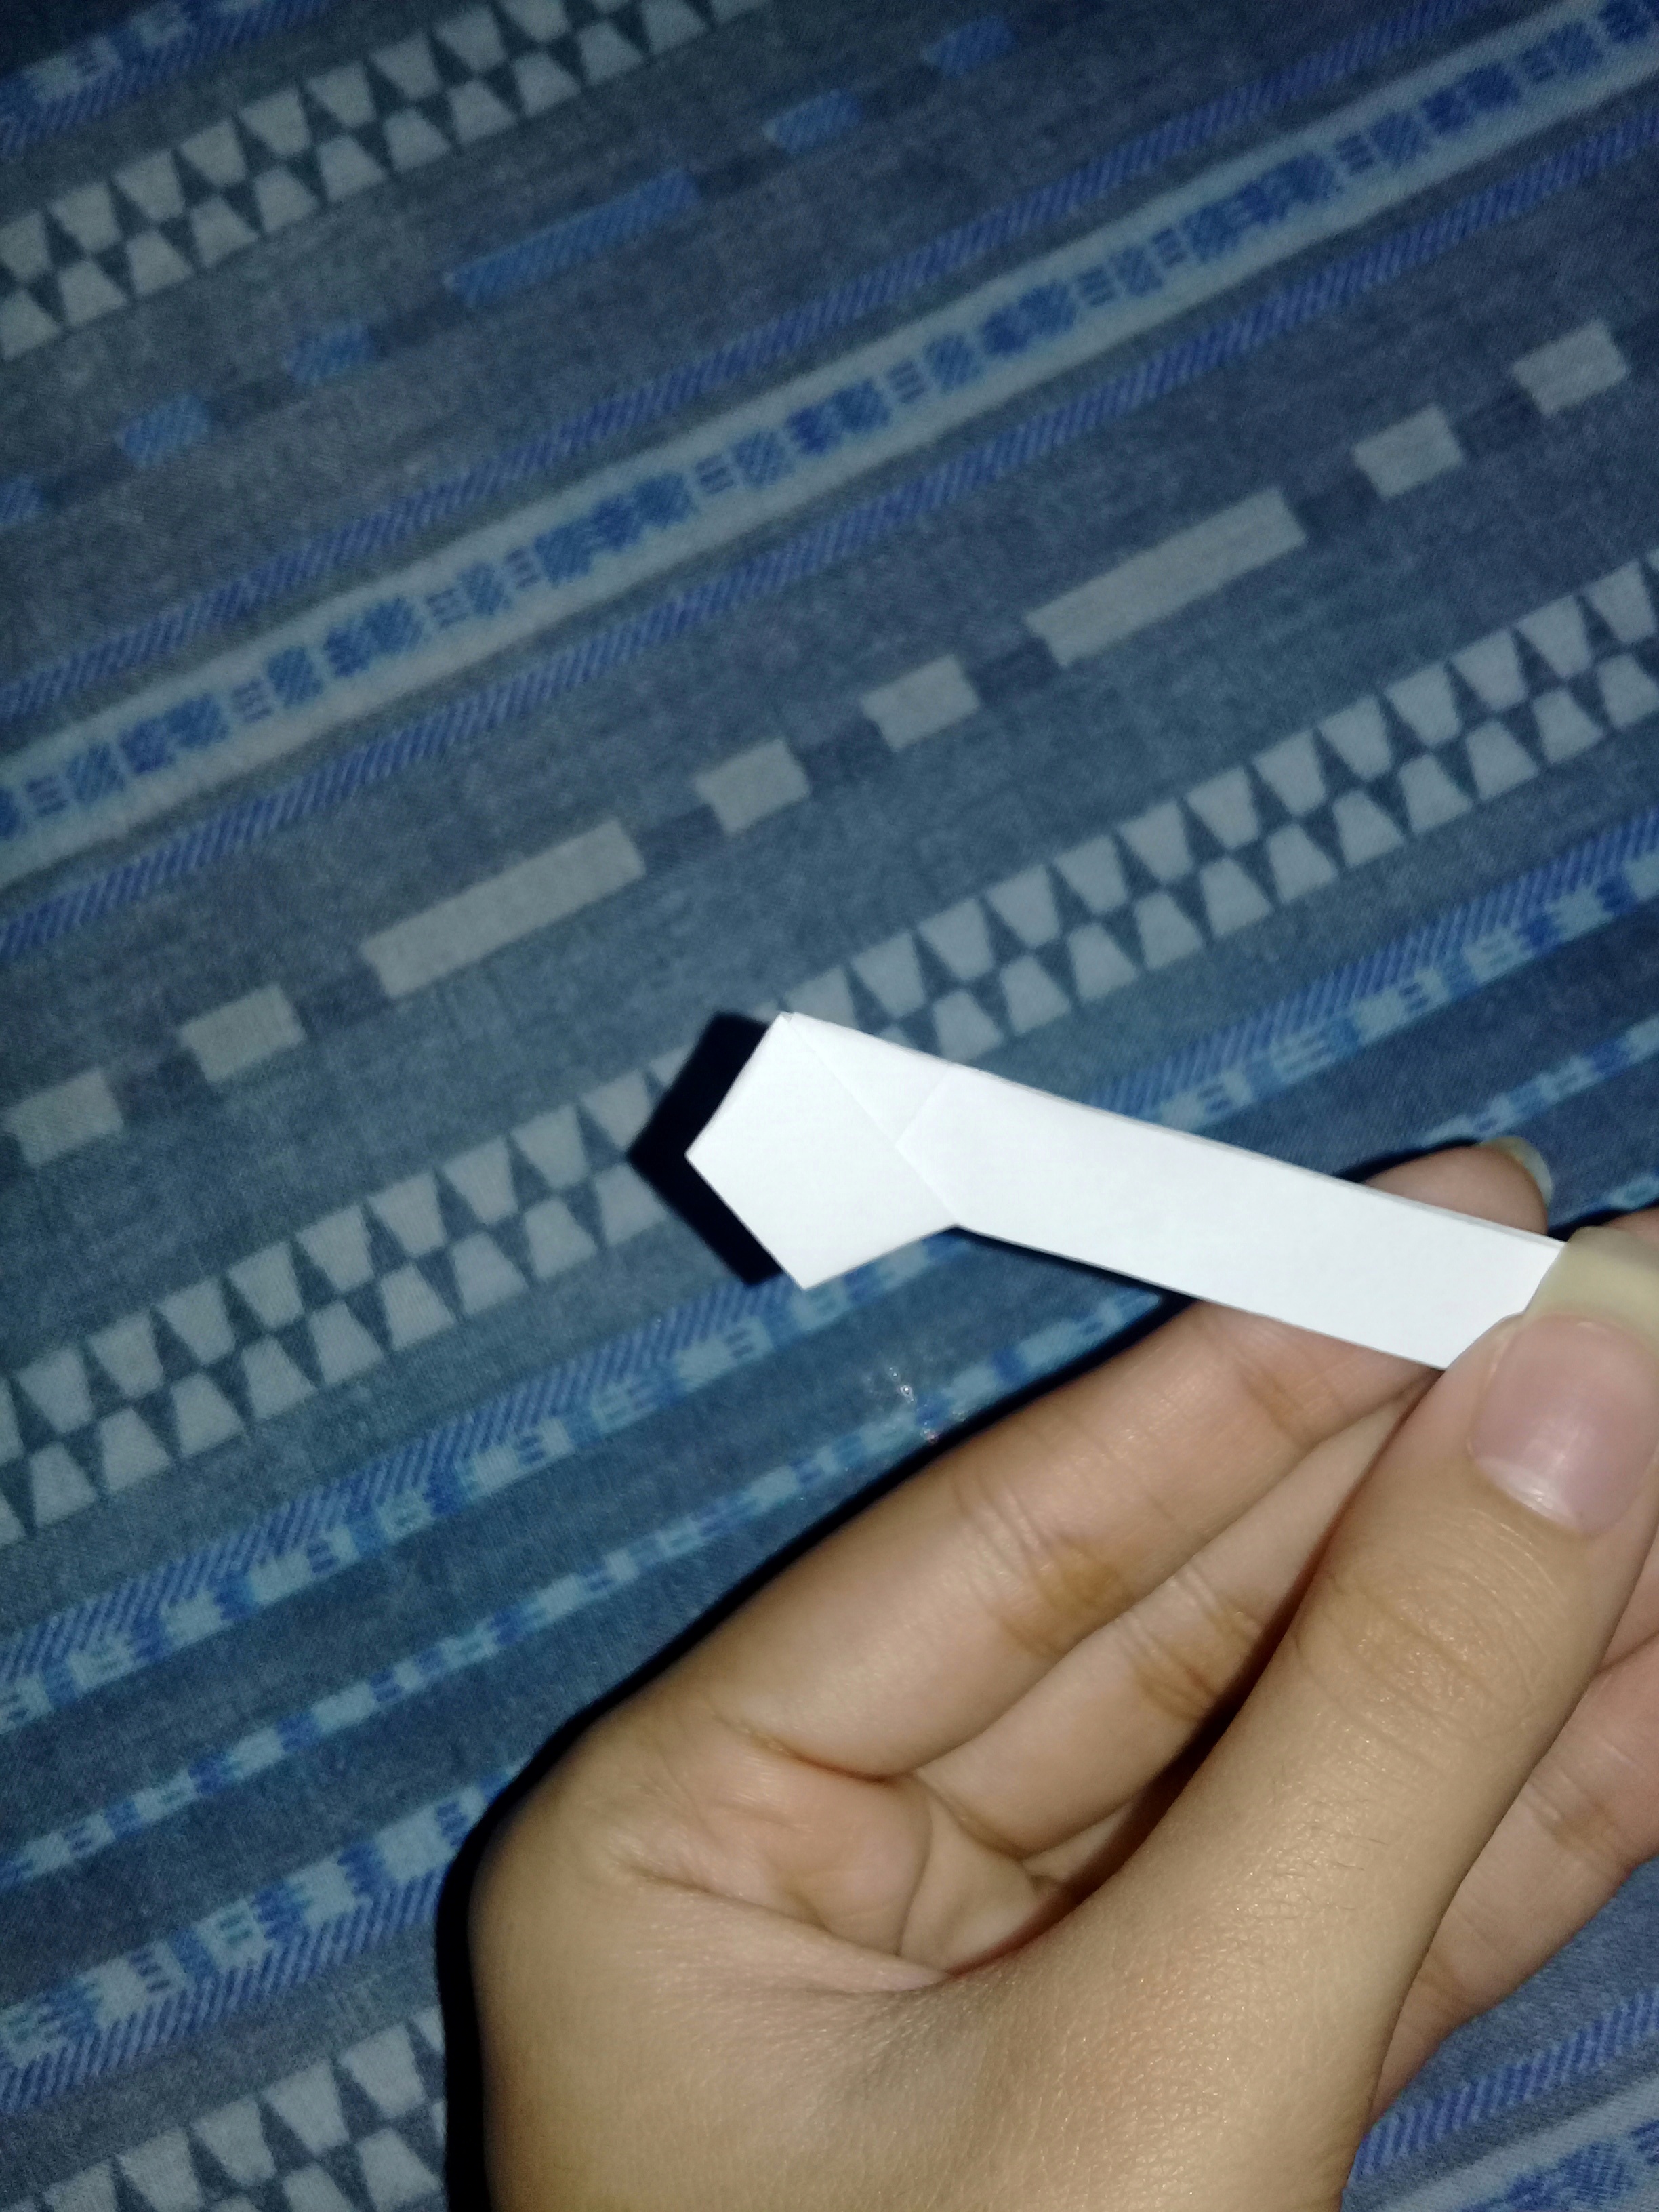
- Insert the small strip inside and pull the two ends to form a pentagon. Then you should have a small strip left, fold it backwards. If the short strip fits you like me, you sew it a little bit and then fold it back.
![20210703_190808-01.jpeg](https://images.hive.blog/DQmP4KfpfGMbpZ7dqaMobjfGA57mjWaV26uXz9KZQ8ibEpA/20210703_190808-01.jpeg)
![20210703_190840-01.jpeg](https://images.hive.blog/DQmcGN9995fWpTx1bwcyCGqHJjzmsmS9gNq5aCPbyGFdLSH/20210703_190840-01.jpeg)
![20210703_190954-02.jpeg](https://images.hive.blog/DQmZjjik9HygN6N2VcTWTcyr45KmD3qXMCQP125c6rjMMgk/20210703_190954-02.jpeg)
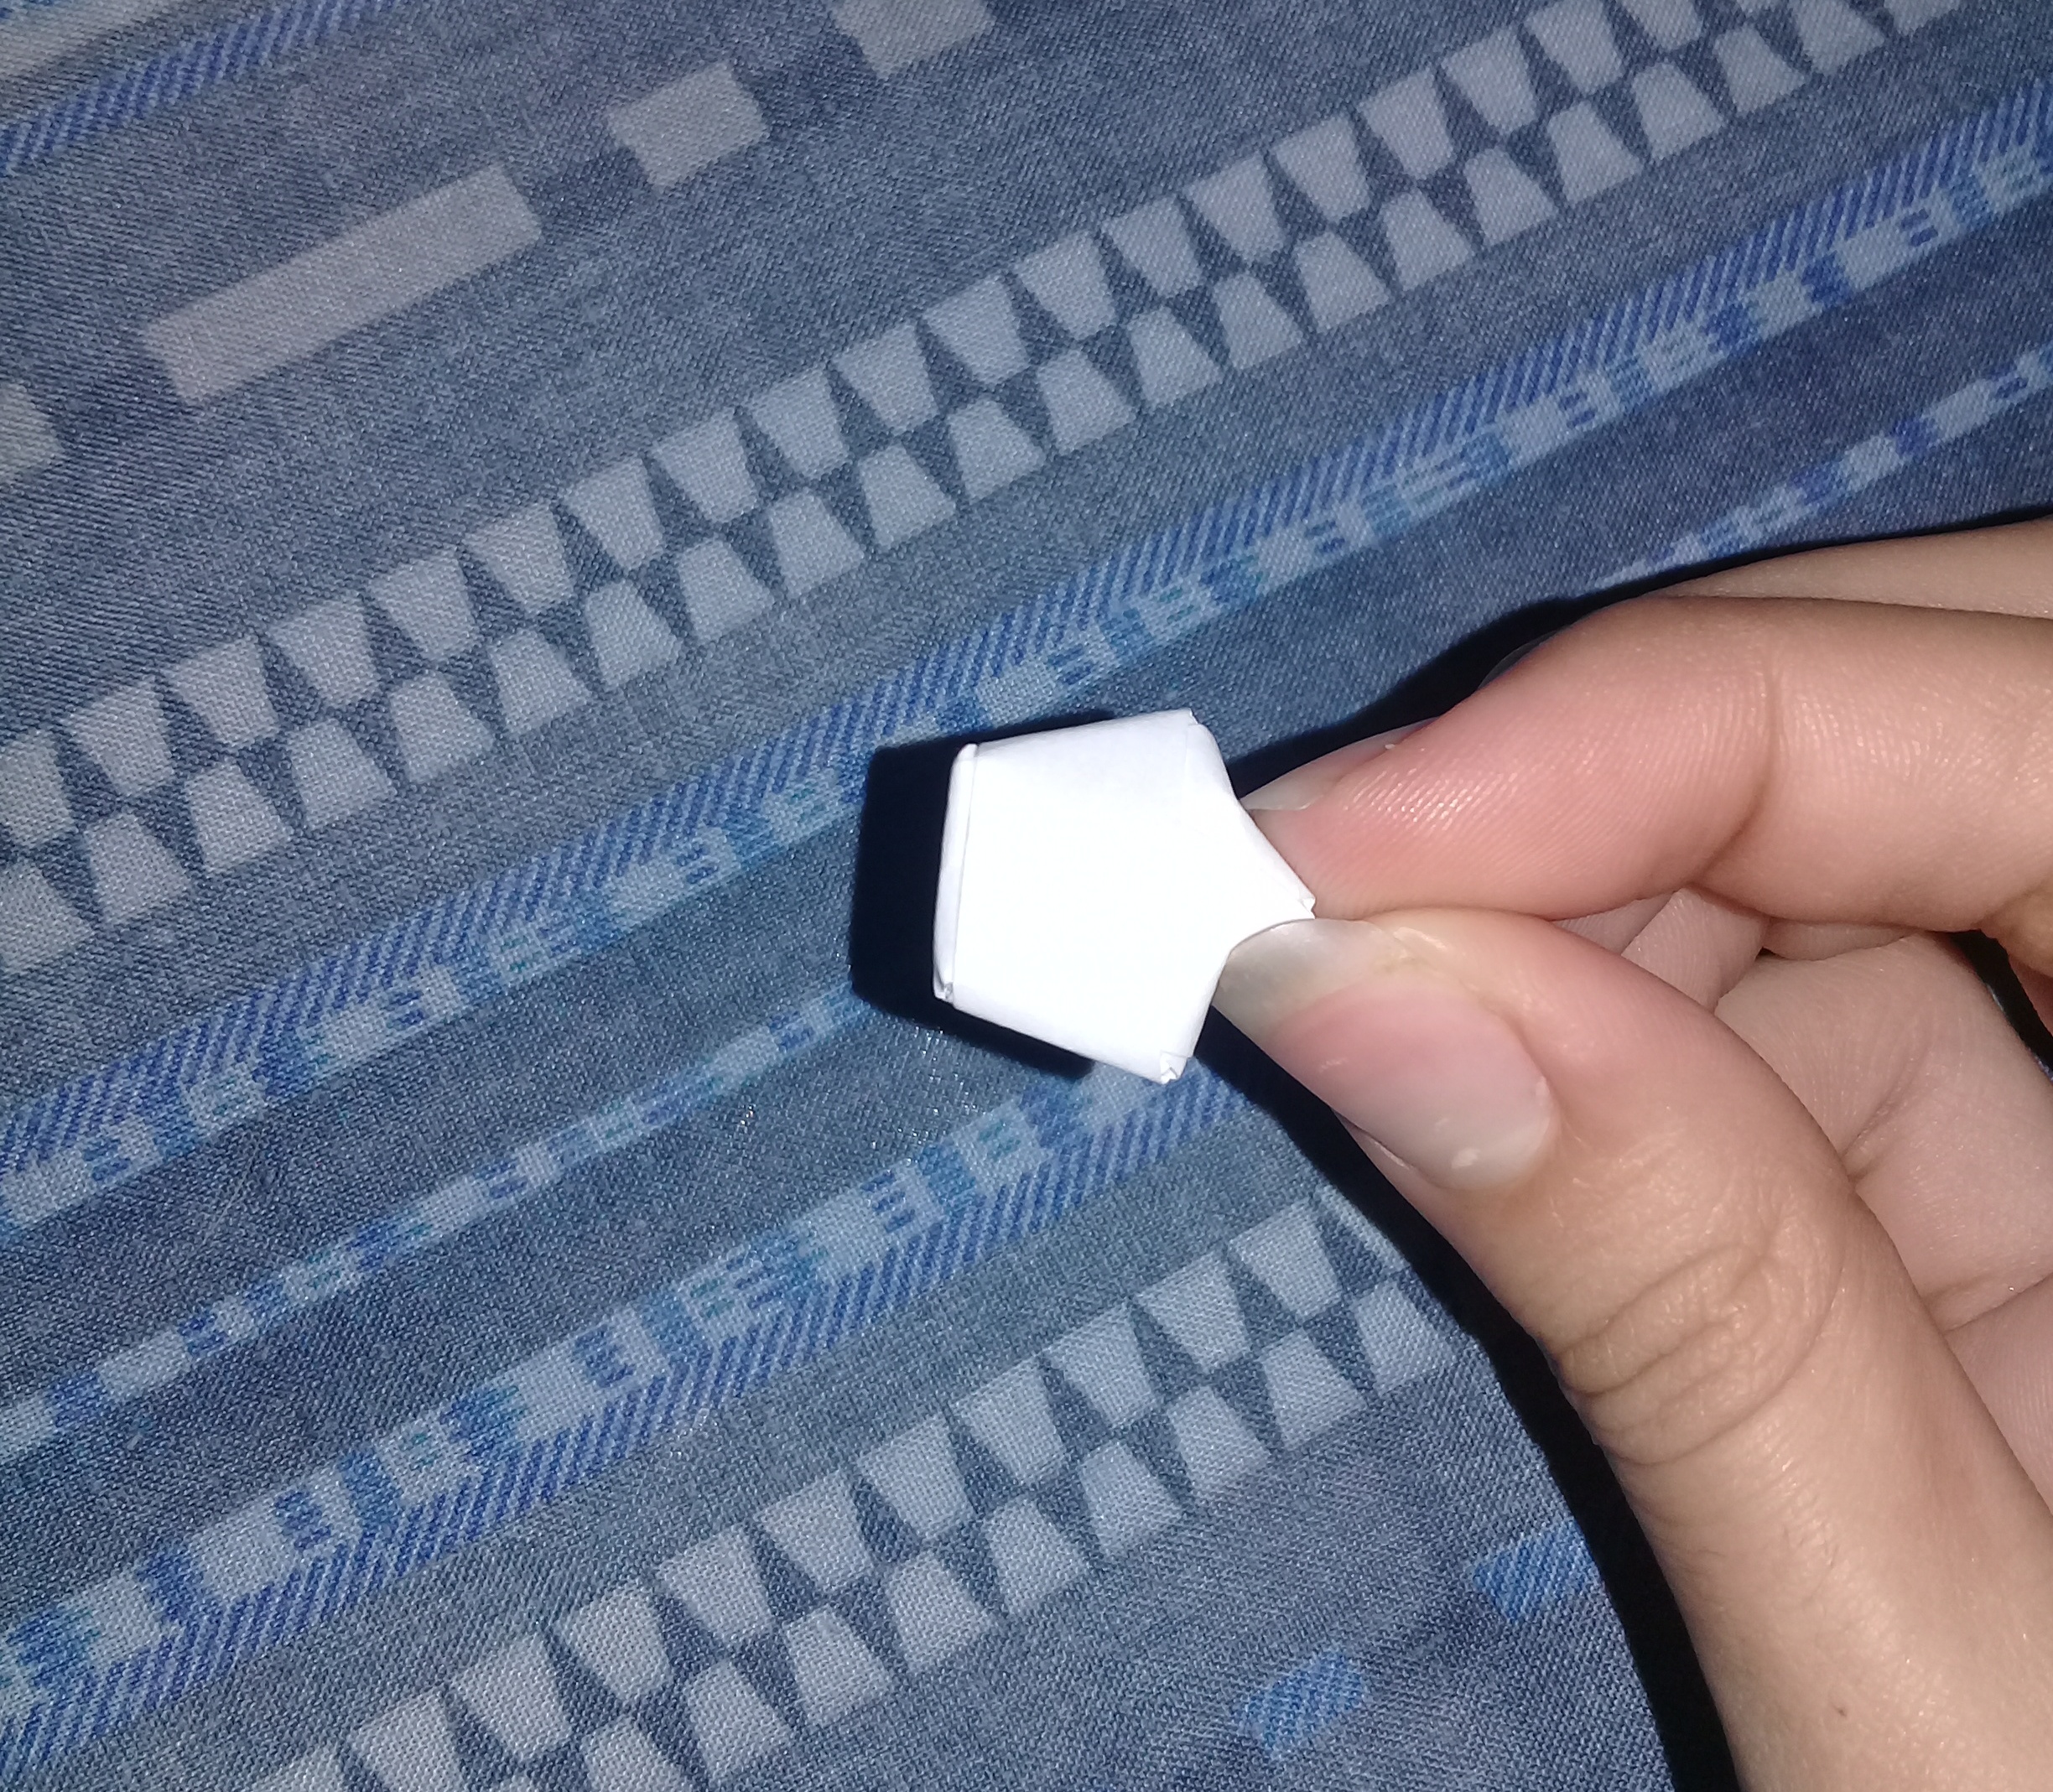
6. La tira larga la enrrollamos alrededor de todo el cuerpo del Pentágono. Al enrrollarla toda nos queda un cachito, ese cachito lo introducimos en uno de los dobleces o en una especie de bolsita.
![20210703_191644-01.jpeg](https://images.hive.blog/DQmNMtgwqbirTuhLHqwCXhDTcESQt8cYnfuynfmY71U8K1y/20210703_191644-01.jpeg)
![20210703_191712-01.jpeg](https://images.hive.blog/DQmU779UtL8EvAjSQYsBcWasbN8WYw6mBFA8wx6VP42AoJg/20210703_191712-01.jpeg)
![20210703_191850-01.jpeg](https://images.hive.blog/DQmdKGzJtiBXp7BNQ6prVsmsPgmRKMzUhYT5eGGQnJedJro/20210703_191850-01.jpeg)
![20210703_191910-01.jpeg](https://images.hive.blog/DQmV1kipWMGqX1wrFWM637Wqjt2Py3DEq8dcjqFijHZEAKk/20210703_191910-01.jpeg)
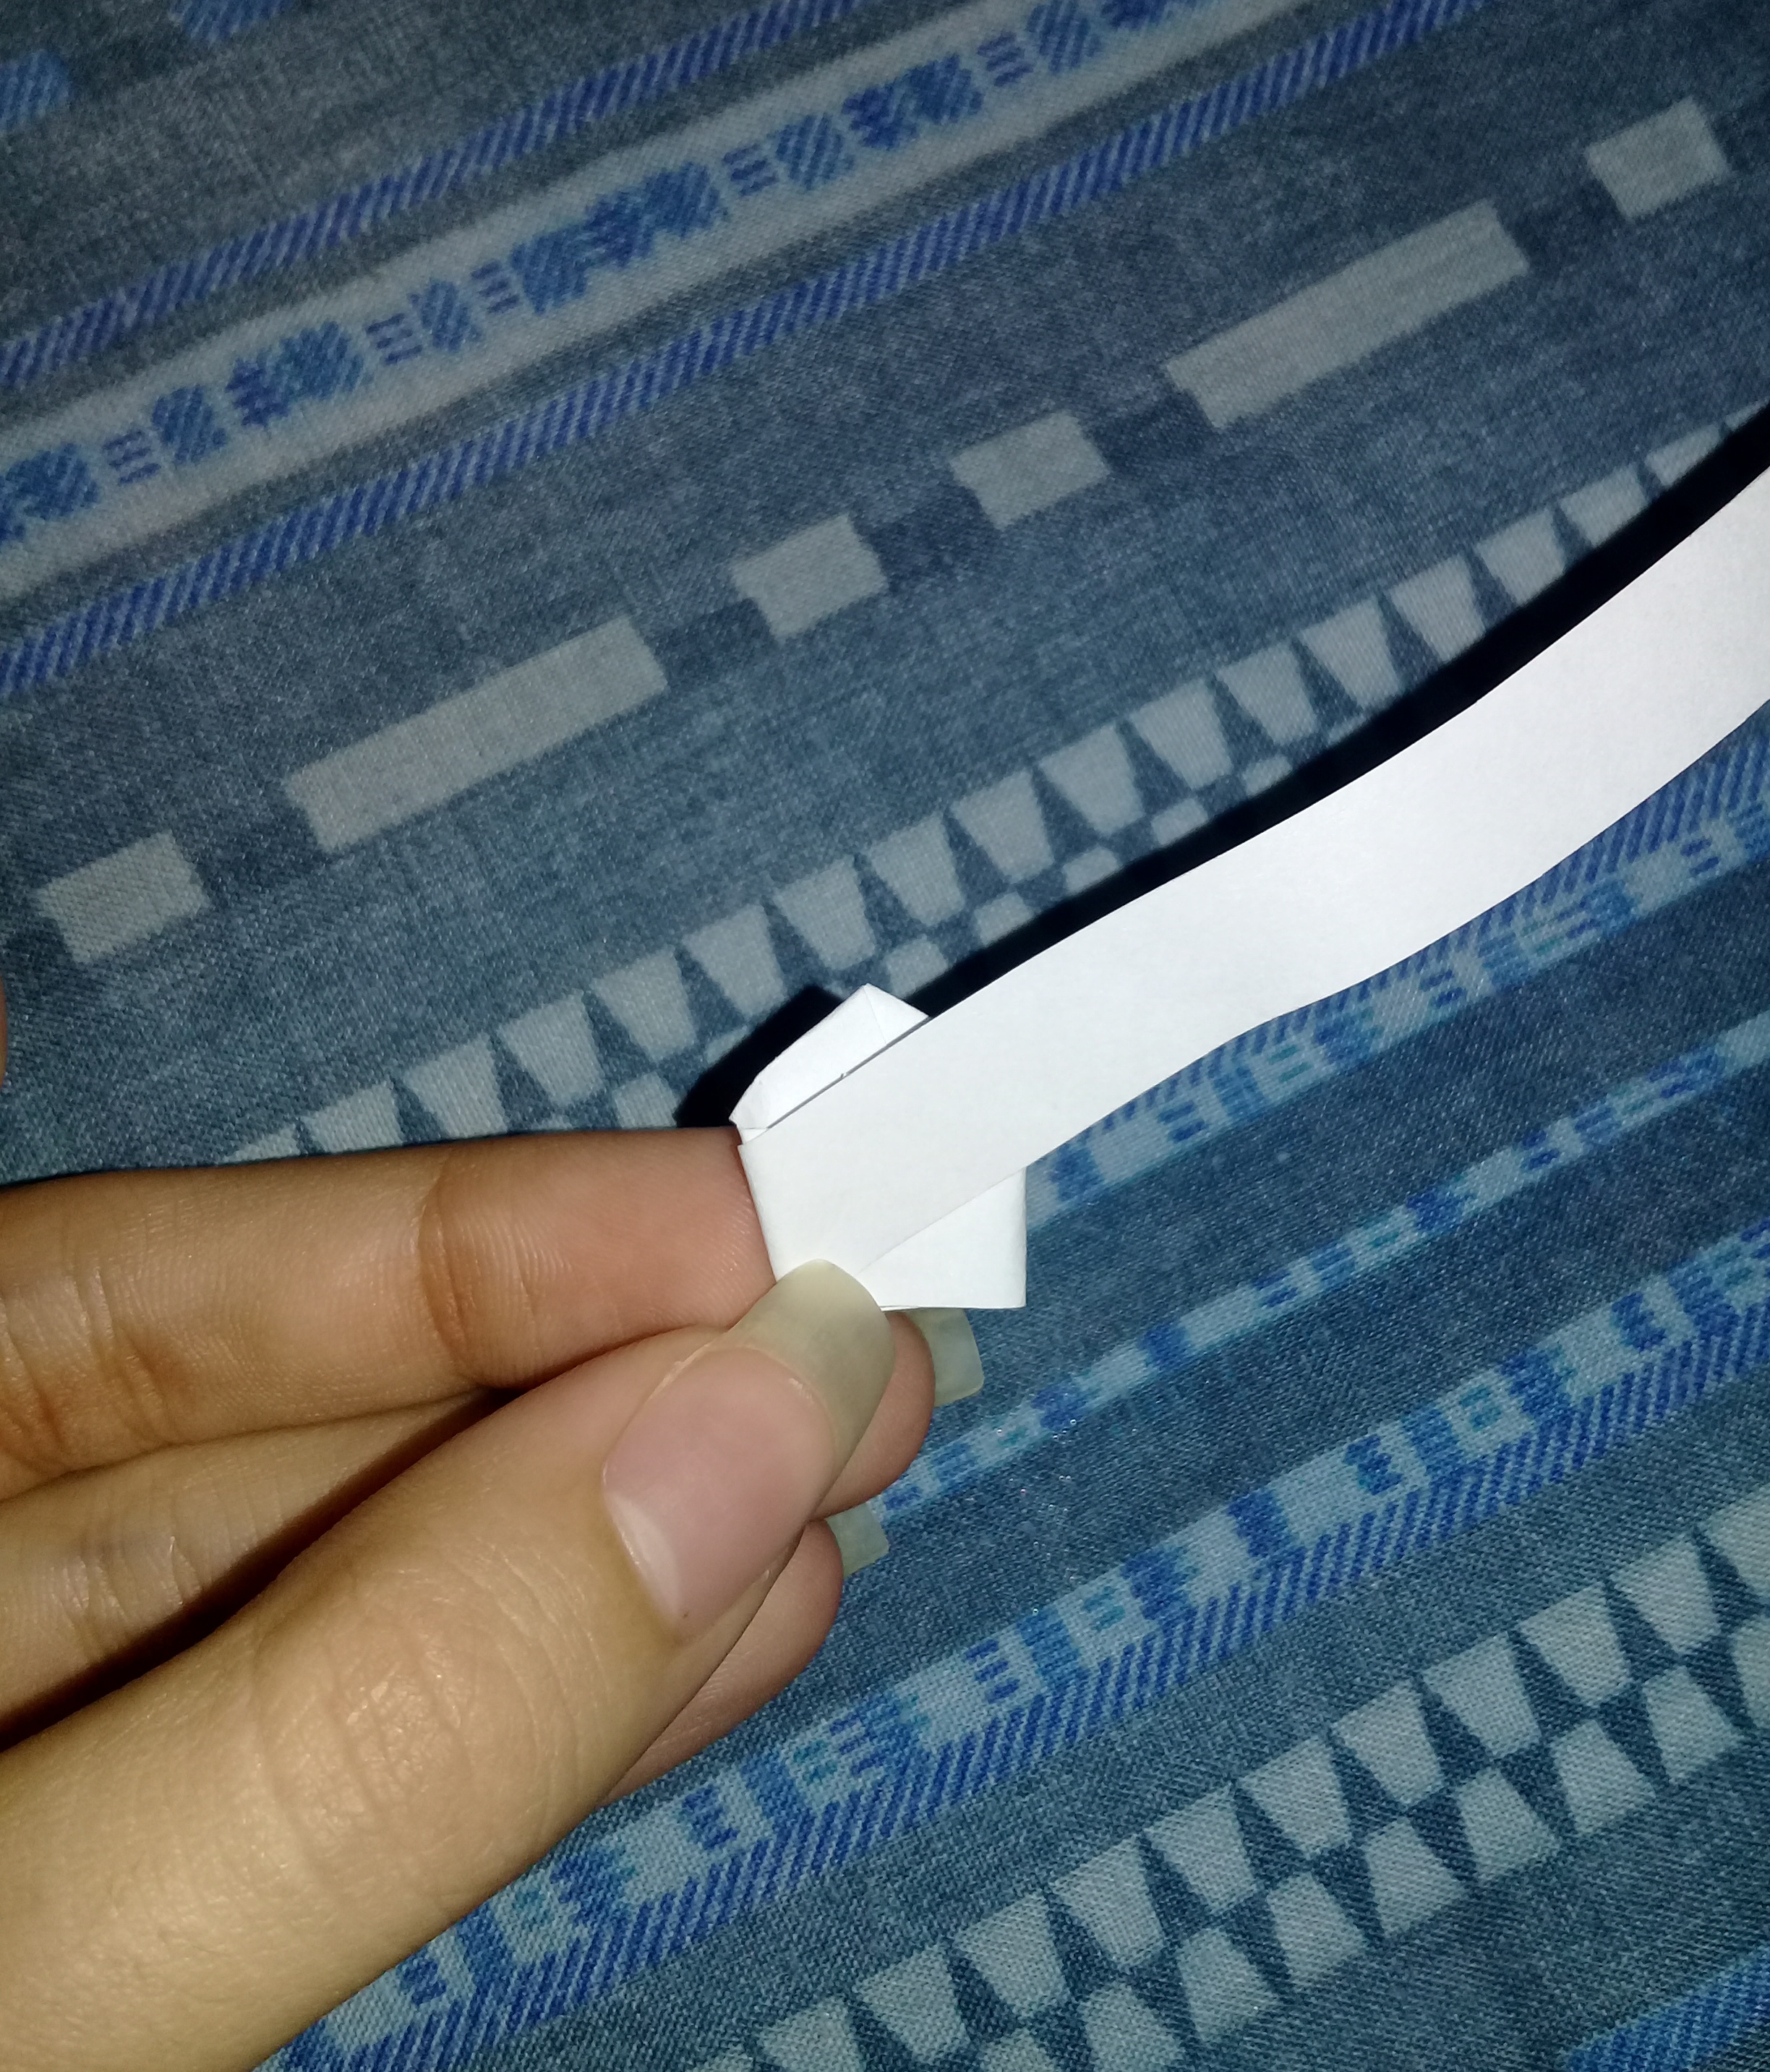
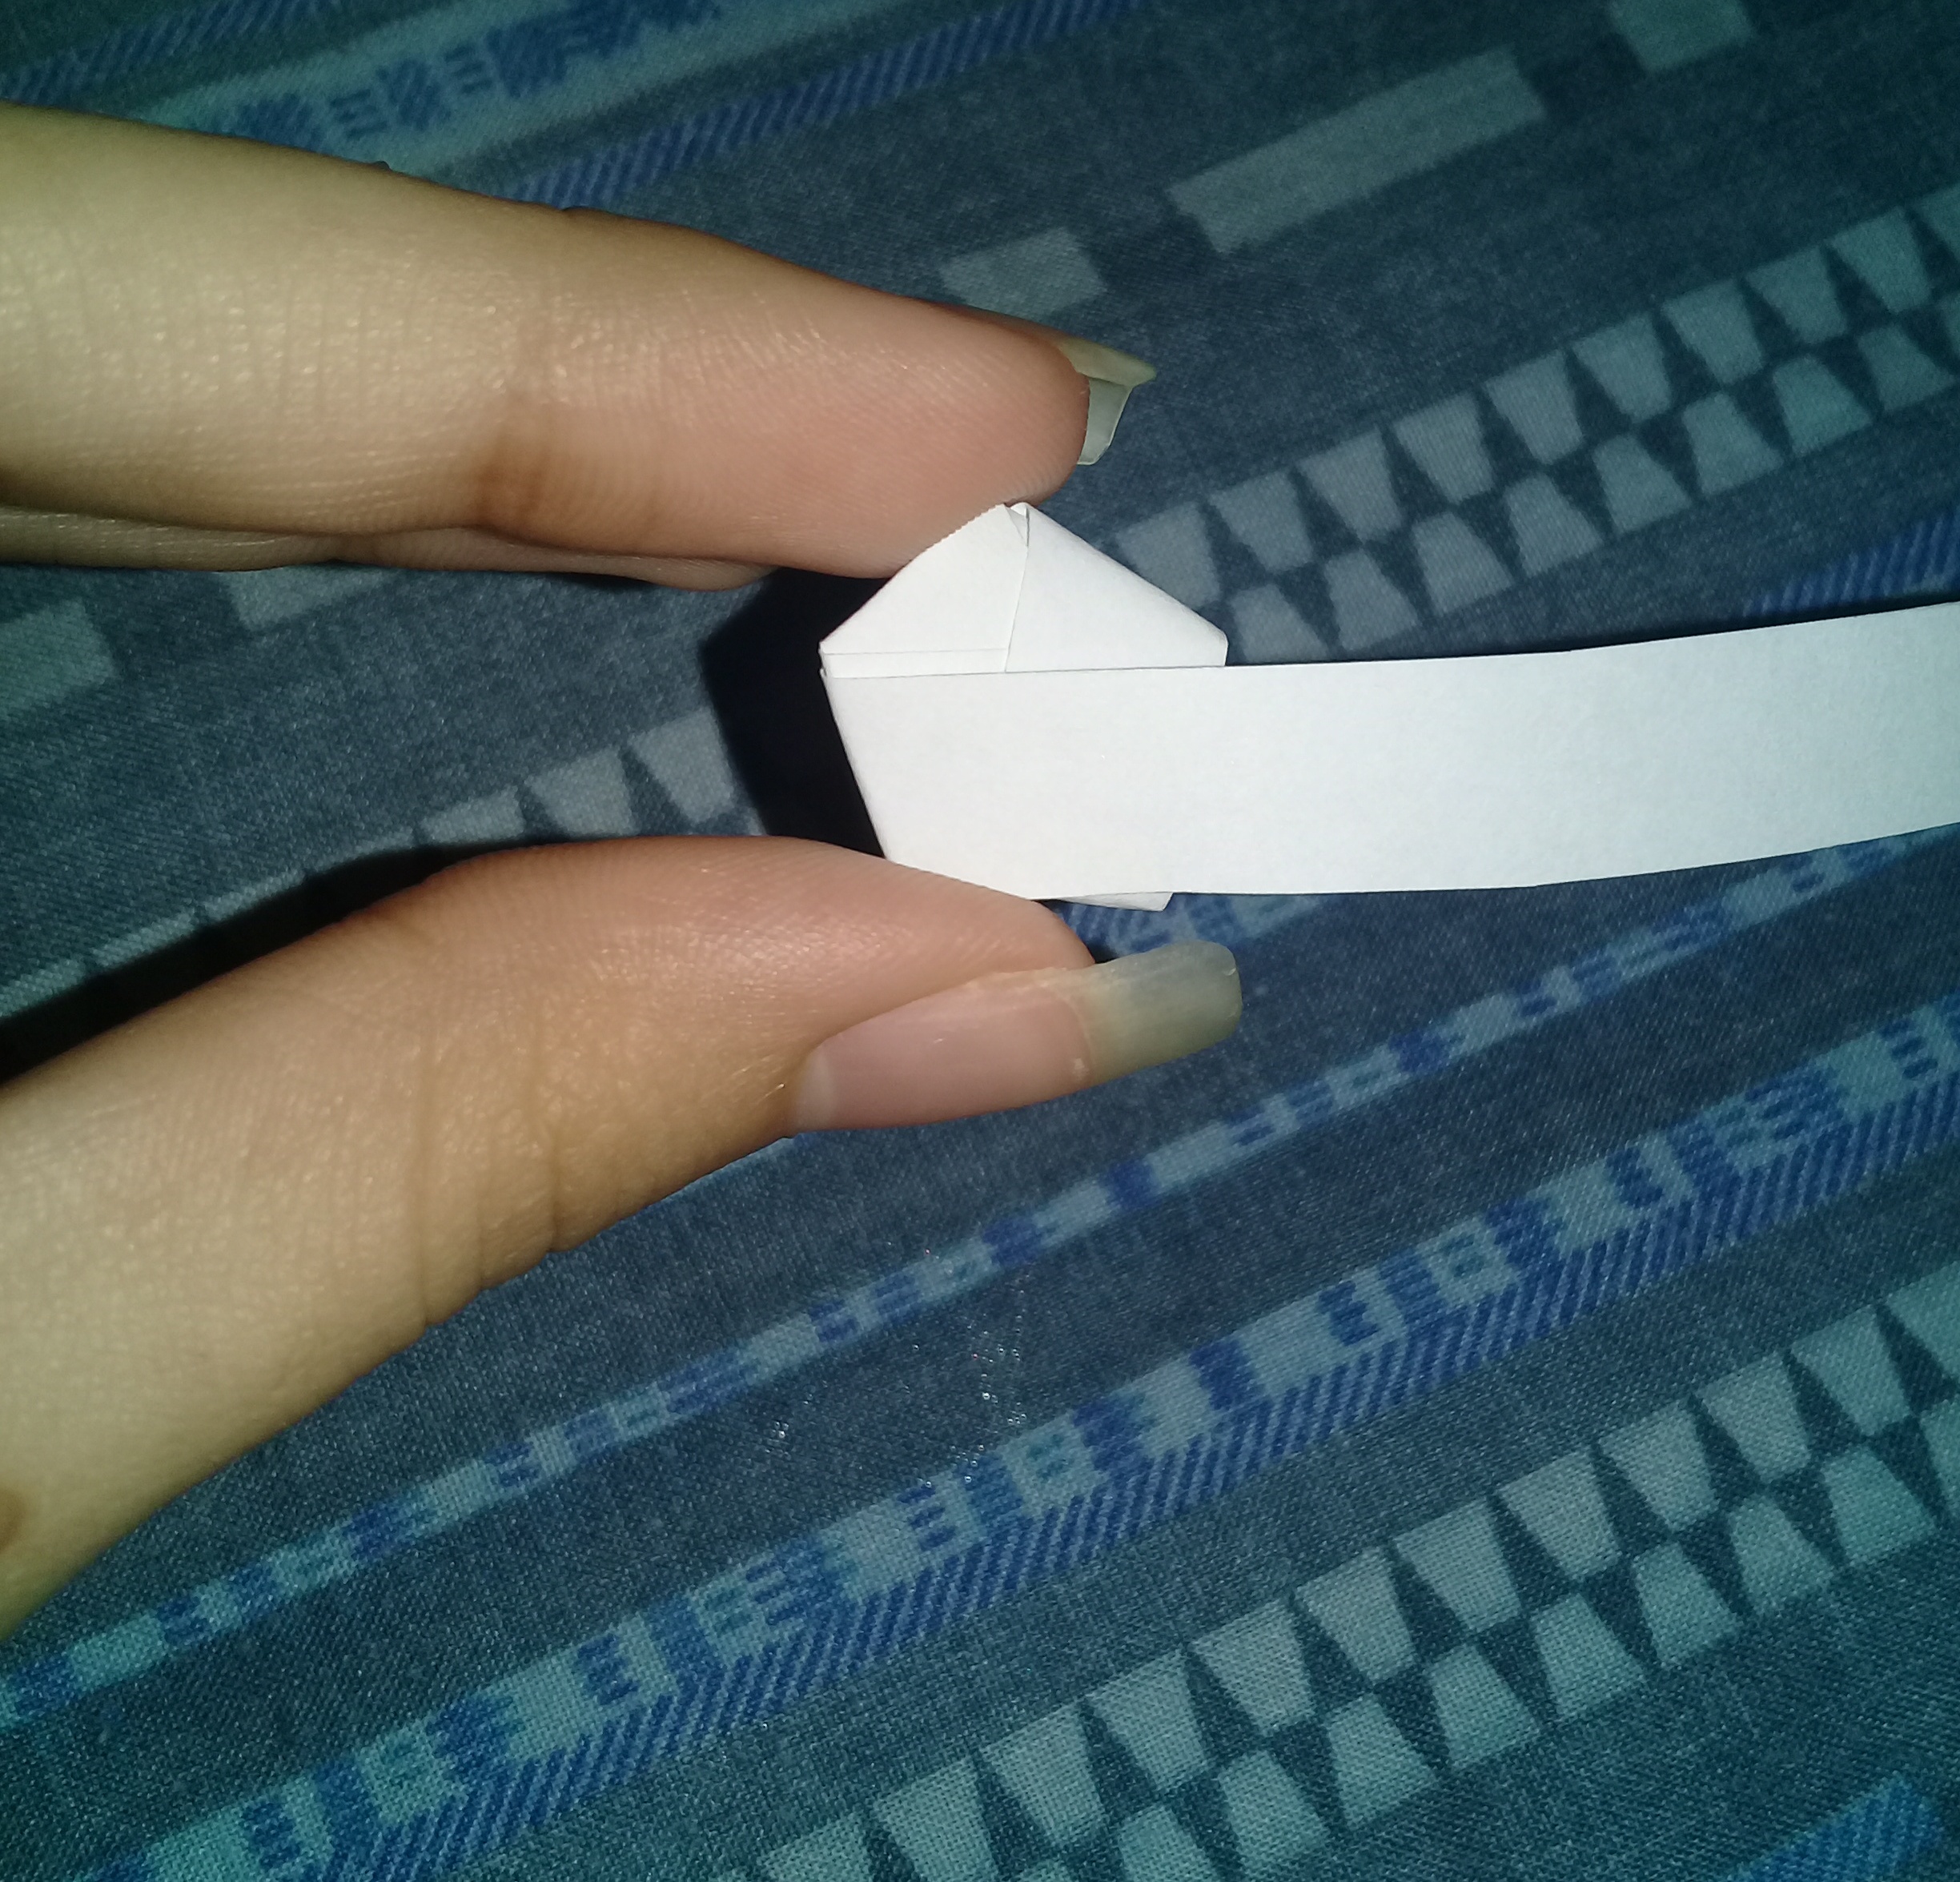
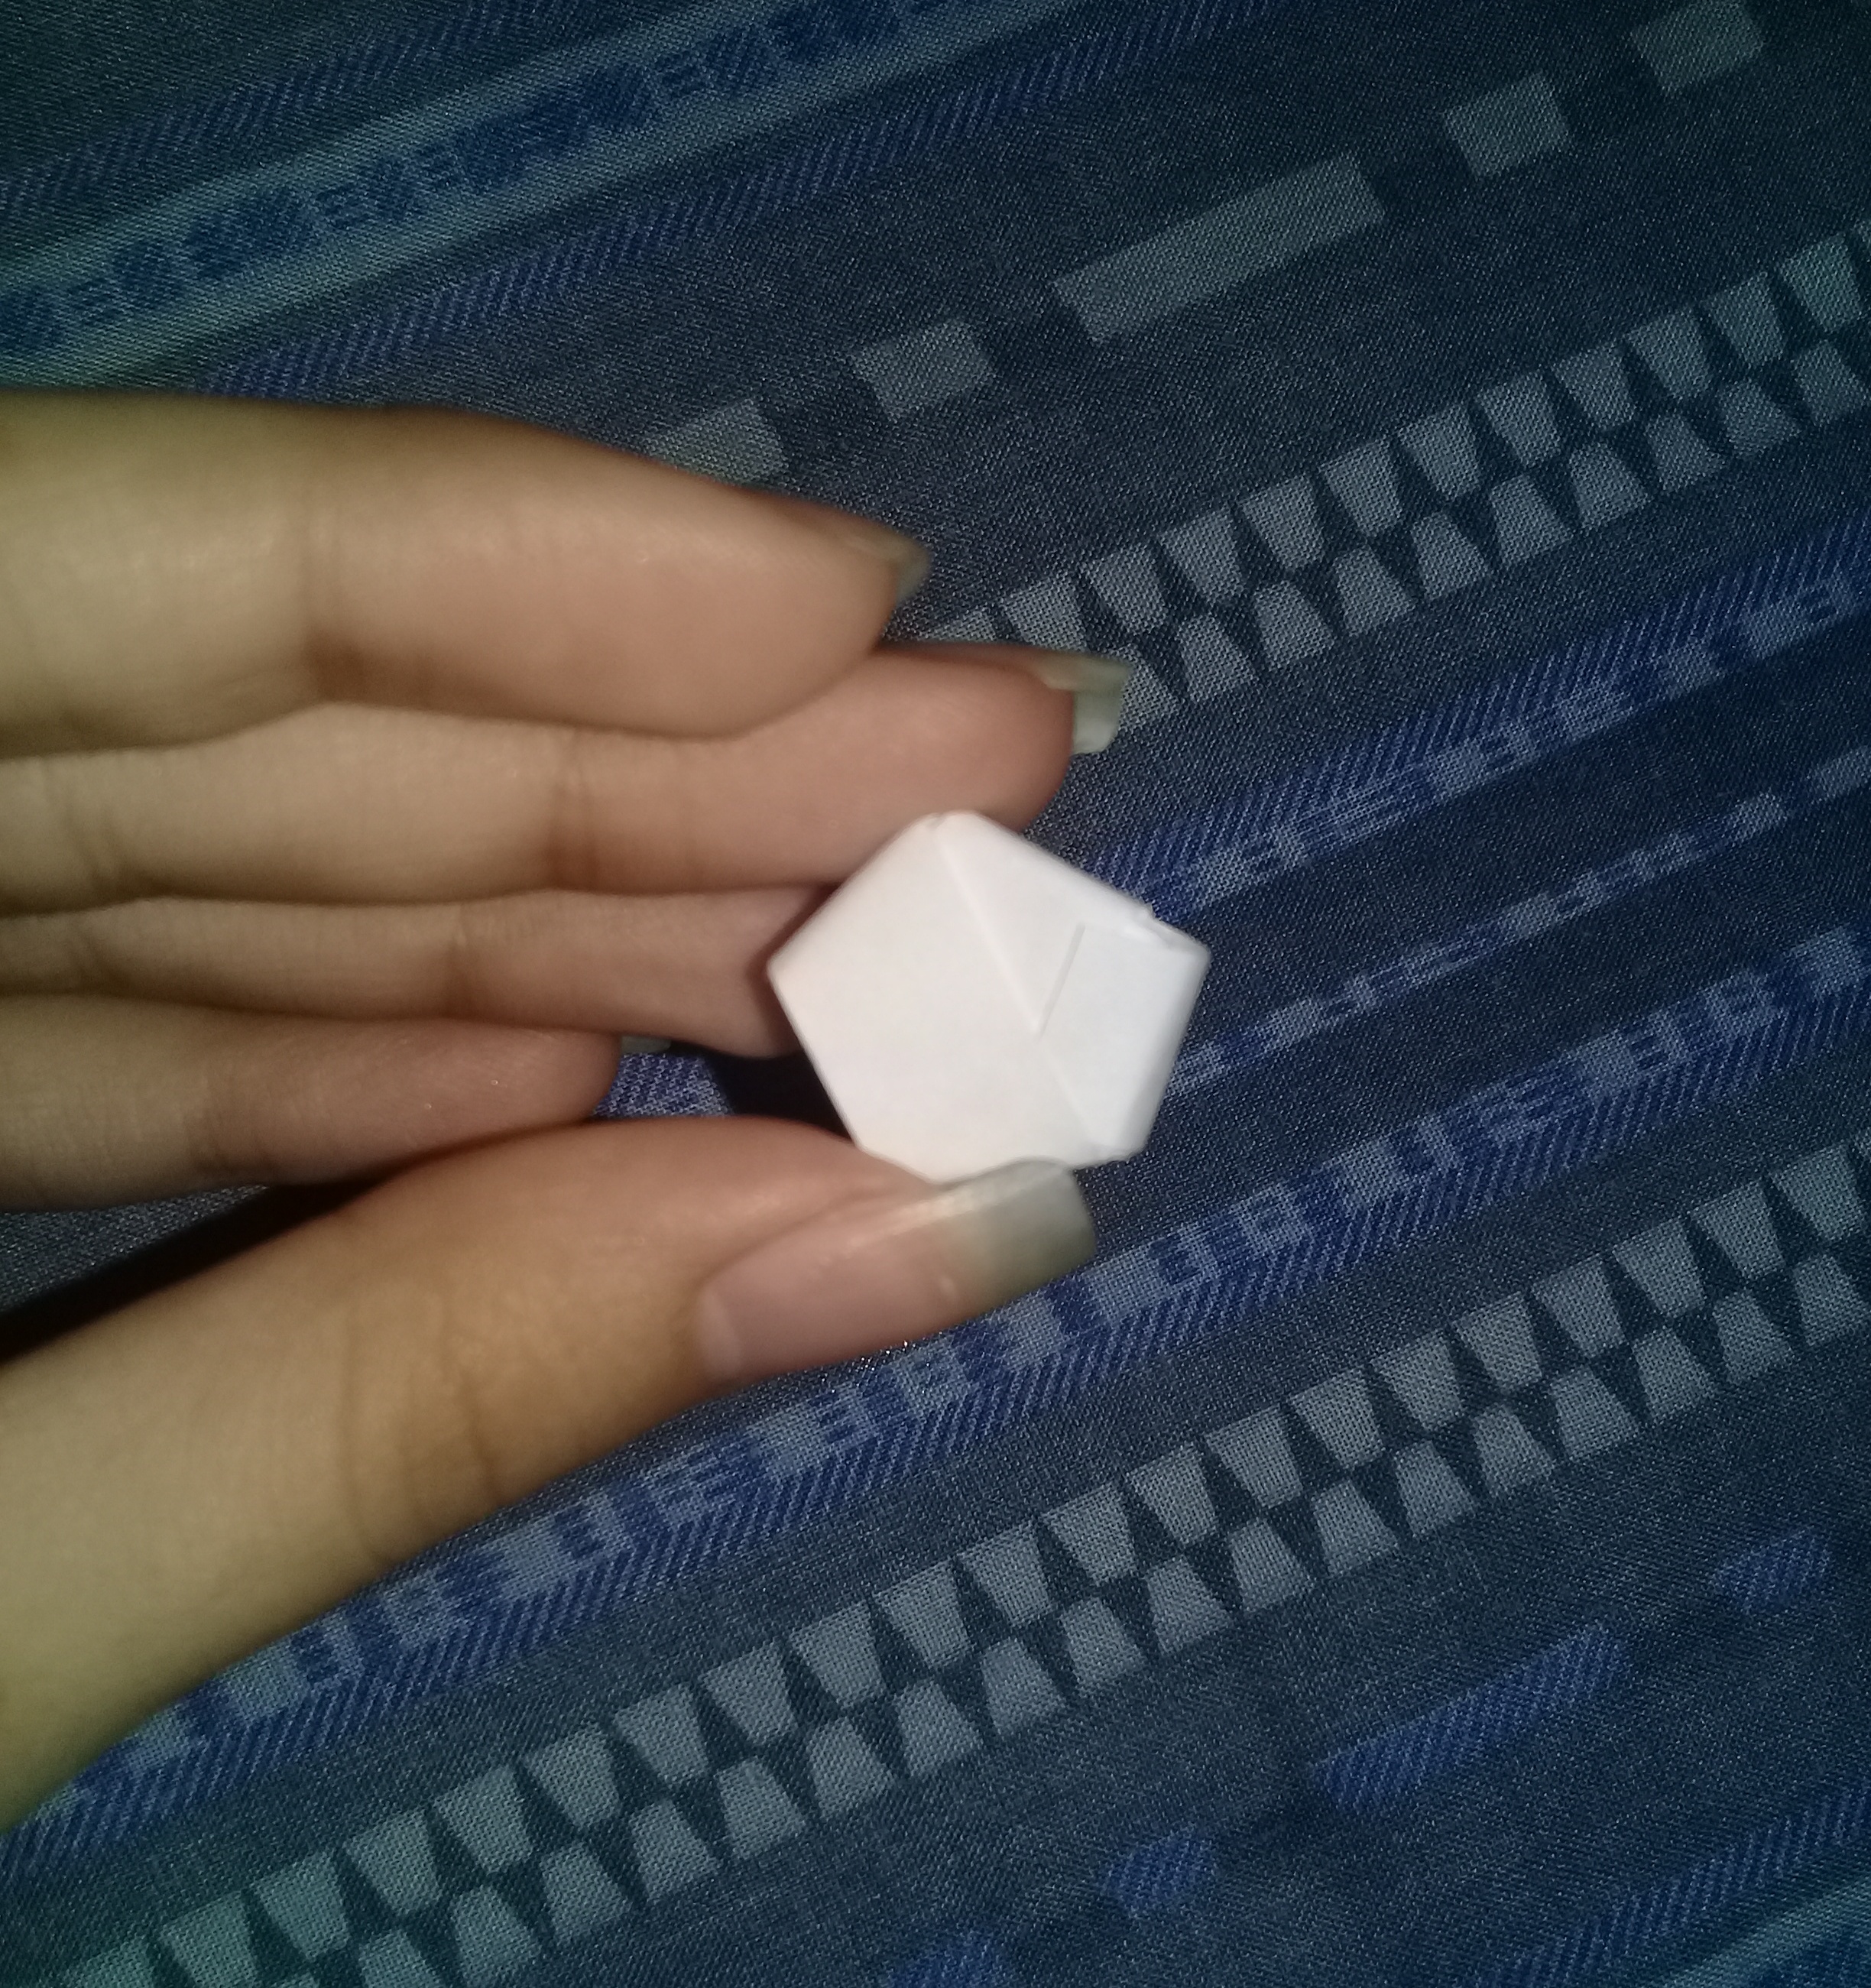
- Roll the long strip around the whole body of the Pentagon. When we roll it all up we have a little piece left, this little piece we introduce it in one of the folds or in a kind of bag.
![20210703_191644-01.jpeg](https://images.hive.blog/DQmNMtgwqbirTuhLHqwCXhDTcESQt8cYnfuynfmY71U8K1y/20210703_191644-01.jpeg)
![20210703_191712-01.jpeg](https://images.hive.blog/DQmU779UtL8EvAjSQYsBcWasbN8WYw6mBFA8wx6VP42AoJg/20210703_191712-01.jpeg)
![20210703_191850-01.jpeg](https://images.hive.blog/DQmdKGzJtiBXp7BNQ6prVsmsPgmRKMzUhYT5eGGQnJedJro/20210703_191850-01.jpeg)
![20210703_191910-01.jpeg](https://images.hive.blog/DQmV1kipWMGqX1wrFWM637Wqjt2Py3DEq8dcjqFijHZEAKk/20210703_191910-01.jpeg)
7. Por último, en empujamos con las uñas cada uno de sus laterales.
![20210703_191951-01.jpeg](https://images.hive.blog/DQmVA3GLpqMLEy7jxVHyEZ8F7FjtkTnyi9PcP4g9HVn7eSk/20210703_191951-01.jpeg)
![20210703_192006-01.jpeg](https://images.hive.blog/DQmYKUgQfD7VMtdiPLYDeLjousZsXPCFopnJCy1K2cfZ2Qx/20210703_192006-01.jpeg)
![20210703_192223-01.jpeg](https://images.hive.blog/DQmR9QNpbCwde7rLQ9BXZm2FK8YLMu5QPNsmMpcFwEVufHK/20210703_192223-01.jpeg)
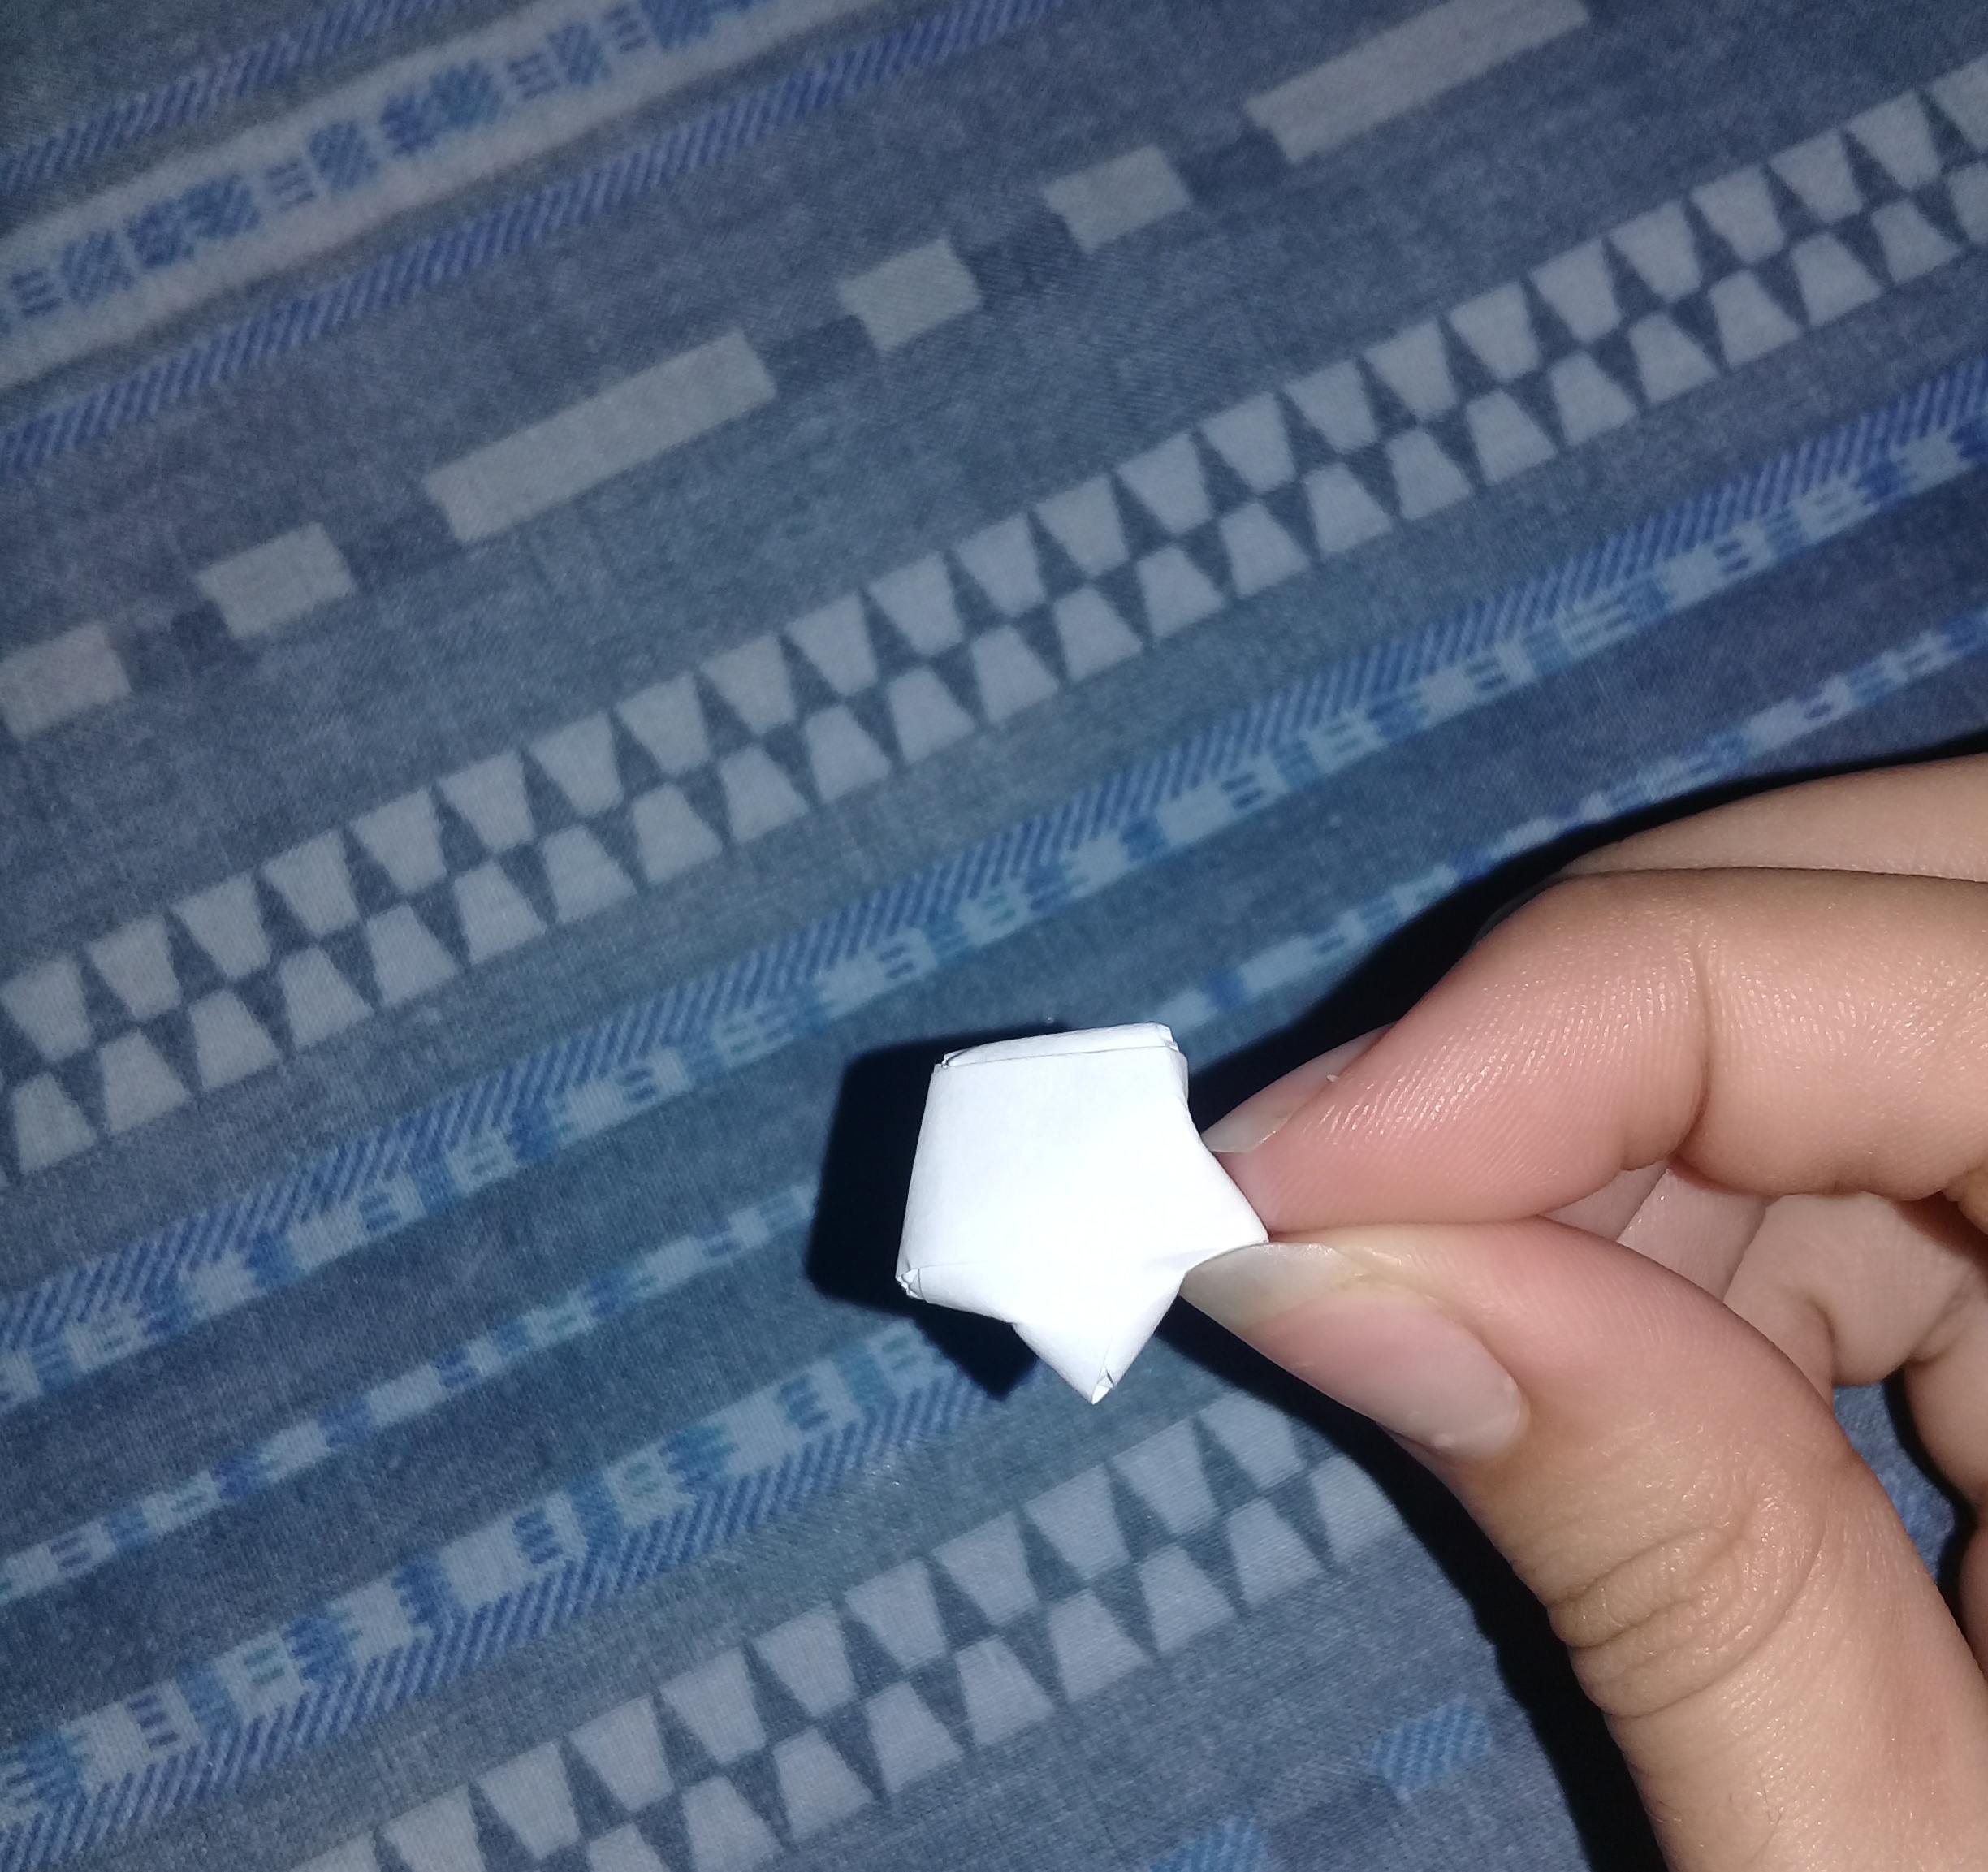
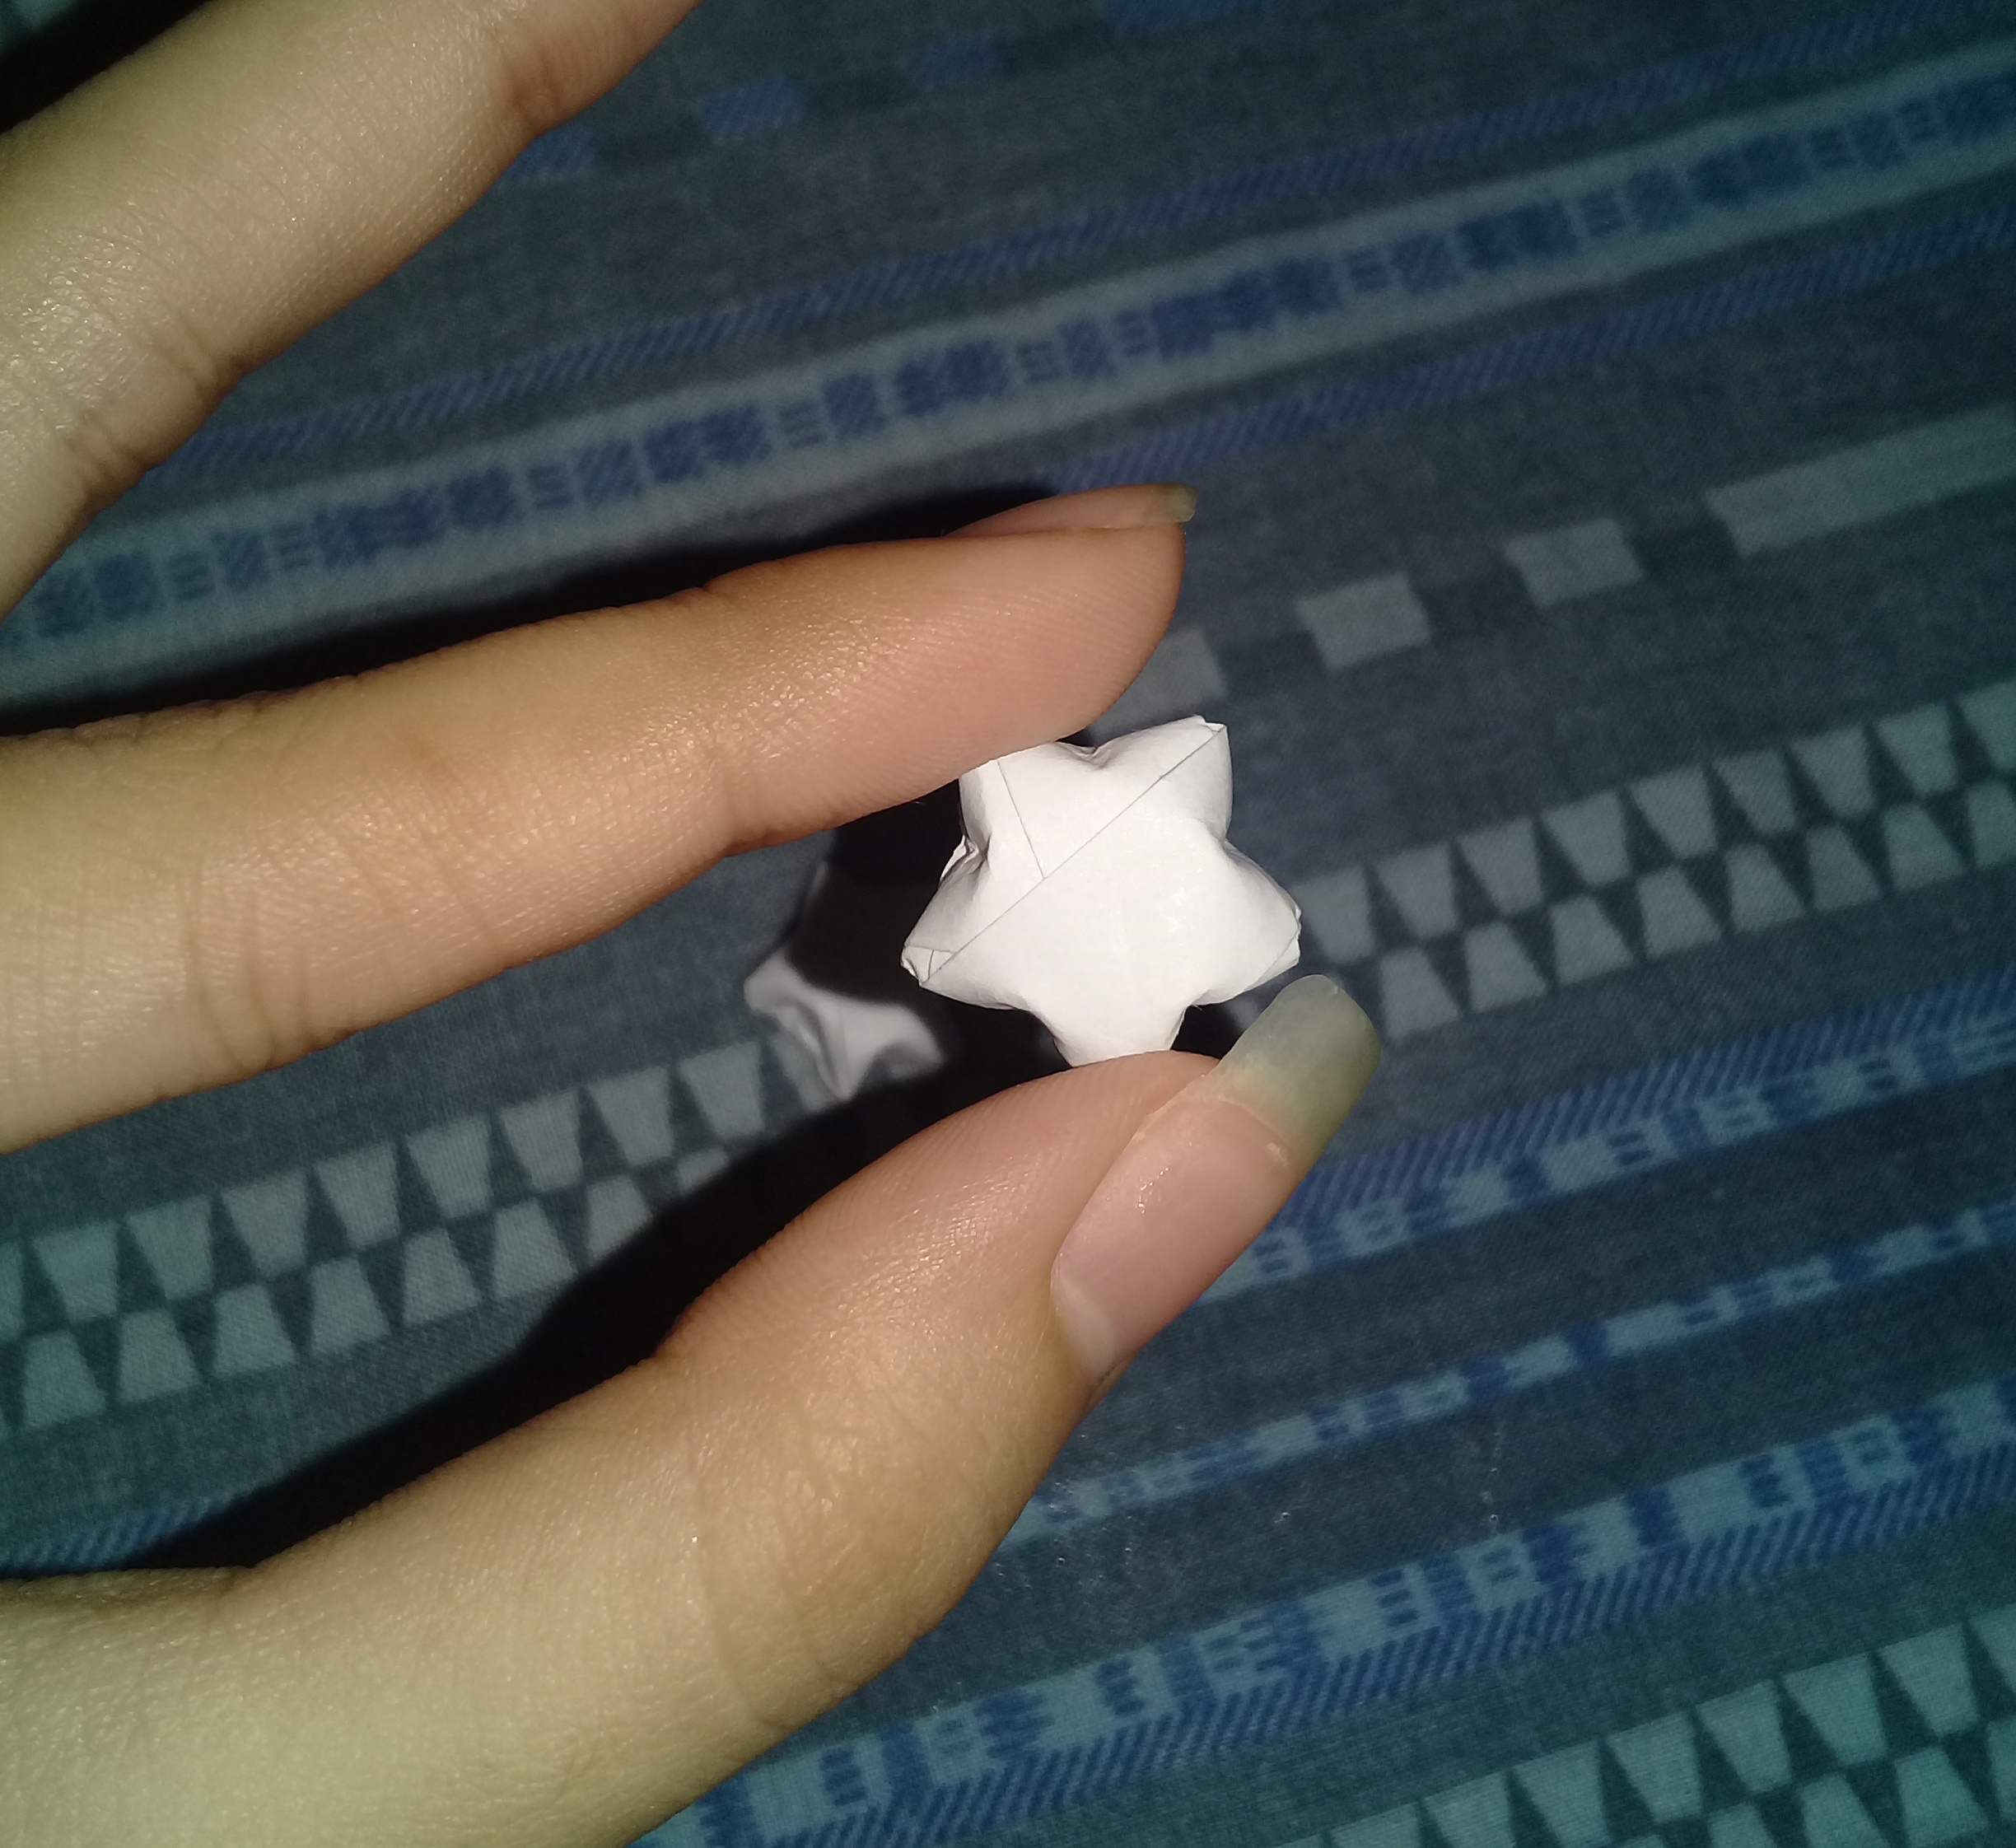
- Finally, we push with our fingernails each of its sides.
![20210703_191951-01.jpeg](https://images.hive.blog/DQmVA3GLpqMLEy7jxVHyEZ8F7FjtkTnyi9PcP4g9HVn7eSk/20210703_191951-01.jpeg)
![20210703_192006-01.jpeg](https://images.hive.blog/DQmYKUgQfD7VMtdiPLYDeLjousZsXPCFopnJCy1K2cfZ2Qx/20210703_192006-01.jpeg)
![20210703_192223-01.jpeg](https://images.hive.blog/DQmR9QNpbCwde7rLQ9BXZm2FK8YLMu5QPNsmMpcFwEVufHK/20210703_192223-01.jpeg)
Listo!. Ya sabes como elaborar estás estrellitas decorativas super fáciles de hacer.
![20210706_124821-01.jpeg](https://images.hive.blog/DQmYBuFBZeEt6HS8F7R5L6KvTm7441HfwxaEuqBqxFf24RW/20210706_124821-01.jpeg)
![20210715_114027_0000.png](https://images.hive.blog/DQmVorgmFTES6e2nqmMaGy1fPKCA3kDPwnD9pVPK96ivUEi/20210715_114027_0000.png)
Espero que les haya gustado este tutorial, que tengan un hermoso día!☆
That's it. Now you know how to make these super easy to make decorative stars.
I hope you liked this tutorial, have a nice day!☆
![20210706_124821-01.jpeg](https://images.hive.blog/DQmYBuFBZeEt6HS8F7R5L6KvTm7441HfwxaEuqBqxFf24RW/20210706_124821-01.jpeg)
![20210715_114027_0000.png](https://images.hive.blog/DQmVorgmFTES6e2nqmMaGy1fPKCA3kDPwnD9pVPK96ivUEi/20210715_114027_0000.png)
What an amazing work keep it up..
Estan bien bonitas estas estrellitas, como detalle para un cumpleaños estan bien cheveres. 😊
Your post has been curated by us! Received 20.00% upvote from @opb. Do consider delegate to us to help support our project.
Do join our discord channel to give us feedback, https://discord.gg/bwb2ENt
* This bot is upvoting based on the criteria : 1. Not plagiarised, 2. Persistent previous quality posts, 3. Active engagement with other usersDo upvote this commment if you 💚 our service :)
Thank you very much 😄