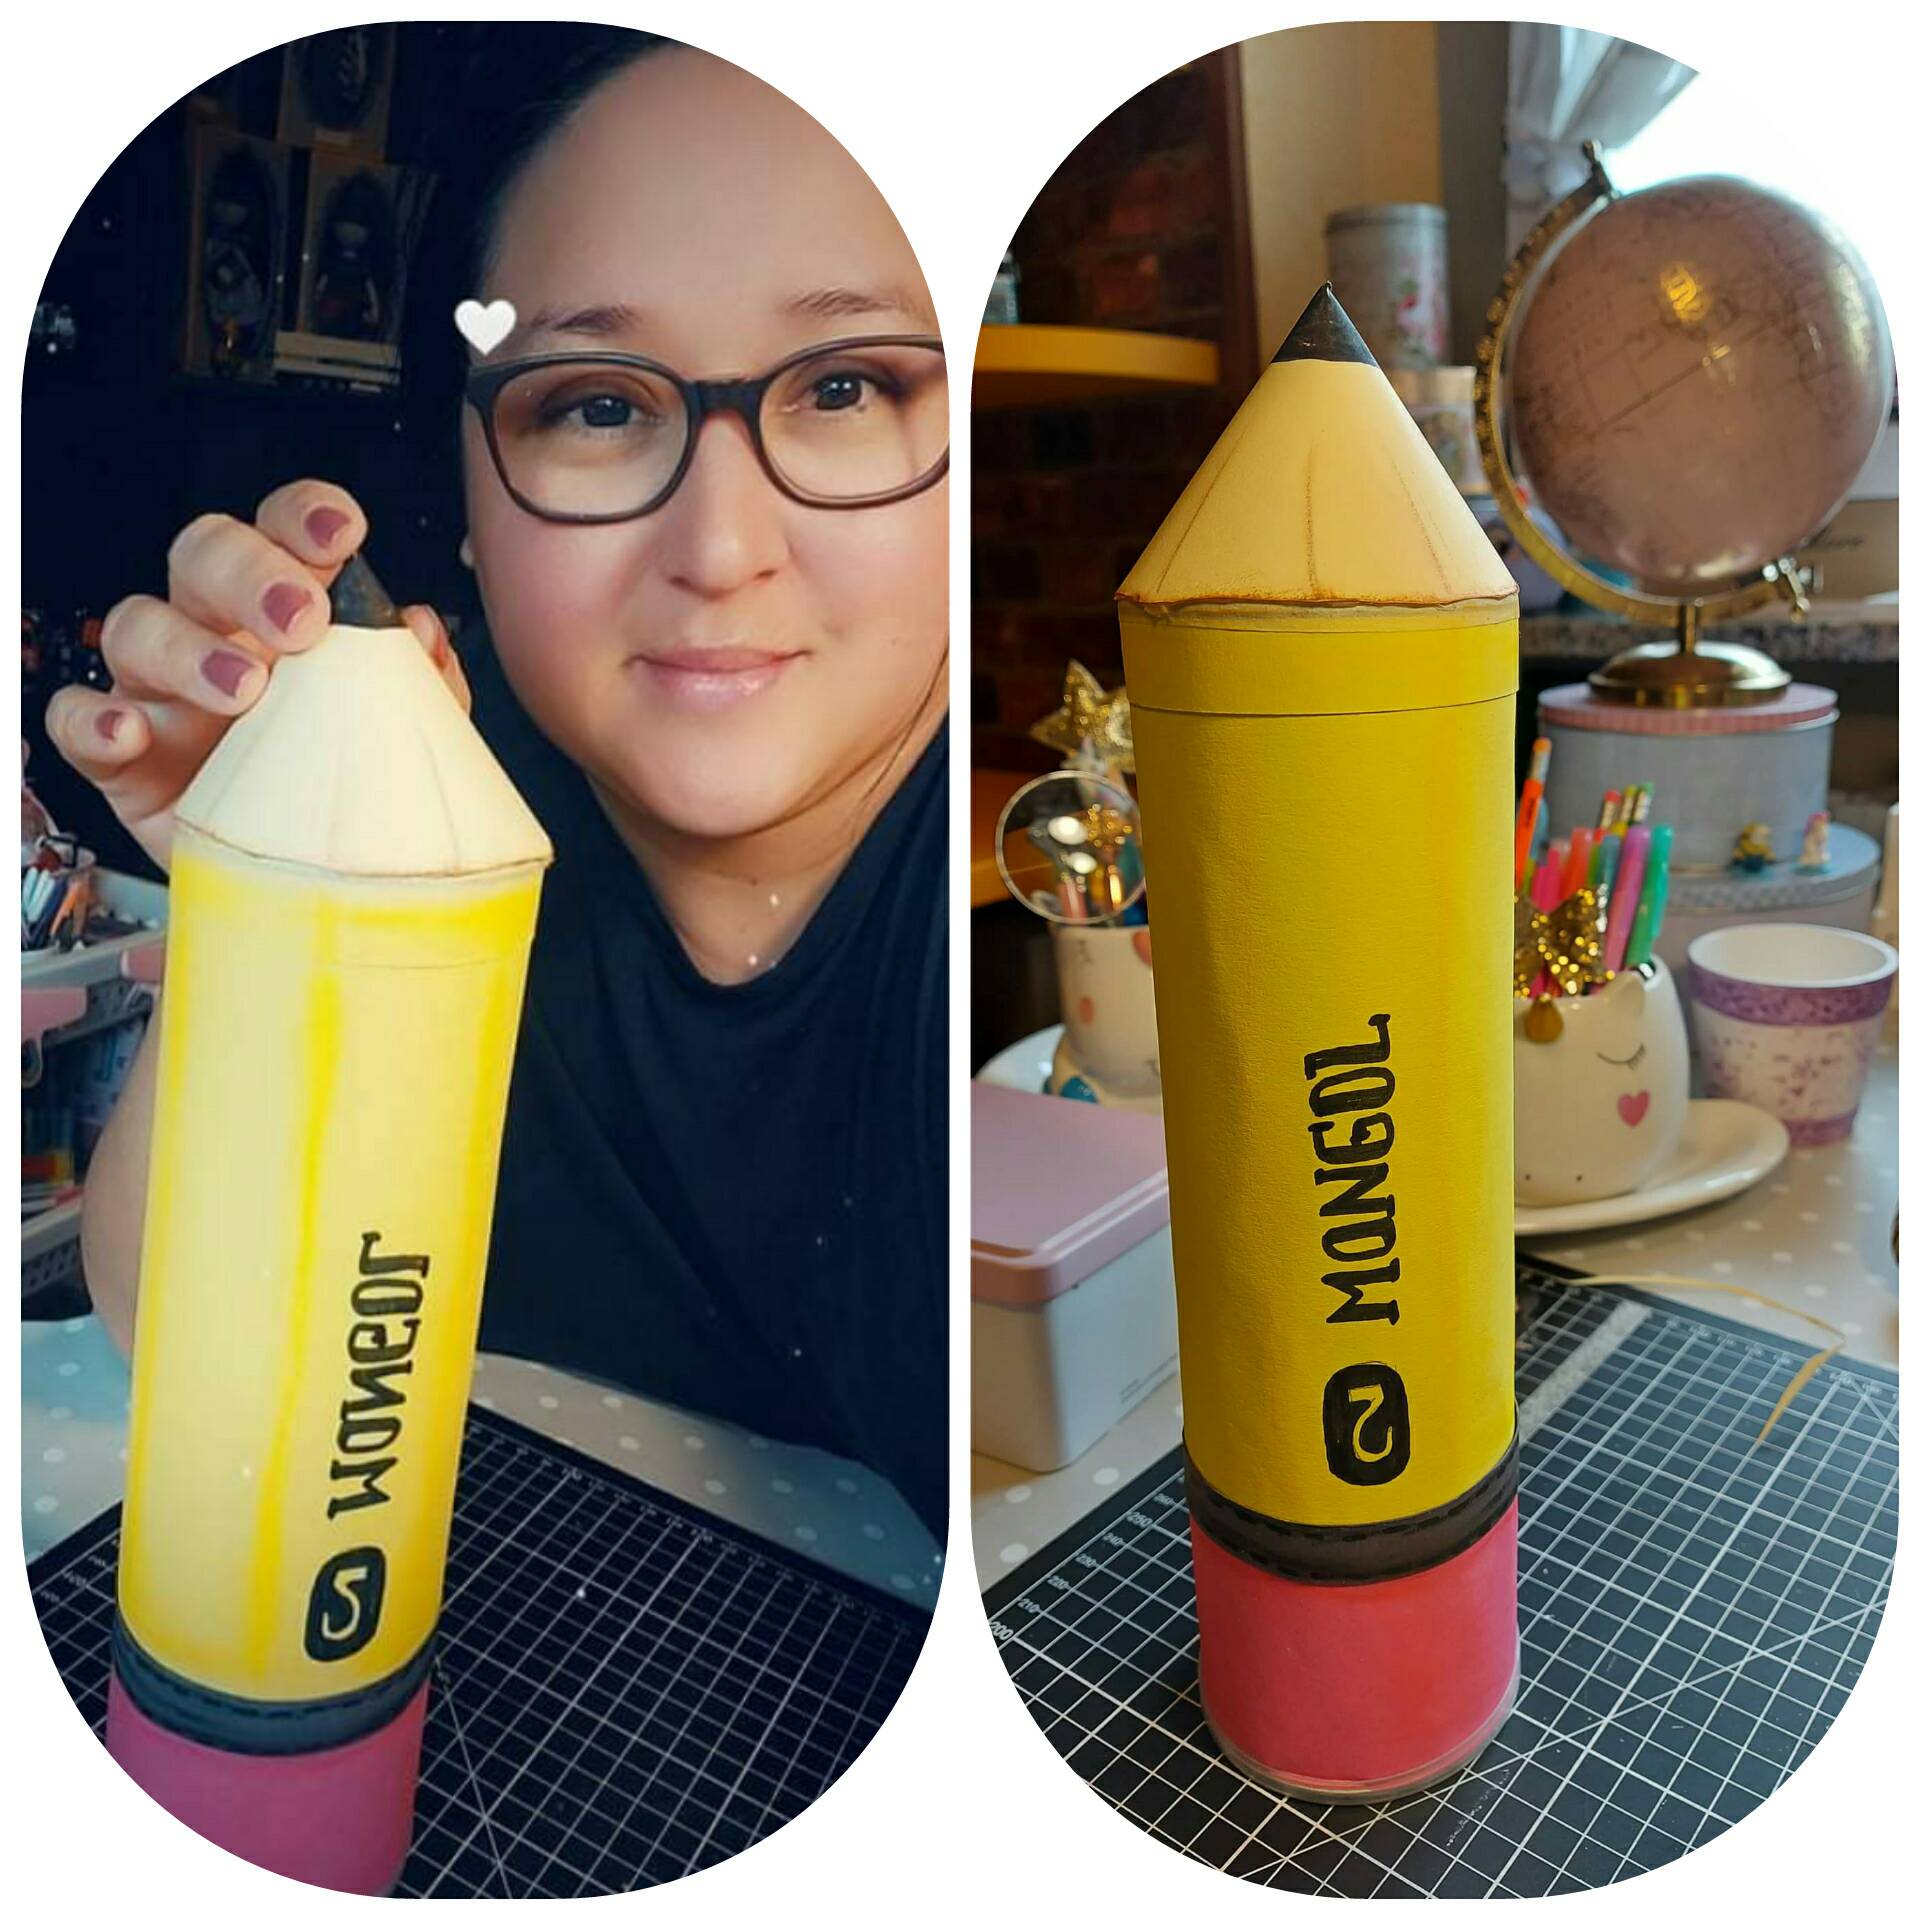
Buenas noches a todos/as hoy les traigo algo muy simple y práctico tanto para los niños de casa como para nosotras las madres o padres, veamos...Good night to all of you, today I bring you something very simple and practical both for the children at home and for us mothers or fathers, let's see
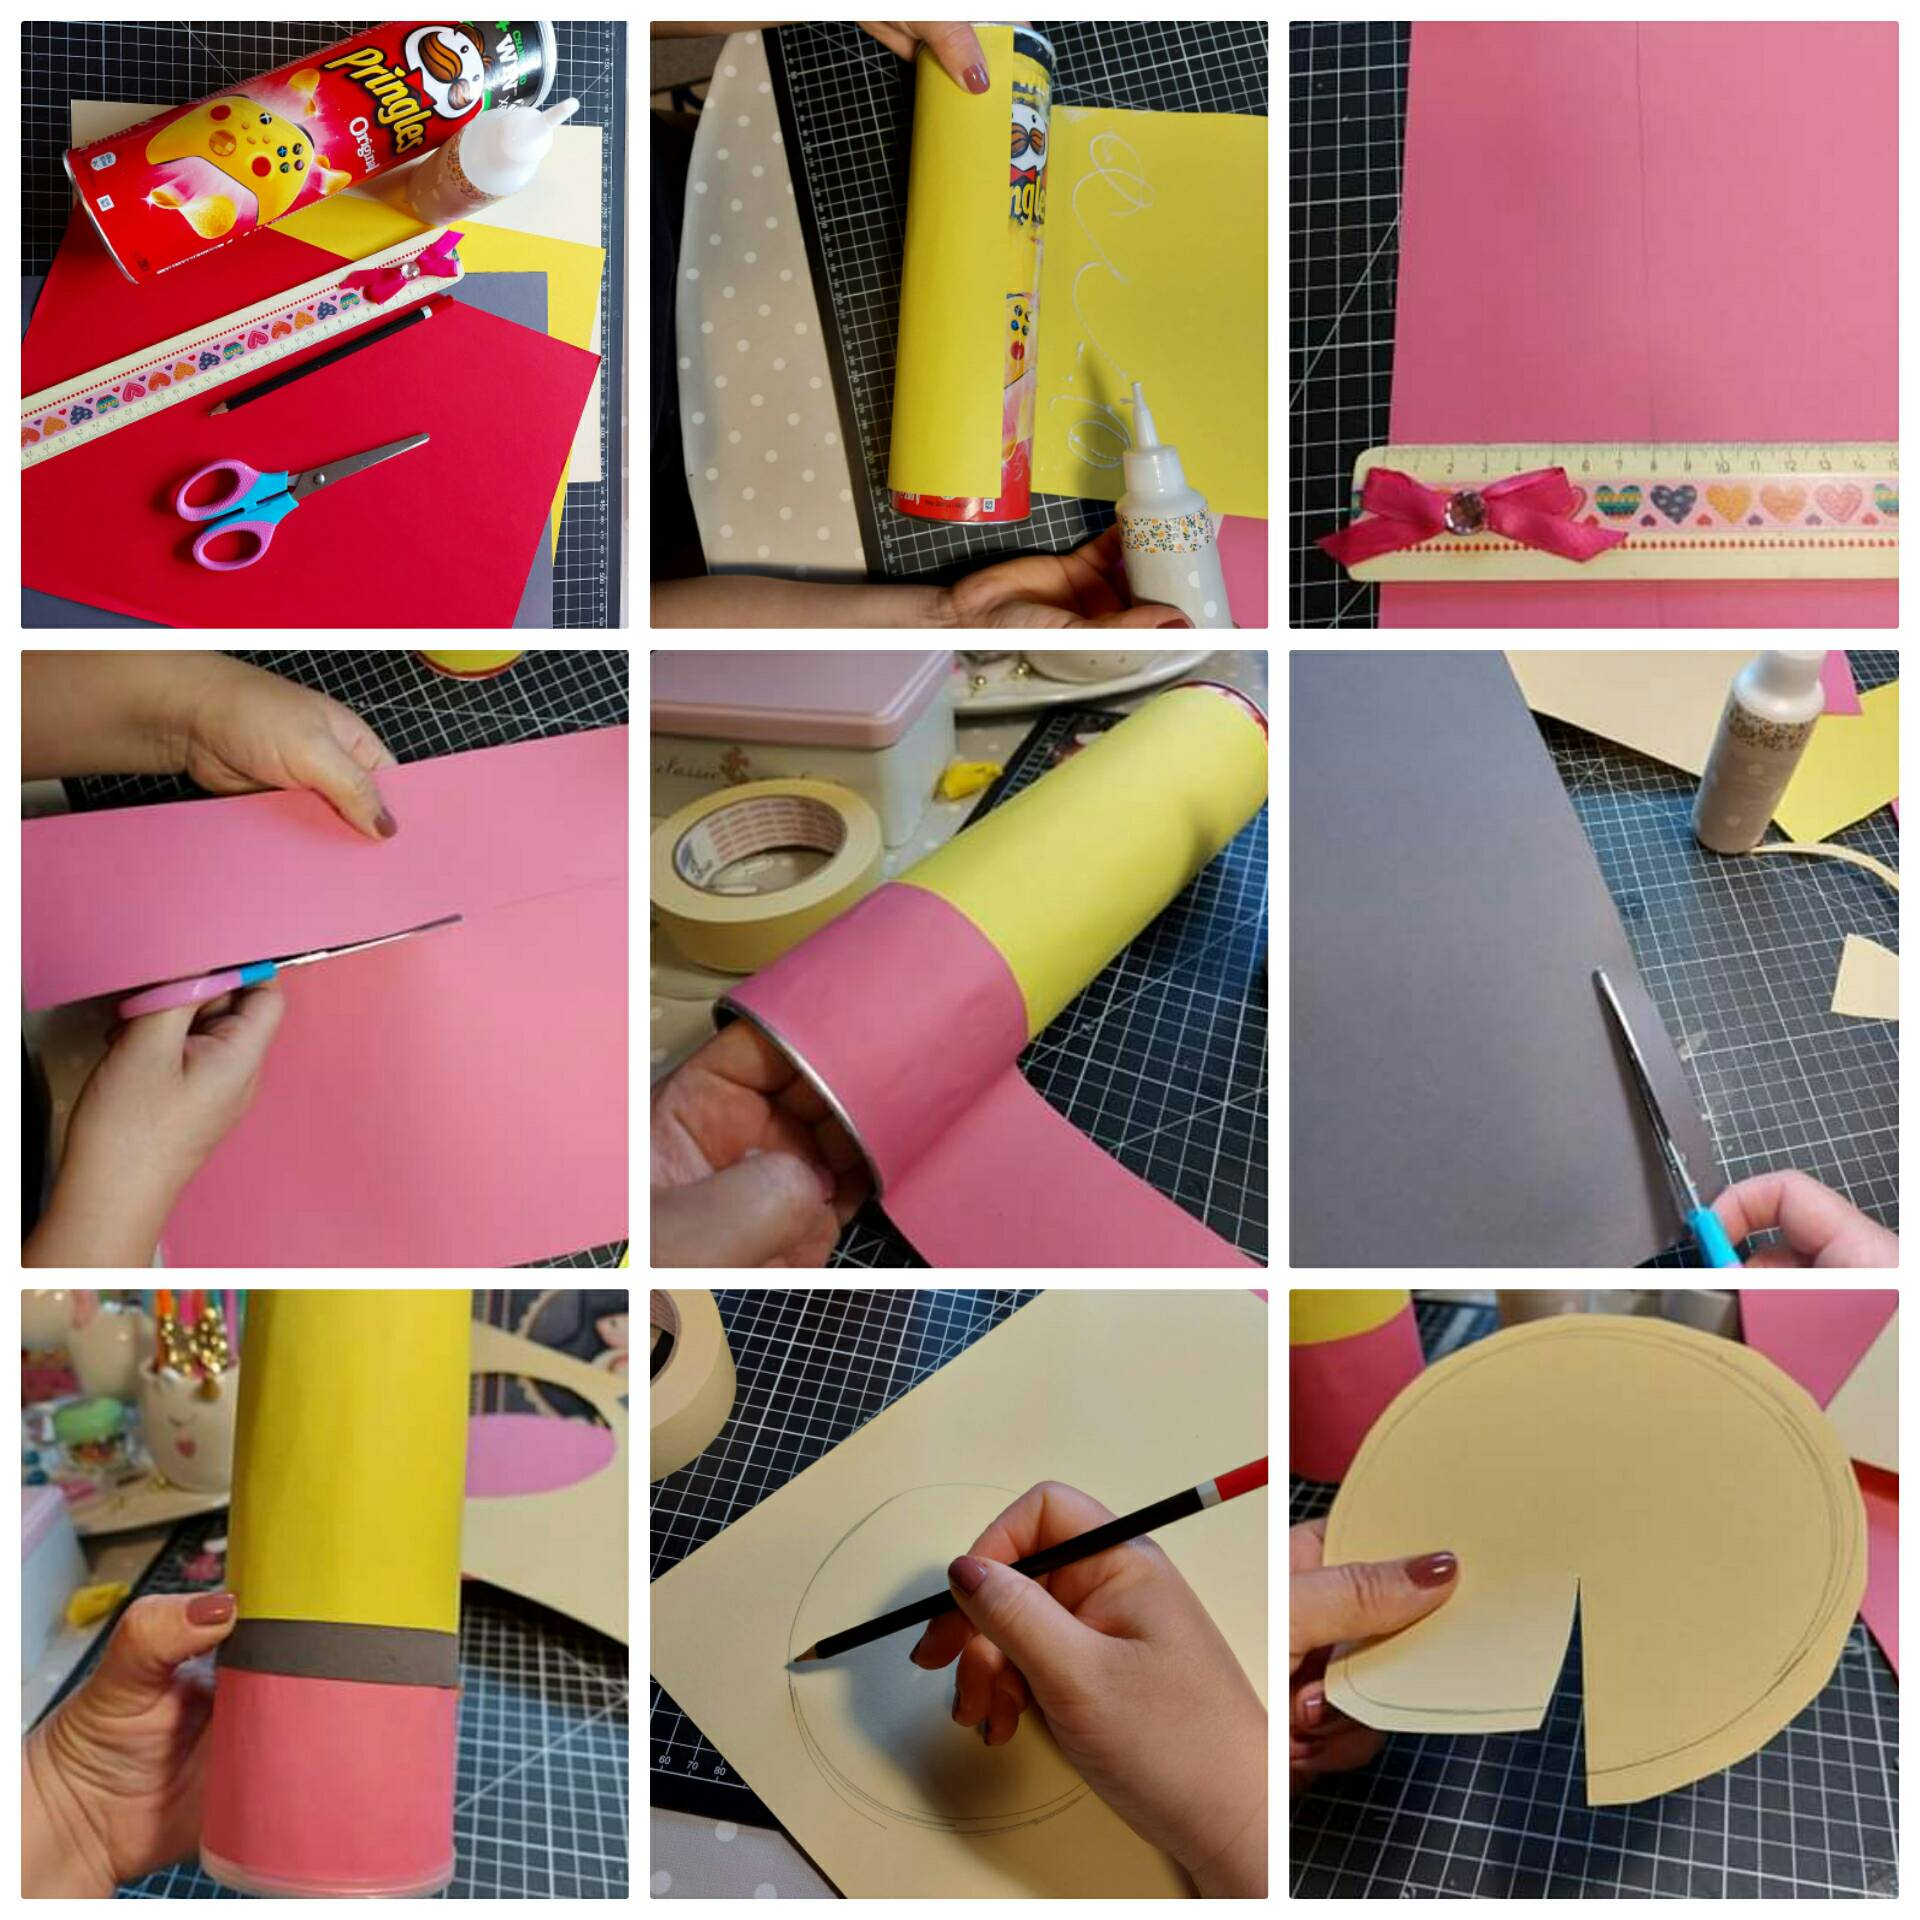
Materiales: tijeras, lapiz, tubo de papas , cartulinas de colores y pega.
Materials: scissors, pencil, potato tube, colored cardboard and glue.

- Se marcan las medidas del tubo o cilindro y se forra, primero de amarillo.
- Luego se mide y se corta una franja de color rosa pata simular la goma de borrar. Se pega en el inicio del tubo.
- Se corta una franja de centímetro y medio de color plomo o negro pata darle forma al lápiz. Se pega.
- Se marca y corta un circulo en la cartulina color beige pata hacer un cono el cual simulara la punta del lápiz
A) The measurements of the tube or cylinder are marked and lined, first with yellow.
B)A strip of pink is then measured and cut to simulate the eraser. It sticks at the beginning of the tube.
(C) A strip of a centimeter and a half of lead or black color is cut to give shape to the pencil. It sticks.
(D) Mark and cut a circle on the beige cardboard to make a cone which will simulate the tip of the pencil

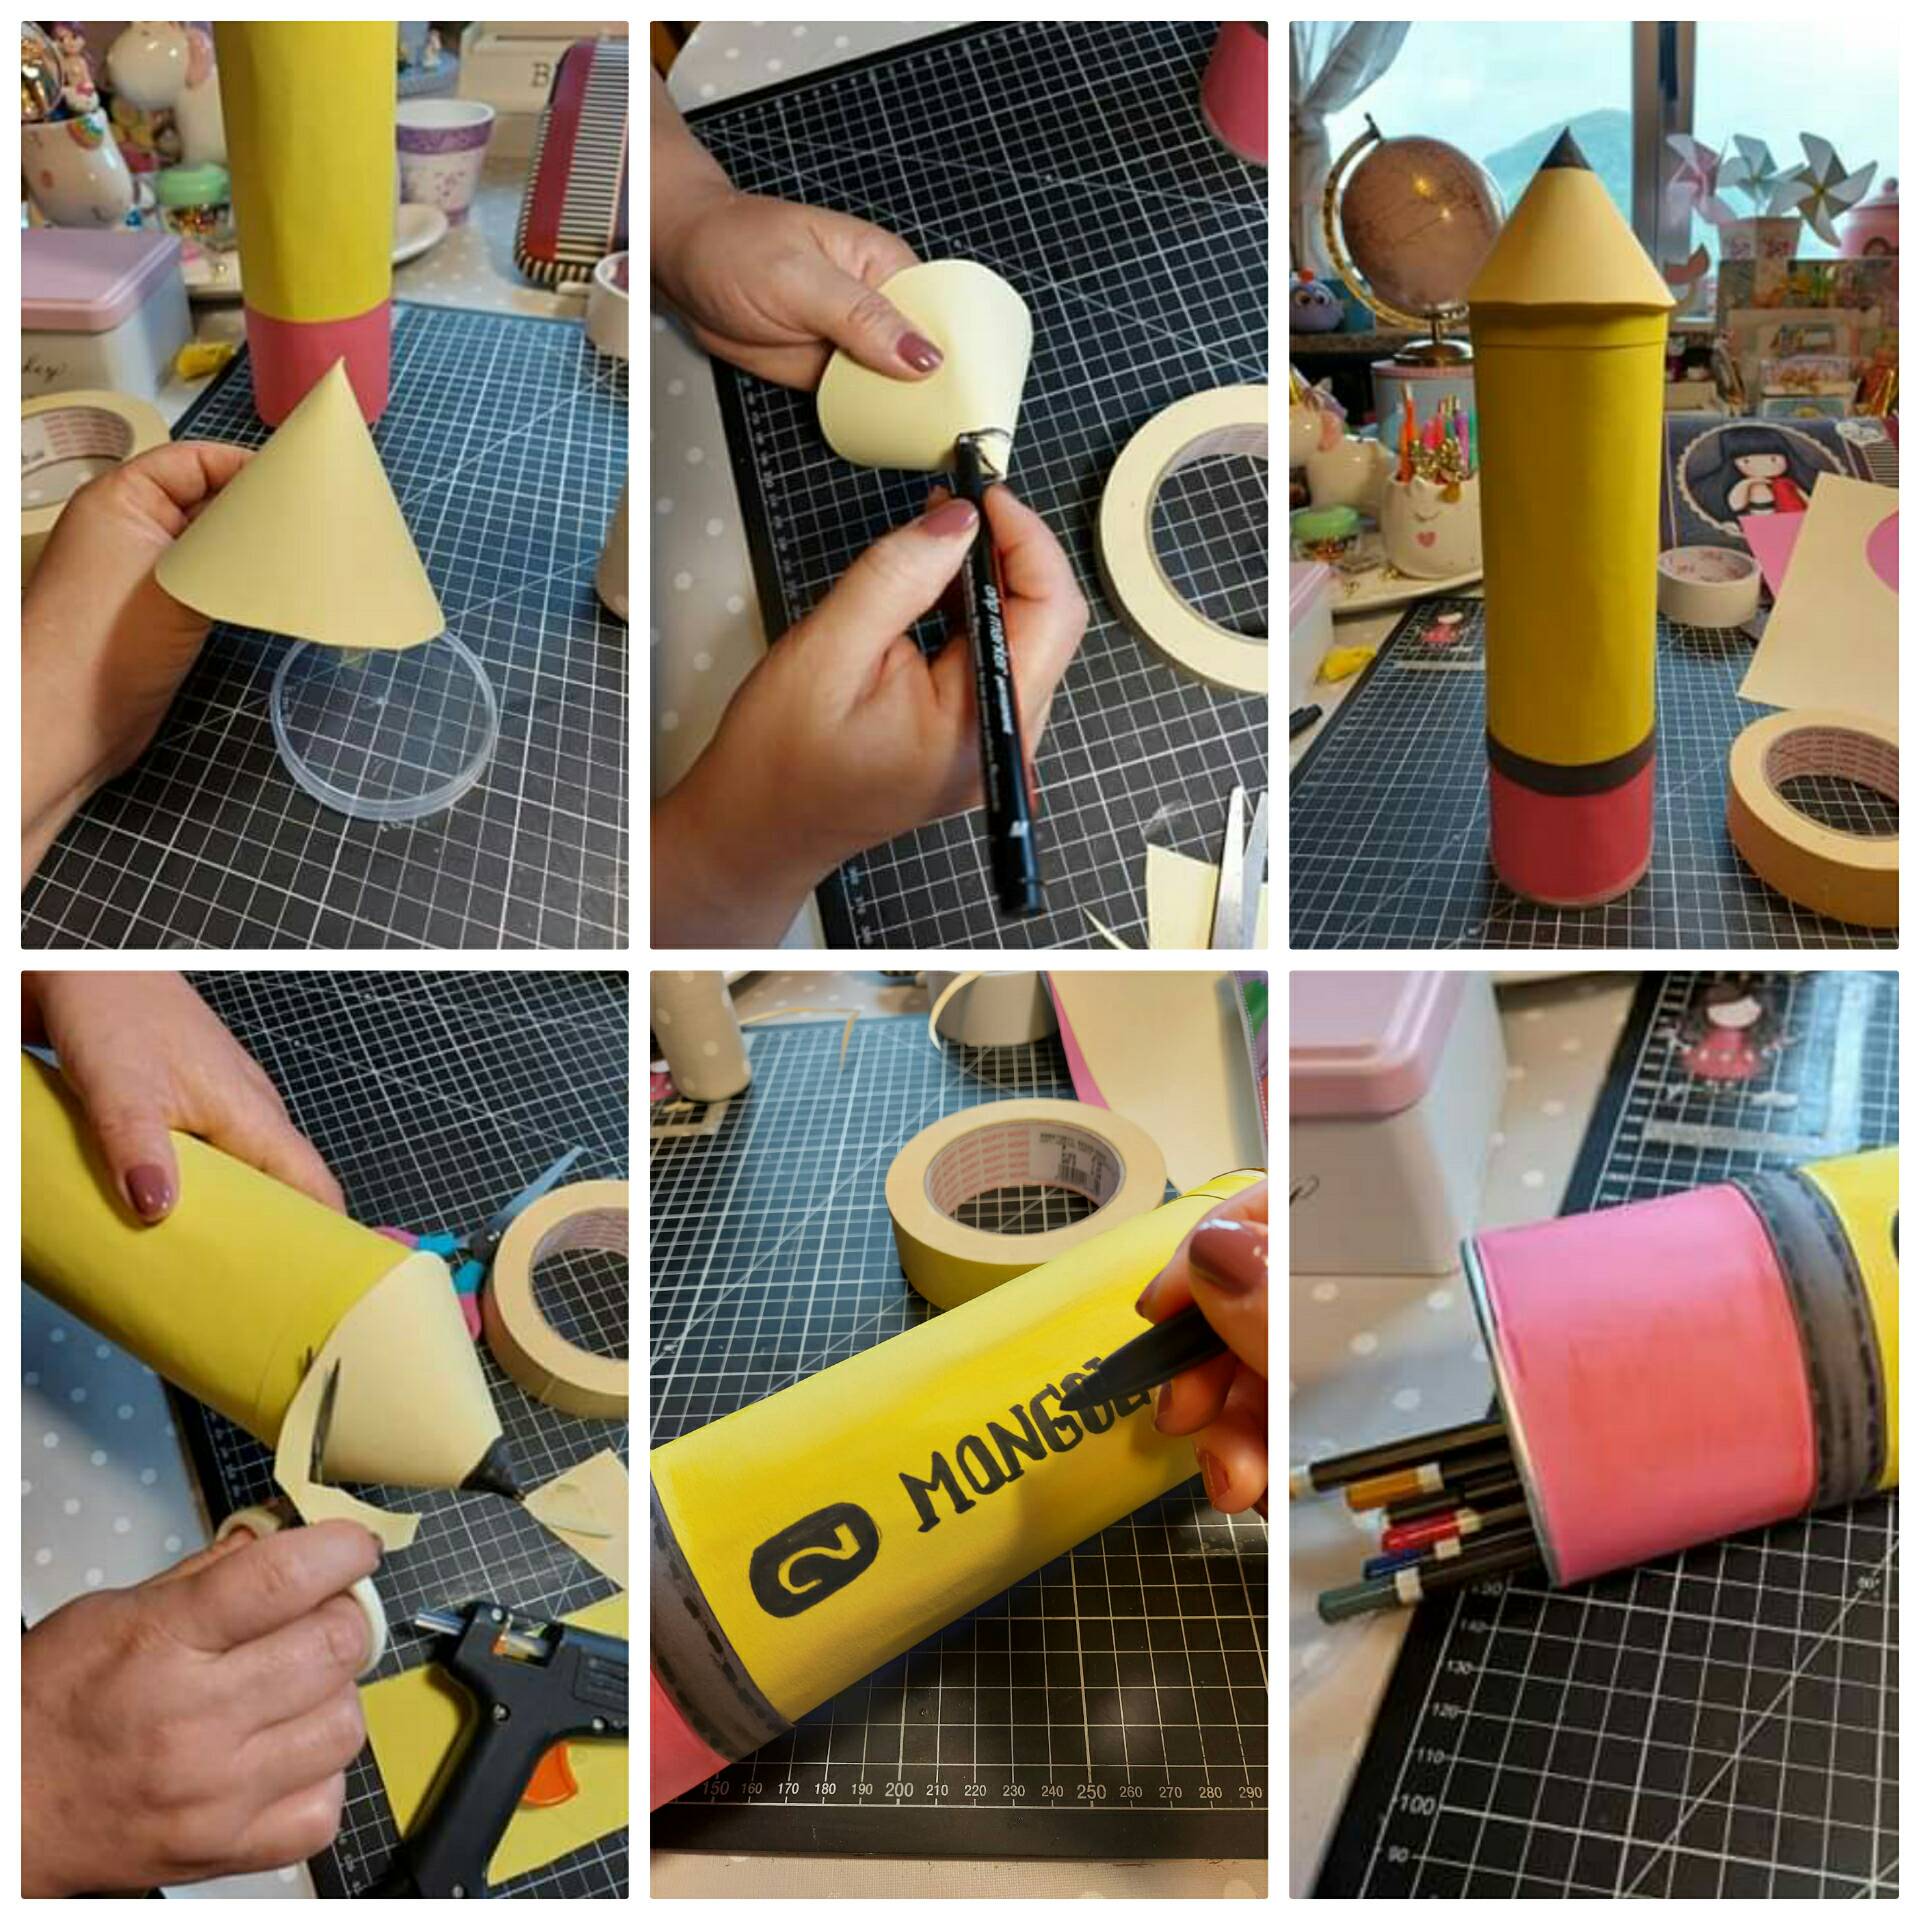
5.Coloreando la punta de color negro.
6 Luego confrontamos y pegamos en nuestro tubo.
7 Con marcador negro hacemos detalles como escritura para terminar el trabajo.
(E) Coloring the tip black.
(F) Then we confront and glue on our tube.
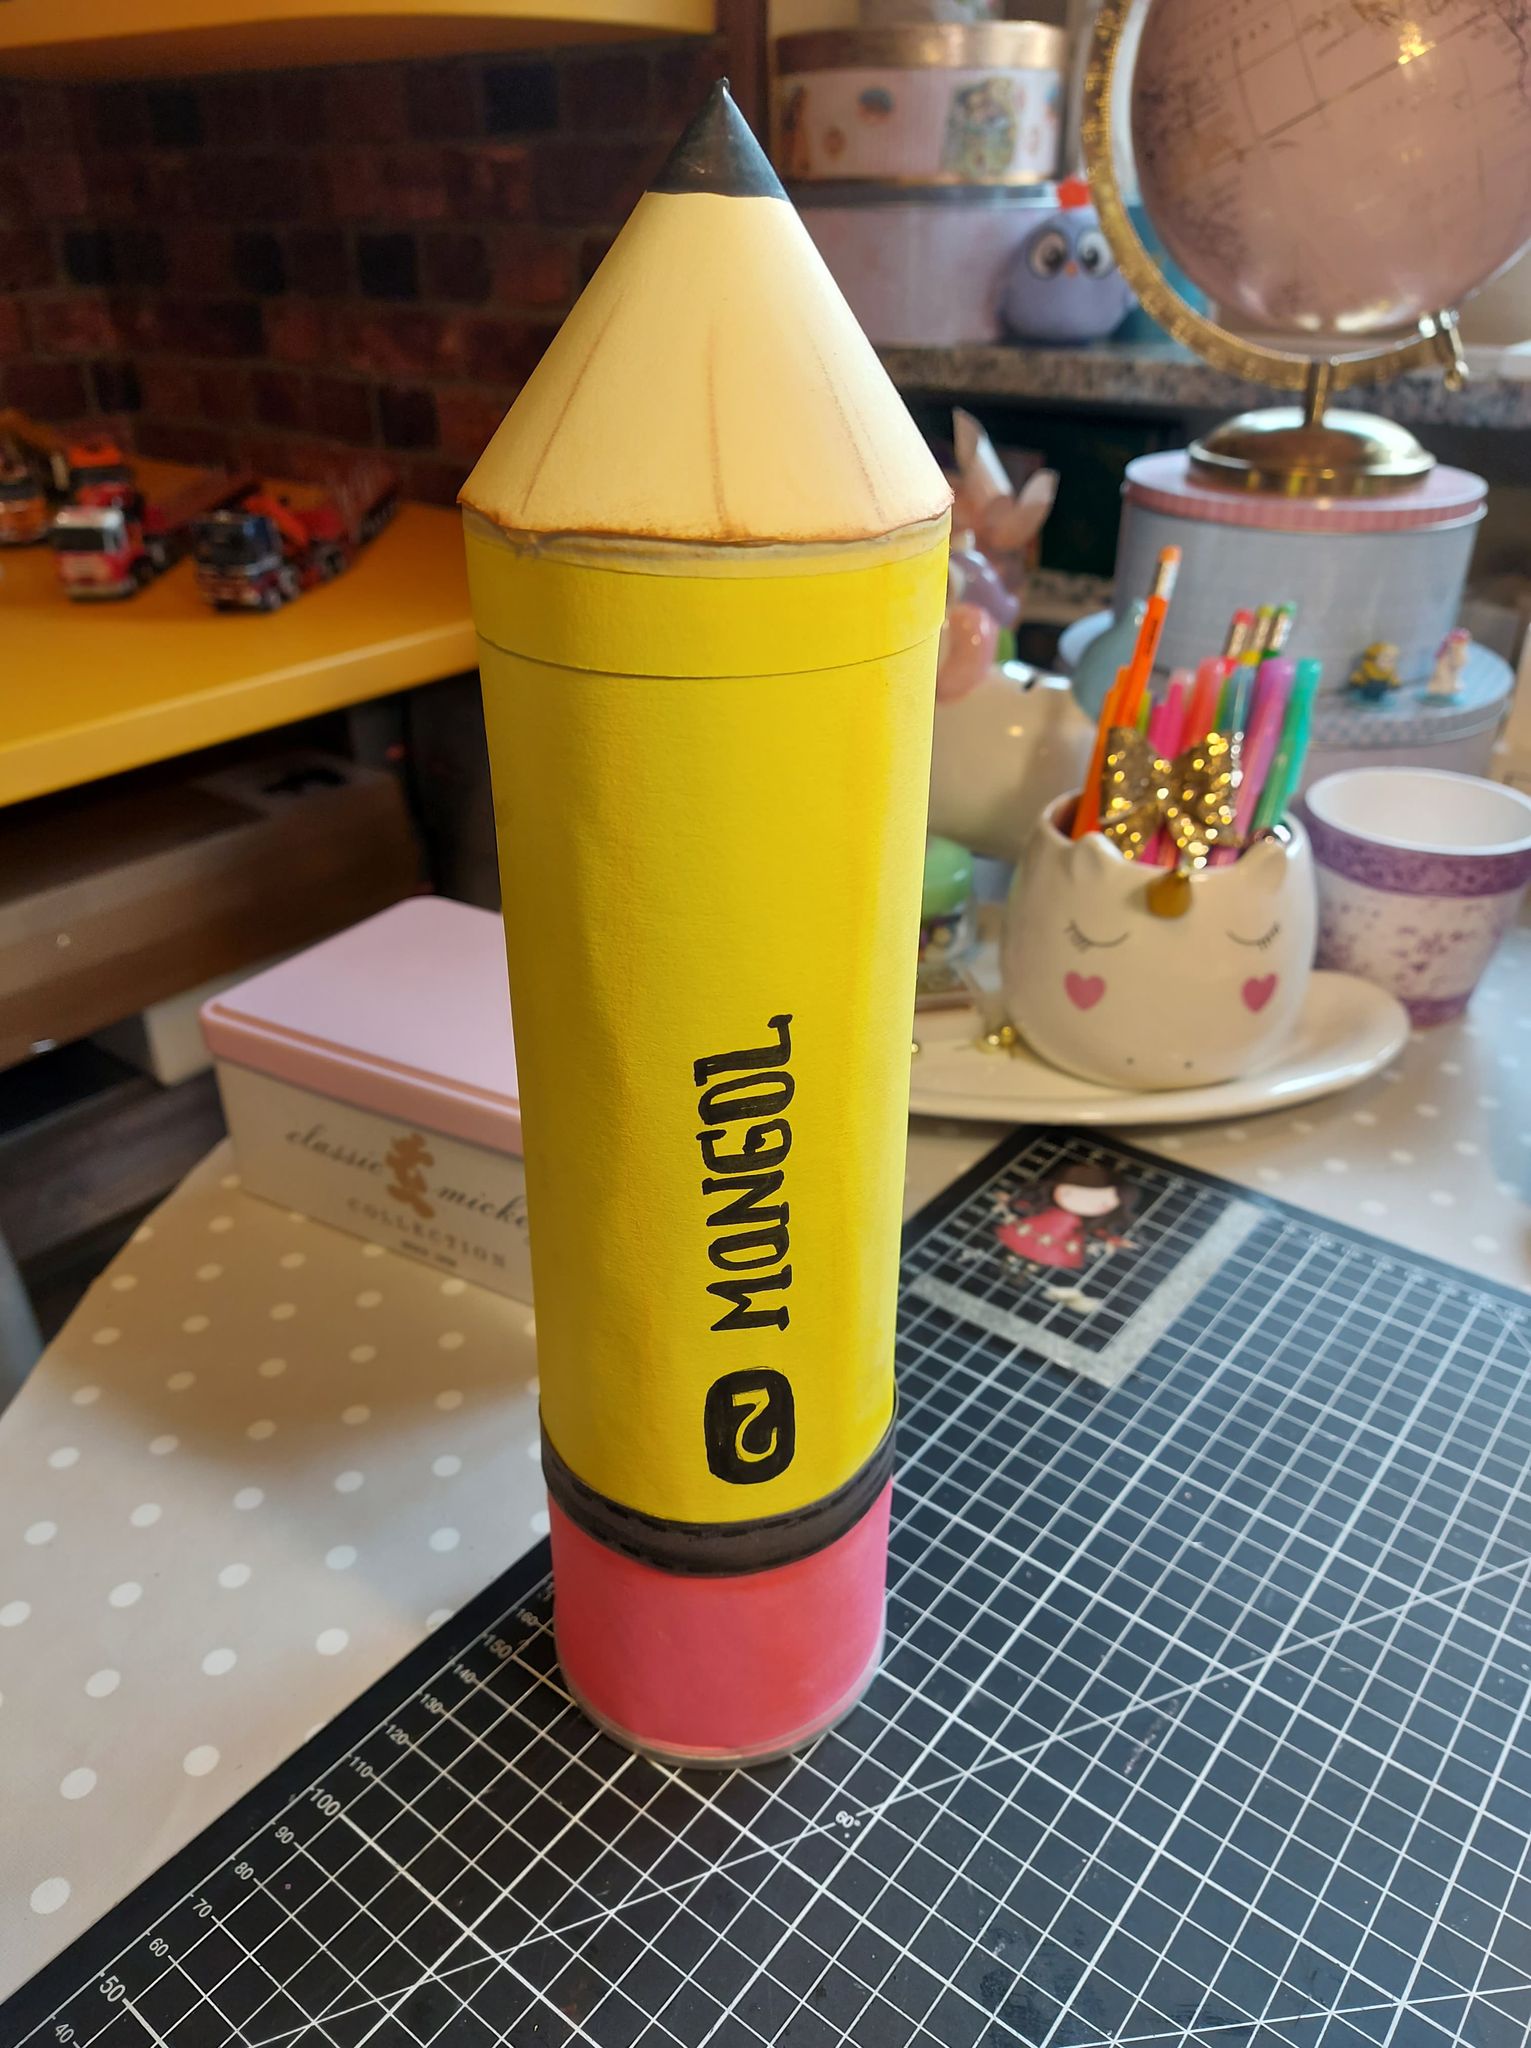
(G) With black marker we make details such as writing to finish the job.

Espero les haya gustado, nos vemos la próxima. I hope you liked it, see you next time