.jpg)
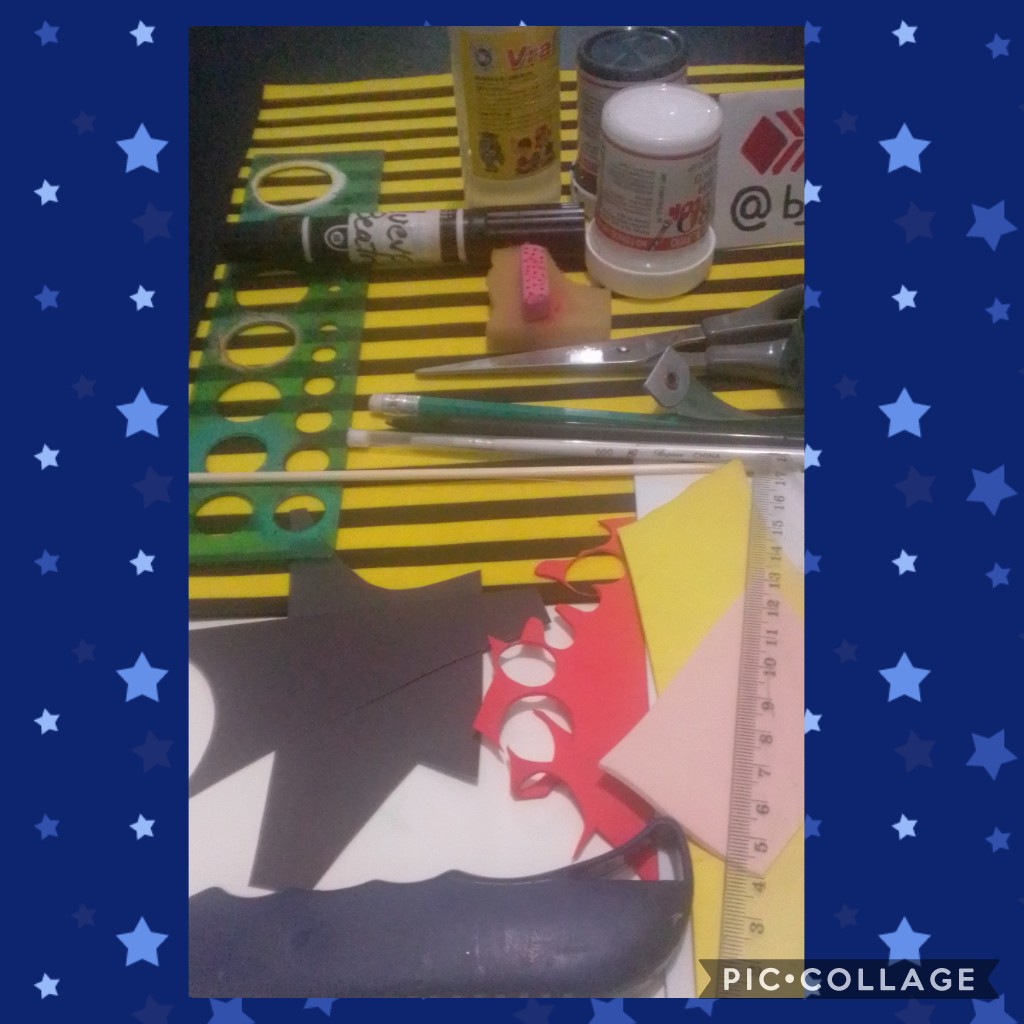
Ahora empecemos con el PROCEDIMIENTO:
Now let's start with the PROCEDURE:
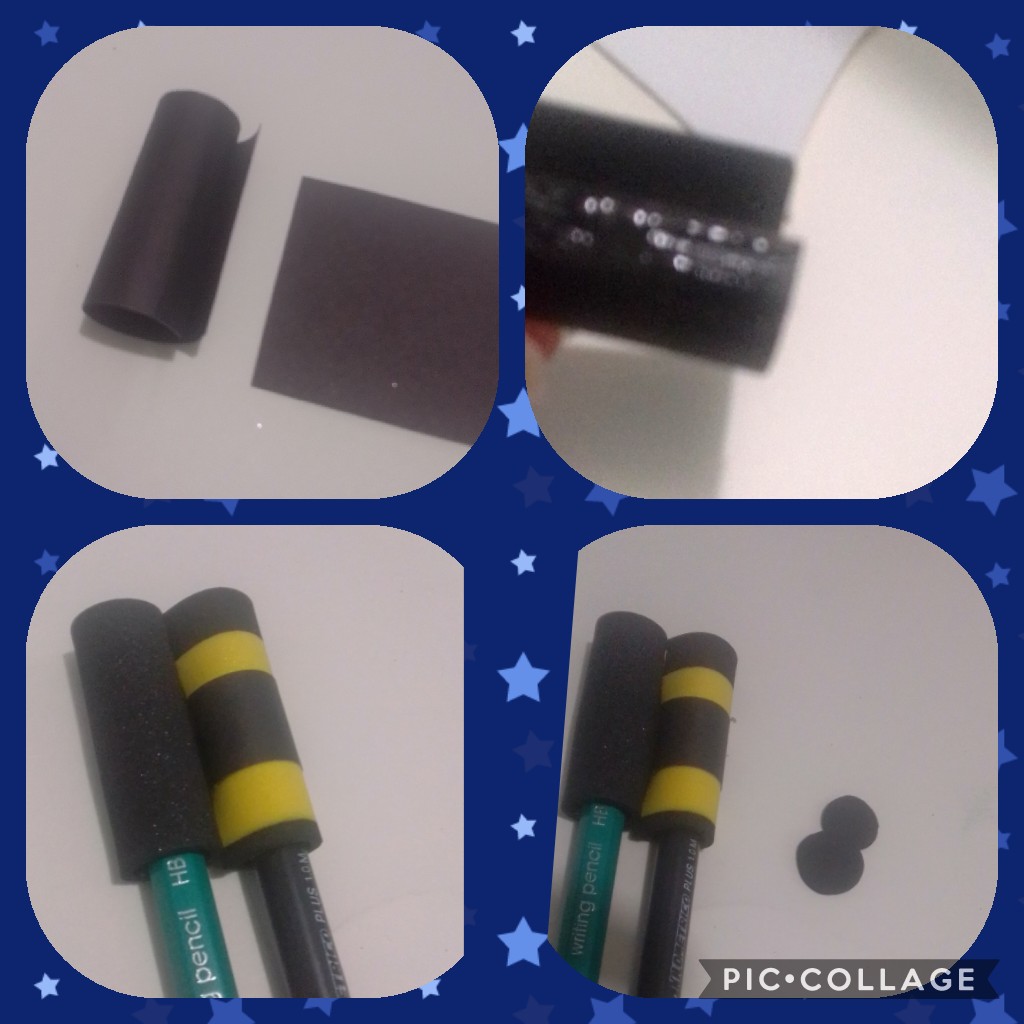
En la cartulina negra, marcamos un rectángulo de 4x5 cms y formaremos un cilindro un poquito más ancho que un lápiz y pondremos pegamento y cerramos.
De igual manera cortamos en foami con medidas iguales, pegamos sobre la cartulina forrando el cilindro y cortamos dos cículos para ponerle como tapa y pegamos.
On the black cardboard, we mark a rectangle of 4x5 cm and we will form a cylinder a little wider than a pencil and we will put glue and close.
In the same way, we cut into foami with equal measures, we glued on the cardboard covering the cylinder and we cut two circles to put it as a lid and glued.
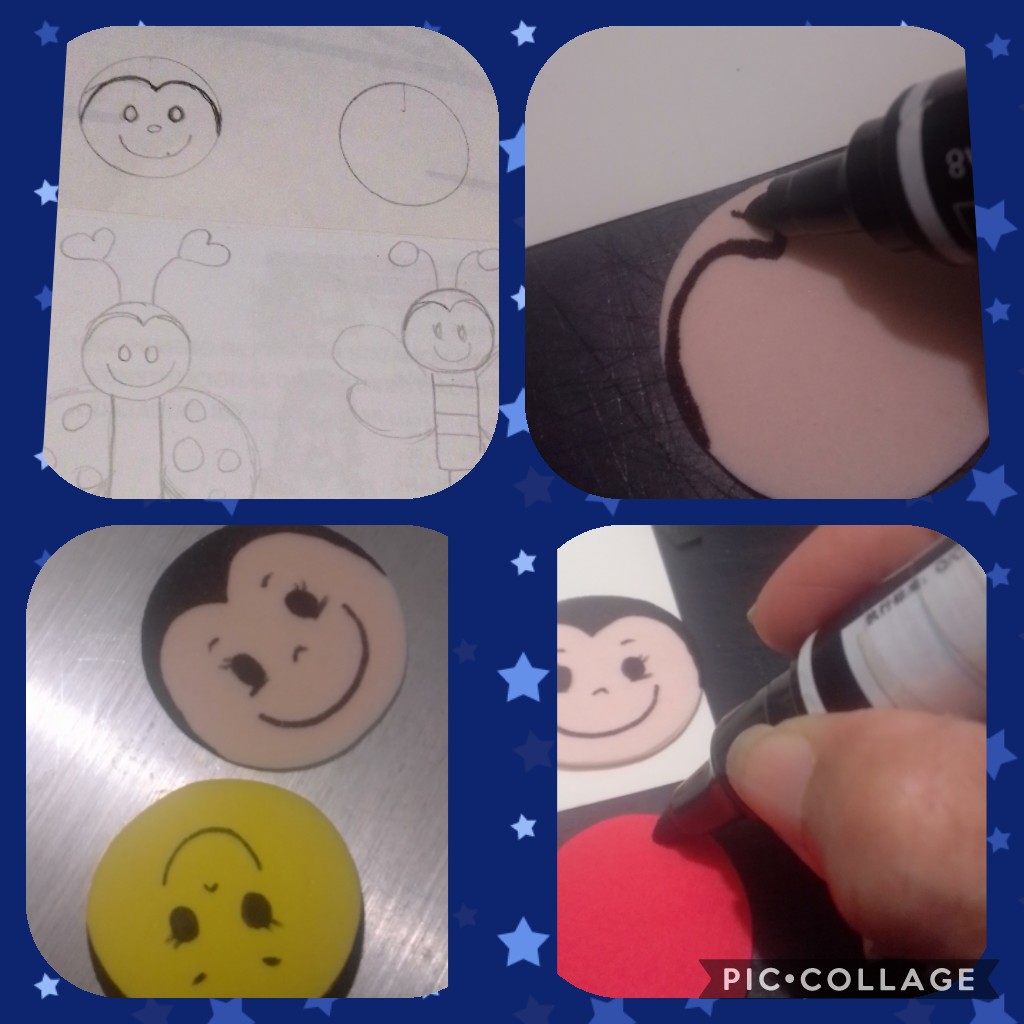
Tomamos el patrón marcamos y sacamos cada una de las piezas, dibujamos las caritas con marcador y las machas de las alas de la mariquita.
We take the pattern, mark and remove each of the pieces, draw the faces with a marker and the stains of the ladybug's wings.
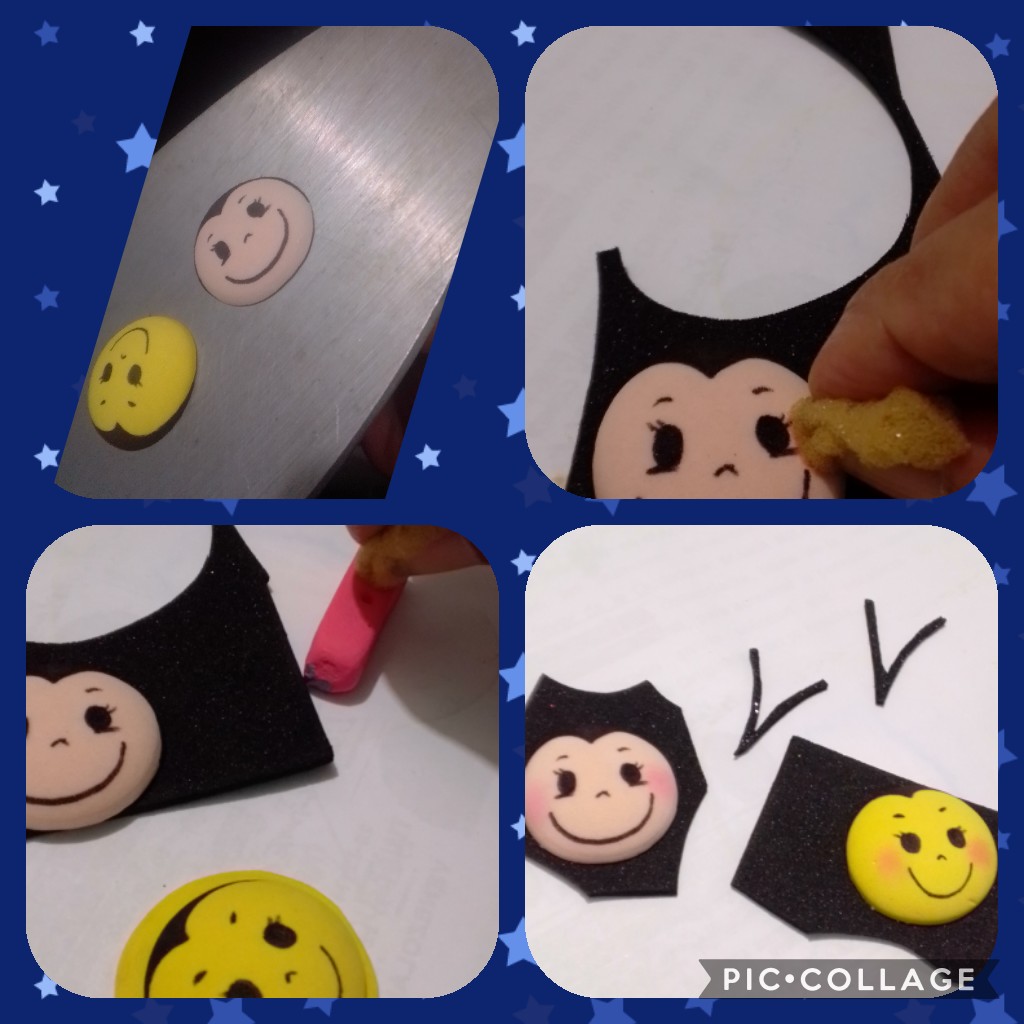
En este paso tomamos las caritas y las colocamos en la plancha caliente para que tomen volúmen, después, con la esponja las maquillamos y pegamos sobre el foami negro.
In this step we take the faces and place them on the hot iron so that they take on volume, then, with the sponge, we make up and stick them on the black foam.
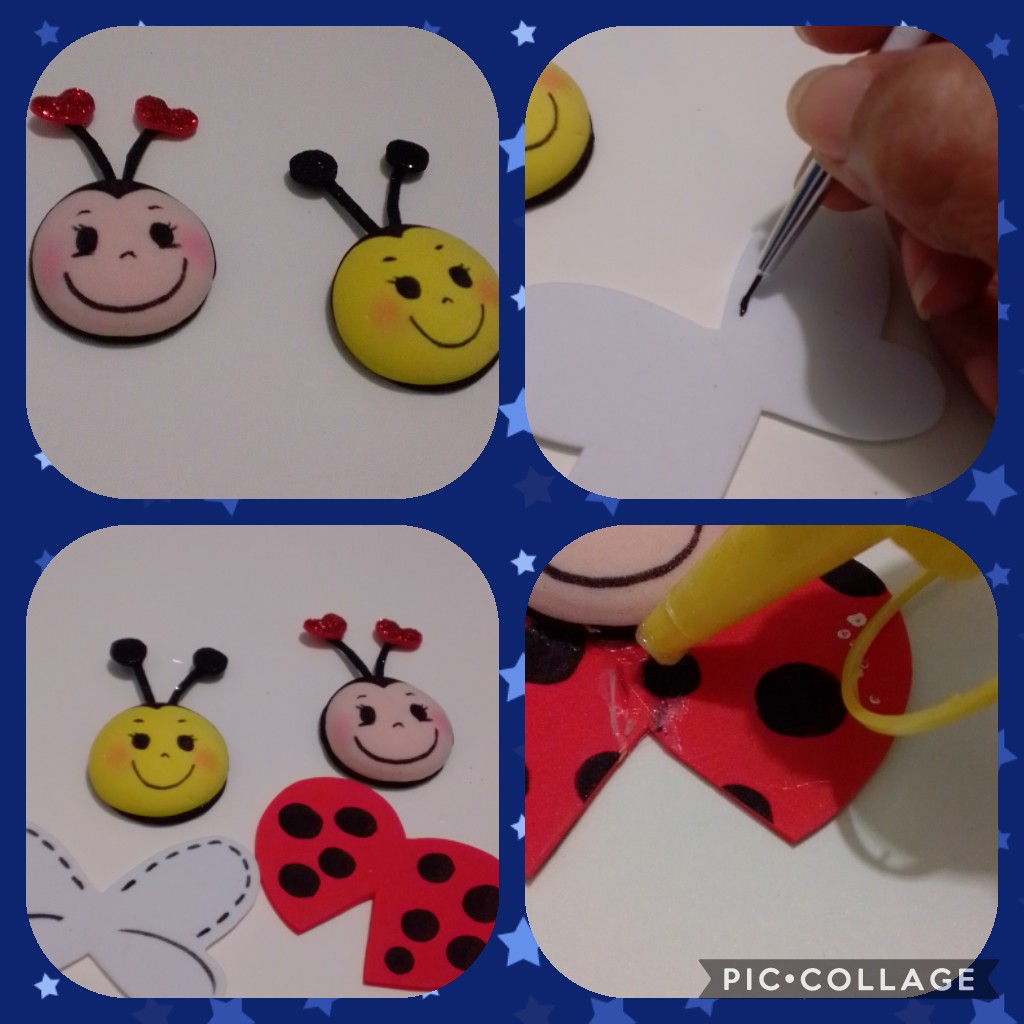
Recortamos LA PARTE TRASERA DE LAS CARITAS Y PEGAMOS LAS ANTENAS, delineamos con el pincel o marcador las orillas de las alitas y luego pegamos la cabeza a las alas y después el cuerpo que es el cilindro donde meteremos el lápiz.
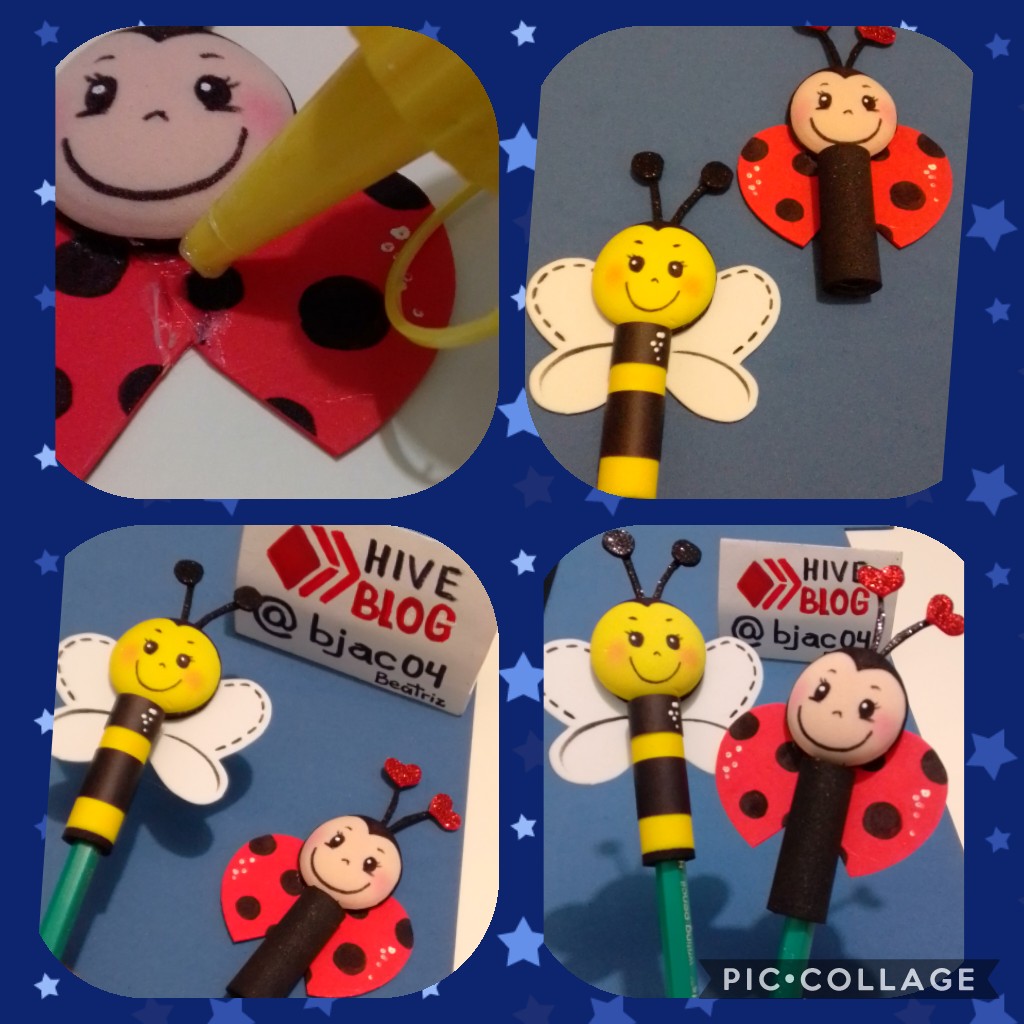
We cut out THE BACK OF THE FACES AND Glue the ANTENNAS, we delineate with the brush or marker the edges of the wings and then we glue the head to the wings and then the body that is the cylinder where we will put the pencil.
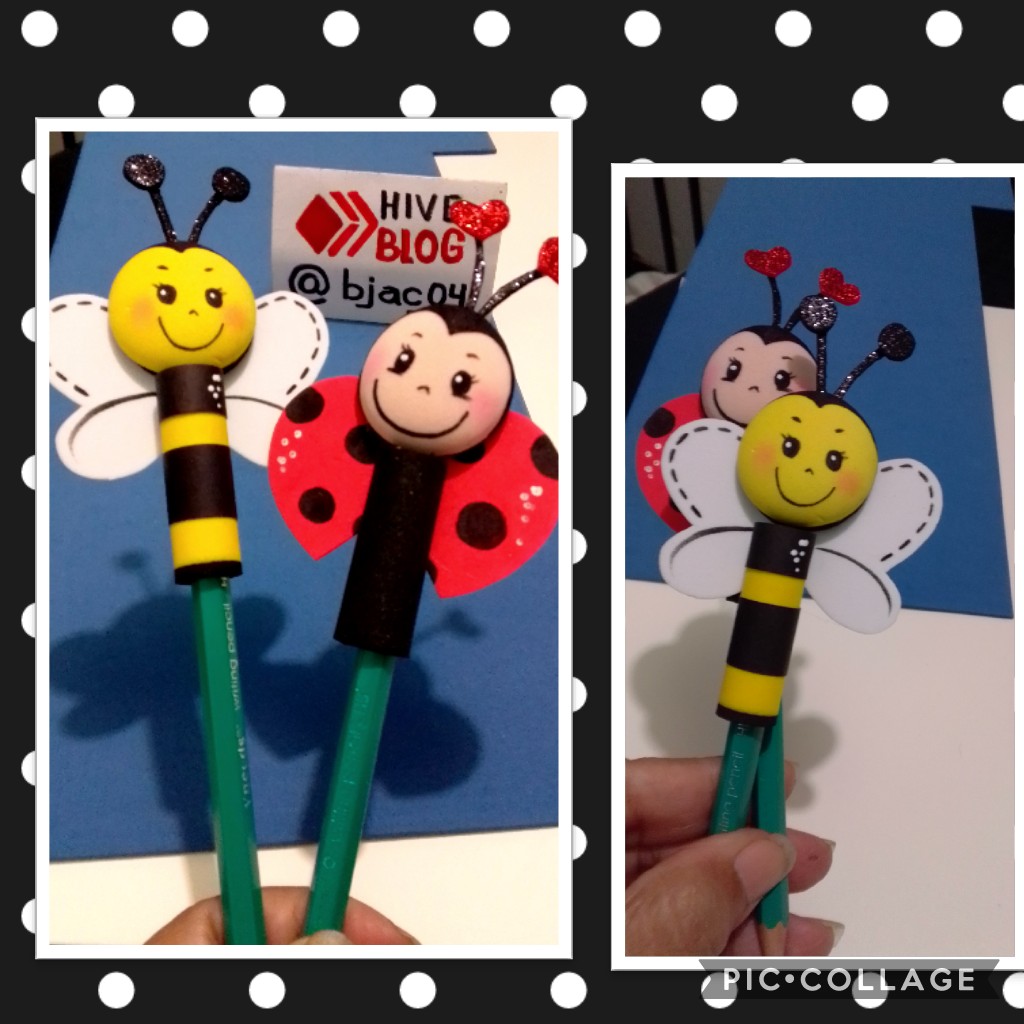
LISTO! ya terminamos la abejita y la mariquita! Así puedes hacer distintos diseños a tus lápices, el procedimiento es igual para hacer todos los cilindros, puedes hacer perritos, conejos, lo que te imagines o quieran los pequeños de la casa...
Bueno hasta mañana y espero este trabajo, también le sea de provecho a las maestras.
READY! we are done with the bee and the ladybug! So you can make different designs to your pencils, the procedure is the same to make all the cylinders, you can make puppies, rabbits, whatever you imagine or the little ones in the house want ...
Well see you tomorrow and I hope this work is also useful for the teachers.
Hola tienes mucho talento. Me gustaría ayudarte porque veo que tus publicaciones no están teniendo alcance. Si quieres me escribes en el discord de @rutablockchain
https://discord.gg/syc3dFc
saludos
Hola, buenas noches.
Muchas gracias por sus palabras y por querer ayudarme...
mañana le estaré escribiendo..