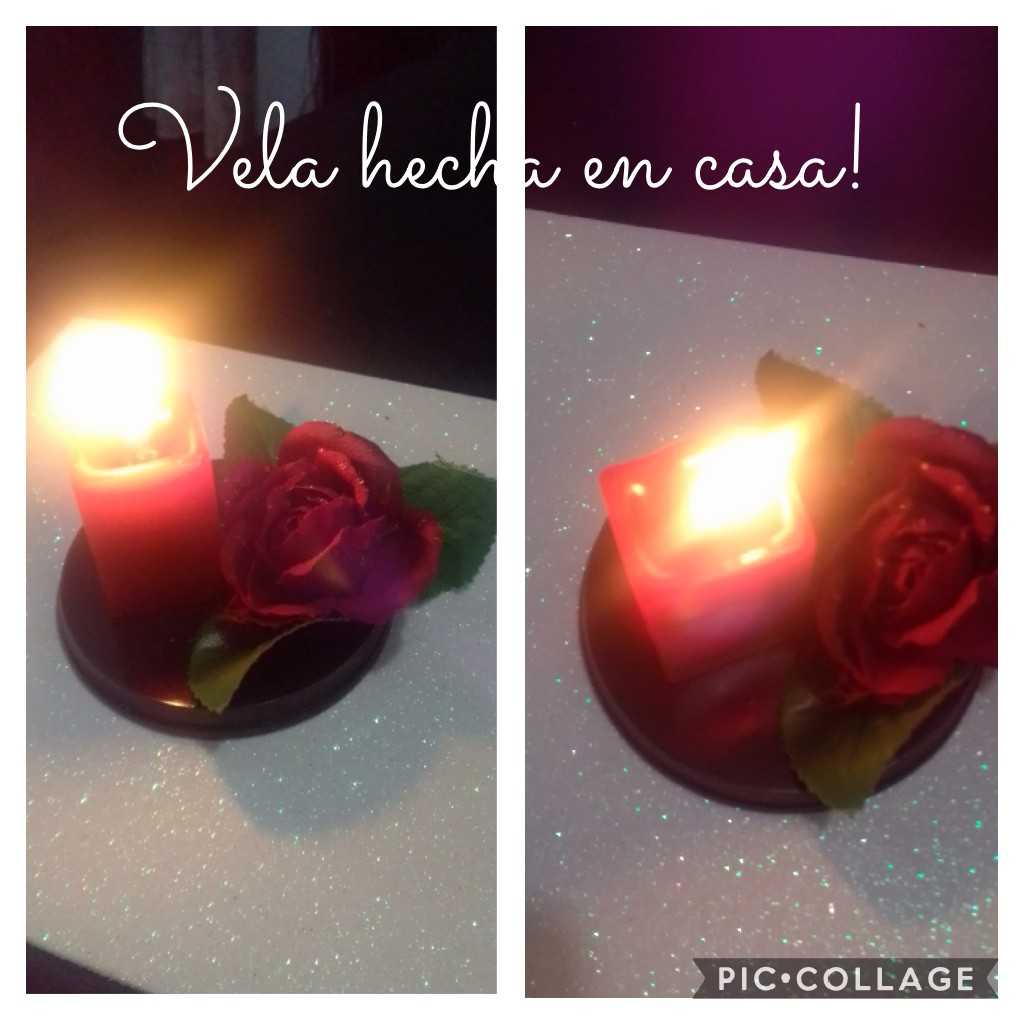
NUEVAMENTE ESTOY AQUÍ PARA MOSTRAR UN HERMOSO PASO A PASO, QUE COMO SIEMPRE LES TRAIGO COSAS PARA APRENDER FÁCILES Y CON MATERIALES ECONÓMICOS Y FÁCILES DE CONSEGUIR.. PORQUE AHORA EN ESTOS TIEMPOS A VECES TENEMOS QUE CREAR EN NUESTRA CASA Y SIEMPRE ES BUENO SABER O APRENDER ALGO QUE DE UNA U OTRA MANERA LE PUEDE SER ÚTIL...
ASÍ QUE LES INVITO A:
VER PARA APRENDER!
LOS MATERIALES QUE USAREMOS SON:
Sobrantes de cera de velas, hilo pabilo, tijera, caja de cartón reciclada, type, palo de madera, silicón o pegamento.
AGAIN I AM HERE TO SHOW A BEAUTIFUL STEP BY STEP, THAT AS ALWAYS I BRING YOU THINGS TO LEARN EASY AND WITH ECONOMIC MATERIALS AND EASY TO OBTAIN. SOMETHING THAT IN ONE WAY OR ANOTHER MAY BE USEFUL ...
SO I INVITE YOU TO:
SEE TO LEARN!
** CHILD OF THE MATERIALS WE WILL USE: **
- Leftover candle wax, wick, scissors, recycled cardboard box, type, wooden stick, silicone or glue. *
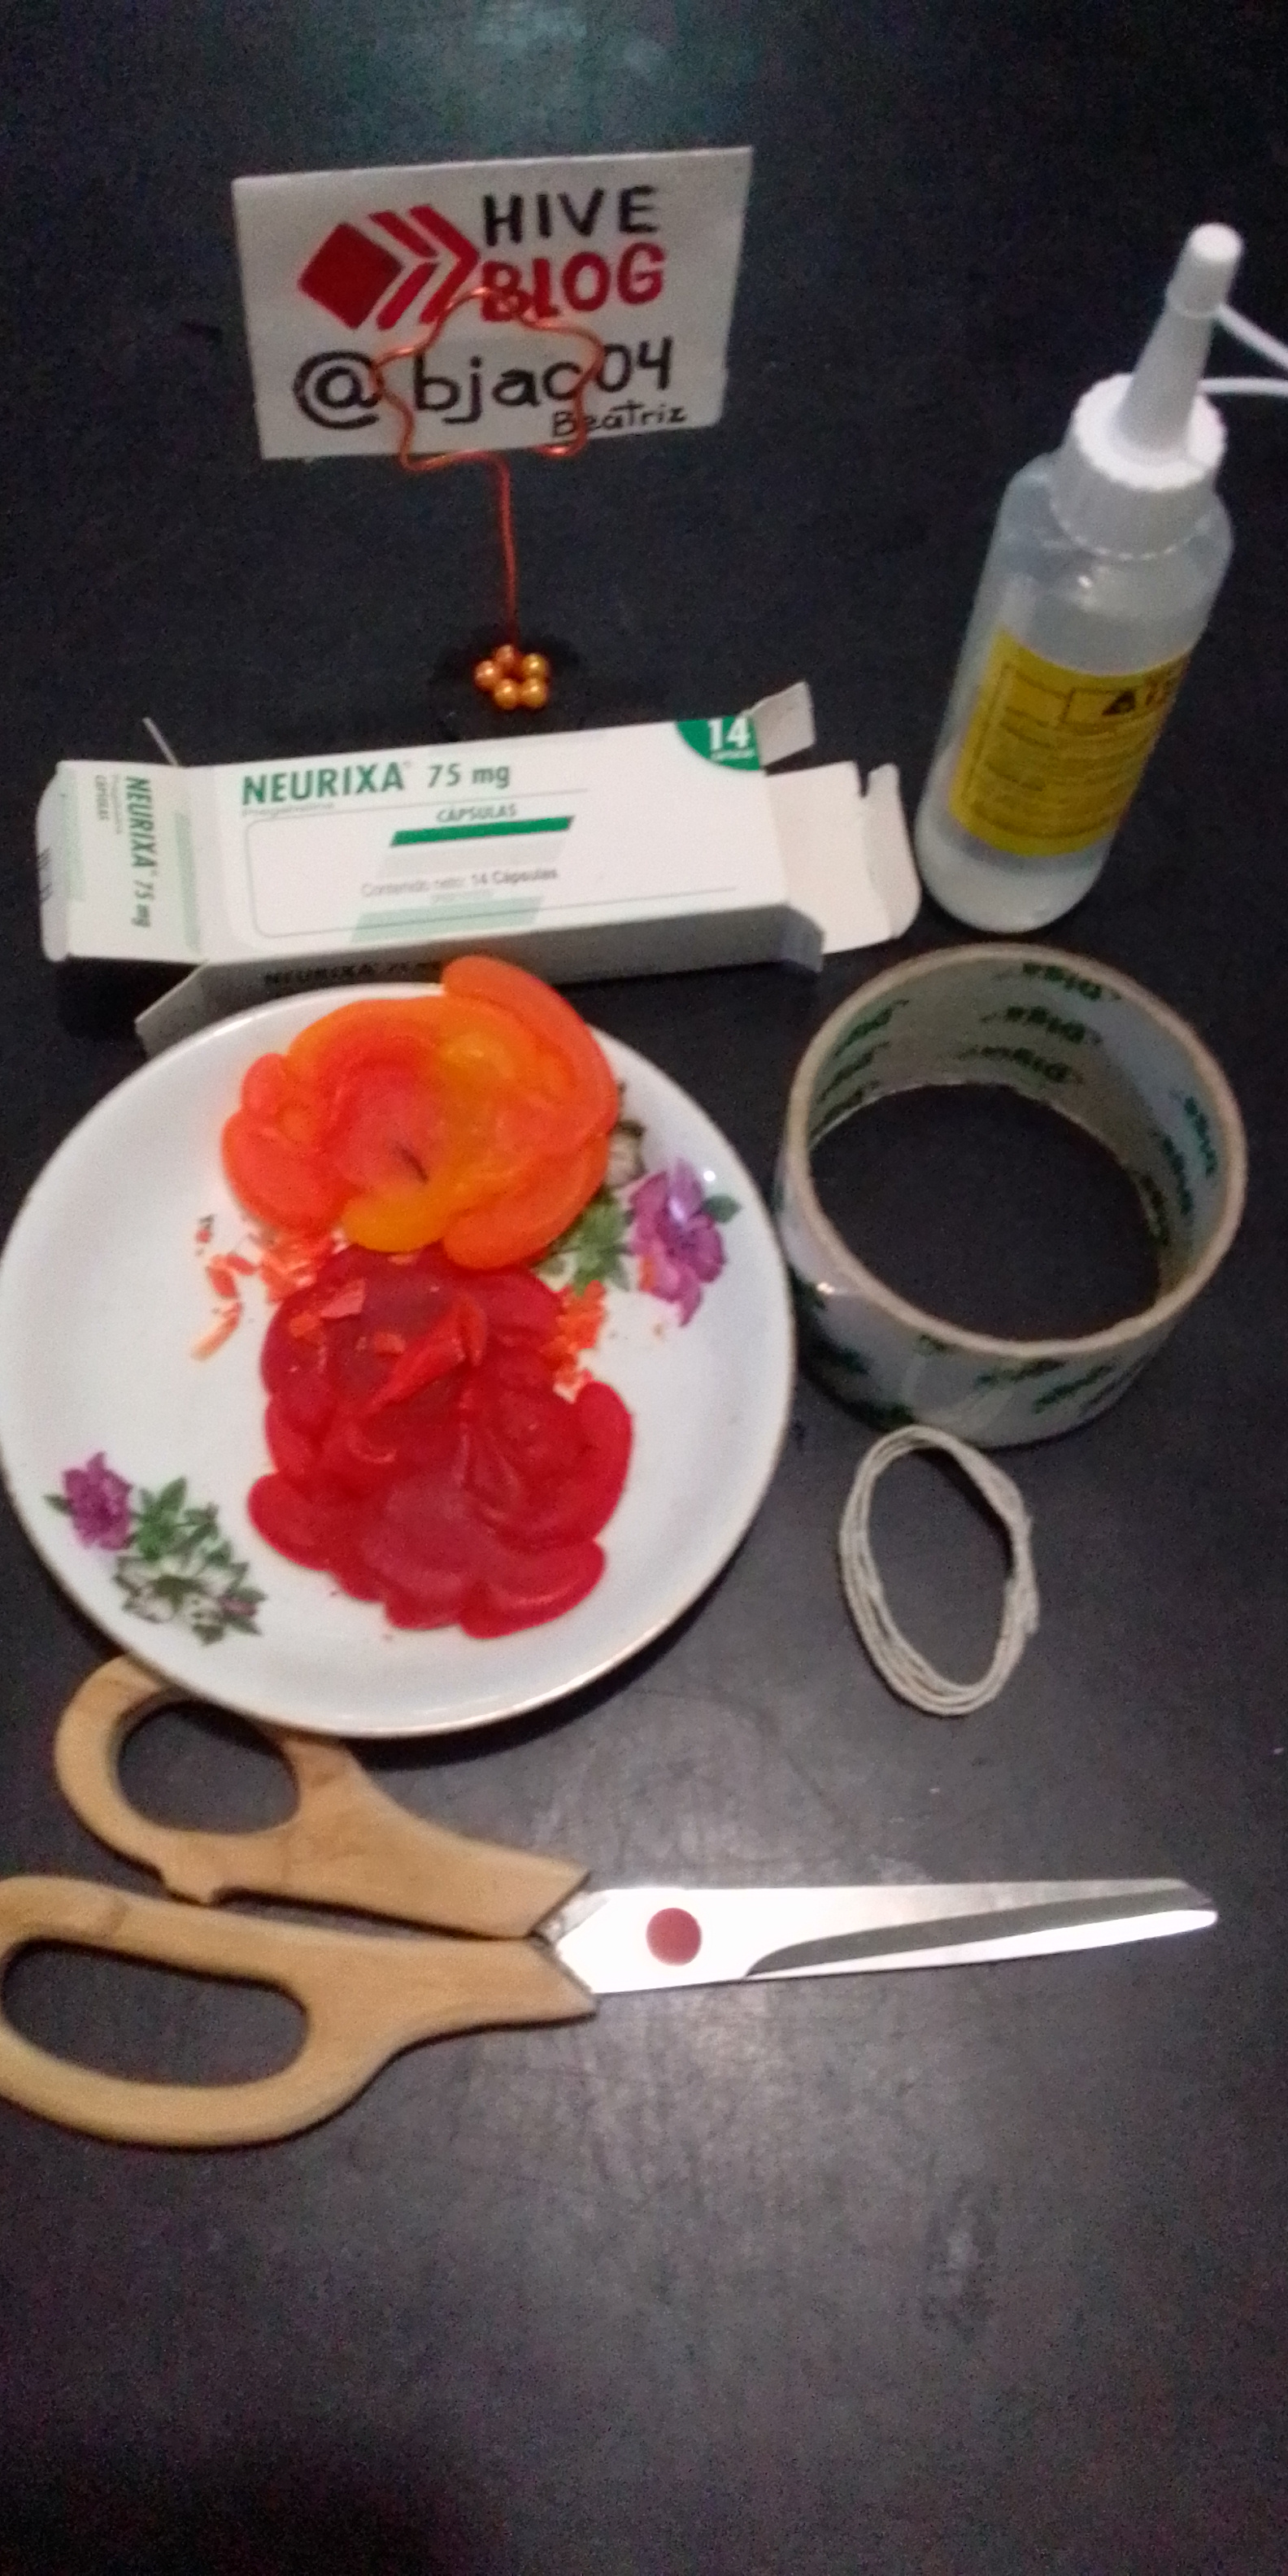
Ya nombrados los materiales empecemos con el procedimiento
PASOS 1, 2 Y 3:
** Once the materials have been named, let's start with the procedure **
STEPS 1, 2 AND 3:
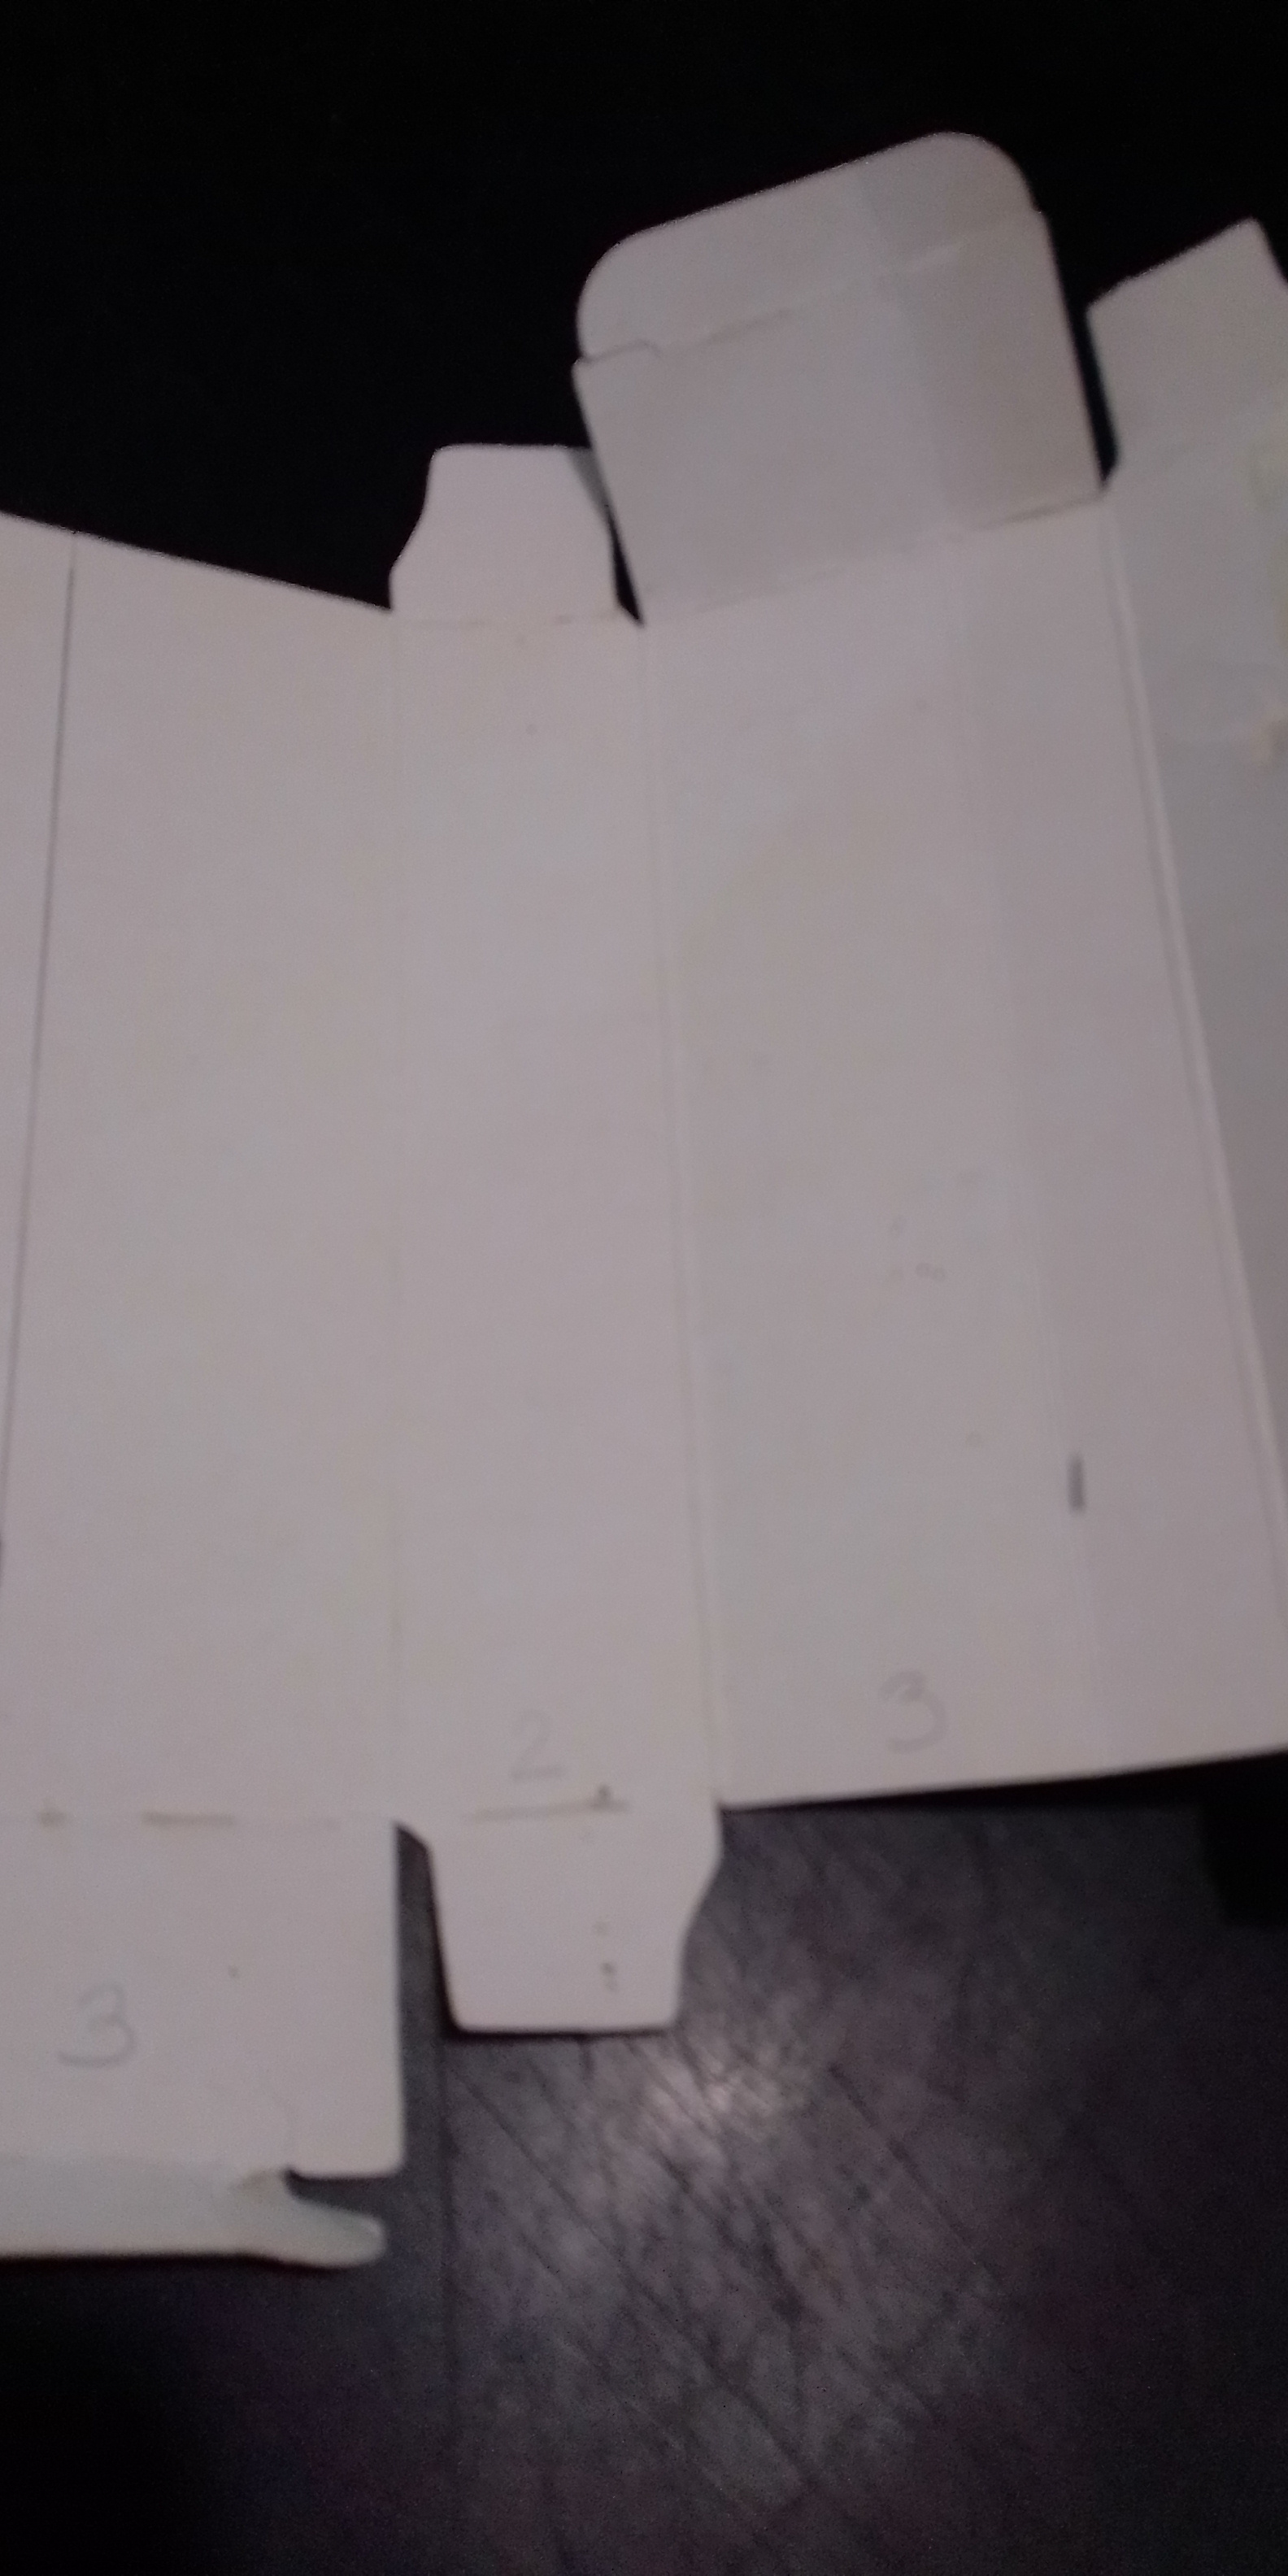
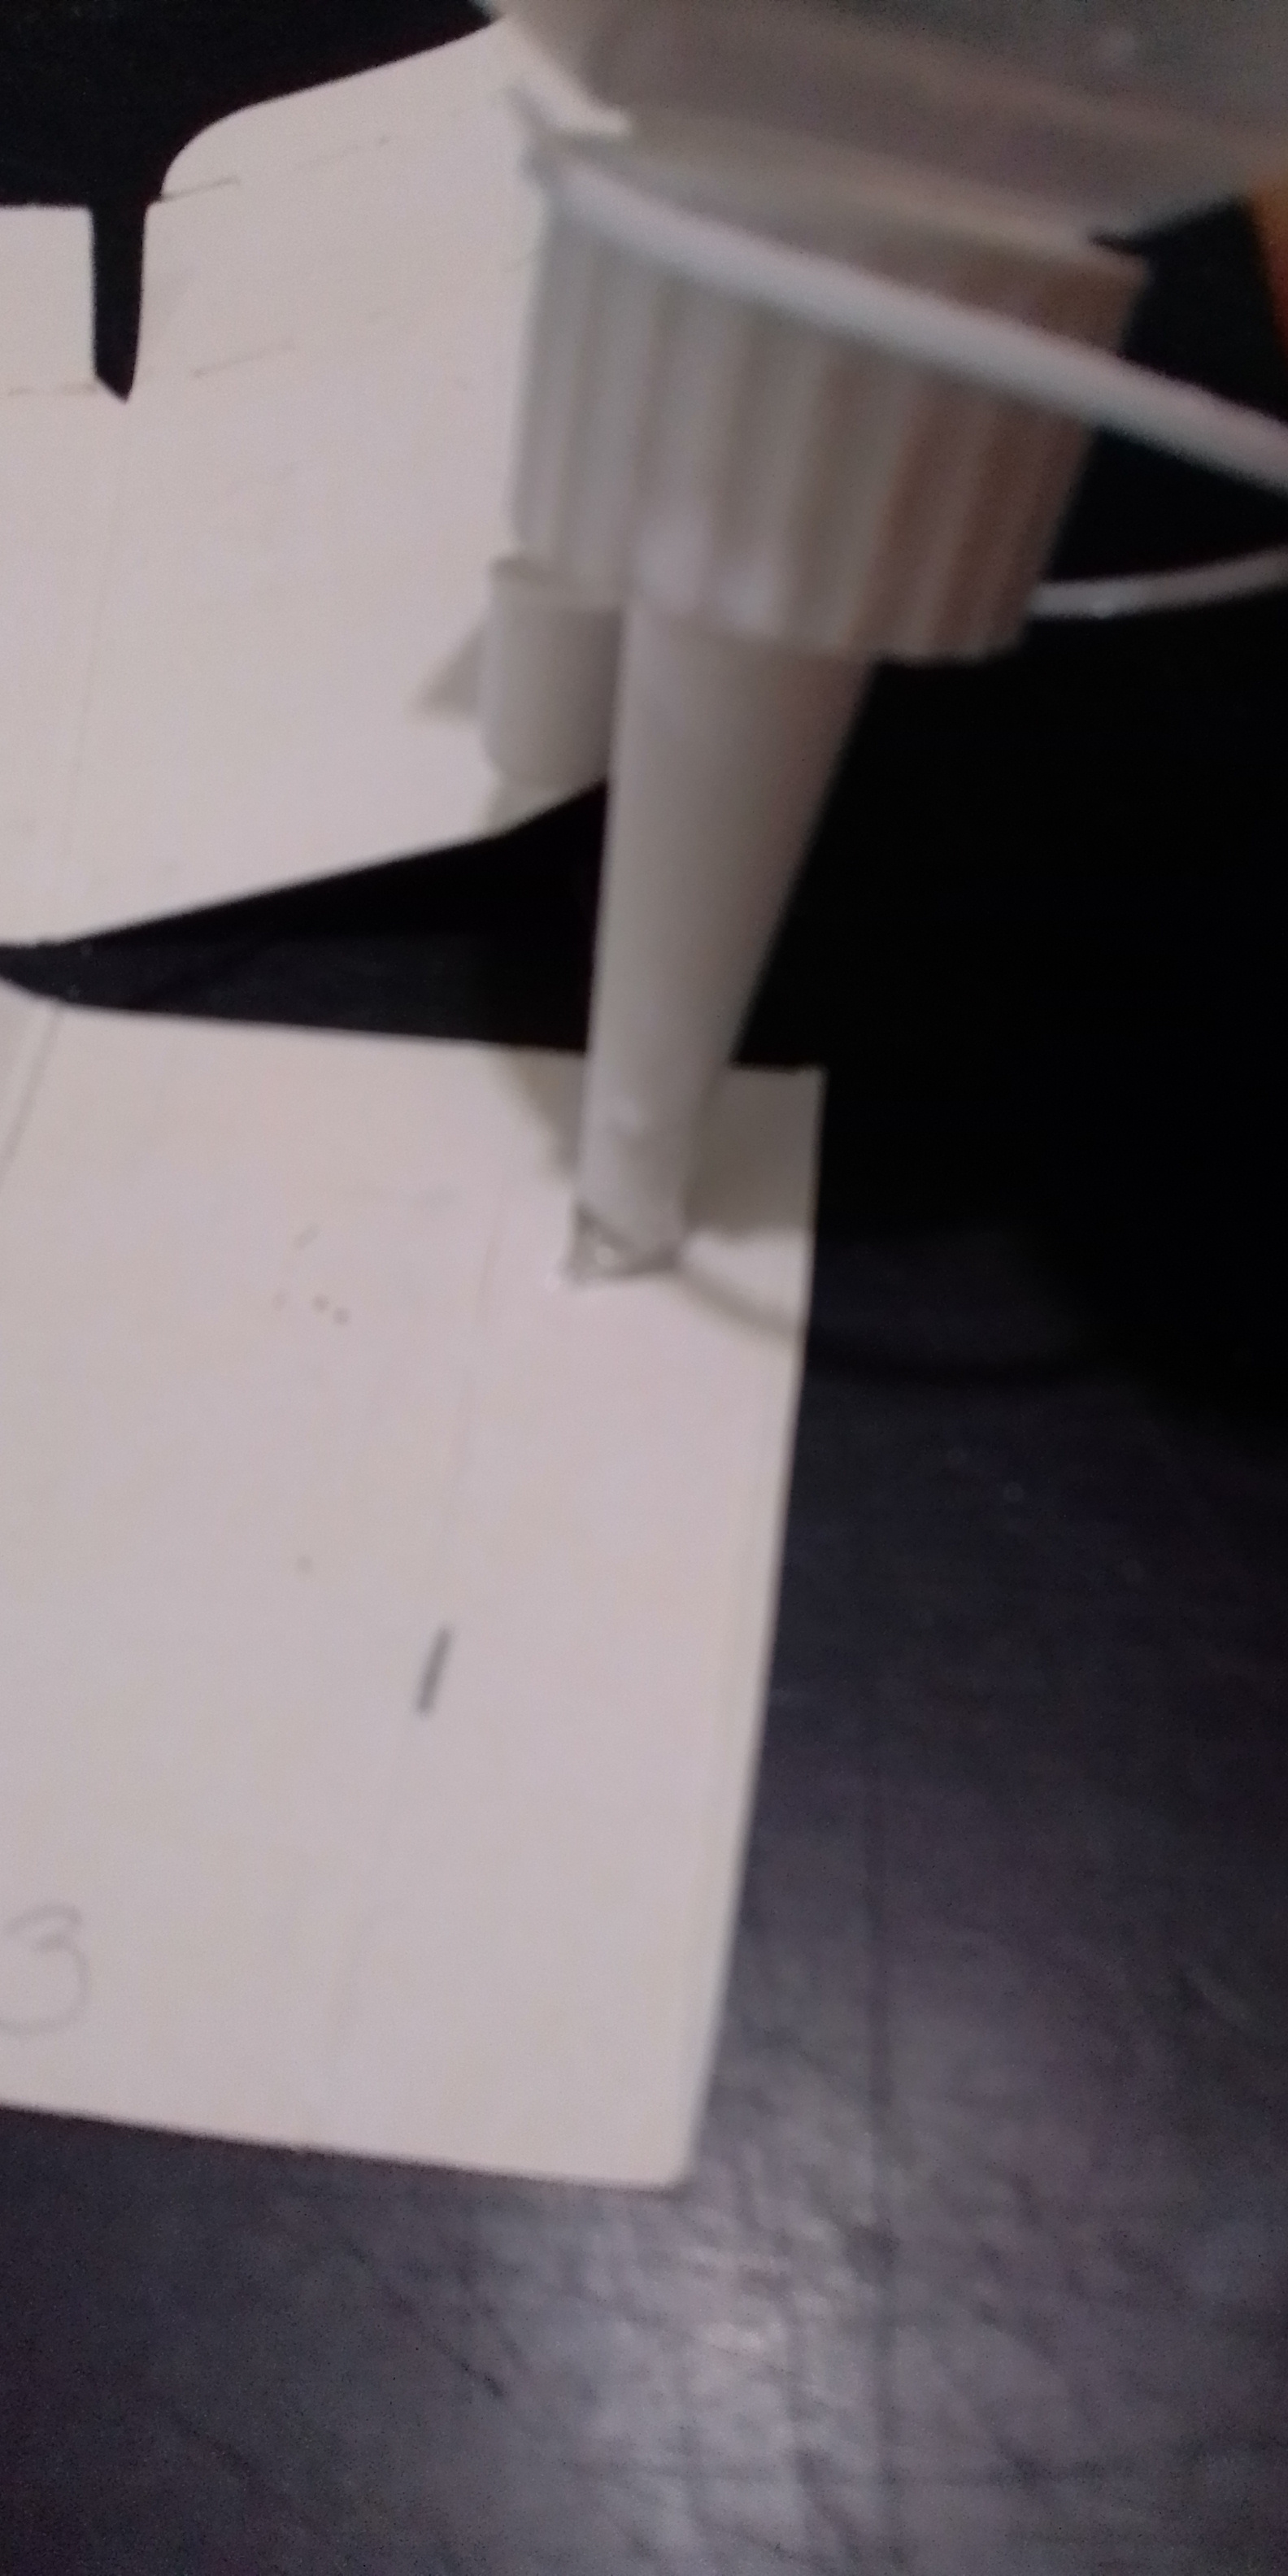
1- Desarmar la caja.
2- Marcar y recortar a la medida que quieras la vela, también la puedes hacer con rollos de parel sanitario, todo es dependiento de la cantidad que tengas de cera de vela.
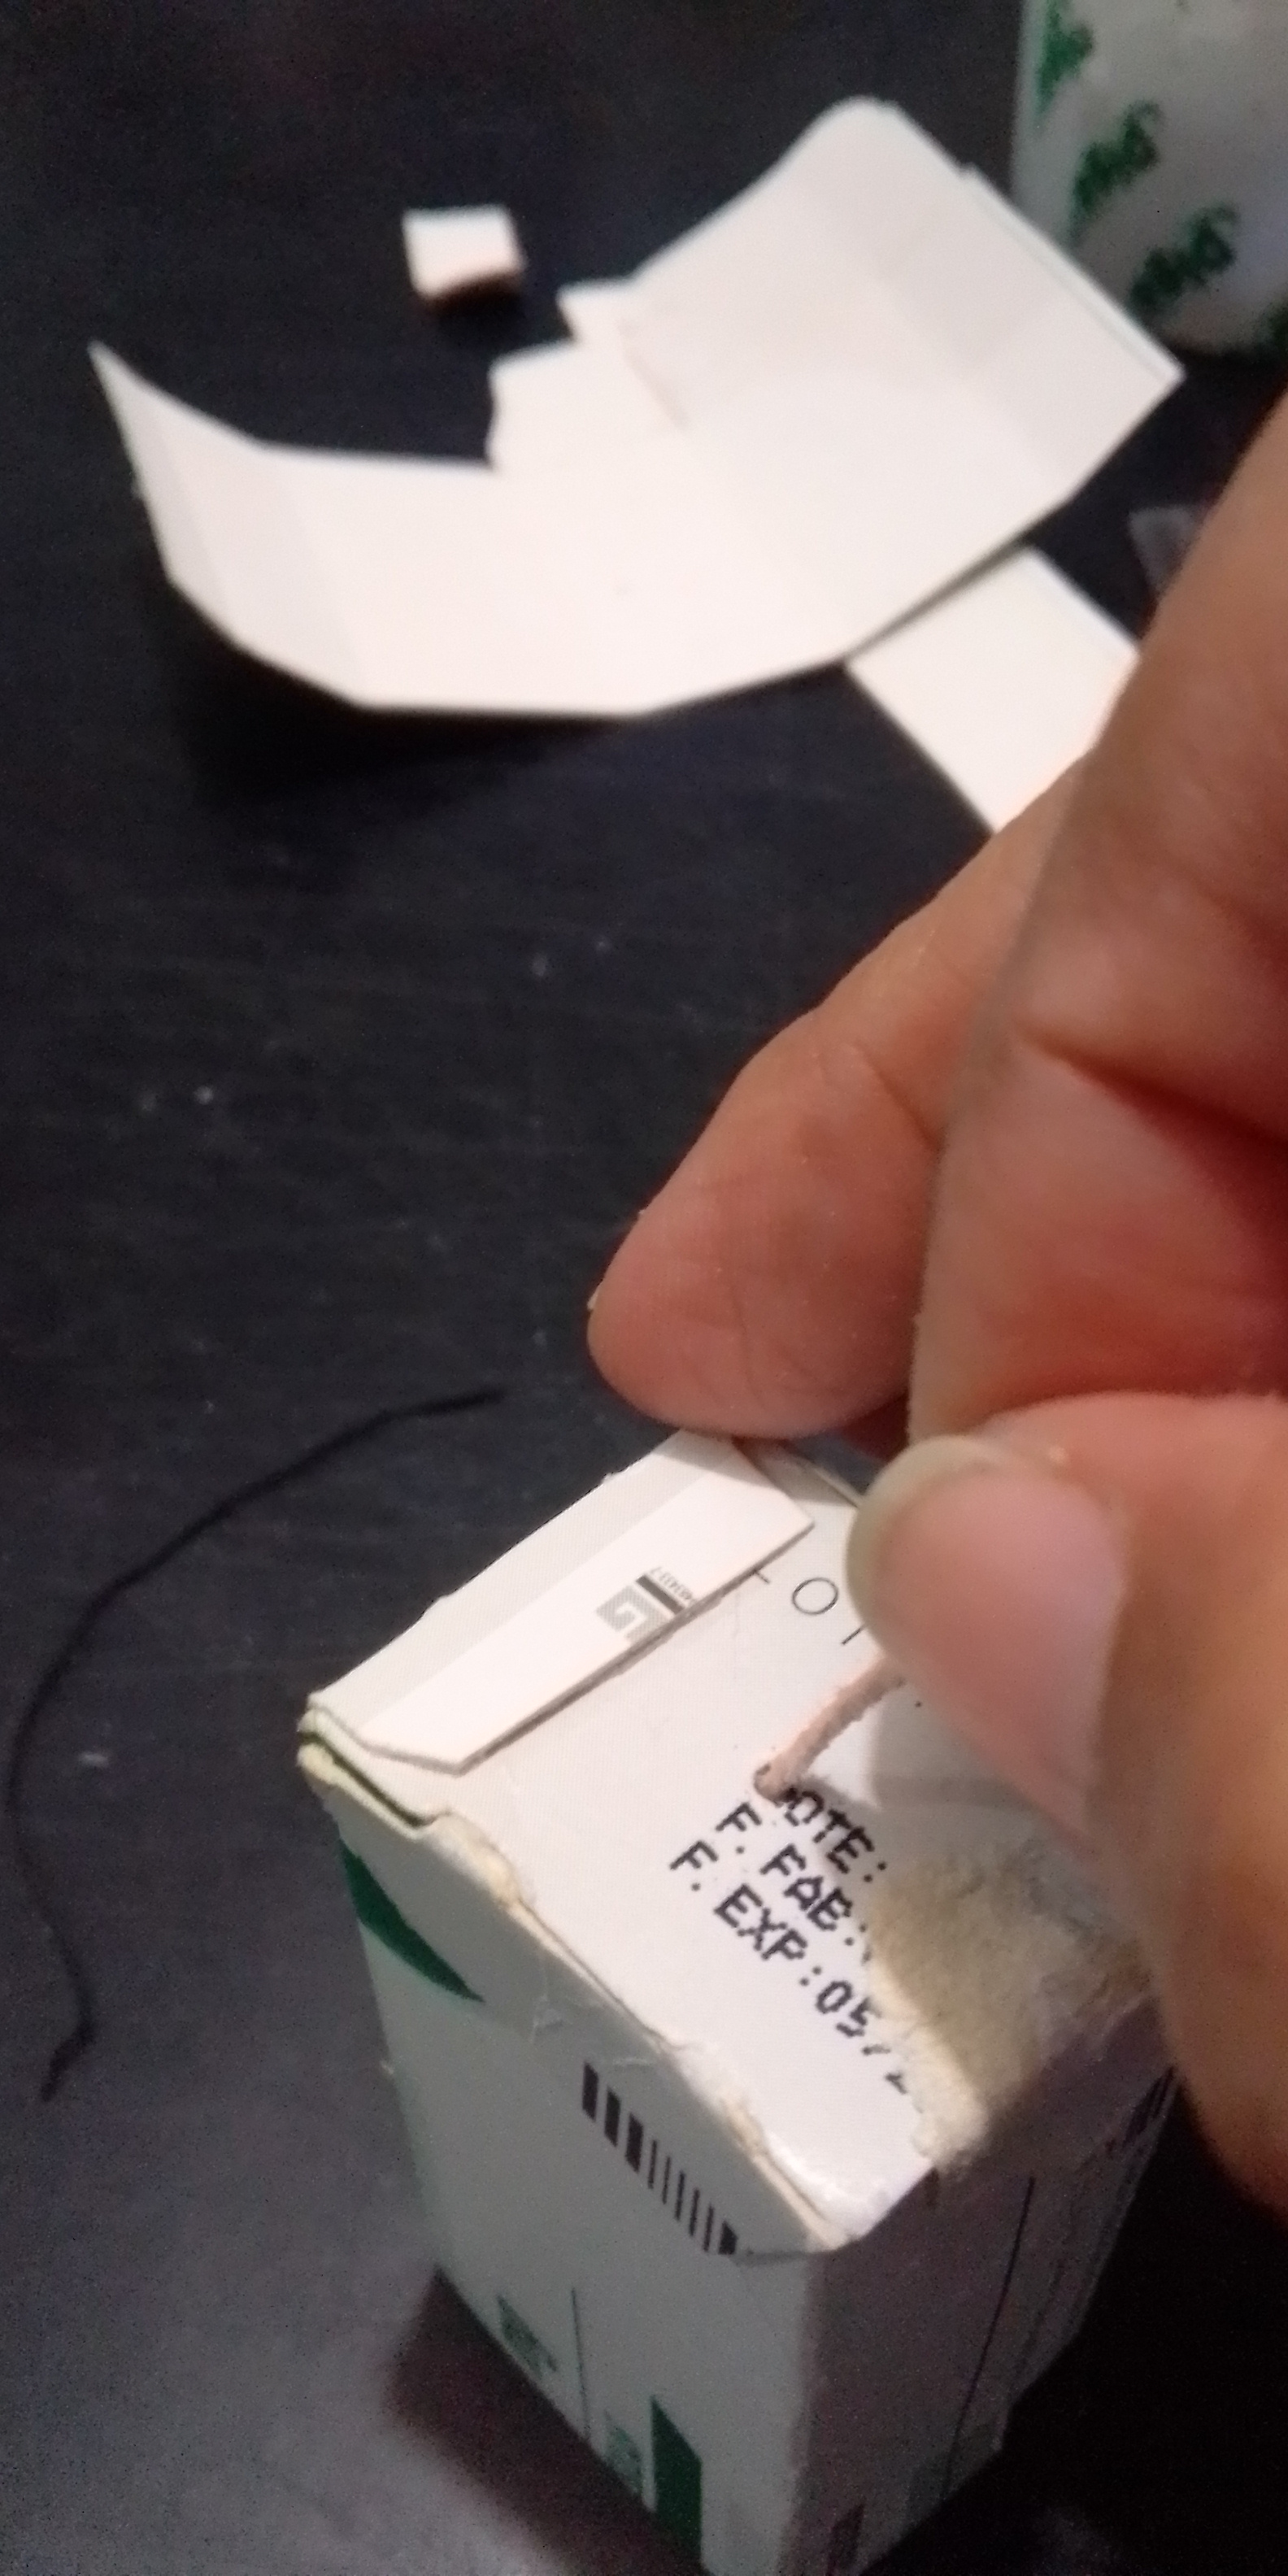
3- Armar la caja, perforar un pequeñito orificio y meter el hilo de abajo hacia arriba.
1- Disassemble the box.
2- Mark and cut the candle to the size you want, you can also make it with rolls of toilet paper, everything depends on the amount of candle wax you have.
3- Assemble the box, drill a small hole and insert the thread from the bottom up.
PASOS 4,5 Y 6:
STEPS 4,5 AND 6:
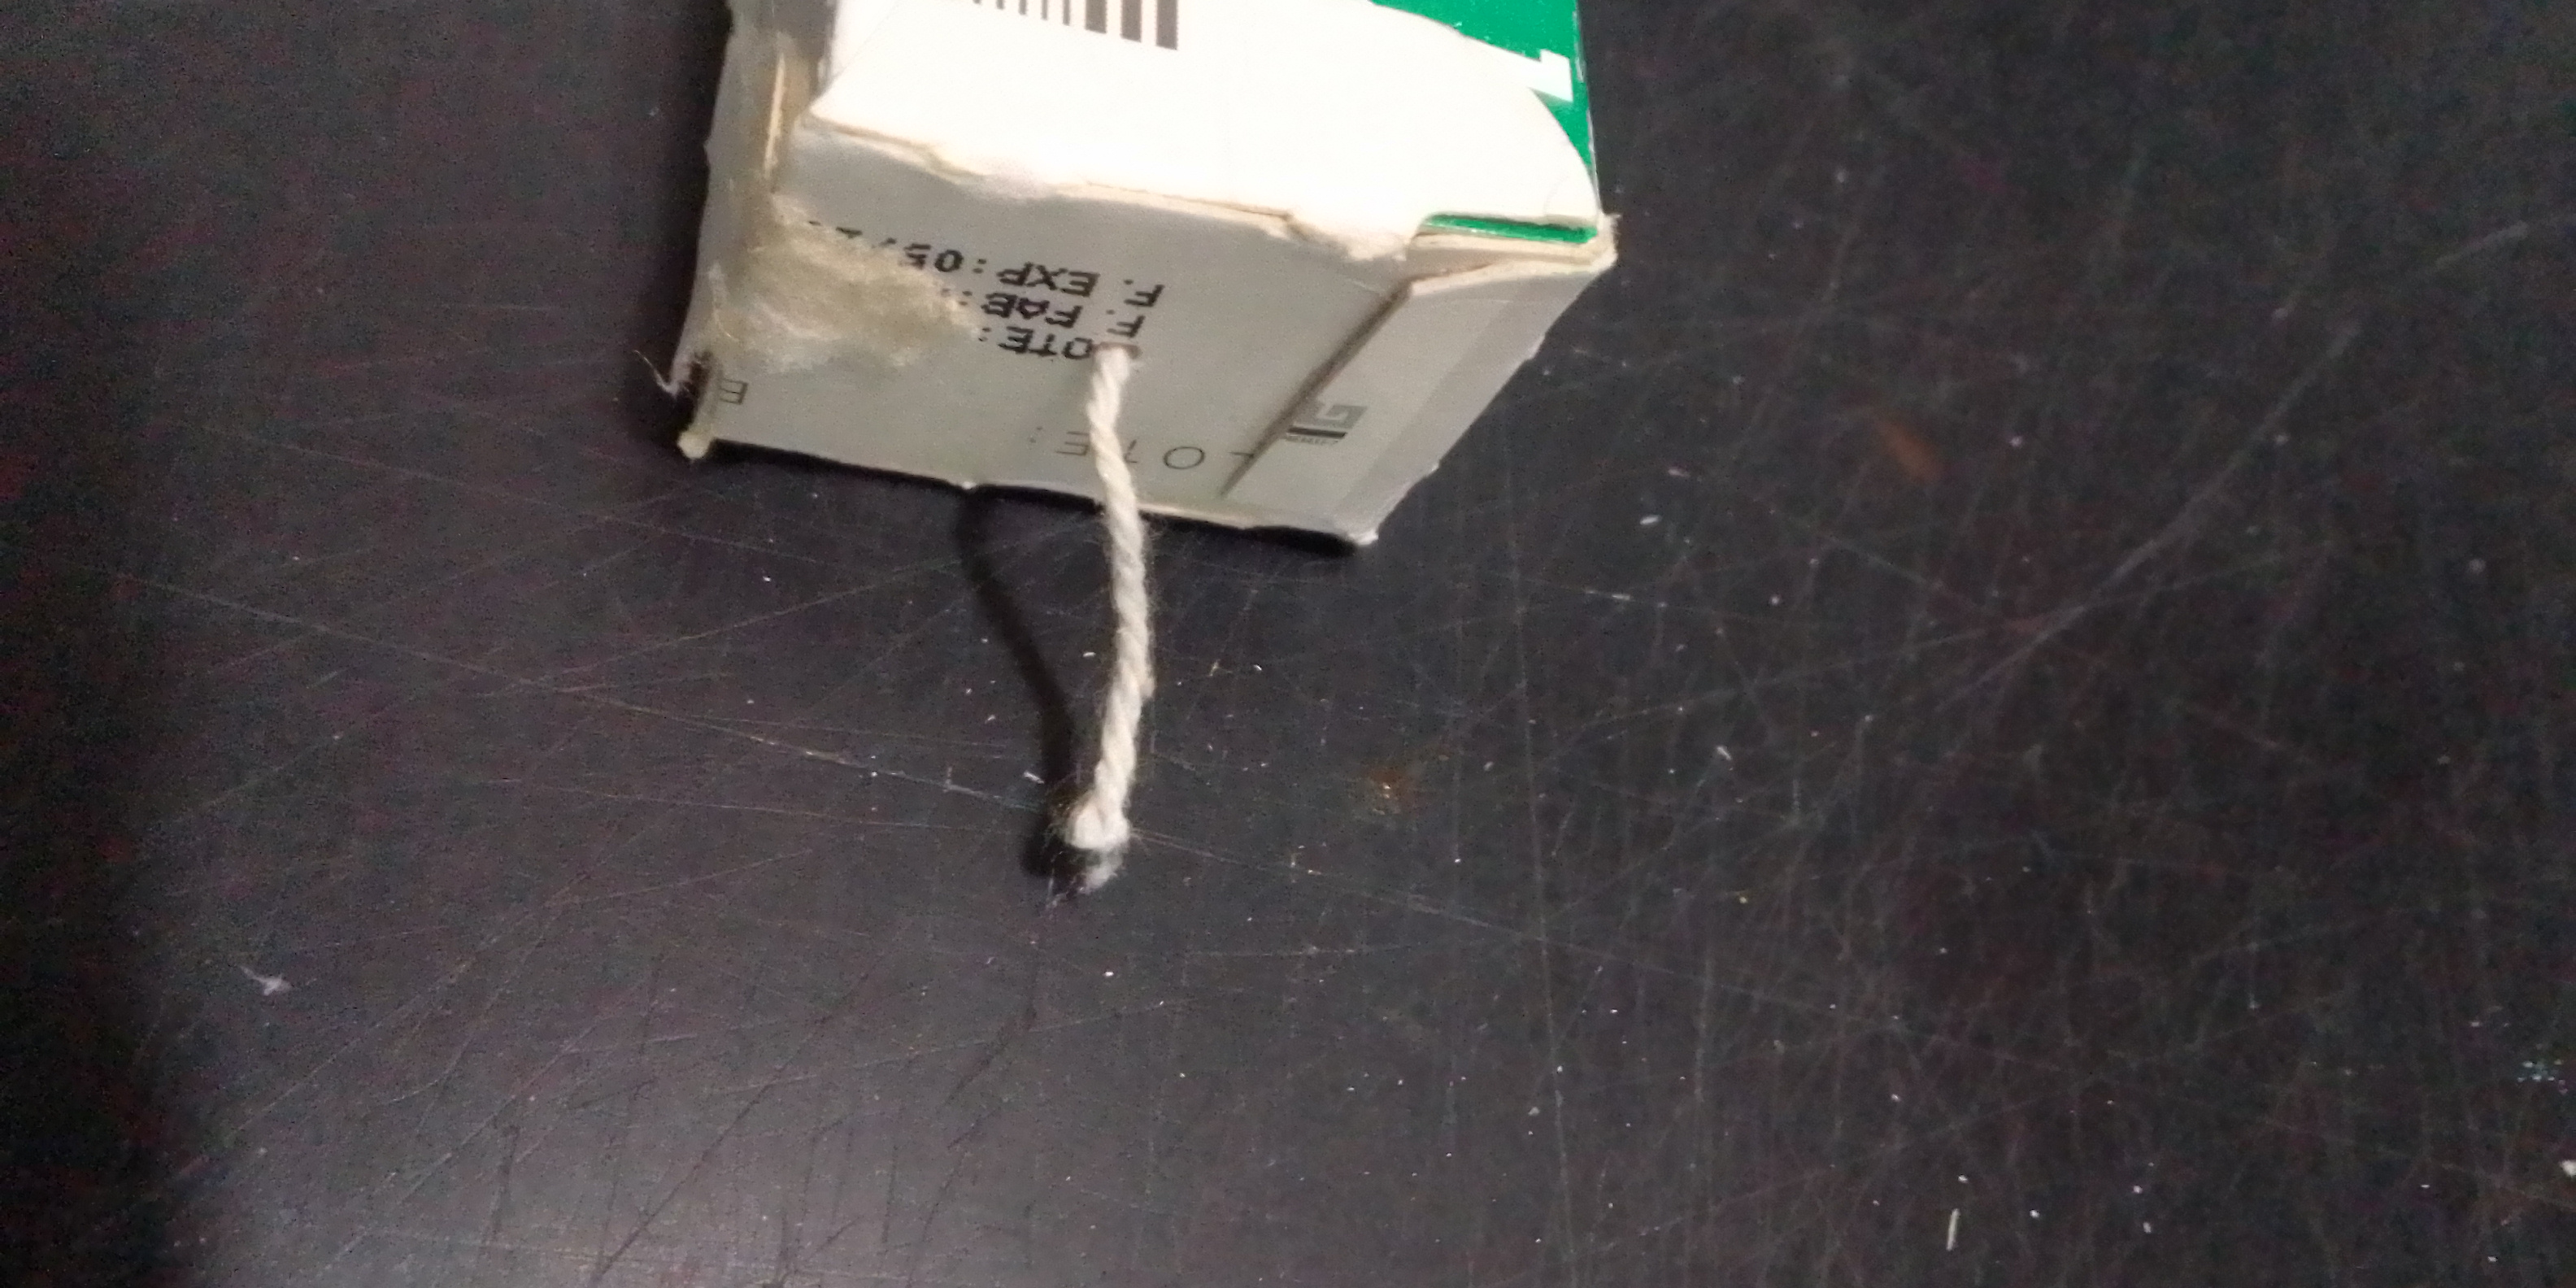
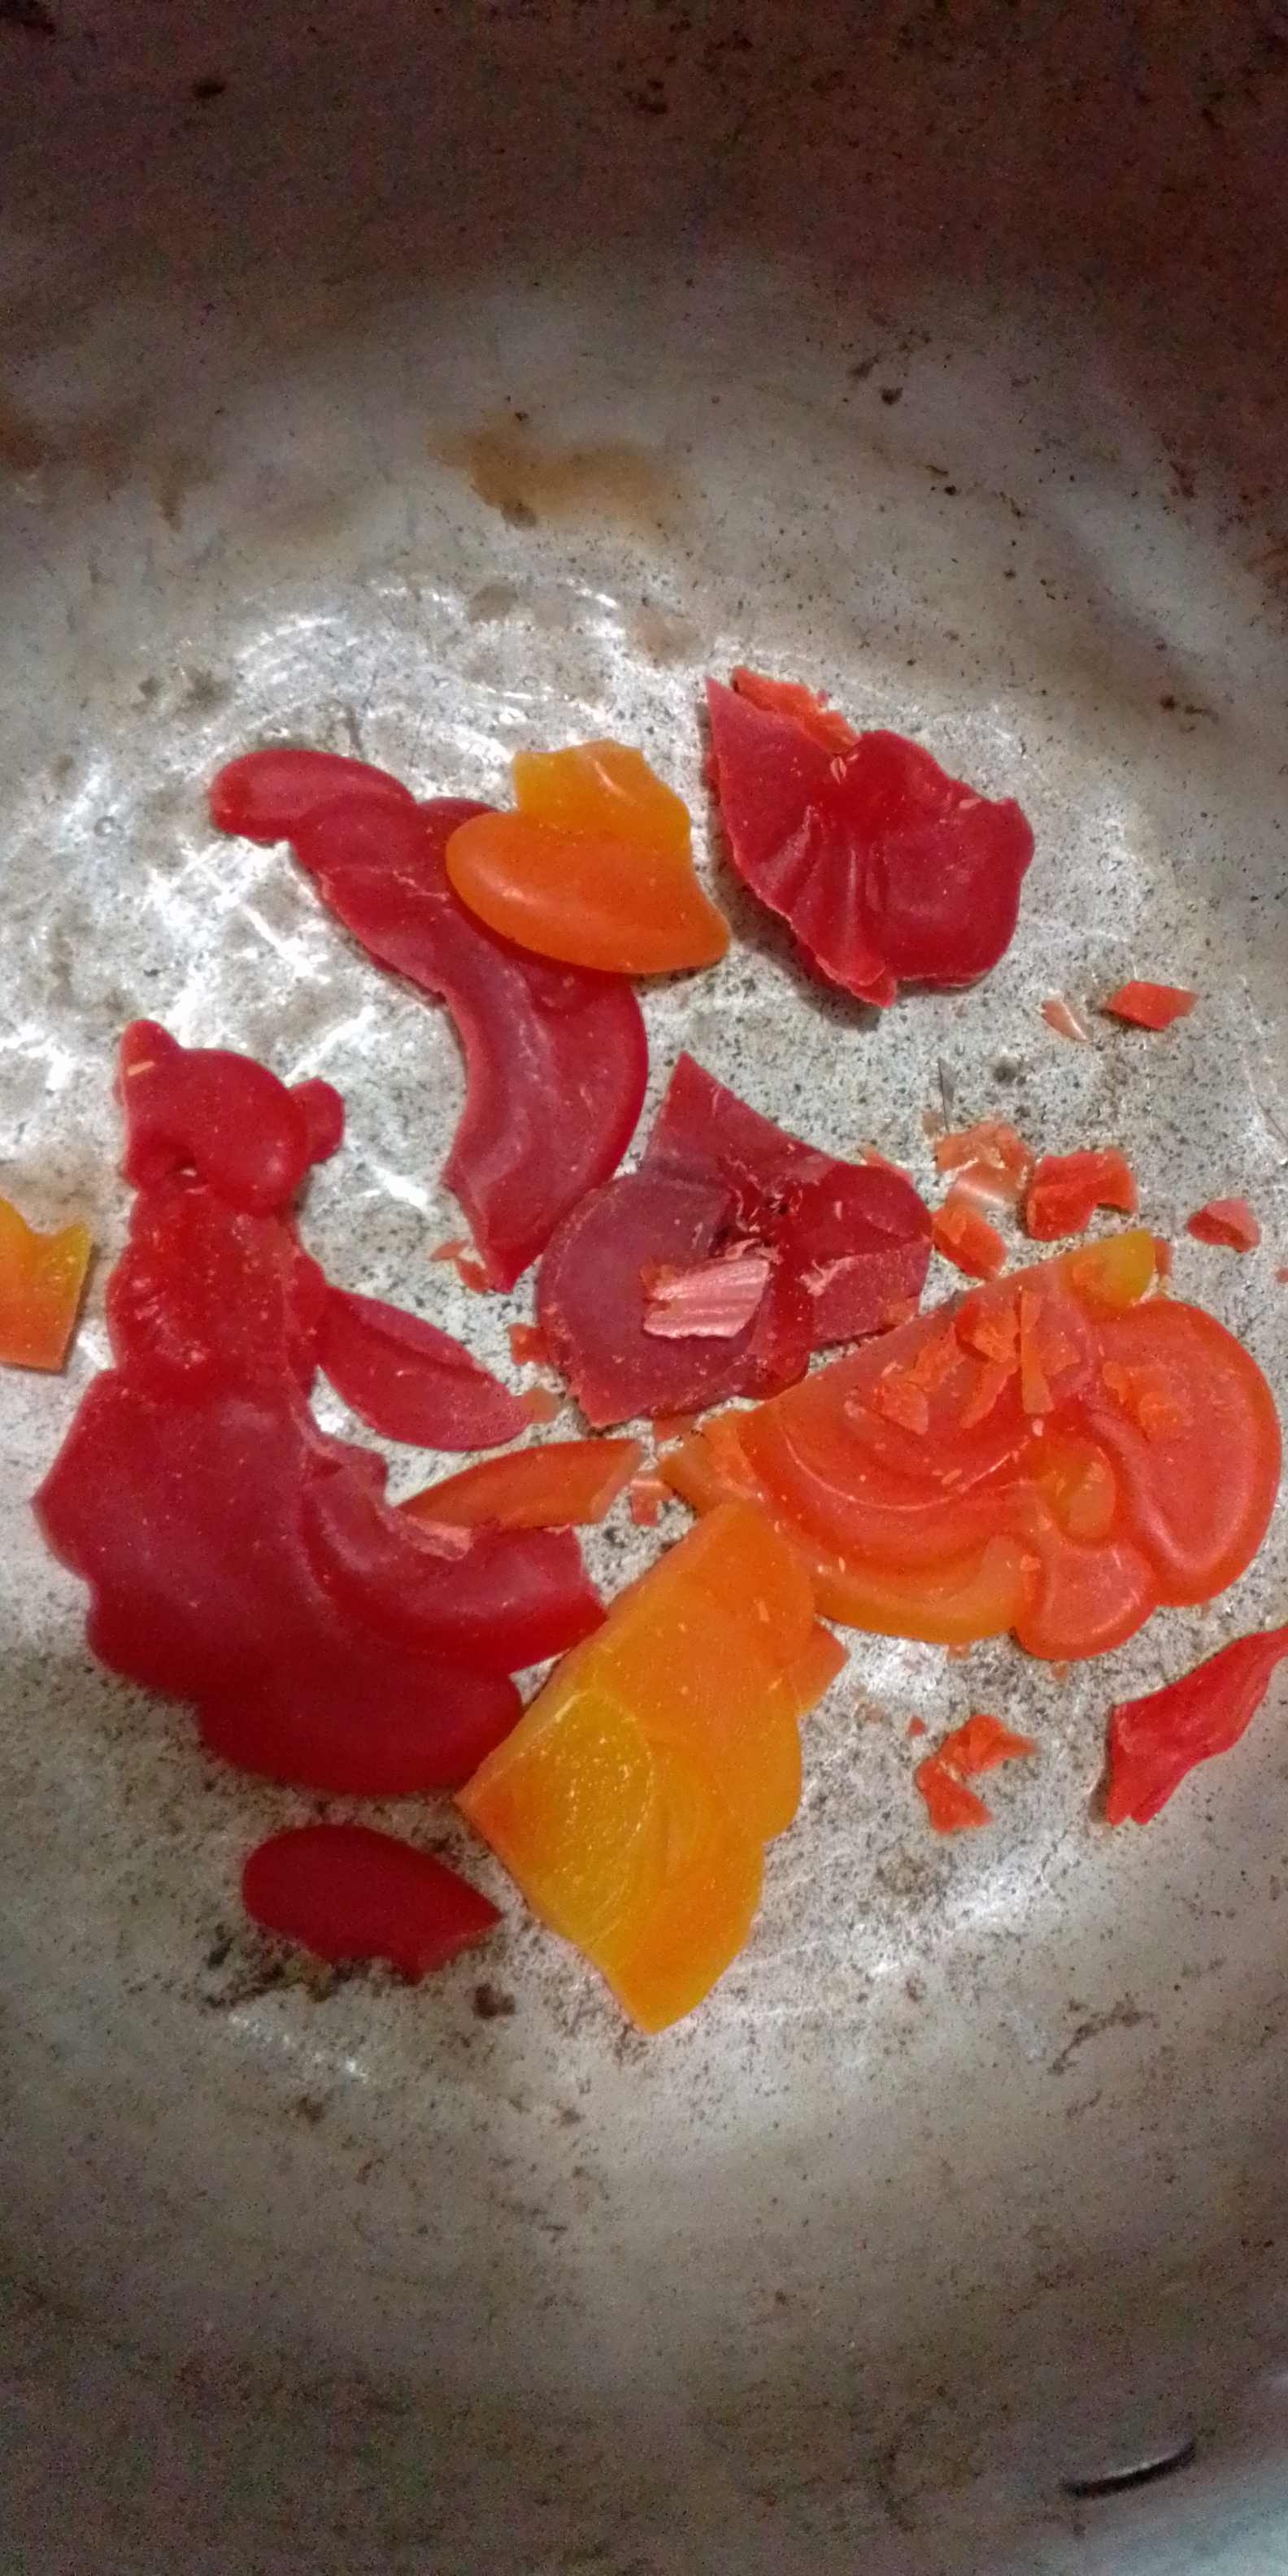
4- Dejamos un pedazo de hilo pabilo en la parte de abajo.
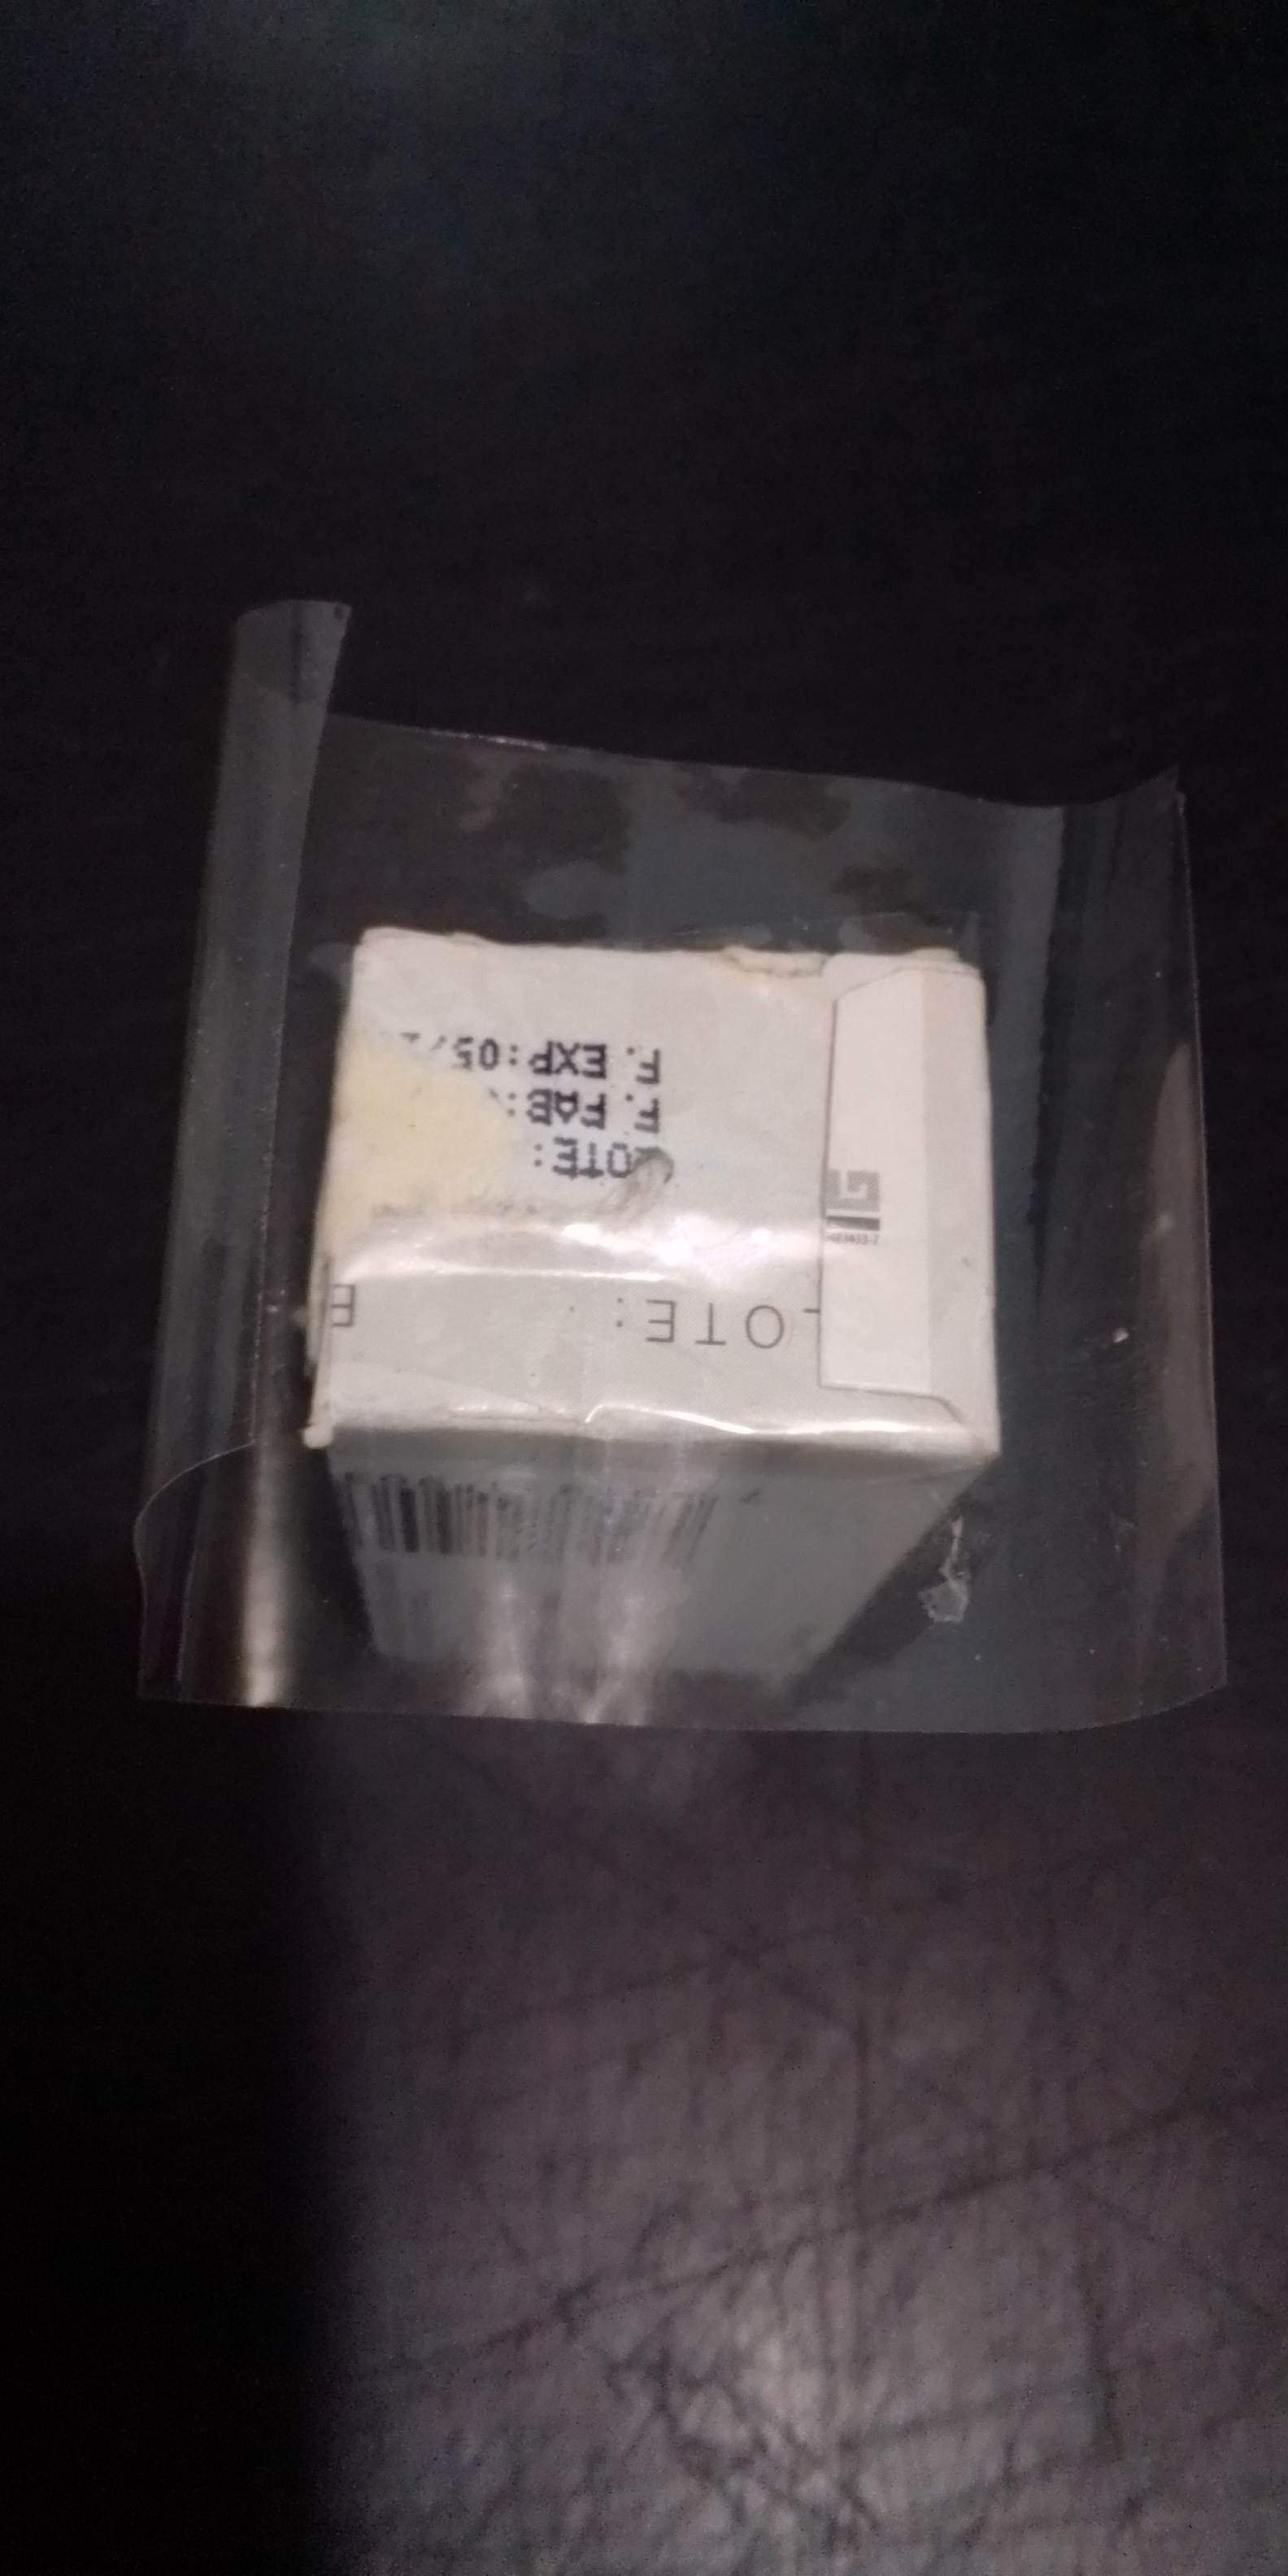
5- Pegamos un type debajo fijando el hilo para que no se salga y doblamos hacia los cuatro lados para sellar bien y que no se salga le cera derretida.
6- Cortamos en trozos la cera y colocamos en una olla.
4- We leave a piece of wick thread at the bottom.
5- We glue a type underneath fixing the thread so that it does not come out and we fold towards the four sides to seal well and that the melted wax does not come out.
6- Cut the wax into pieces and place in a pot.
PASOS 7,8 Y 9:
STEPS 7,8 AND 9:
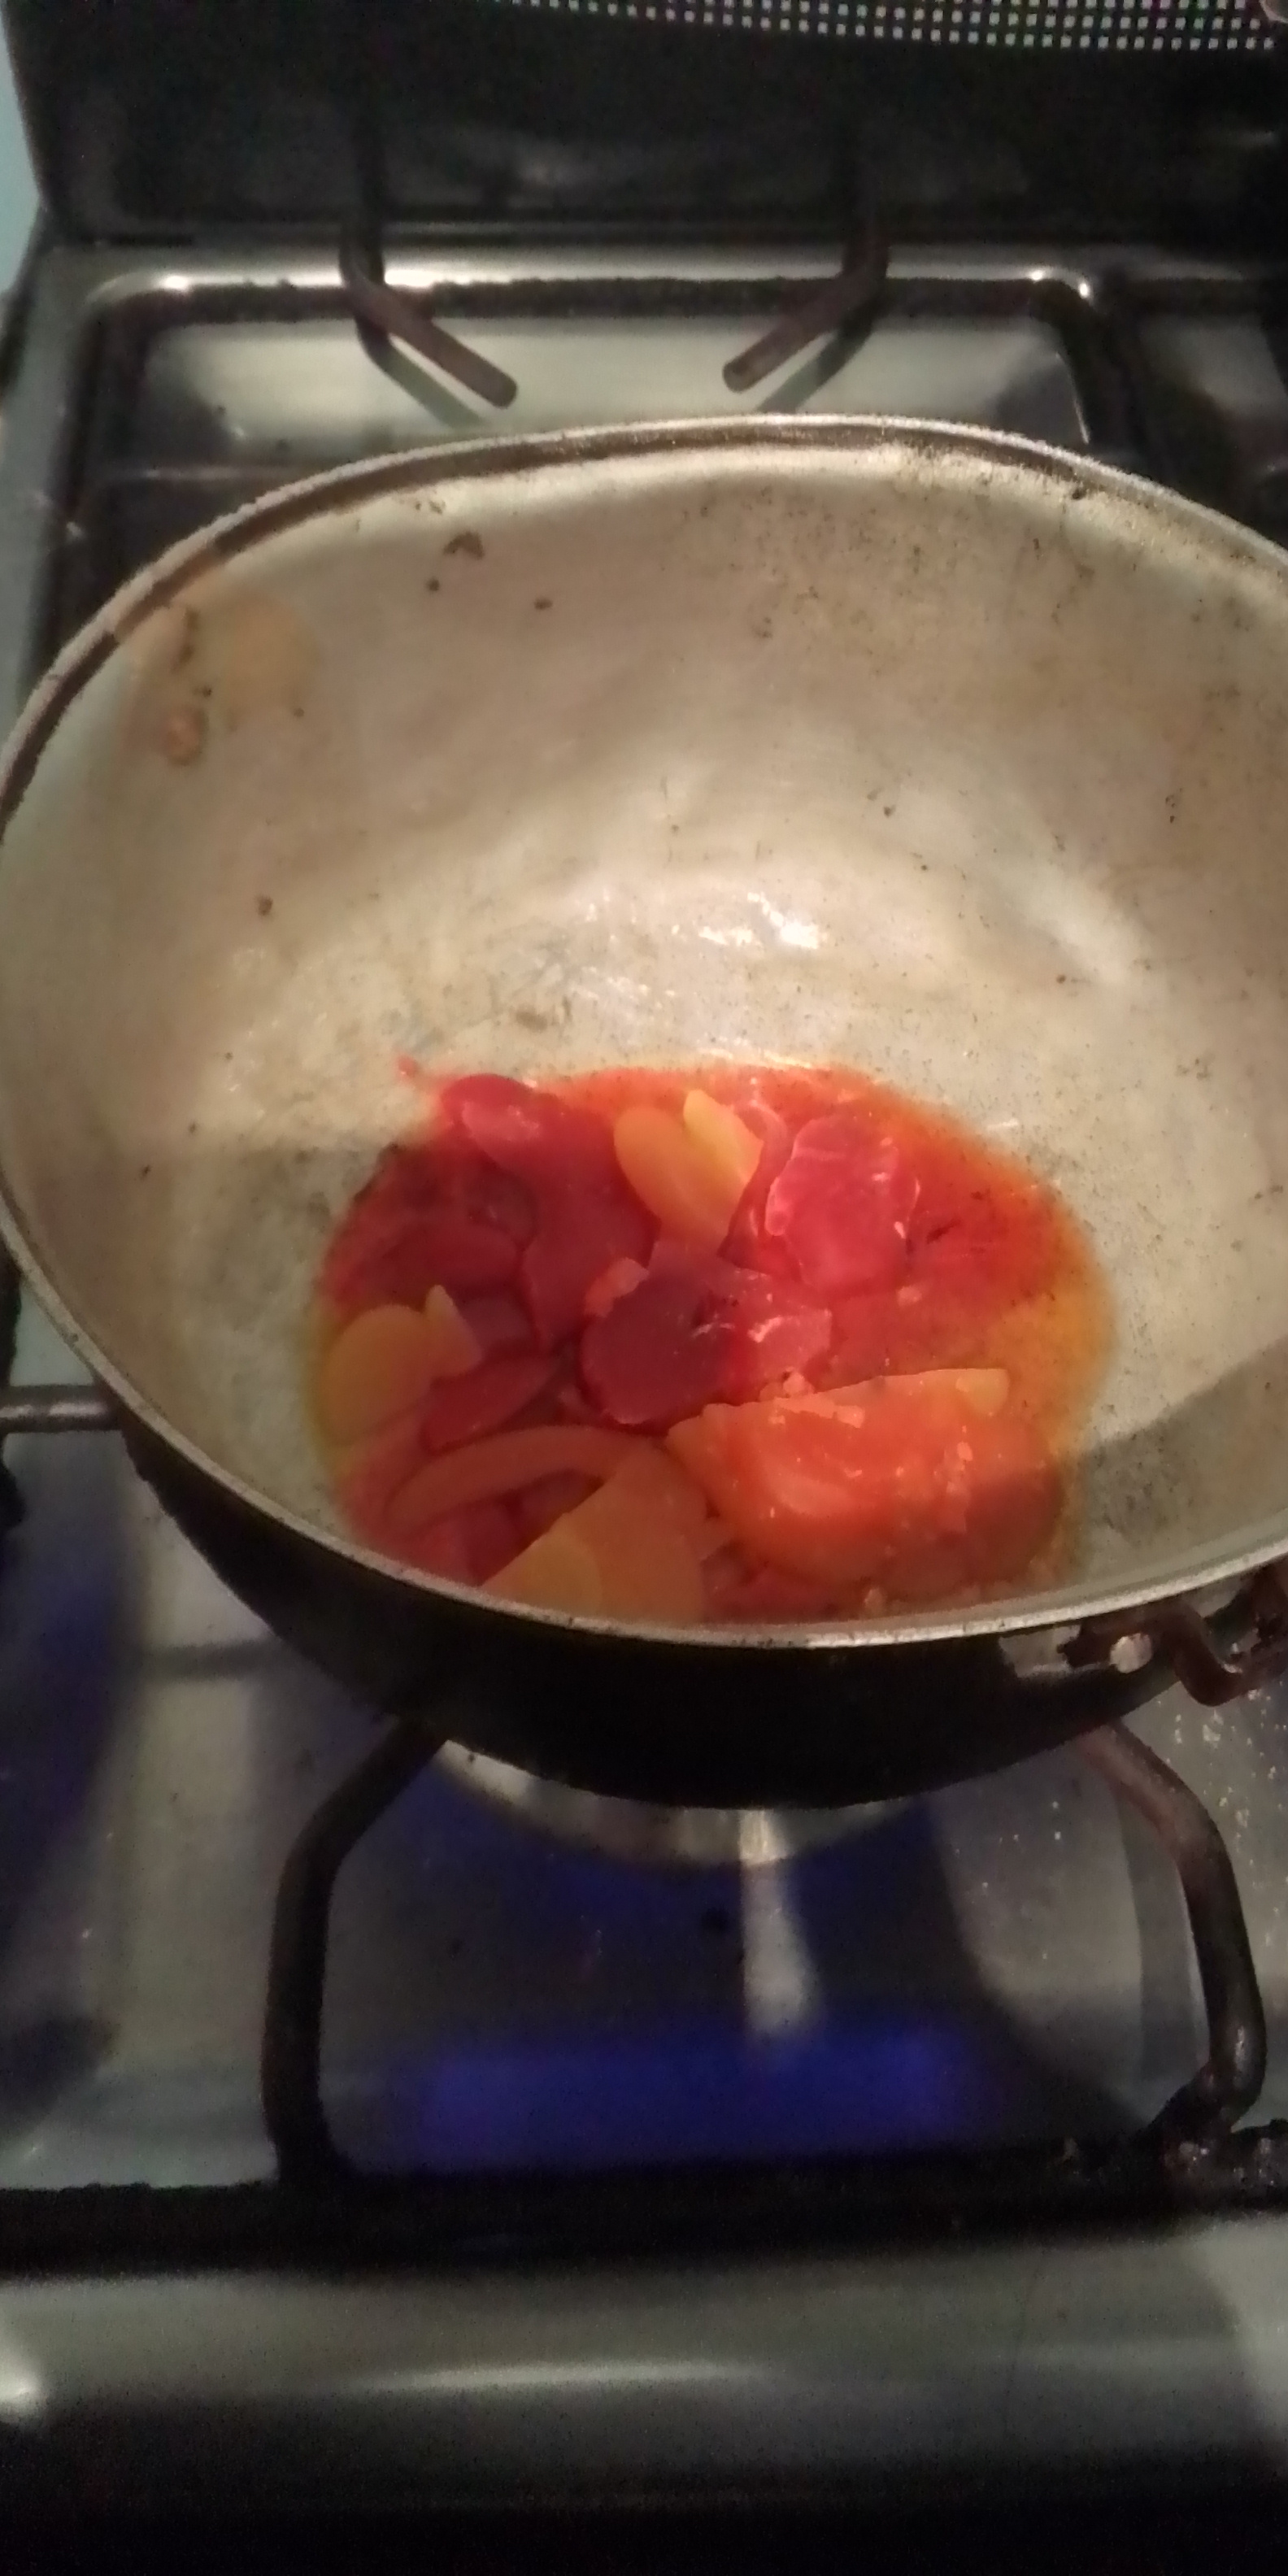
7-Llevamos a la cocina a fuego lento.
8-Dejamos derretir la cera de vela e inmediatamente....
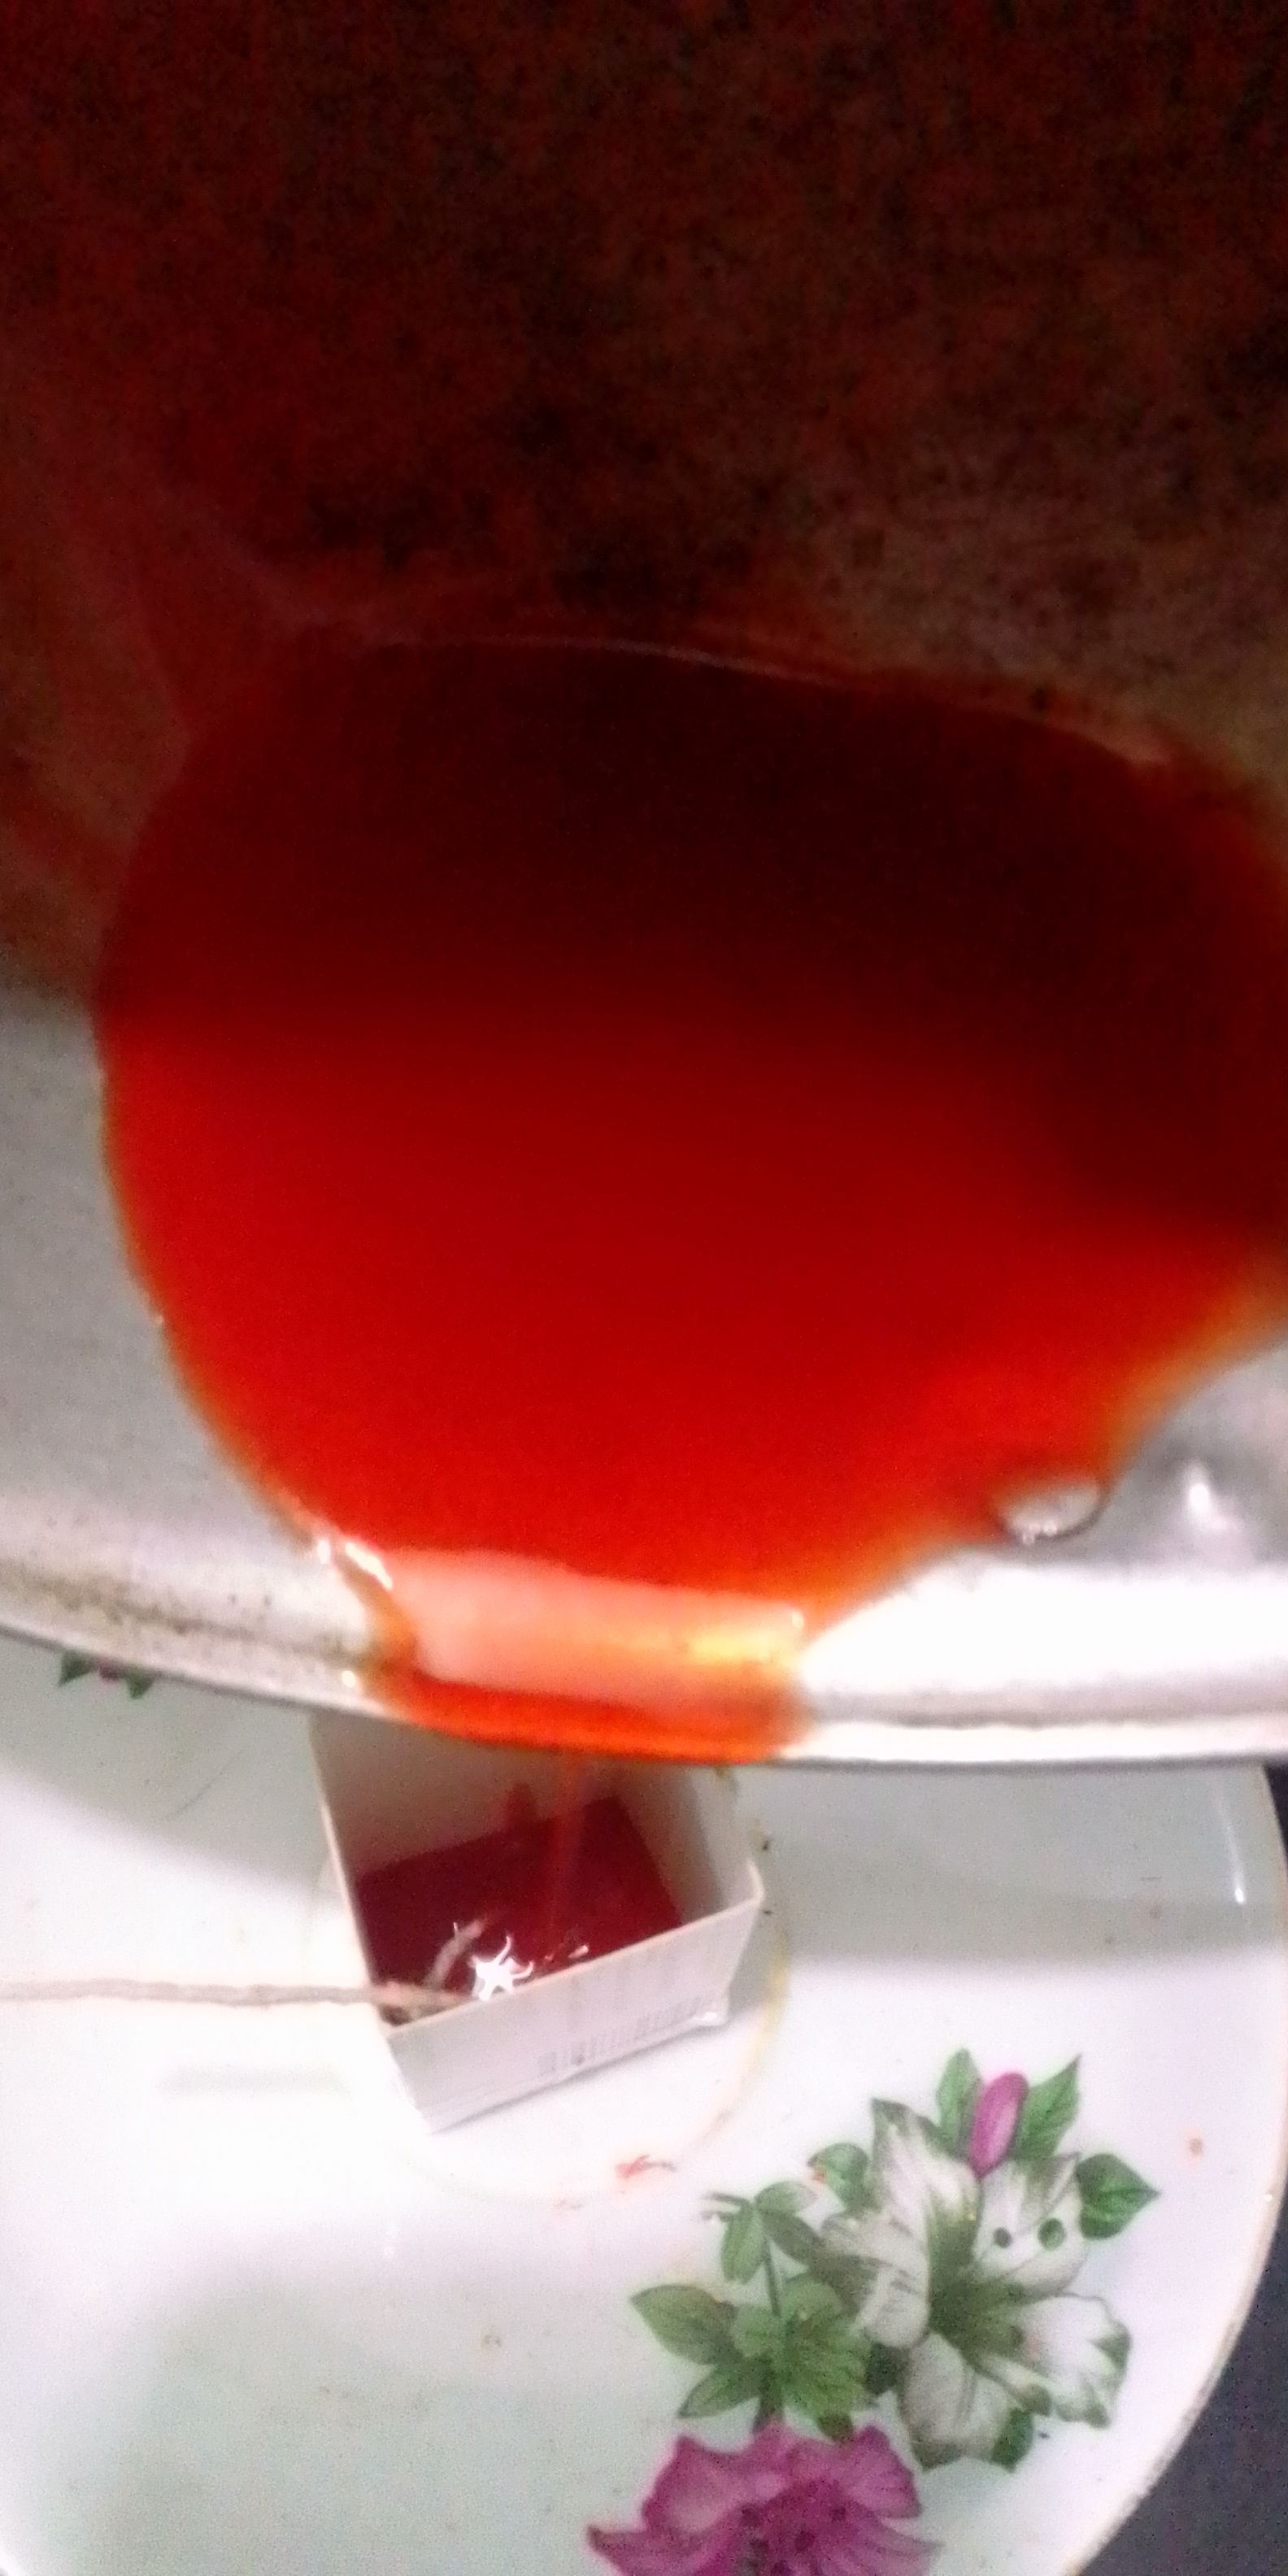
9- Vaciamos en la cajita poco a poco hasta el nivel que tu quieras.
7-We bring the kitchen to a simmer.
8-We let the candle wax melt and immediately ....
9- We empty into the box little by little until the level you want.
PASOS 10, 11 Y 12:
STEPS 10, 11 AND 12:
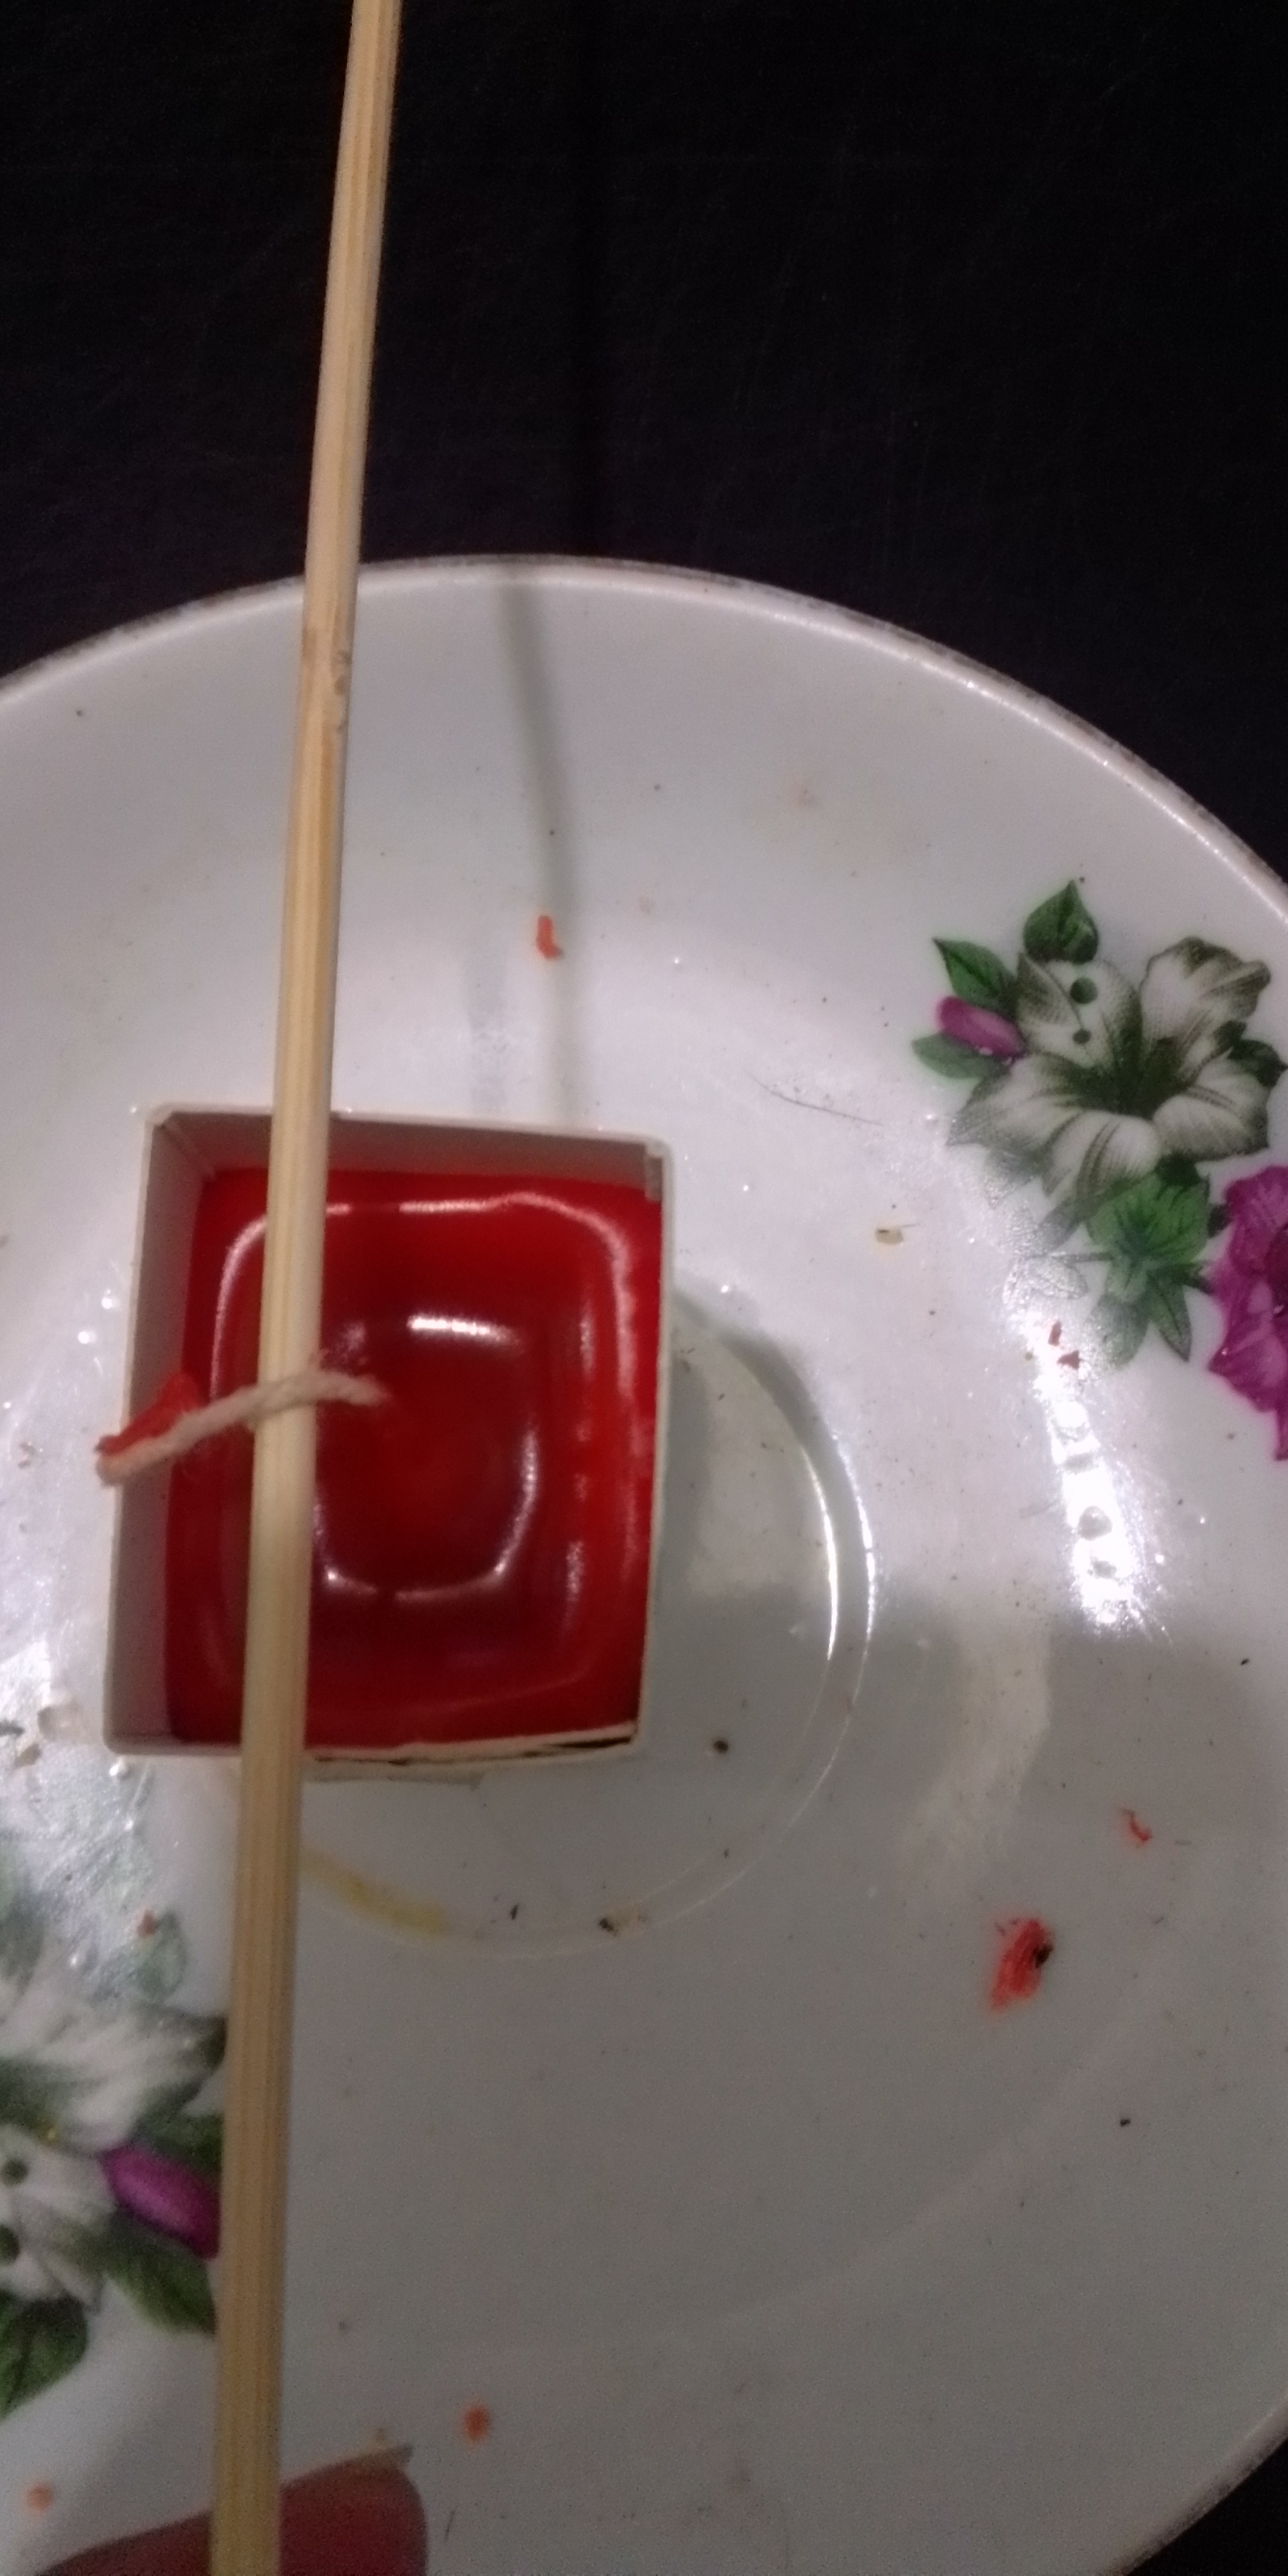
10- Después de vaciar la cera colocamos un palito de madera para centrar el hilo que será la mecha de la vela y dejaremos secar hasta que ya no se sienta caliente la caja al tocarla. (Aproximadamente de 1 a 2 horas.) Si son pequeñas el secado será más rápido.
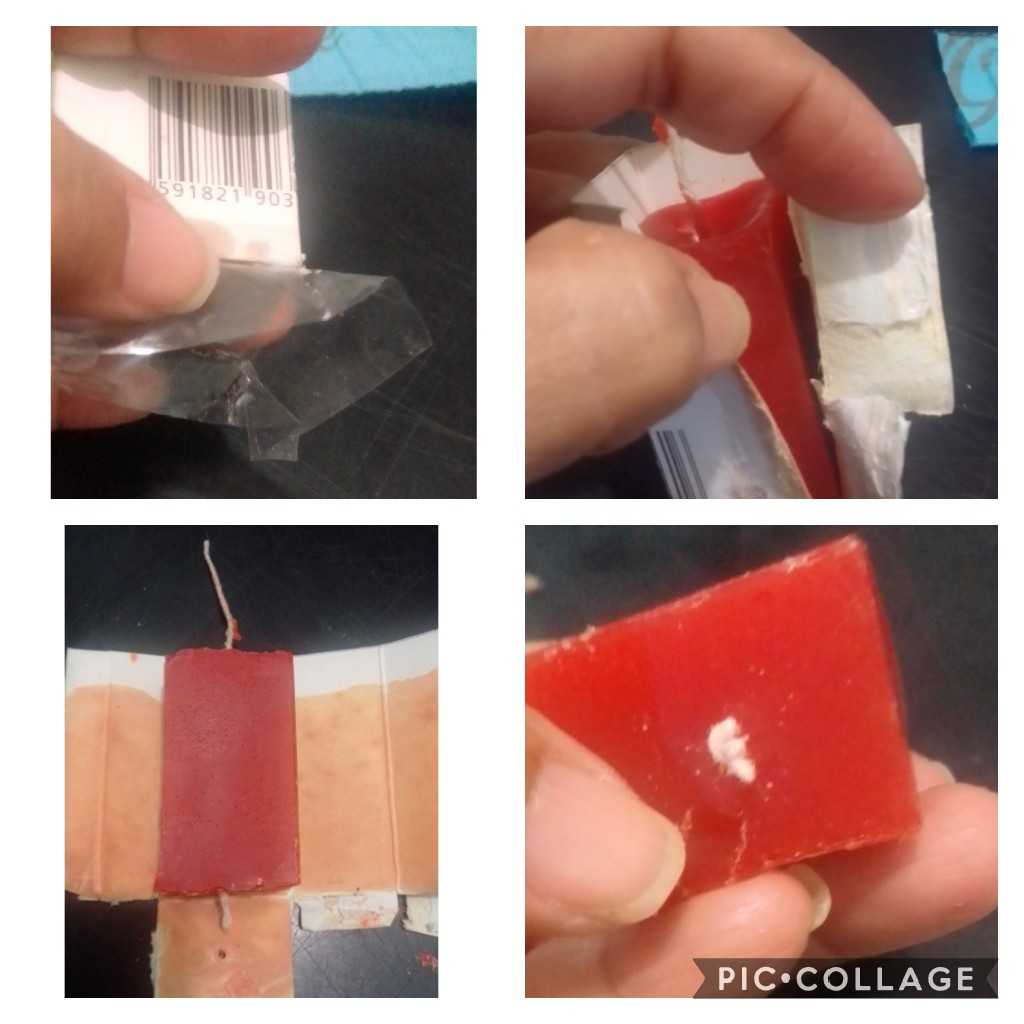
11- Ya seca la vela, empezamos por quitar el type de abajo y despegamos la caja con cuidado hasta que quede descubierta por completo y cortamos al raz, el hilo o mecha sobrante en la parte de abajo.
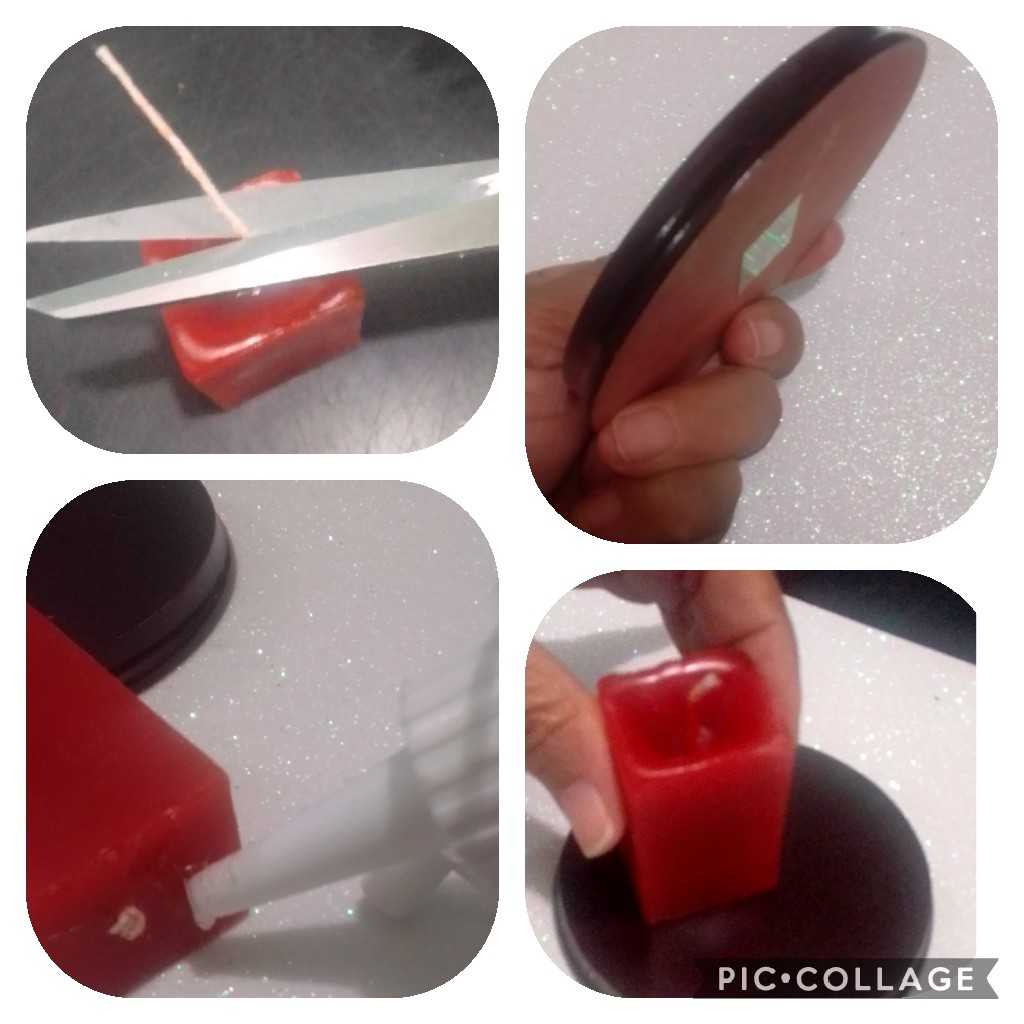
12-Y ahora cortamos el hilo que nos sobra de la parte de arriba y YA ESTÁ LISTA!
10- After emptying the wax we place a wooden stick to center the thread that will be the wick of the candle and we will let it dry until the box no longer feels hot when touched. (Approximately 1 to 2 hours.) If they are small, they will dry faster.
11- Once the candle is dry, we start by removing the type below and carefully peel off the box until it is completely uncovered and cut the excess thread or wick at the root at the bottom.
12-And now we cut the thread that is left over from the top and IT'S ALREADY READY!
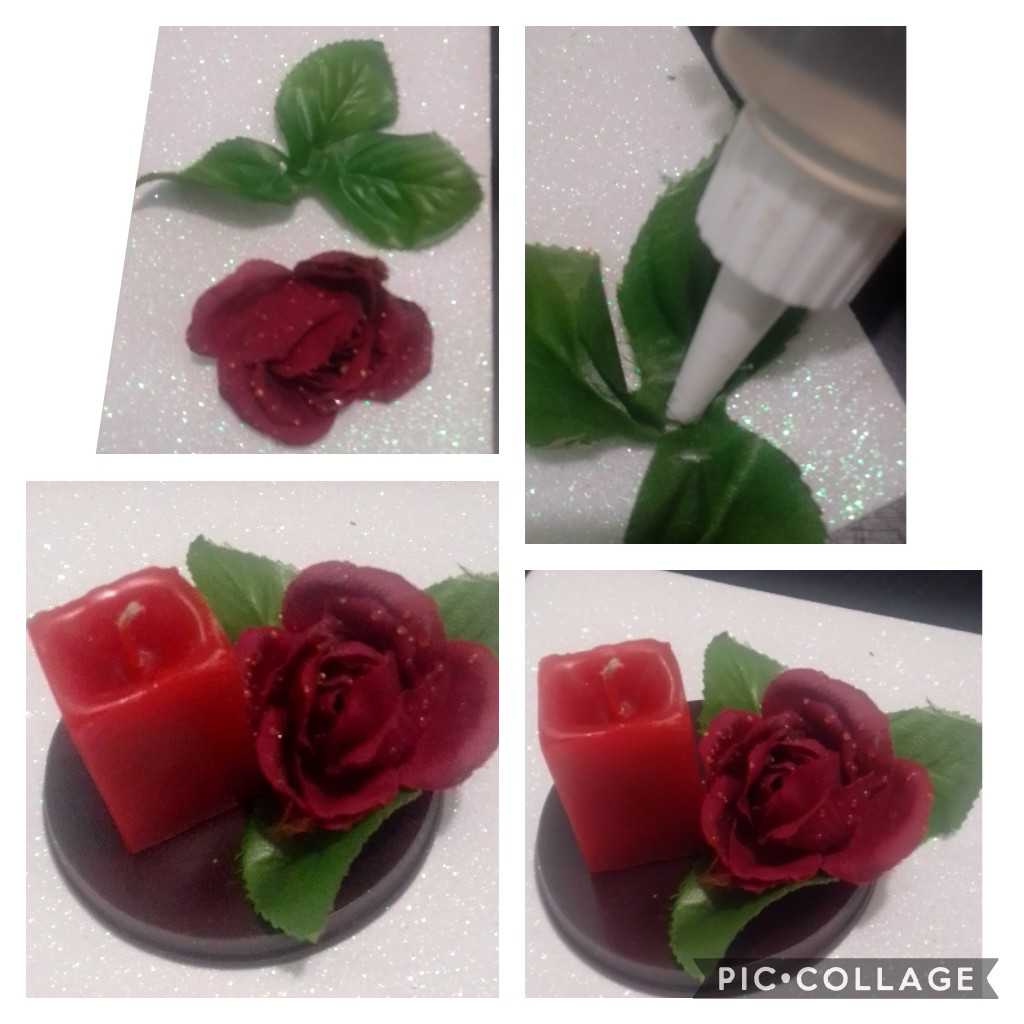
SI QUIERES PUEDES DECORAR A TU GUSTO.
AHORA TE MUESTRO UNA MANERA DE HACERLO.
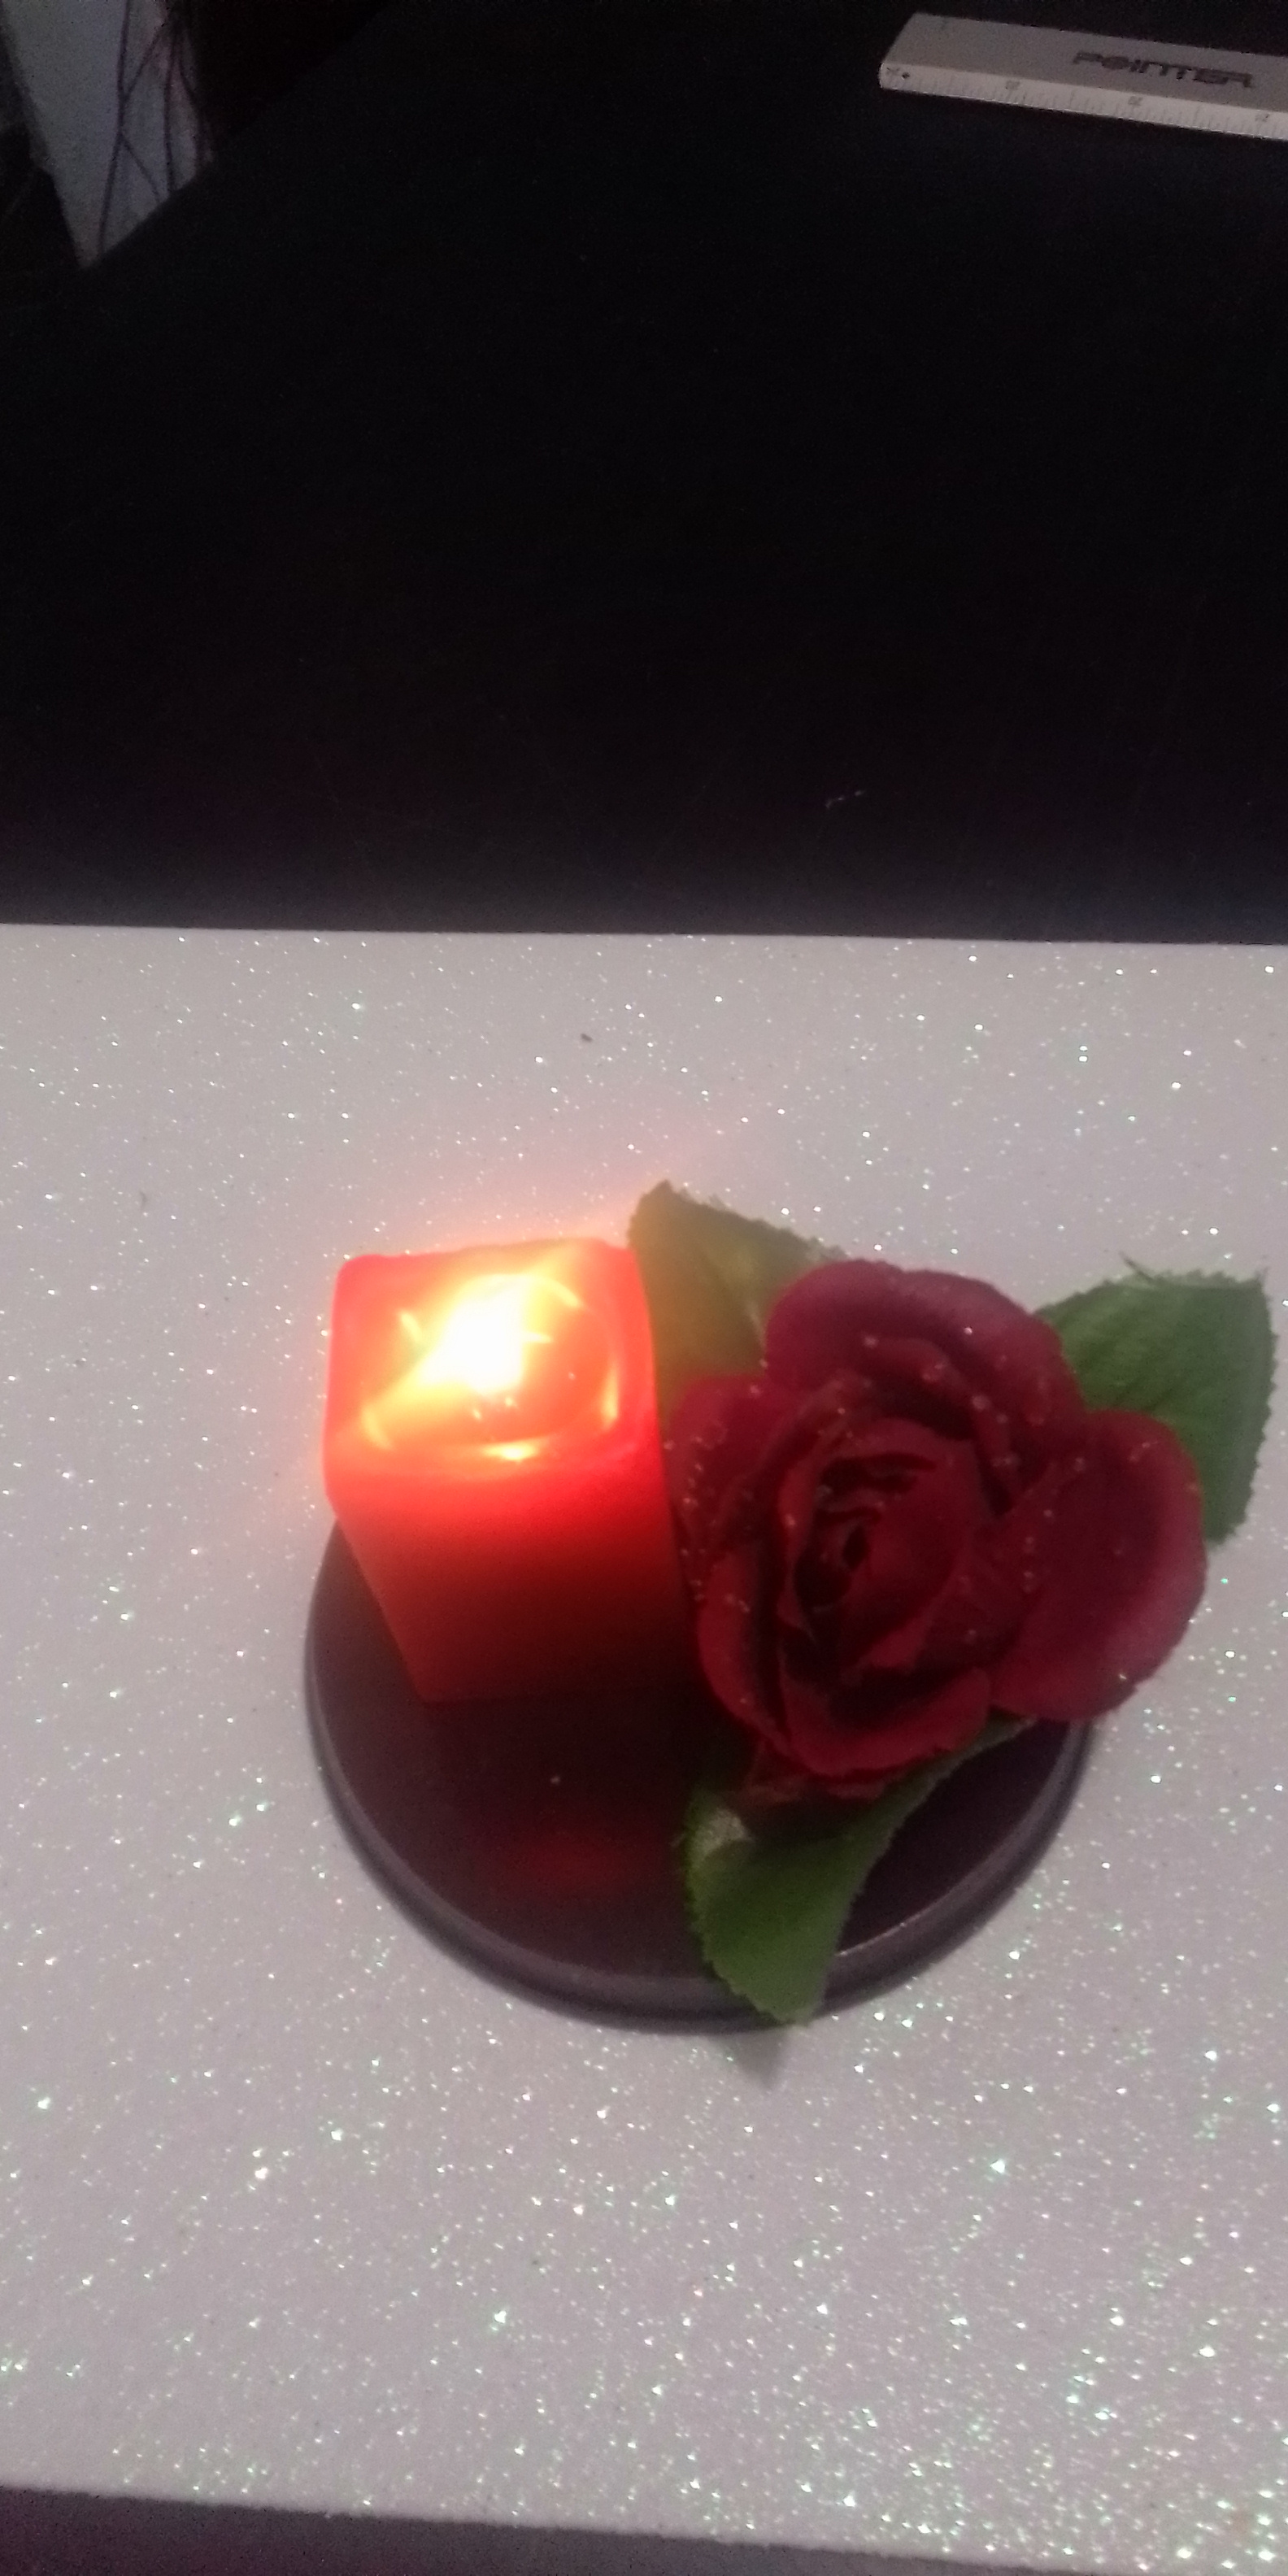
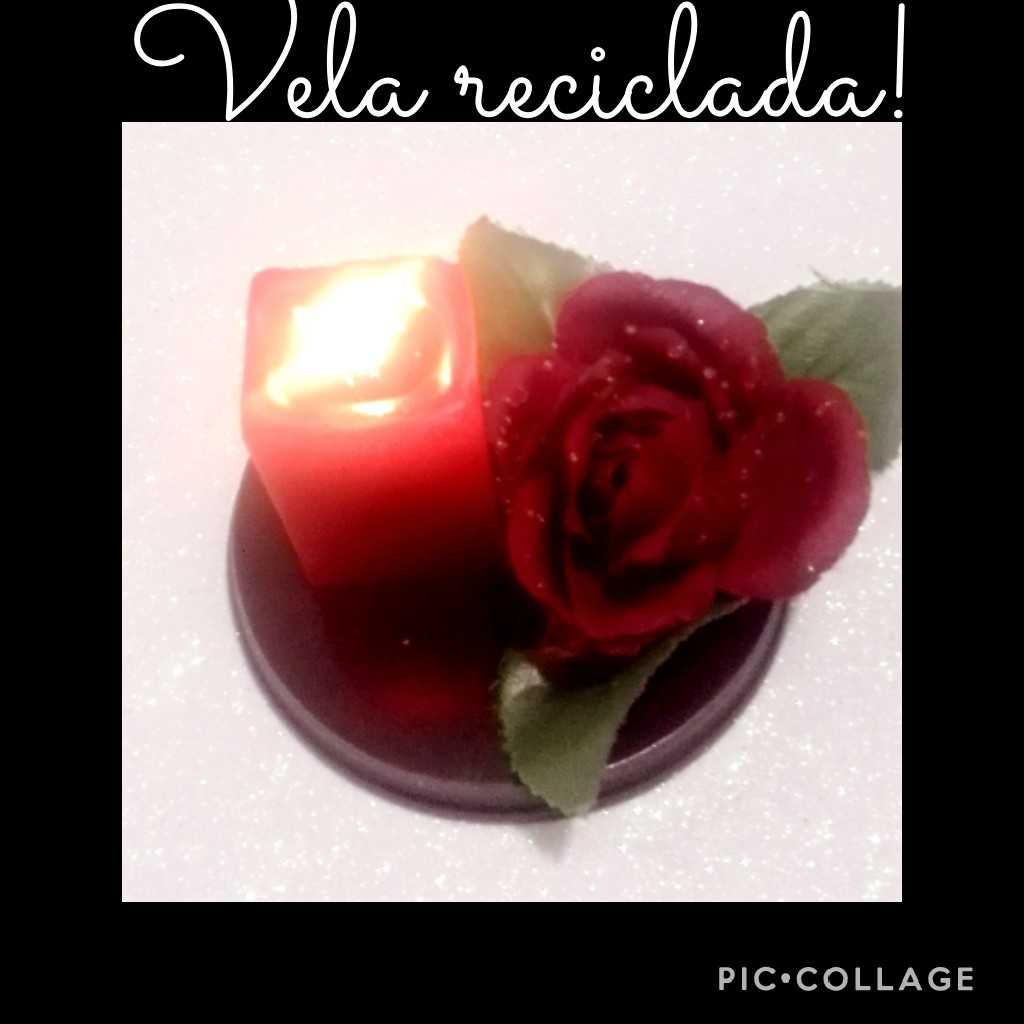
Puedes usar una base de madera, echas pegamento debajo a la vela y pegas.
Luego tomas una rosa de tela le colocas también silicón y pegas a un lado de la vela será un detalle que la hará más hermosa!
Como puedes ver quedó muy linda y con ella puedes decorar cualquier espacio de la casa.
Y POR ÚLTIMO SOLO FALTA ENCENDER LA VELA Y ENSEÑARLES COMO SE VÉ!
IF YOU WANT YOU CAN DECORATE AS YOU LIKE.
NOW I SHOW YOU A WAY TO DO IT.
- You can use a wooden base, put glue under the candle and glue. *
- Then you take a fabric rose, you also put silicone on it and stick to one side of the candle, it will be a detail that will make it more beautiful! *
As you can see, it was very pretty and with it you can decorate any space in the house.
AND LASTLY IT IS NECESSARY TO LIGHT THE CANDLE AND SHOW THEM HOW IT LOOKS!


#ESPERO QUE LES GUSTE ESTE PASO A PASO Y QUE SE ANIMEN A REALIZARLO.
Congratulations, @bjac04 Your Post Got 100% Boost By @hiveupme Curator.
"Delegate To @hiveupme Curation Project & Earn 95% Curation Rewards"
Contact Us : CORE / VAULT Token Discord Channel or Join Us : UPMELINK Web Site
Buenas noches, muchas gracias por ver y votar por mi publicación..