¡Hola queridos amigos!!
Espero se encuentre bien.
Hoy les mostraré cómo realizar un corte básico de cabello, para el cuál mi amigo @ismaelrd04 se ofreció como modelo. 🙊
Para iniciar les hablo un poquito de la barbería.
Más que un trabajo es un verdadero arte, que con el tiempo y la práctica lo vamos perfeccionando.
Abarca más que sólo corte, el barbero debe tener ética, y compromiso hacia sus clientes. Por lo que a la hora de cortar cabello no solo cuida de su higiene, sino también la de sus clientes.
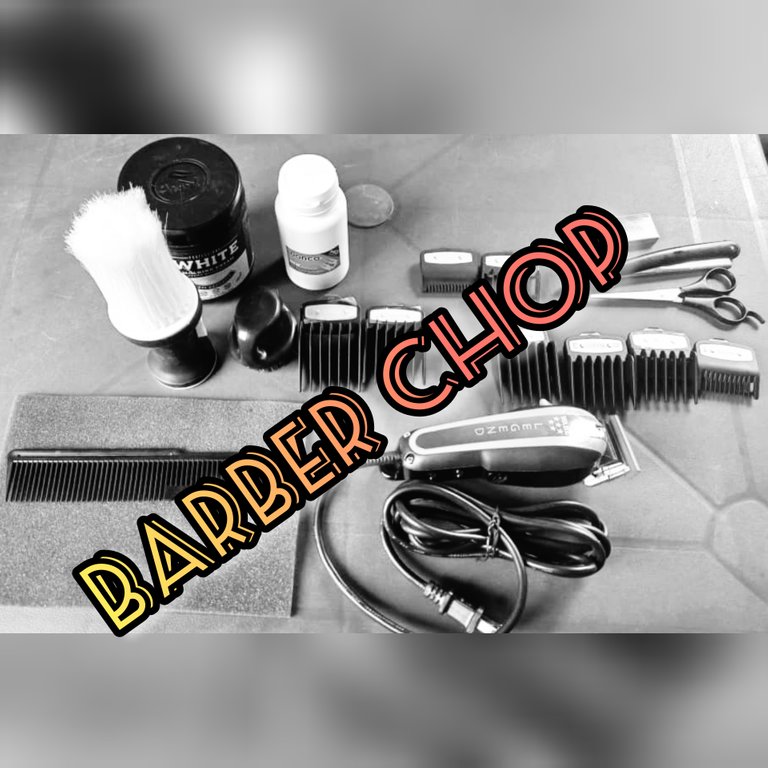
Mantener las herramientas de trabajo bien limpias y desinfectadas es fundamental porque tenemos contacto con la piel al afeitar ya sea con las máquinas u hojillas; así evitamos infecciones y hongos en el cuero cabelludo.
Ahora les explico los paso para para iniciar un corte básico.
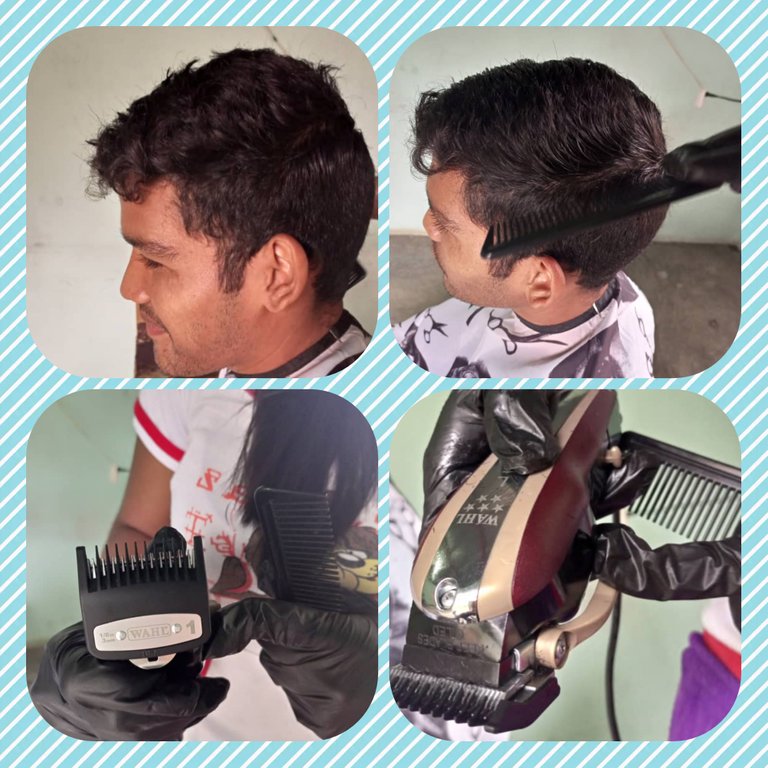
Es importante peinar bien el cabello antes de un corte esto permita que no queden pelos más cortos o que sobresalga algunos más largos.

Es de suma importancia también saber sujetar la máquina.
Nuestro dedo pulgar debe ir sobre la máquina, así nuestro dedo índice puede sujetar el peine que usemos al cortar. Si no sostenemos la máquina de esta manera corremos el grave peligro de que se salga el peine y el cliente quede rapado en un corte con cero.

En esta ocasión iniciamos el corte lo iniciamos con el peine 1. La máquina debe tener la pala del costado debe ir hacia arriba para un corte precisó con el número de peine que colocamos. Y subimos el corte hasta por donde lo queremos bajo. Dejando espacio para el desvanecido de color entre los números de peine que vamos usando.
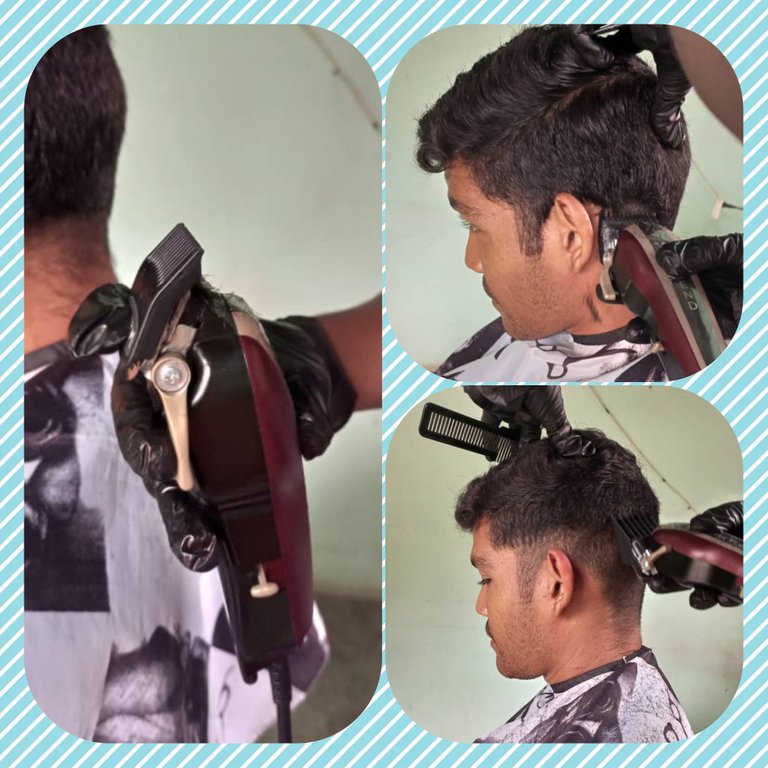
Sobre la línea de guía que queda del peine número 1, pasamos la máquina en 1.50 ese número lo conseguí al poner la pala del costado de la máquina hacia abajo. Ese número lo corremos un dedo más arriba de la línea o guía que nos deja el peine número 1.
Si todavía queda una línea marcada entre 1 y 1.50 pasamos la máquina sólo en esa línea no subimos más el corte, usando 1.25 para de difuminar, aquí no bajamos la pala completa sino que la dejamos a la mitad.
Luego pasamos al peine número 2, esta vez dedos de corte por encima de la 1.50 y repetimos el mismo proceso de desvanecido, 2, 2.25 que es pala en medio y 2.50 un dedo más arriba para pasar al peine número 3.
Vamos a repetir los mismo pasos mismo con el peine número 3. Hasta que llegamos a la parte de arriba que terminamos con el peine 4. Y pala abajo completa que sería 4.50.
Si queremos un corte alto arriba no cortamos el cabello en contra sino a favor de como se peina el cabello normalmente.
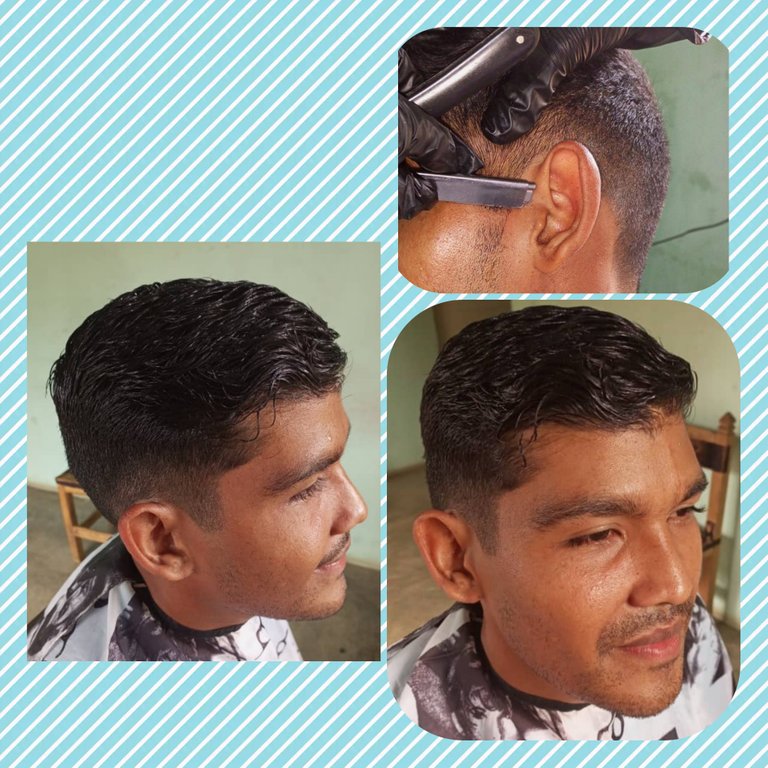
Terminamos con el perfilado de los cortes, para estos usamos la navaja, es importante que la navaja siempre lleve una inclinación en vertical para constar, si lo hiciéramos en línea recta deslizando el filo, sólo vamos a cortar la piel. Y, ¡valla sangrando!😱
Así que pendientes con eso. 👀

Bueno amigos esto fue todo por hoy. Me despedido deseando les lo mejor.

Cada una de las imágenes son de mi propiedad.
English version

Hello dear friends !!!
I hope you are well.
Today I will show you how to do a basic haircut, for which my friend @ismaelrd04 volunteered as a model. 🙊
To start I'll tell you a little bit about barbering.
More than a job is a real art, that with time and practice we are perfecting it.
It encompasses more than just cutting, the barber must have ethics, and commitment to their customers. So when it comes to cutting hair, he not only takes care of his own hygiene, but also that of his clients.
Keeping the working tools clean and disinfected is essential because we have contact with the skin when shaving either with machines or blades; this way we avoid infections and fungus on the scalp.
Now I will explain the steps to start a basic cut.
It is important to comb the hair well before a haircut so that there are no shorter hairs or longer hairs sticking out.

It is of utmost importance also to know how to hold the machine.
Our thumb should go over the machine, so our index finger can hold the comb we use when cutting. If we do not hold the machine in this way we run the serious risk of the comb coming off and the client being shaved in a zero cut.

This time we start the cut with the comb 1. The machine should have the side blade should go upwards for a precise cut with the number of comb that we place. And we raise the cut to where we want it low. Leaving space for the color fading between the comb numbers we are using.
On the guide line that remains from the comb number 1, we pass the machine at 1.50 that number I got by putting the blade on the side of the machine down. We run that number one finger above the guide line left by comb number 1.
If there is still a line marked between 1 and 1.50 we pass the machine only on that line and we do not raise the cut any more, using 1.25 to blur, here we do not lower the entire blade but we leave it halfway.
Then we move to comb number 2, this time cutting fingers above the 1.50 and repeat the same fading process, 2, 2.25 which is the blade in the middle and 2.50 a finger above to move to comb number 3.
We are going to repeat the same steps with comb number 3. Until we get to the top which we finish with comb number 4. And the full down blade which would be 4.50.
If we want a high cut at the top we do not cut the hair against but in favor of how the hair is normally styled.
We finish with the outlining of the cuts, for these we use the razor, it is important that the razor always carries a vertical inclination to be consistent, if we did it in a straight line sliding the edge, we will only cut the skin. And, go bleeding!😱
So pending on that. 👀

Well friends this was all for today. I bid you farewell wishing you all the best.

Each of the images are my property.
Excelente amiga, te felicito ✨
Mi esposo es barbero y siempre le digo que admiro su trabajo ya que no solo es trabajar, sino demostrar amor y aprecio en su trabajo
Veo que tú también lo tienes y te felicito
Saludos 🙋
Excelente post. Muy buena tu explicación. Gracias por utilizar el tag PIMP y recibe apoyo adicional del proyecto 1UP
!1UP
You have received a 1UP from @latino.romano!
@pimp-curator, @neoxag-curatorAnd they will bring !PIZZA 🍕 The following @oneup-cartel family members will soon upvote your post:
Learn more about our delegation service to earn daily rewards. Join the family on Discord.
Congratulations @caro.noguera! You have completed the following achievement on the Hive blockchain and have been rewarded with new badge(s):
Your next payout target is 100 HP.
The unit is Hive Power equivalent because post and comment rewards can be split into HP and HBD
You can view your badges on your board and compare yourself to others in the Ranking
If you no longer want to receive notifications, reply to this comment with the word
STOPCheck out the last post from @hivebuzz:
Support the HiveBuzz project. Vote for our proposal!