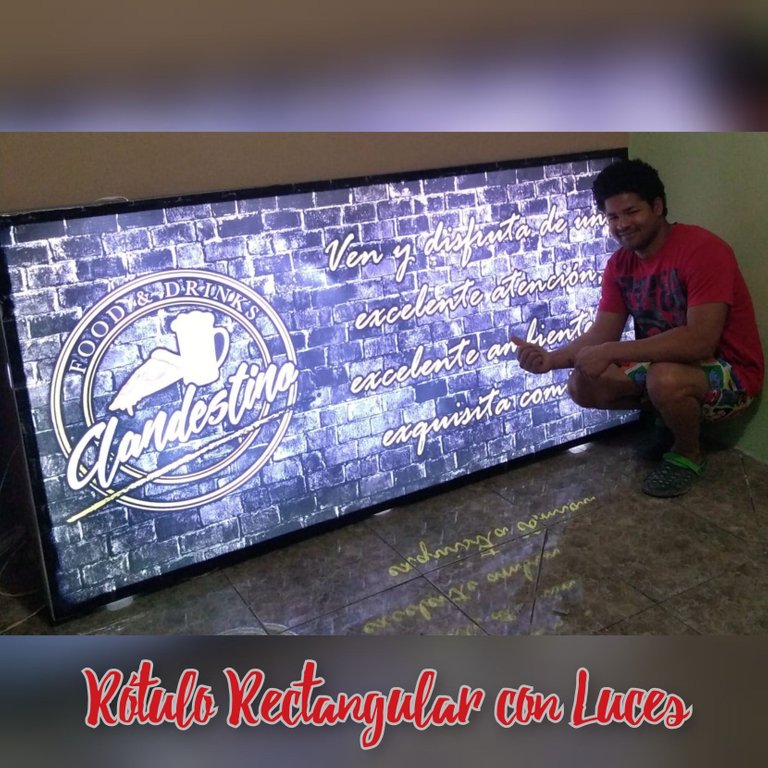
Saludos cordiales a todos los lectores de esta maravillosa camunidad, espero se encuentren muy bien, en esta oportunidad les quiero compartir un nuevo proyecto que consiste en la elaboración de un rótulo con luces.
Warm greetings to all readers of this wonderful community, I hope you are very well, this time I want to share with you a new project that consists of the development of a sign with lights.
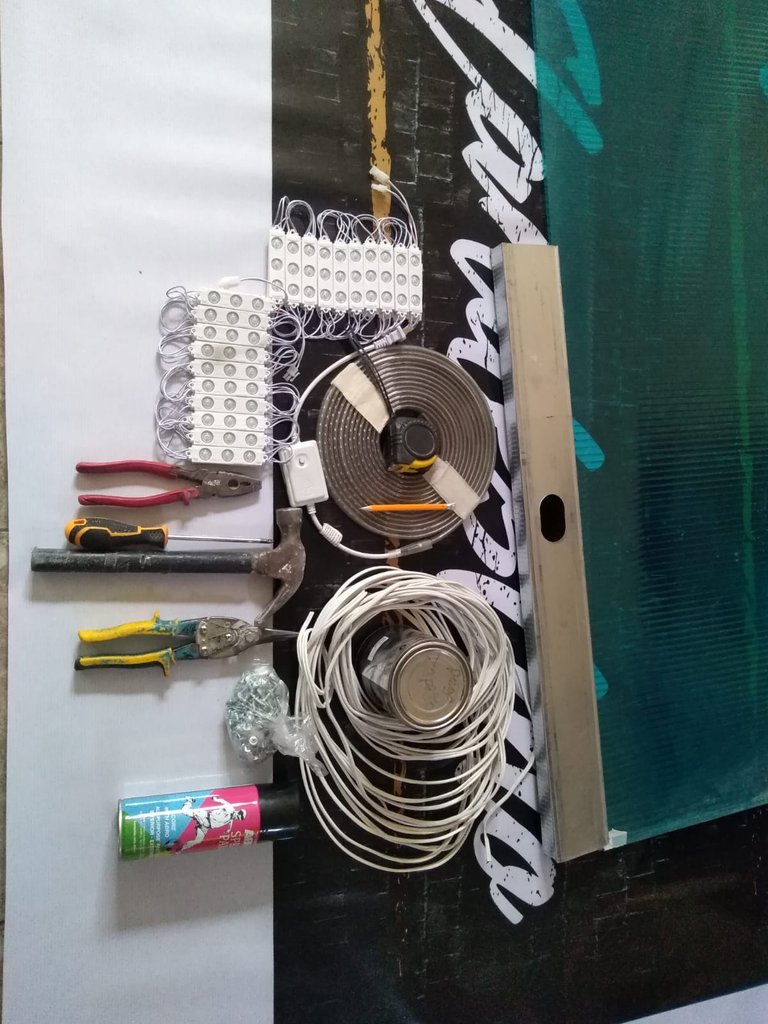
Herramientas
. Tijera para metal
. Cinta metrica
. Cables de electricidad
. Luces Led
. Alicate
. Stud
. Policarbonato
. Tornillos
. Destornillador
. Pintura de color negro
. Pega de contacto ó pega de zapato
. Silicón en barra
. Pistola de Silicón
. Lápiz
Tools
. Metal shears
. Measuring tape
. Electricity cable
. Led lights
. Pliers
. Stud
. Polycarbonate
. Screws
. Screwdriver
. Black paint
. Contact glue or shoe glue
. Silicone stick
. Silicone Gun
. Pencel
Procedimiento
Procedure
Paso 1
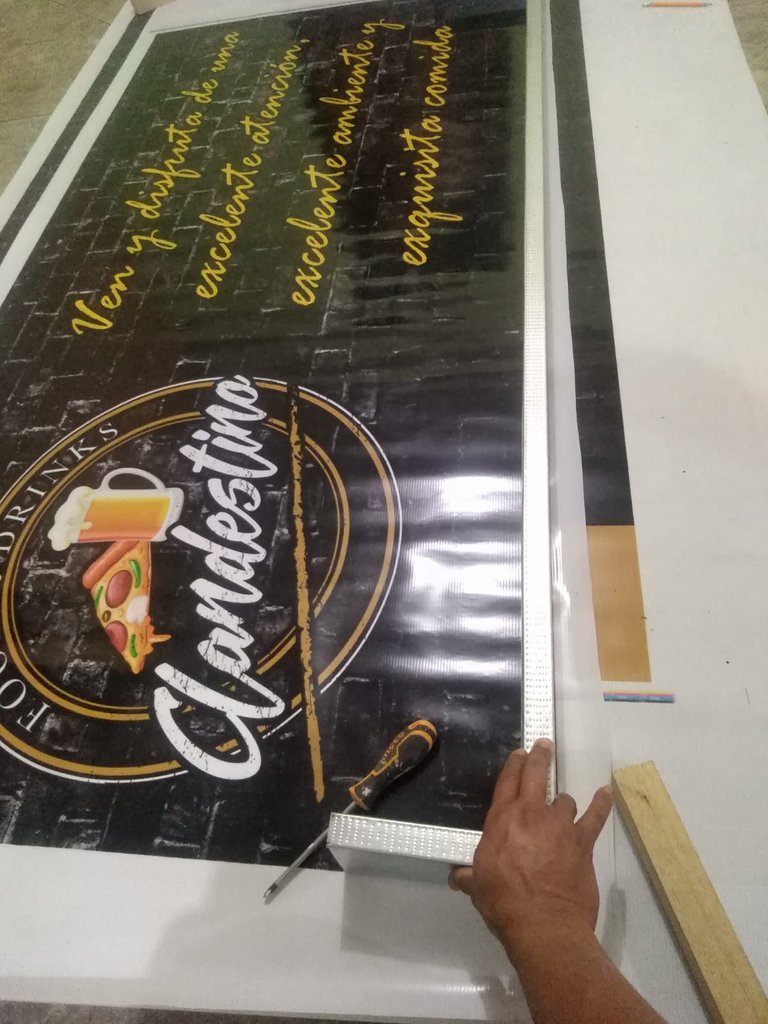
Primero colocamos la lona en el piso para tomar las medidas de ancho y largo.
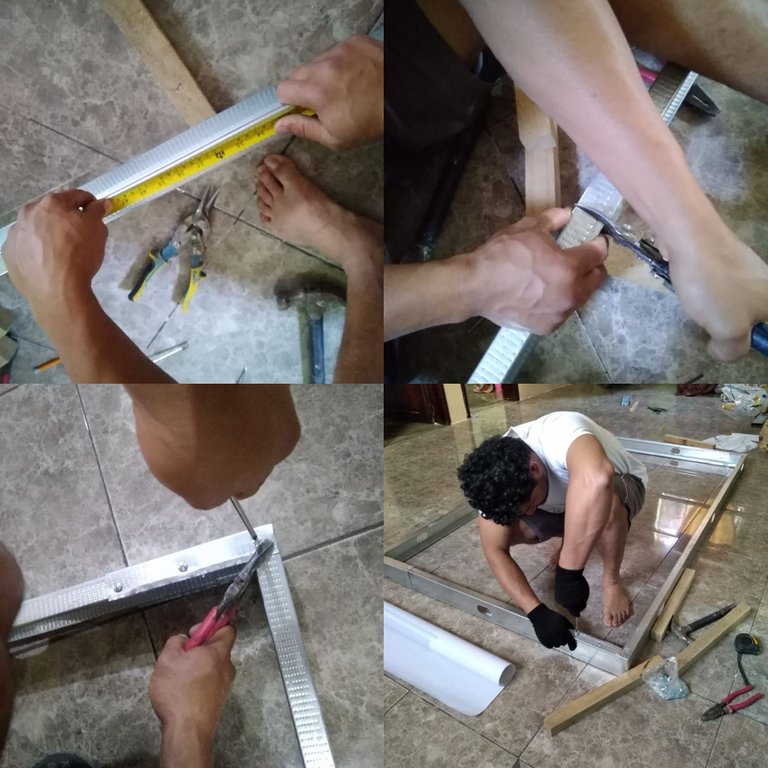
Ya teniendo las medidas procedemos a marcar y picar el estud para formar el rectangulo de estructura metálica.
Paso 1
First we place the canvas on the floor to take the width and length measurements.
Once we have the measurements, we proceed to mark and cut the study to form the rectangle metal structure.
Paso 2
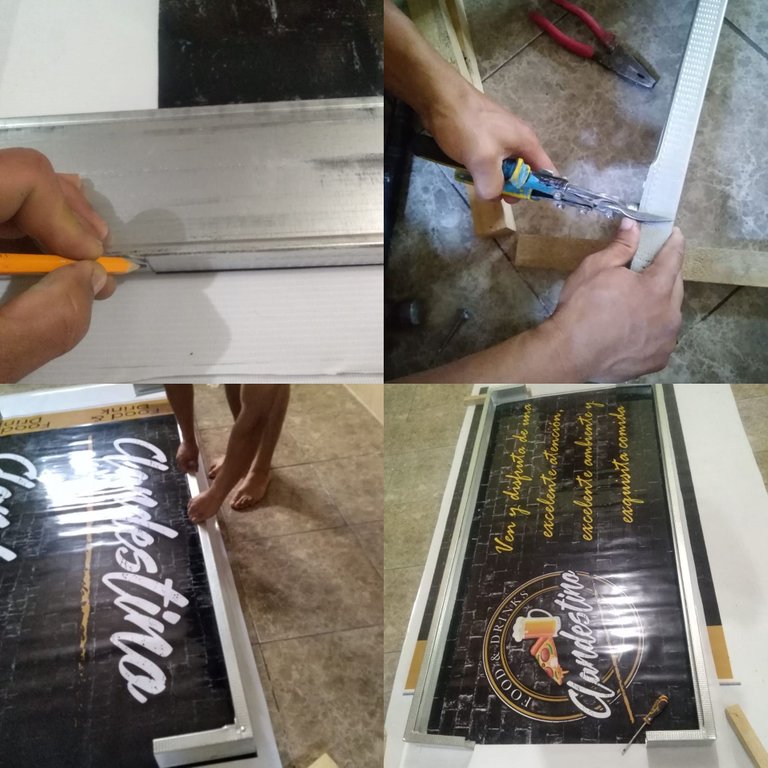
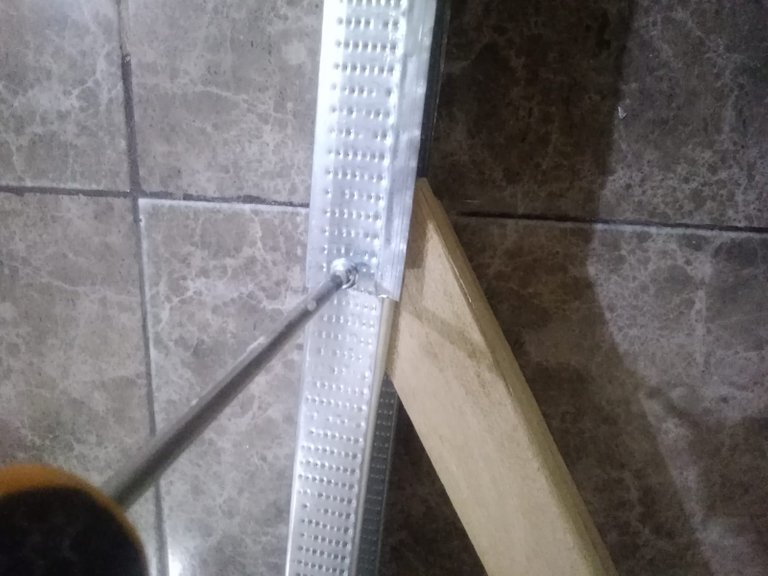
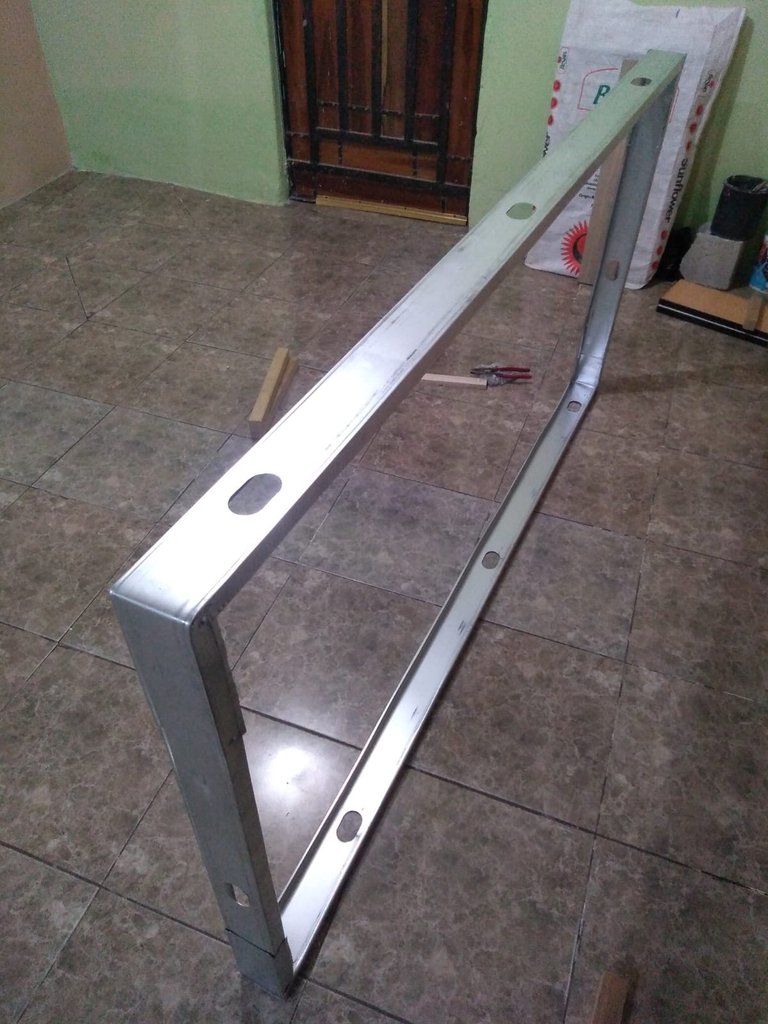
Se procede a unir los 4 pedazos de estructura metálica con los tornillos para metal para formar un rectangulo.
Step 2
The 4 pieces of metal structure are joined together with the metal screws to form a rectangle
Paso 3
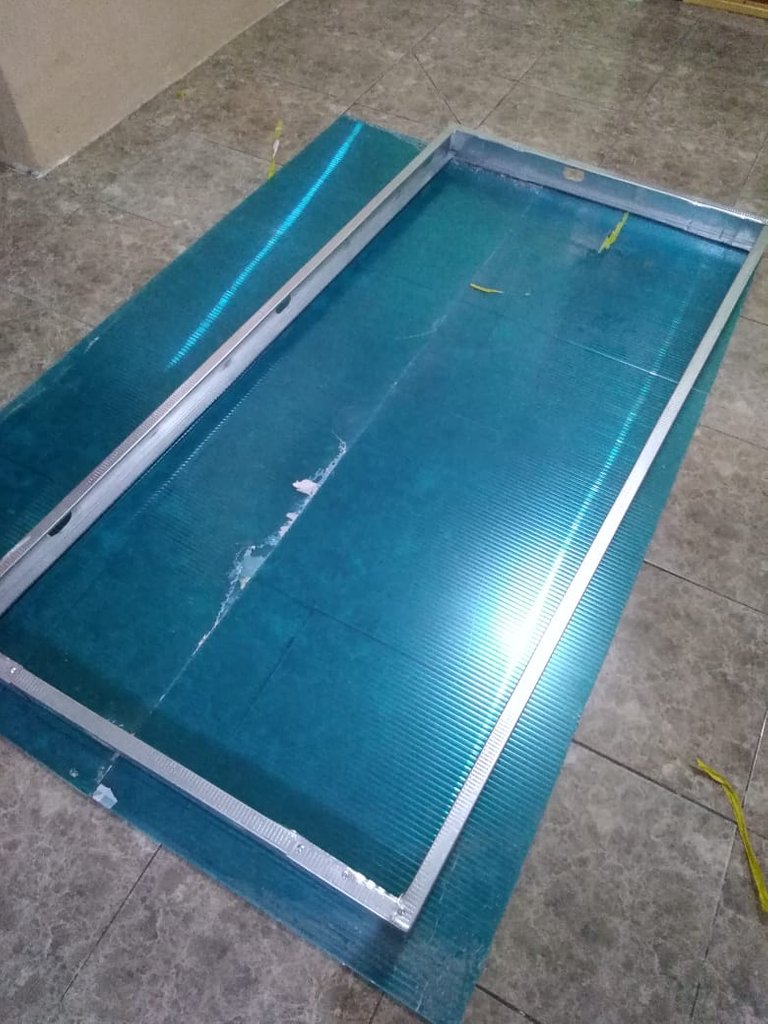
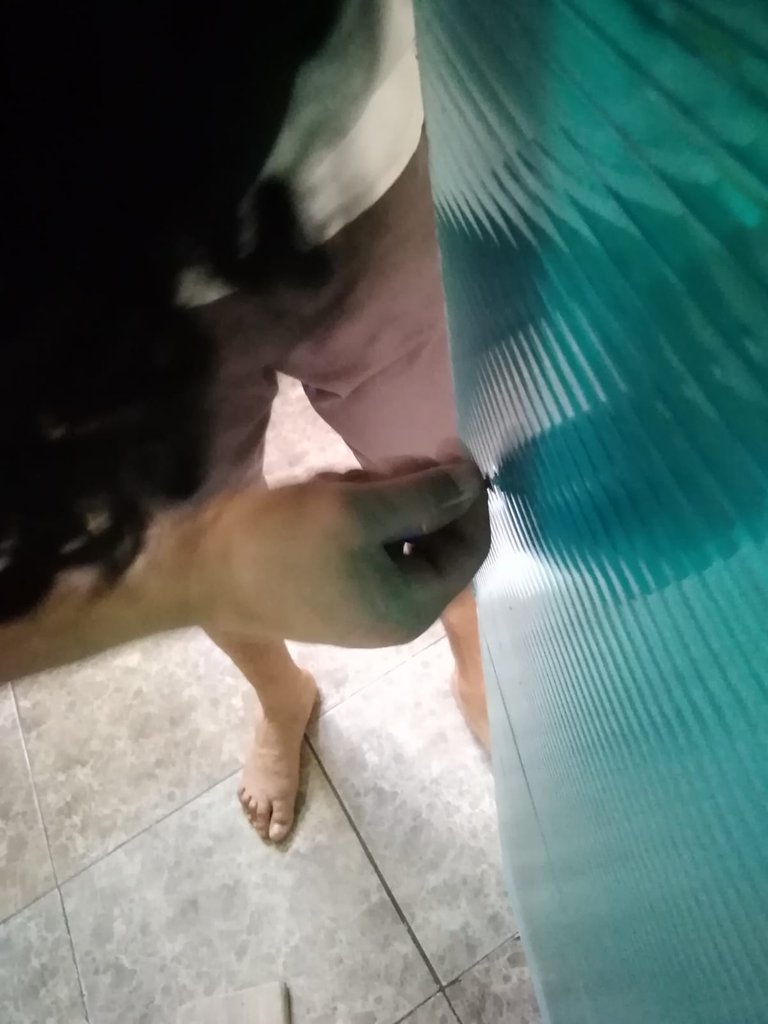
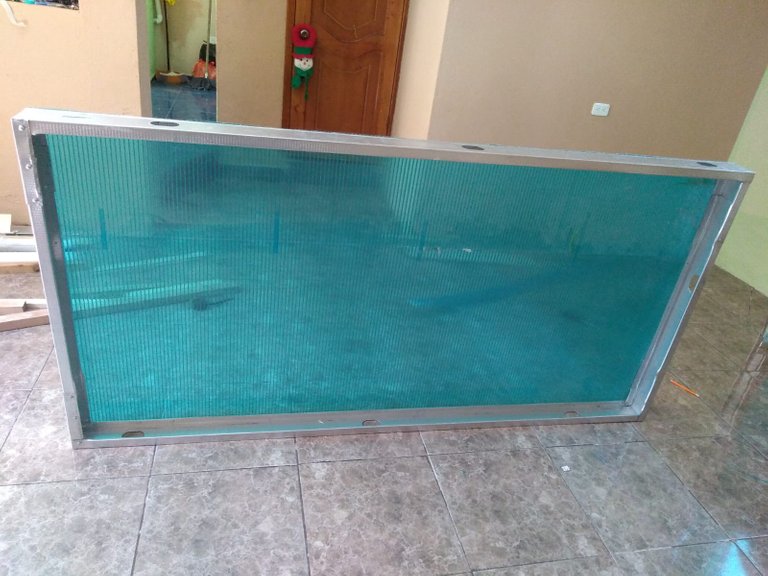
Teniendo la estructura armada pasamos a picar el policarbonato del tamaña del rectángulo y aseguramos con los tornillos a la estructura.
Step 3
Once the structure is assembled, we cut the polycarbonate to the size of the rectangle and secure it to the structure with screws.
Paso 4
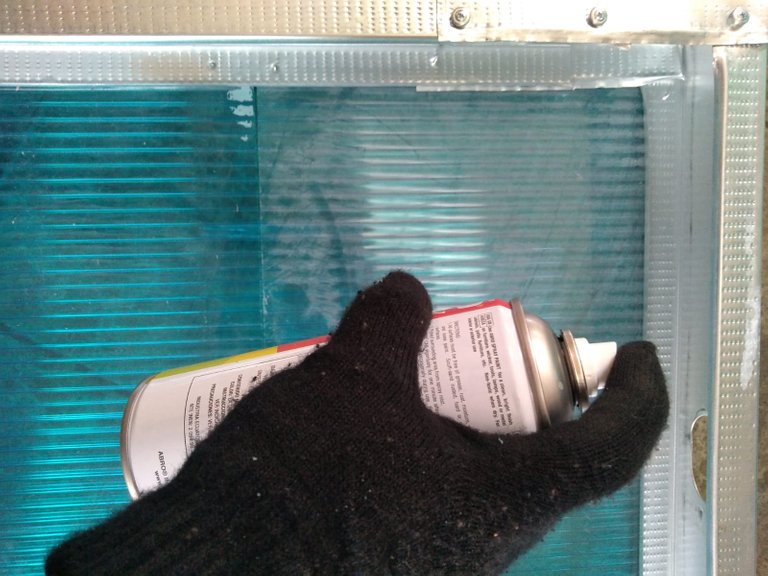
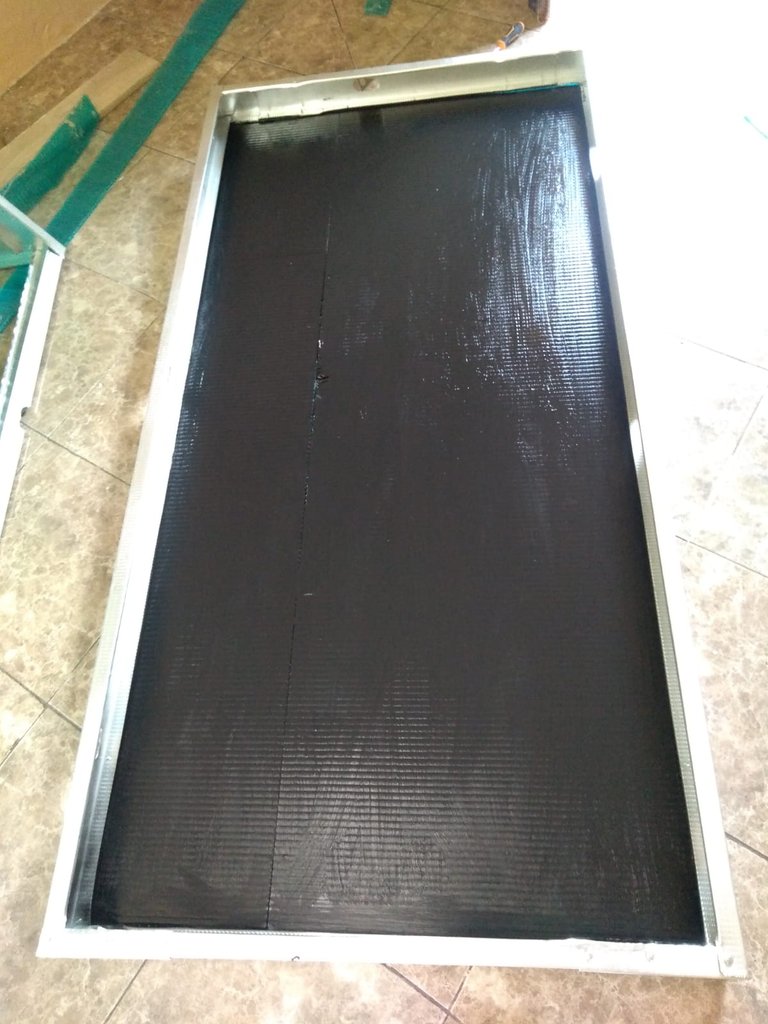
Luego vamos a pintar el policarbonato con la pintura de color negro para que no salga la luz al exterior y dejamos secar.
Step 4
Then we are going to paint the polycarbonate with black paint so that the light does not go outside and let it dry.
Paso 5
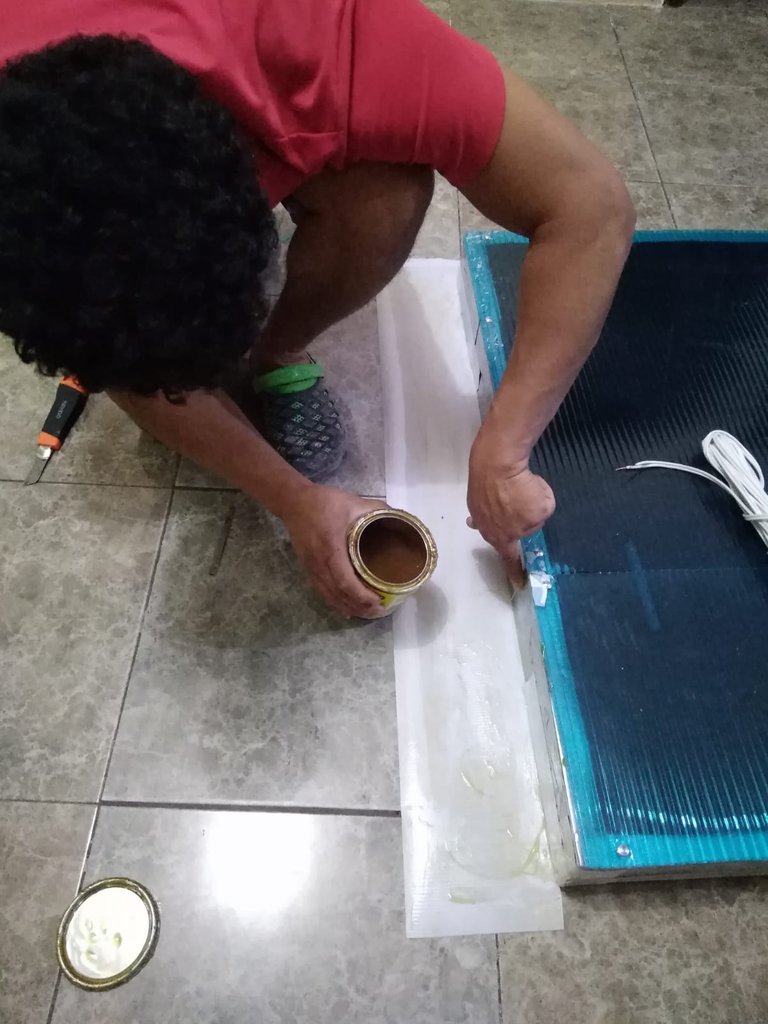
Una vez el policarbinato pintado y secado se procede a pegar tiras de lona con la pega de zapato en los filos del policarbonato para evitar daños en la lona
Step 5
Once the polycarbinate is painted and dried, proceed to glue strips of canvas with the shoe glue on the edges of the polycarbonate to prevent damage to the canvas.
Paso 6
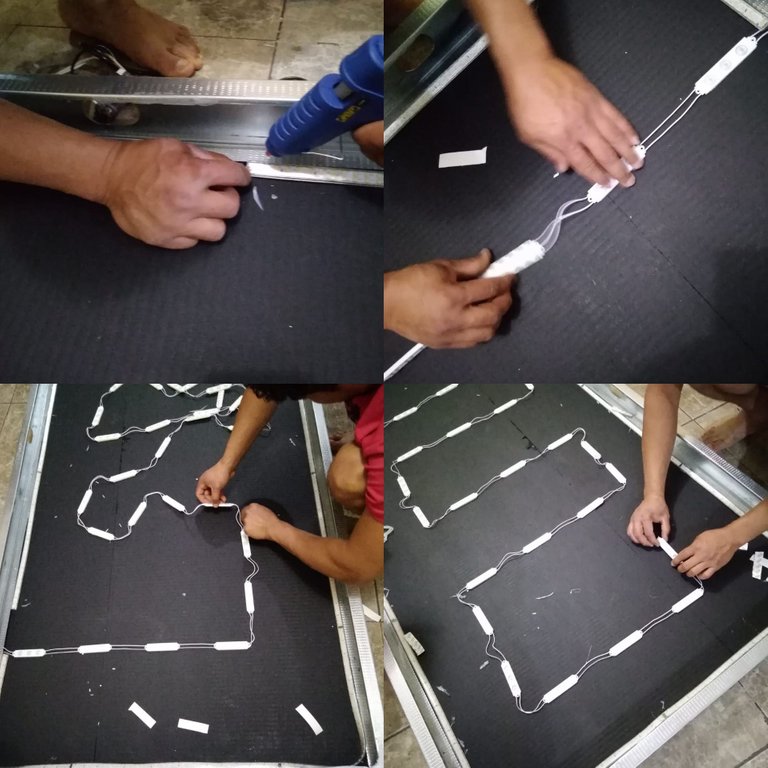
Terminada la pieza procedemos a colocar la luz Led al rededor del cuadro con silicon caliente.
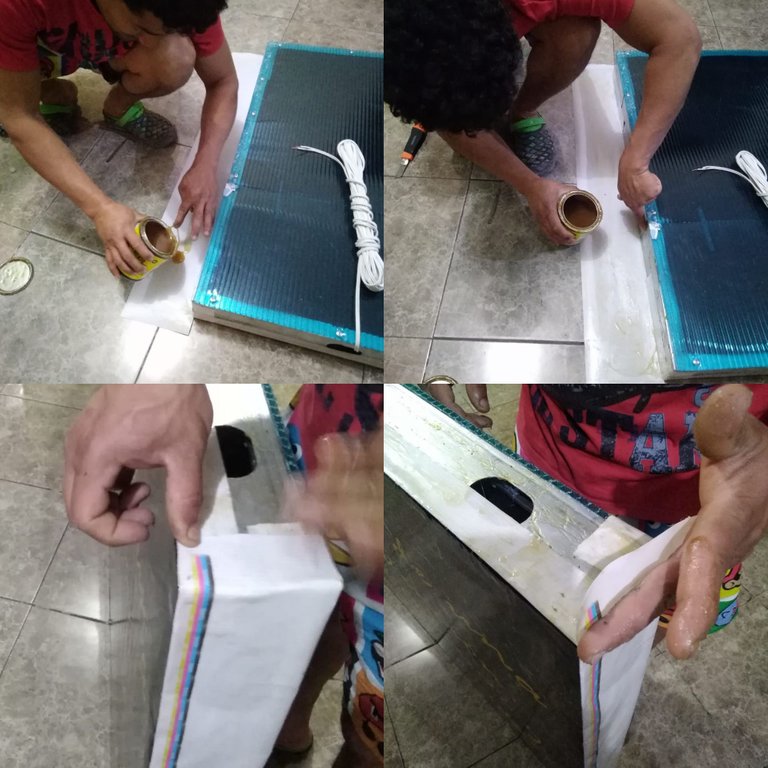
Luego es hora de colocar la lona en la estructura, colocamos pegamento sobre el metal y la lona, esperamos unos minutos y comenzamos a pegar, estirando la lona para que quede bien templada, Cubrimos todo el metal con lana para un mejor acabado.
Step 6
Once the piece is finished we proceed to place the LED light around the frame with hot silicone.
Then it's time to place the canvas on the structure, put glue on the metal and canvas, wait a few minutes and begin to glue, stretching the canvas so that it is well tempered, we cover all the metal with wool for a better finish.
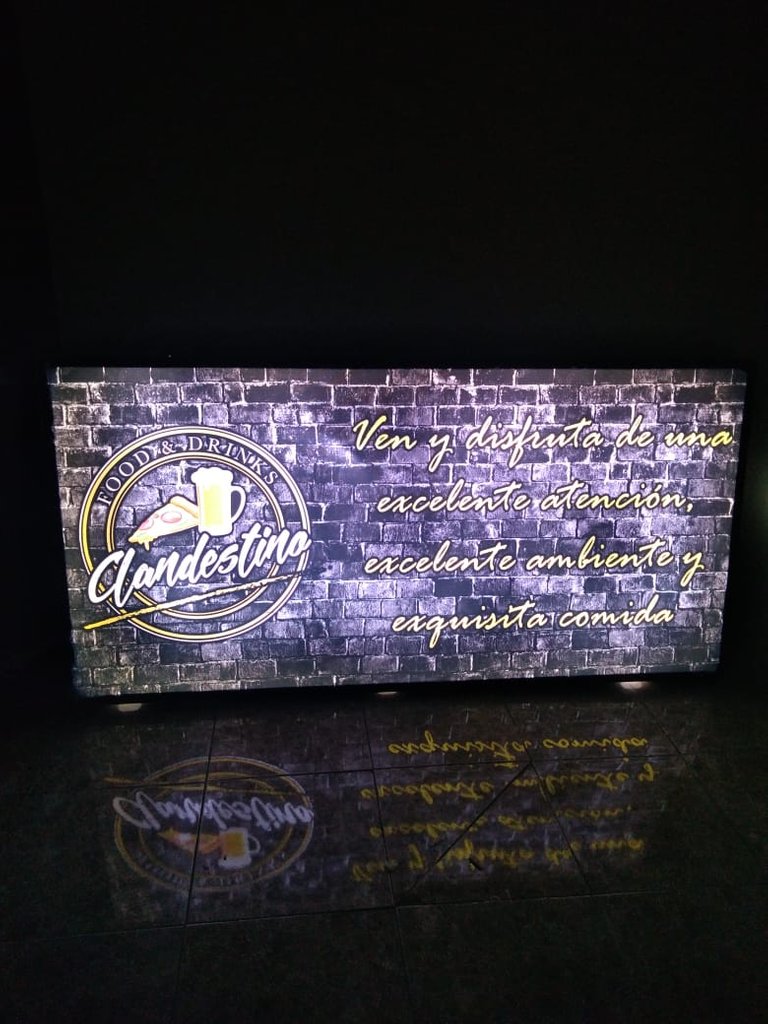
Trabajo terminado
De ante mano GRACIAS por el apoyo y por leer mis publicaciones me despido hasta otra oportunidad les deseo éxito en su vida y la bendición del todo poderoso
Thank you in advance for your support and for reading my publications, I bid you farewell until another opportunity, I wish you success in your life and the blessing of the Almighty
Las fotos fueron tomadas por mi teléfono Huawei Y6 y fueron editadas en la aplicación Incollage

Traductor www.DeepL.com/Translator (free version)


The photos were taken by my Huawei Y6 phone and were edited in the Incollage application.

Translator www.DeepL.com/Translator (free version)