Happy and blessed day to all.tonight I present to you this tutorial on how to recycle Pan flour bags and transform it into a beautiful gift bag for any occasion.it is a very advantageous proposal not only for the recycling theme but also because it allows us to create and personalize our details for any loved one or for a special person and can be made of any motif.the indispensable thing is to have the availability.
Well without further ado, let's get started. The materials I used are very simple and mostly we have them at home.
Materiales:
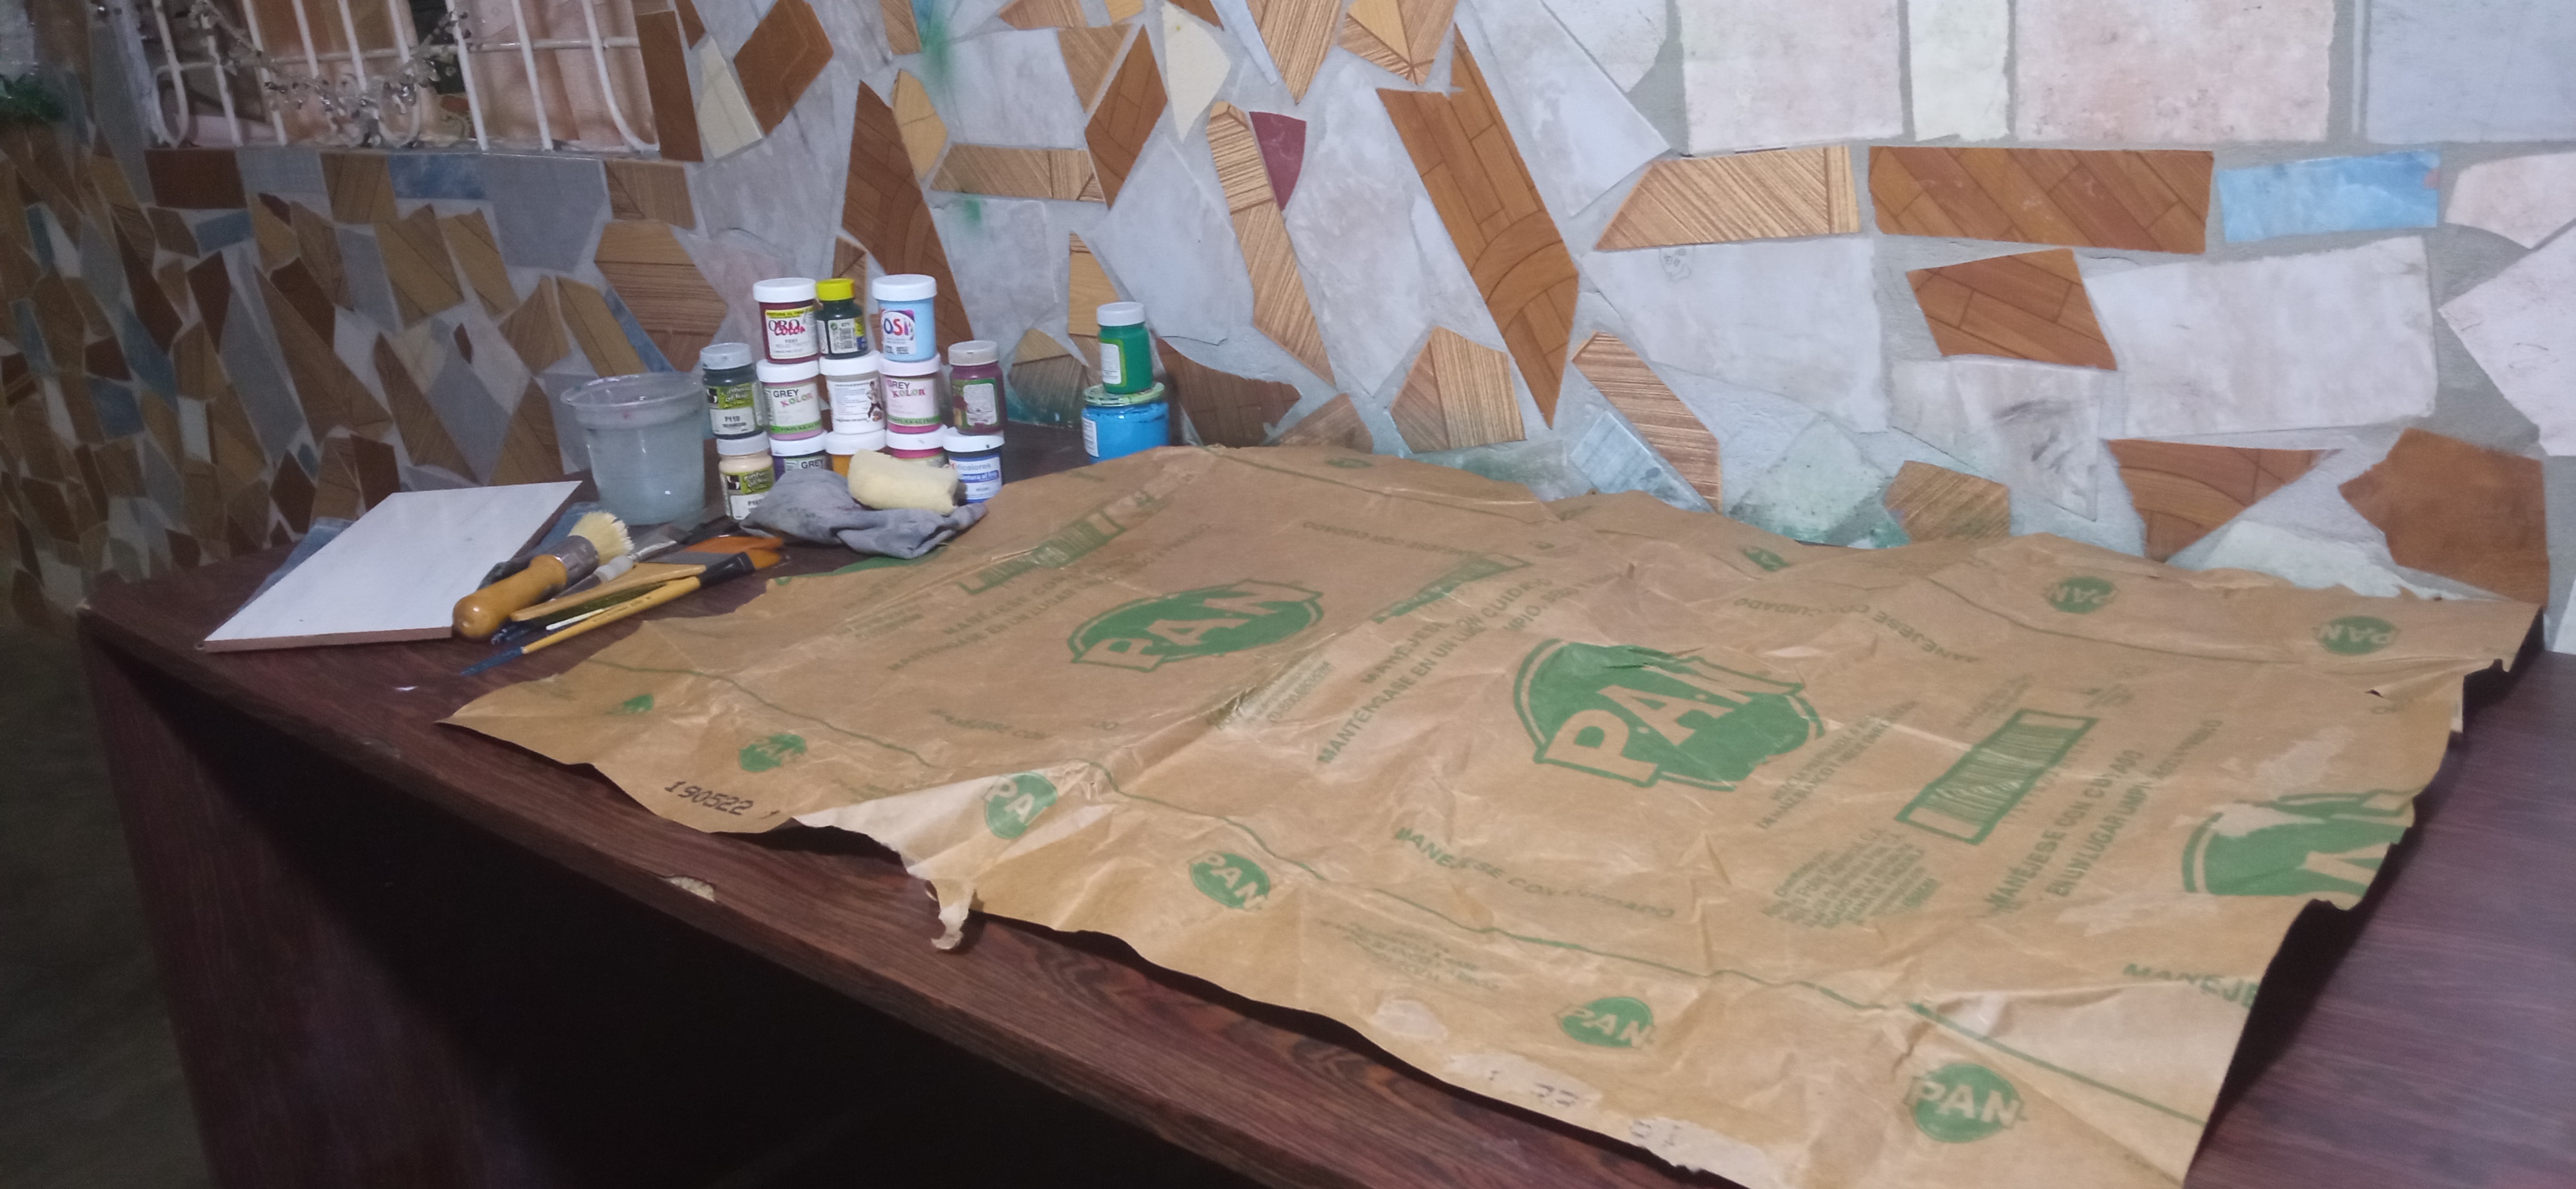
- Bolsa de Harina Pan.
- Pinturas acrilicas al frio colores:Blanco,verde bosque,
verde oscuro,ocresito,
magenta,rosita,
amarilo primario,
azul claro,violeta.
-1/2 Metro de encaje rosado.
-Una Barra de silicón. - Pistola de Silicón.
-Tijera.
-Un retazo de Tela de organza.
-Regla.
-Lapiz. - Pinceles de cerda suave:Plano 12,
liner 1 y redondo 3. - Esponja y brocha para estencil.
- Plancha para ropa.
- Pieza de ceramica.
- Potecito con agua (para lavar los pinceles).
Materials:
- Harina Pan bag.
- Cold acrylic paints colors: White, forest green, dark green, ochre, ochreite,
dark green, ochre,
magenta, pink,
primary yellow,
light blue, violet.
-1/2 meter of pink lace.
-One silicone stick. - Silicone gun.
-Scissors.
-A piece of organza fabric.
-Ruler.
-Pencil. - Soft bristle brushes: Flat 12,
liner 1 and round 3. - Sponge and stencil brush.
- Iron for clothes.
- Piece of ceramic.
- Small pot with water (to wash the brushes).
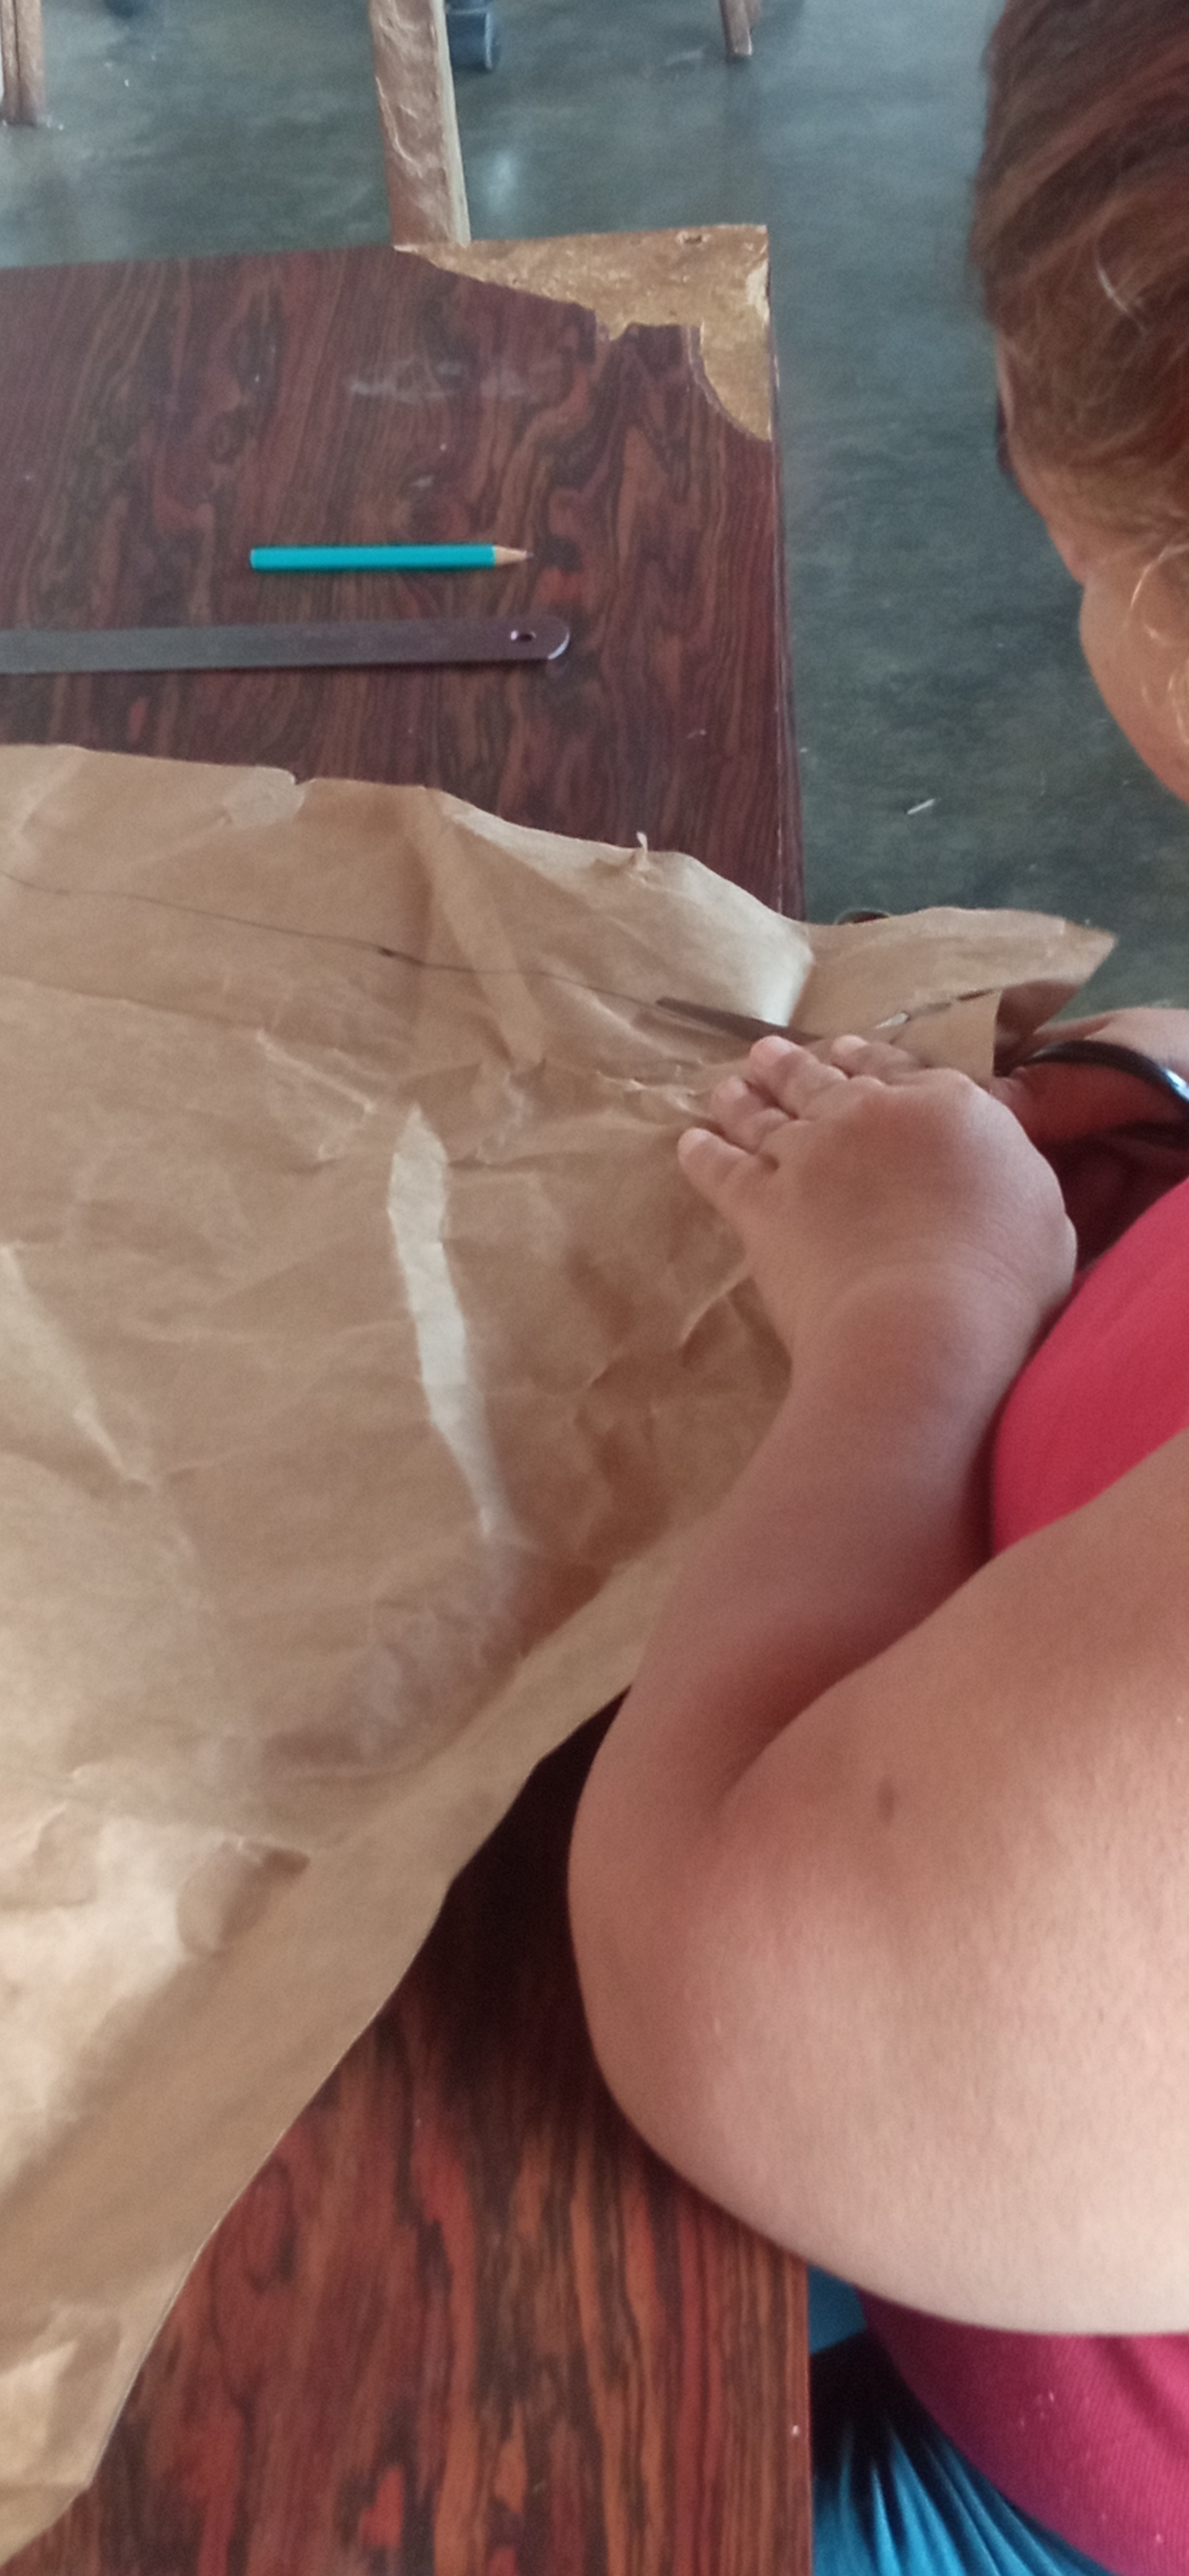
Paso 1:
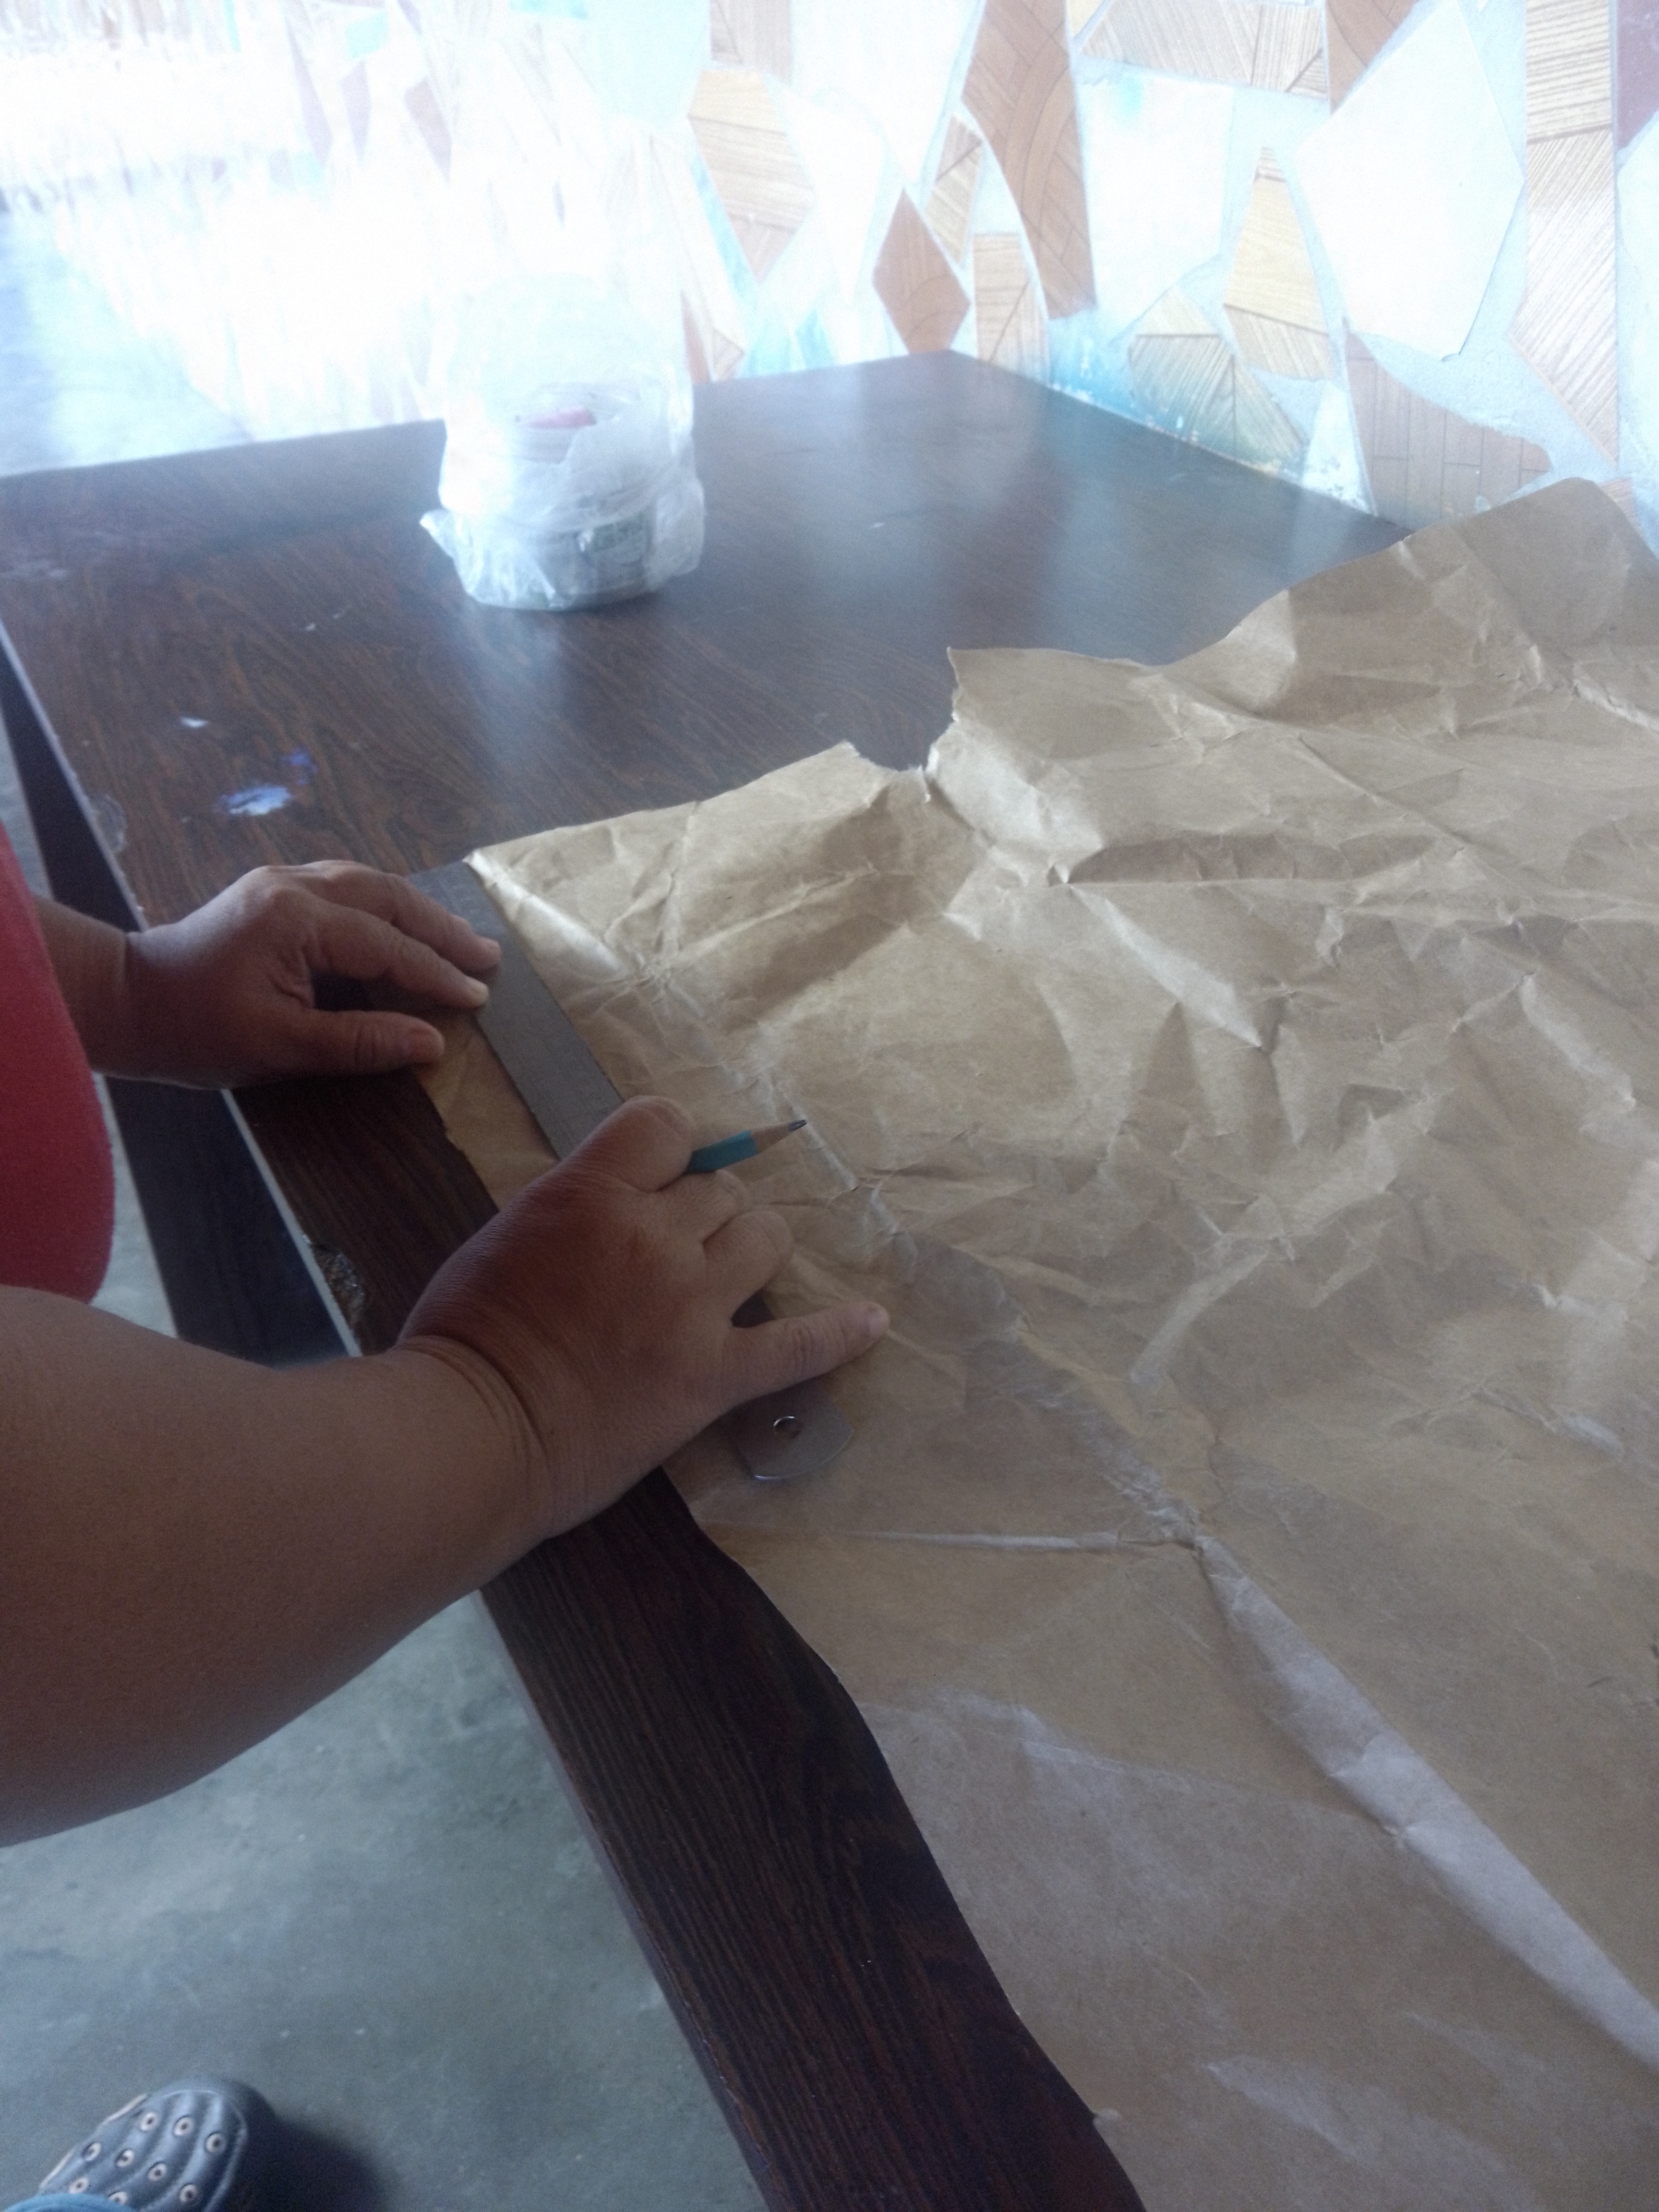
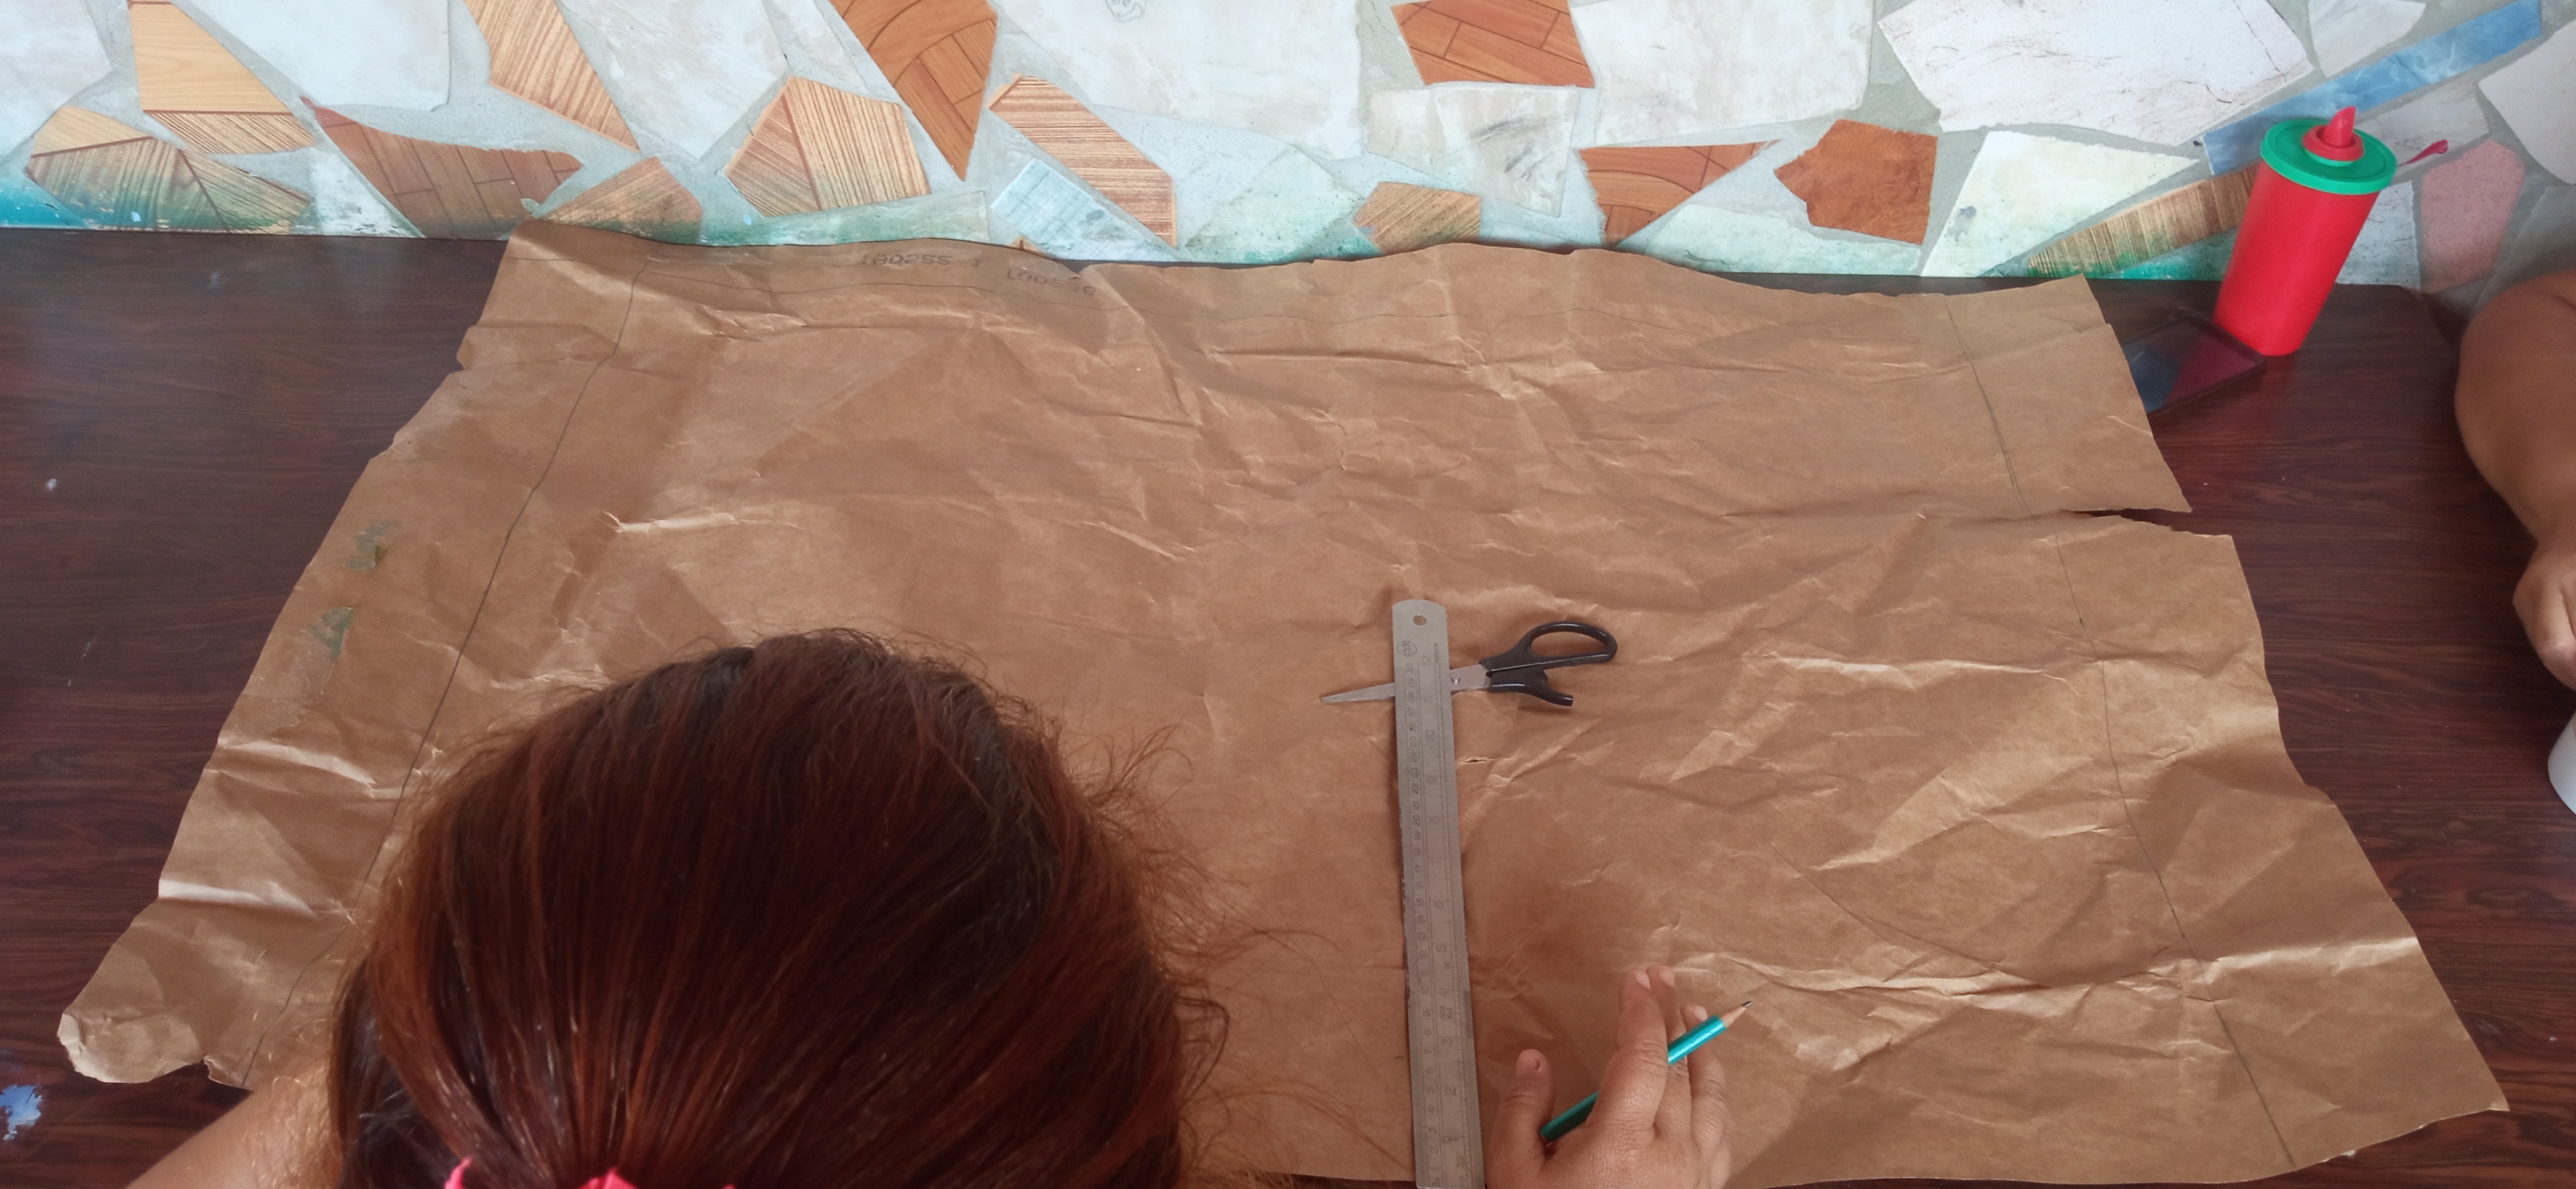
Trace con la regla 9 centimetros de los 2 laterales cortos de la bolsa y 6 centímetros de los 2 laterales más largos. Esto lo hice para emparejar los laterales y eliminar los bordes rotos que tenía la bolsa y los recorte.
Step 1:
Trace with the ruler 9 centimeters from the 2 short sides of the bag and 6 centimeters from the 2 longer sides. I did this to even out the sides and remove the broken edges of the bag and trim them.
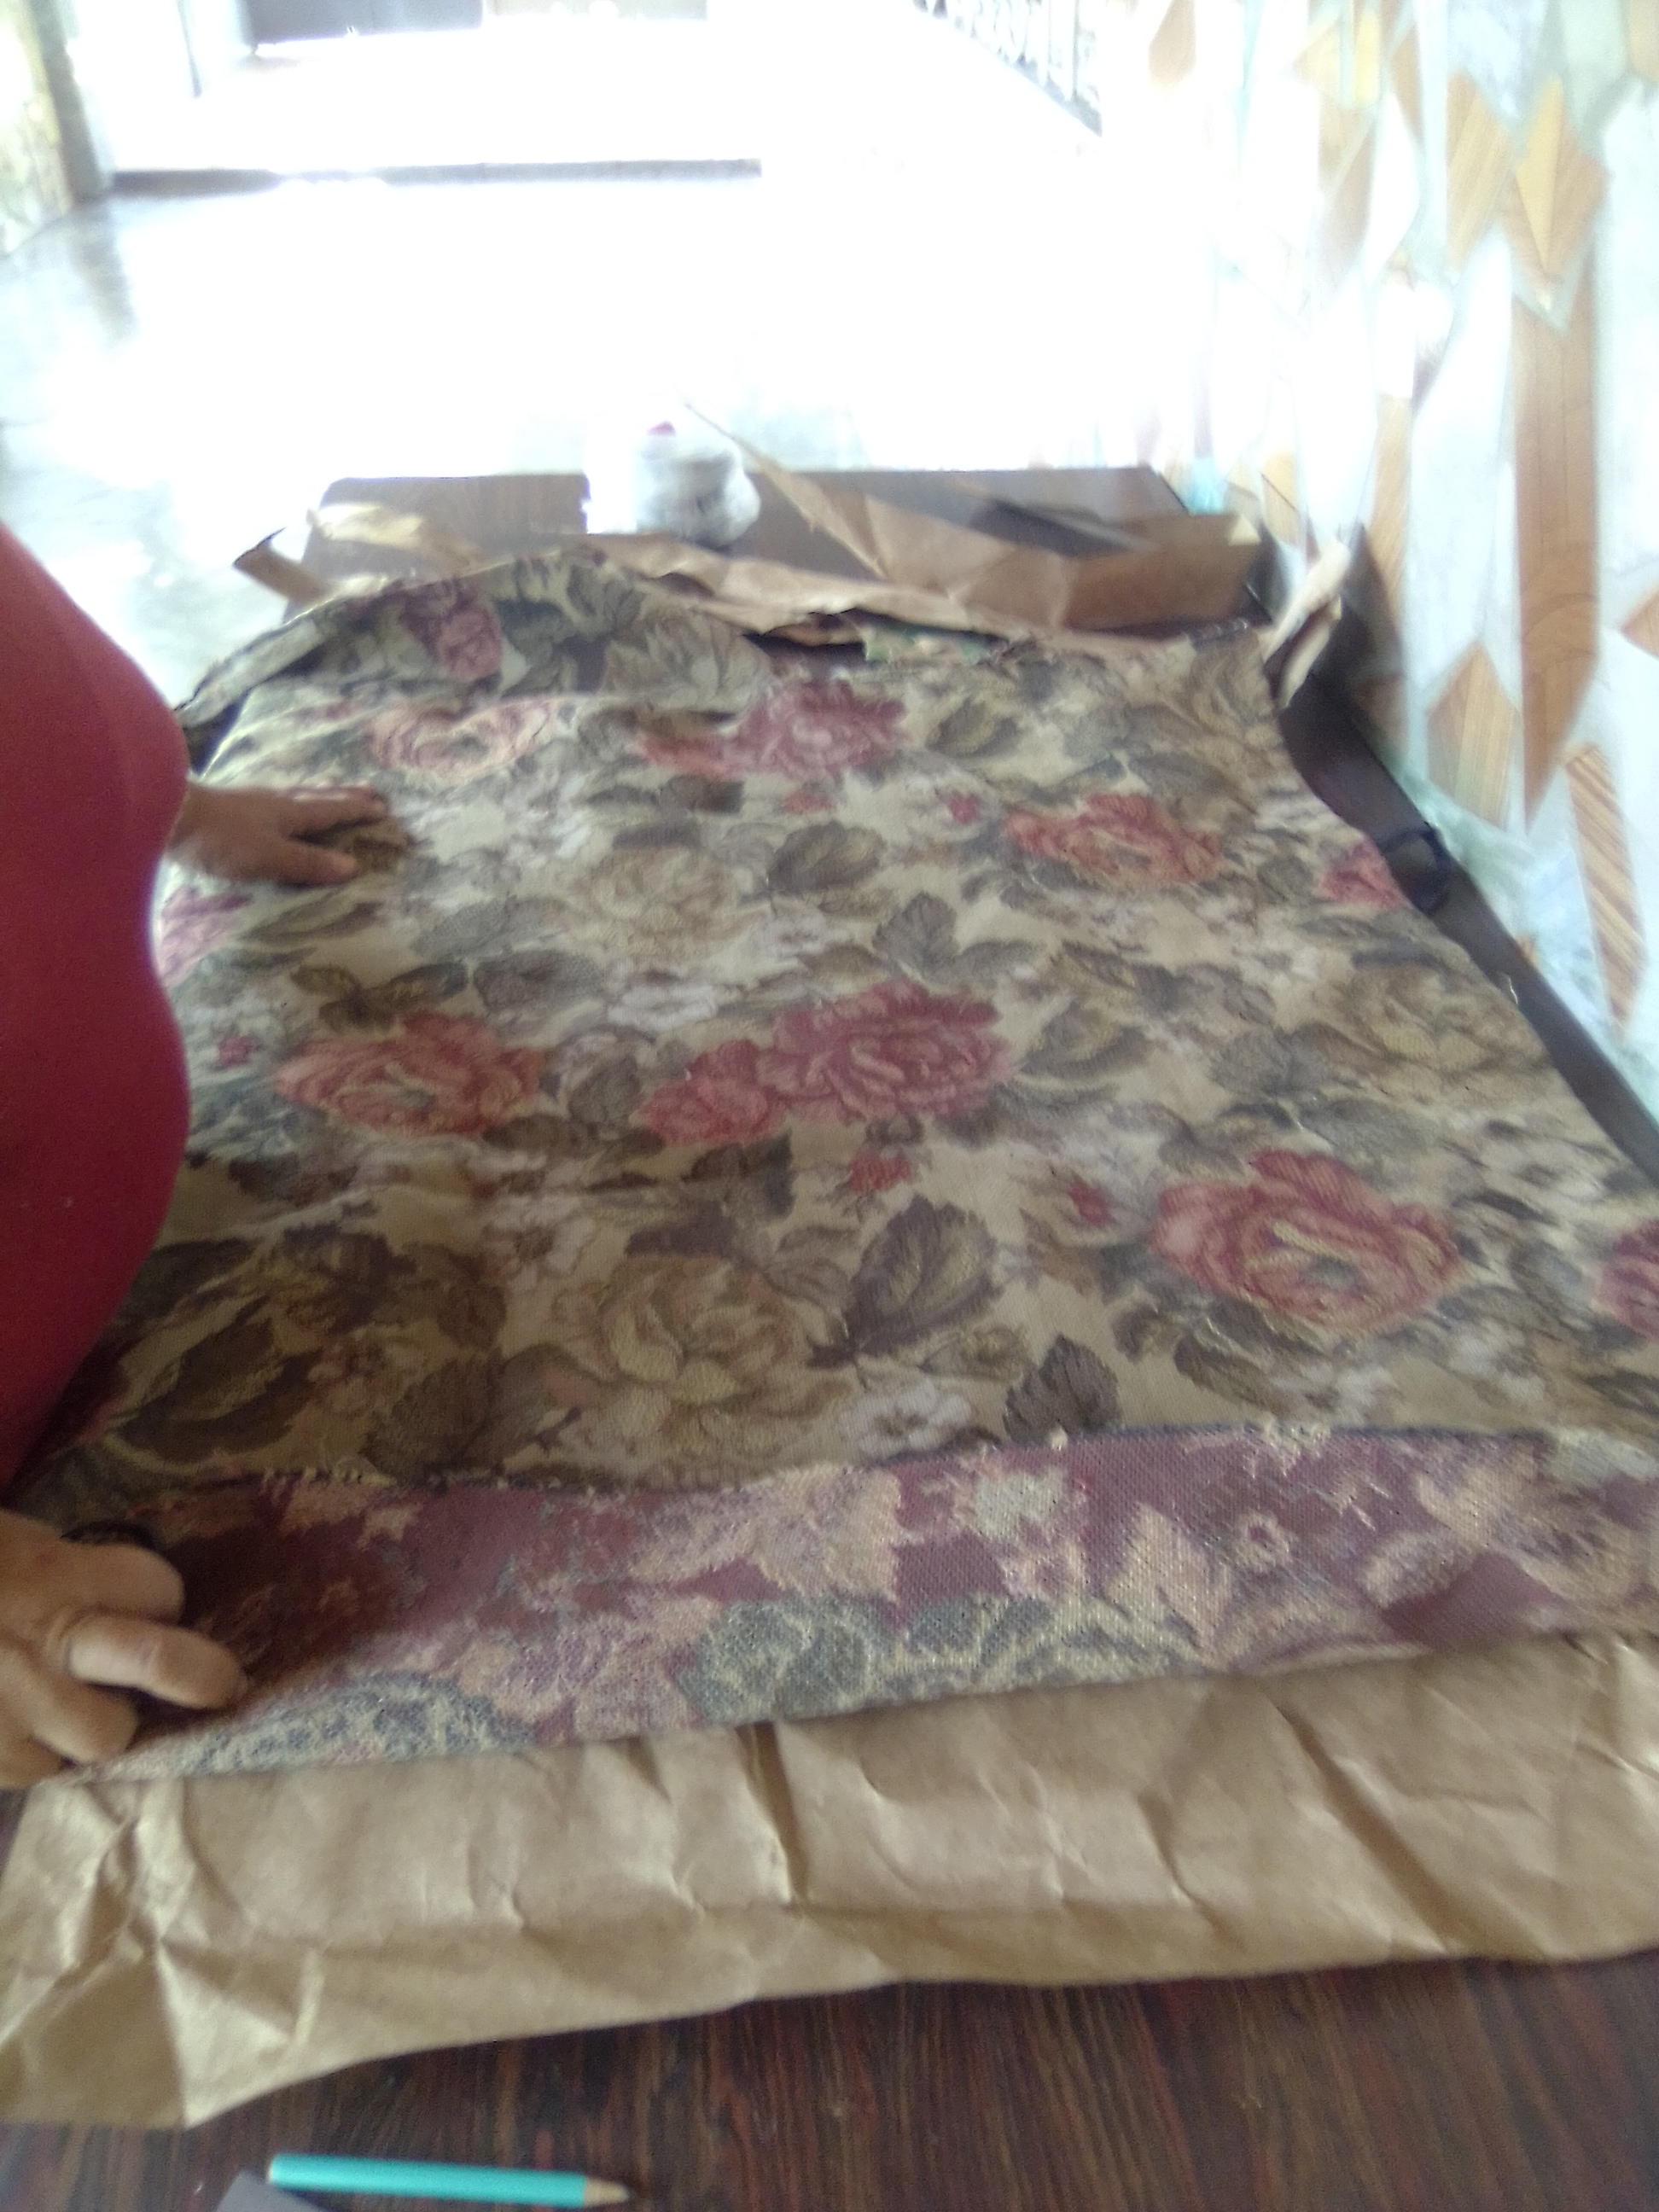
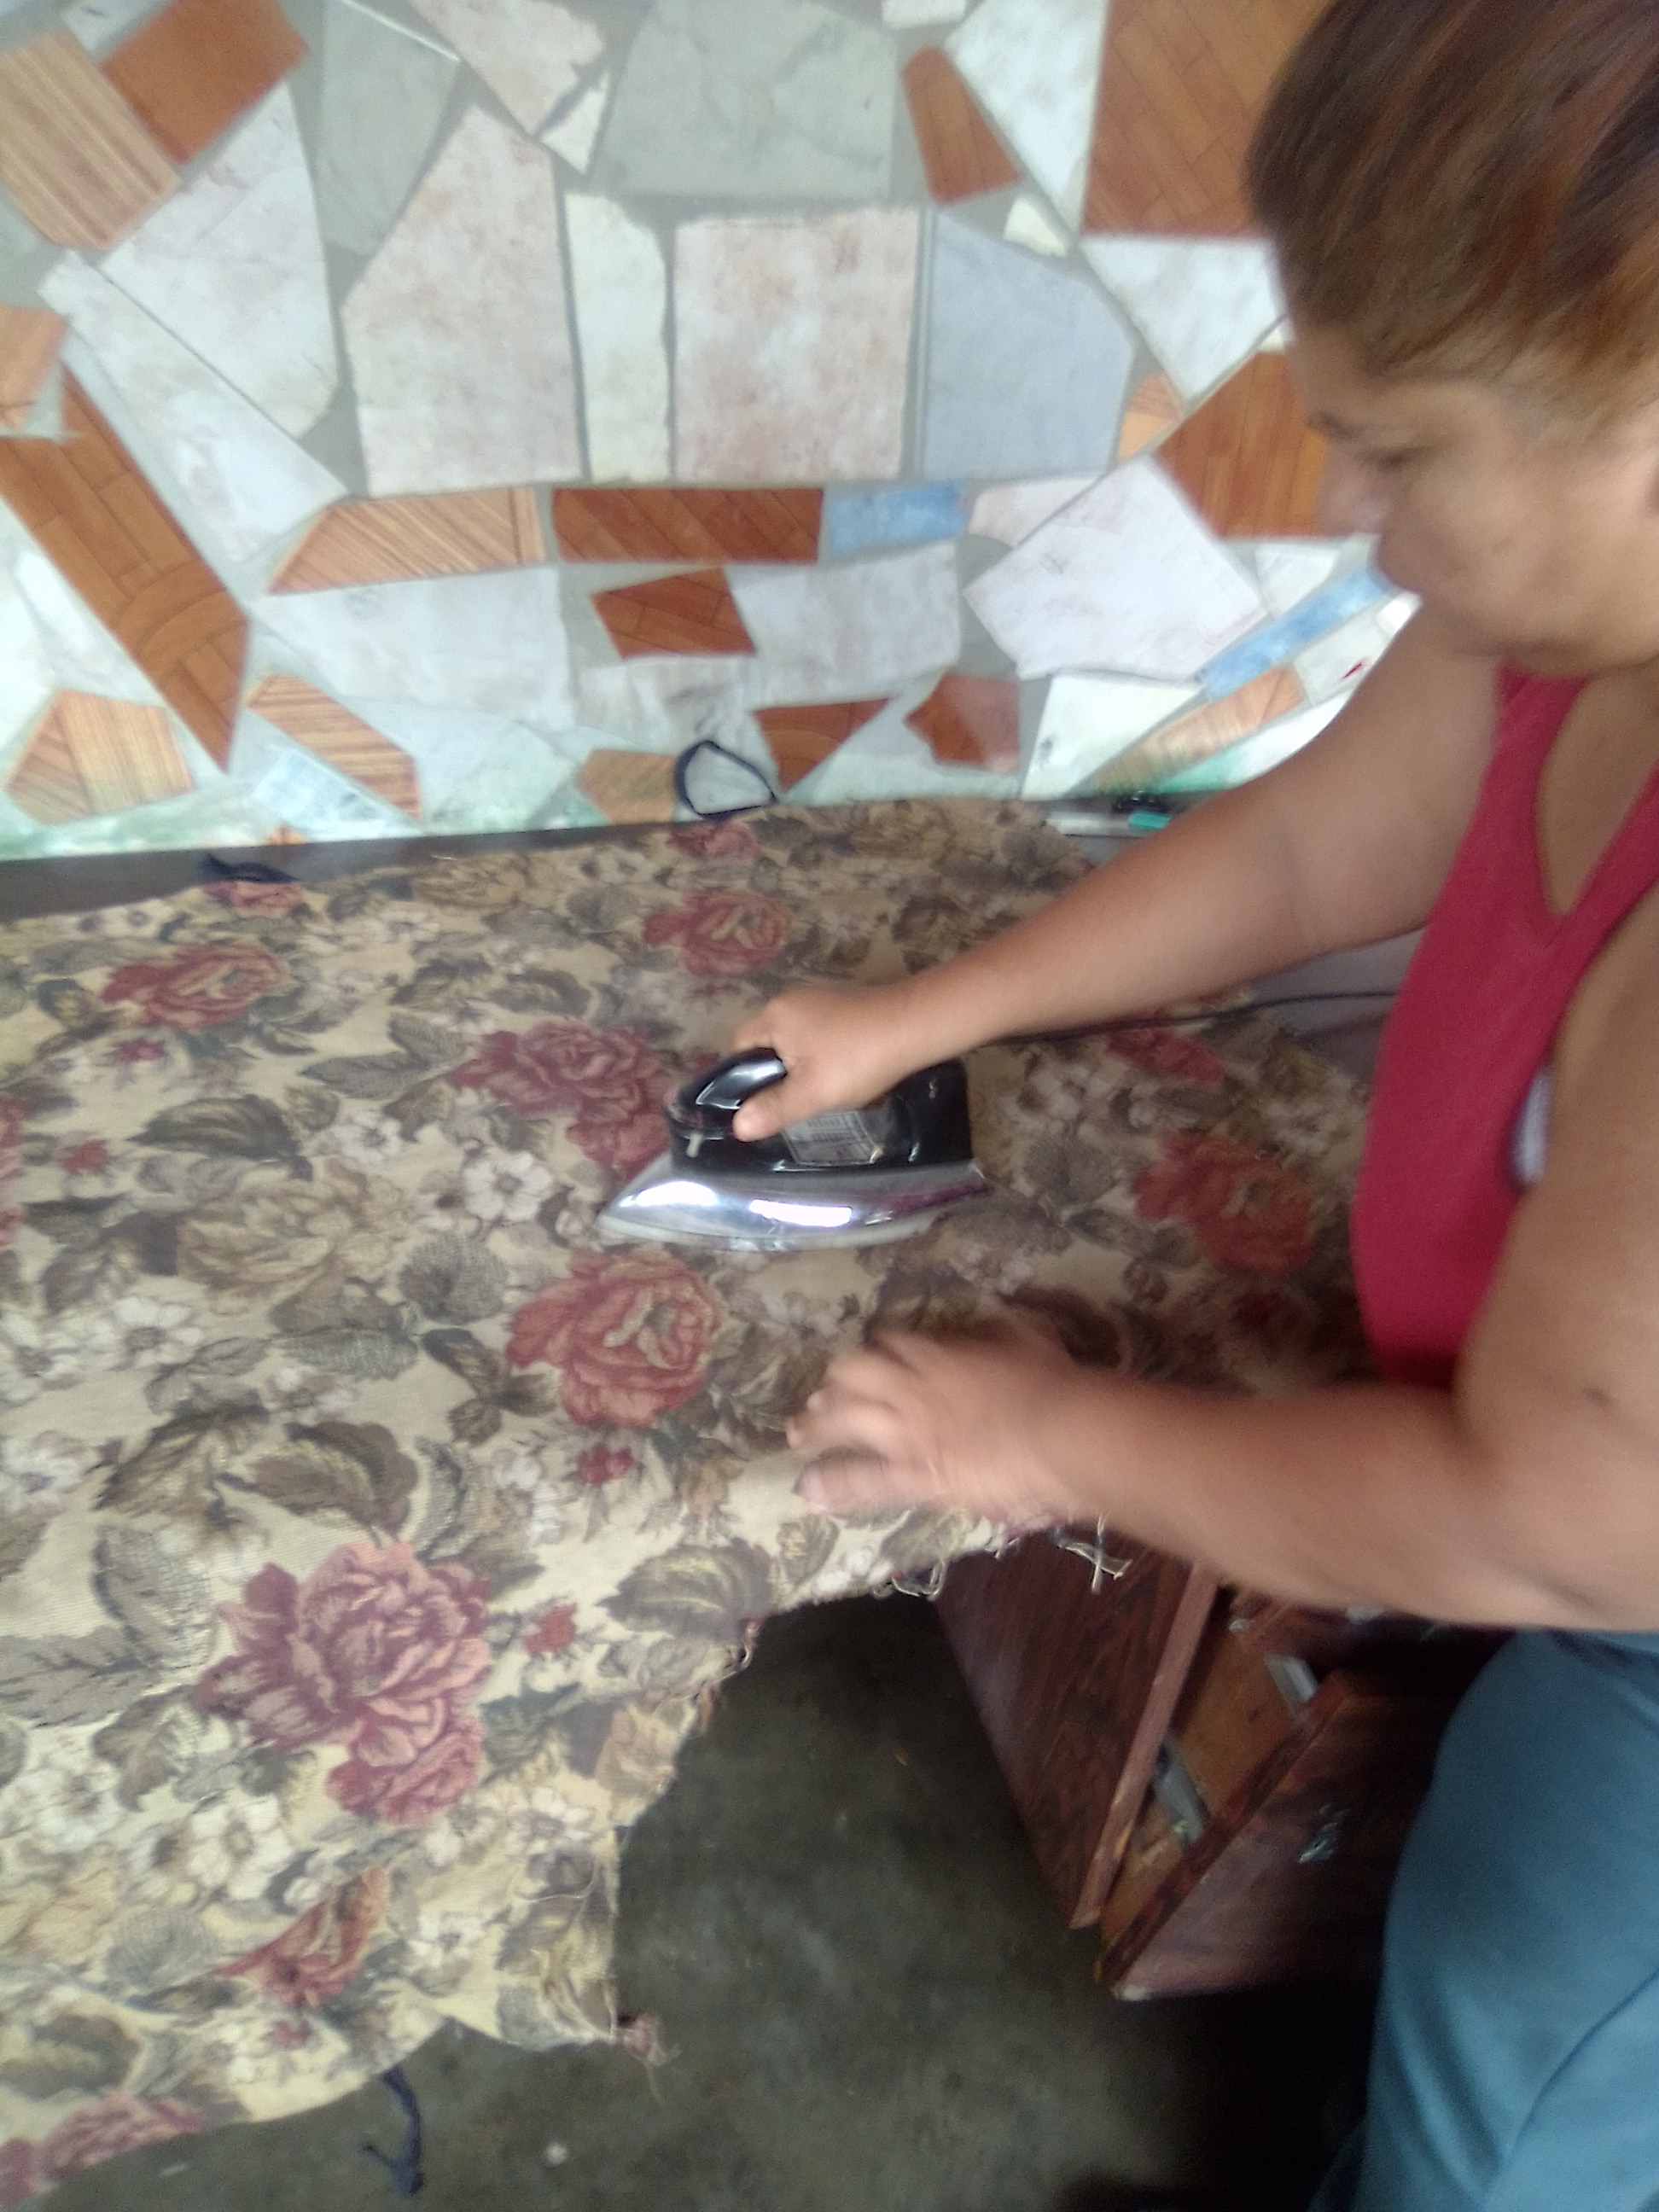
Paso 2:
Puse una tela sobre el papel ya recortado para plancharlo esto con la finalidad de estirar un poco el papel que estaba bastante arrugado.
Step 2:
I put a cloth over the paper already cut out to iron it in order to stretch a little the paper that was quite wrinkled.
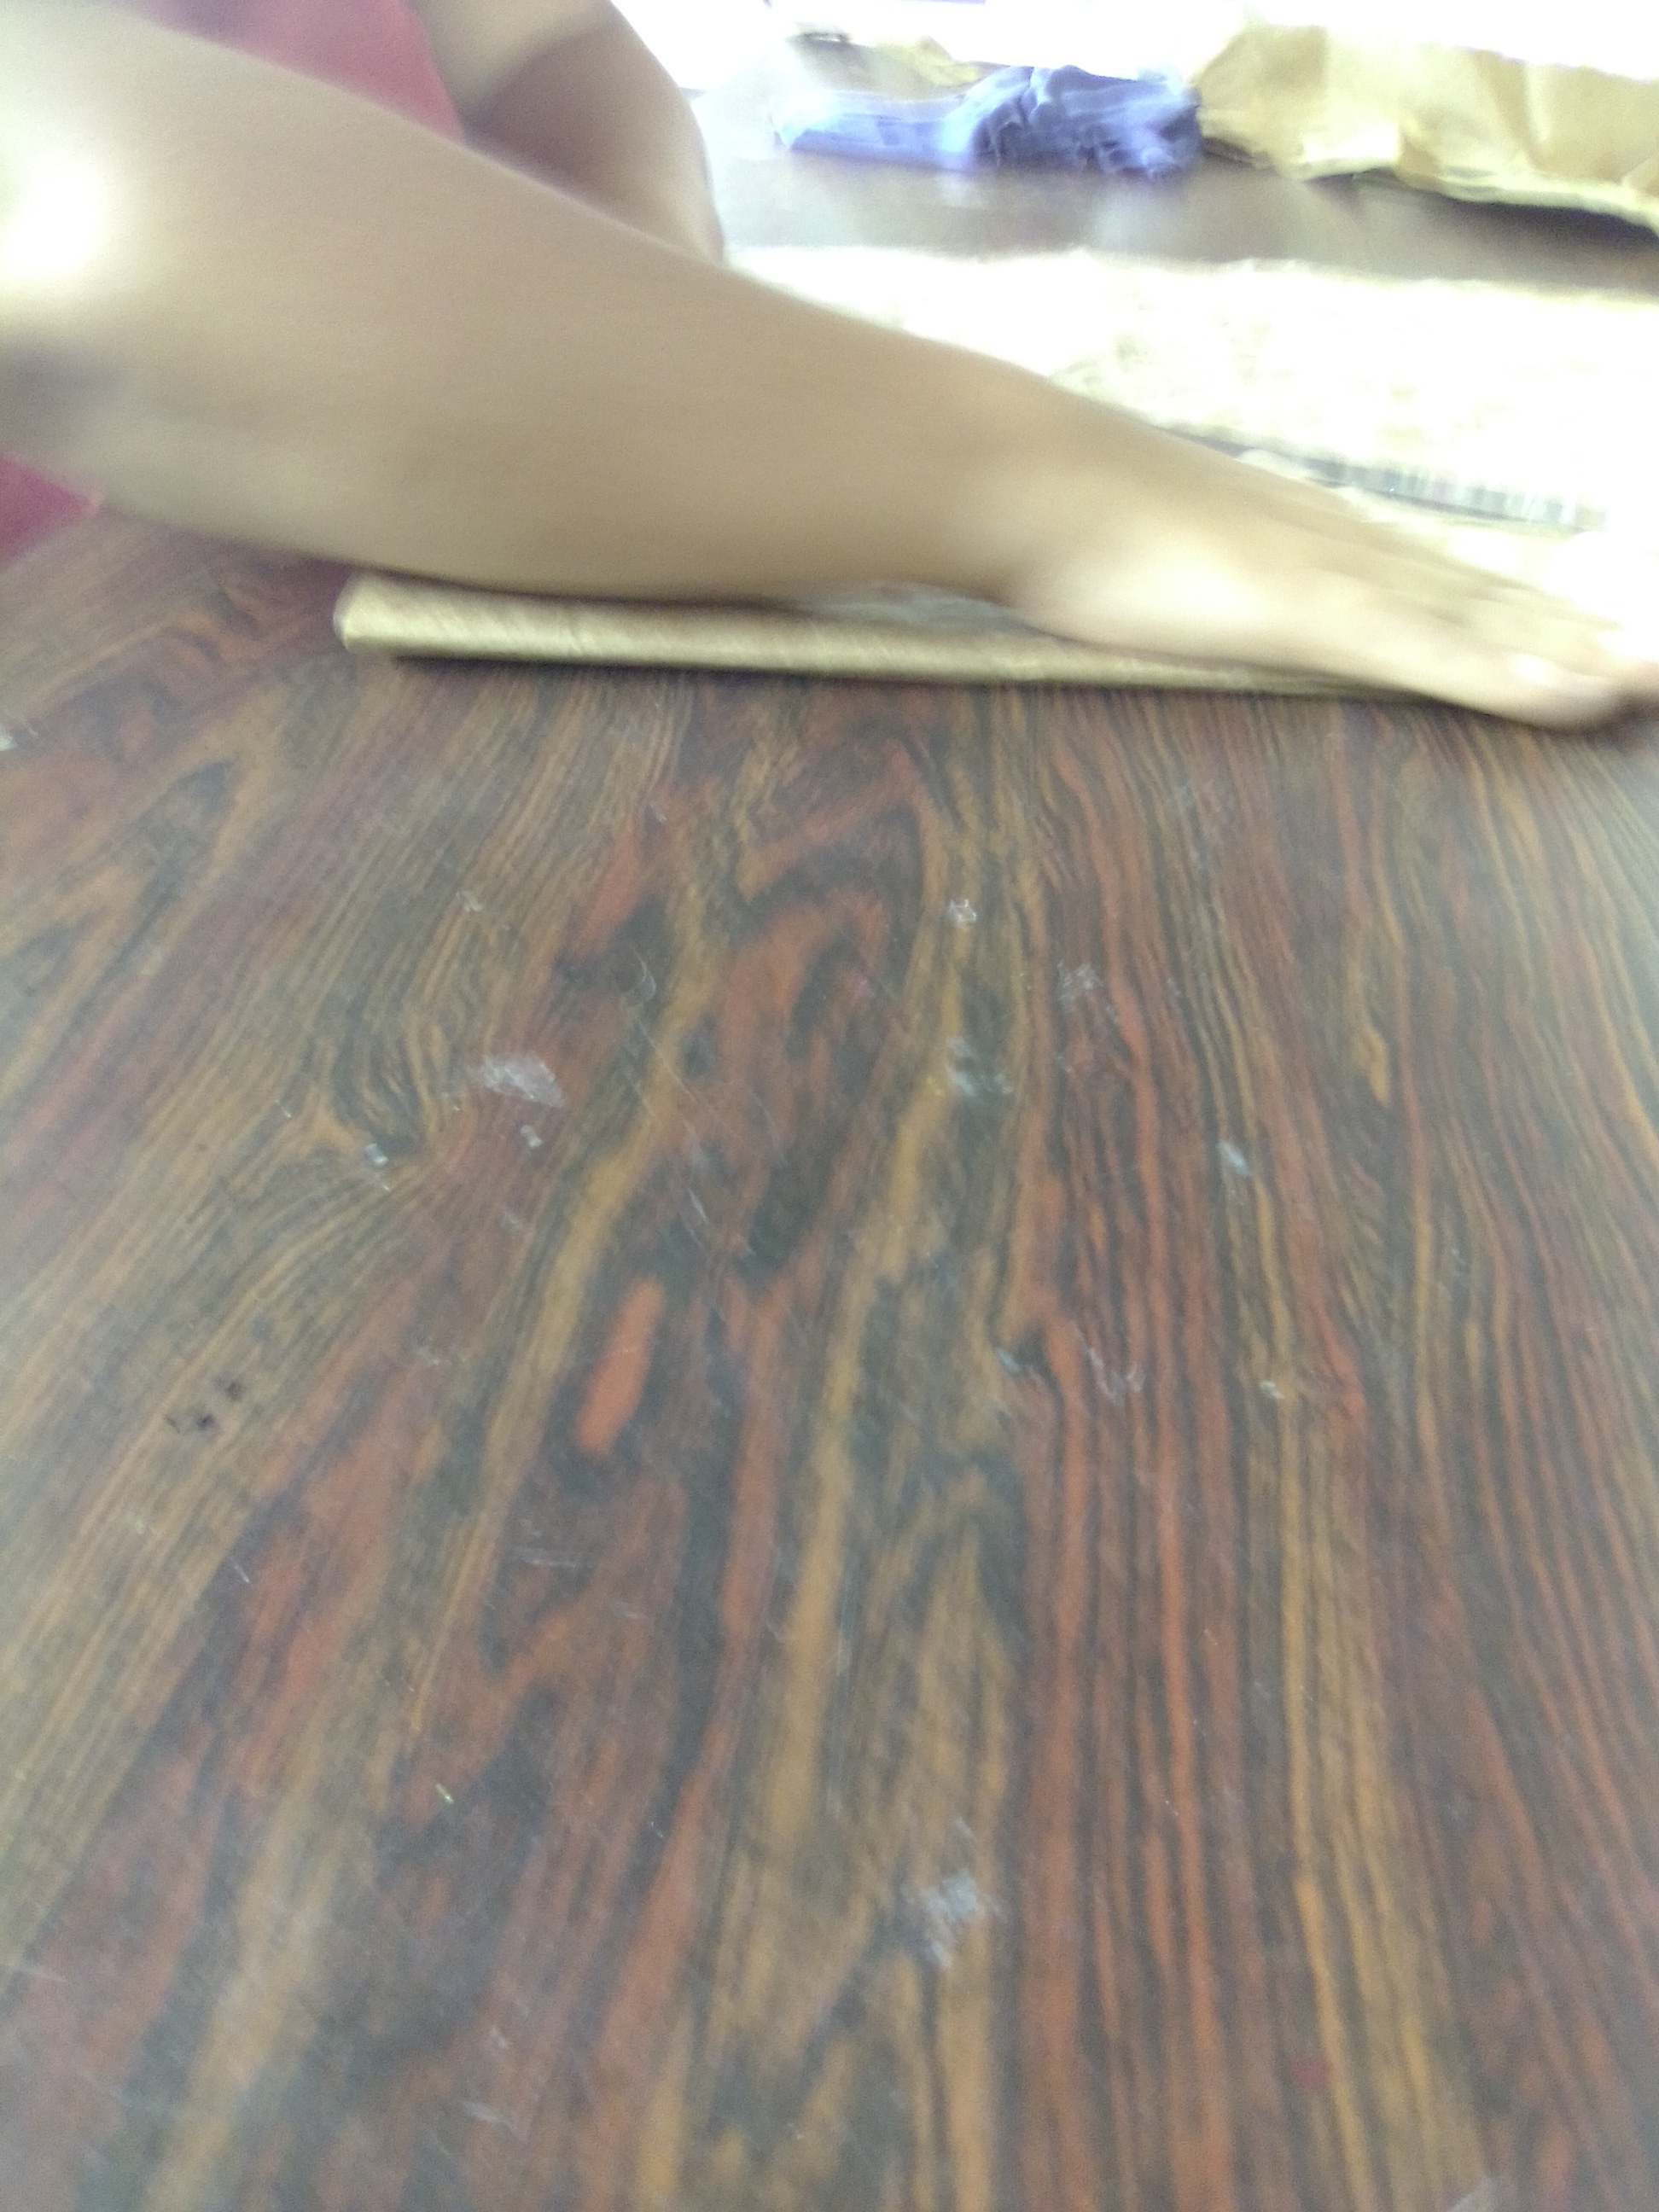
Paso 3:
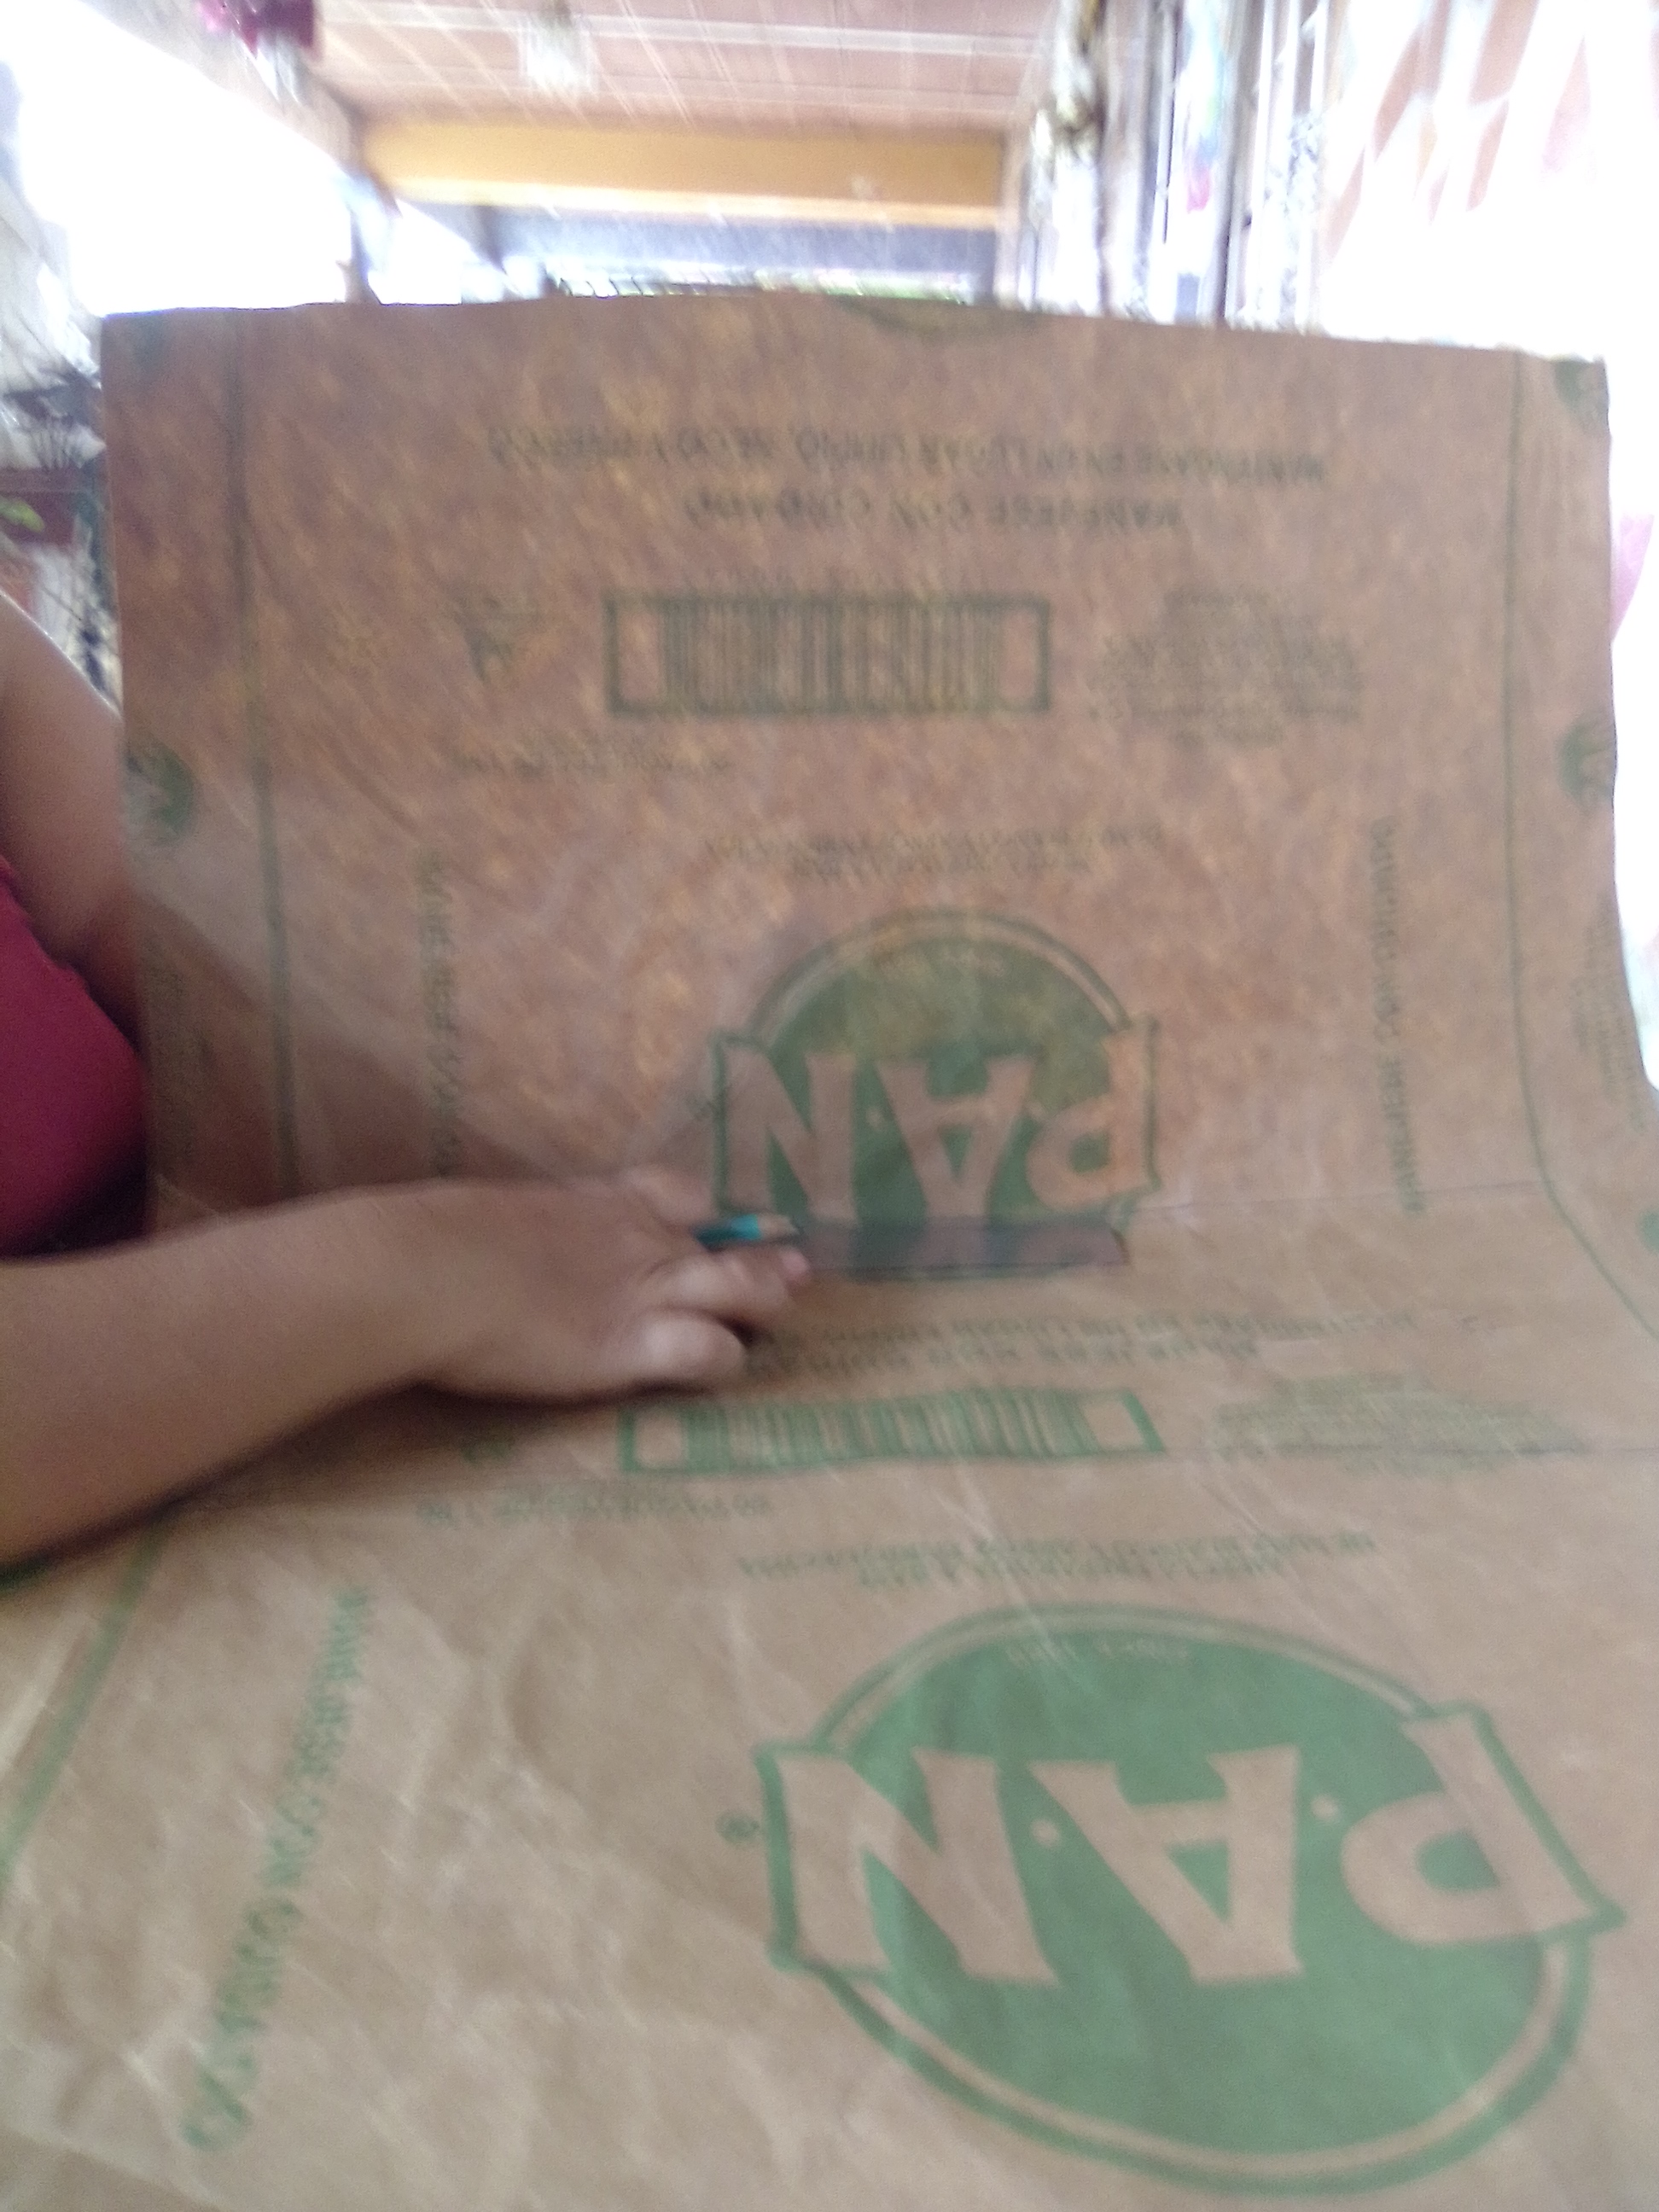
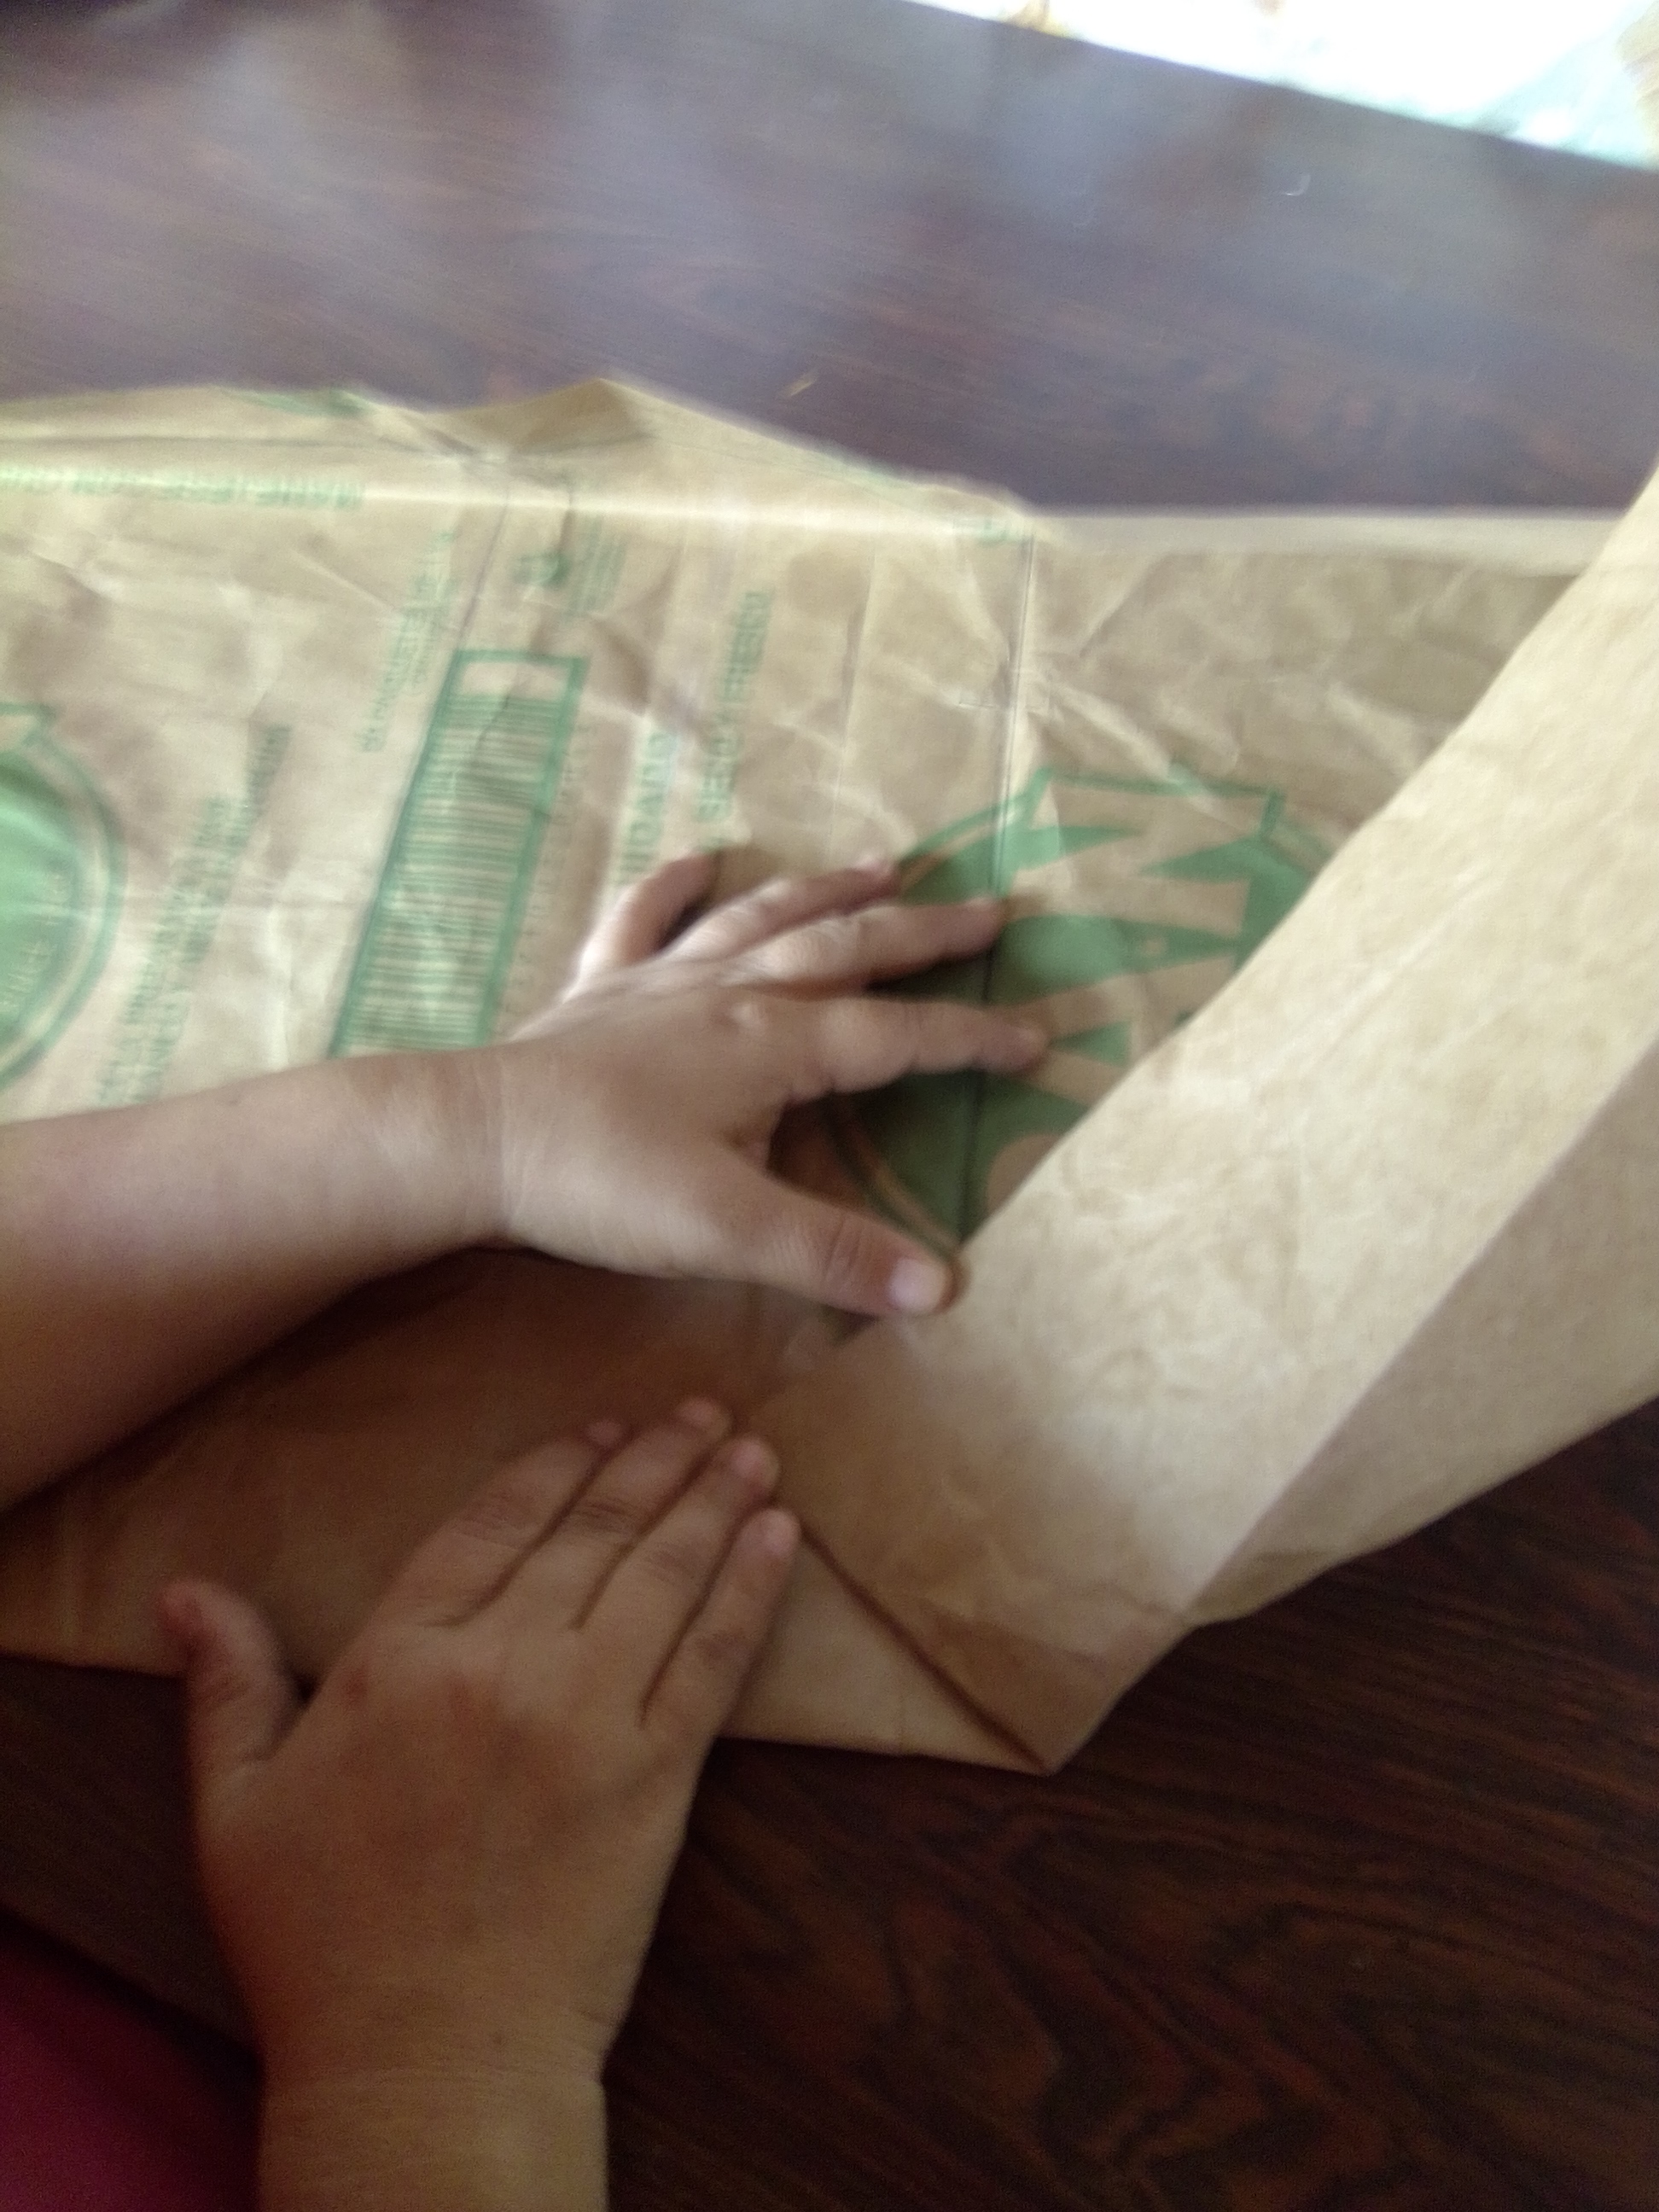
Uní las 2 puntas de los 2 laterales cortos de la bolsa de harina Pan y la presione en el medio y dibuje con la regla 13 centímetros tomando como centro el medio de la bolsa. Es decir, del punto medio trace 6 centímetros y medio de ambos lado del punto medio (esto lo hice por ambos lados).
Step 3:.
I joined the 2 ends of the 2 short sides of the bag of flour Pan and press it in the middle and draw with the ruler 13 centimeters taking as center the middle of the bag. That is, from the middle point draw 6 and a half centimeters on both sides of the middle point (I did this on both sides).
Paso 4:
Hice doblajes en ambos lados del papel para poder cerrar los 2 laterales largos de la bolsa y de este modo cerrar sus laterales pero sin pegamento.
Step 4:
I made folds on both sides of the paper to be able to close the 2 long sides of the bag and thus close its sides but without glue.
Paso 5:
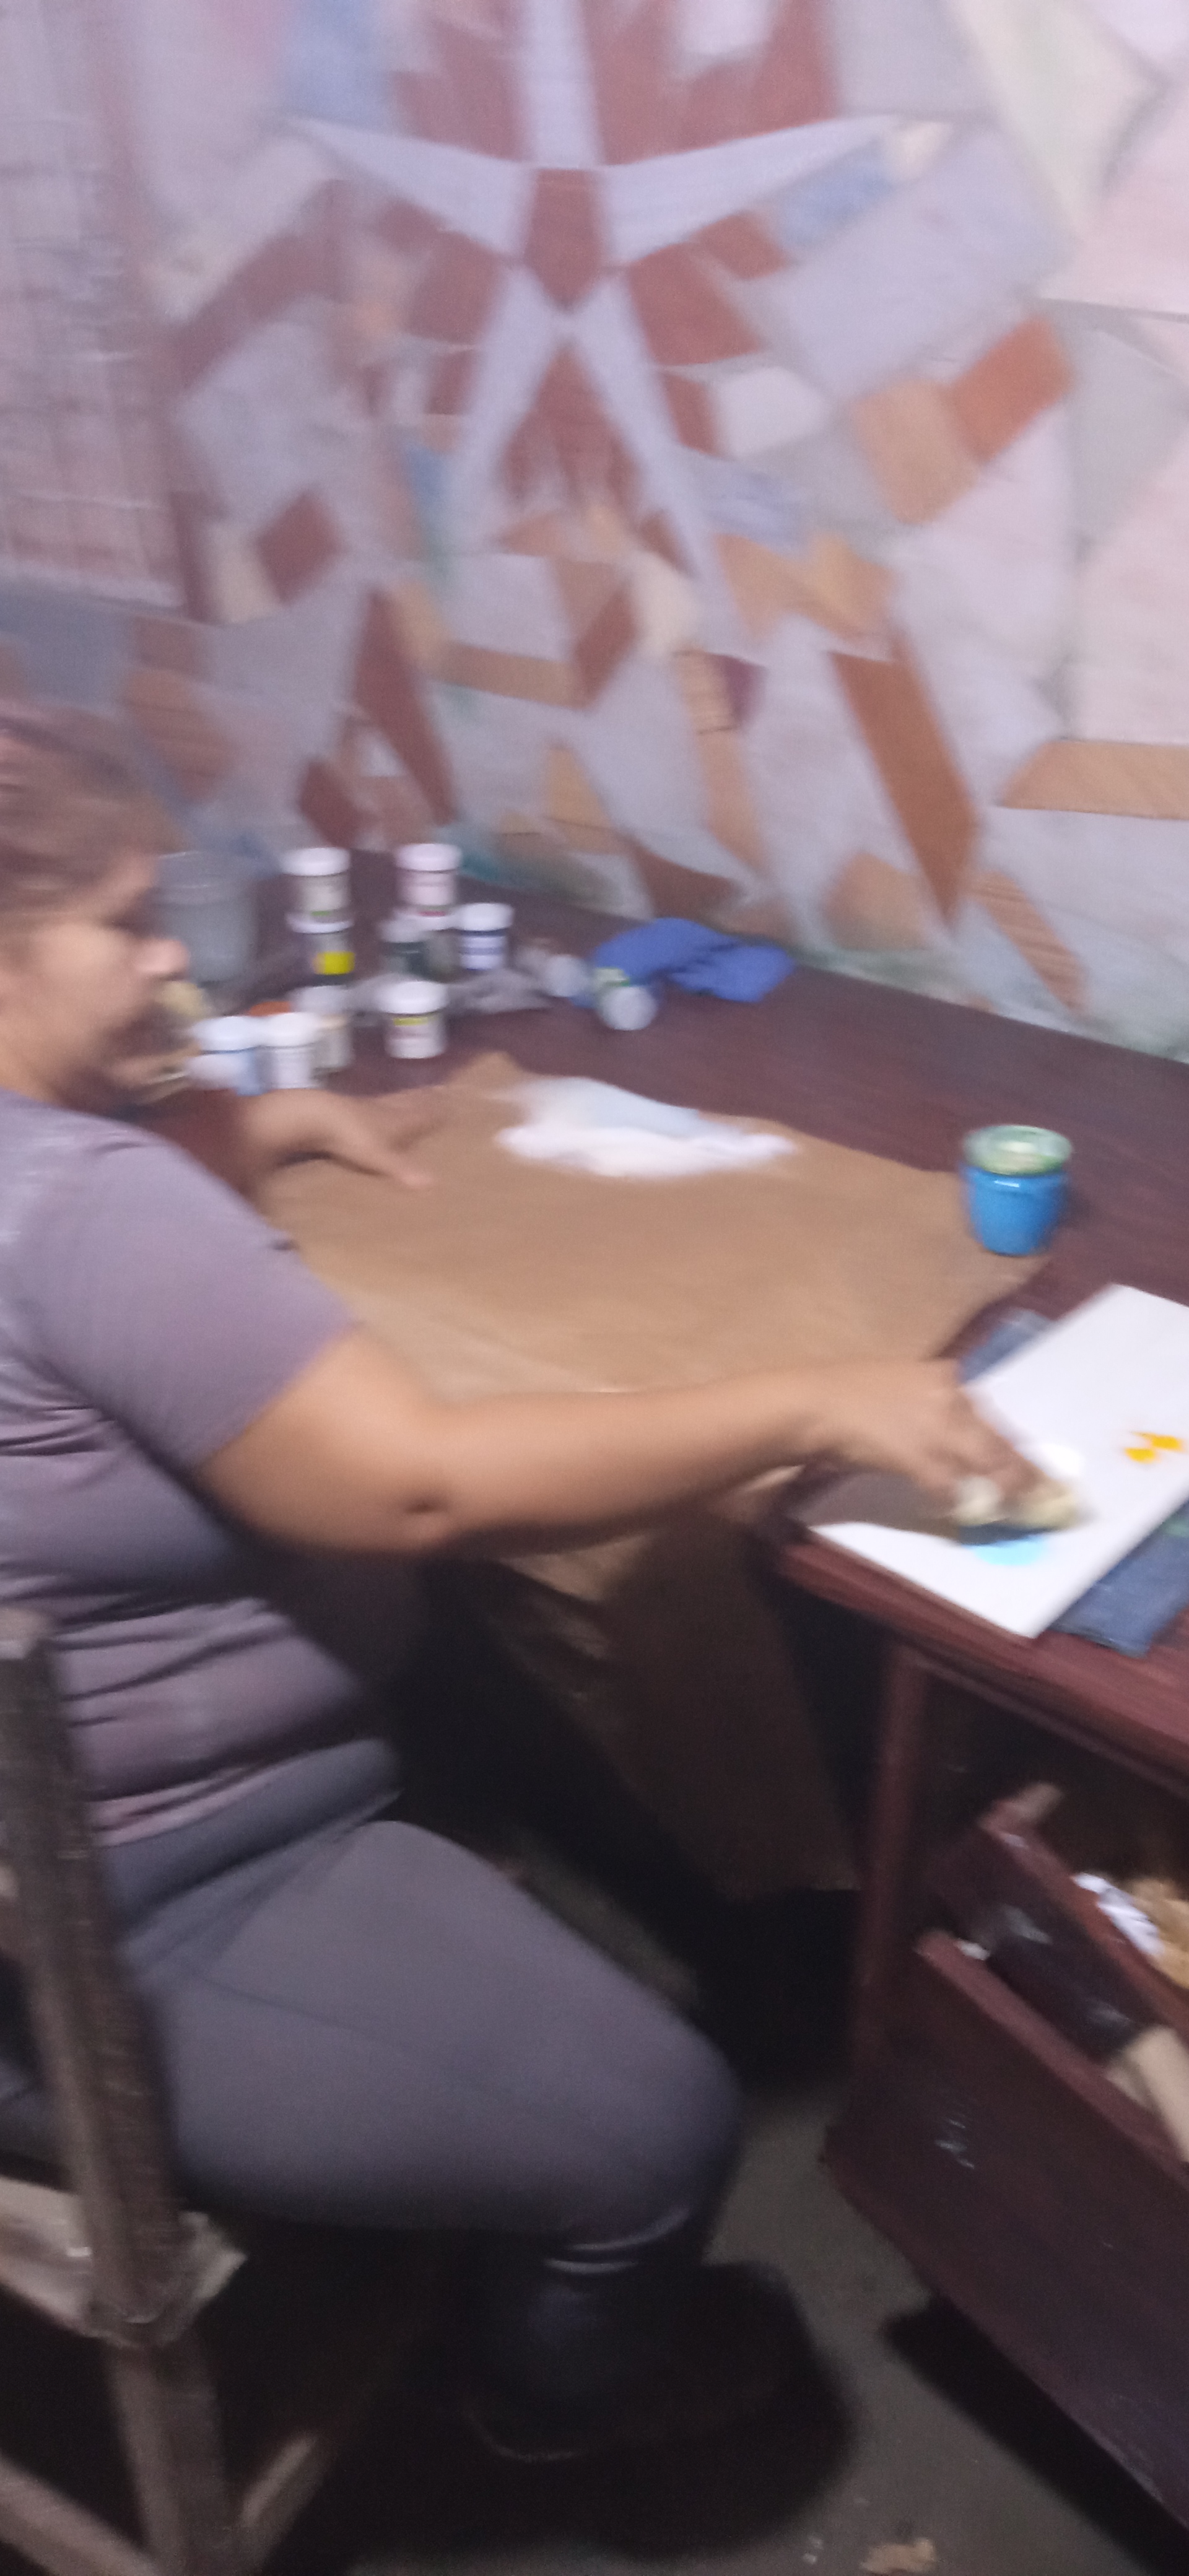
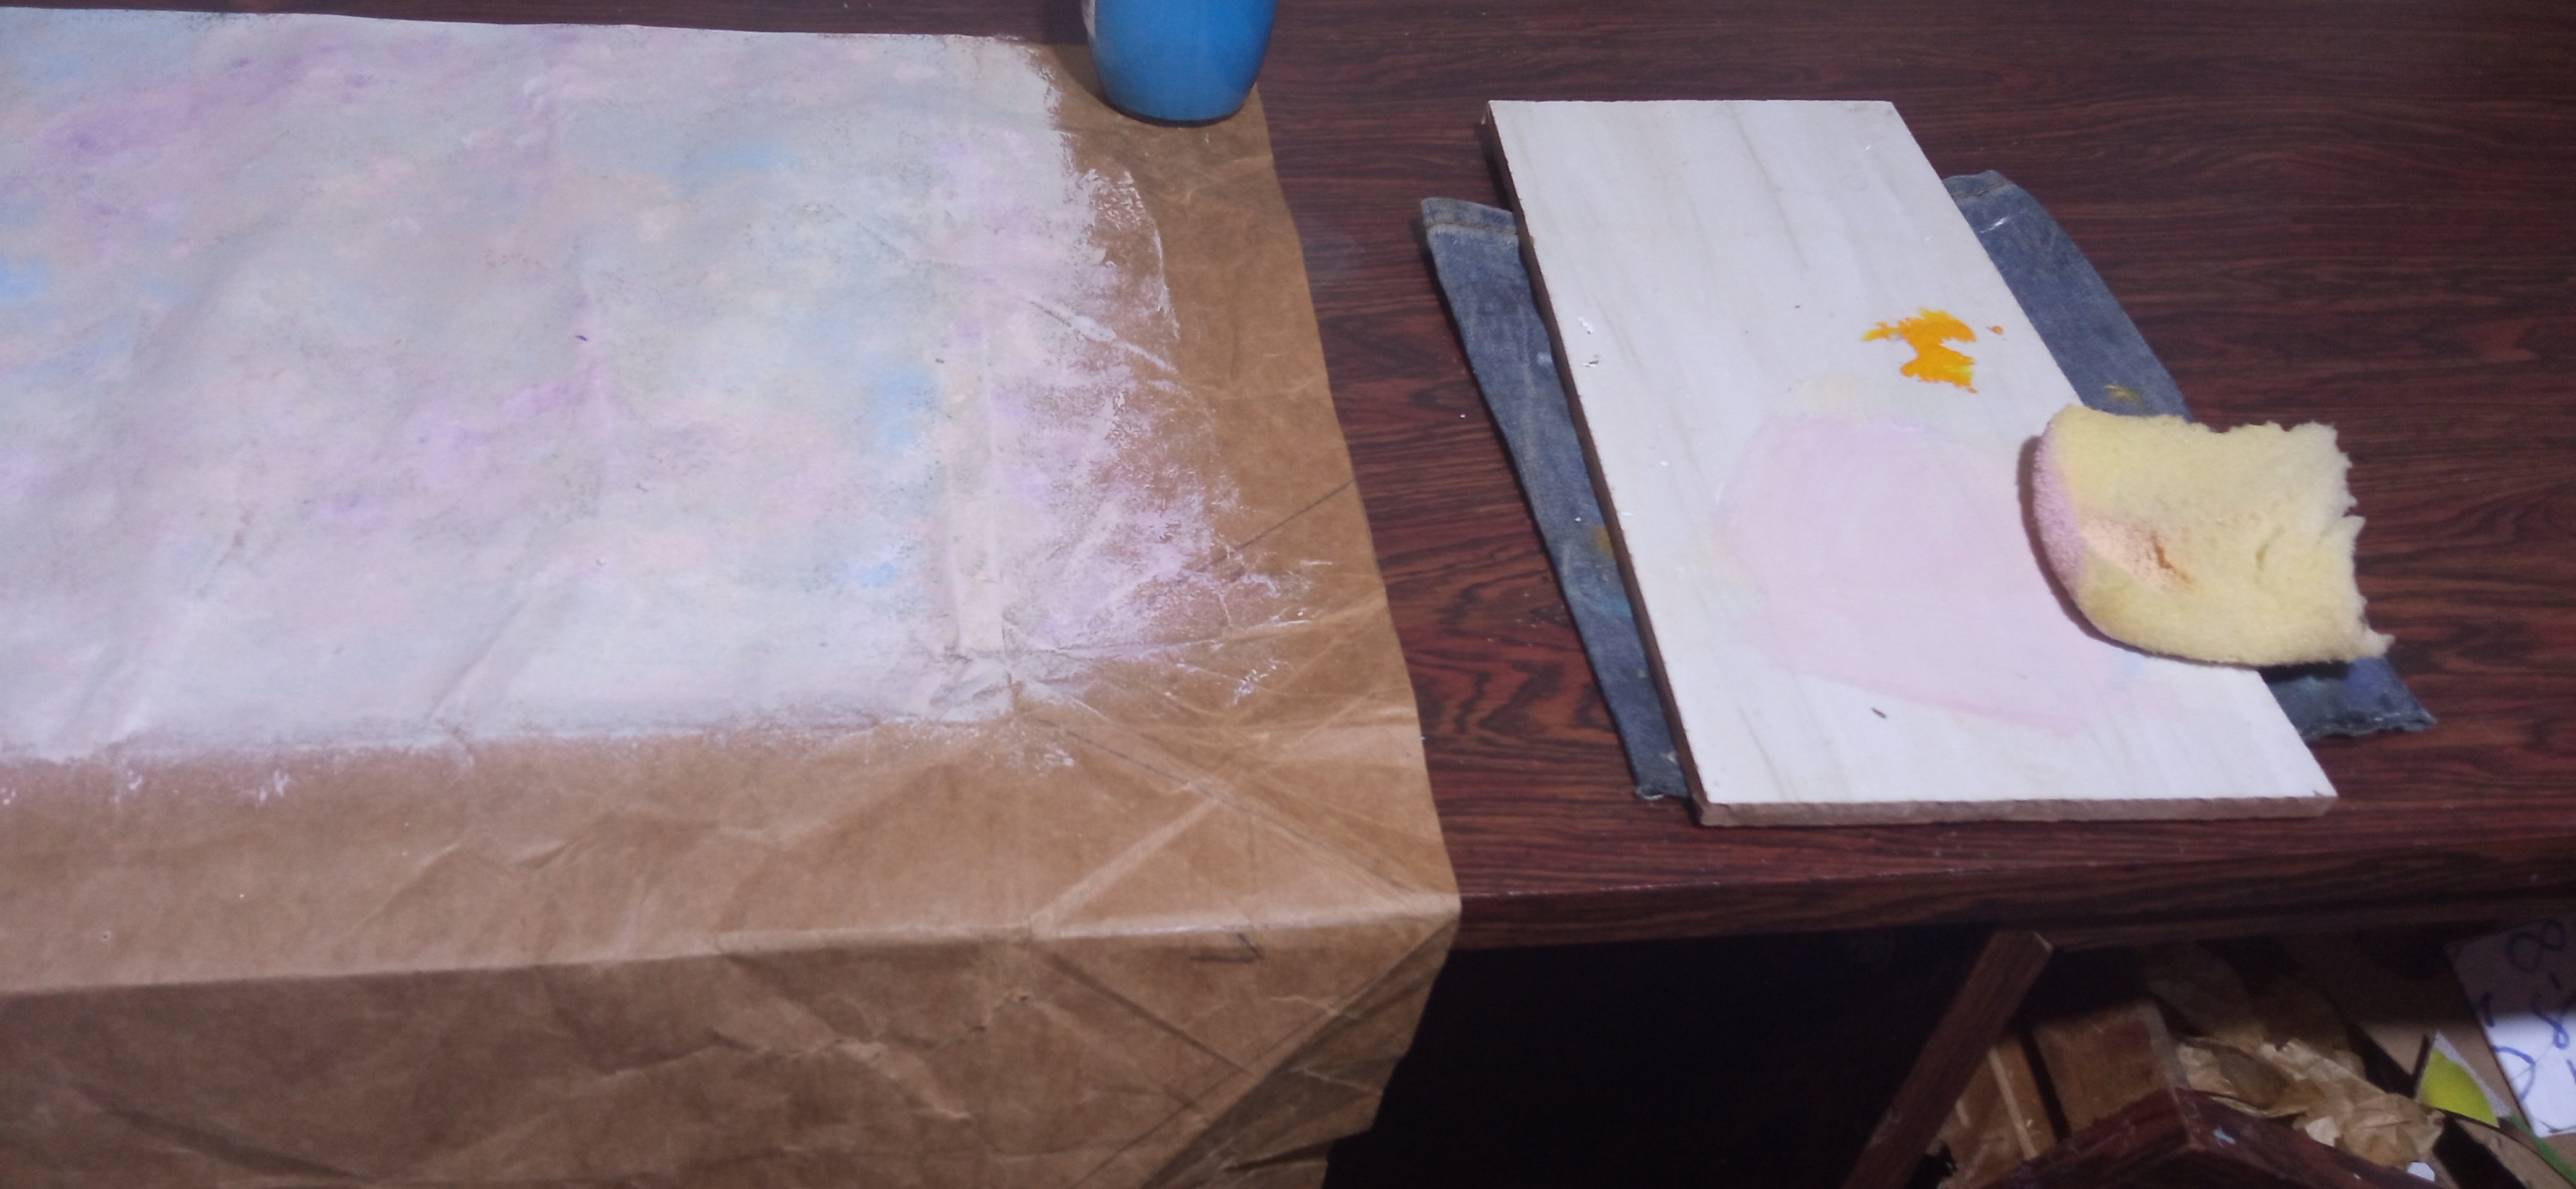
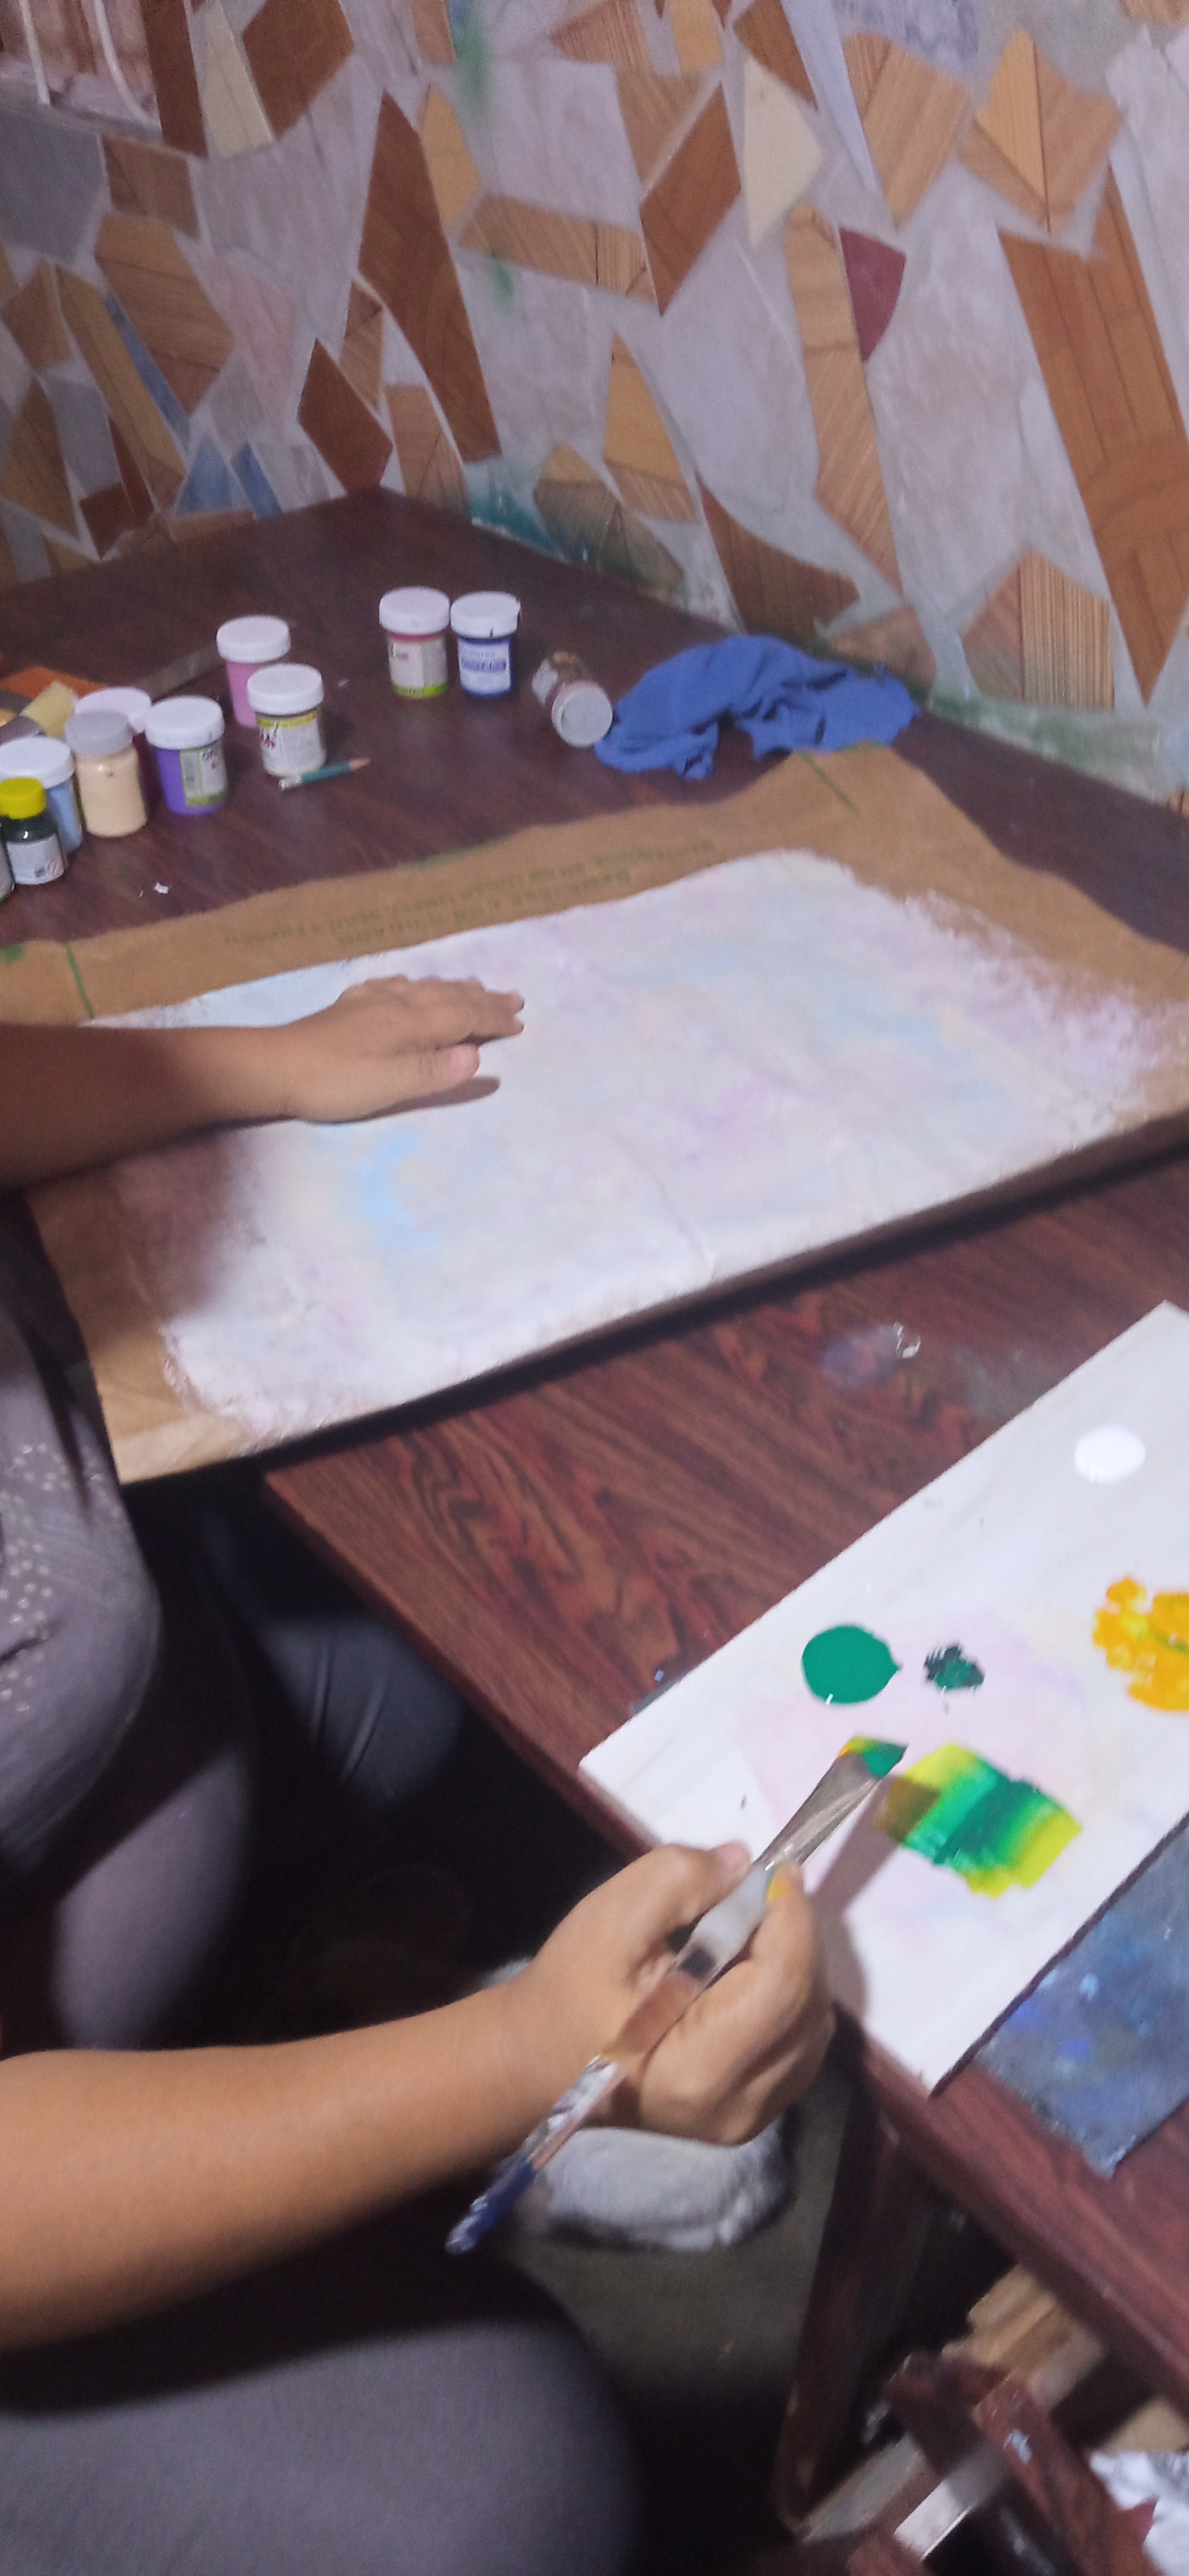
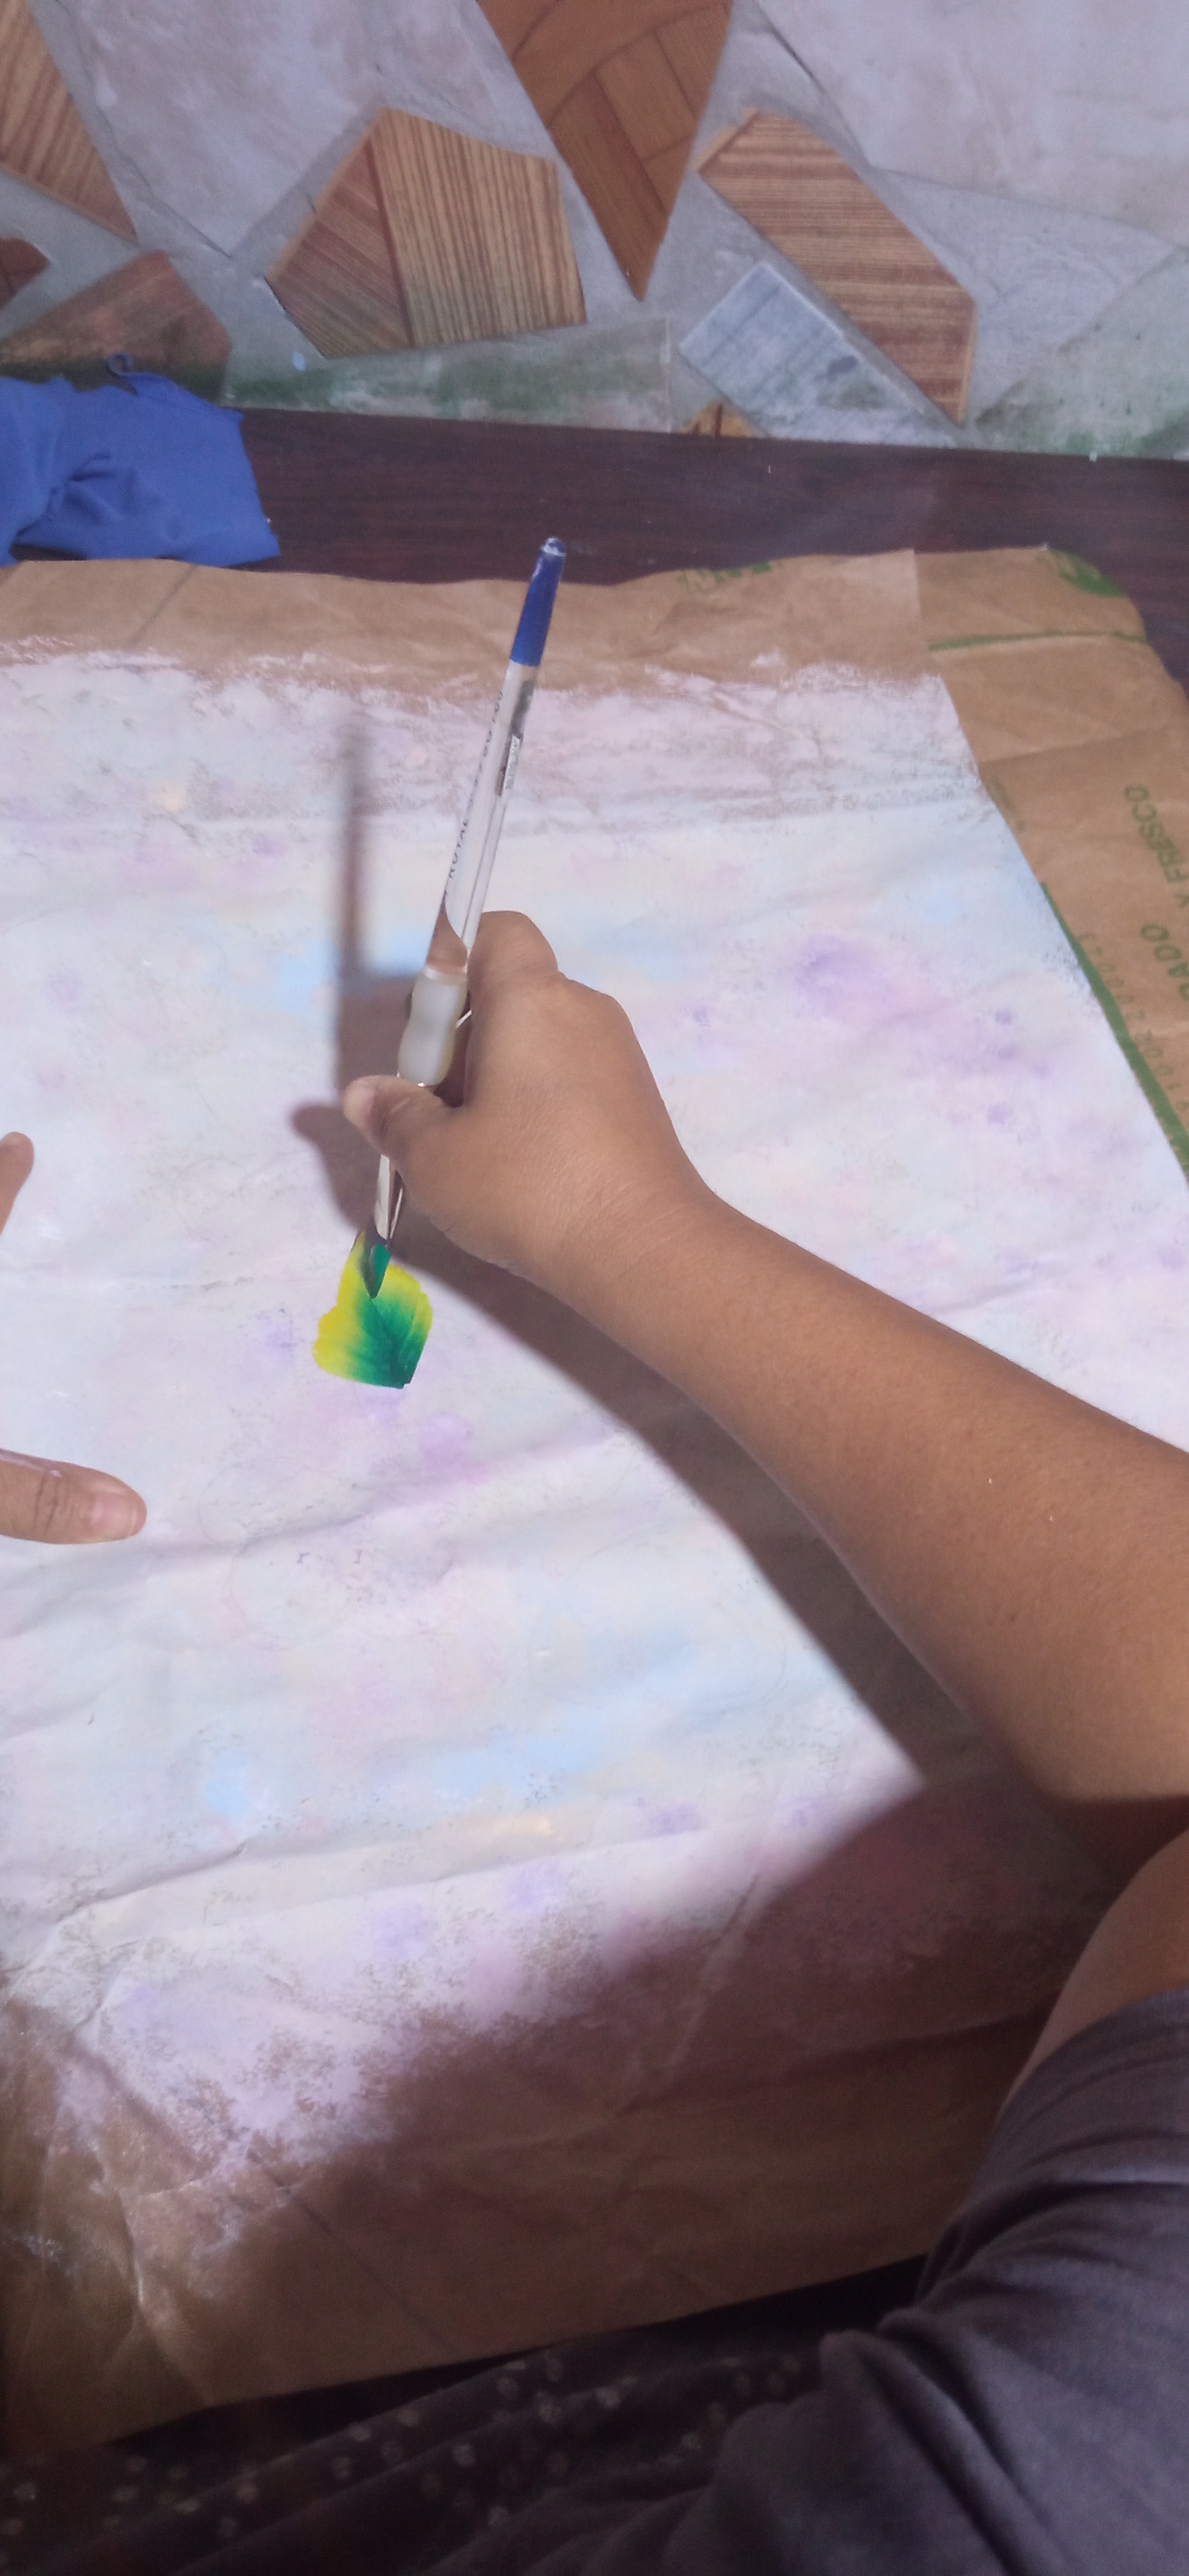
Una vez definido los doblajes escogí una de sus caras para pintarla con ayuda de una esponja.Para ello,use como base los colores:
blanco,ocrecito, azul claro violeta.Use la técnica de ponceado y deje cecar muy bien por 20 minutos aproximadamente.
Step 5:
Once the folds were defined, I chose one of its faces to paint it with the help of a sponge, using as a base the colors white, ochre, light blue and violet, using the sponge technique and let it dry very well for approximately 20 minutes.
Paso 6:
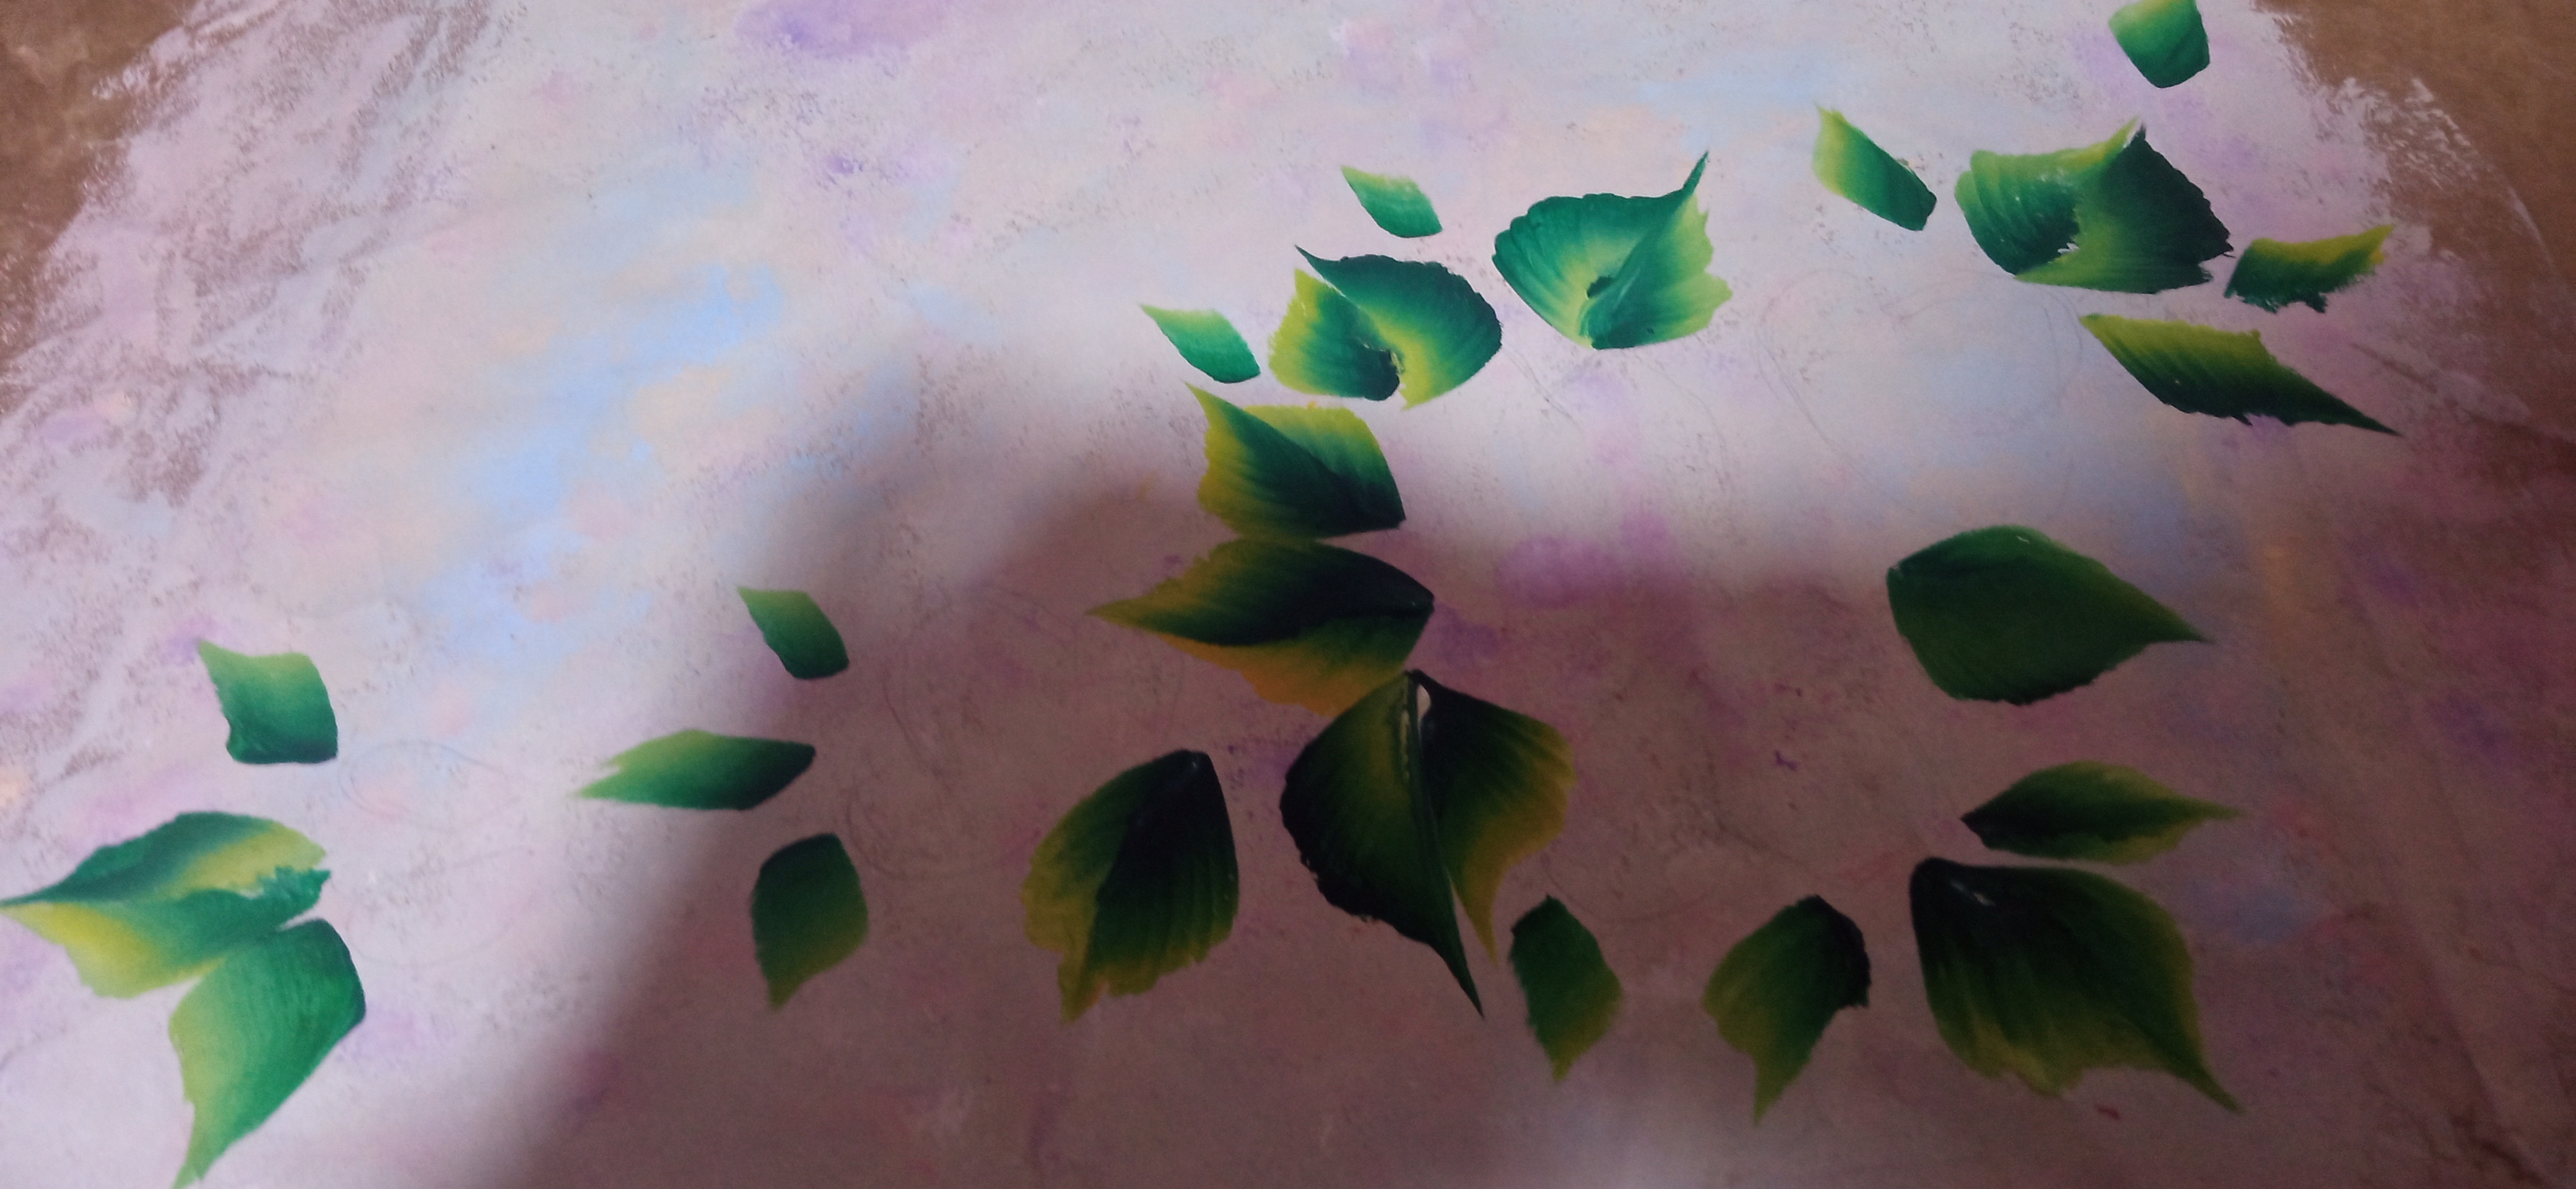
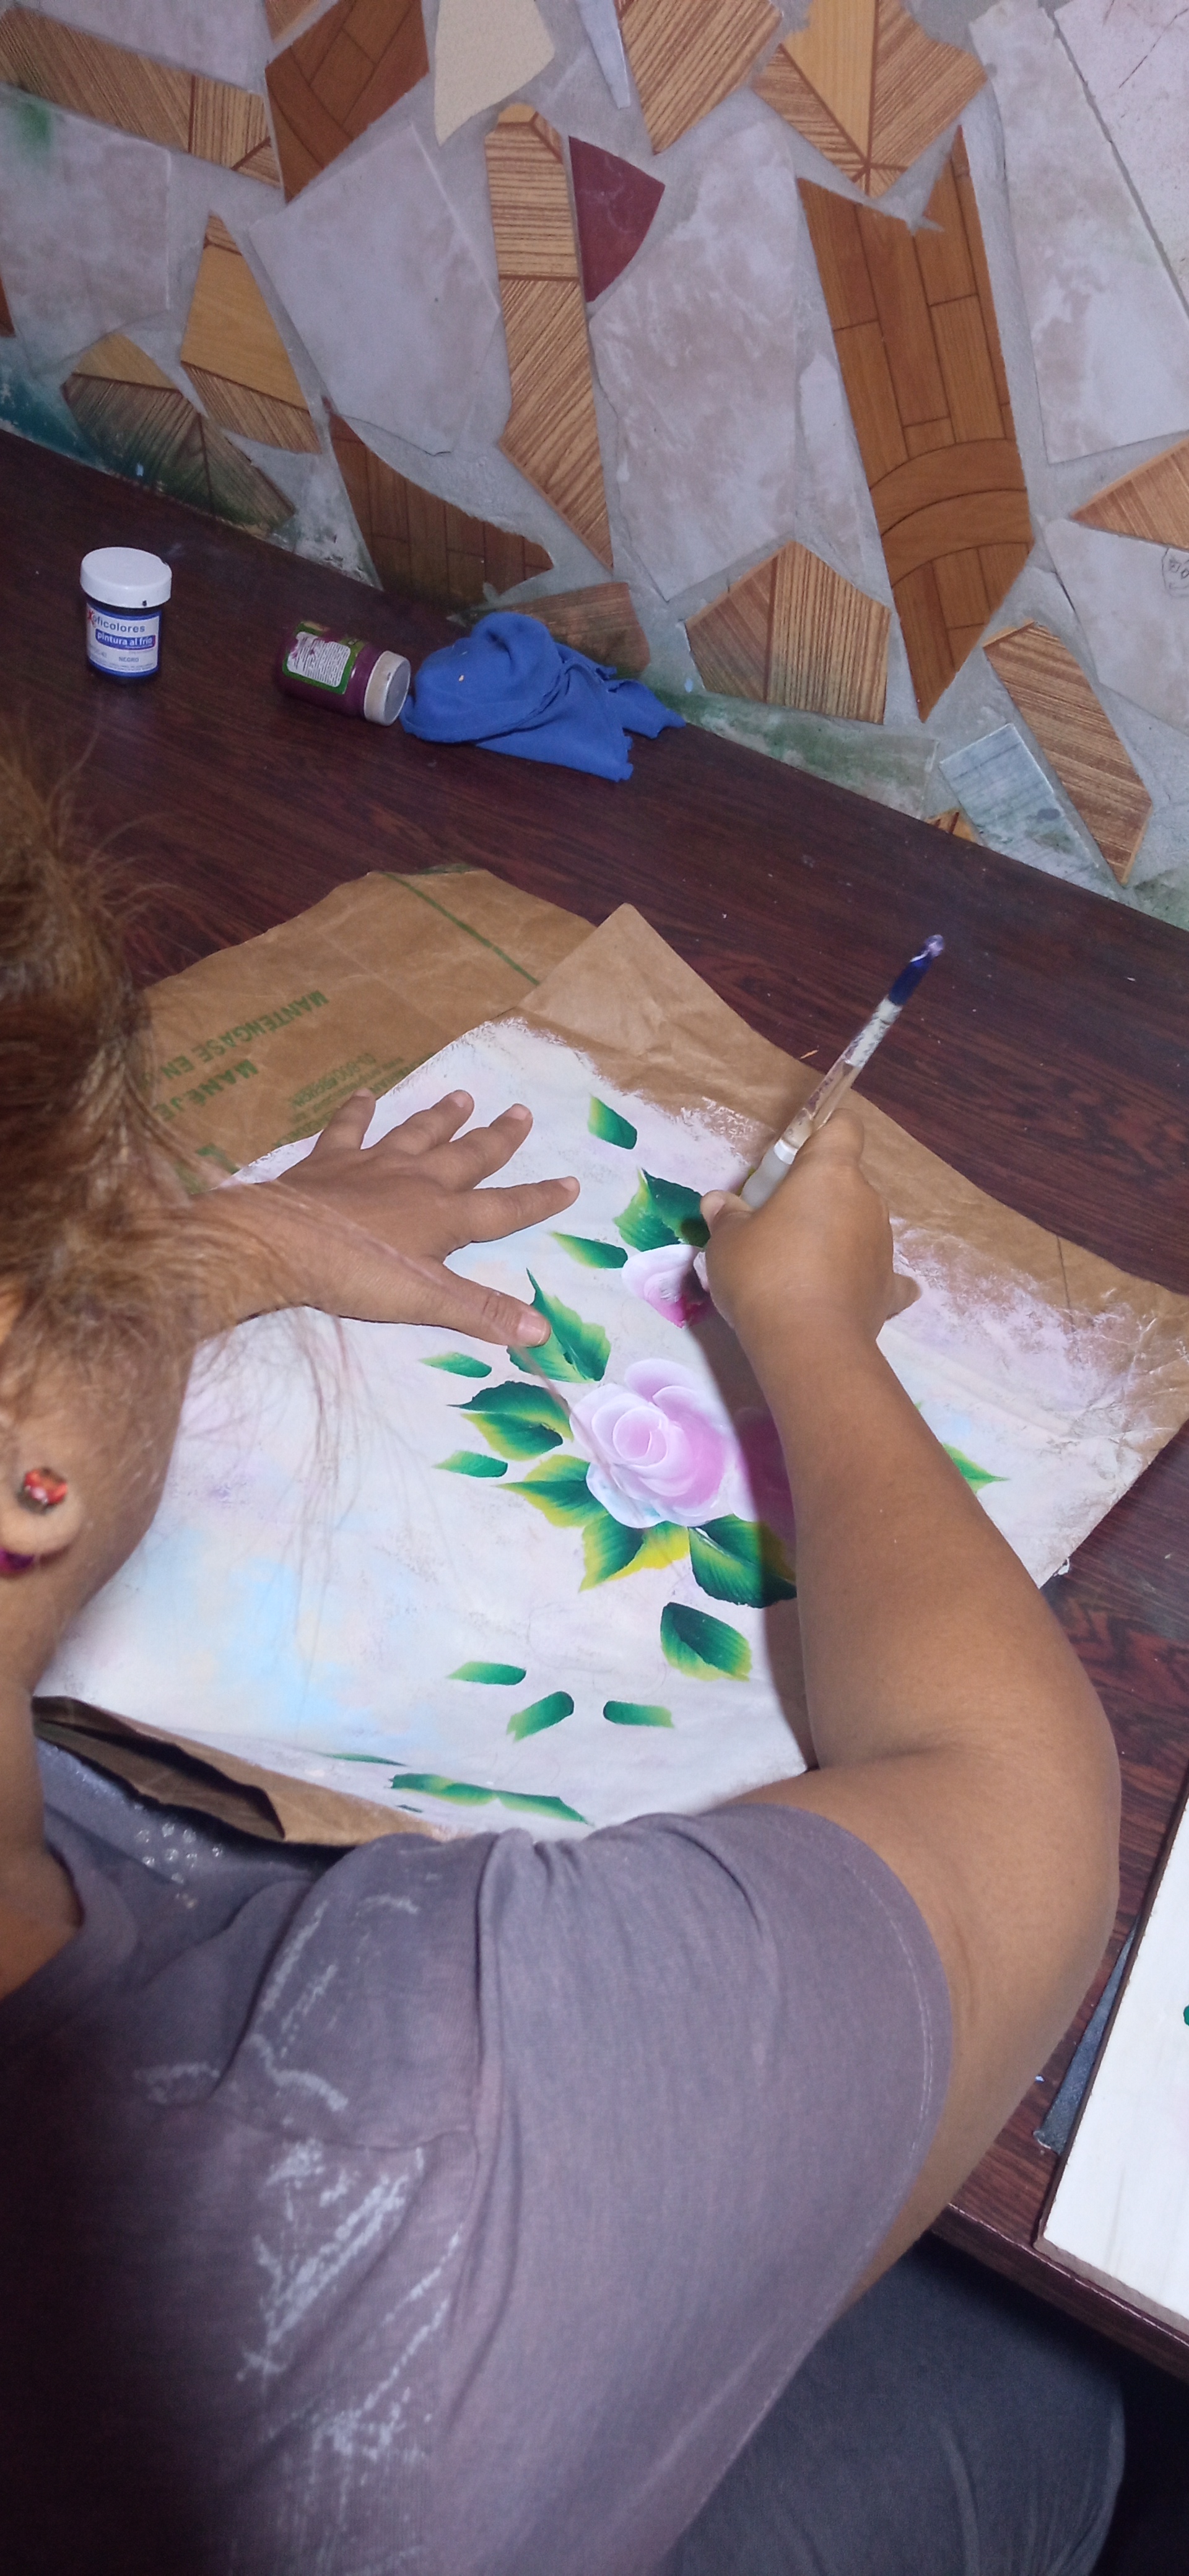
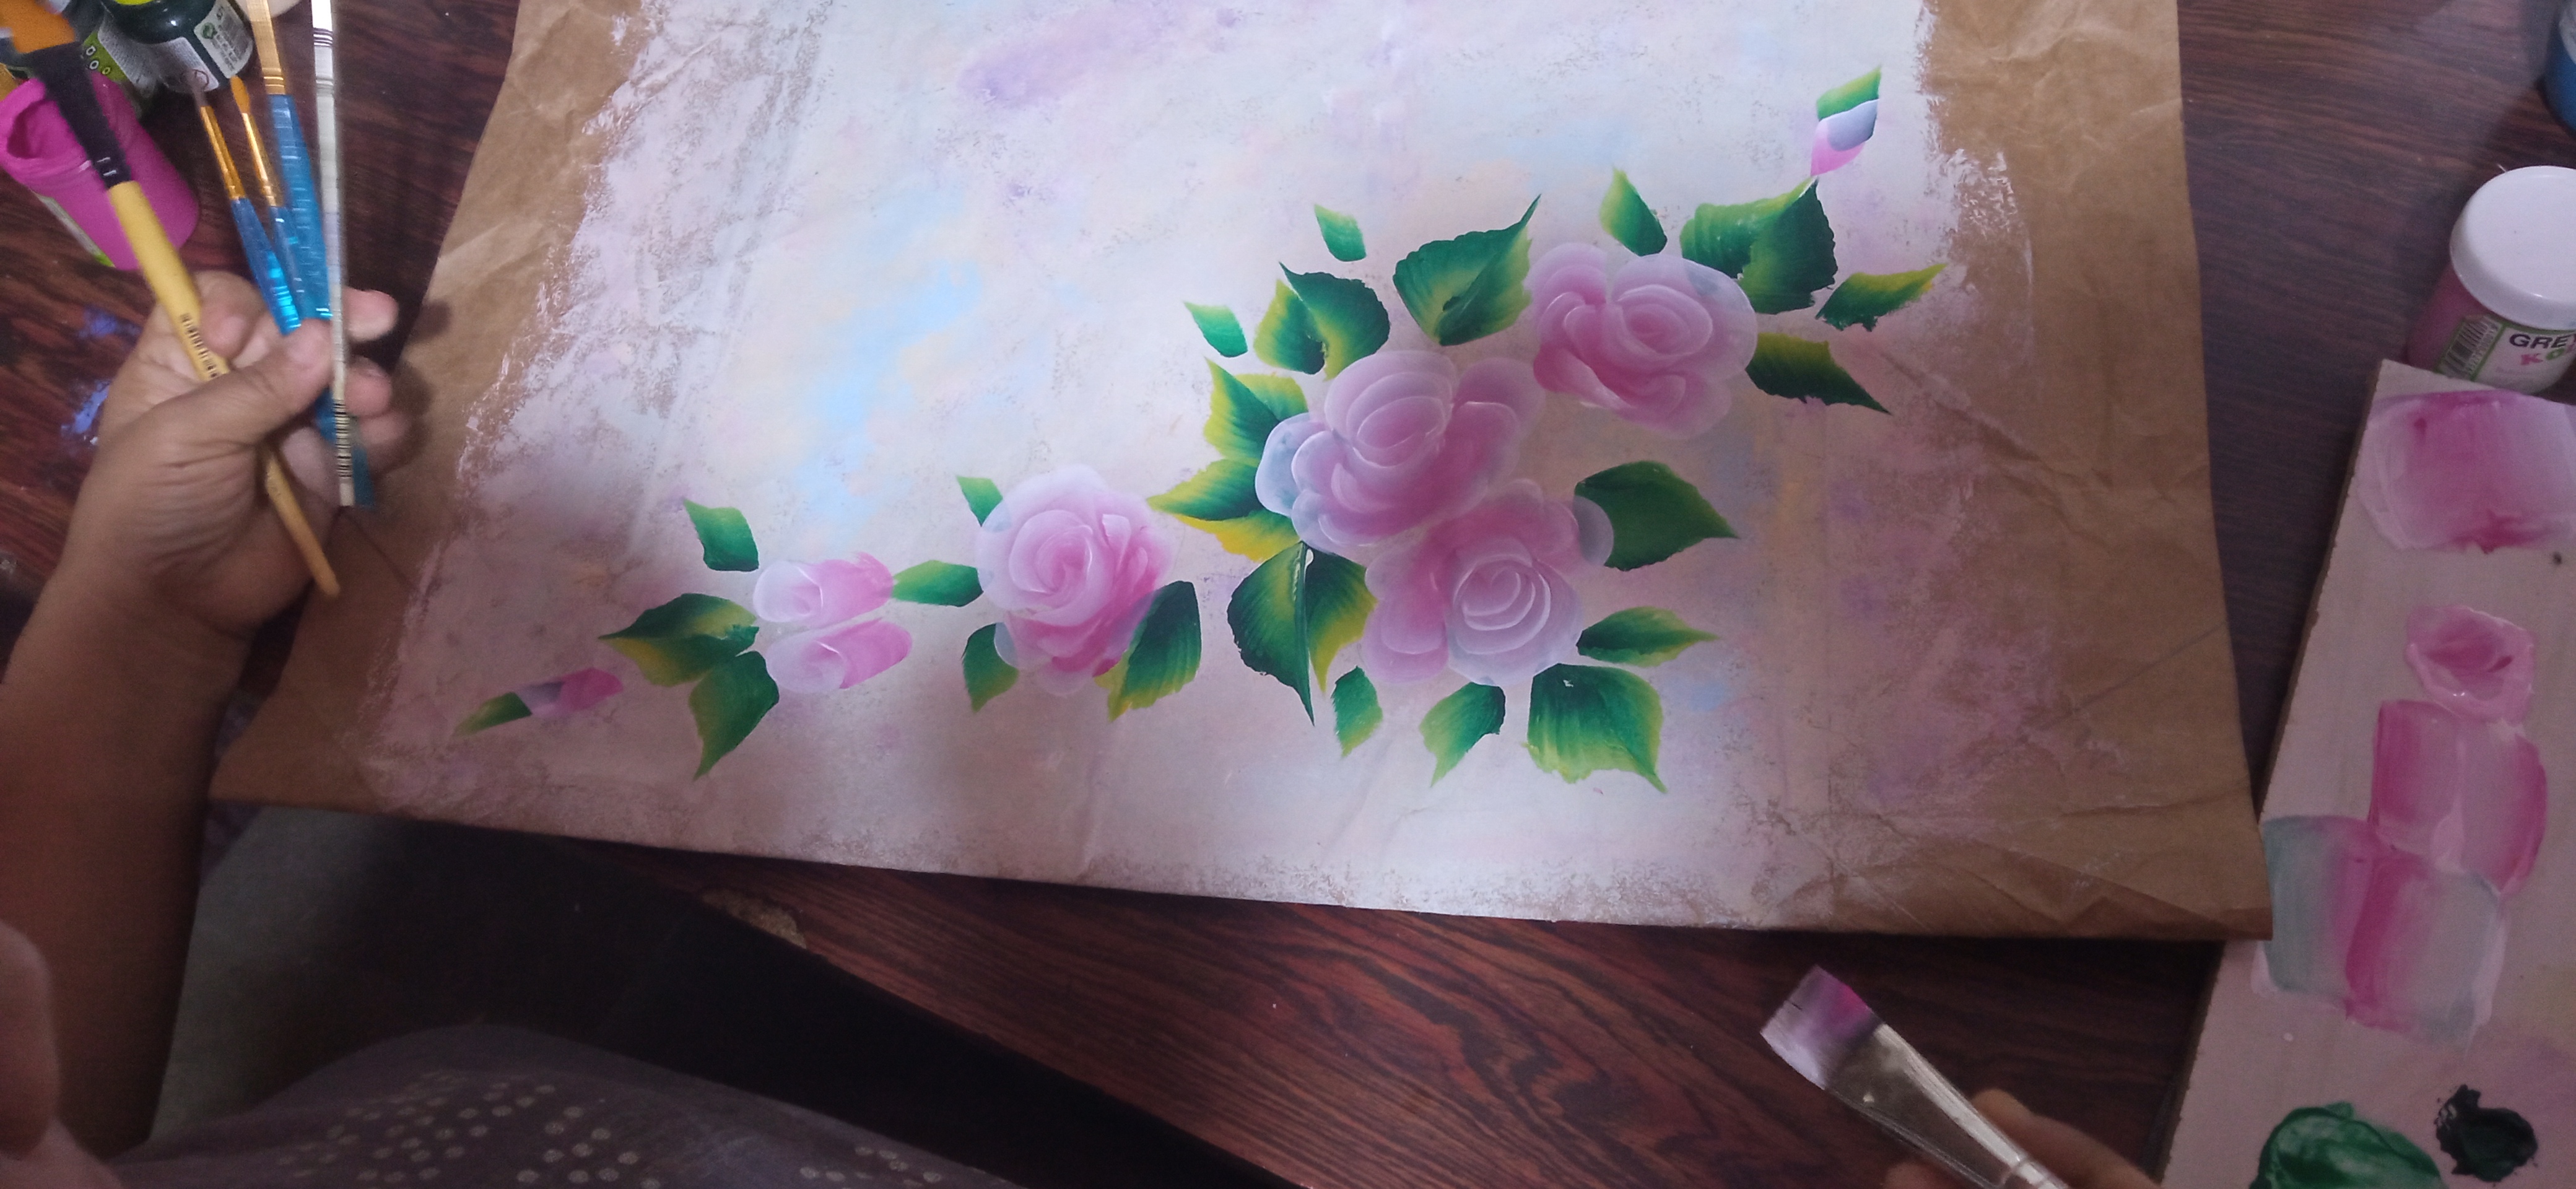
Ya seca la base, en la ceramica coloque pequeñas porciones de verde bosque, verde oscuro,amarillo y blanco y con un lápiz trace unos circulos apenas marcado para situar las flores y elaborar el diseño de las rosas.Hecho esto con el pincel plano hice una doble carga de verde bosque con un poco de verde oscuro en su punta y el otro lado del pincel lo cargue con amarillo con un blanco en la punta y descargue el pincel para unir los colores.Con esta carga hice las hojas de las rosas al rededor de los circulos que habia apenas dibujado deje secar. Esta técnica se conoce como pinceladas con doble carga.
Step 6:
Once the base is dry, on the ceramic I placed small portions of forest green, dark green, yellow and white and with a pencil I traced some circles barely marked to place the flowers and elaborate the design of the roses.Done this with the flat brush I made a double load of forest green with a little dark green on its tip and the other side of the brush I loaded it with yellow with a white on the tip and unloaded the brush to unite the colors.With this load I made the leaves of the roses around the circles that I had just drawn let it dry. This technique is known as double loaded brush strokes.
Paso 7:
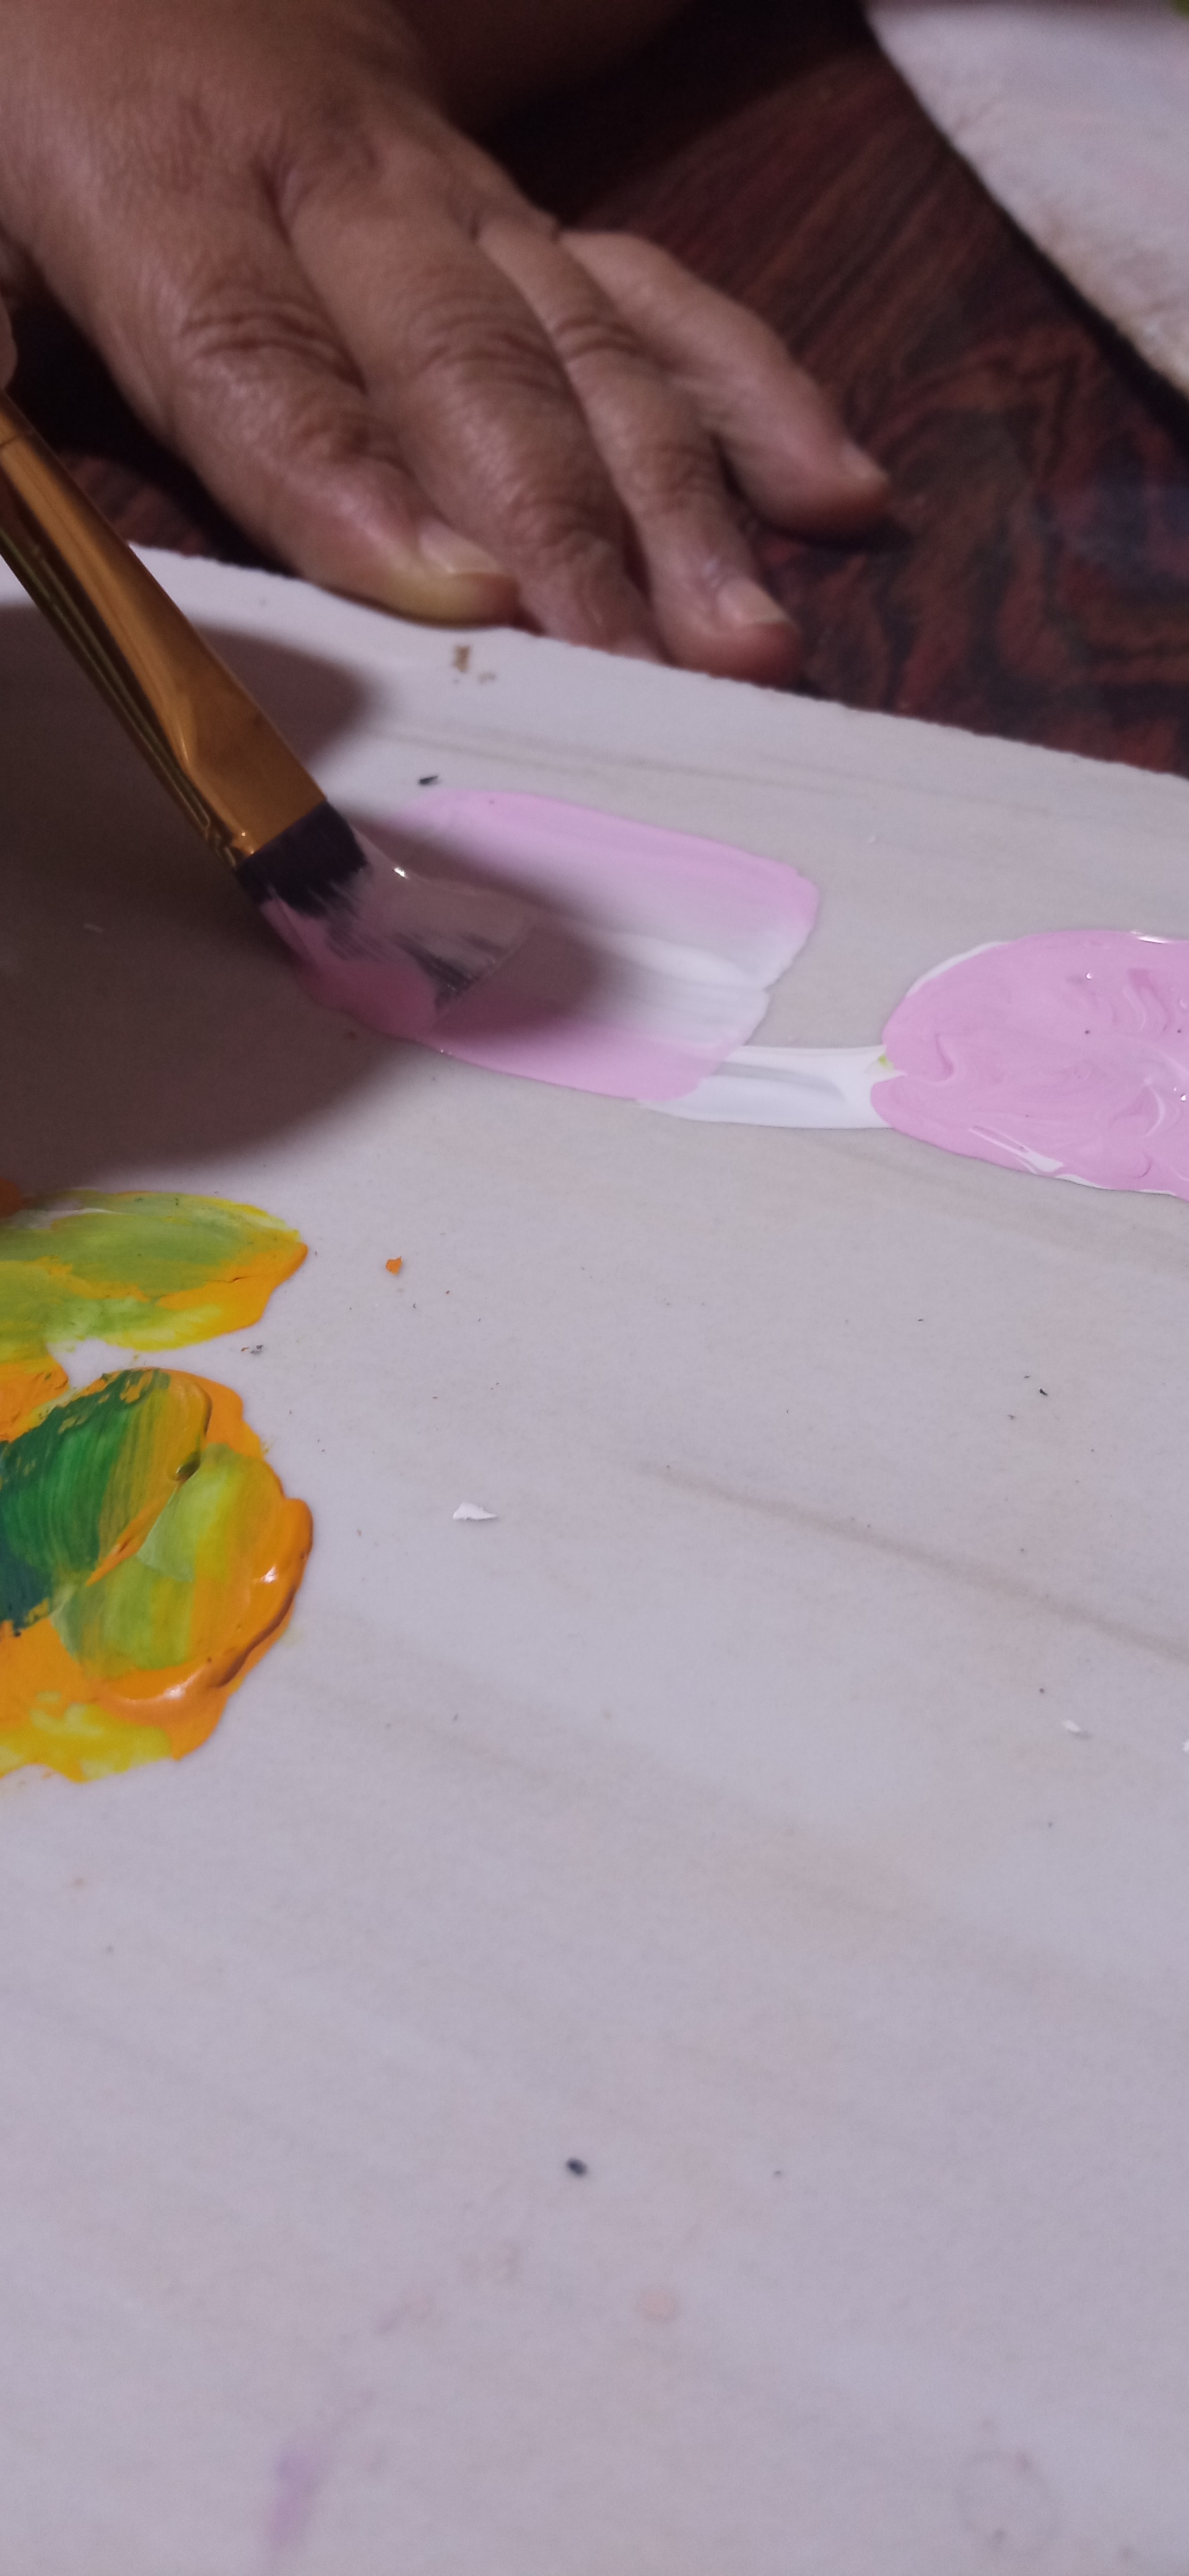
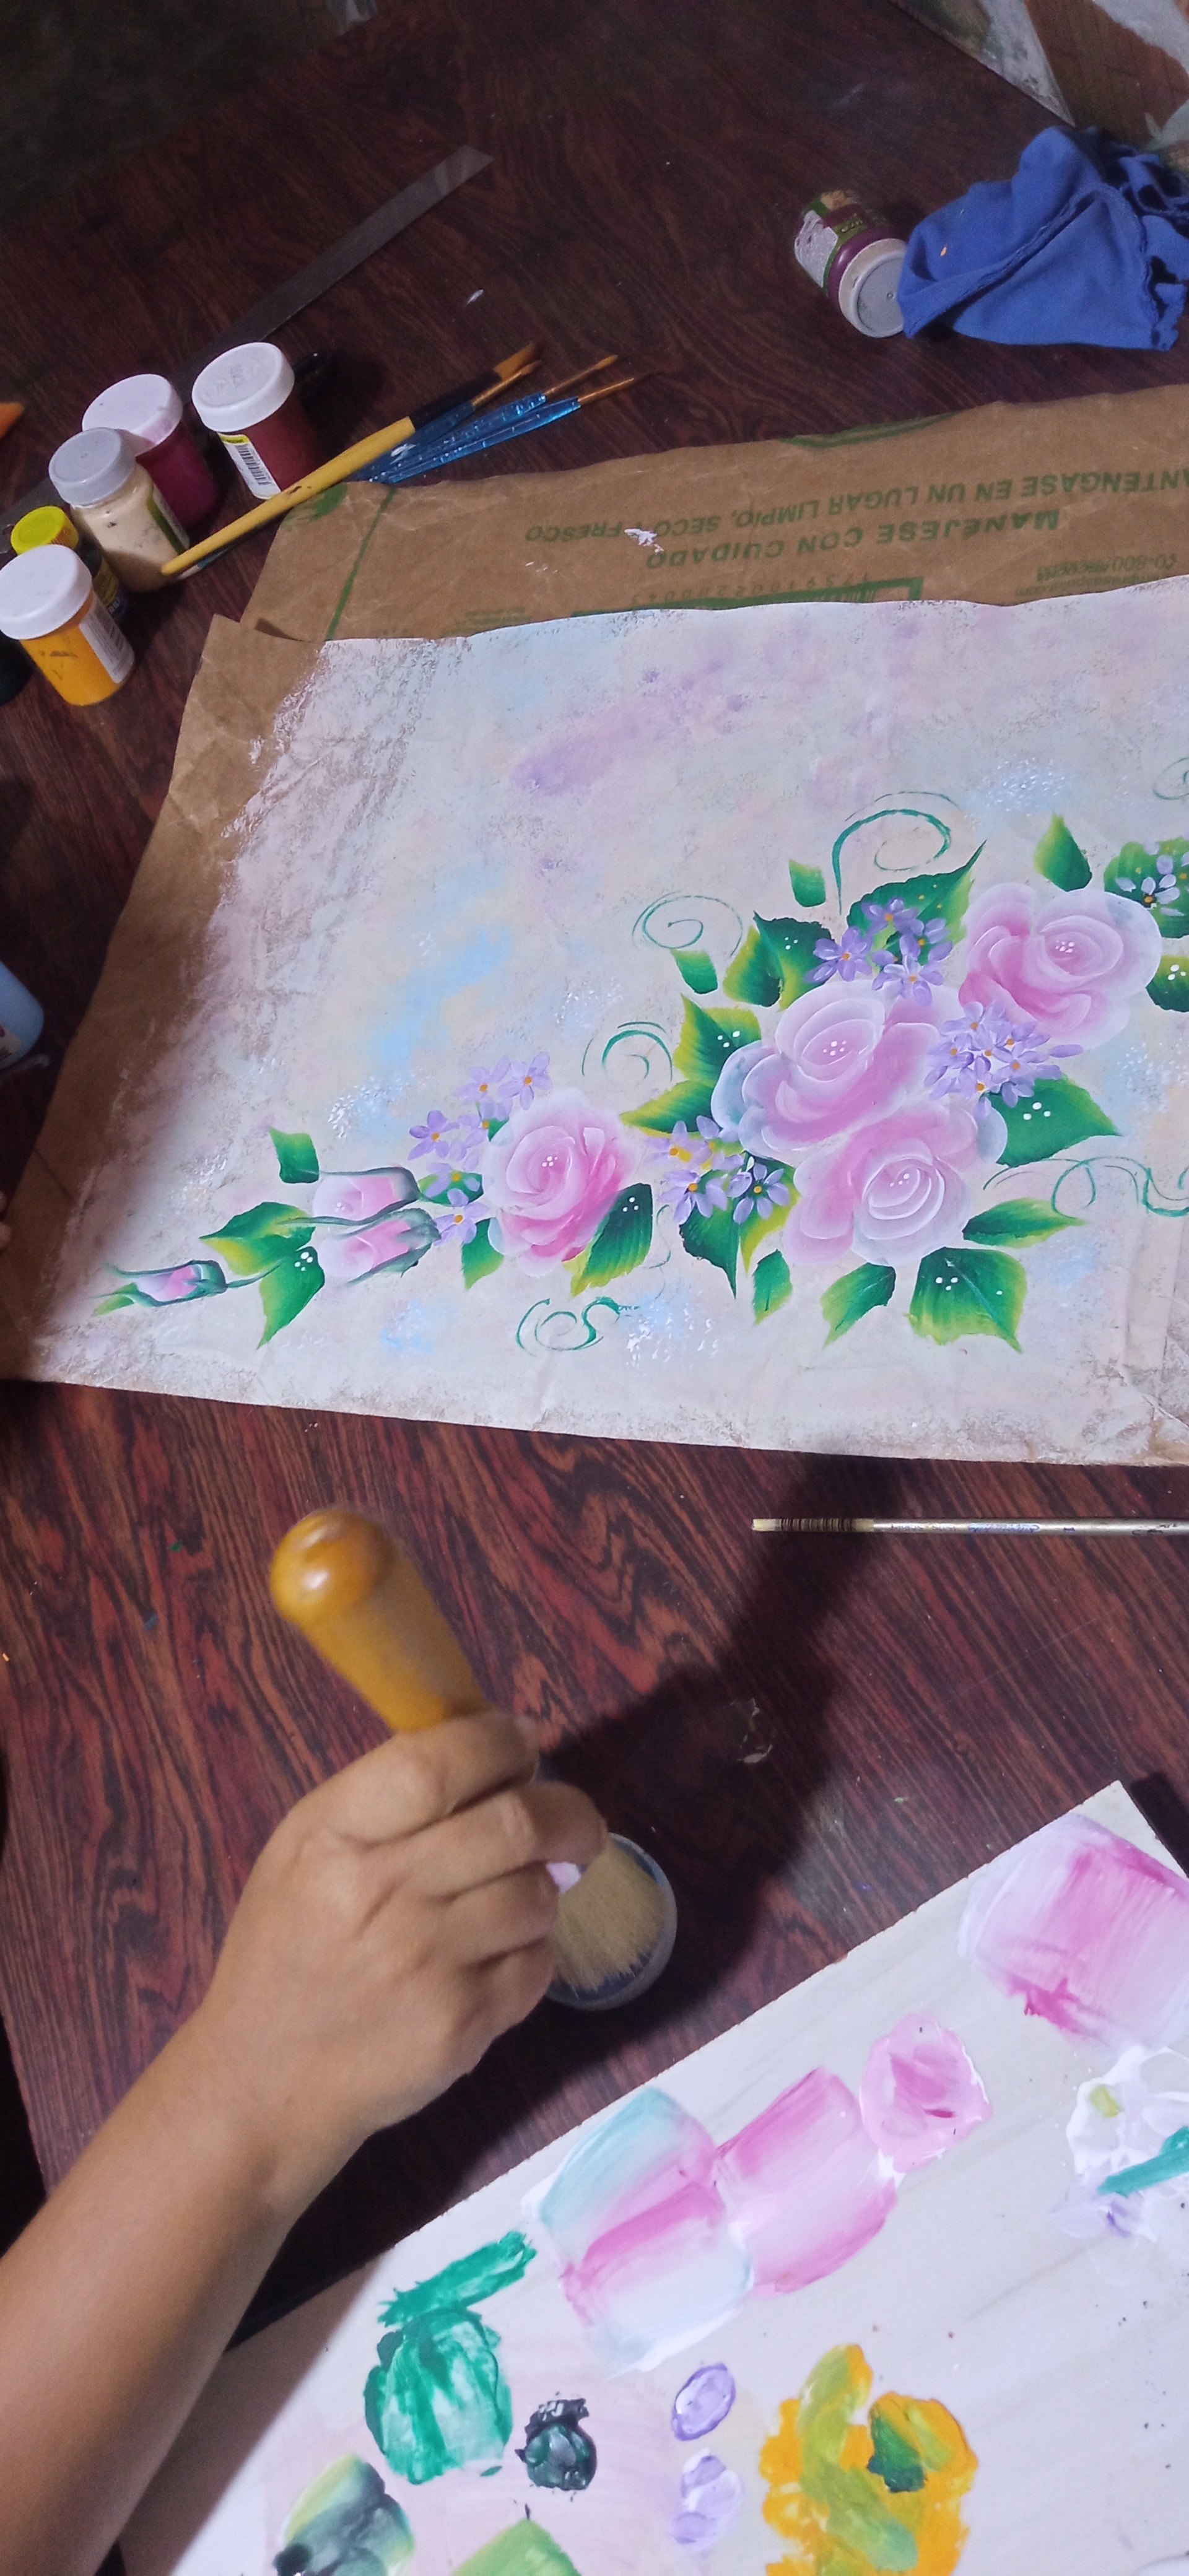
Use la misma técnica para hacer las rosas y los capullos.Hice una doble carga de rosita con magenta en la punta y blanco del otro lado del pincel descargue el pincel sobre la ceramica para unir los tonos.Una vez listo presione el pincel en forma de "U" invertida (hacia abajo) dos veces y cerre el centro de la rosa en forma de "U" normal (hacia arriba) y hice movimientos en forma de comas a los lados de la rosa para hacer los pétalos de la misma y en su centro coloque puntos blancos con el cabo del pincel para pintar su semilero.
Step 7:
Use the same technique to make the roses and buds.I did a double load of pink with magenta on the tip and white on the other side of the brush unload the brush onto the ceramic to blend the tones together. Once ready press the brush in an inverted "U" shape (downwards) twice and close the center of the rose in a normal "U" shape (upwards) and made comma-shaped movements on the sides of the rose to make the petals of the rose and in its center I placed white dots with the end of the brush to paint its semilayer.
Paso 8:
Los espacios que me quedaban entre las hojas y las rosas los rellene con pequeñas florecitas que hice con el pincel redondo 3 en violeta y blanco.Con el cabo del pincel les puse puntos amarilos en el centro de las florecitas.Con el pincel liner 1 hice pequeños arabescos para adornar el diseño.Con la brocha de estencil motie blanco con azul claro.
Step 8:
The spaces that were left between the leaves and the roses I filled with small flowers that I made with the round brush 3 in purple and white.With the end of the brush I put yellow dots in the center of the flowers.With the liner brush 1 I made small arabesques to decorate the design.With the stencil brush I motie white with light blue.
Paso 9:
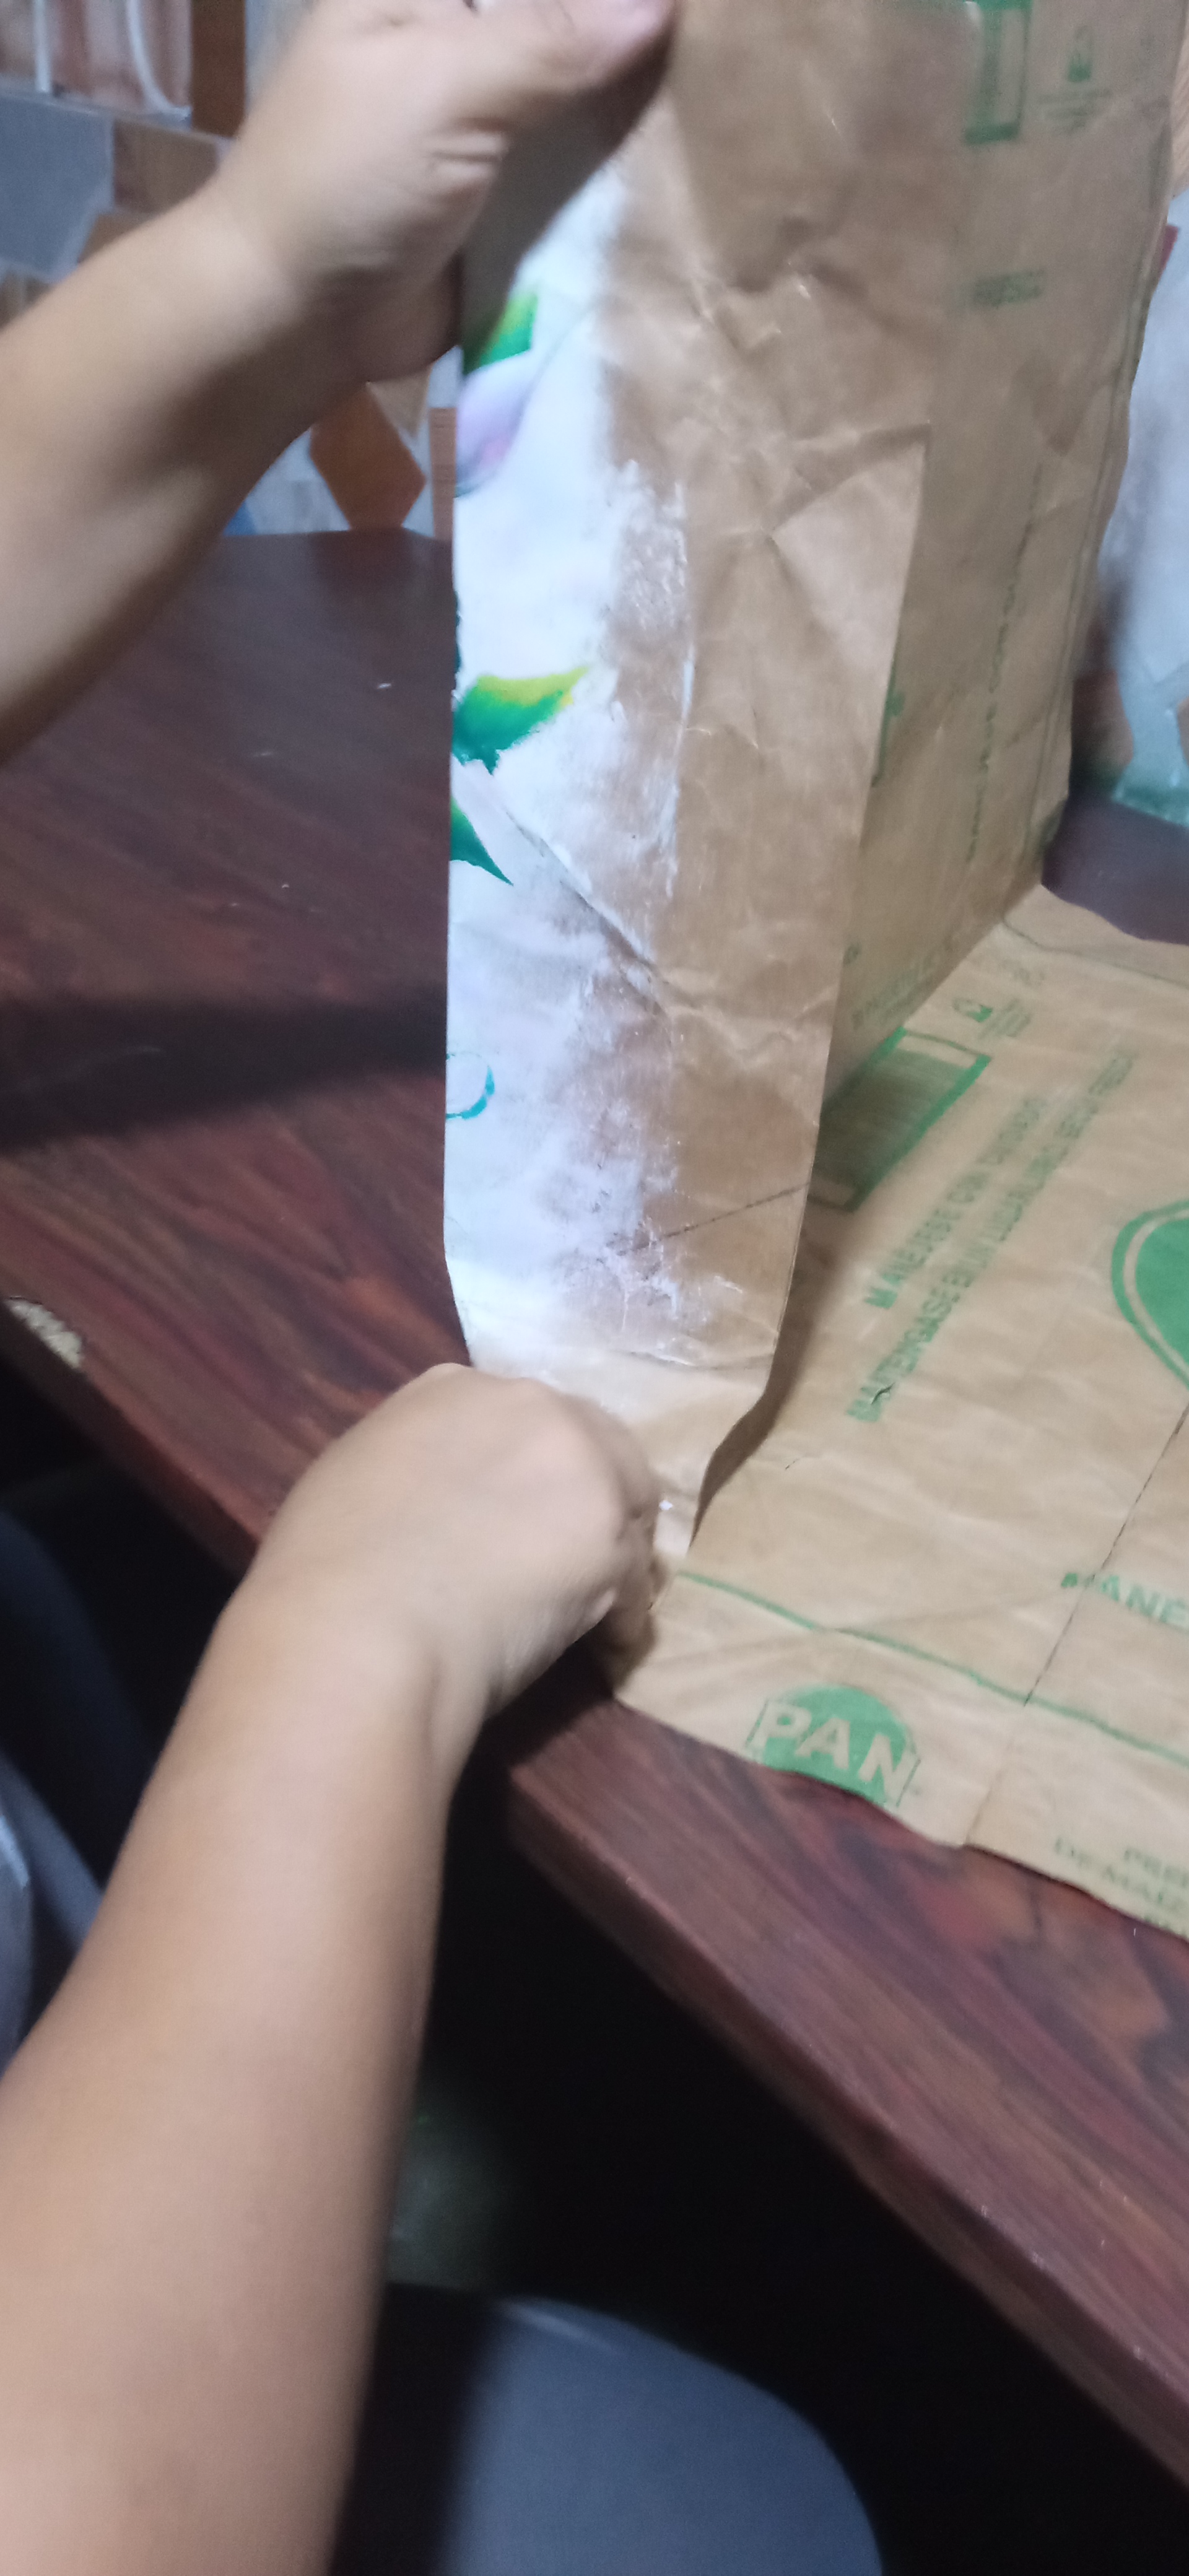
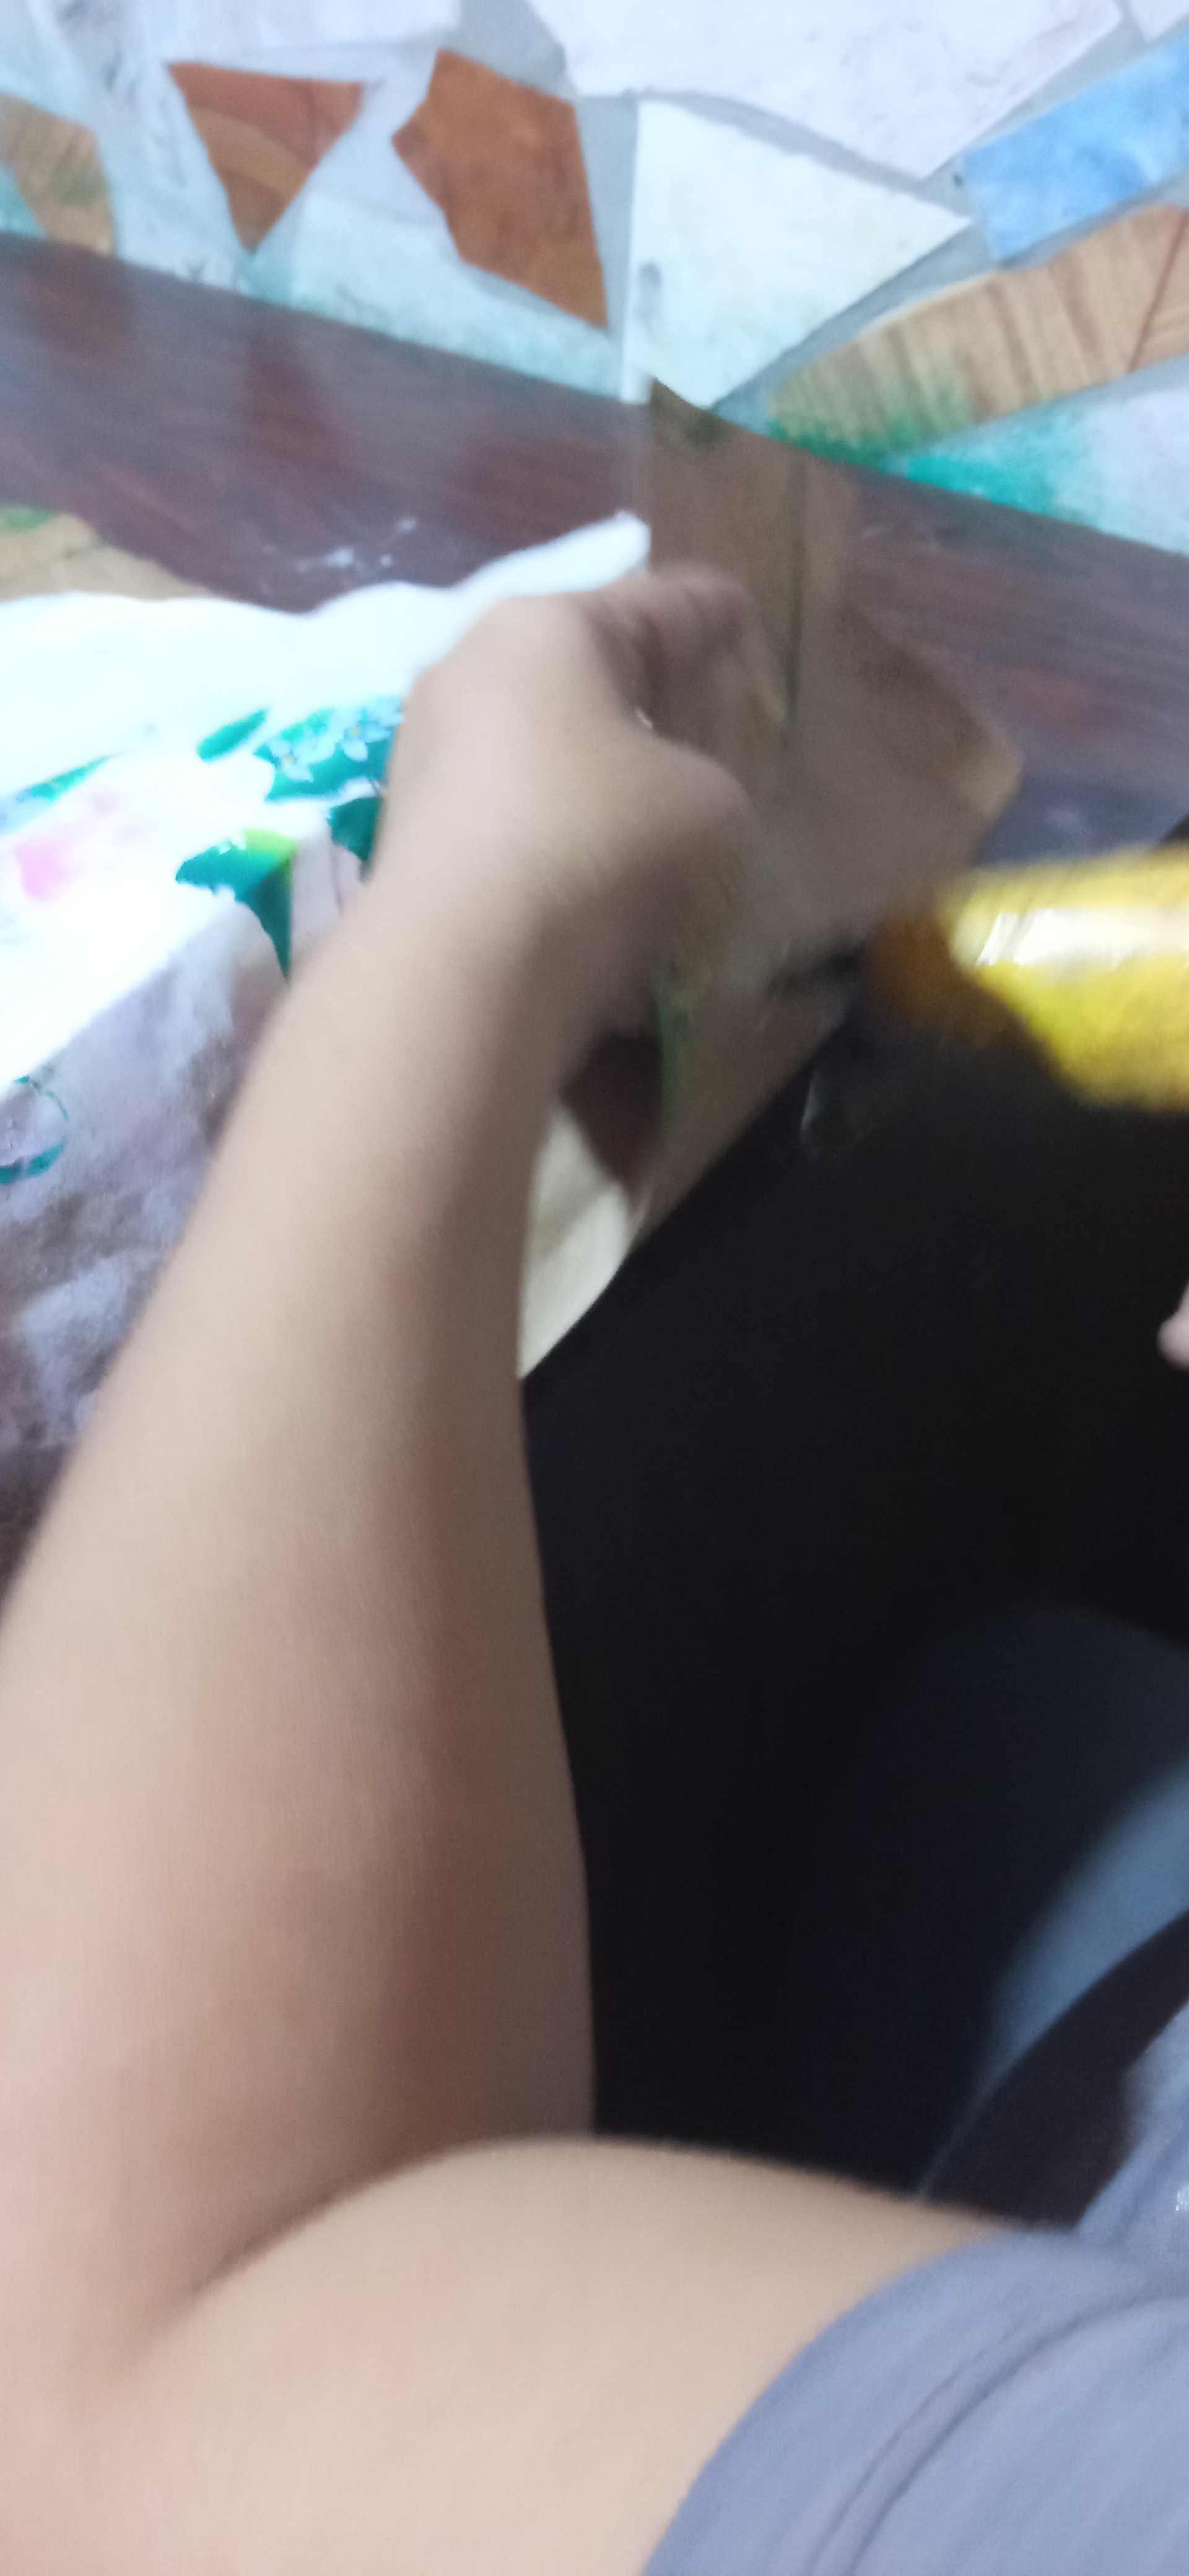
Pintado el ramo de rosas arme la bolsa siguiendo los doblajes que ya previamente habia definido y la pegue con silicón en barra.
Step 9:
Once the bouquet of roses was painted, I assembled the bag following the folds that I had previously defined and glued it with silicone glue stick.

Paso 10:
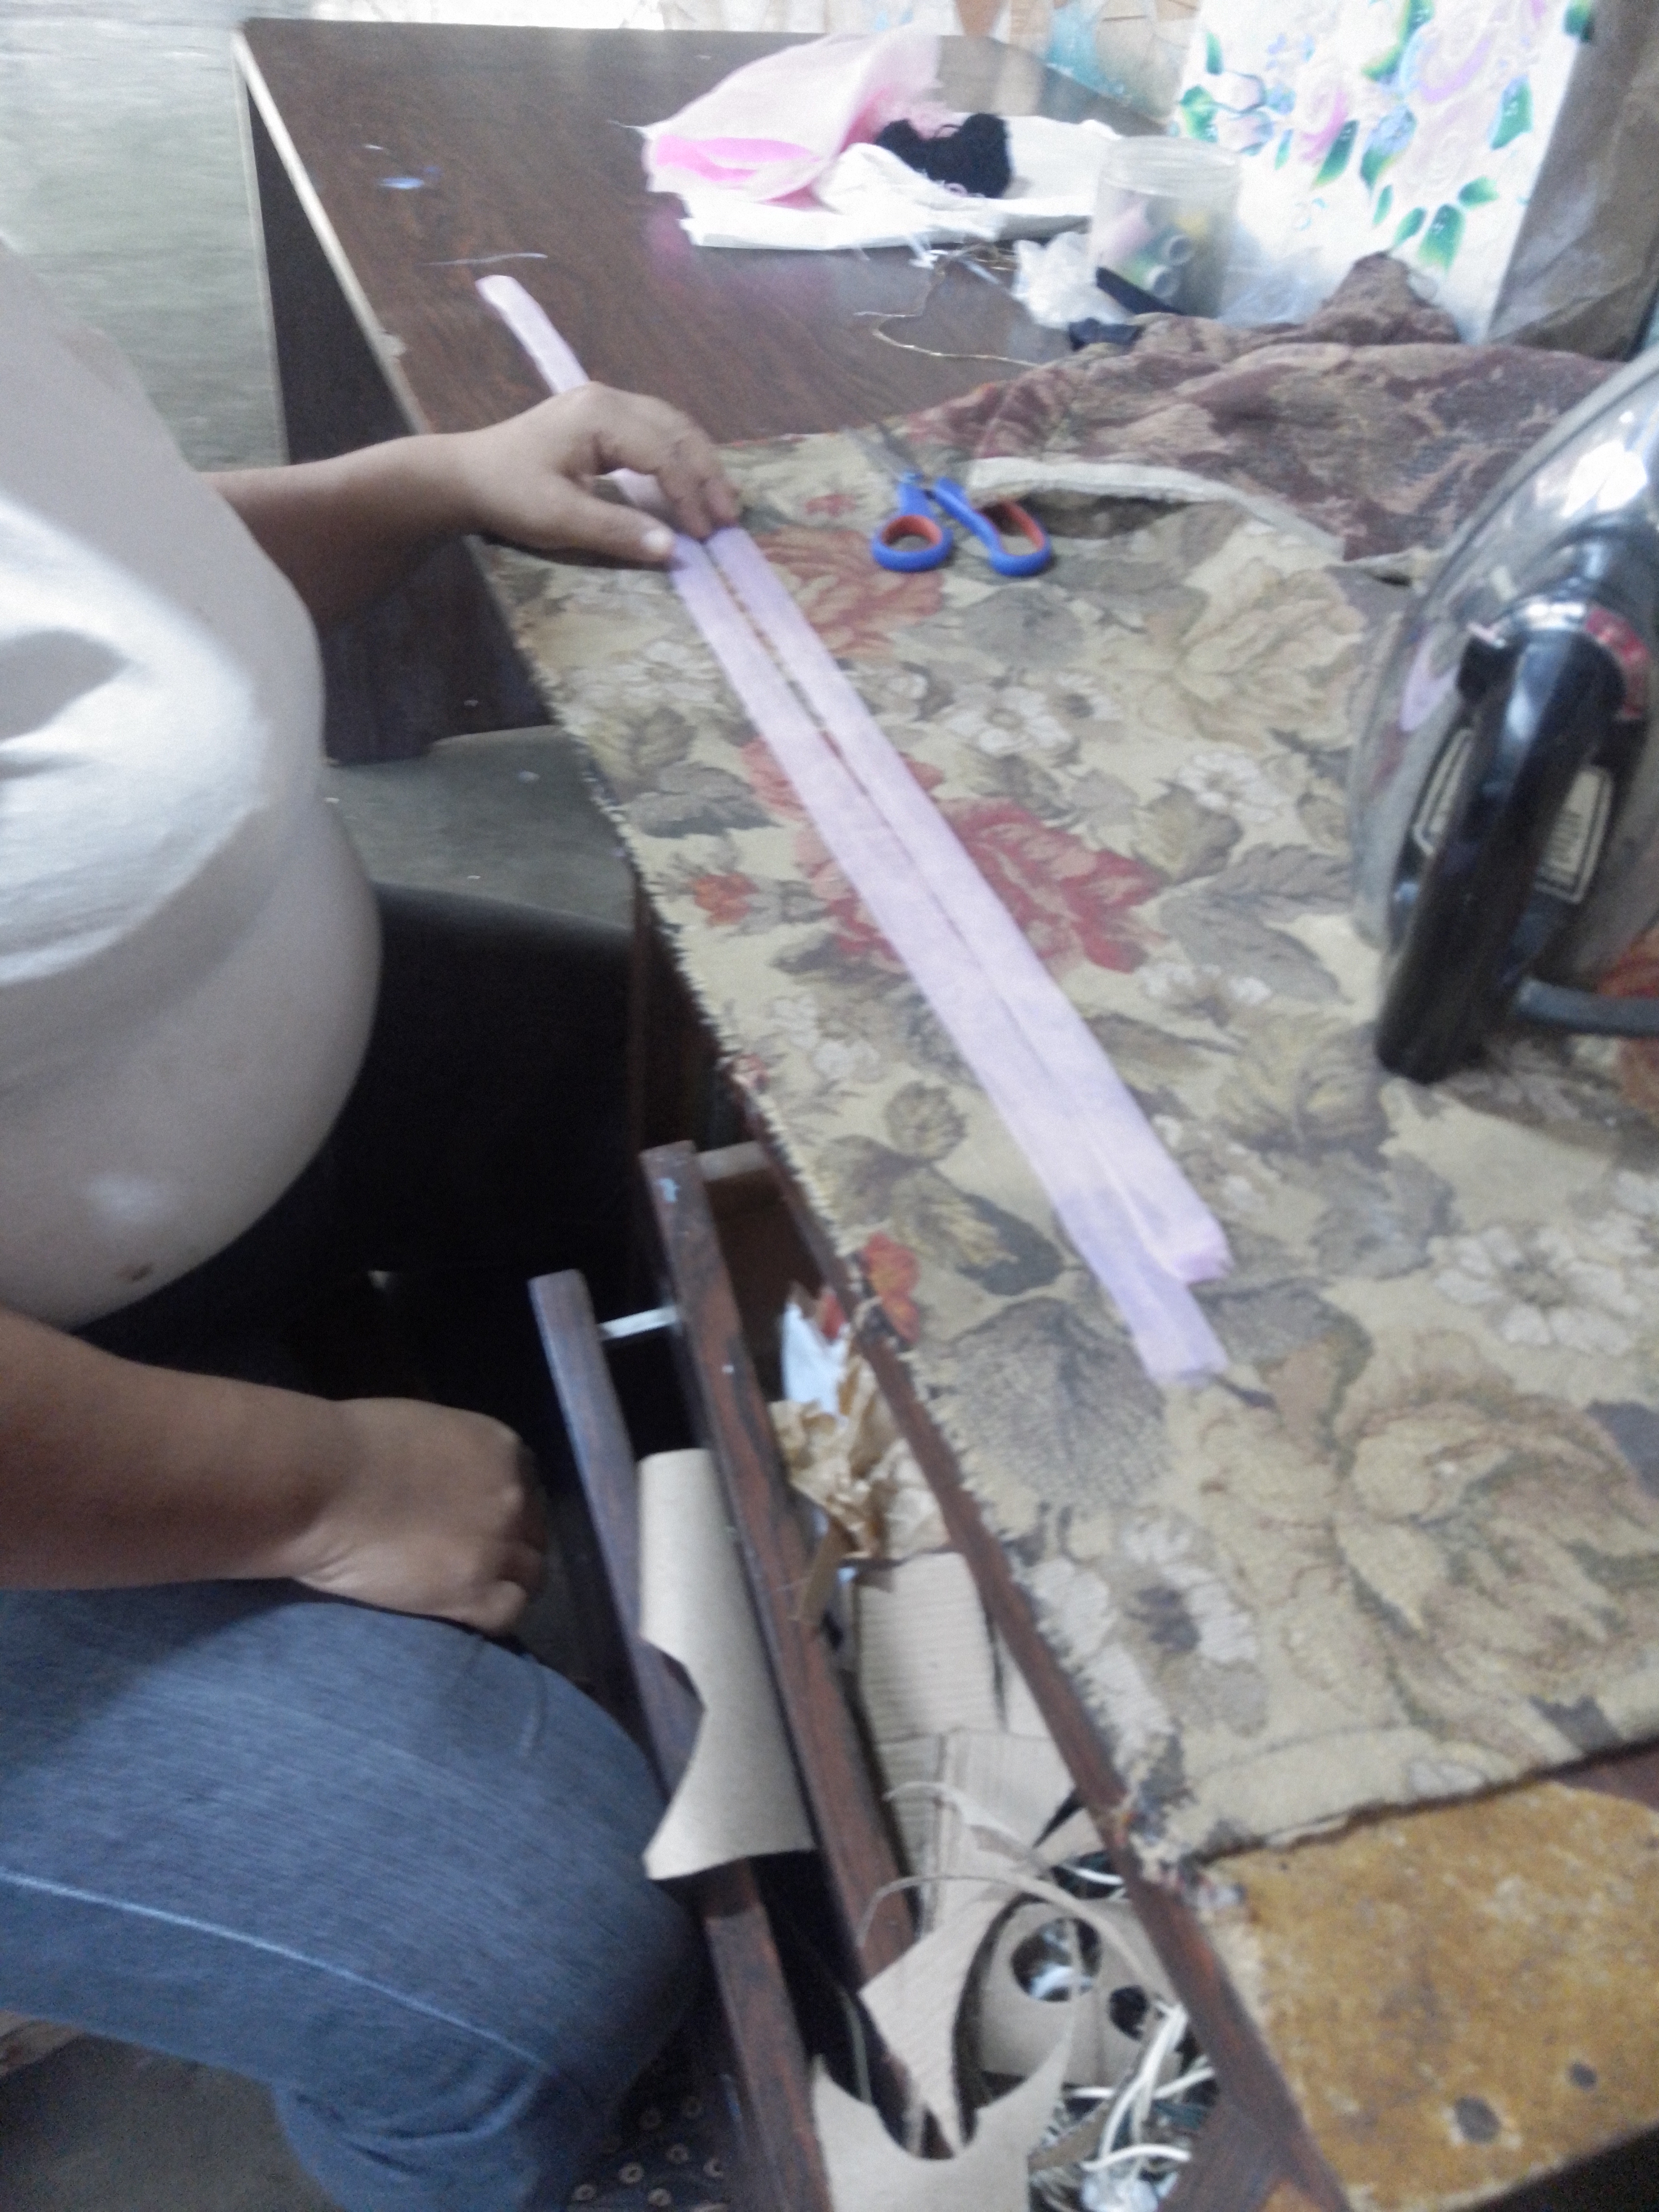
Corte una tira de organza rosada a la cual le doble sus bordes y planche para realizar una cinta.
Step 10:
Cut a strip of pink organza to which you fold its edges and iron to make a ribbon.
Paso 11:
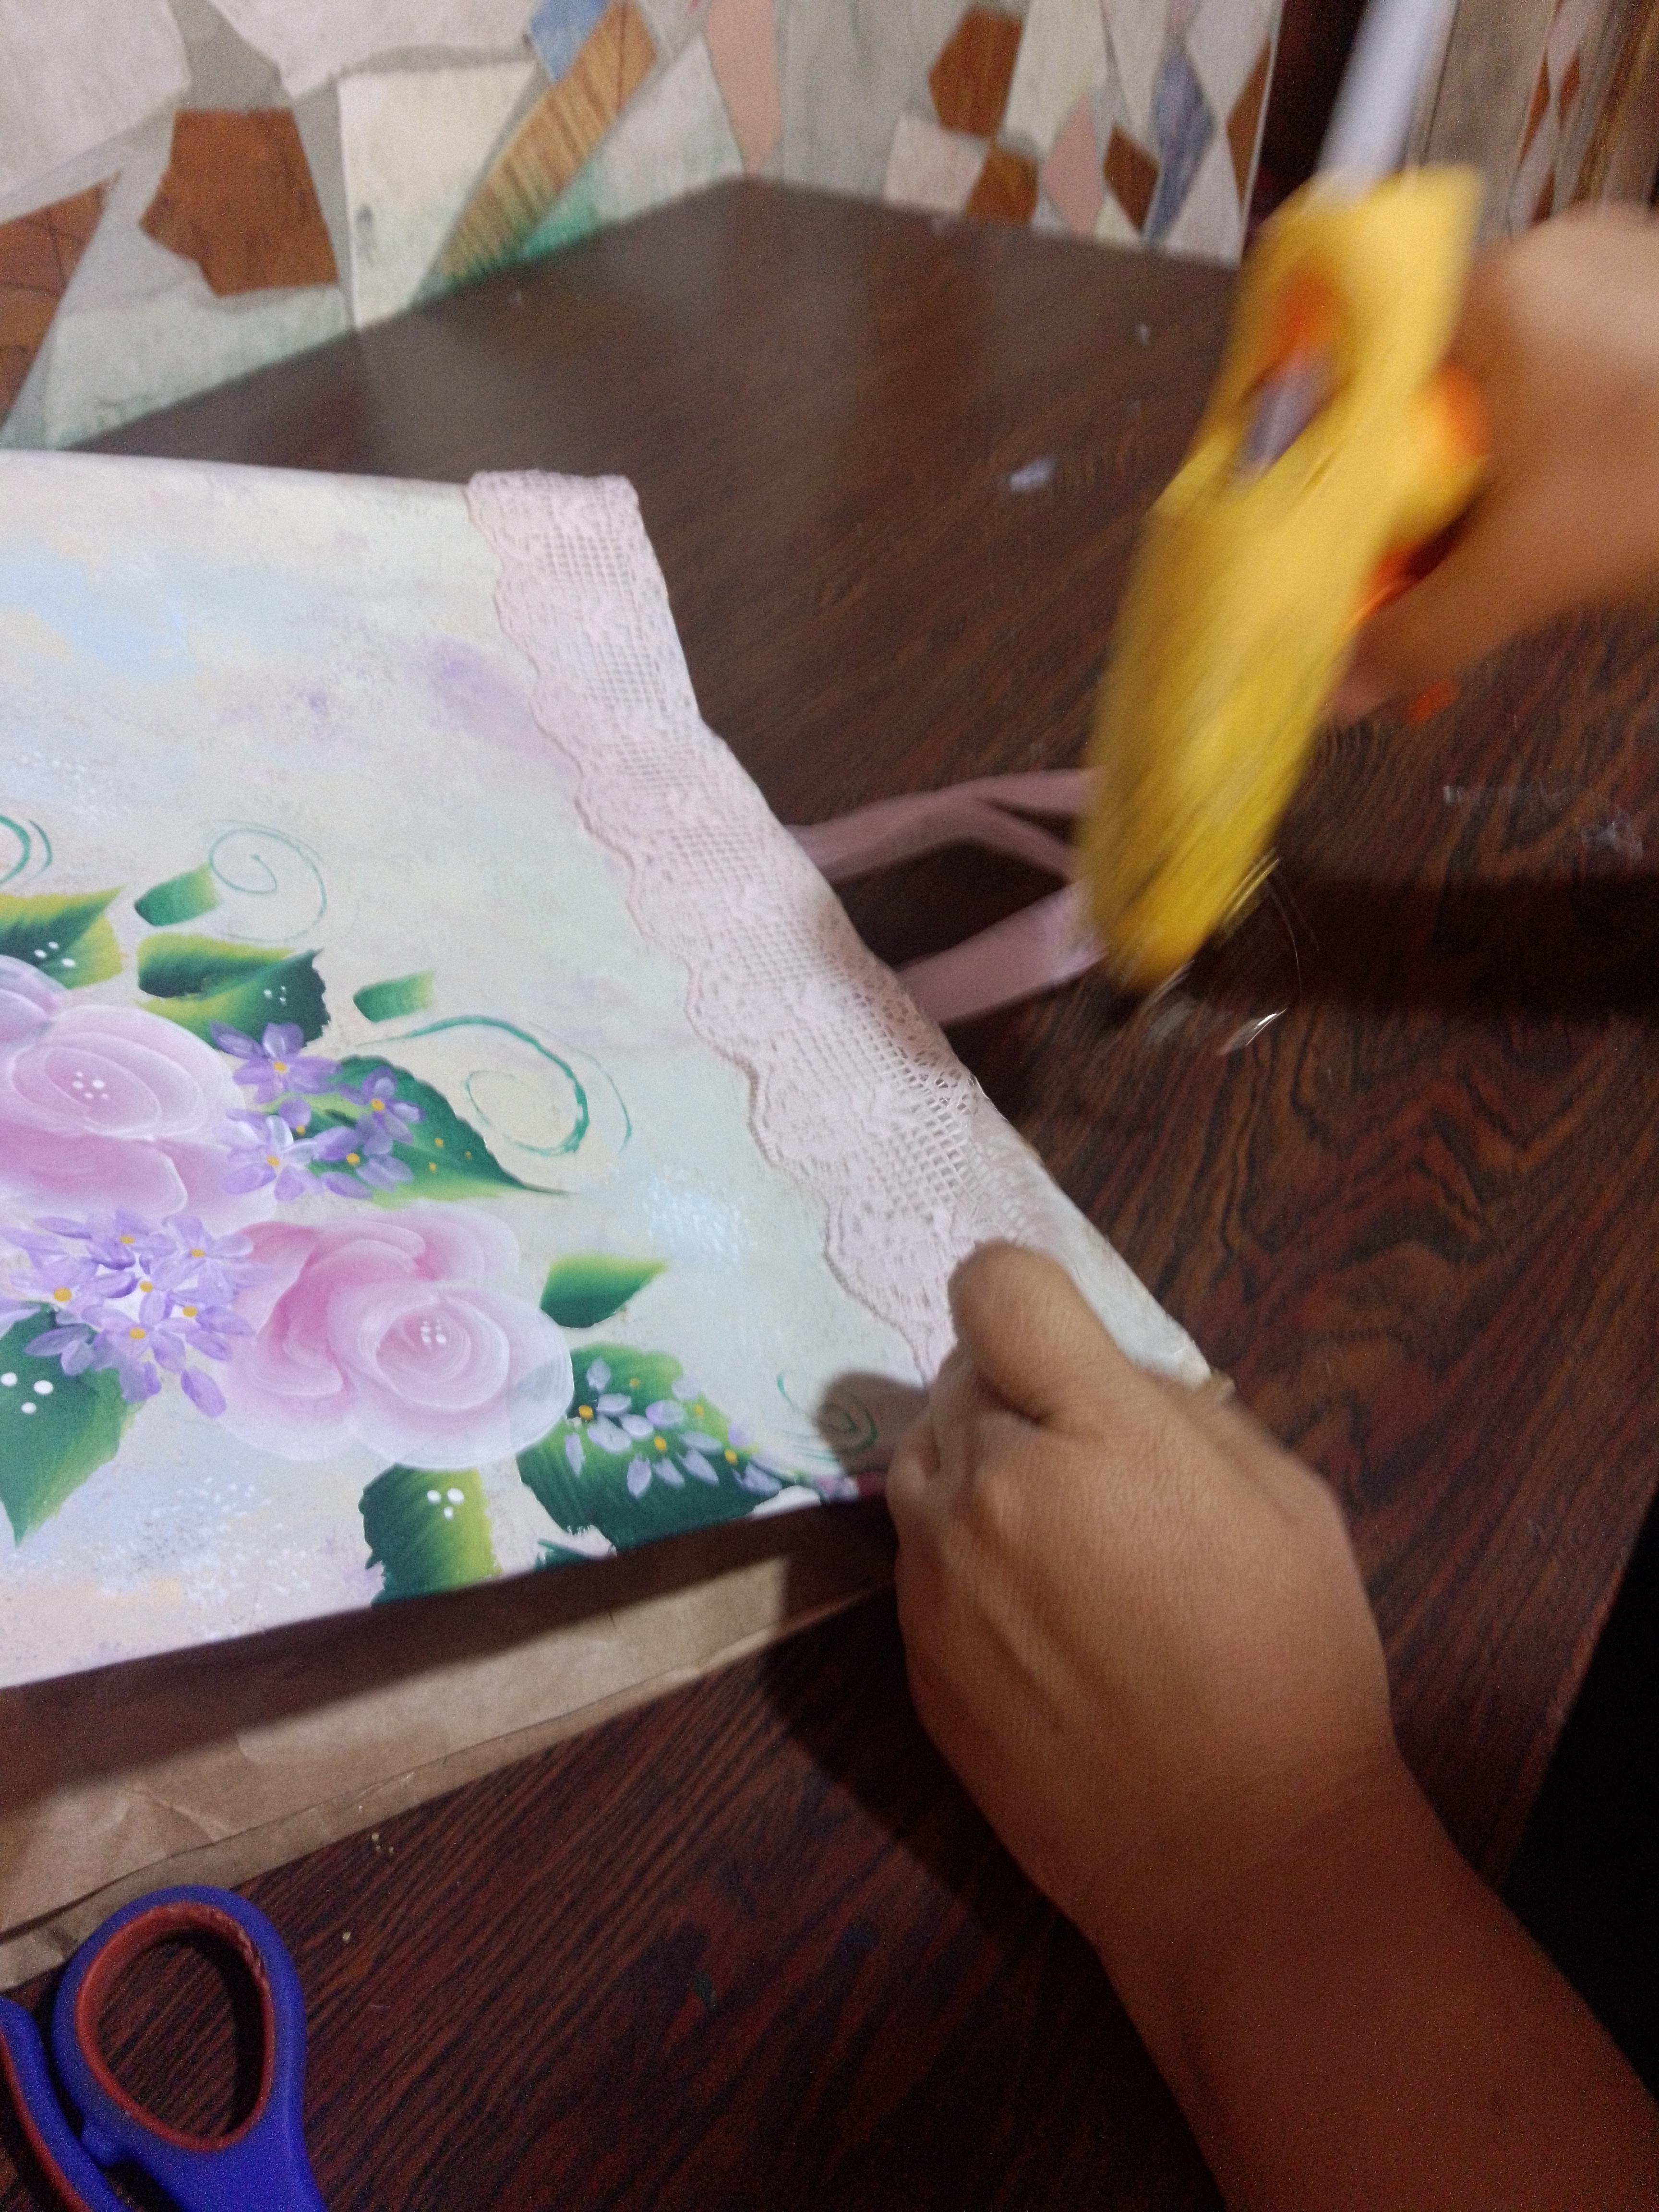
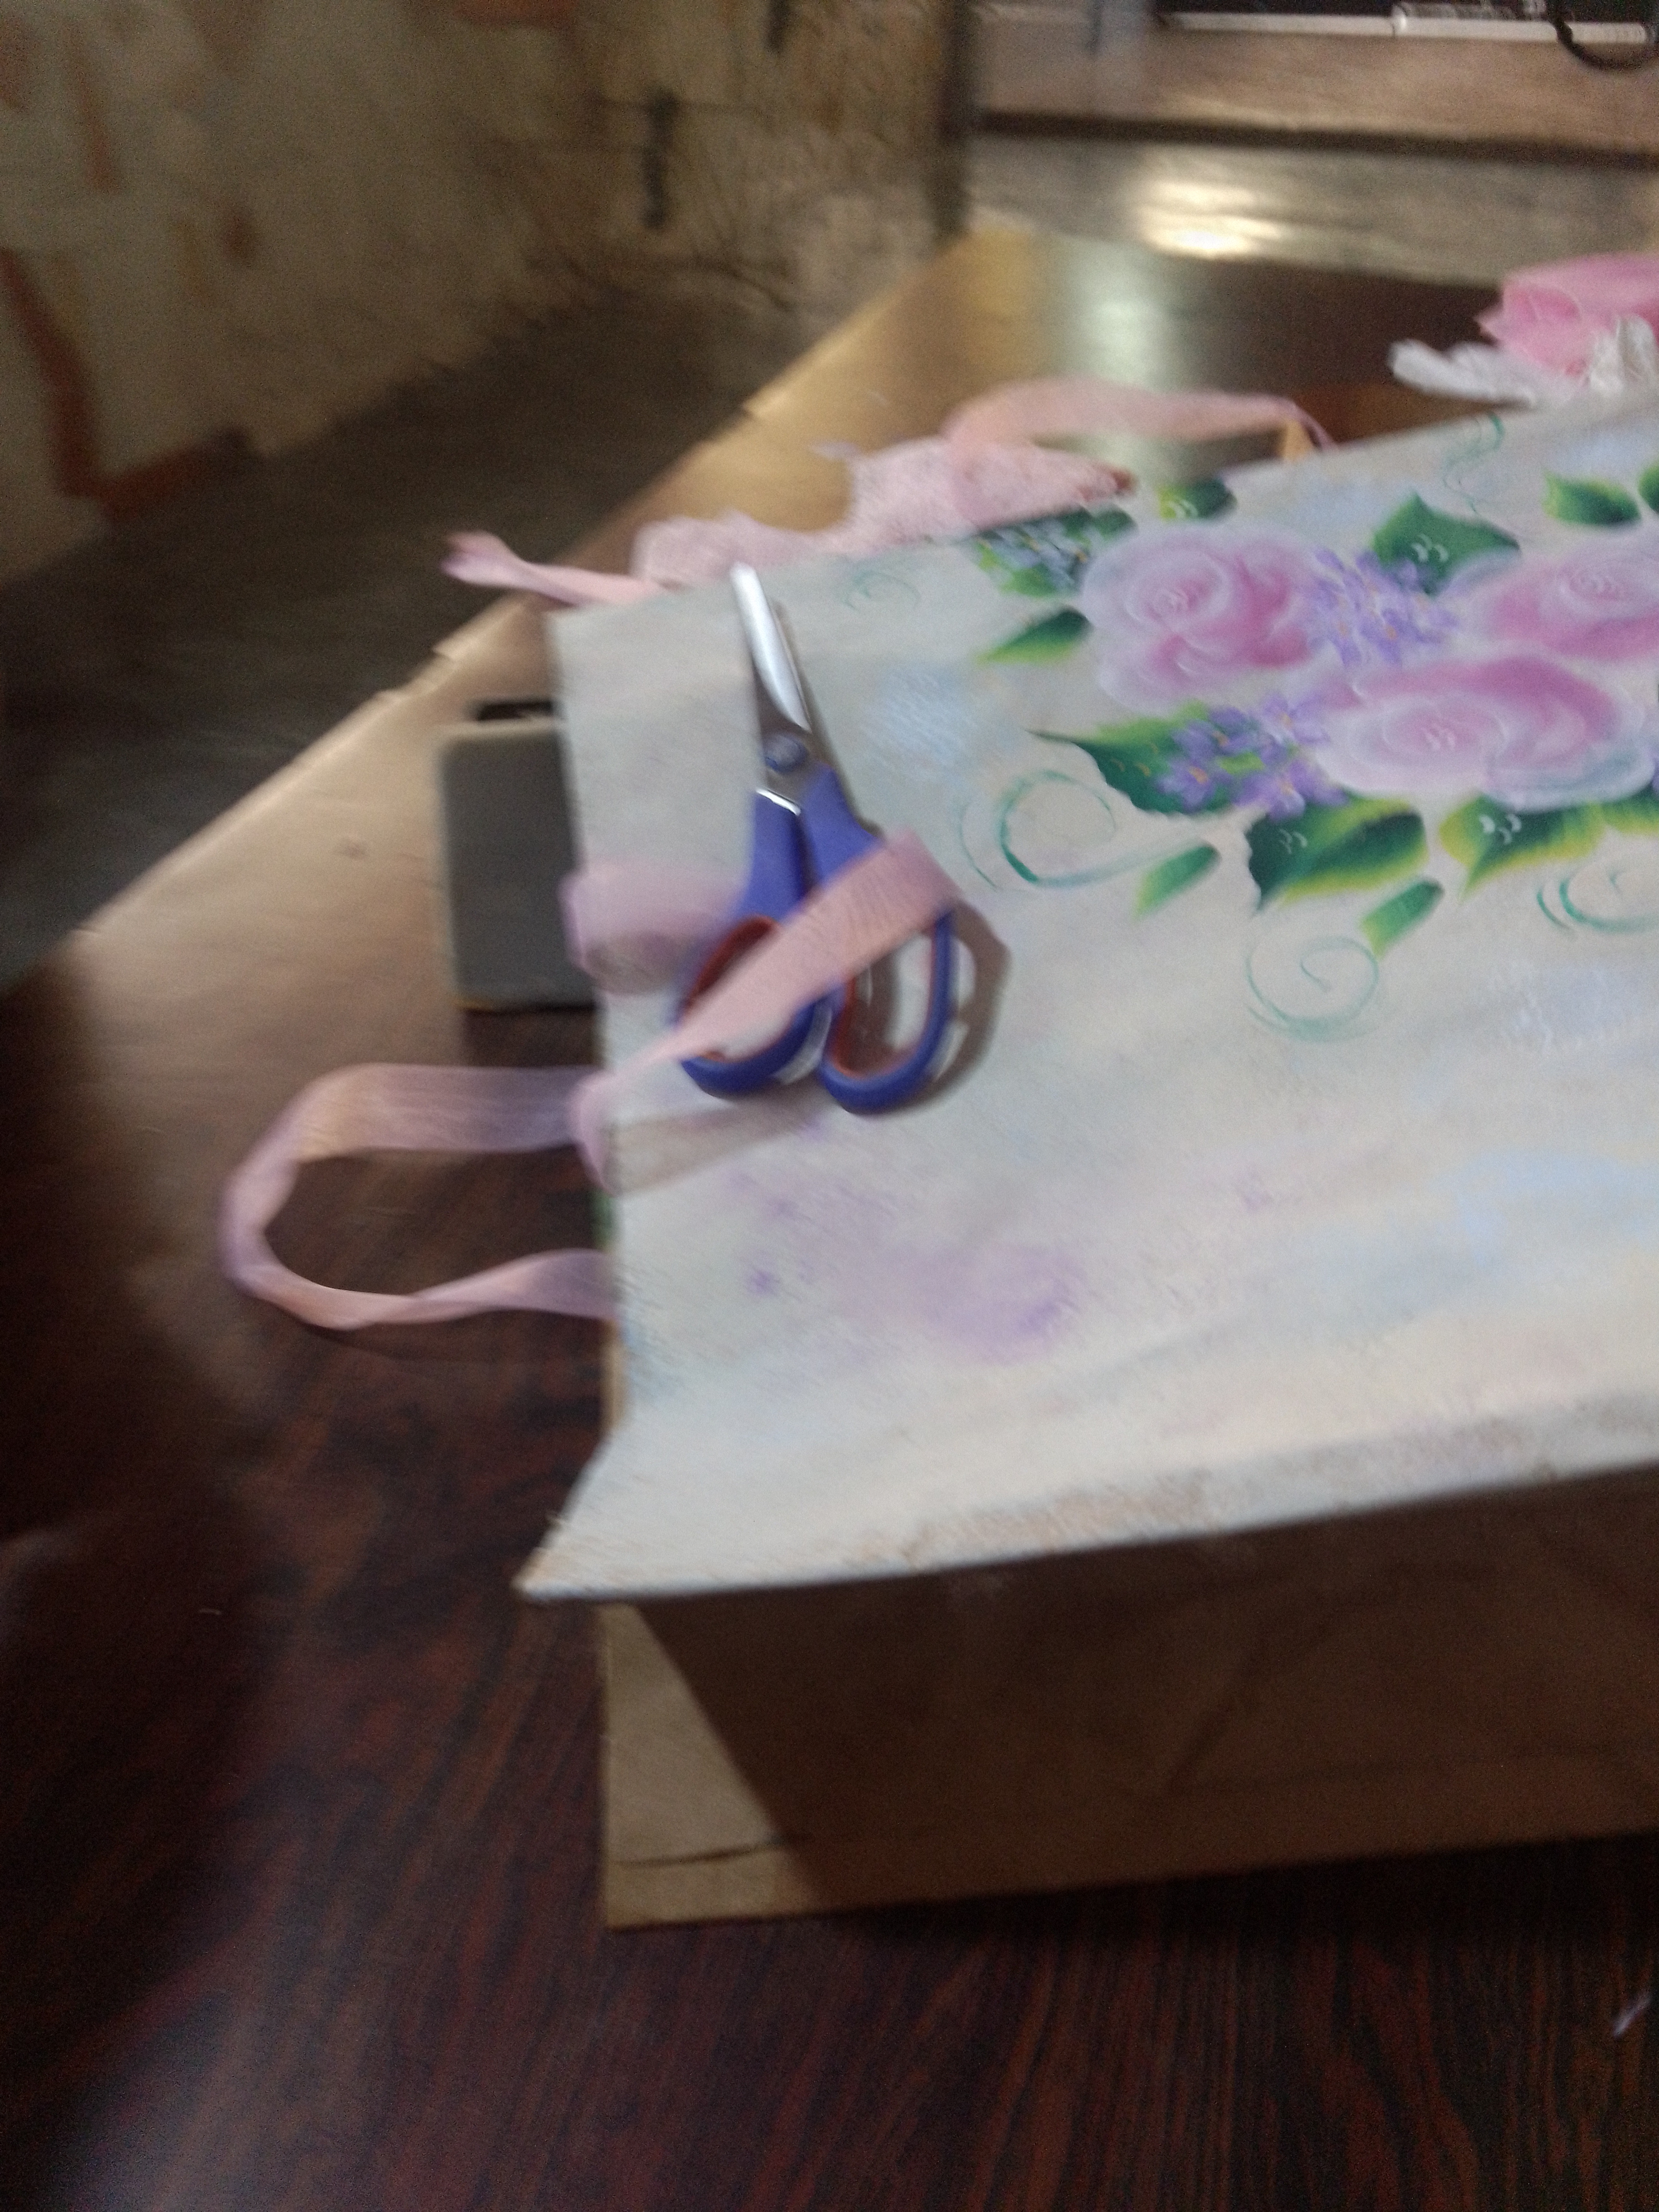
Pegue la tira de encaje rosado por el borde superior de la bolsa y la cinta de organza rosada con silicón en barra. Hice 2 lazos uno de cada lado de la bolsa con la cinta de organza y corte 2 tiras de esta cinta y las pegue por dentro de la parte superior de la bolsa para hacer sus 2 sujetadores.
Step 11:
Glue the pink lace strip along the top edge of the bag and the pink organza ribbon with silicone stick. I made 2 loops one on each side of the bag with the organza ribbon and cut 2 strips of this ribbon and glued them inside the top of the bag to make your 2 fasteners.

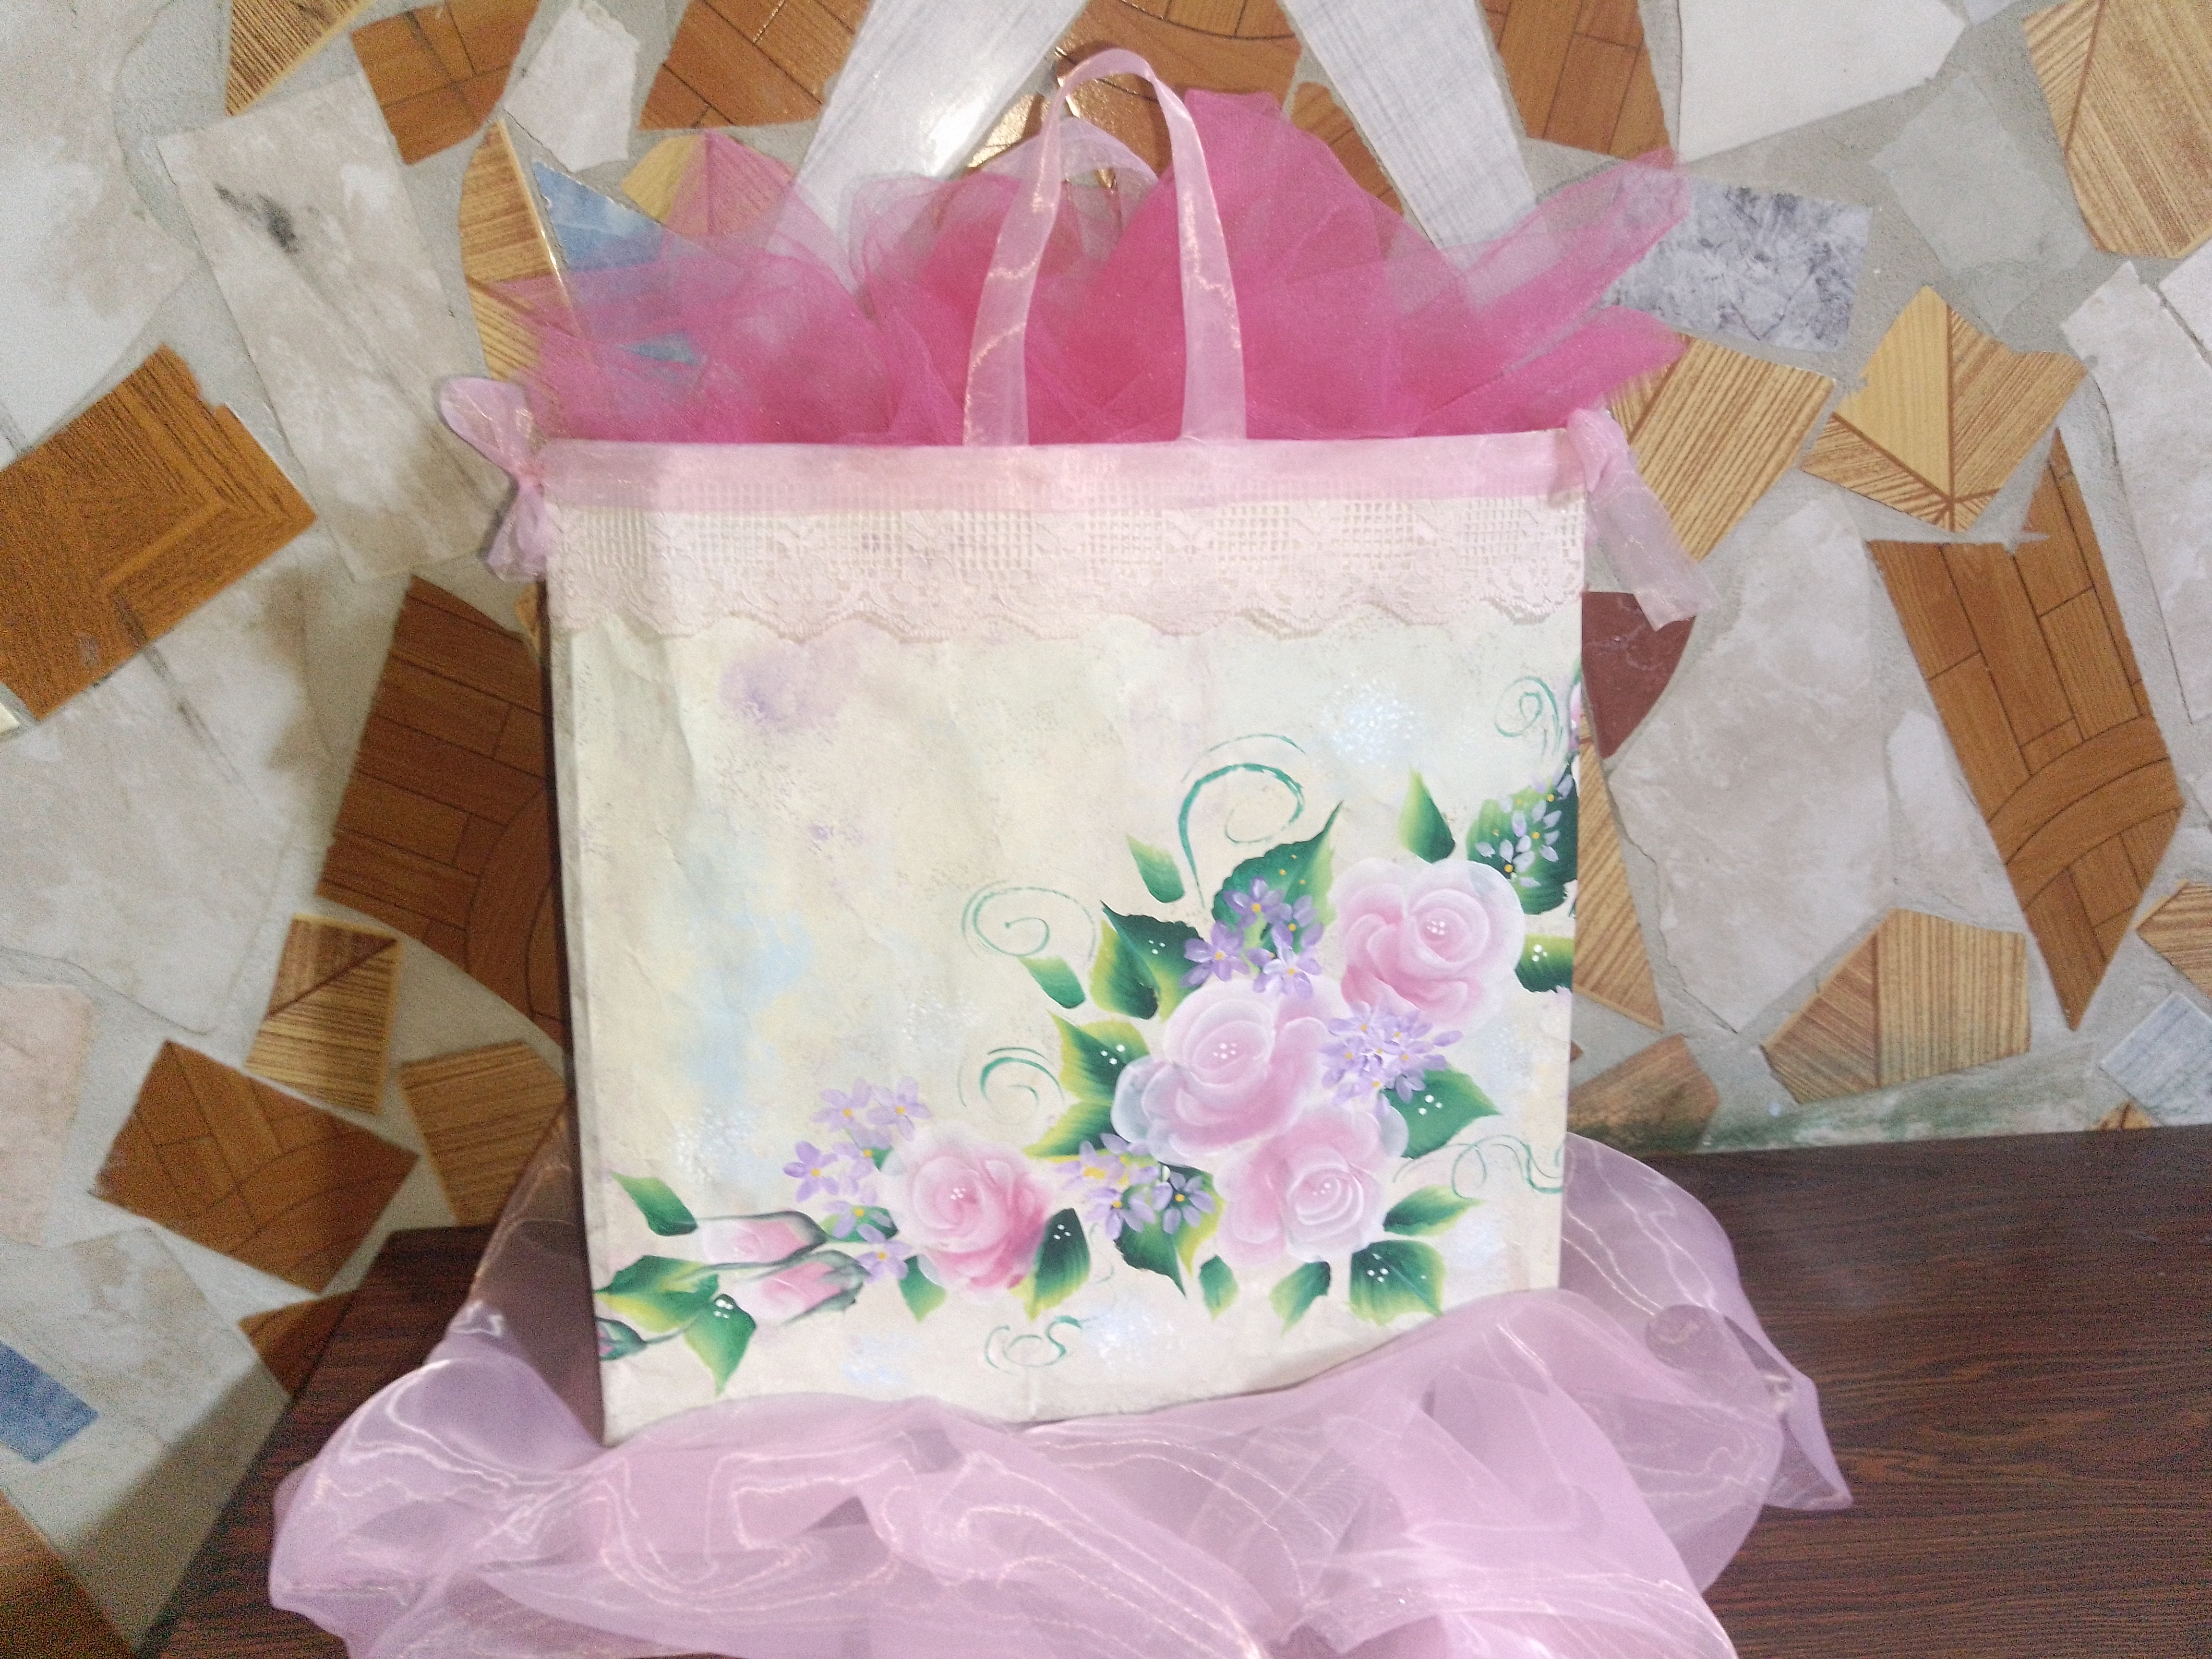
Este es el resultado final de mi trabajo. Asi quedo mi bolsa de regalo.Espero que les guste Las pinceladas es una técnica muy hermosa la verdad me gustan mucho!!!.Gracias por leer mi publicación.Traducido con www.Deepl.
This is the final result of my work. I hope you like the brushstrokes is a very beautiful technique, I really like it!!! Thanks for reading my publication.Translated with www.DeepL
Congratulations @claire23! You have completed the following achievement on the Hive blockchain and have been rewarded with new badge(s):
Your next target is to reach 700 upvotes.
You can view your badges on your board and compare yourself to others in the Ranking
If you no longer want to receive notifications, reply to this comment with the word
STOPCheck out the last post from @hivebuzz:
Support the HiveBuzz project. Vote for our proposal!
Mis respetos por lograr algo tan bello con una bolsa que cualquiera hubiera tirado a la basura, y por tus habilidades al pintar y realizar la bolsa. Ha quedado excelente. ¡Saludos desde México!
gracias amigo por tan invaluable apoyo y por sus comentarios espero seguir dando lo mejor de mi y seguir aprendiendo con ustedes nuevamente gracias y que Dios lo bendiga
Thank you for sharing this amazing post on HIVE!
Your content got selected by our fellow curator @rezoanulvibes & you just received a little thank you via an upvote from our non-profit curation initiative!
You will be featured in one of our recurring curation compilations and on our pinterest boards! Both are aiming to offer you a stage to widen your audience within and outside of the DIY scene of hive.
Join the official DIYHub community on HIVE and show us more of your amazing work and feel free to connect with us and other DIYers via our discord server: https://discord.gg/mY5uCfQ !
If you want to support our goal to motivate other DIY/art/music/homesteading/... creators just delegate to us and earn 100% of your curation rewards!
Stay creative & hive on!
¡Felicidades! Esta publicación obtuvo upvote y fue compartido por @la-colmena, un proyecto de Curación Manual para la comunidad hispana de Hive que cuenta con el respaldo de @curie.
Si te gusta el trabajo que hacemos, te invitamos a darle tu voto a este comentario y a votar como testigo por Curie.
Si quieres saber más sobre nuestro proyecto, acompáñanos en Discord: La Colmena.
muchas gracias seguro que si
Your content has been voted as a part of Encouragement program. Keep up the good work!
Use Ecency daily to boost your growth on platform!
Support Ecency
Vote for new Proposal
Delegate HP and earn more
Amiga 🤗 te felicito y te envío un abrazo emotivo. Me encantó ver la transformación que hiciste de ese empaque vacío de harina de maíz.
Siempre he dicho que nada es basura, muchos productos pueden reutilizarse al menos una vez más. Lo mejor de ese tipo de bolsas es que son súper resistentes.
El diseño te quedó hermoso. De verdad que estoy muy impresionada, haz realizado un excelente trabajo. Gracias a tu nieto por acompañarte en tu proyecto. Es un bien cómplice creativo. Saludos a ambos.
gracias por tan emotivas palabras le di tus saludos a mi nieto está super feliz te envia un abrazo espero seguir compartiendo con ustedes en esta gran familia que es Hive saludos un gran abrazo
Que hermoso trabajo, te felicito y Dios bendiga tus manos, porque pintas muy lindo. Gracias por compartir.
gracias amiga seguire compartiendo con ustedes lo poco que se y aprender también de ustedes .Feliz y bendecido dia
Pero que hermosa creación estan viendo mis ojos, me quito el sombrero ante esto, es demasiado hermoso 🥰🥰 que enorme talento el que tienes @claire23
En verdad me quedo sin palabras por tan hermoso comentarios ustedes me motivan a seguir compartiendo lo poco que se gracias por apoyarme.Que Dios te bendiga.
MI ADMIRACIÓN PARA USTED! Por favor, siga dándonos de ese talento al pintar. Bienvenida!
gracias asi será .Seguire dando lo mejor de mi cuenta con ello Un abrazo Saludos .
Wow que hermosas pinceladas, eso requiere mucha práctica, te felicito 😊
muchas gracias amiga por leer mi publicación.Eso es para ustedes