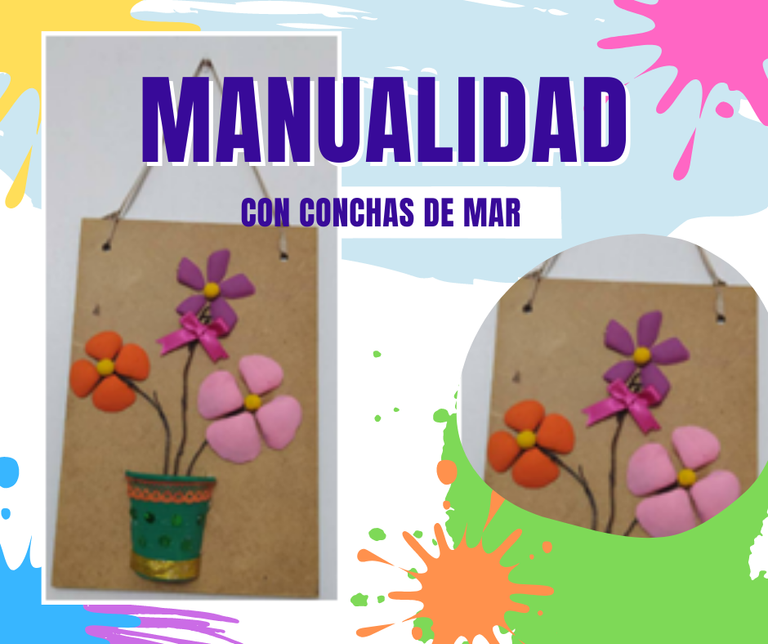
Saludos a todos amigos de Hive, les cuento que recientemente limpiando en el closet de la habitación de mis hijos encontré una bolsa con conchitas de mar que trajeron a casa en uno de los viajes a la playa que hicimos cuando ellos eran más pequeños, el primer impulso que sentí fue tirarlas a la basura porque “eran algo innecesario y ocupaban un espacio” pero decidí sacarlas para darles un uso, quizá no a todas porque eran muchas, pero si a algunas de ellas y hoy luego de unos días les presento una linda manualidad realizada con estas conchas de mar, y algunos pocos materiales de provecho que tenía en casa y resultó algo bonito para decorar o quizá para regalar un adorno elaborado con mis propias manos.
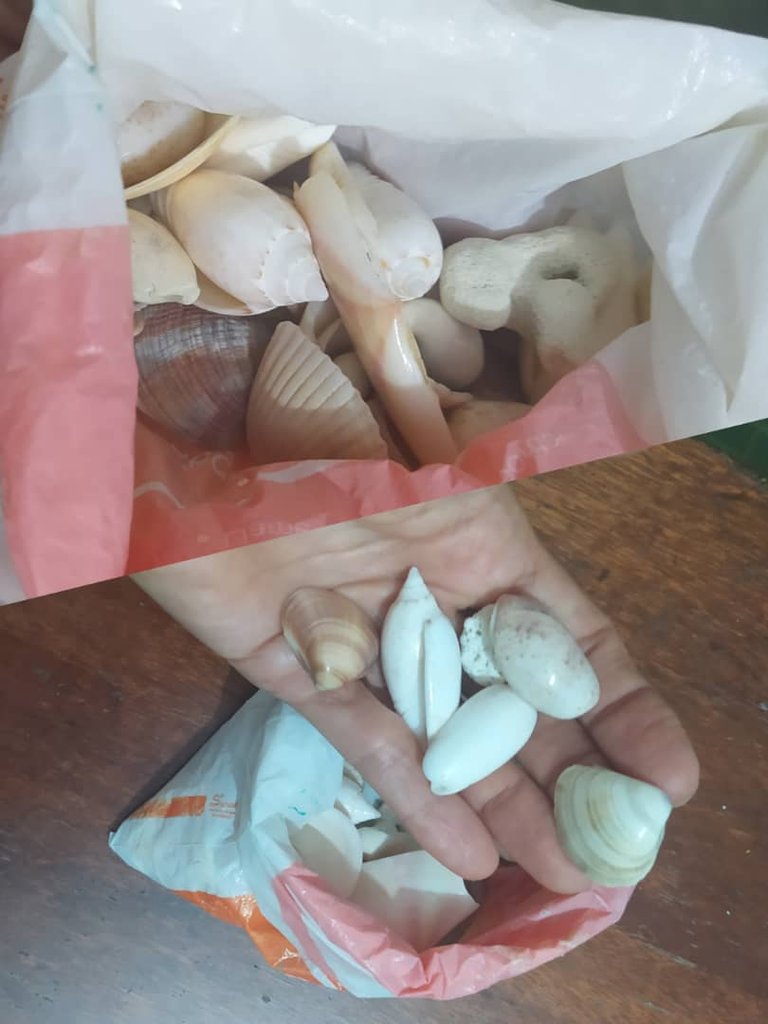
Greetings to all friends of Hive, I tell you that recently cleaning in the closet of my children's room I found a bag with sea shells that they brought home on one of the trips to the beach that we did when they were younger, the first impulse I felt was to throw them away because "they were something unnecessary and took up space" but I decided to take them out to give them a use, maybe not all of them because there were many, but some of them and today after a few days I present a nice craft made with these sea shells, and a few useful materials that I had at home and it turned out to be something nice to decorate or maybe to give as a gift an ornament made with my own hands.
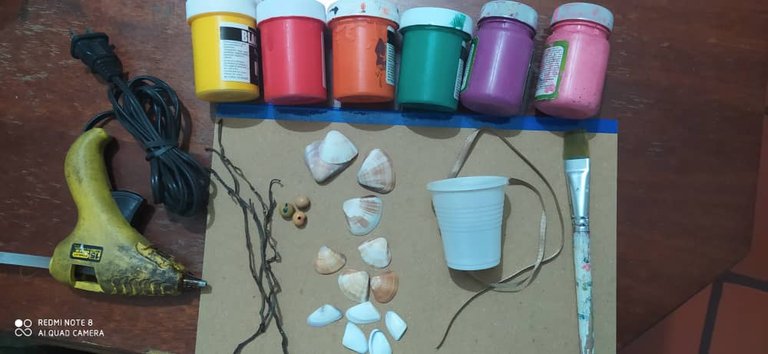
Los materiales que necesitaremos son:
- Conchitas de mar de tamaño pequeño
- Barra para pistola de silicón caliente.
- Lentejuelas para dar brillos
- Ramita seca de una planta pequeña
- Un vasito plástico pequeño
- Una cartulina gruesa de tamaño carta
- Pinturas al frío de varios colores
- Trocitos de cinta
- Pincel para pintar
The materials we will need are:
- Small size sea shells.
- Rod for hot silicone gun.
- Sequins for glitter
- Dry twig of a small plant
- A small plastic cup
- Thick cardboard (letter size)
- Cold paints of various colors
- Pieces of ribbon
- Paint brush
Comenzamos seleccionando las conchitas de mar imaginando que cada uno representa un pétalo de la flor, por lo tanto debes ser similares en tamaño para que al elaborar la flores se vean prolijas.
We begin by selecting the seashells, imagining that each one represents a petal of the flower, so they should be similar in size so that when we make the flowers they look neat.
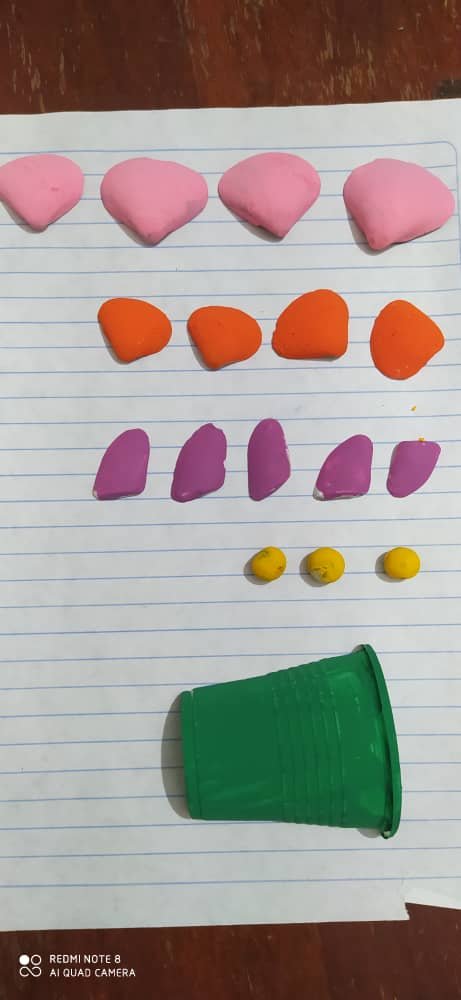
Una vez seleccionadas las conchitas de mar con las que armaremos cada flor escogemos los colores que utilizaremos y comenzamos a pintar pétalo a pétalo, yo realicé tres flores de diferentes colores una de cuatro pétalos en color rosado, una de cuatro pétalos en color naranja y una de cinco pétalos en color morado.
Once we have selected the seashells with which we will assemble each flower, we choose the colors we will use and start painting petal by petal, I made three flowers of different colors, one with four petals in pink, one with four petals in orange and one with five petals in purple.
Debemos pintar las conchitas de mar y darles el tiempo suficiente para que se sequen muy bien quizá sea necesario dar dos capas de pintura para que queden de color uniforme, cuando las conchitas estén uniformes y muy secas podremos continuar dando forma a nuestra manualidad.
We must paint the seashells and give them enough time to dry very well, it may be necessary to give two coats of paint to get a uniform color, when the shells are uniform and very dry we can continue shaping our craft.
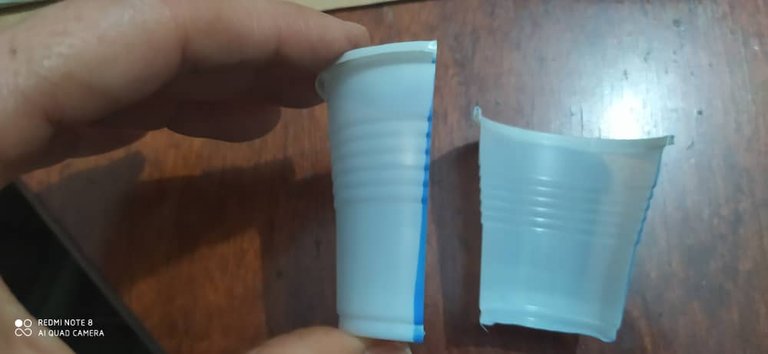
El vasito de plástico lo vamos a cortar a la mitad, para que nos quede alineado marcamos una línea por donde haremos el corte, solo utilizaremos la mitad del vasito, una vez cortado lo pintamos del color que deseemos y lo dejamos secar junto a las conchitas de mar que pintamos previamente yo decidí utilizar color verde para la maceta.
We are going to cut the plastic cup in half, so that it is aligned we mark a line where we will make the cut, we will only use half of the cup, once cut we paint it in the color we want and let it dry with the sea shells that we painted previously, I decided to use green color for the flowerpot.
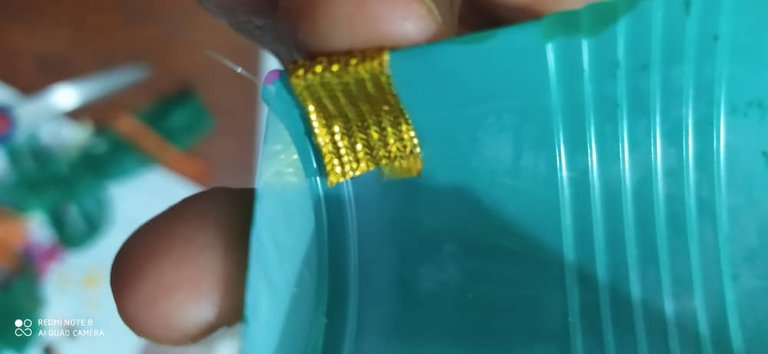
Ya la pintura del vasito está seca ahora lo vamos a decorar, para ello utilizaremos unos pequeños trocitos de cinta uno dorado que pegaremos en la base del vasito que hará las veces de maceta y un trocito de encaje color naranja que pegaremos en el borde superior de la maceta, al pegar las cintas debemos dejar un trocito de cinta extra para doblar hacia el interior del vasito de tal manera que quede bien adherida y no se despegue al armar nuestro adorno, también colocaré unas pocas lentejuelas del mismo color que pintamos el vasito para dar algunos brillos.
Now that the paint is dry, we are going to decorate it, for this we will use a few small pieces of ribbon, a golden one that we will glue on the base of the pot and a small piece of orange lace that we will glue on the top edge of the pot, When gluing the ribbons we must leave an extra piece of ribbon to fold towards the inside of the pot so that it is well adhered and does not come off when we assemble our ornament, I will also place a few sequins of the same color that we painted the pot to give some glitter.
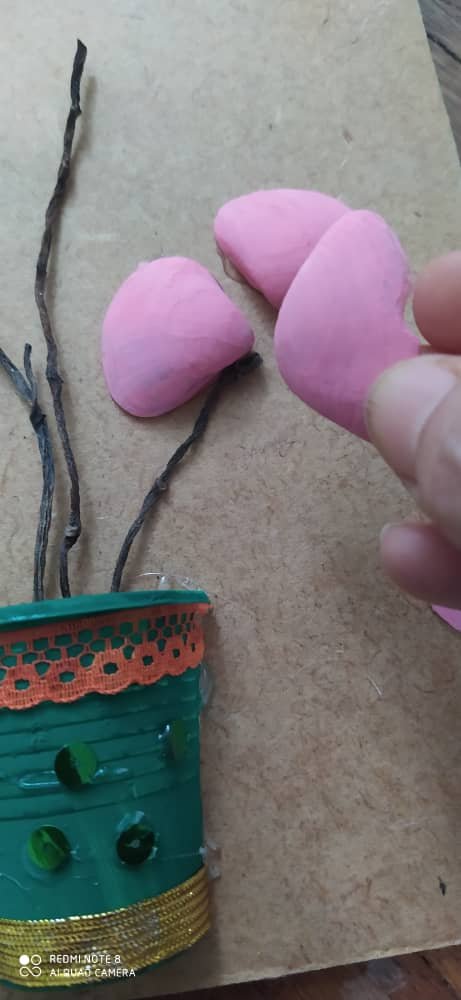
Una vez que están secos los pétalos de las flores y la maceta comenzamos a dar forma al adorno, ubicamos la maceta en el lugar de la cartulina que deseemos y lo fijamos con silicón caliente, posteriormente ubicamos la ramita seca dentro de la maceta a ella también le colocaremos un poco de silicón caliente en la parte de abajo para pegarla a la cartulina, en las puntas superiores de la ramita comenzamos a dar forma a las flores colocando un toque de silicón detrás de cada pétalo y fijándolos a la cartulina.
Once the flower petals and the flowerpot are dry, we begin to shape the ornament, we place the flowerpot in the desired place on the cardboard and we fix it with hot silicone, Then we place the dry twig inside the pot, we will also place a little hot silicone on the bottom to stick it to the cardboard, on the upper ends of the twig we begin to shape the flowers by placing a touch of silicone behind each petal and fixing them to the cardboard.
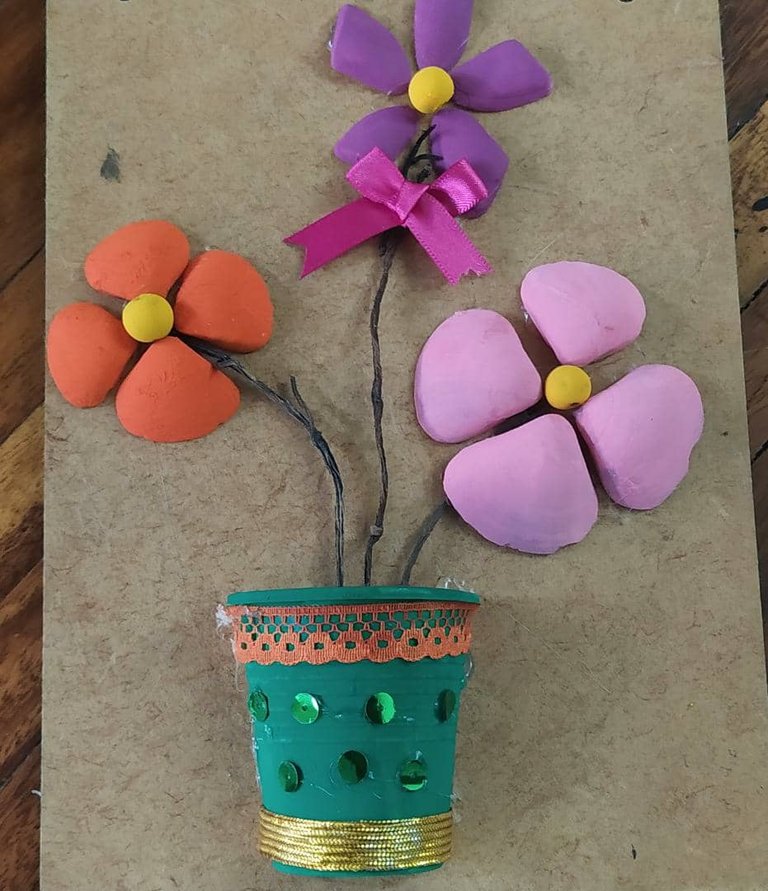
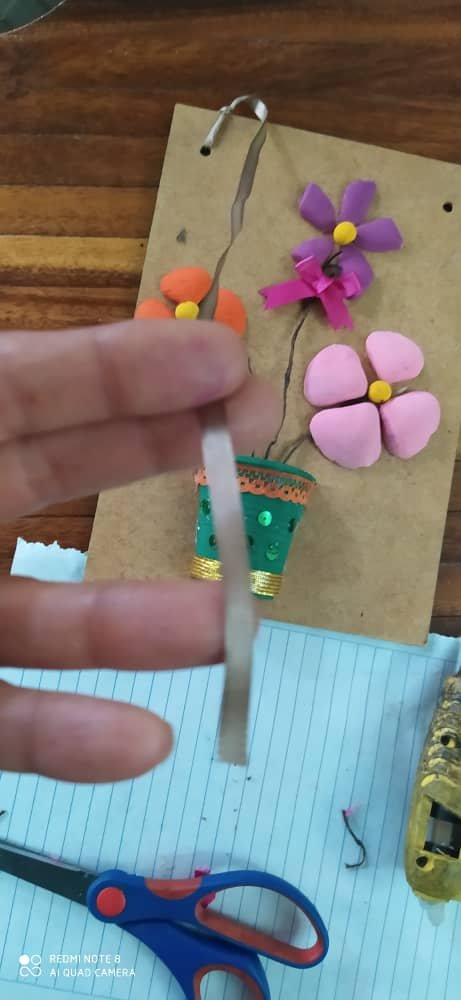
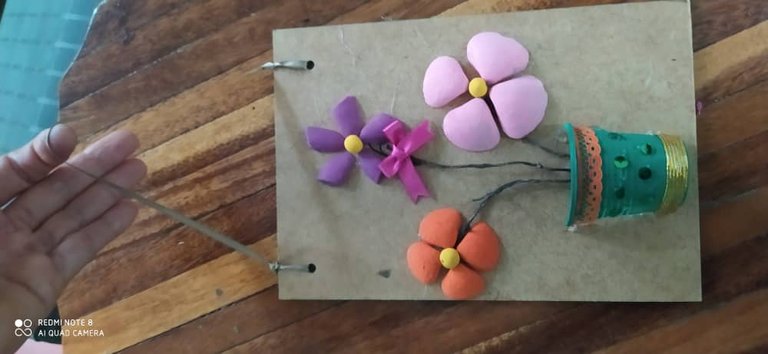
Una vez pegadas las florecitas abrí unos huequitos en la parte superior de la cartulina para pasar una cinta por ellos que hará las veces de colgante y me permitirá colocar el adorno en una pared.
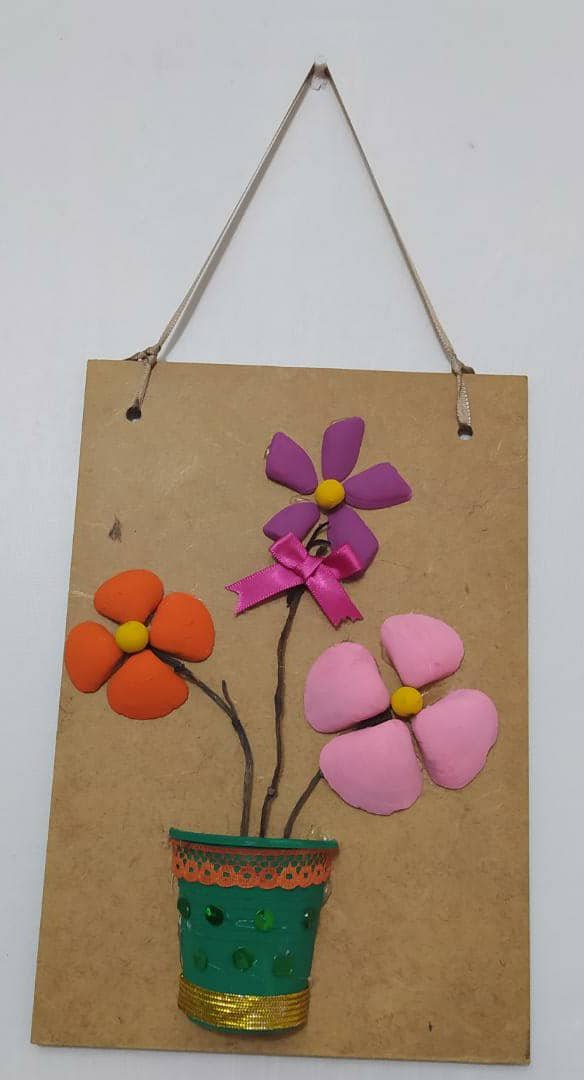
Once the little flowers were glued, I opened some holes in the upper part of the cardboard to pass a ribbon through them, which will act as a pendant and will allow me to place the ornament on a wall.
Gracias por su apoyo y acompañarme en esta nueva publicación, espero que les haya gustado esta sencilla manualidad.
Las fotos de este post las tomé con mi teléfono celular un Redmi Note 8.
Thank you for your support and joining me in this new publication, I hope you liked this delicate craft.
The photos in this post were taken with my cell phone a Redmi Note 8.
