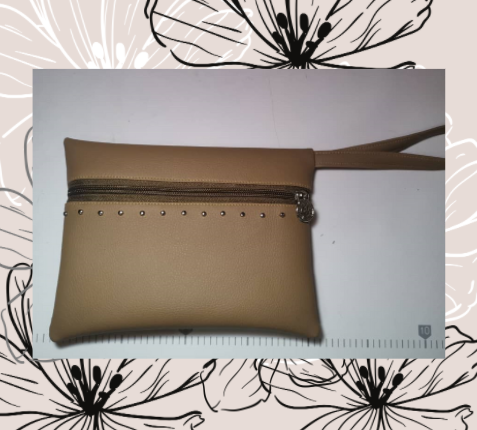
Greetings dear HIVE community, it is a pleasure for me to meet you again, I am very grateful for your votes and comments on the previous publication, they encourage me to continue publishing. This time I want to show you this easy and very nice Clutch or Handbag, super practical for when you want to carry a few things, like your keys, identity documents or money. Next, I show you the materials and procedure, I hope you like it.

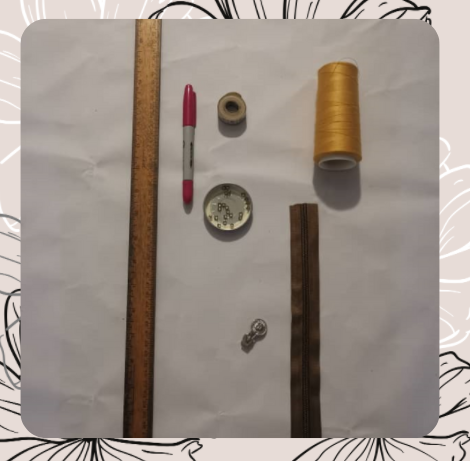
🌻25 cm of semi leather
🌻25 cm of lining fabric
🌻23 cm matching zipper
🌻1 Slider
🌻Small studs for decoration
🌻Thread
🌻Scissors
🌻Ruler or tape measure
🌻Marker
🌻Sewing machine
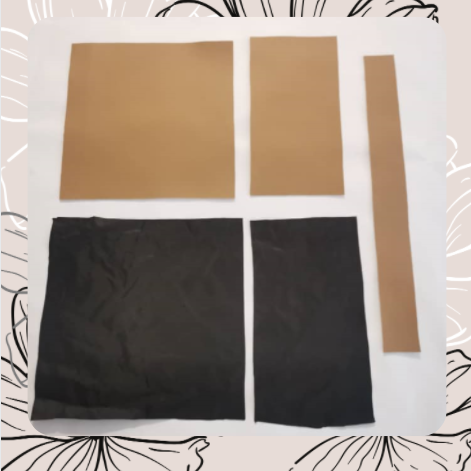

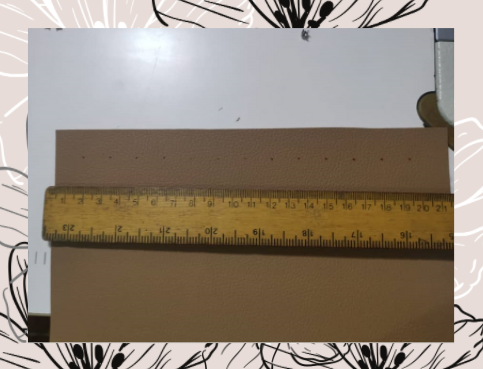
The patterns we will use are as follows.
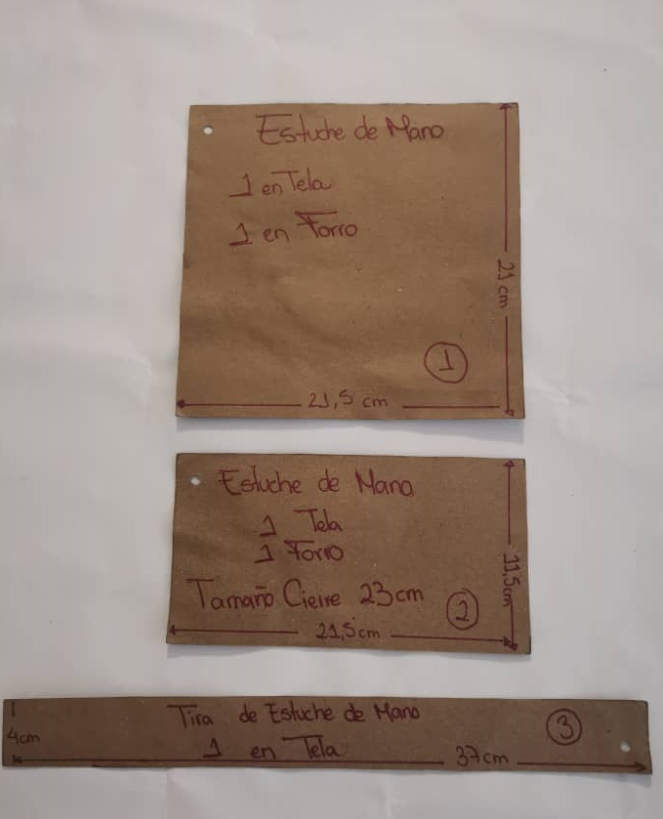

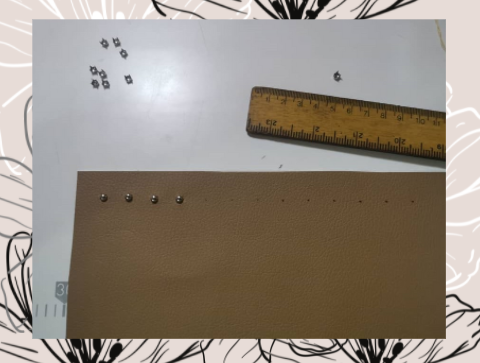
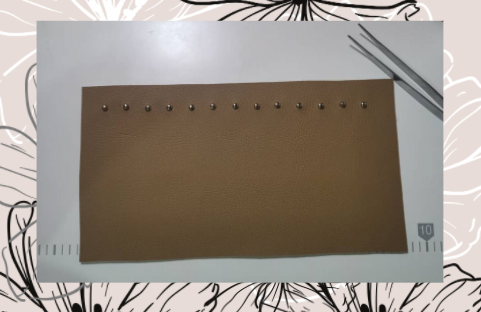
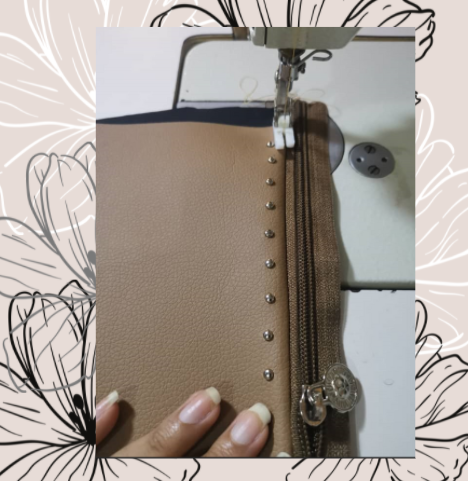
1. For the first step we must assemble the zipper. If you have doubts about how to do it I invite you to check my second publication Baby Bandolera. You can also purchase an assembled zipper, it is optional. From patterns 1 and 2 we will need one piece in fabric and one in lining, from pattern 3 only a few in fabric. In pattern Nº 2 on the upper part about 2.5 cm from the upper edge make some marks at 1.5 cm between each one, these marks will give us the reference to place our decorative studs, after placing them you must secure them very well on the back. You can skip it if you want.
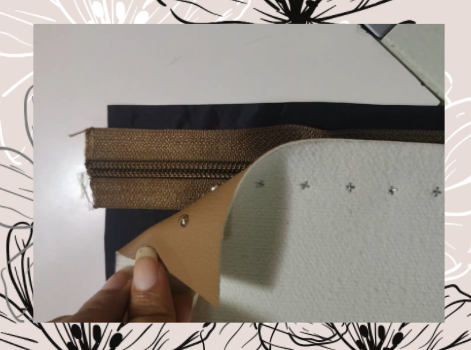
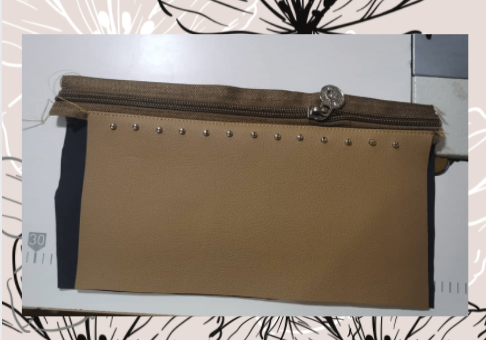
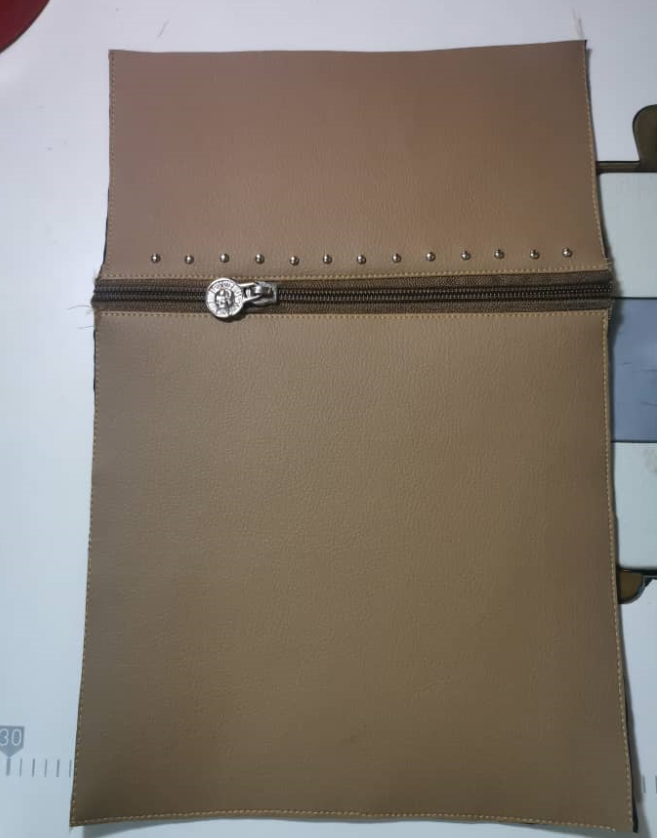
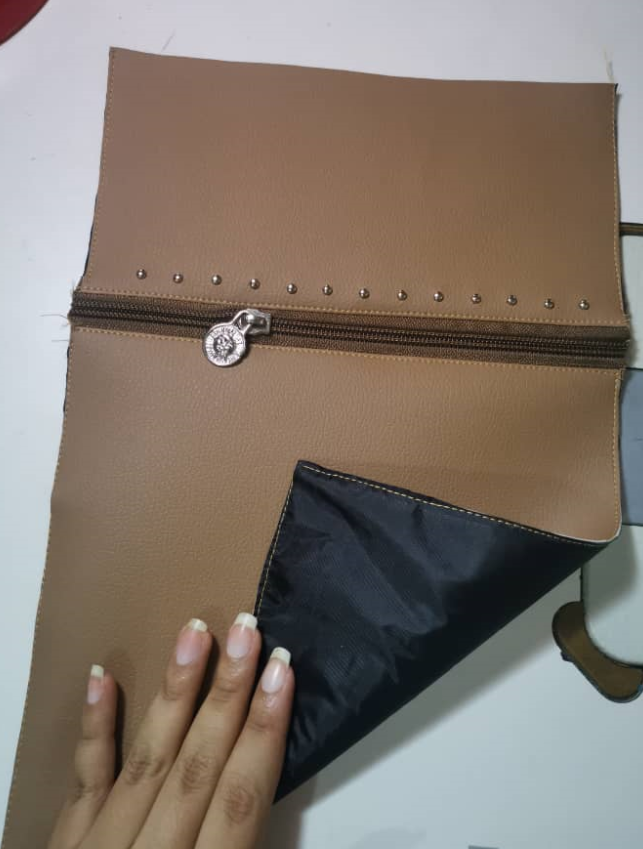
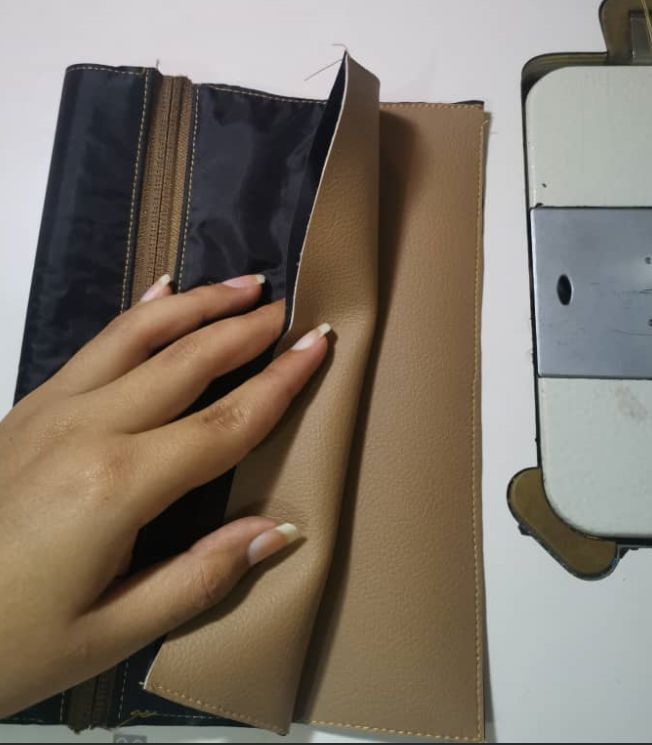
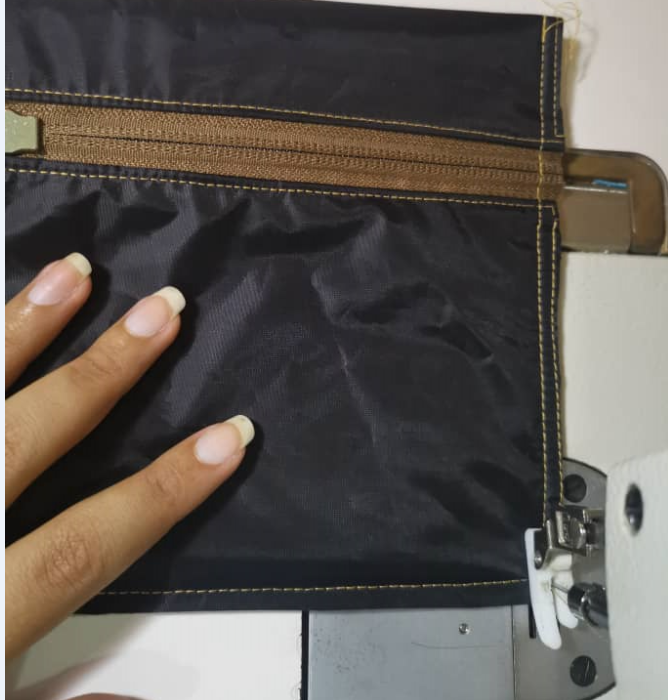
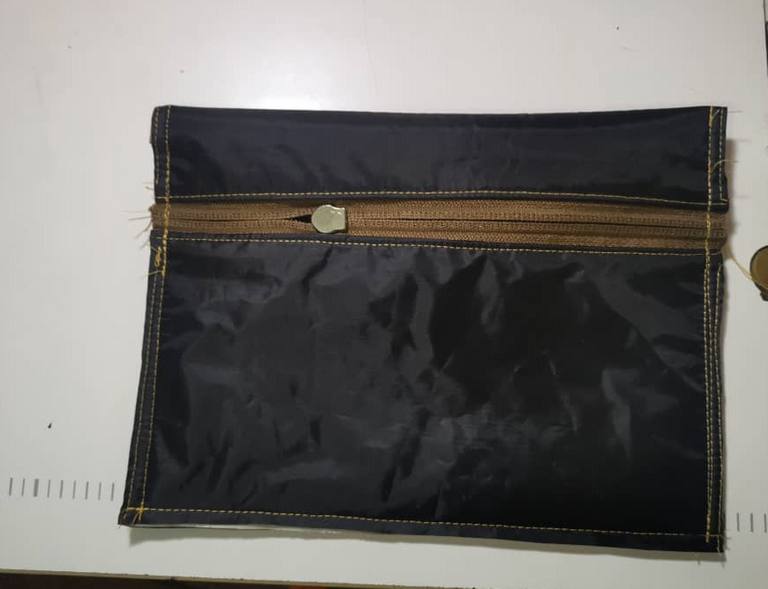
Then taking the fabric and lining from pattern two you must join them together with the zipper. Facing right side of fabric with right side of zipper and right side of lining. You can do it with the zipper foot, it's a little easier that way, but if you don't have it there's no problem either. Turn to the right side and stitch just to the edge of the fabric. Repeat procedure 4 and 5 with the fabric and lining from pattern #1.
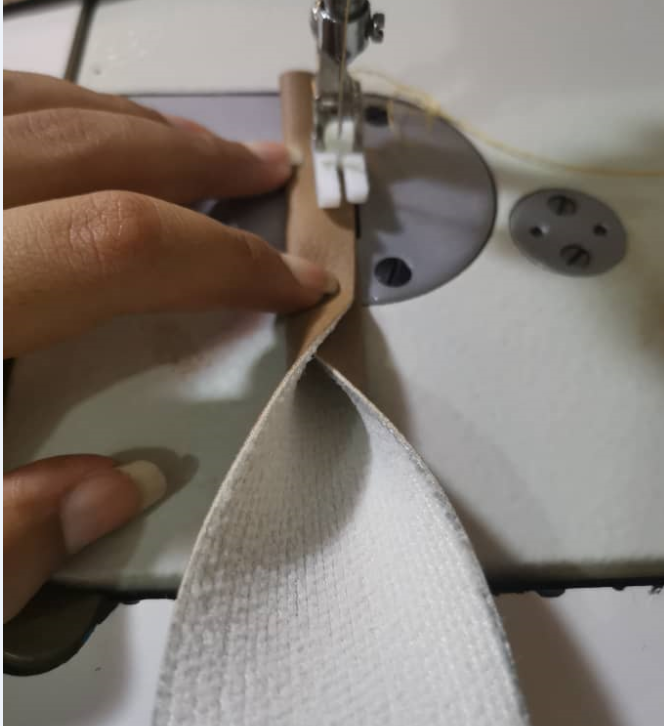
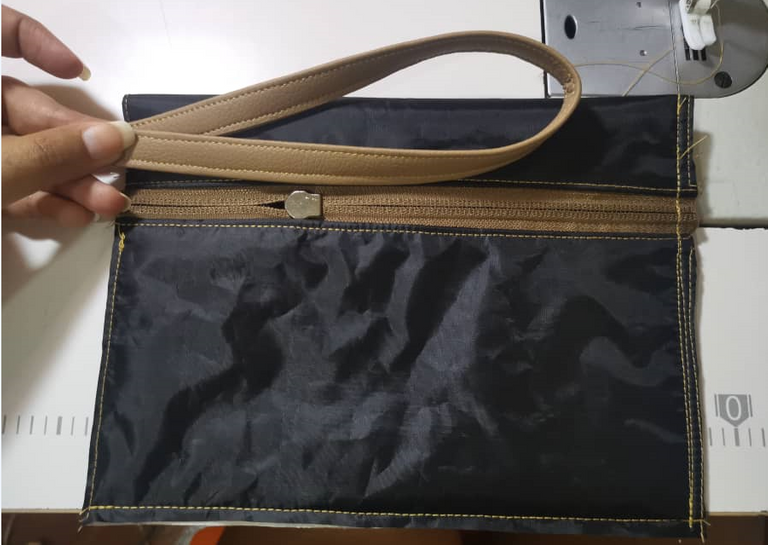
To make the grip strap you must fold one end towards the middle and then over this, deme stay as a kind of sandwich. And you pass postures through both ends of the strap. Then join the bottom edges with a machine foot seam or about 0.5 millimeters from the edge.
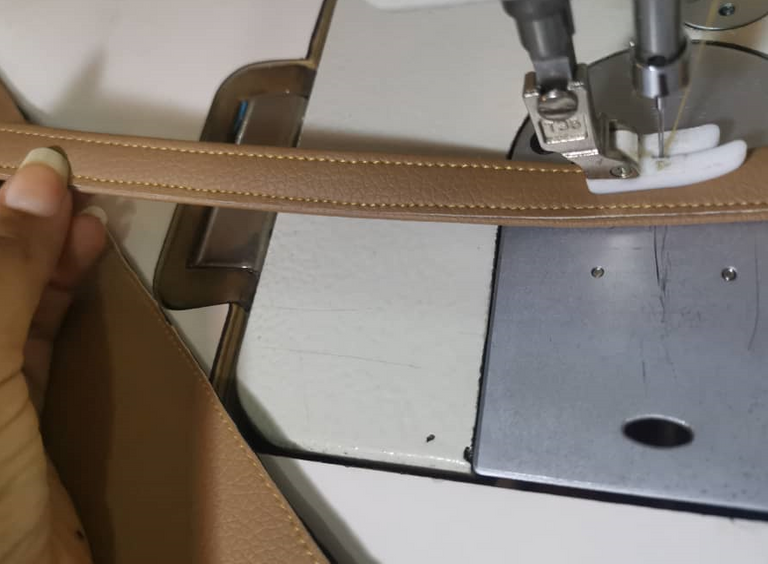
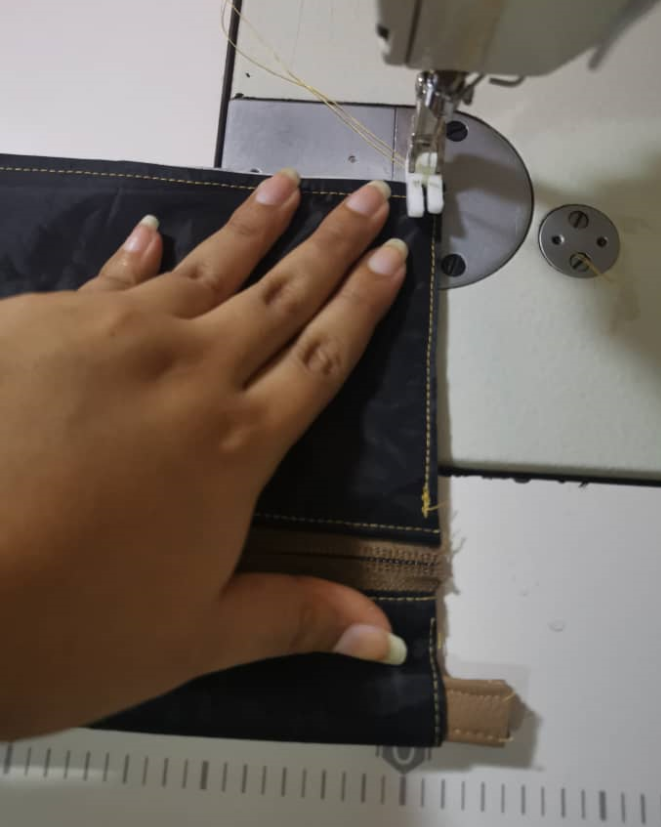
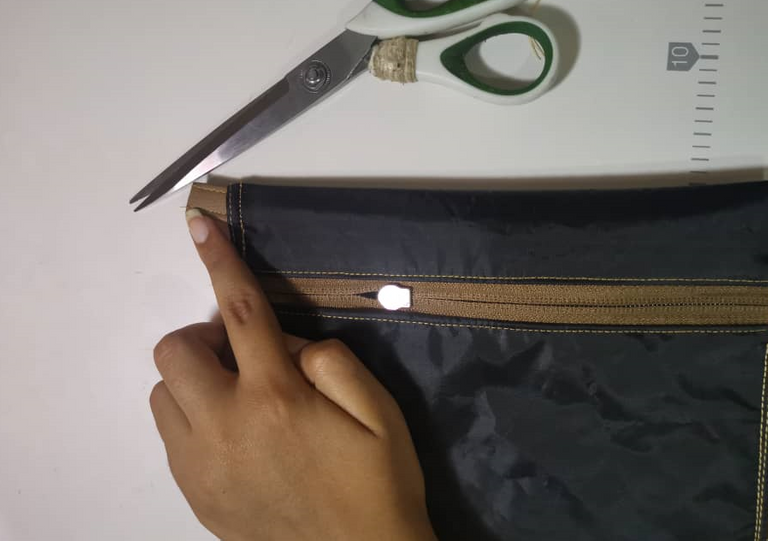
Position the gripper strip on one of the top ends on the inside and machine foot stitch again, securing the gripper strip with double stitching. Repeat on the other side, trim the excess and it's ready to flip. Flip it over and it's ready to look fantastic.
If you liked this work I invite you to follow me so you can see the next projects. voting motivate me to continue uploading this type of content. I read your questions in the comments and see you in a future publication.

Saludos querida comunidad de HIVE, es un placer para mi poder volvernos a encontrar, estoy muy agradecida por sus votos y comentarios en la publicación anterior. me animan a seguir publicando. En esta oportunidad quiero mostrarles este fácil y muy bonito Clutch o Bolsito de mano, súper practico para cuando quieres llevar pocas cosas, como tus llaves, documentos de identidad o dinero. A continuación, les muestro los materiales y procedimiento, espero les guste.

🌻25 cm de semi cuero
🌻25 cm de tela de forro
🌻23 cm de cierre a juego
🌻1 Slider
🌻Tachas pequeñas para decorar
🌻Hilo
🌻Tijera
🌻Regla o cinta métrica
🌻Marcador
🌻Máquina de coser

Los patrones que utilizaremos son los siguientes.

1. Para el primer paso debemos armar el cierre. Si tienes duda de cómo lo hacemos te invito a revisar mi segunda publicación Baby Bandolera. También puedes adquirir un cierre armado, es opcional. De los patrones 1 y 2 necesitaremos de cada uno, una pieza en tela y uno en forro, del patrón 3 solo unos en tela. En el patrón Nº 2 en la parte superior a unos 2,5 cm del borde superior hacer unas marcas a 1,5 cm entre cada una, estas marcas nos darán la referencia para colocar nuestras tachas decorativas, luego de colocarlas debes asegurarlas muy bien por la parte posterior. Puedes obviarlo si así quisieras.
Luego tomando la tela y el forro del patrón dos debes juntarlos con el cierre. Enfrentando derecho de tela con derecho de cierre y derecho de forro. Pasas costuras, puedes realizarlo con el pie de montar cierre, se hace u poco más fácil de esa forma, pero si no lo tienes tampoco hay ningún problema. Volteas al lado derecho y repisas justo al borde de la tela. Repites el procedimiento 4 y 5 con la tela y forro del patrón Nº1.
Para realizar la correa de agarre debes doblar un extremo hacia el medio y luego sobre este, deme quedar como una especie de sándwich. Y pasas posturas por ambos extremos de la tira. Luego juntas los bordes inferiores con una costura a pie de maquina o a aproximadamente 0.5 milímetros del borde.
Posicionas la tira de agarre en uno de los extremos superiores por la parte interna y pasas costura a pie de maquina nuevamente, asegurando con doble costura la tira de agarre. Repites del otro lado, recortas los excedentes y está listo para voltear. Volteamos y está listo para lucir fantástica.
Si te gusto este trabajo te invito a seguirme para que puedas ver los próximos proyectos. votando me motivas a seguir subiendo este tipo de contenido. Leo tus dudas en los comentarios y nos vemos en una próxima publicación.
Congratulations @dialinao! You have completed the following achievement on the Hive blockchain and have been rewarded with new badge(s) :
Your next target is to reach 50 replies.
You can view your badges on your board and compare yourself to others in the Ranking
If you no longer want to receive notifications, reply to this comment with the word
STOP