Buenas noches, saludos a todos mis amigos de Hive! 🥰 Espero estén bien. Yo estoy muy bien gracias a Dios. Hace una semana comencé las clases en la Universidad y pues quise personalizar una carpeta aburrida que tenía y quiero mostrarle cómo lo hice para que así, los que les guste puedan personalizar la suya.
Good evening, greetings to all my Hive friends! I hope you are well. I am very well thank God. A week ago I started classes at the University and I wanted to personalize a boring folder that I had and I want to show you how I did it so that those who like it can personalize theirs.
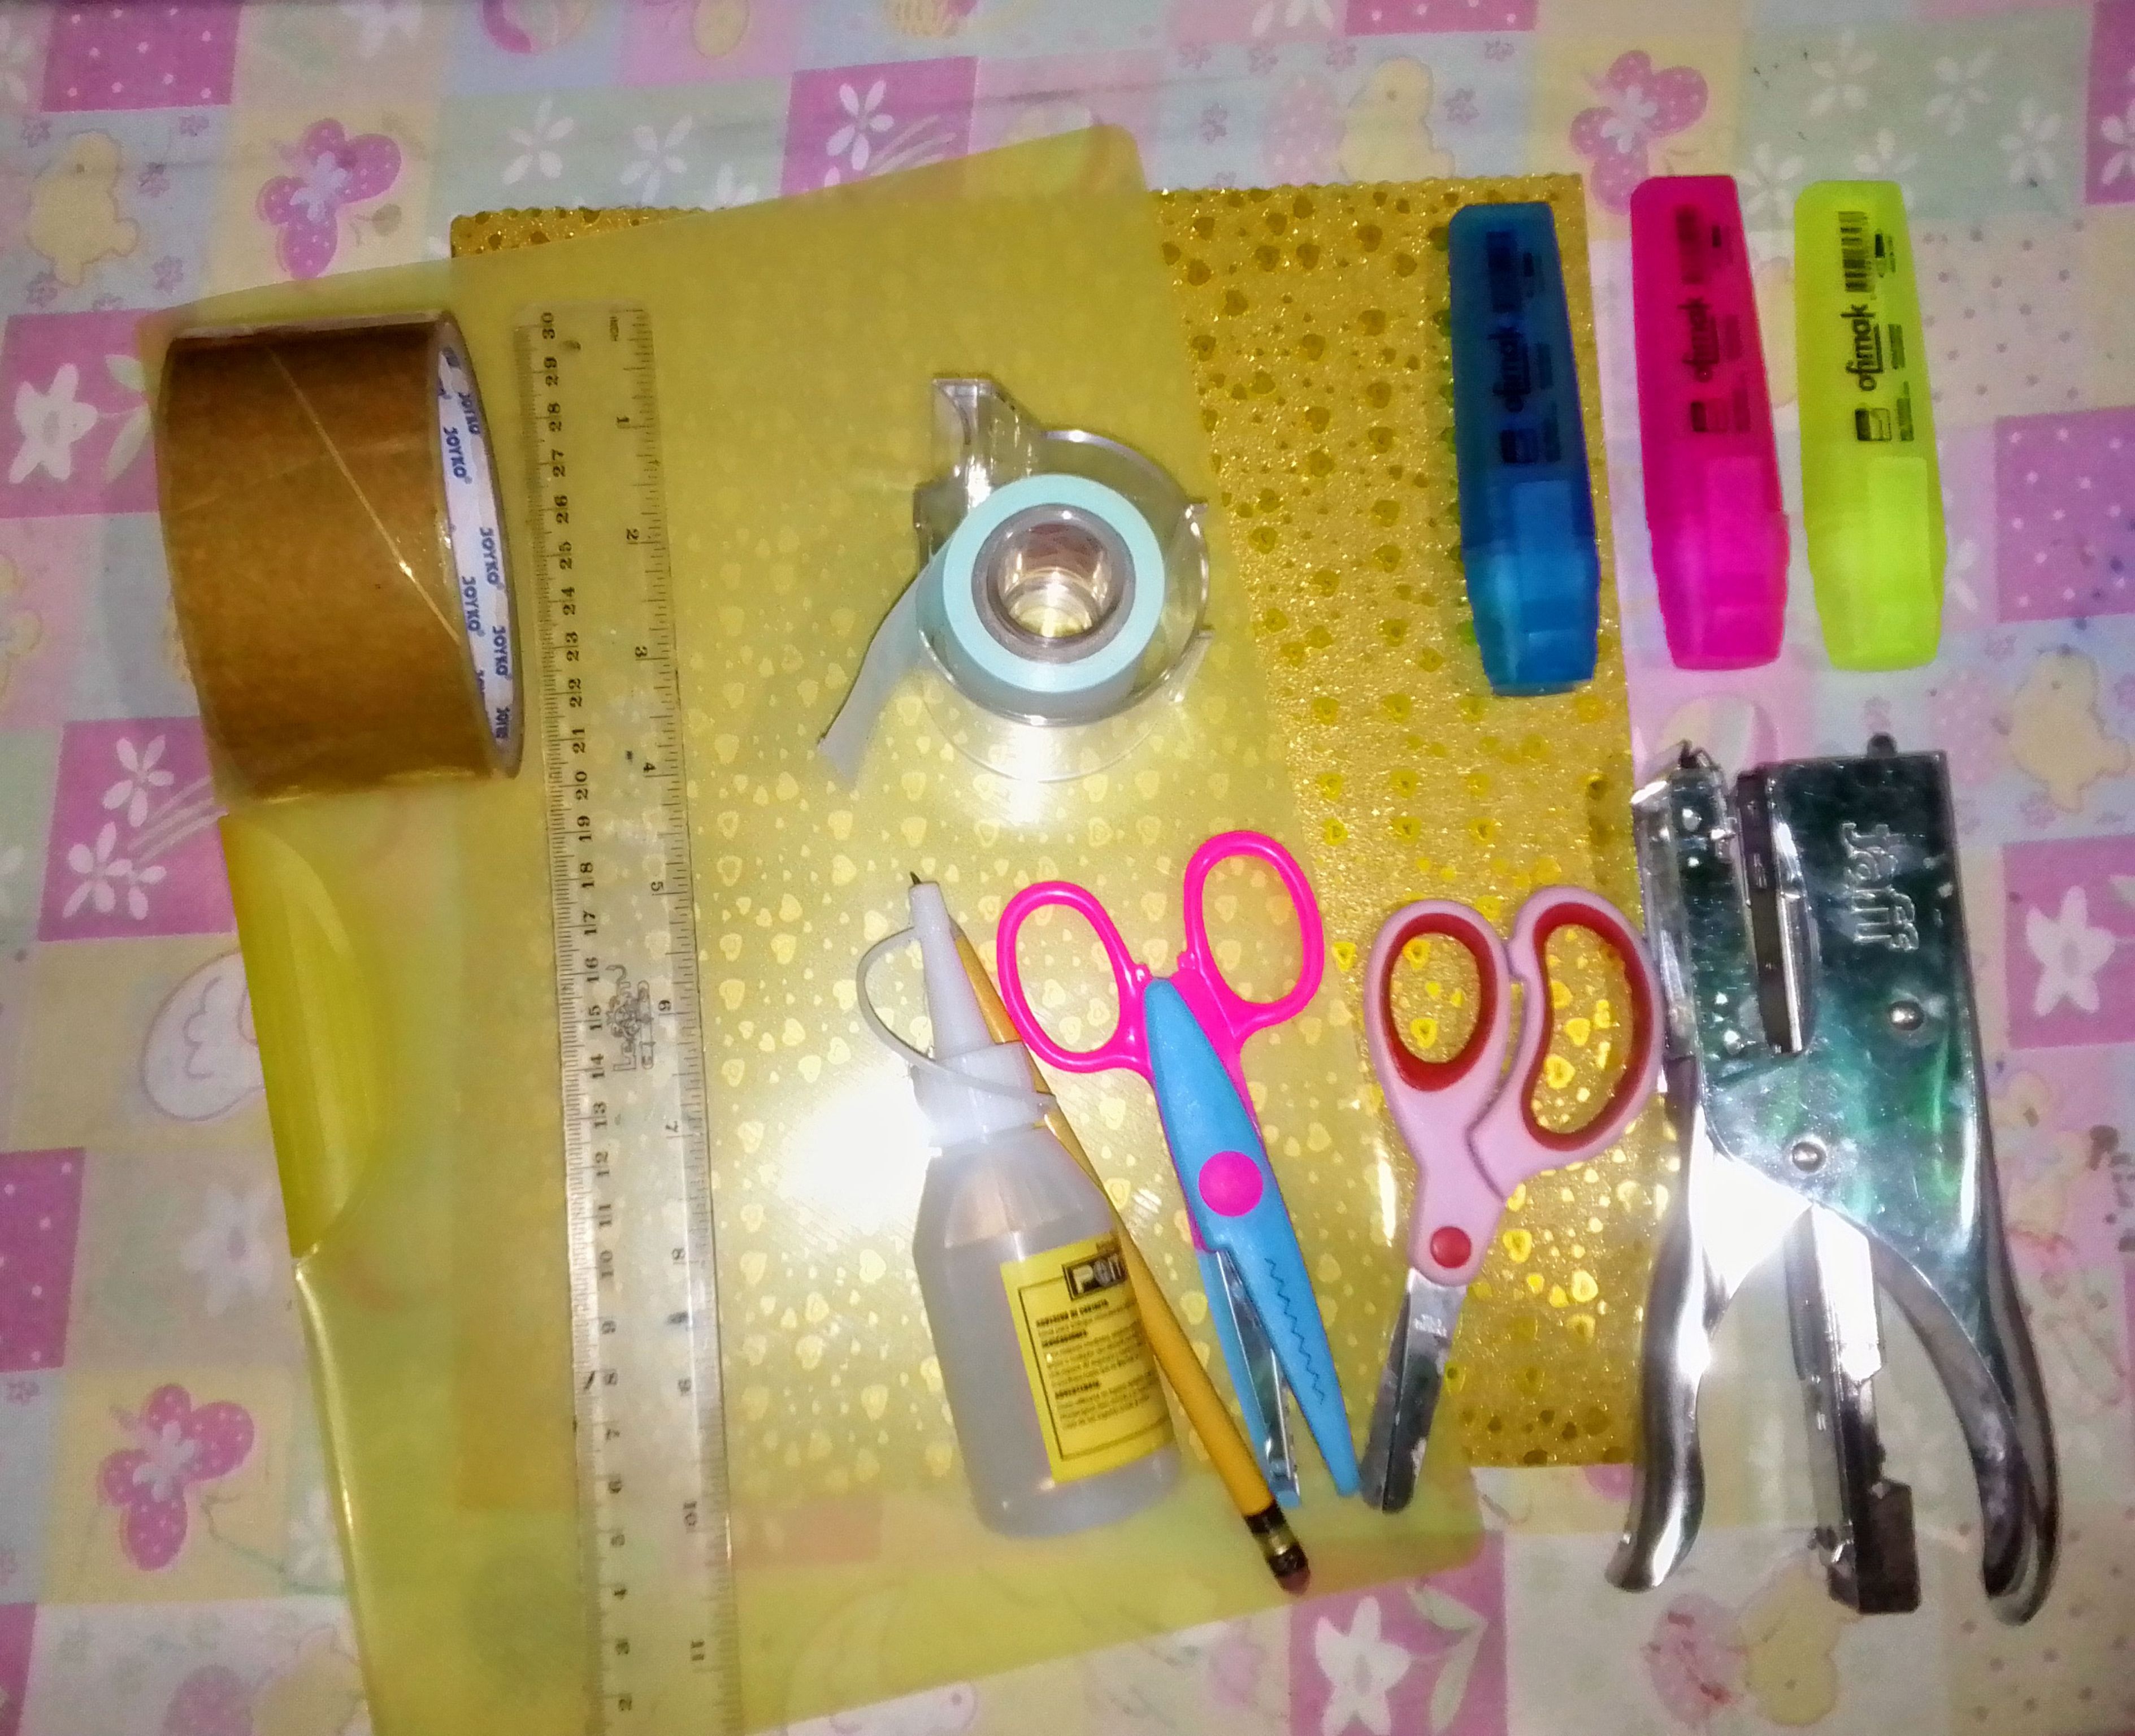
Materiales // Materials:
Carpeta de trabajo.
Silicon frío y par de tijeras.
Engrapadora.
Cartulina decorada.
Papel adhesivo de notas.
Marcador y Lápiz.
Cinta adhesiva.
Par de tijeras con formas.
Work folder.
Silicon cold and pair of scissors.
Stapler.
Decorated cardboard.
Sticky note paper.
Marker and Pencil.
Adhesive tape.
Pair of shaped scissors.
Paso a paso:
Paso 1: Con una regla, medimos el largo y ancho de la carpeta, luego esa medida las trazamos en la cartulina y luego recortamos con la tijera con formas. Y así pegamos a la carpeta por la parte de adentro por toda la orilla (esto nos servirá para meter los papeles dentro y así no se deslizan).
Step 1: With a ruler, we measure the length and width of the folder, then we trace that measurement on the cardboard and then cut out shapes with scissors. And so we glue the inside of the folder along the entire edge (this will help us to put the papers inside and thus they do not slide).
Paso 2: Recortamos un trazo de papel adhesivo para notas y lo pegamos encima de un cuadro de cartulina y con la tijera con formas, recortamos por al rededor.
Step 2: We cut a line of adhesive paper for notes and stick it on top of a cardboard box and with the scissors with shapes, we cut around it.
Paso 3: En este último paso, lo que haremos es poner el título que querramos poner, le ponemos algo de color con los marcadores y lápiz. Y luego lo pegamos al frente de la carpeta!
Step 3: In this last step, what we will do is put the title that we want to put, we put some color with the markers and pencil. And then we paste it to the front of the folder!
 </Center
Y así nos queda nuestra carpeta! Sencilla, linda y única.🥰
And so we have our folder! Simple, cute and unique.
Nos vemos en el próximo post, amigos. Feliz y bendecida noche a todos!🤗
See you in the next post, friends. Happy and blessed night everyone!🤗
Congratulations @dorihann14! You received a personal badge!
You can view your badges on your board and compare yourself to others in the Ranking
Check out the last post from @hivebuzz:
Support the HiveBuzz project. Vote for our proposal!