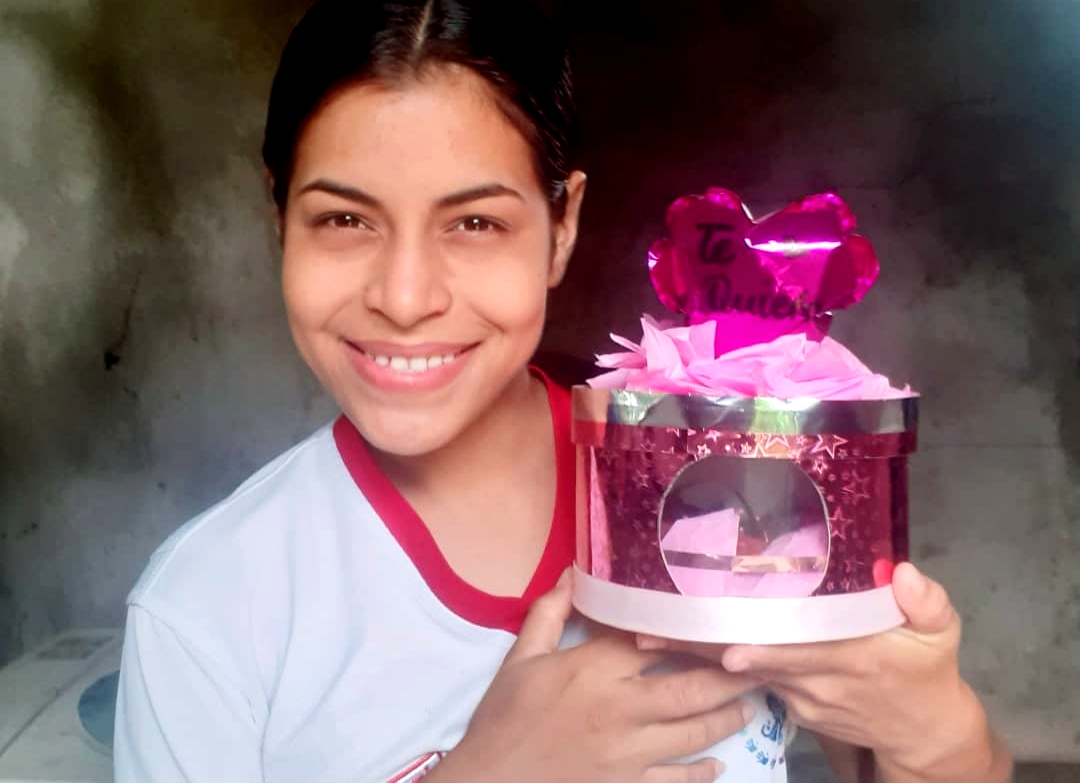
Buenos dias, mi queridos amigos de Hive! Como han estado? Espero que bien. Estaba un poco ausente por problemas de salud, pero gracias a Dios ya todo esta bien. Hoy le quiero mostrar una hermosa cajita de regalo que es muy facil de hacer y se que les va a gustar. Lean hasta el final del tutorial!
Good morning, my dear friends from Hive! How have you been? I hope it's ok. I was a little absent due to health problems, but thank God everything is fine. Today I want to show you a beautiful gift box that is very easy to make and I know you will like it. Read until the end of the tutorial!
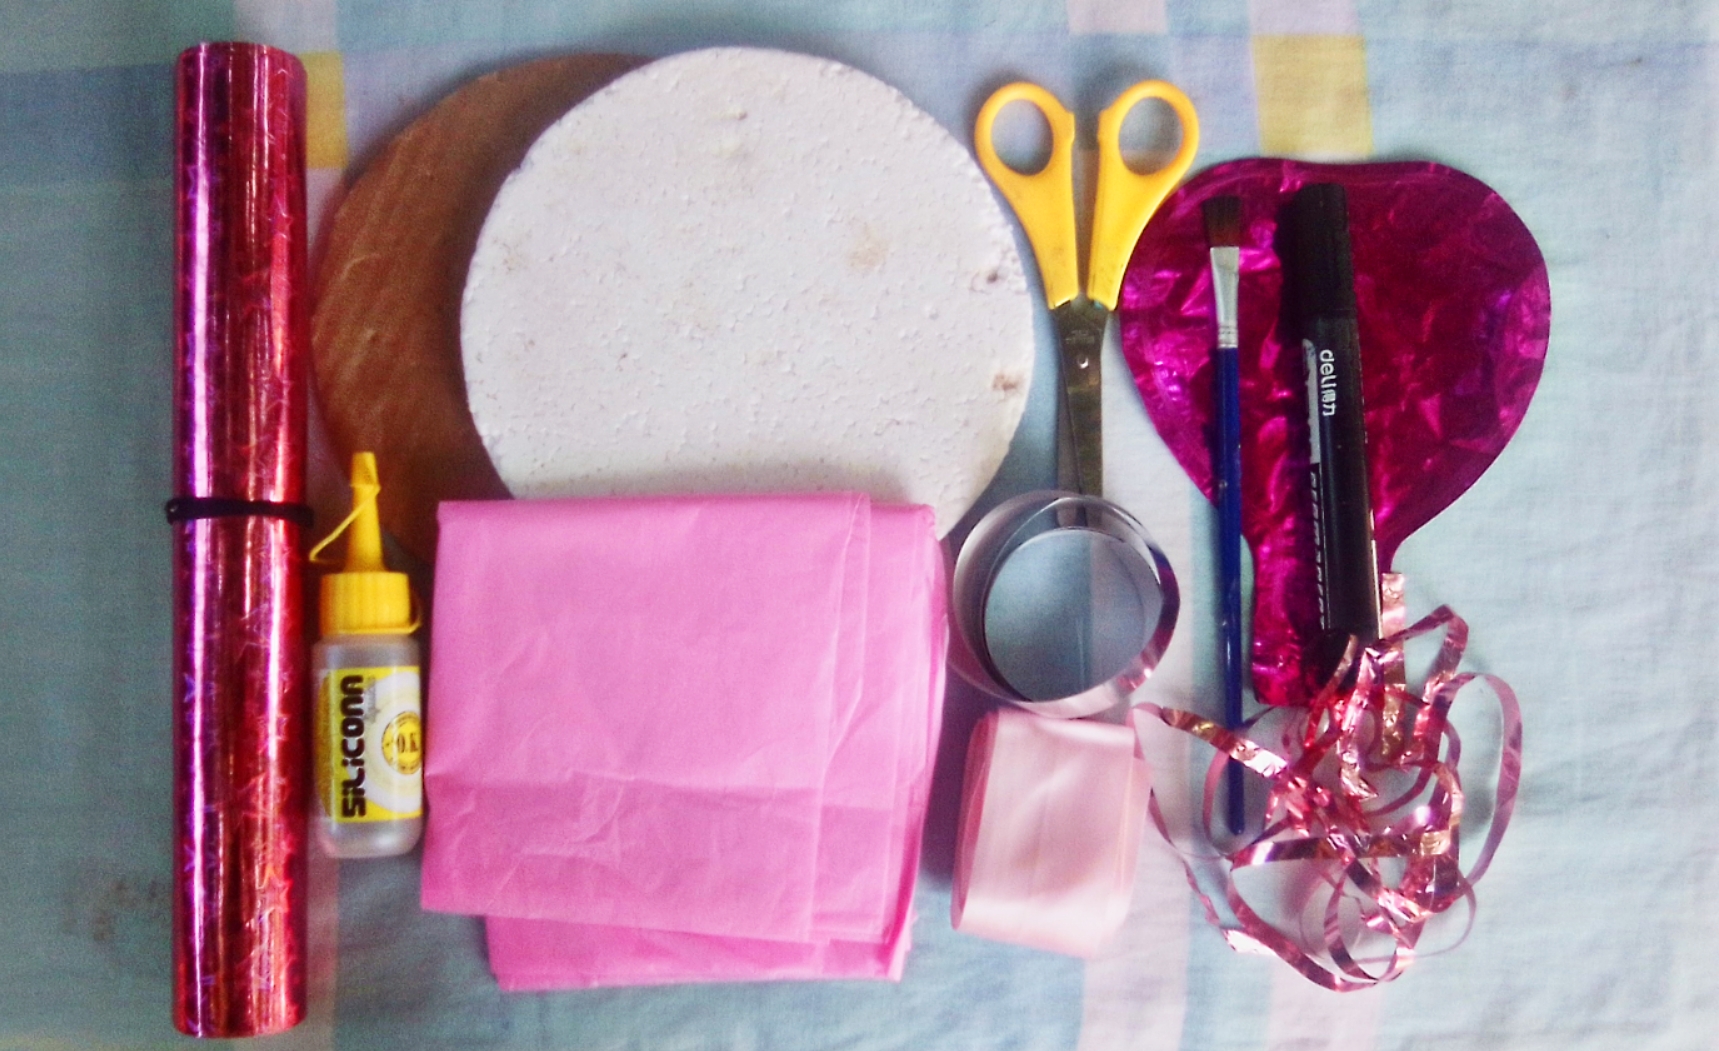
Materiales // Materials
- Un circulo de poliestireno y uno de carton
- Papel de ceda y cartulina decorada
- Plastico transparente
- Silicon y un globo
- Cintas del color de tu preferencia
- A polystyrene circle and a cardboard circle
- Ceda paper and decorated cardstock
- Transparent plastic
- Silicon and a balloon
- Ribbons of the color of your preference
Pasos a seguir:
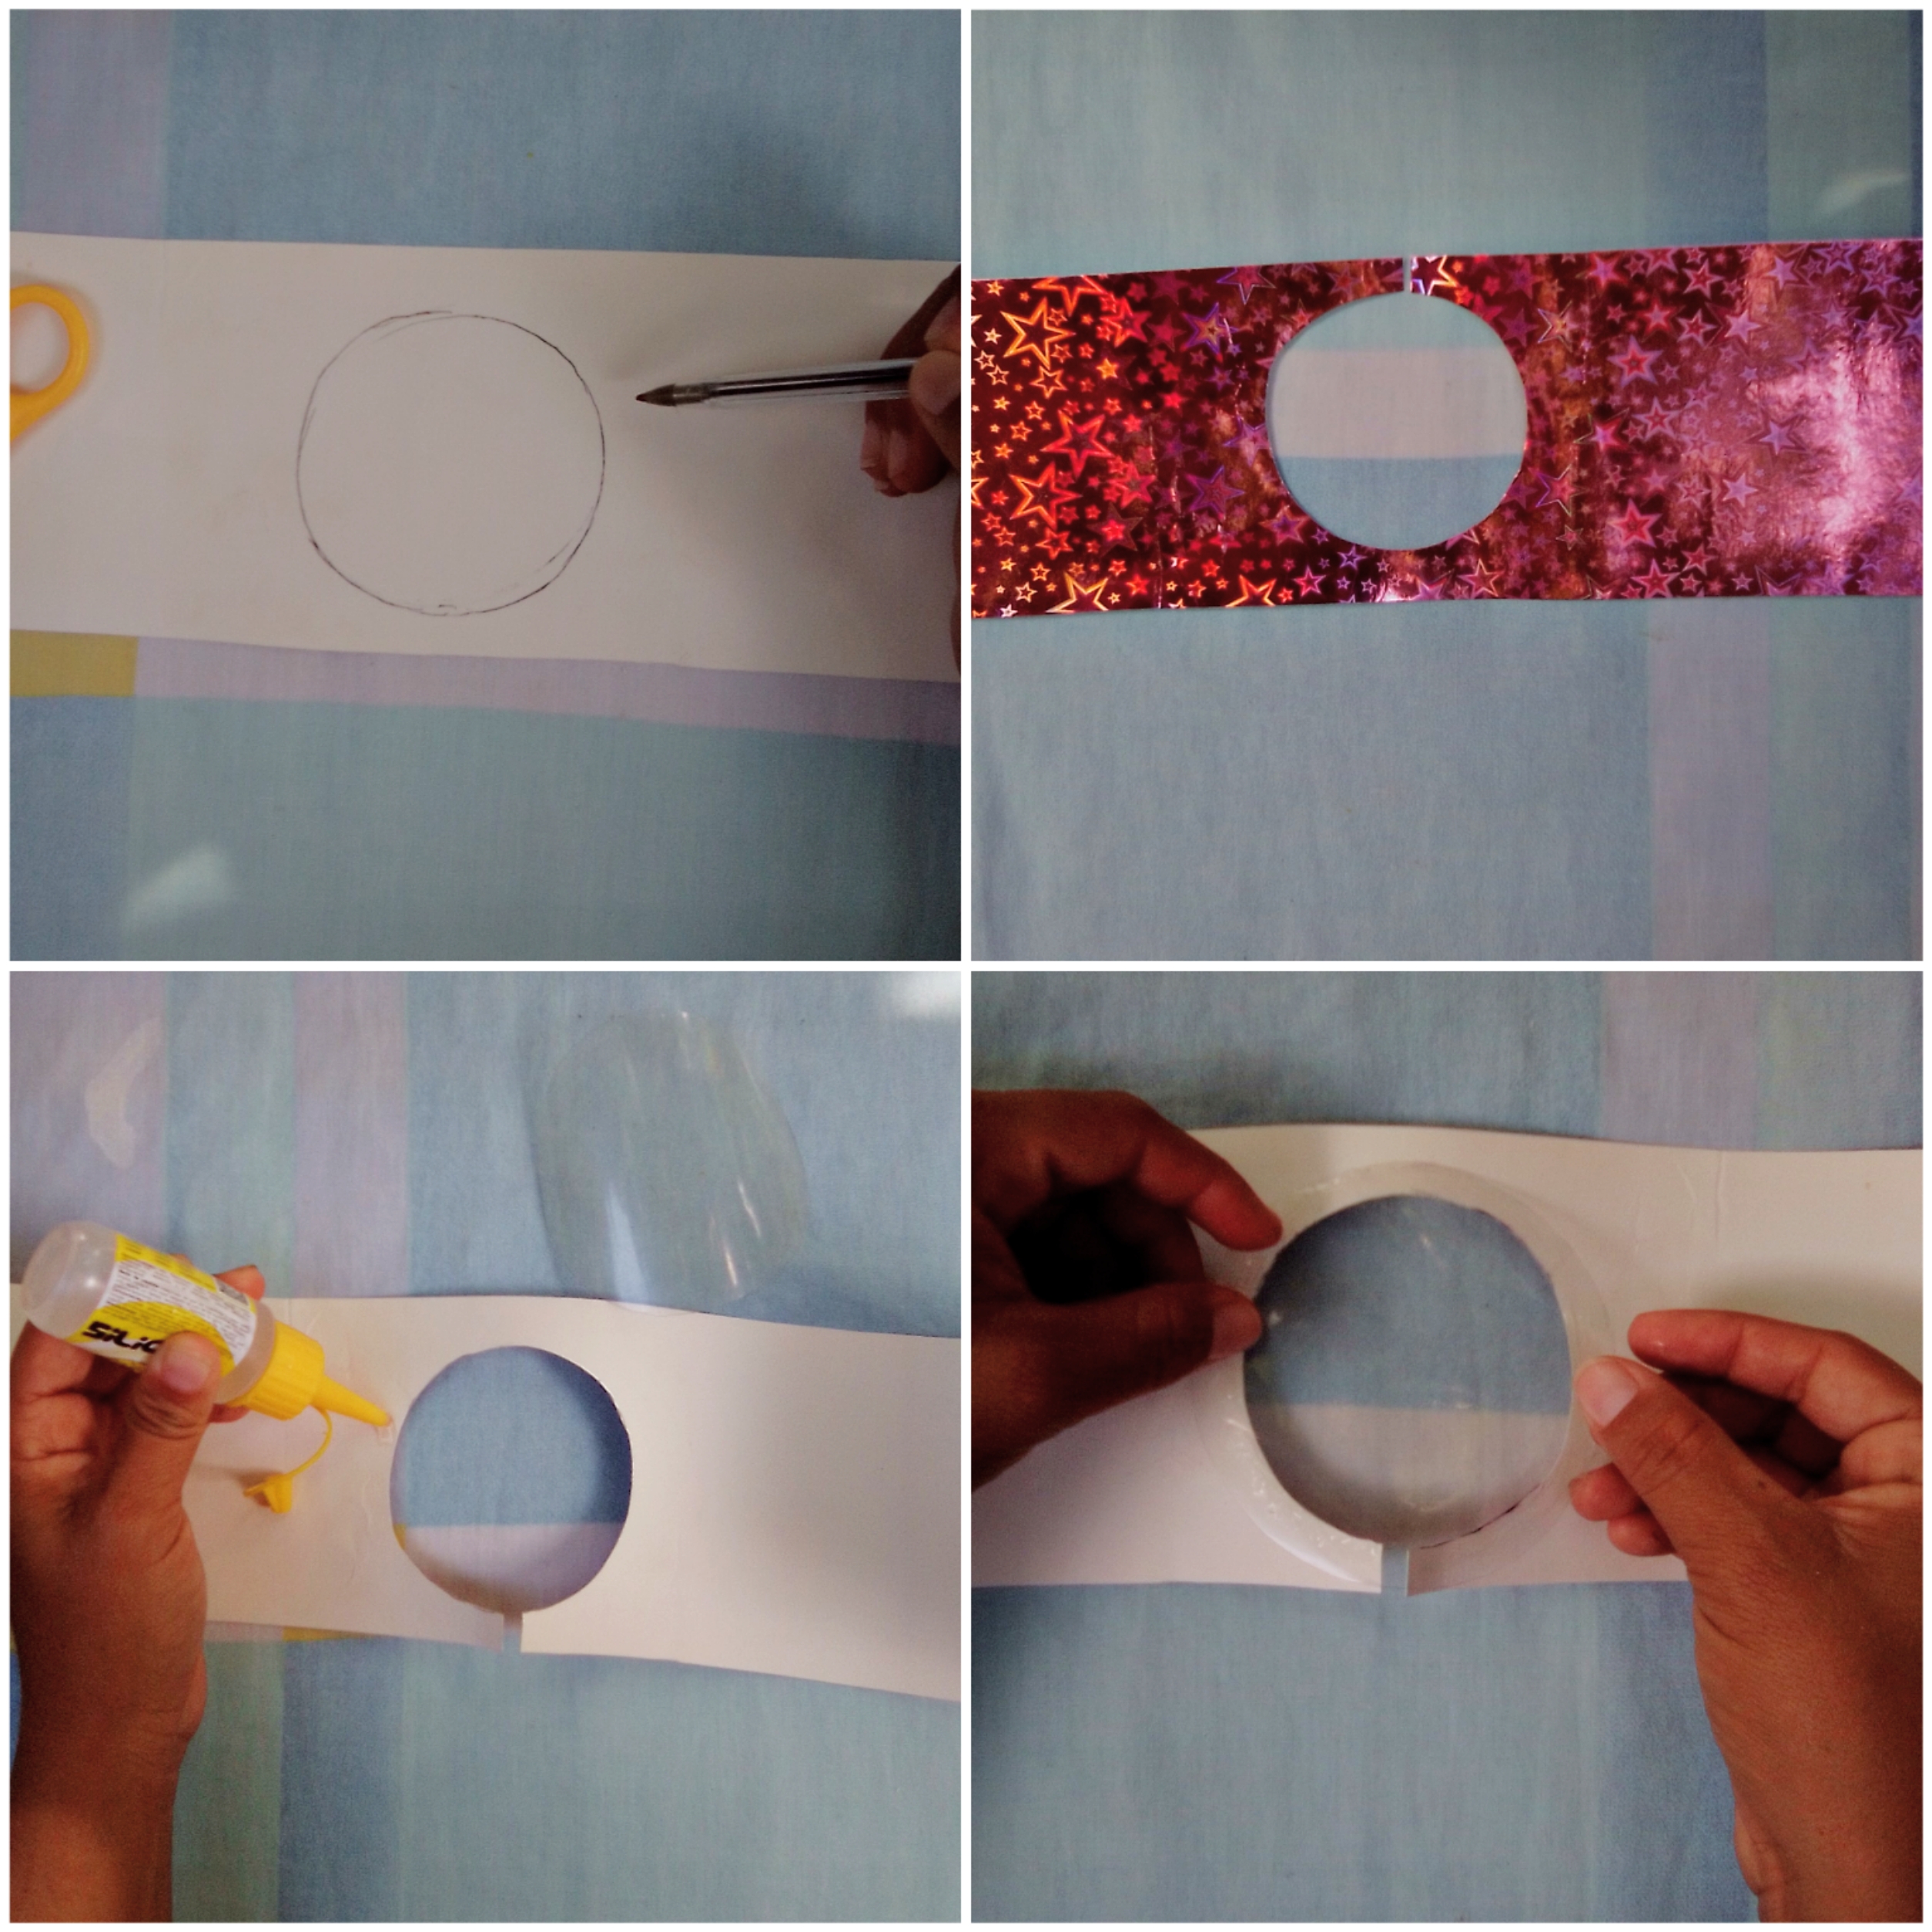
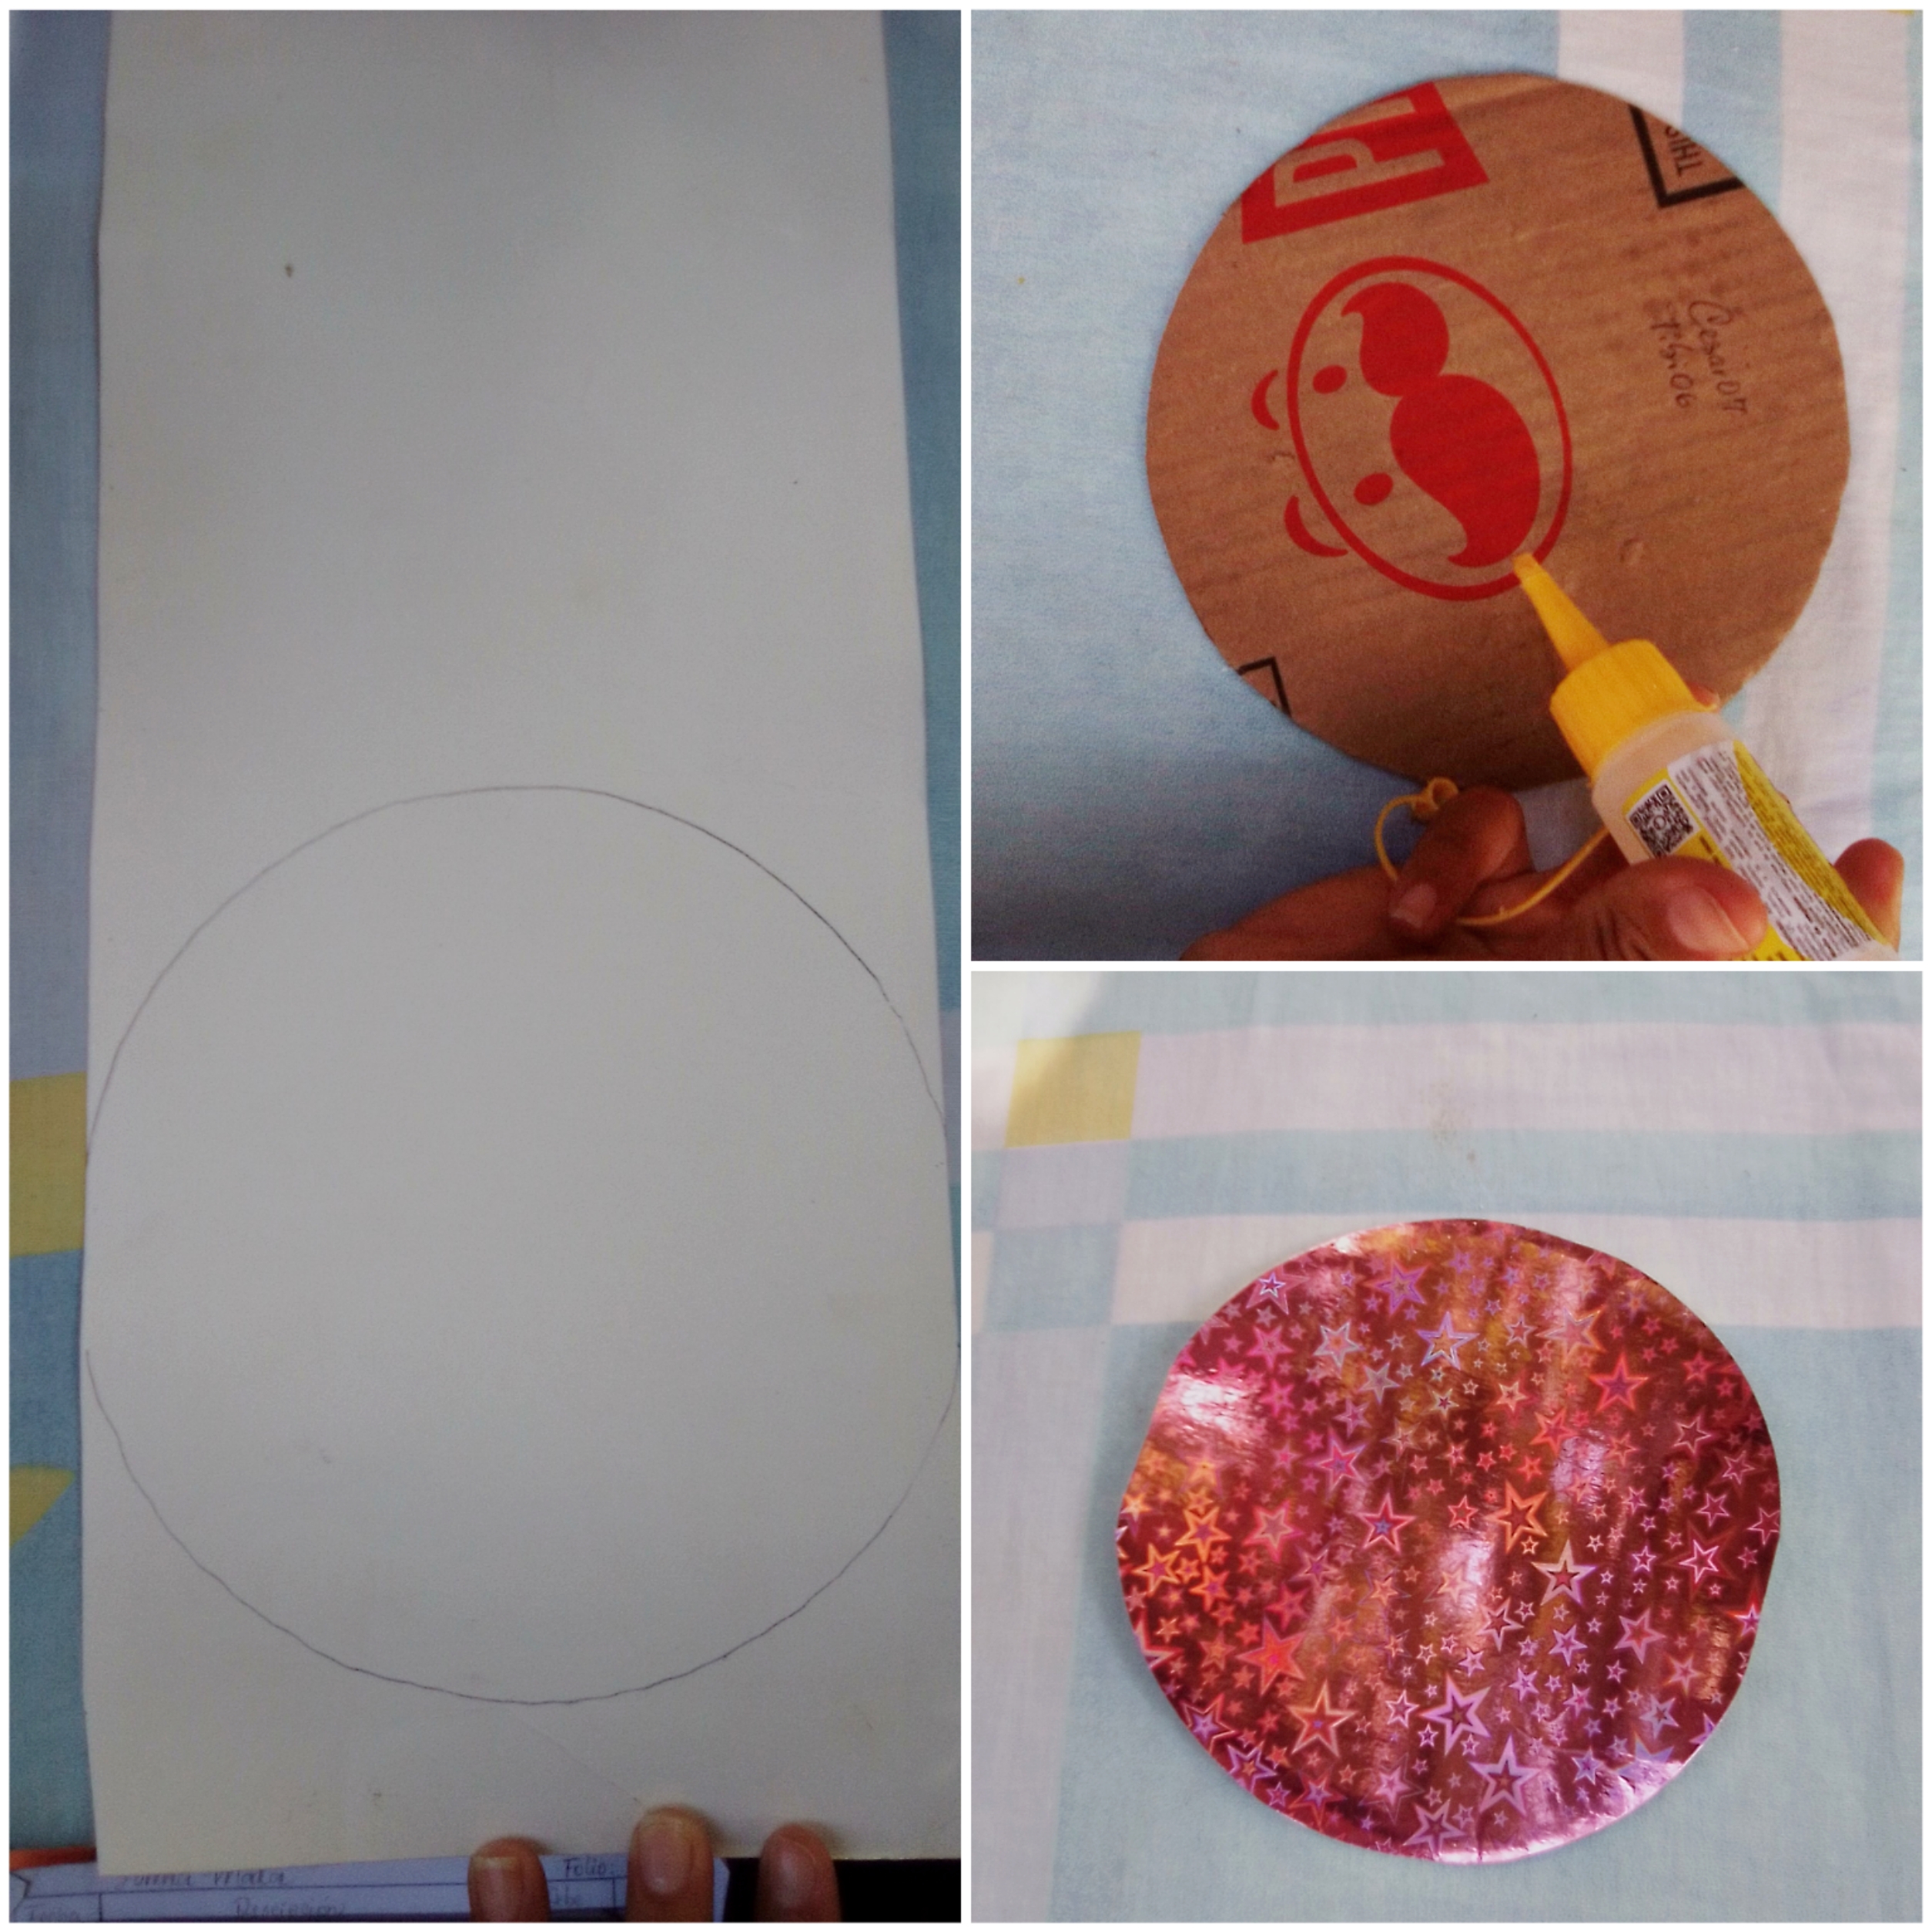
En primera, tomaremos la cartulina y la picaremos a la altura que querramos que tenga la caja. Luego marcaremos un circulo en el medio y le pondremos el plastico.
First, we will take the cardboard and we will cut it to the height that we want the box to have. Then we will mark a circle in the middle and we will put the plastic.
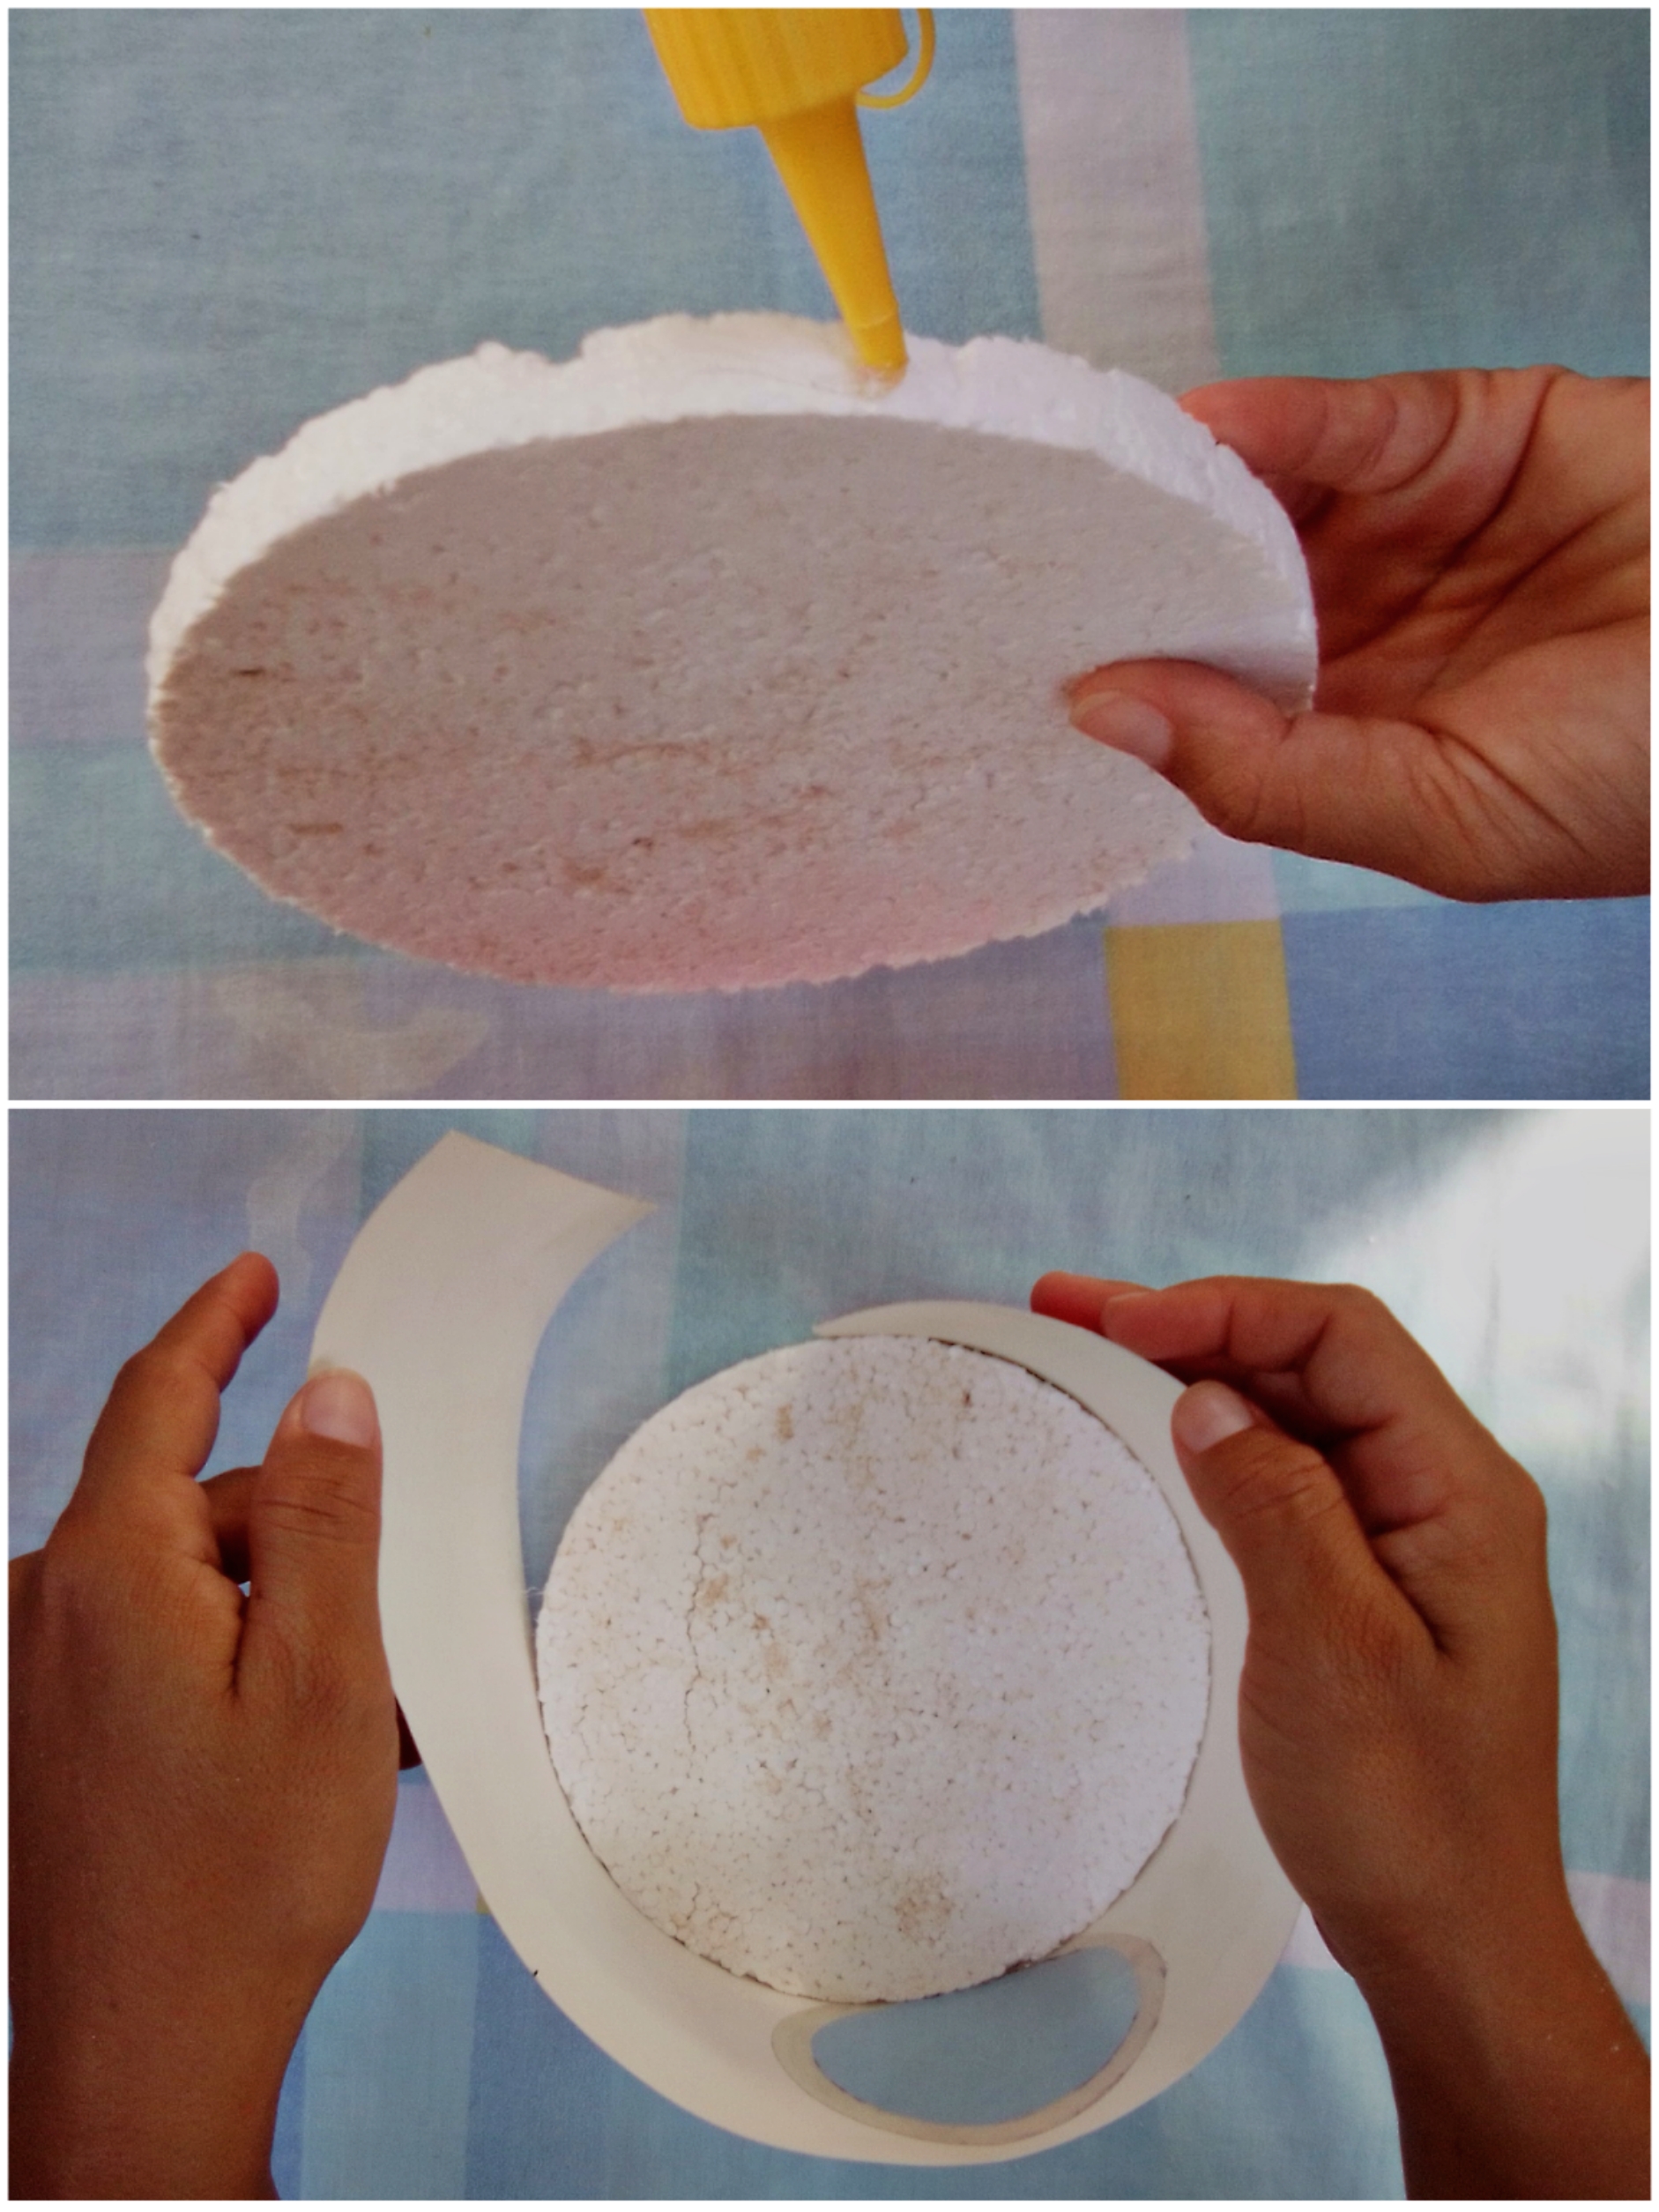
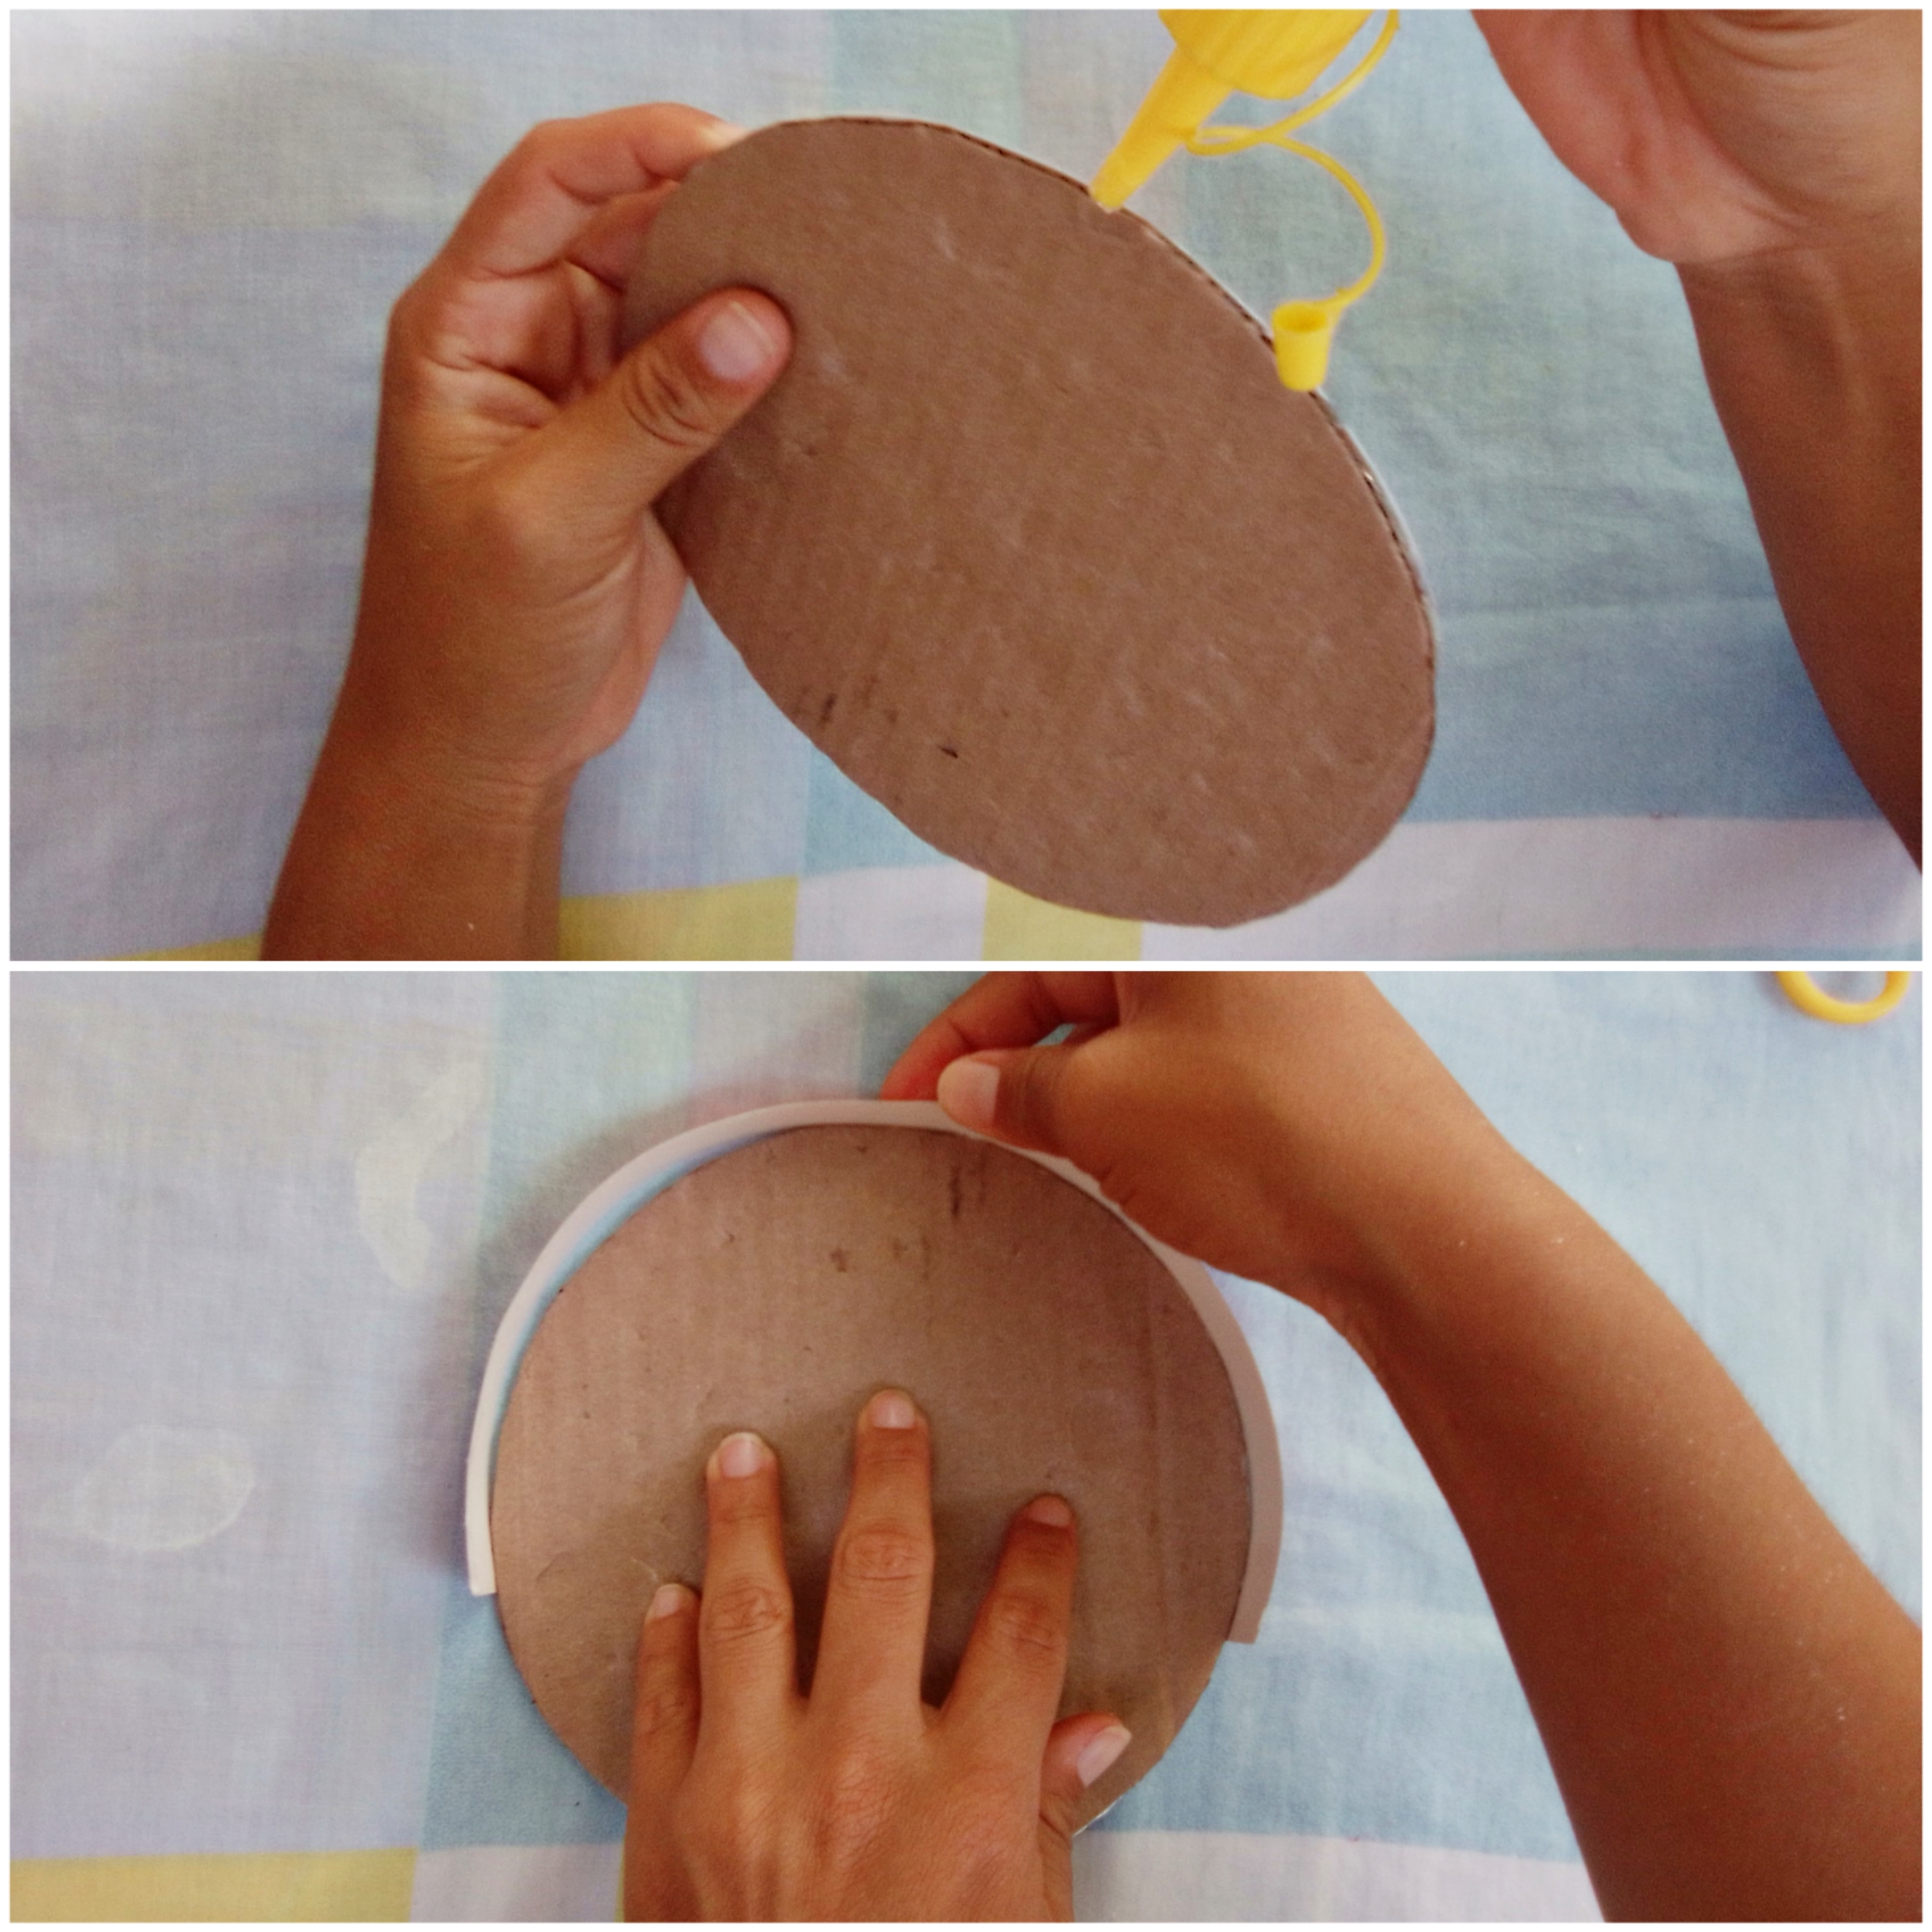
Luego, pegamos la cartulina al rededor del poliestireno para asi tener la base de la caja.
Then, we glue the cardboard around the polystyrene to have the base of the box.
Con el circulo de carton, marcamos en otro pedazo de cartulina y pegamos para asi forrar la tapa.
With the cardboard circle, we mark on another piece of cardboard and glue to cover the lid.
Picamos una tira de cartulina no muy gruesa y la pegamos al rededor para que la tapa quede bien sujeta.
We chop a not very thick cardboard strip and glue it around so that the lid is well attached.
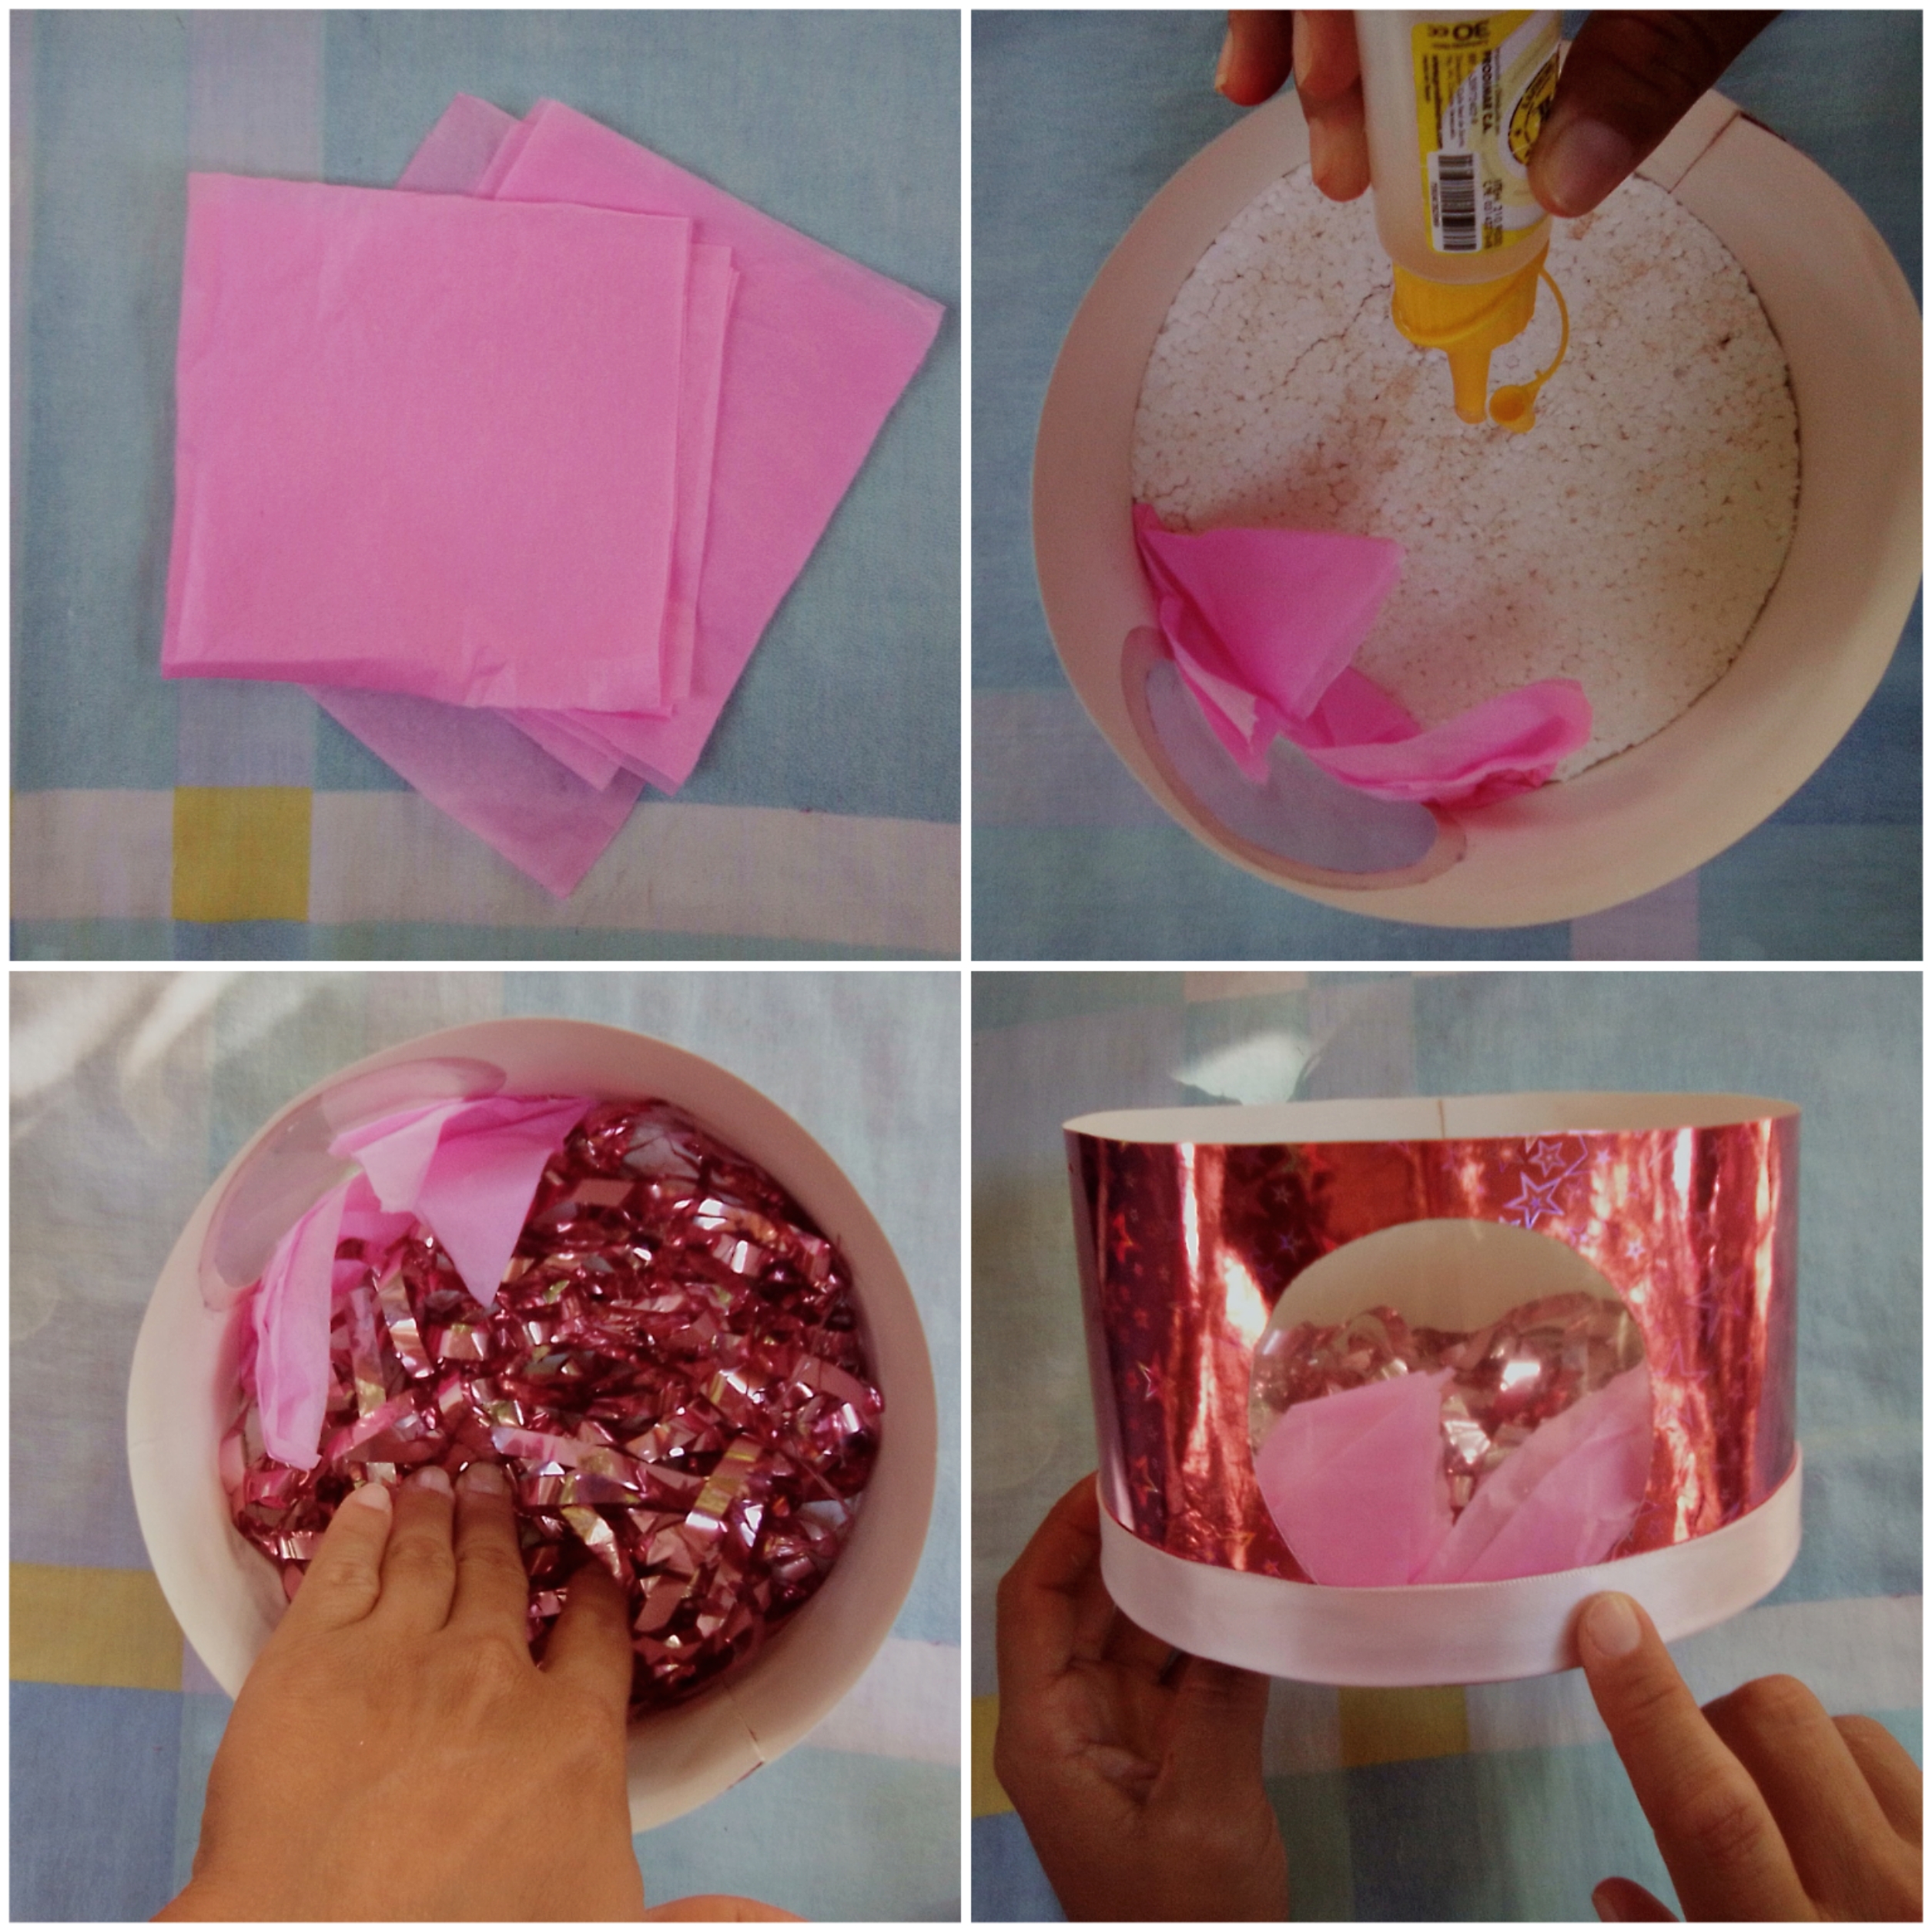
Ponemos silicon dentro de la caja para ponerle cintas y pedacitos de papel de ceda para rellenar.
We put silicone inside the box to put ribbons and pieces of ceda paper to fill.
Por ultimo, hacemos triangulos con el papel de ceda y los pegamos en el centro de la tapa por la parte de afuera.
Finally, we make triangles with the ceda paper and stick them in the center of the lid on the outside.
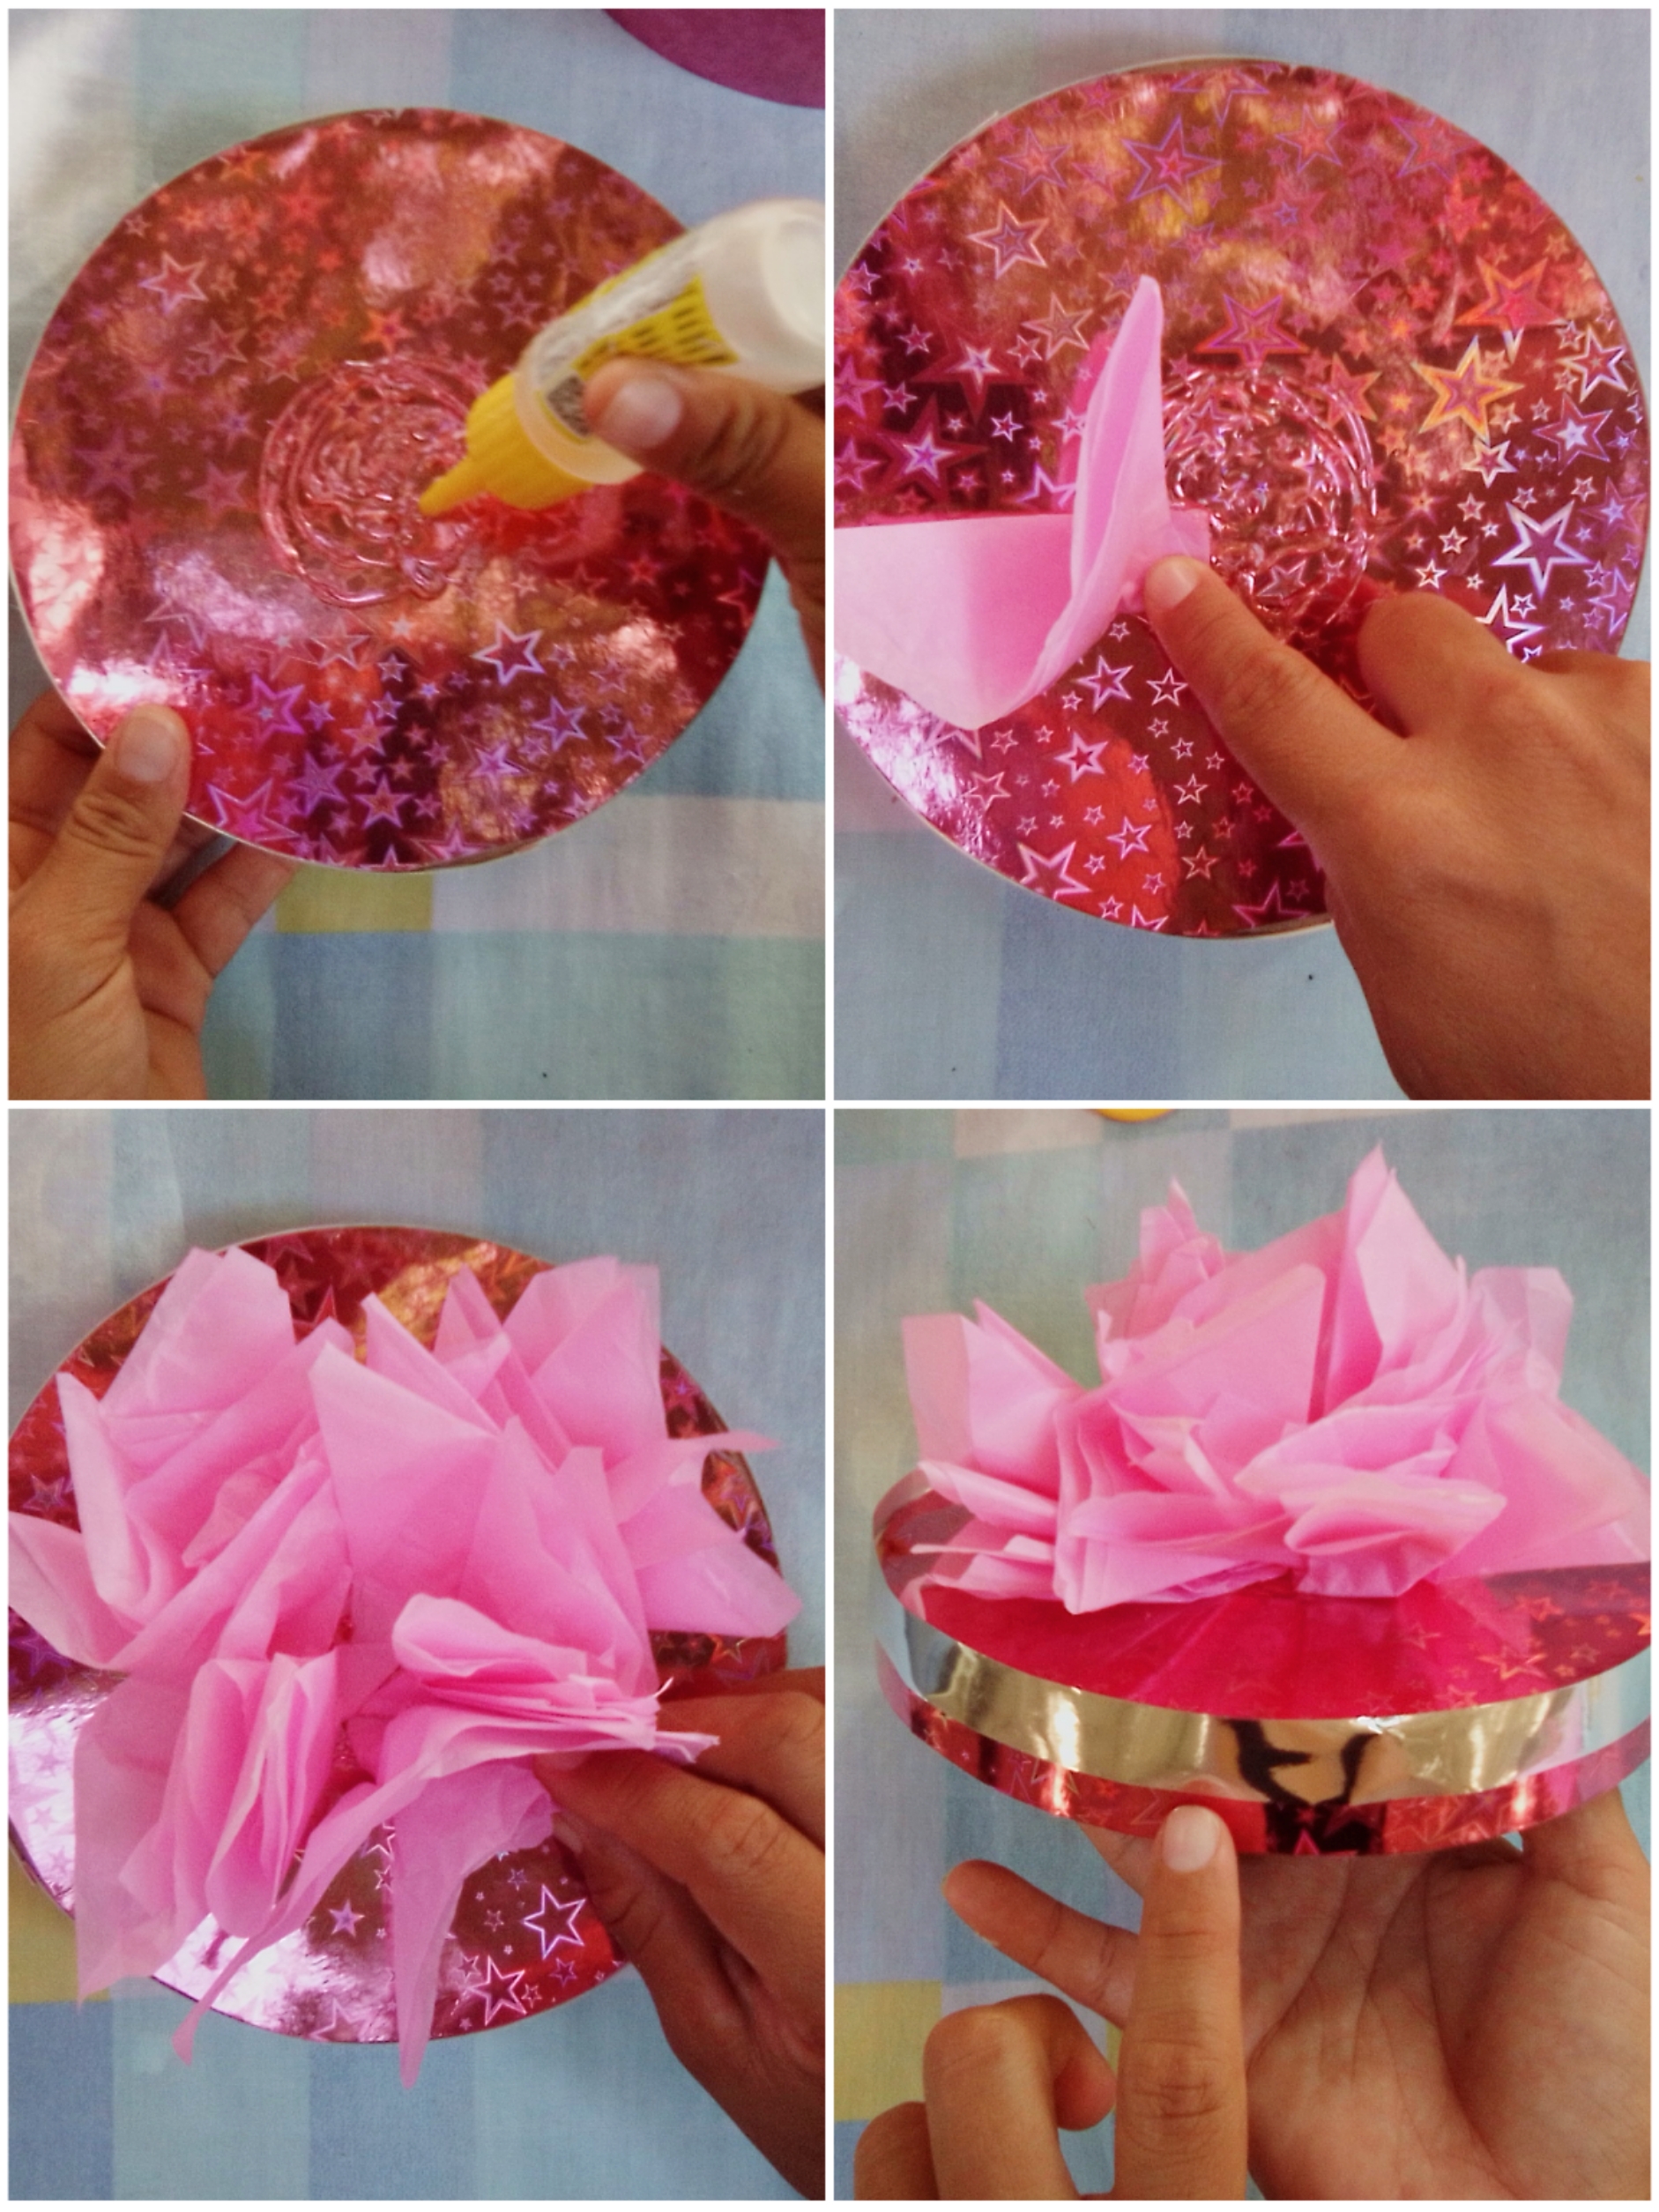
Y asi terminamos la hermosa cajita de regalo! 🤗
And so we finish the beautiful gift box! 🤗
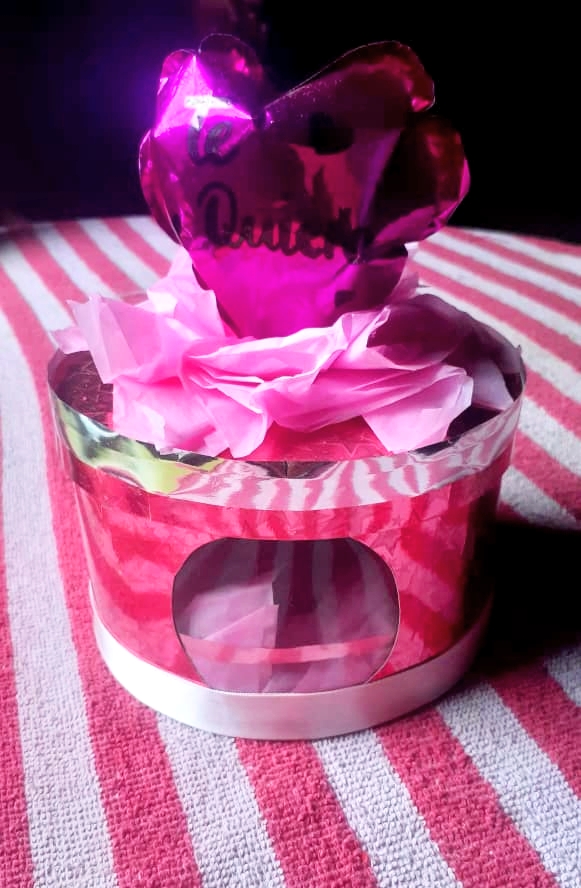

Nos vemos en el proximo post! Gracias por leerlo hasta el final. Bendiciones! 🥰 @dorihann14
See you in the next post! Thanks for reading it to the end. Blessings! 🥰 @dorihann14
Congratulations @dorihann14! You have completed the following achievement on the Hive blockchain and have been rewarded with new badge(s) :
Your next target is to reach 30 posts.
You can view your badges on your board and compare yourself to others in the Ranking
If you no longer want to receive notifications, reply to this comment with the word
STOPTo support your work, I also upvoted your post!