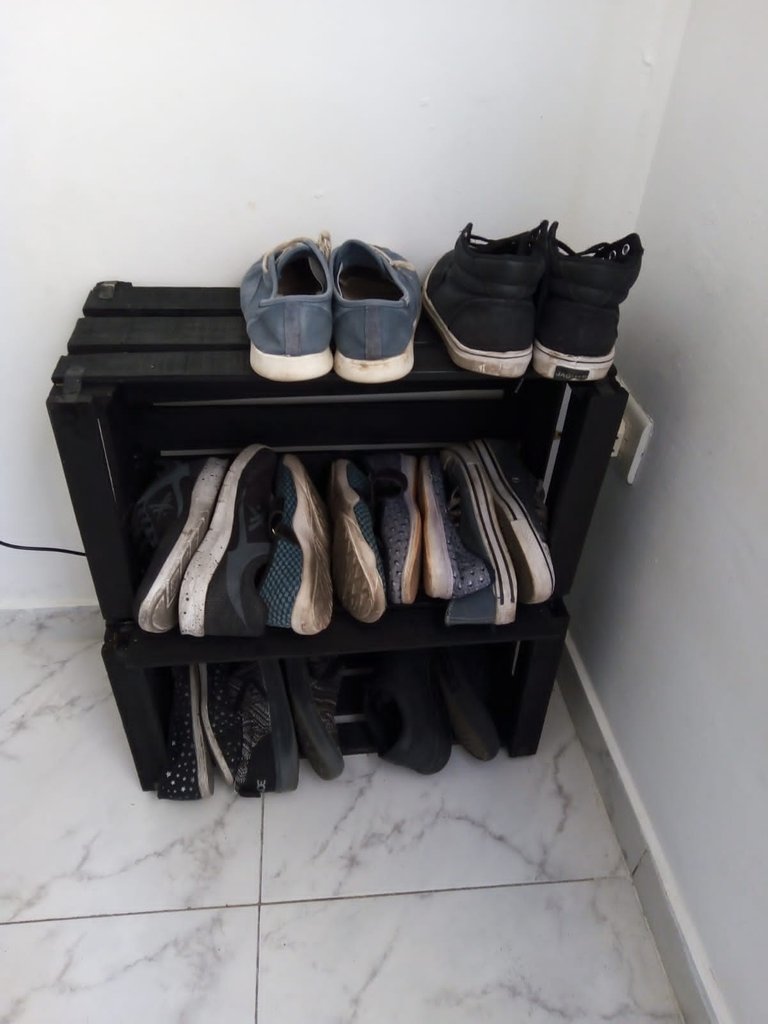
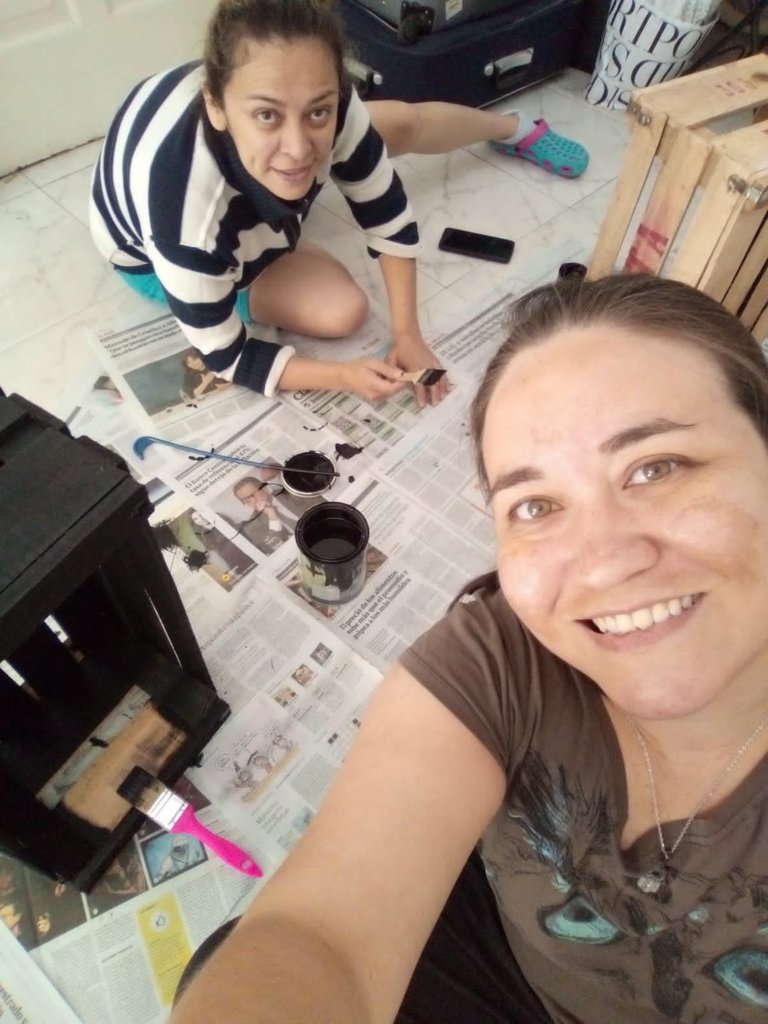
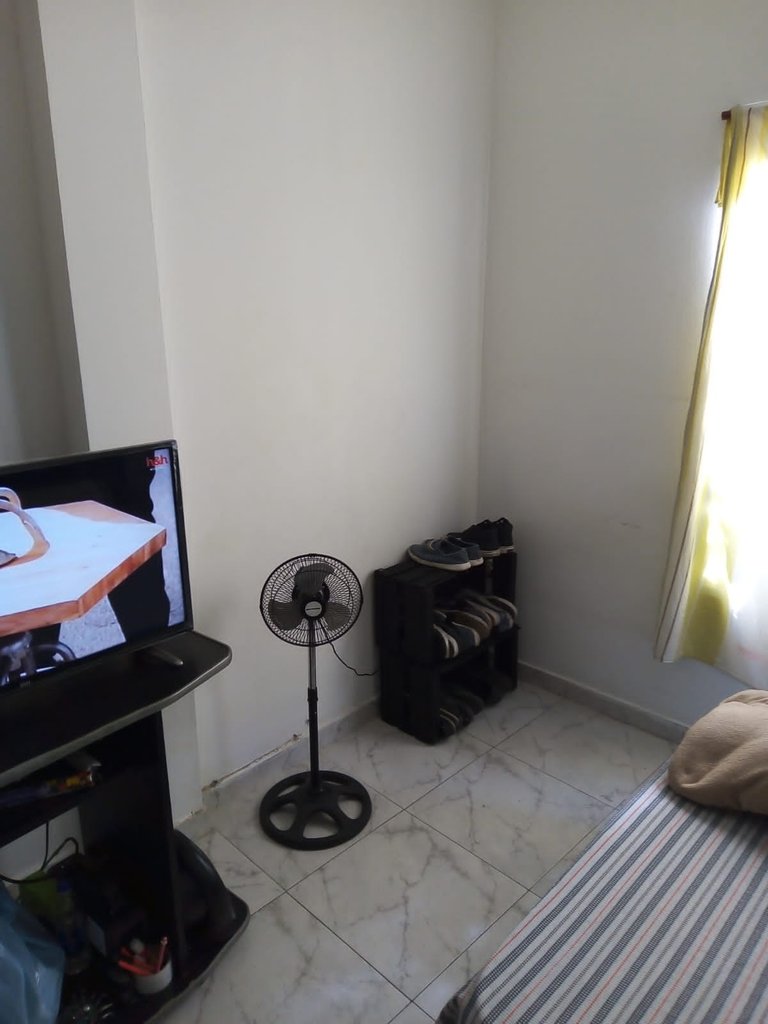
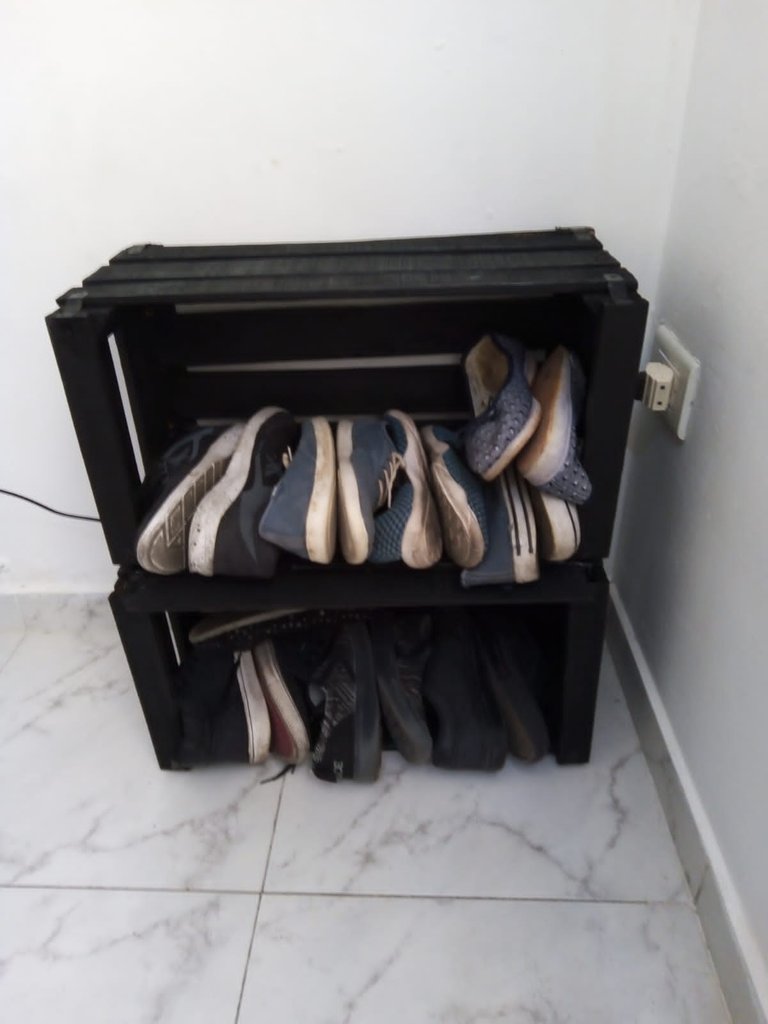
Amigos lectores, como están?! Espero que de maravilla, hoy les dejaré un post diferente, deseo compartir con ustedes una hermosa zapatera que hice junto a mi pareja. Cosas que quizás pueden resultar complicadas al momento de pensar en hacerlas, pero que resultan ser muy sencillas de hacer y de paso te ahorras un dinerito.
Si quieren intentarlo por acá les dejo lo que utilice y la forma en que lo hice, espero que sea de su agrado.
Lo primero es conseguir dos cestas de madera en las verdulerías, en mi país le llamamos guacales depende de donde estén leyendo, son las cestas que usan en las verdulerías. En mi caso en Buenos Aires las puedes pedir a los verduleros, aunque en esta oportunidad las conseguí en la calle cerca de un container de basura ya que las desechan, tanto que me di la oportunidad de escoger cual quería y escogí las que estaban em mejores
condiciones.
Dear readers, how are you? I hope you are wonderful, today I will leave you a different post, I want to share with you a beautiful shoe rack that I made with my partner. Things that may be complicated at the time of thinking about making them, but that turn out to be very simple to do and at the same time you save a little money.
If you want to try it here I leave you what I used and how I did it, I hope you like it.
Herramientas y utensilios:
- 2 cestas de madera (de verduras).
- Papel de lija.
- Pintura para madera / metal (1 litro).
- Brocha o pincel grueso.
- Martillo.
- Clavos.
- Papel periódico u otro para cubrir el lugar de trabajo.
Tools and utensils:
- 2 wooden baskets (vegetable baskets).
- Sandpaper - Paint for wood / metal (1 liter).
- Thick brush or paintbrush.
- Hammer.
- Nails.
- Newspaper or other paper to cover the work place.
The first thing to do is to get two wooden baskets from the greengrocers, in my country we call them guacales depending on where you are reading, they are the baskets they use in the greengrocers. In my case in Buenos Aires you can ask for them to the greengrocers, although in this opportunity I got them in the street near a garbage container since they discard them, so I gave myself the opportunity to choose which one I wanted and I chose the ones that were in better conditions.
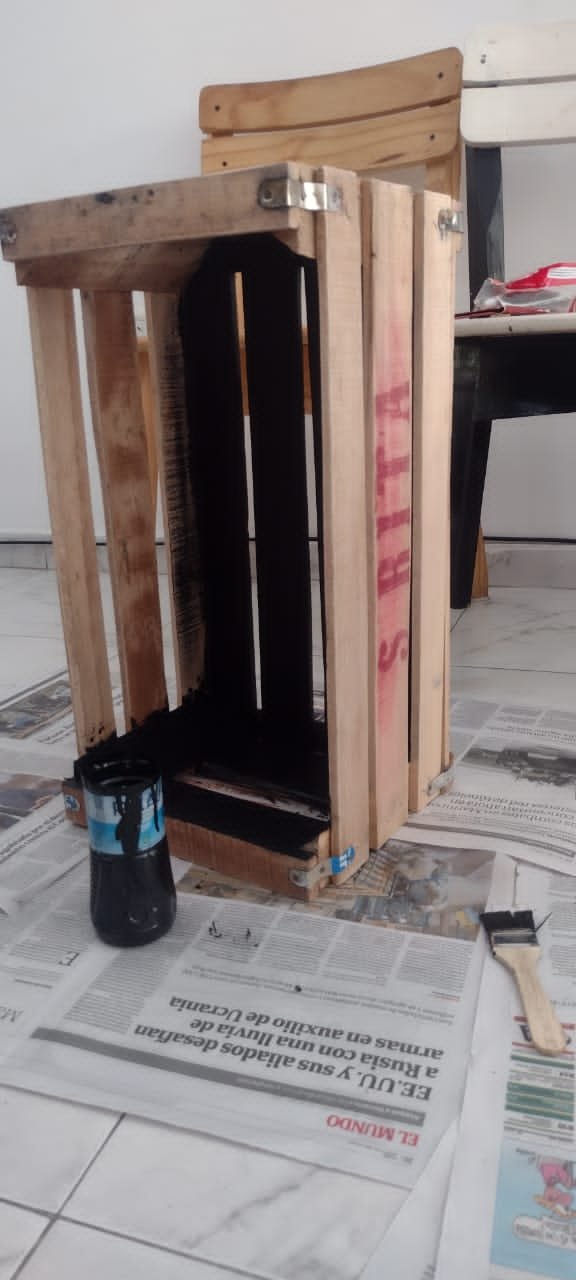
Una vez que se tengan busca un espacio adecuado en tu hogar y comienza a lijar las tablitas ya que traen algunas astillitas que pueden provocar algún corte.
Once you have them, look for a suitable space in your home and start sanding the boards as they have some splinters that can cause a cut.
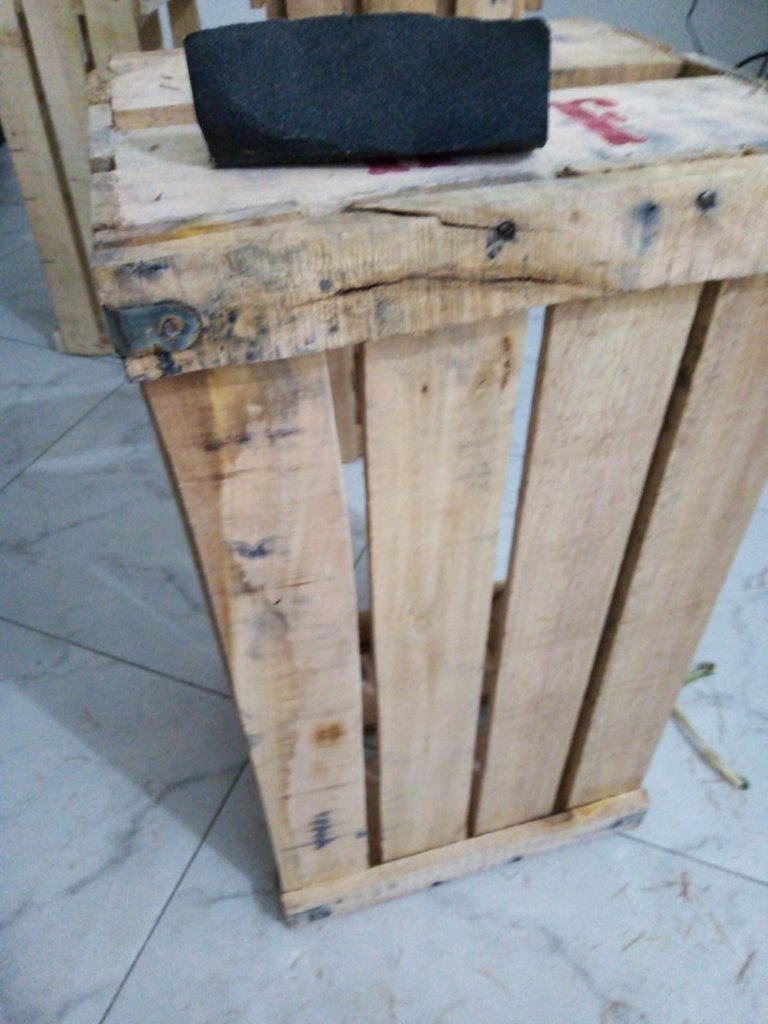
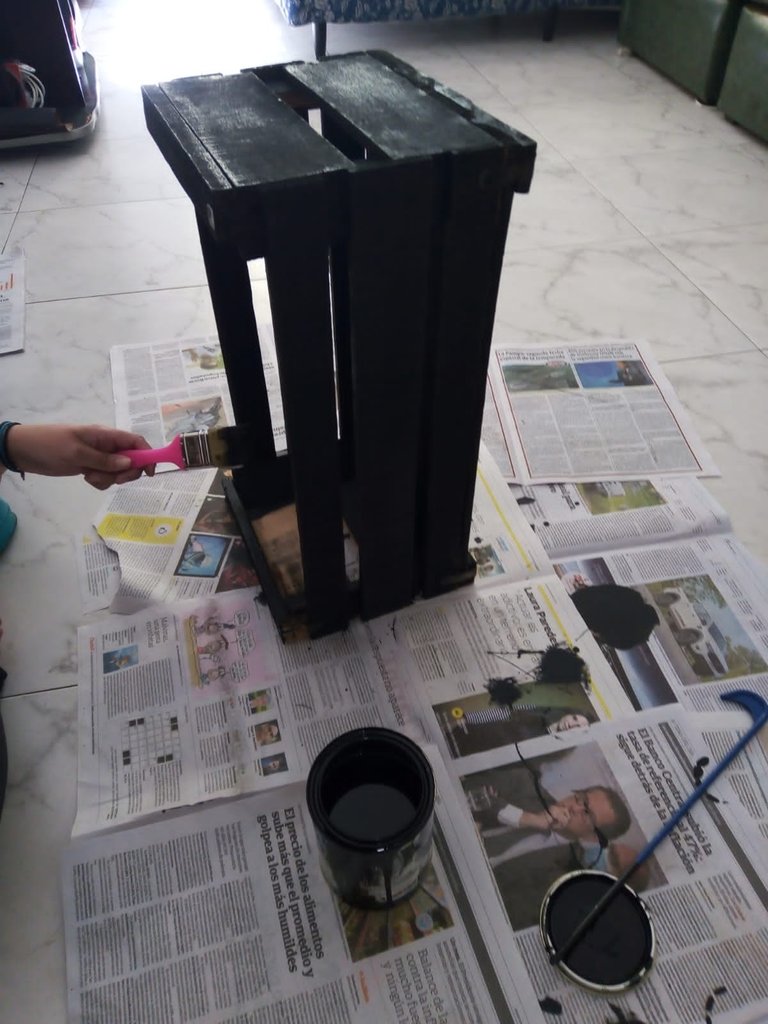
Después de lijarlas comenzamos con el proceso de pintar, para ello escogí una pintura negra que es para maderas y metales; con una brocha o pincel grueso empezamos a pintar todas y cada una de las tablas. Le pase una sola mano, pero por ser un poco irregular coloque mayor cantidad de pintura en las zonas donde le hacia falta, es recomendable usar una brocha o pincel fino para las áreas más difíciles donde las maderas están muy unidas.
After sanding them we started with the painting process, for this I chose a black paint that is for wood and metals; with a brush or thick brush we began to paint each and every one of the boards. I applied only one coat, but because it is a little irregular I put more paint in the areas where it was needed, it is advisable to use a fine brush for the most difficult areas where the wood is very close together.
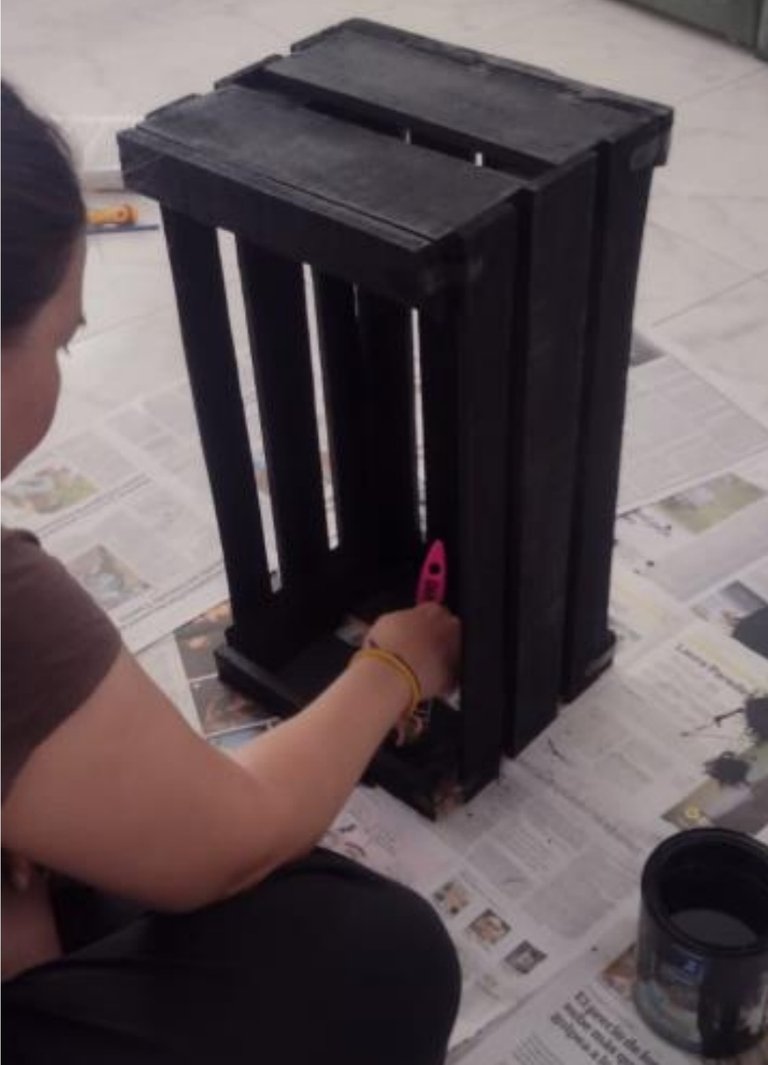
Dejamos secar ambas cestas, yo las deje un día entero a fin de que se seque muy bien la pintura, pero dependiendo de la que usen el secado puede ser mas rápido.
We let dry both baskets, I left them a whole day so that the paint dries very well, but depending on the one you use the drying can be faster.
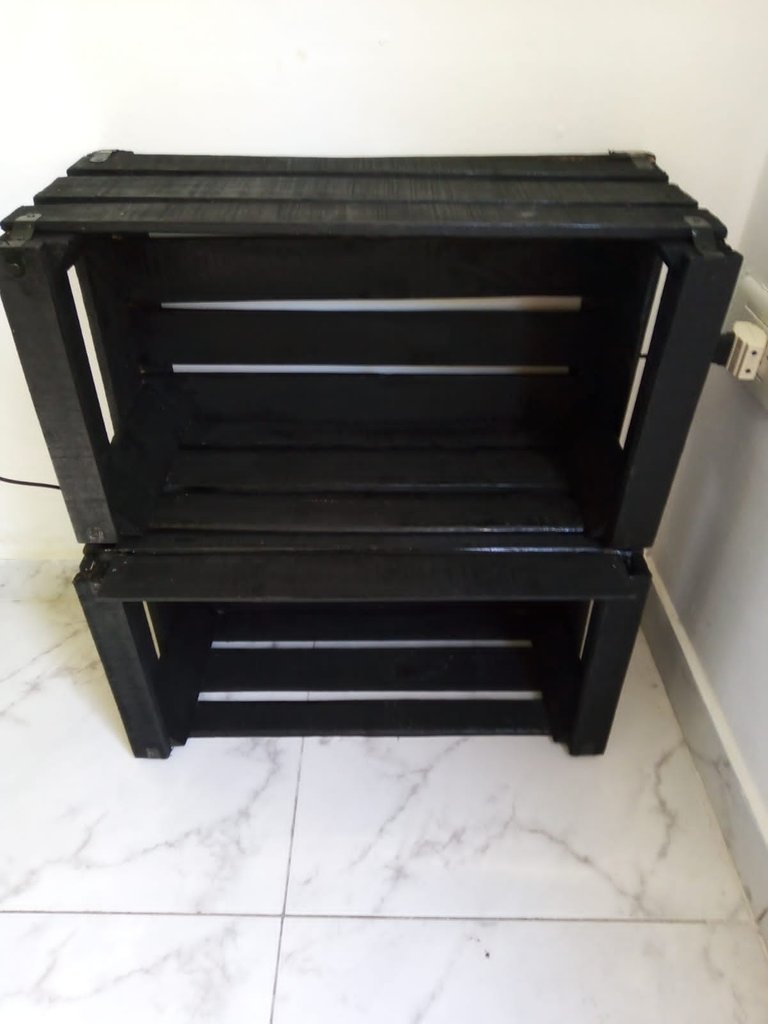
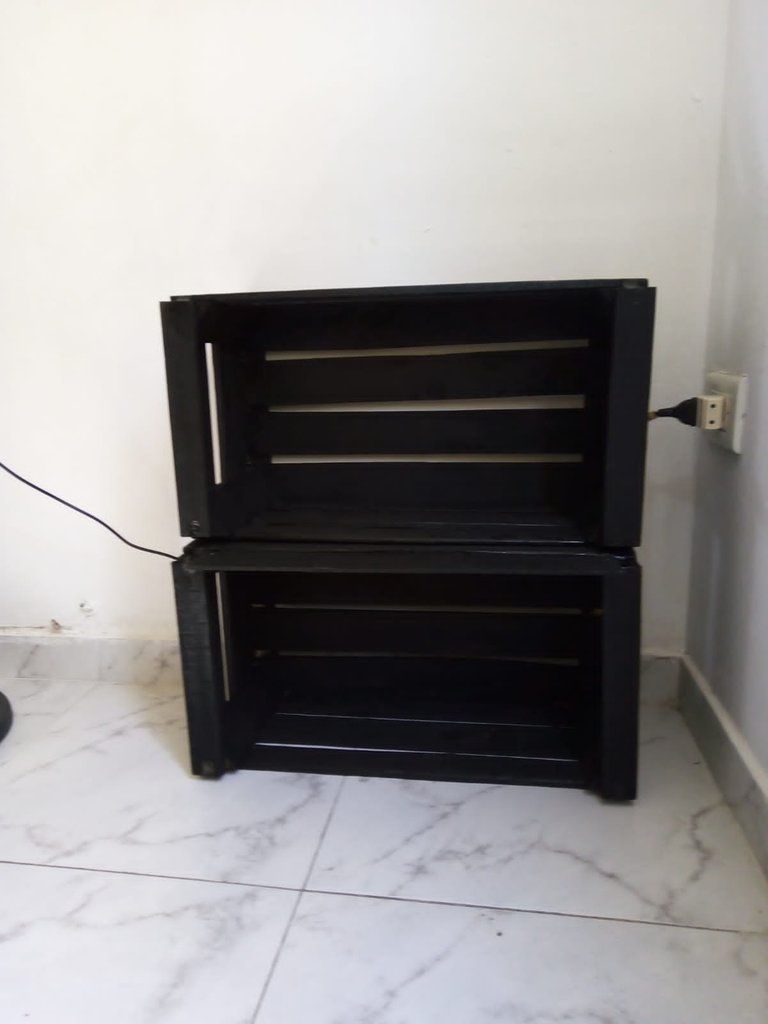
Cuando están secas las cestas colocas una sobre la otra de forma horizontal para que quede unza patera de 3 niveles y se unen con los clavos por los bordes, en los espacios que quedan entre cesta y cesta, una vez que haces ese proceso ya está, puedes disfrutar de tu hermosa zapatera super económica y hecha por ti, en la parte de arriba se estila colocar botas, pero ya queda a tu decisión de qué forma deseas acomodar tus zapatos.
When the baskets are dry, place one on top of the other horizontally so that it is a 3 tiered shoe rack and join with nails on the edges, in the spaces left between basket and basket, once you do this process is done, you can enjoy your beautiful shoe rack super economical and made by you, on top of the boots are usually placed, but it's up to you to decide how you want to accommodate your shoes.
Espero te haya gustado y te animes a realizarlo en casa tu también,yo me divertí mucho con mi pareja y te da mucho orgullo hacer cosas por ti misma para mejorar tu casa, hay muchas cosas fáciles de hacer que pueden adornar tu casa o mejorarla sin necesidad de gastar tanto dinero, solo debes atreverte.
I hope you liked it and I encourage you to do it at home you too, I had a lot of fun with my partner and gives you much pride to do things by yourself to improve your home, there are many easy things to do that can decorate your home or improve it without spending so much money, you just have to dare.

Congratulations @elaynevill! You have completed the following achievement on the Hive blockchain and have been rewarded with new badge(s):
Your next target is to reach 3000 upvotes.
You can view your badges on your board and compare yourself to others in the Ranking
If you no longer want to receive notifications, reply to this comment with the word
STOPCheck out the last post from @hivebuzz:
Support the HiveBuzz project. Vote for our proposal!