Welcome to a new post. Today I want to show you how we repair a door that was knocked
Bienvenido a una nueva publicación. Hoy quiero mostrarles cómo reparamos una puerta que fue golpeada
That's right folks, this is today's project. If you were curious about what the repair process is like, then stick around until the end so you can see how it starts and how it ends
Así es amigos, este es el proyecto de hoy. Si tenía curiosidad sobre cómo es el proceso de reparación, quédese hasta el final para que pueda ver cómo comienza y cómo termina
We start this post with the first images about the project
Comenzamos esta publicación con las primeras imágenes sobre el proyecto

As can be seen. The knock on the door is quite big
Como puede verse. El golpe en la puerta es bastante grande
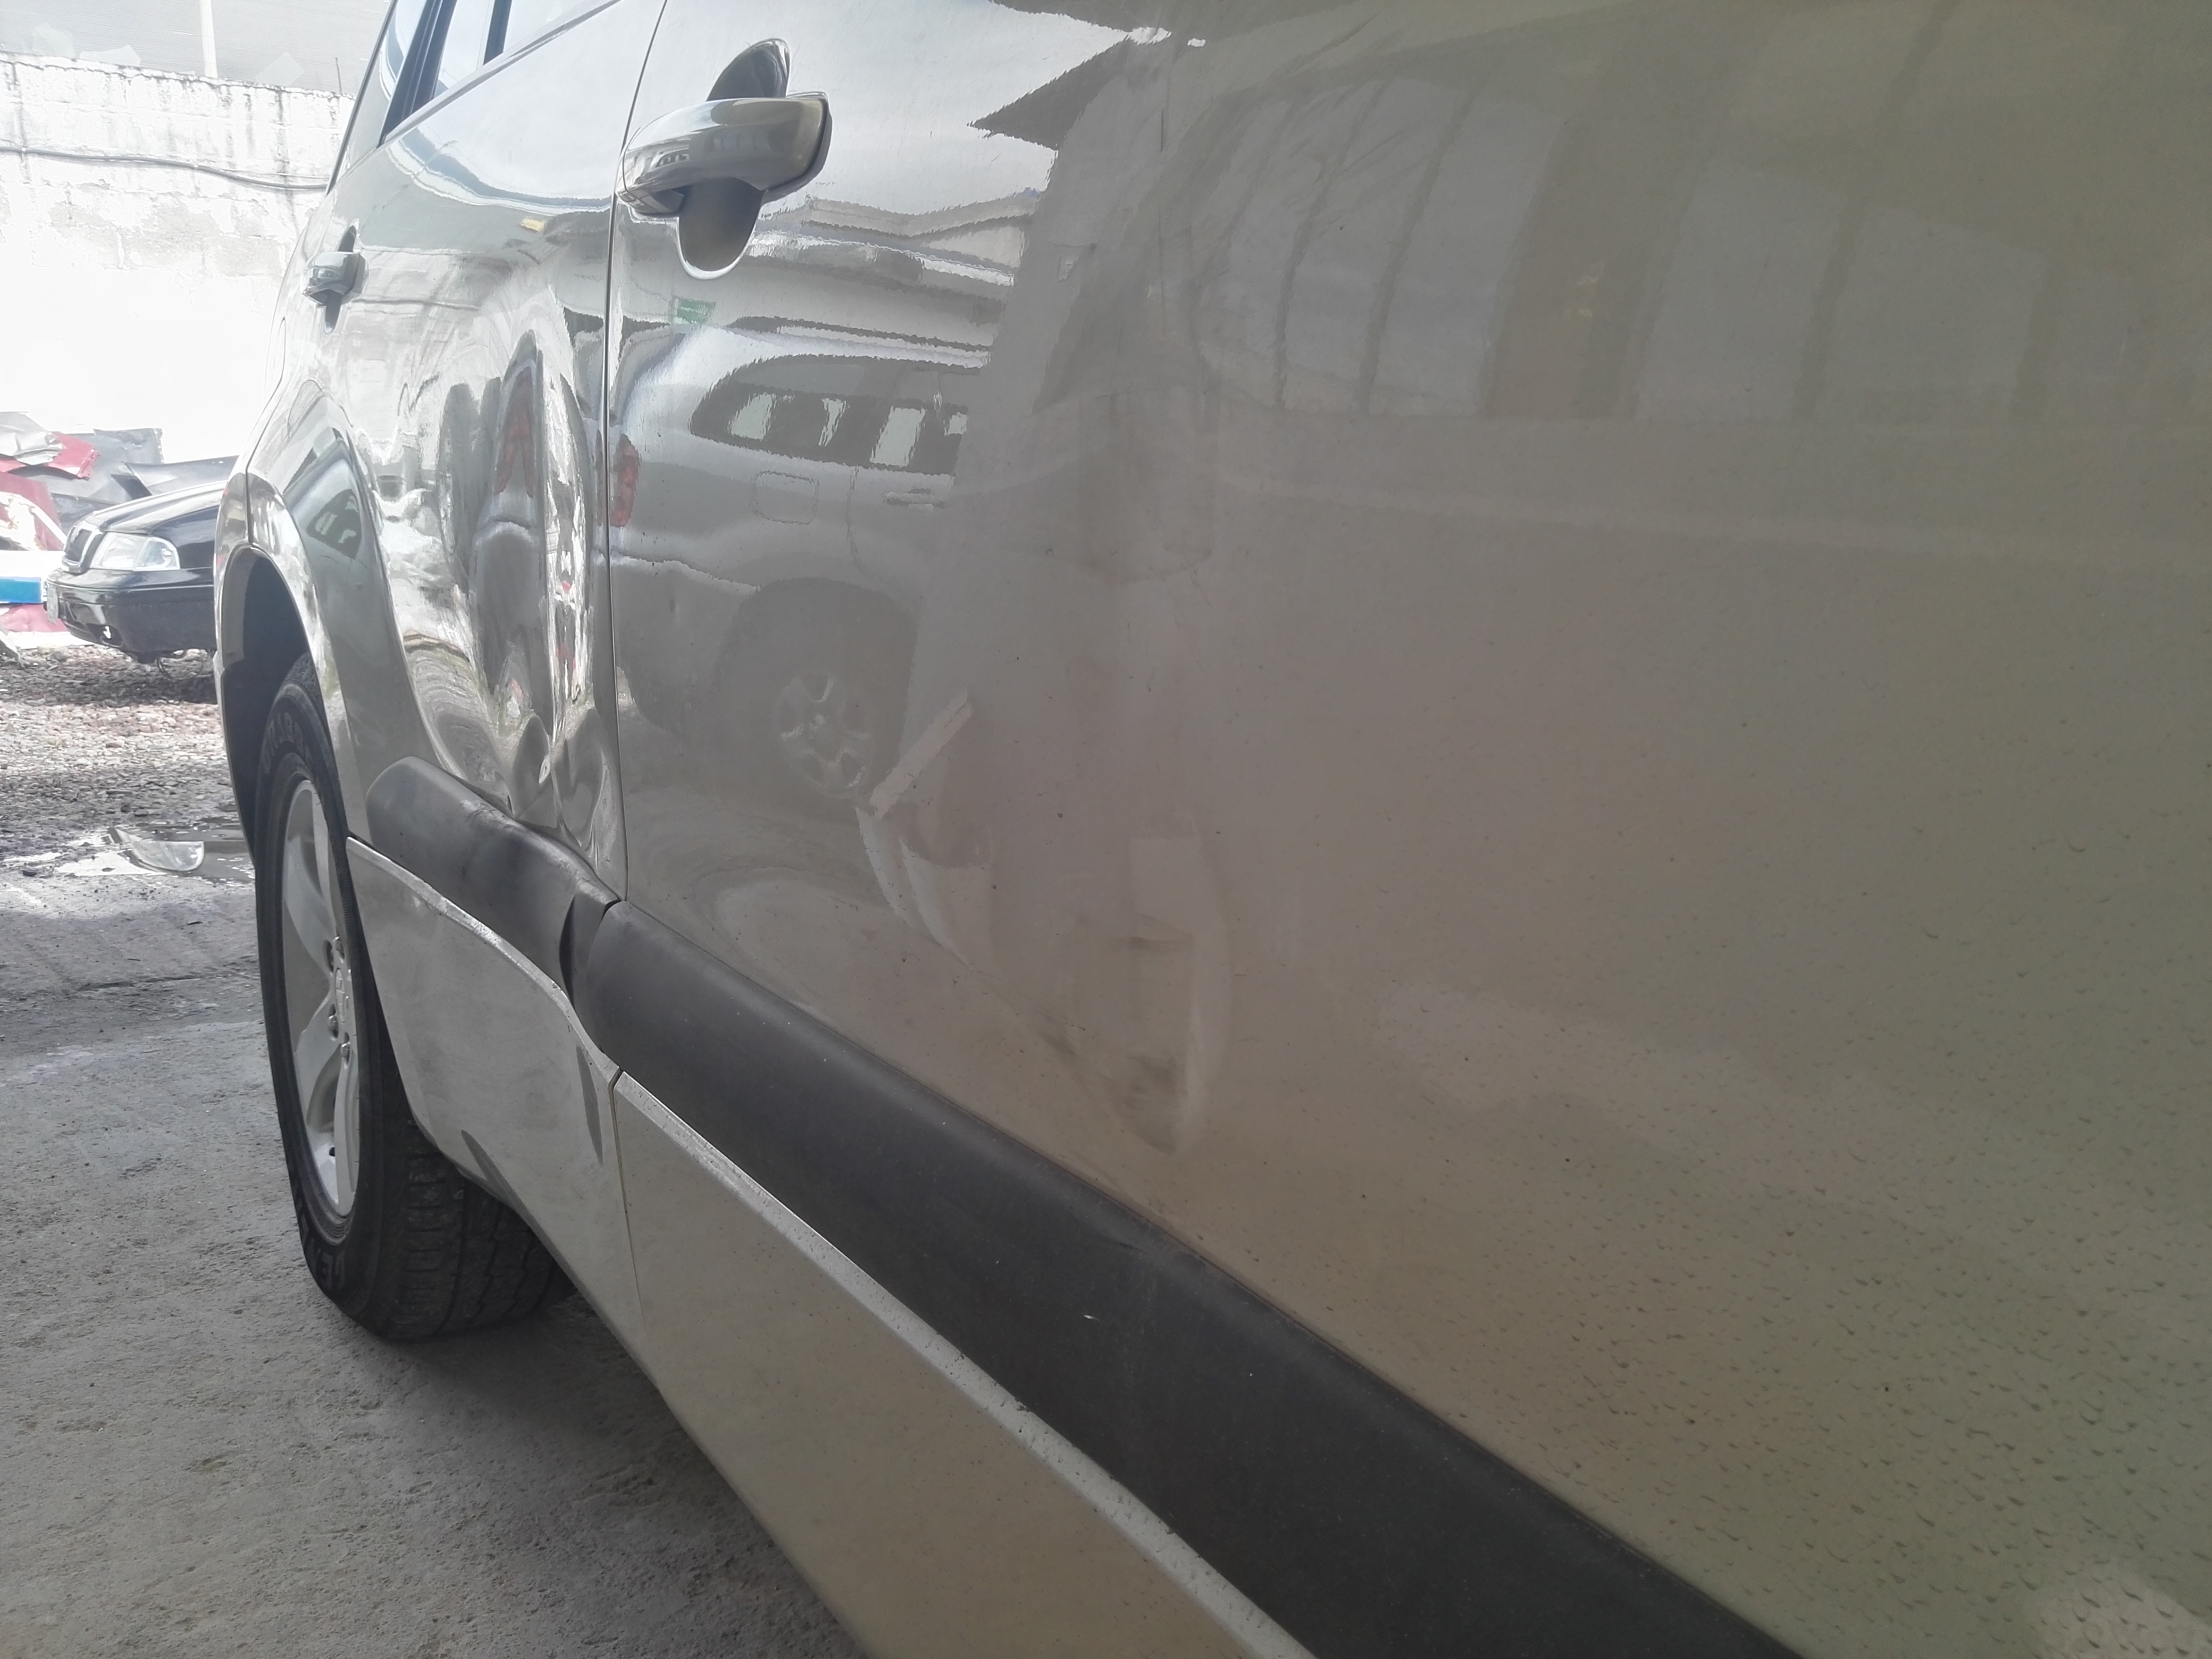
This is the result of the impact against a motorcycle
Este es el resultado del impacto contra una motocicleta
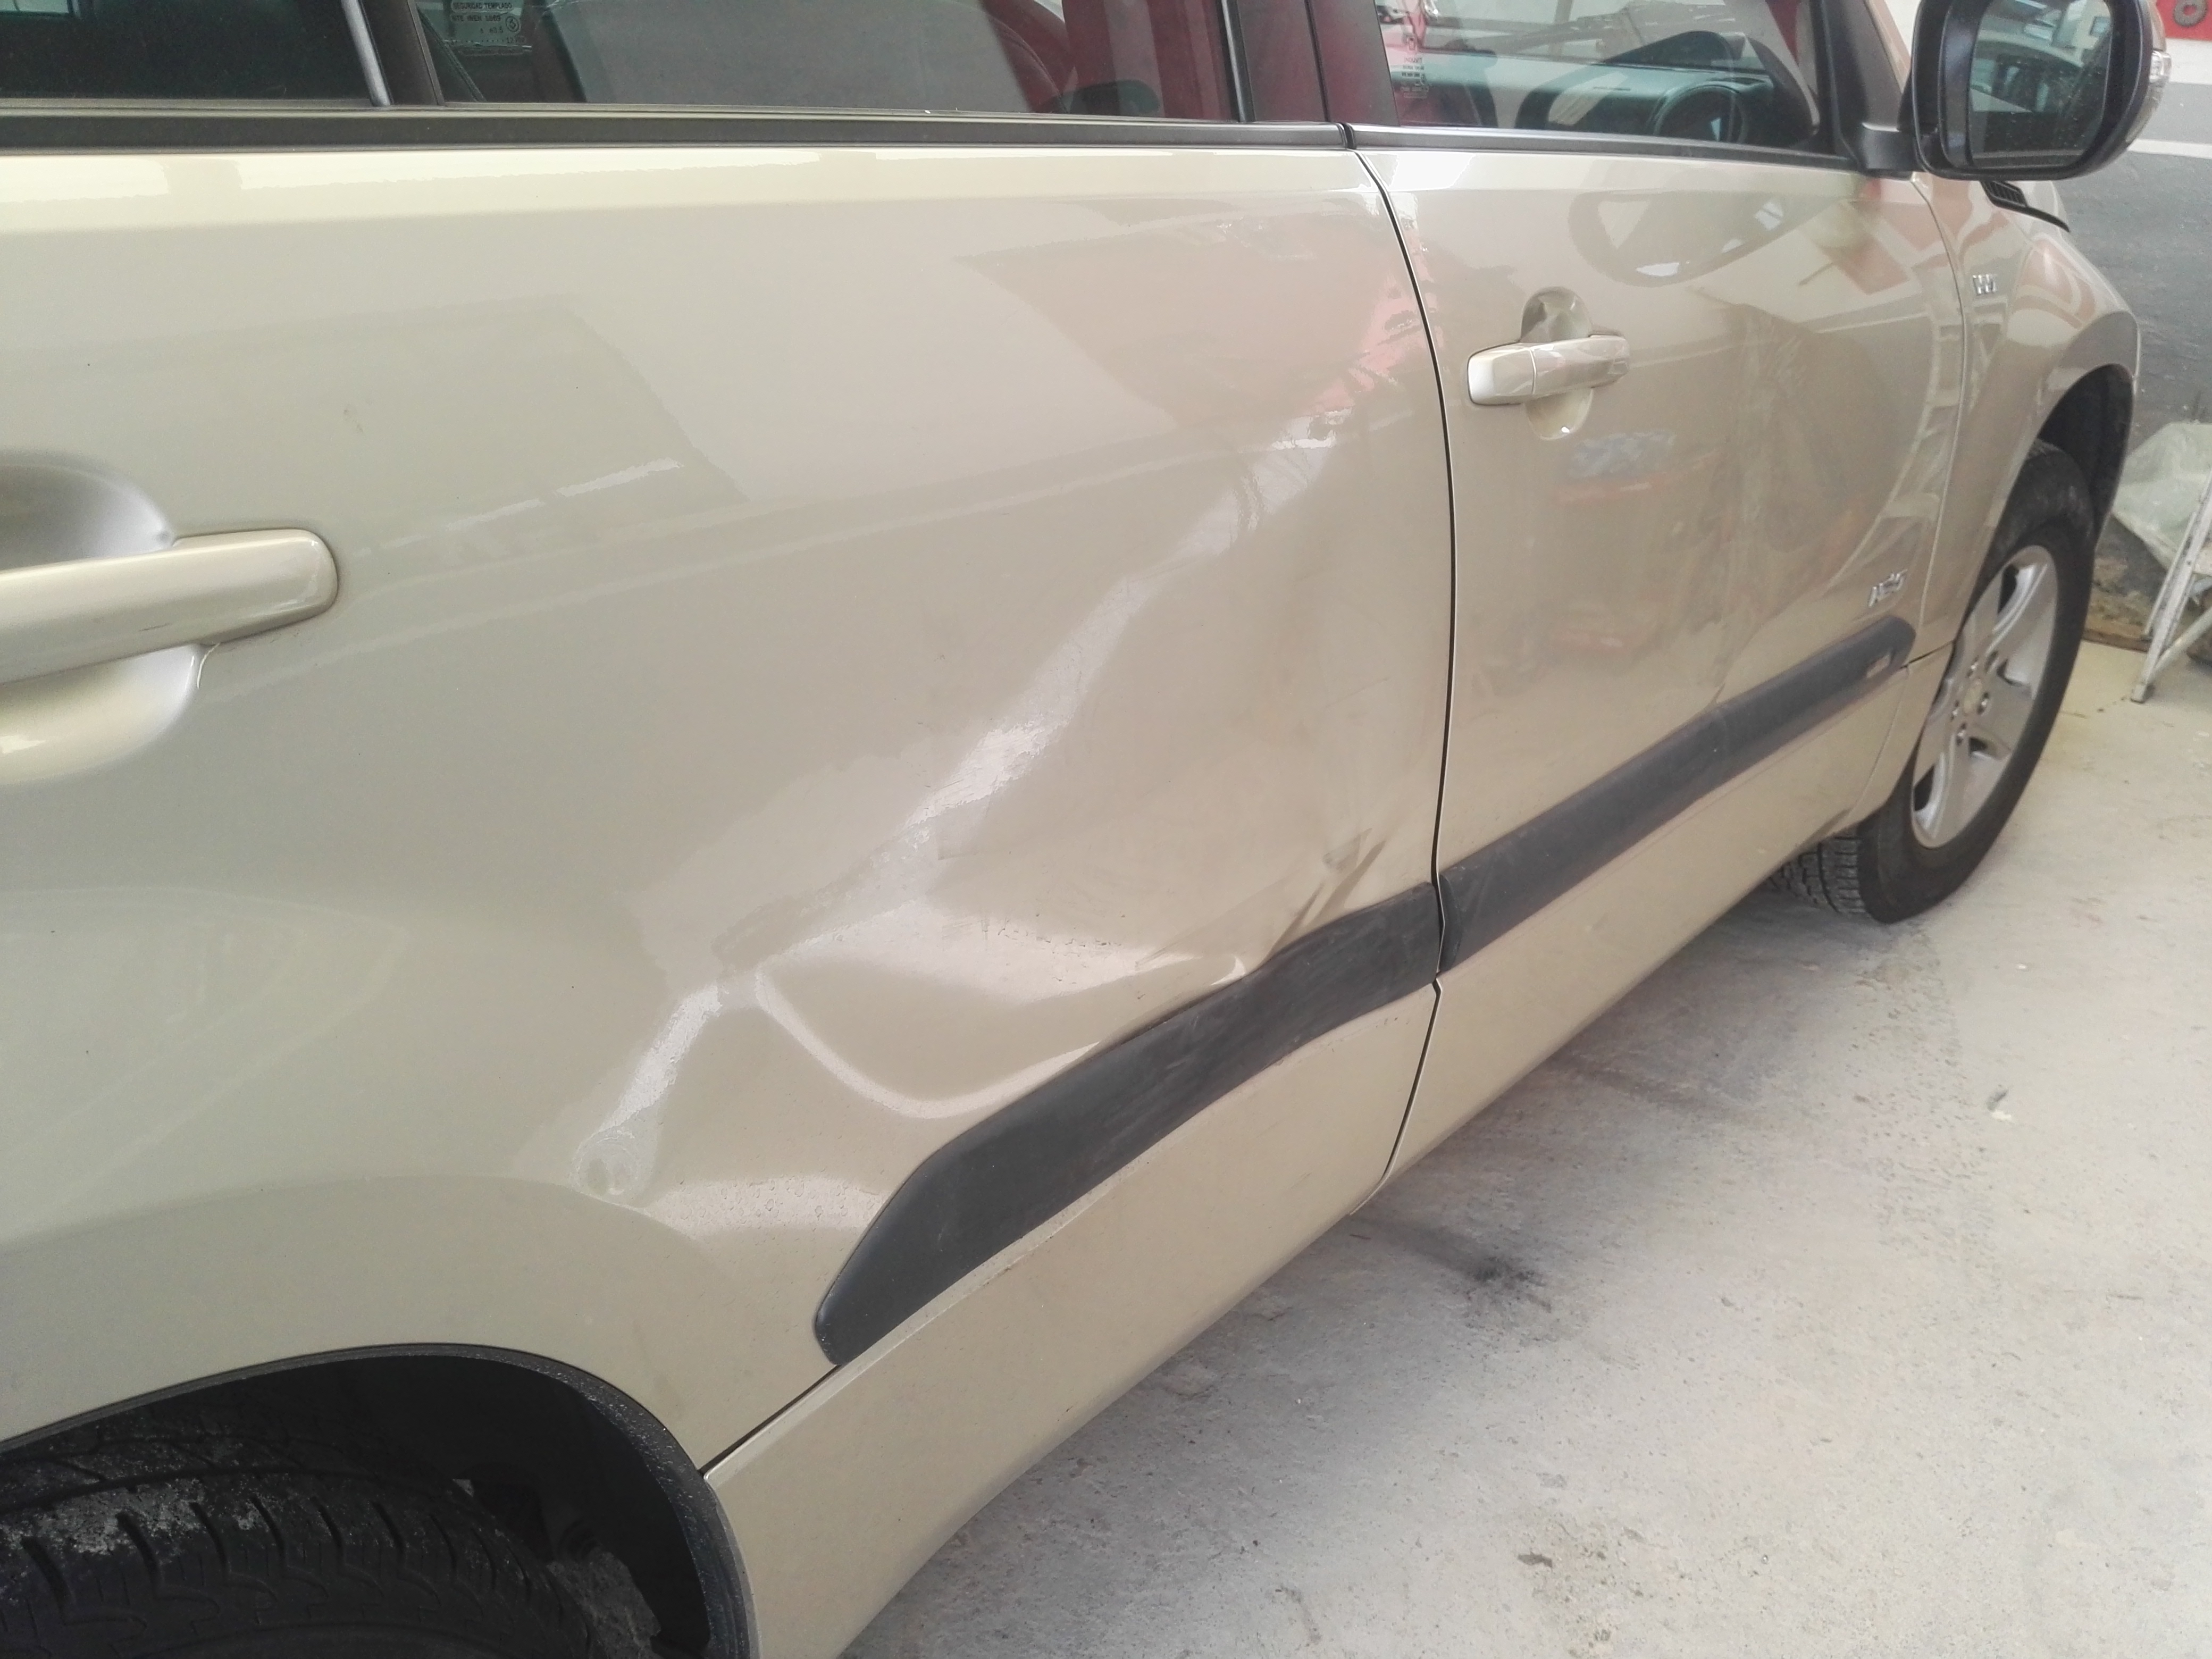
The first thing we did was remove the outer part by removing the plastic trim
Lo primero que hicimos fue quitar la parte exterior quitando el moldura de plástico
And inside the upholstery of the car. This is because we must hit inside and out to shape it properly
Lo primero que hicimos fue quitar la parte exterior quitando el adorno de plástico
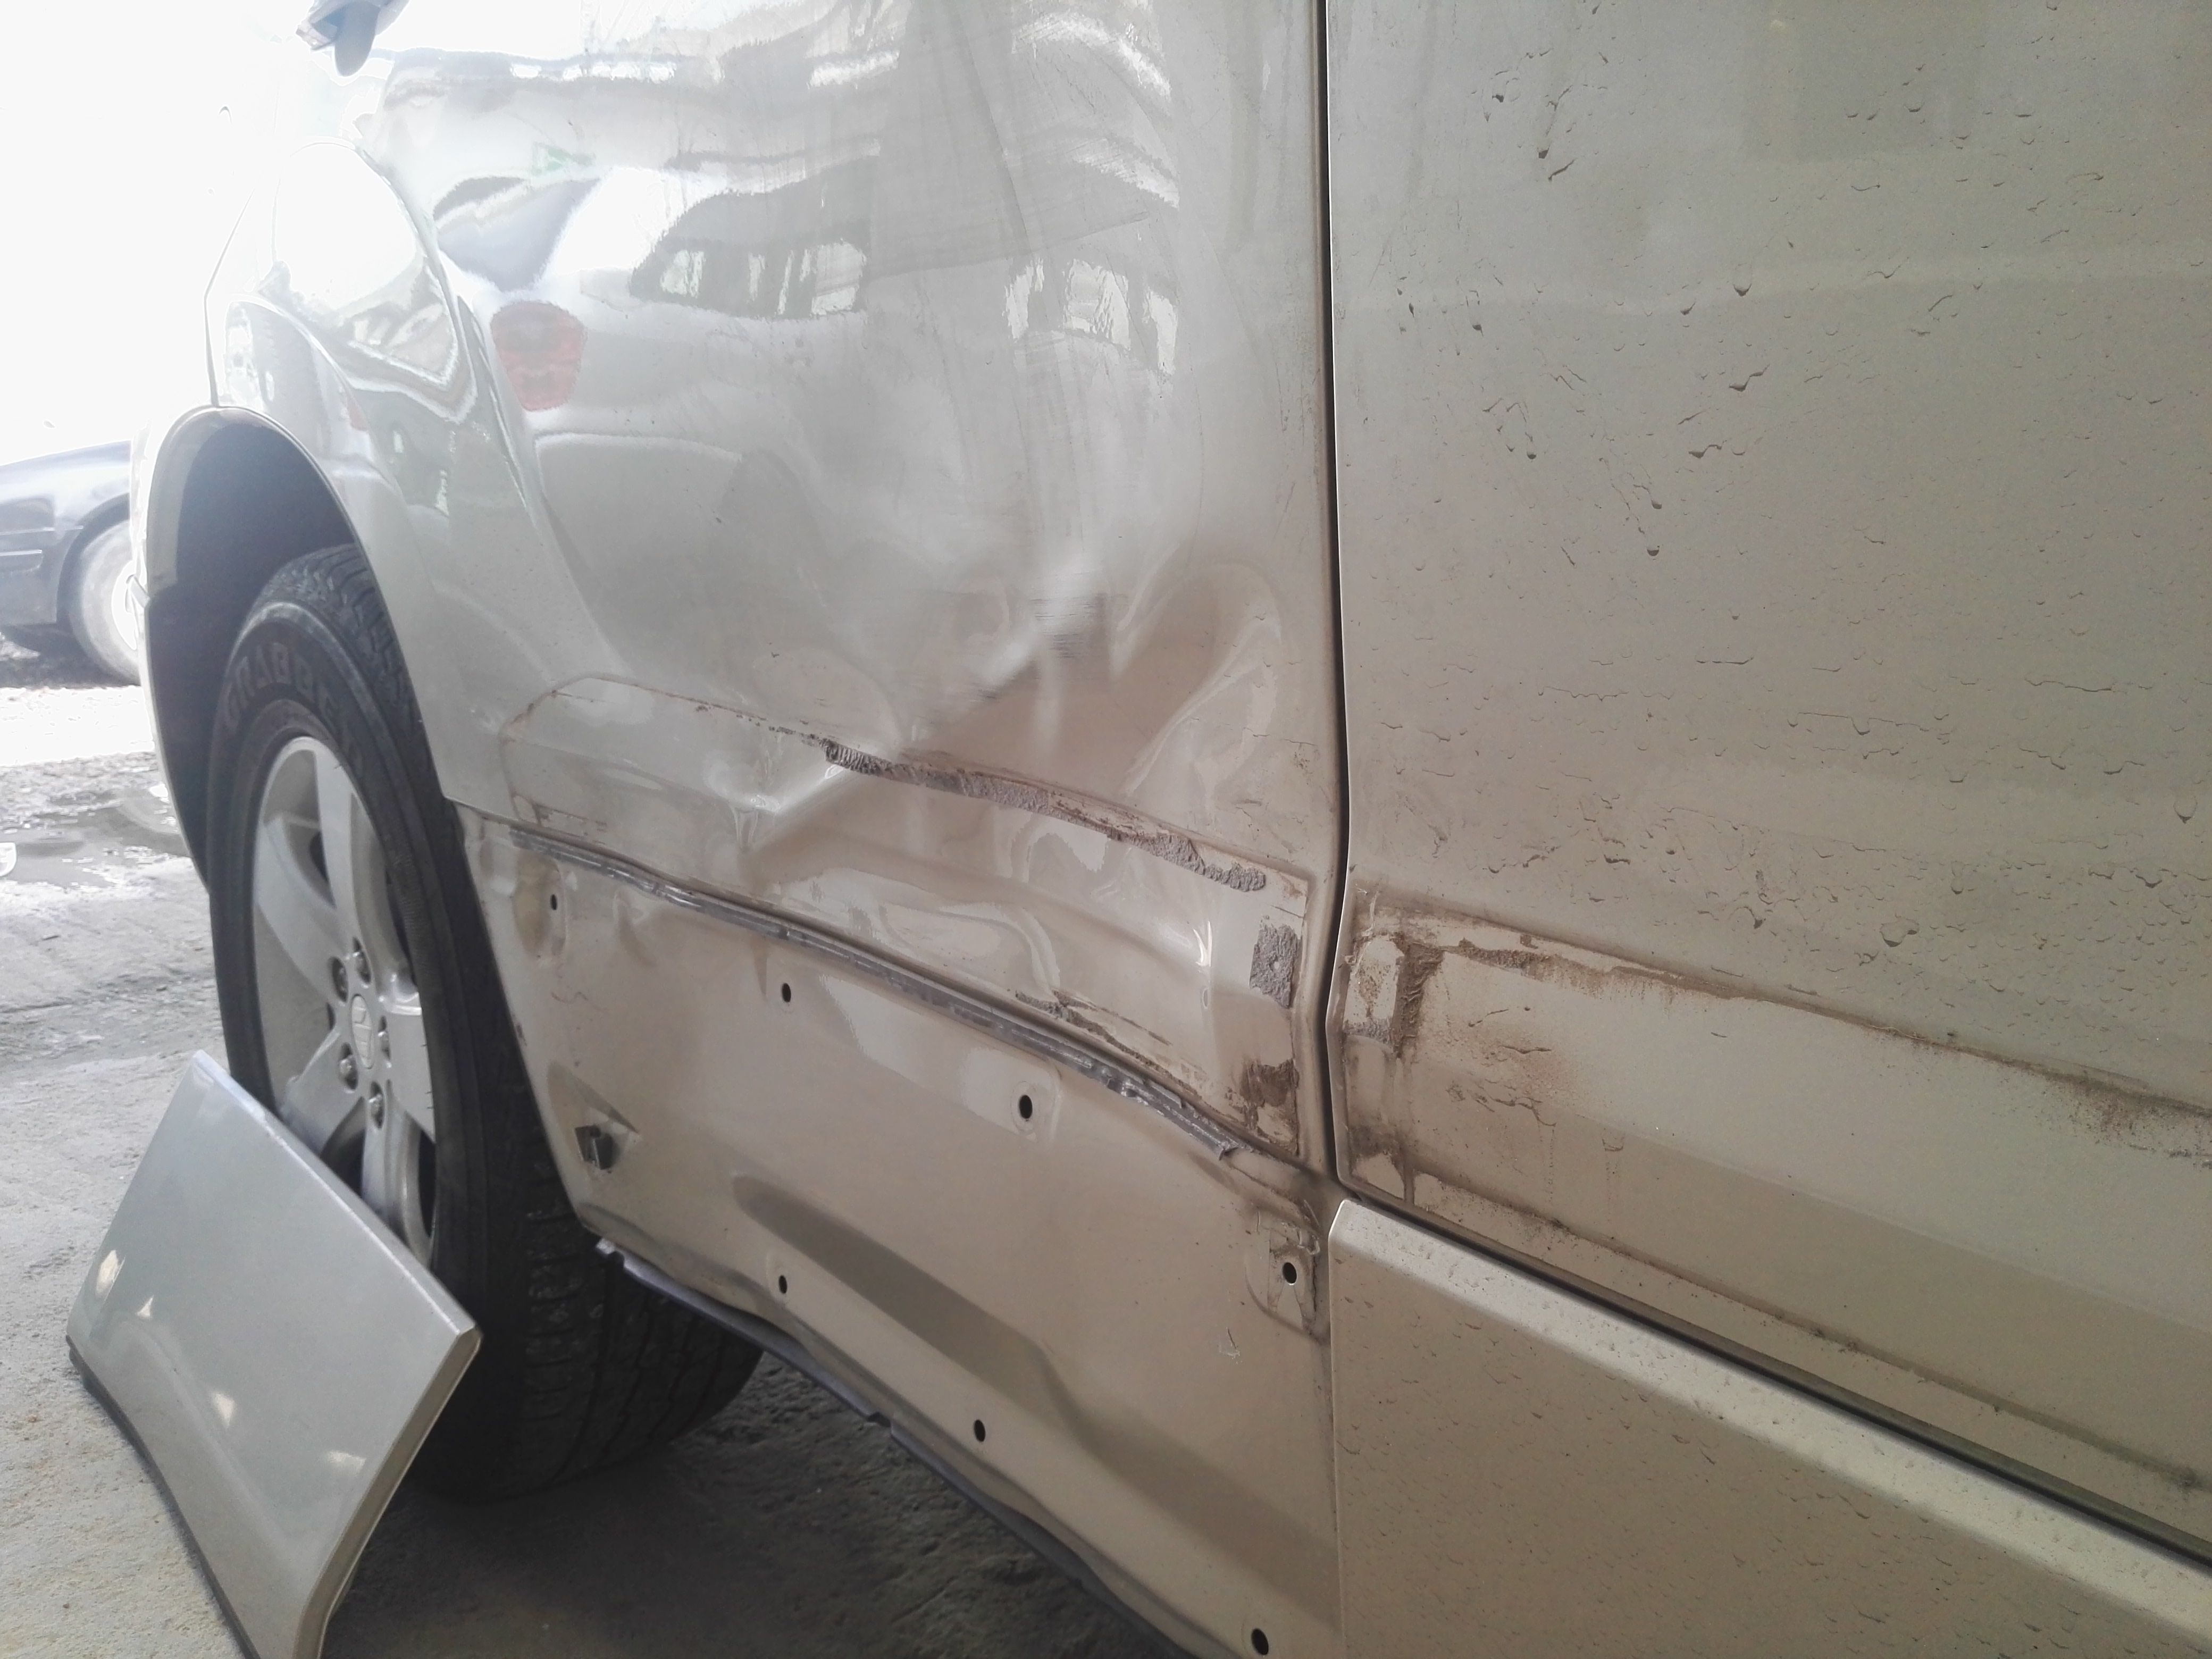
Now we remove the paint on the affected area. This helps us detect high areas and gaps at the same time
Ahora quitamos la pintura en el área afectada. Esto nos ayuda a detectar las zonas que estan altas y los huecos al mismo tiempo
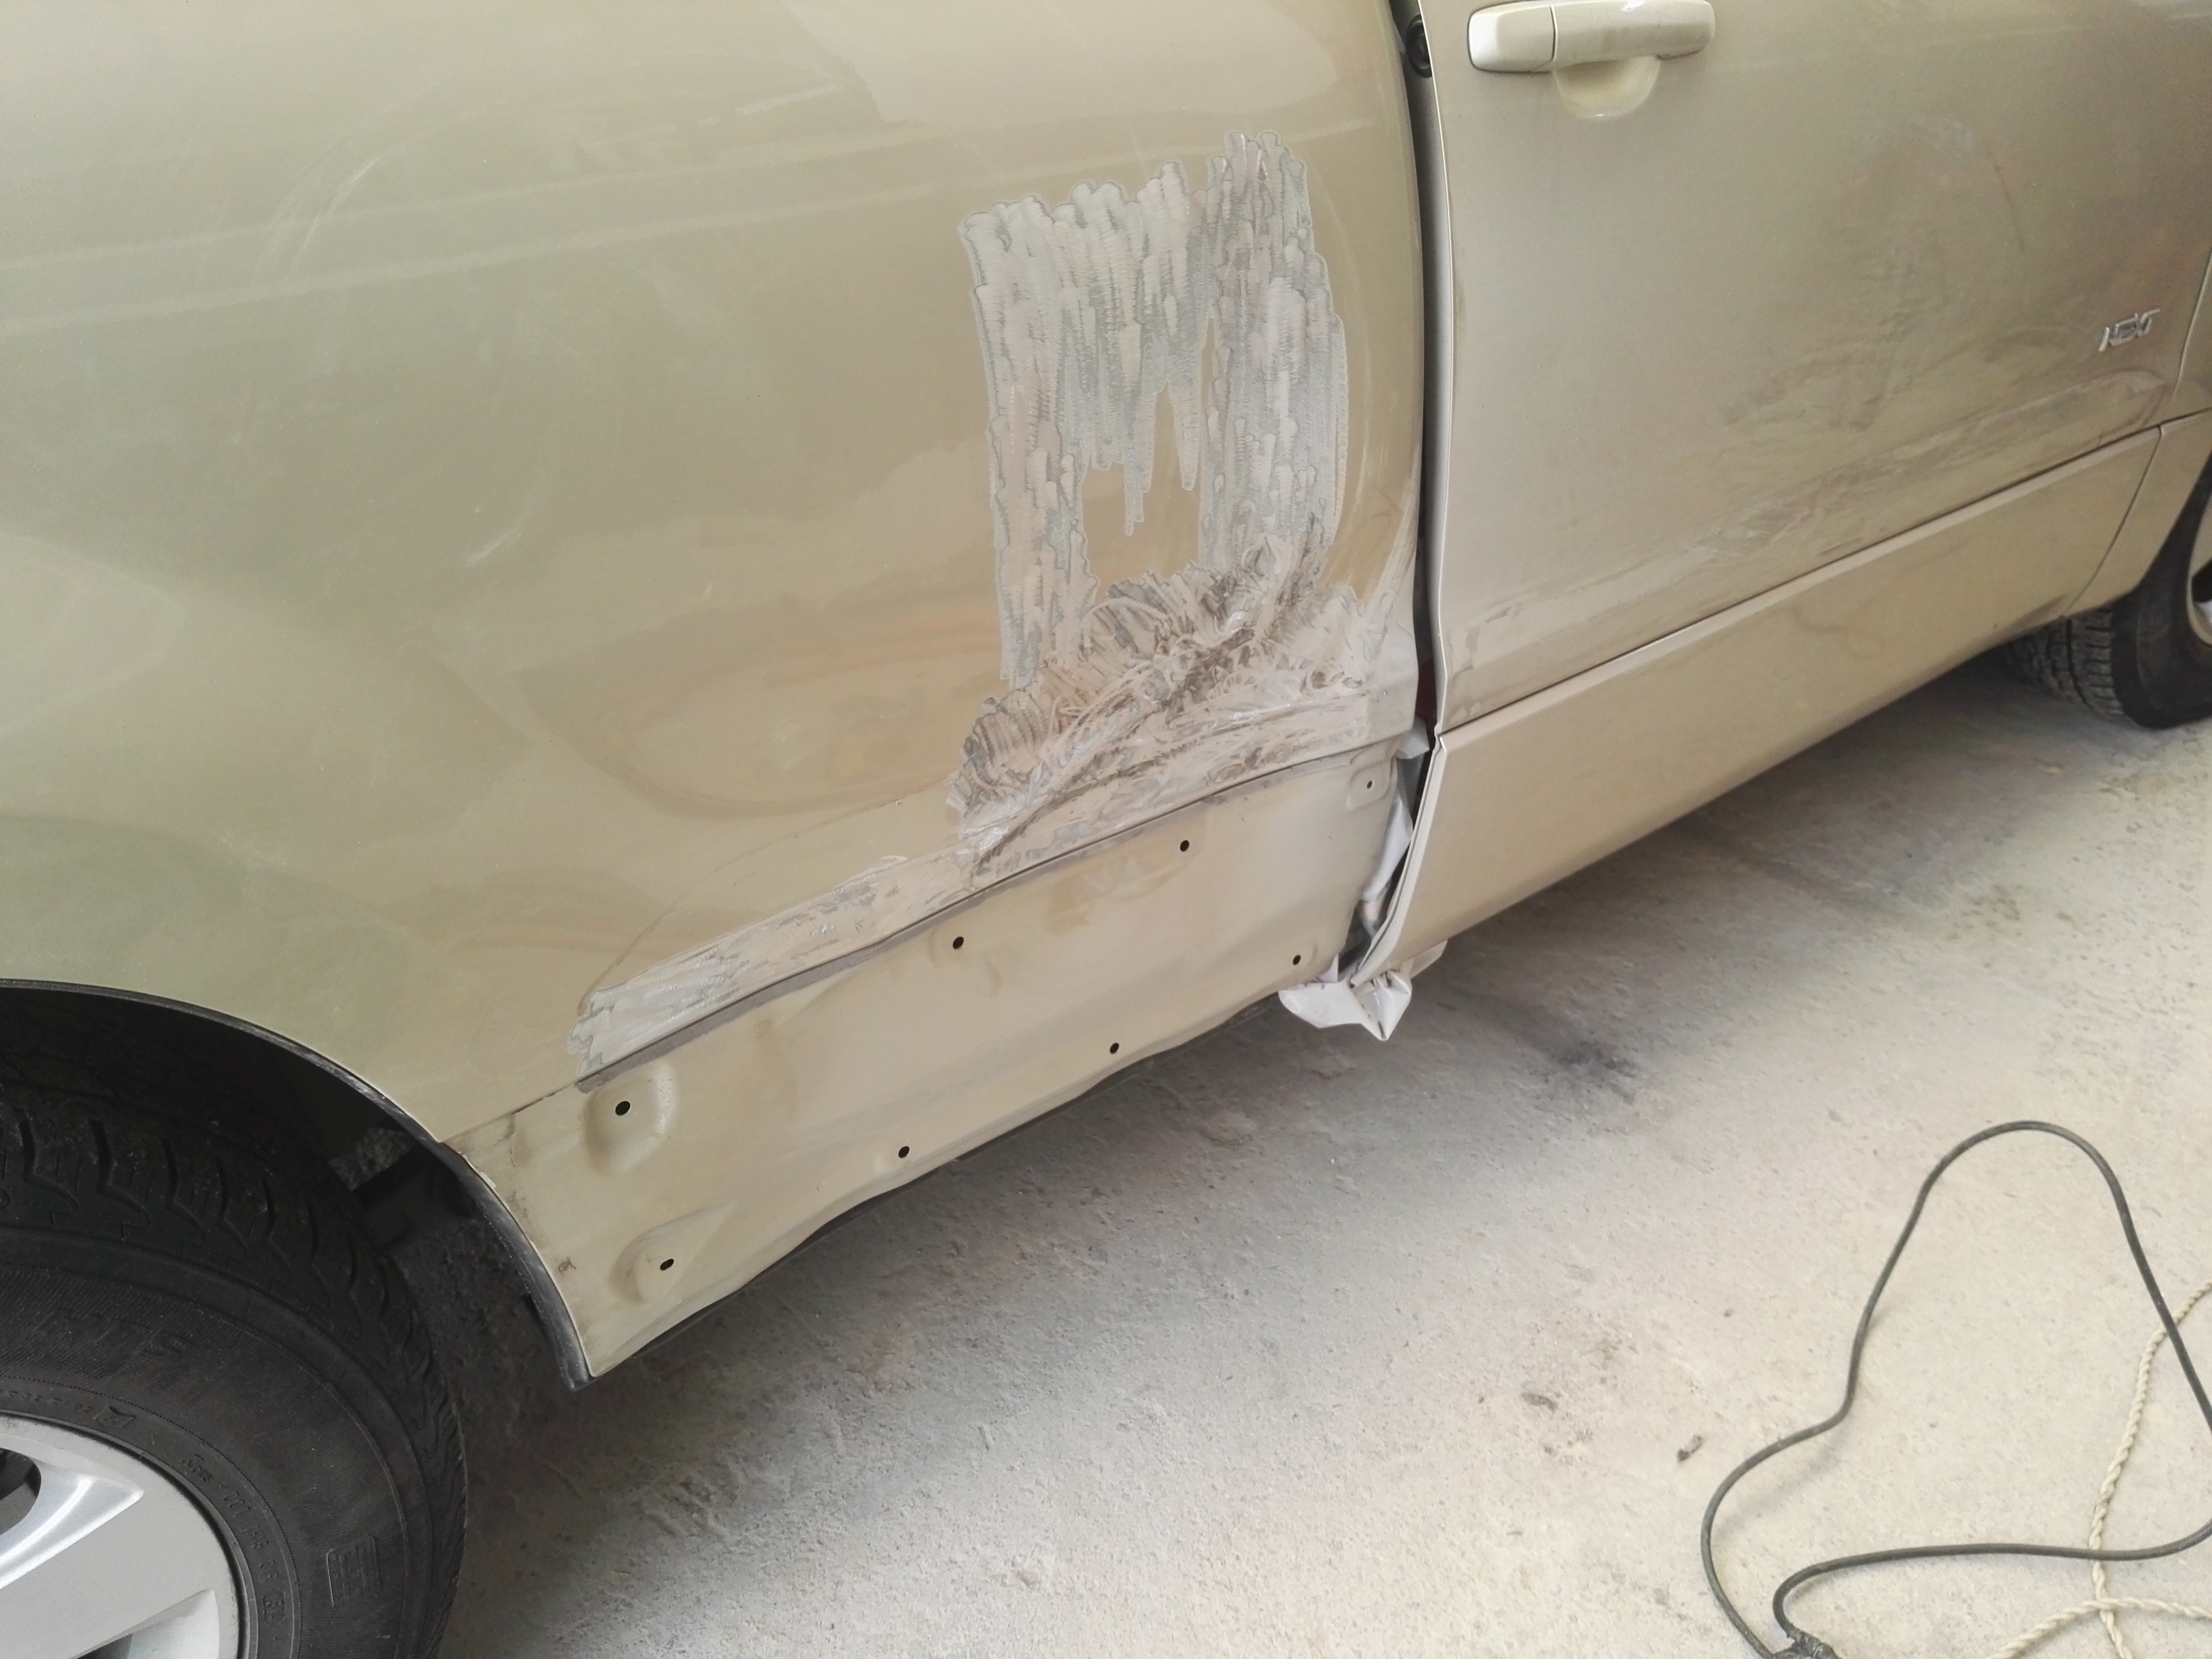
And also with the bare metal, we can also use a machine that is to remove the blows
Y además con el metal desnudo, también podemos usar una máquina que es para sacar los golpes
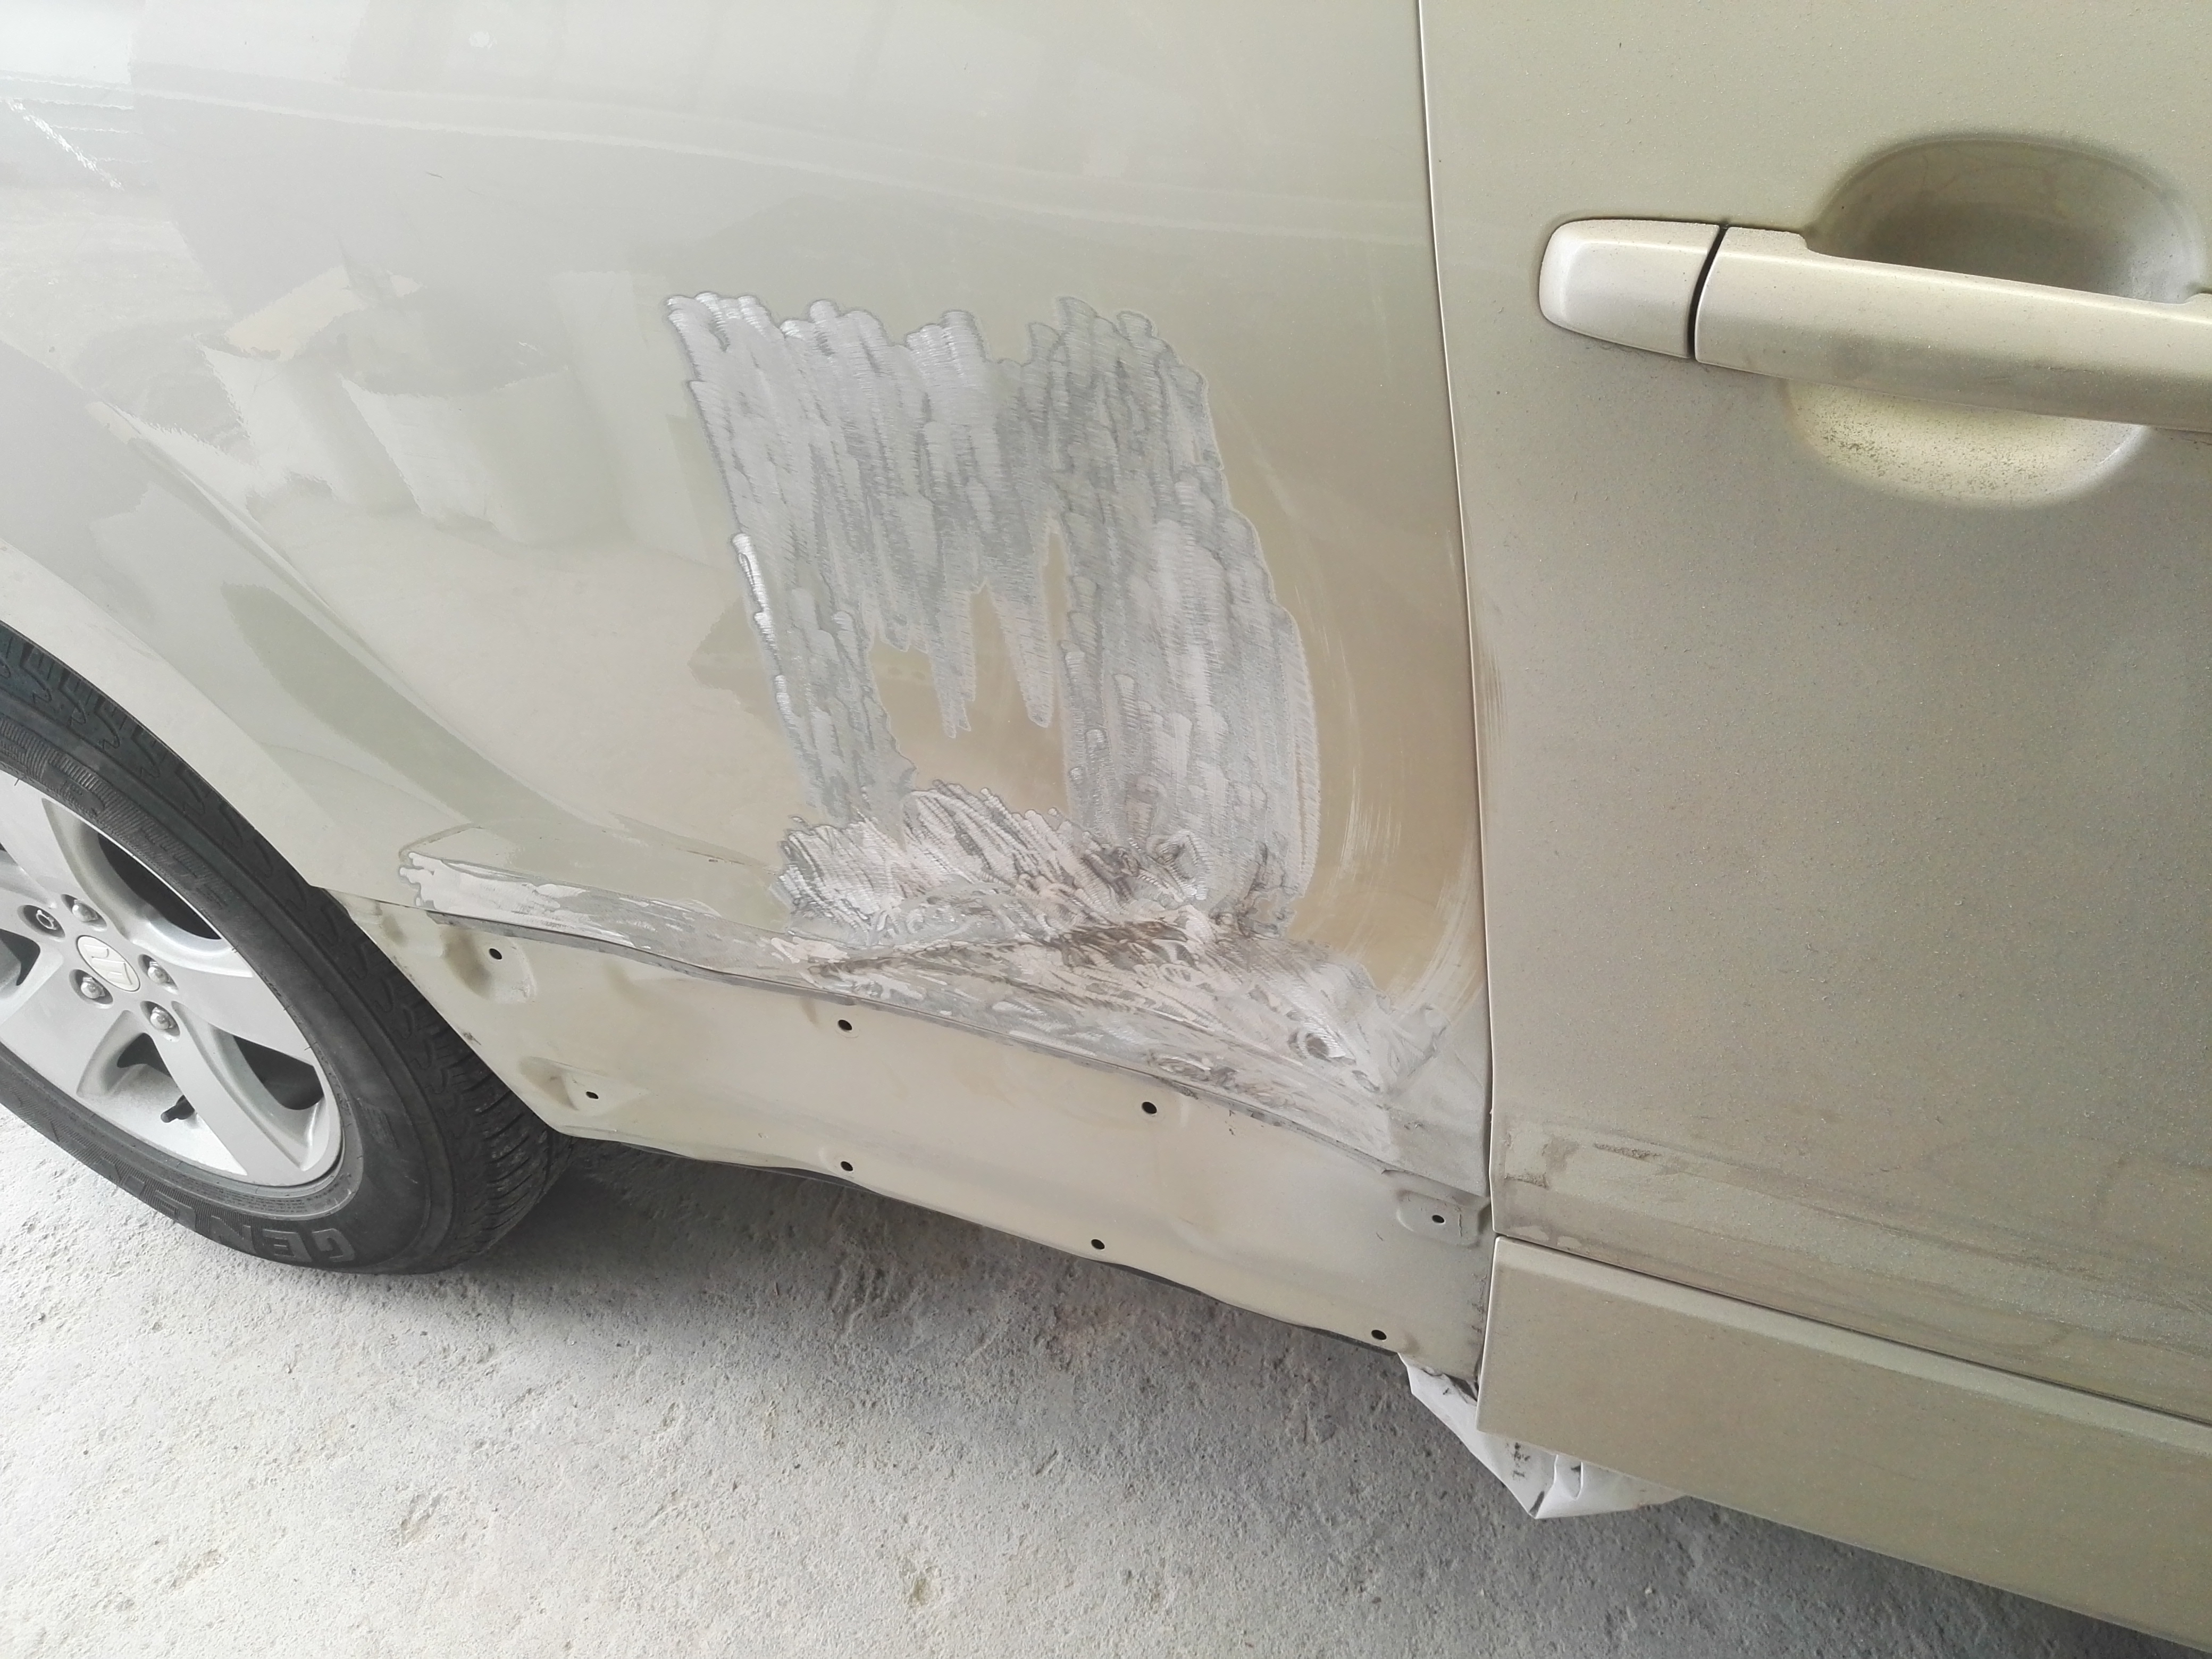
If you look closely you will notice that the door did not sink any more because the internal support did not allow it. This is a security element that has the door to prevent further damage
Si observa detenidamente, notará que la puerta ya no se hundió porque el soporte interno no lo permitió. Este es un elemento de seguridad que tiene la puerta para evitar daños mayores
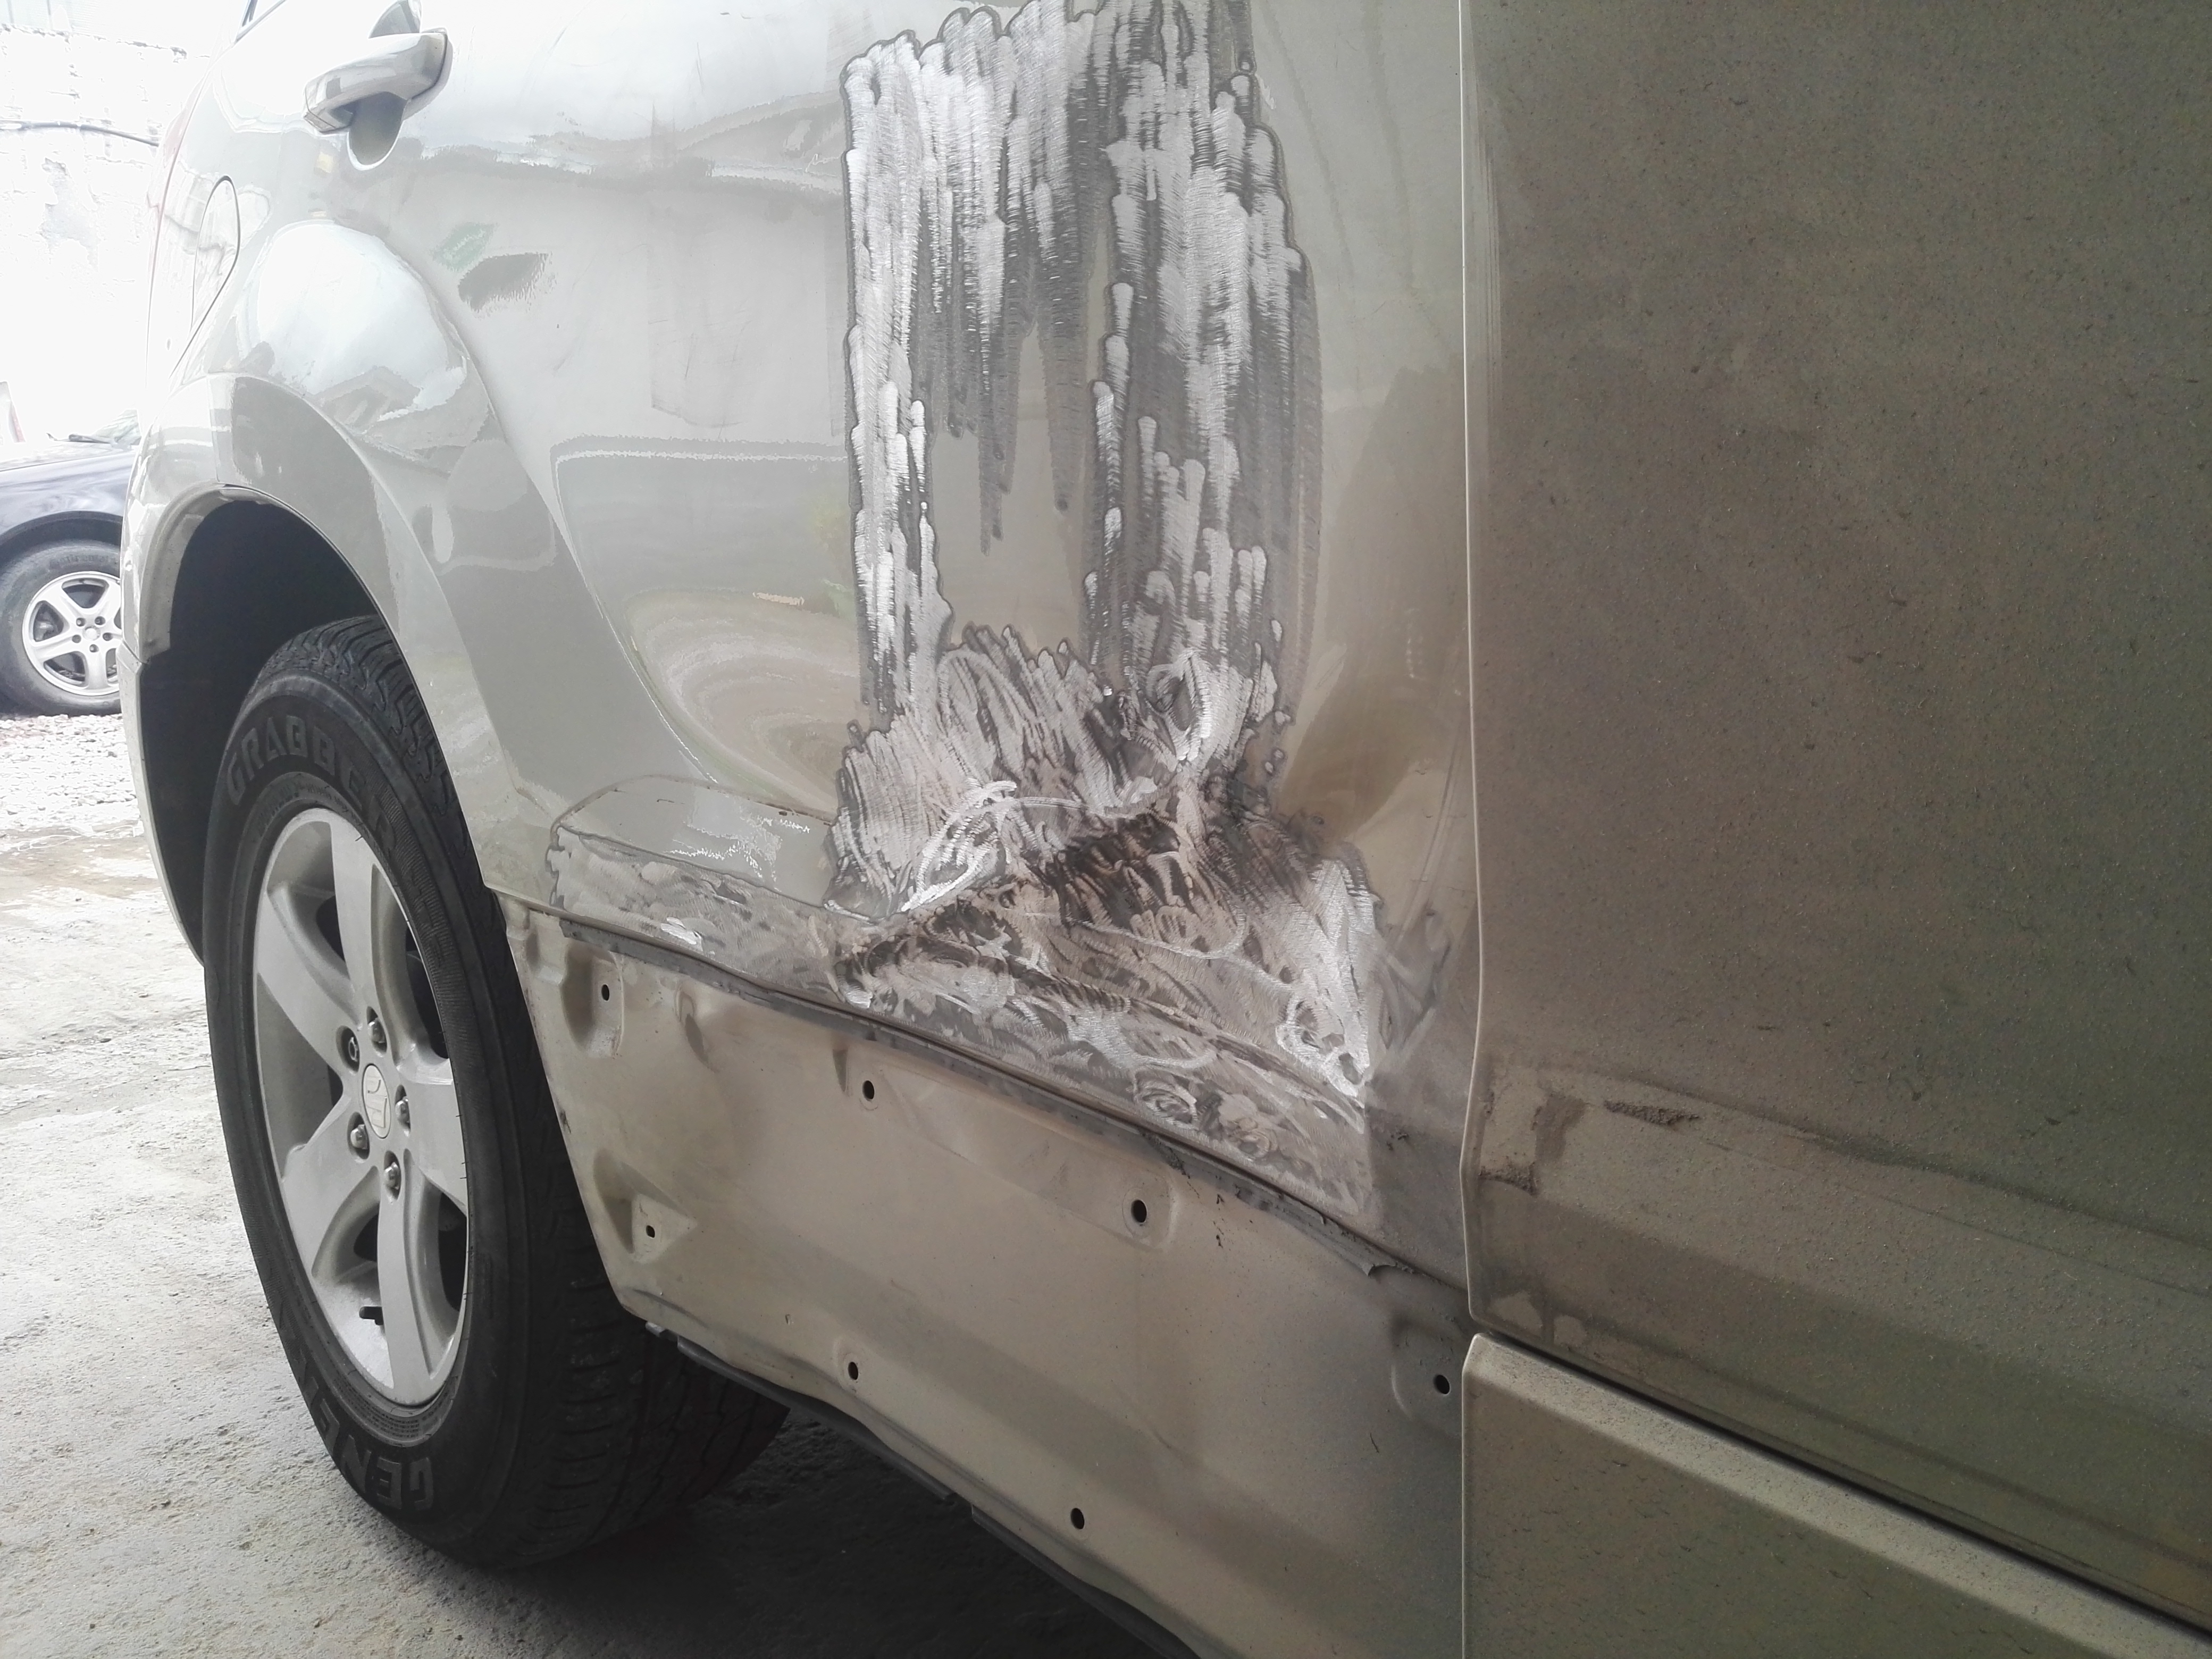
After that it was time to straighten the door, that's something that takes about 1 day of work
Después de eso, era hora de enderezar la puerta, eso es algo que lleva aproximadamente 1 día de trabajo
After much effort and time, this is what the door looks like now
Después de mucho esfuerzo y tiempo, así es como se ve la puerta ahora
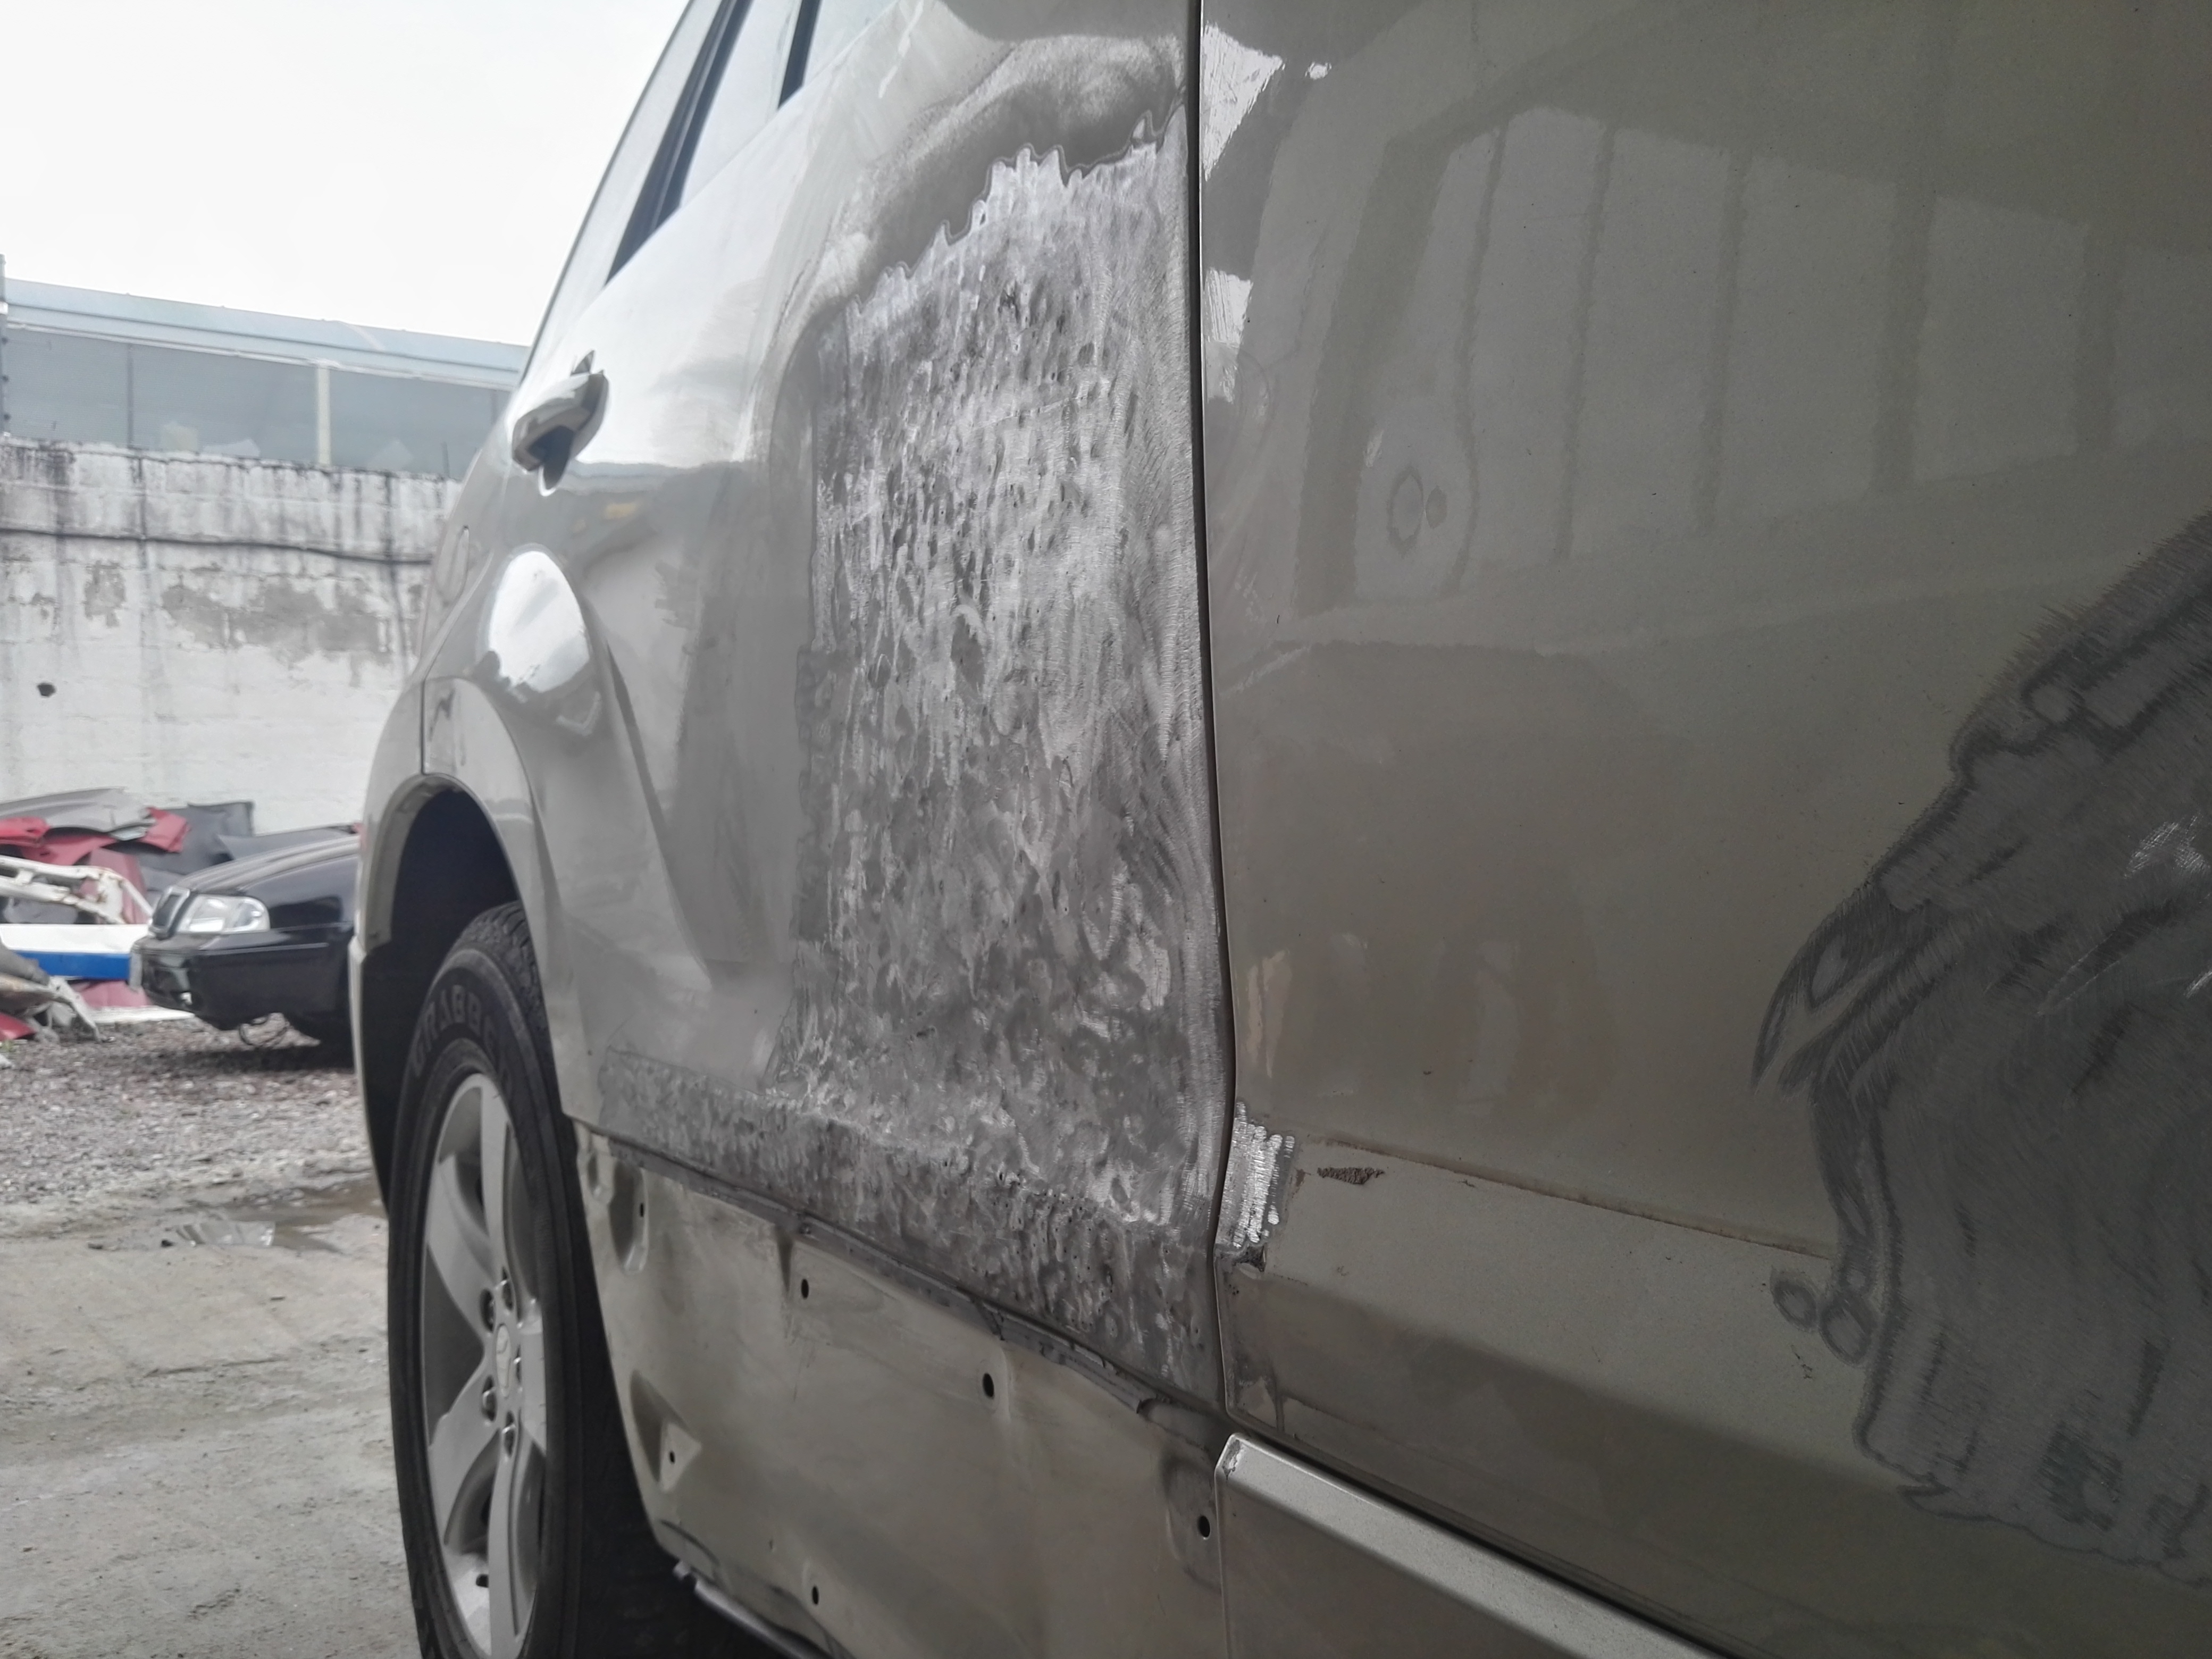
You already have the correct shape. And of course there are details that remained of the straightened
Ya tienes la forma correcta. Y, por supuesto, quedan detalles del enderezado
But we are going to correct that as follows
Pero vamos a corregir eso de la siguiente manera
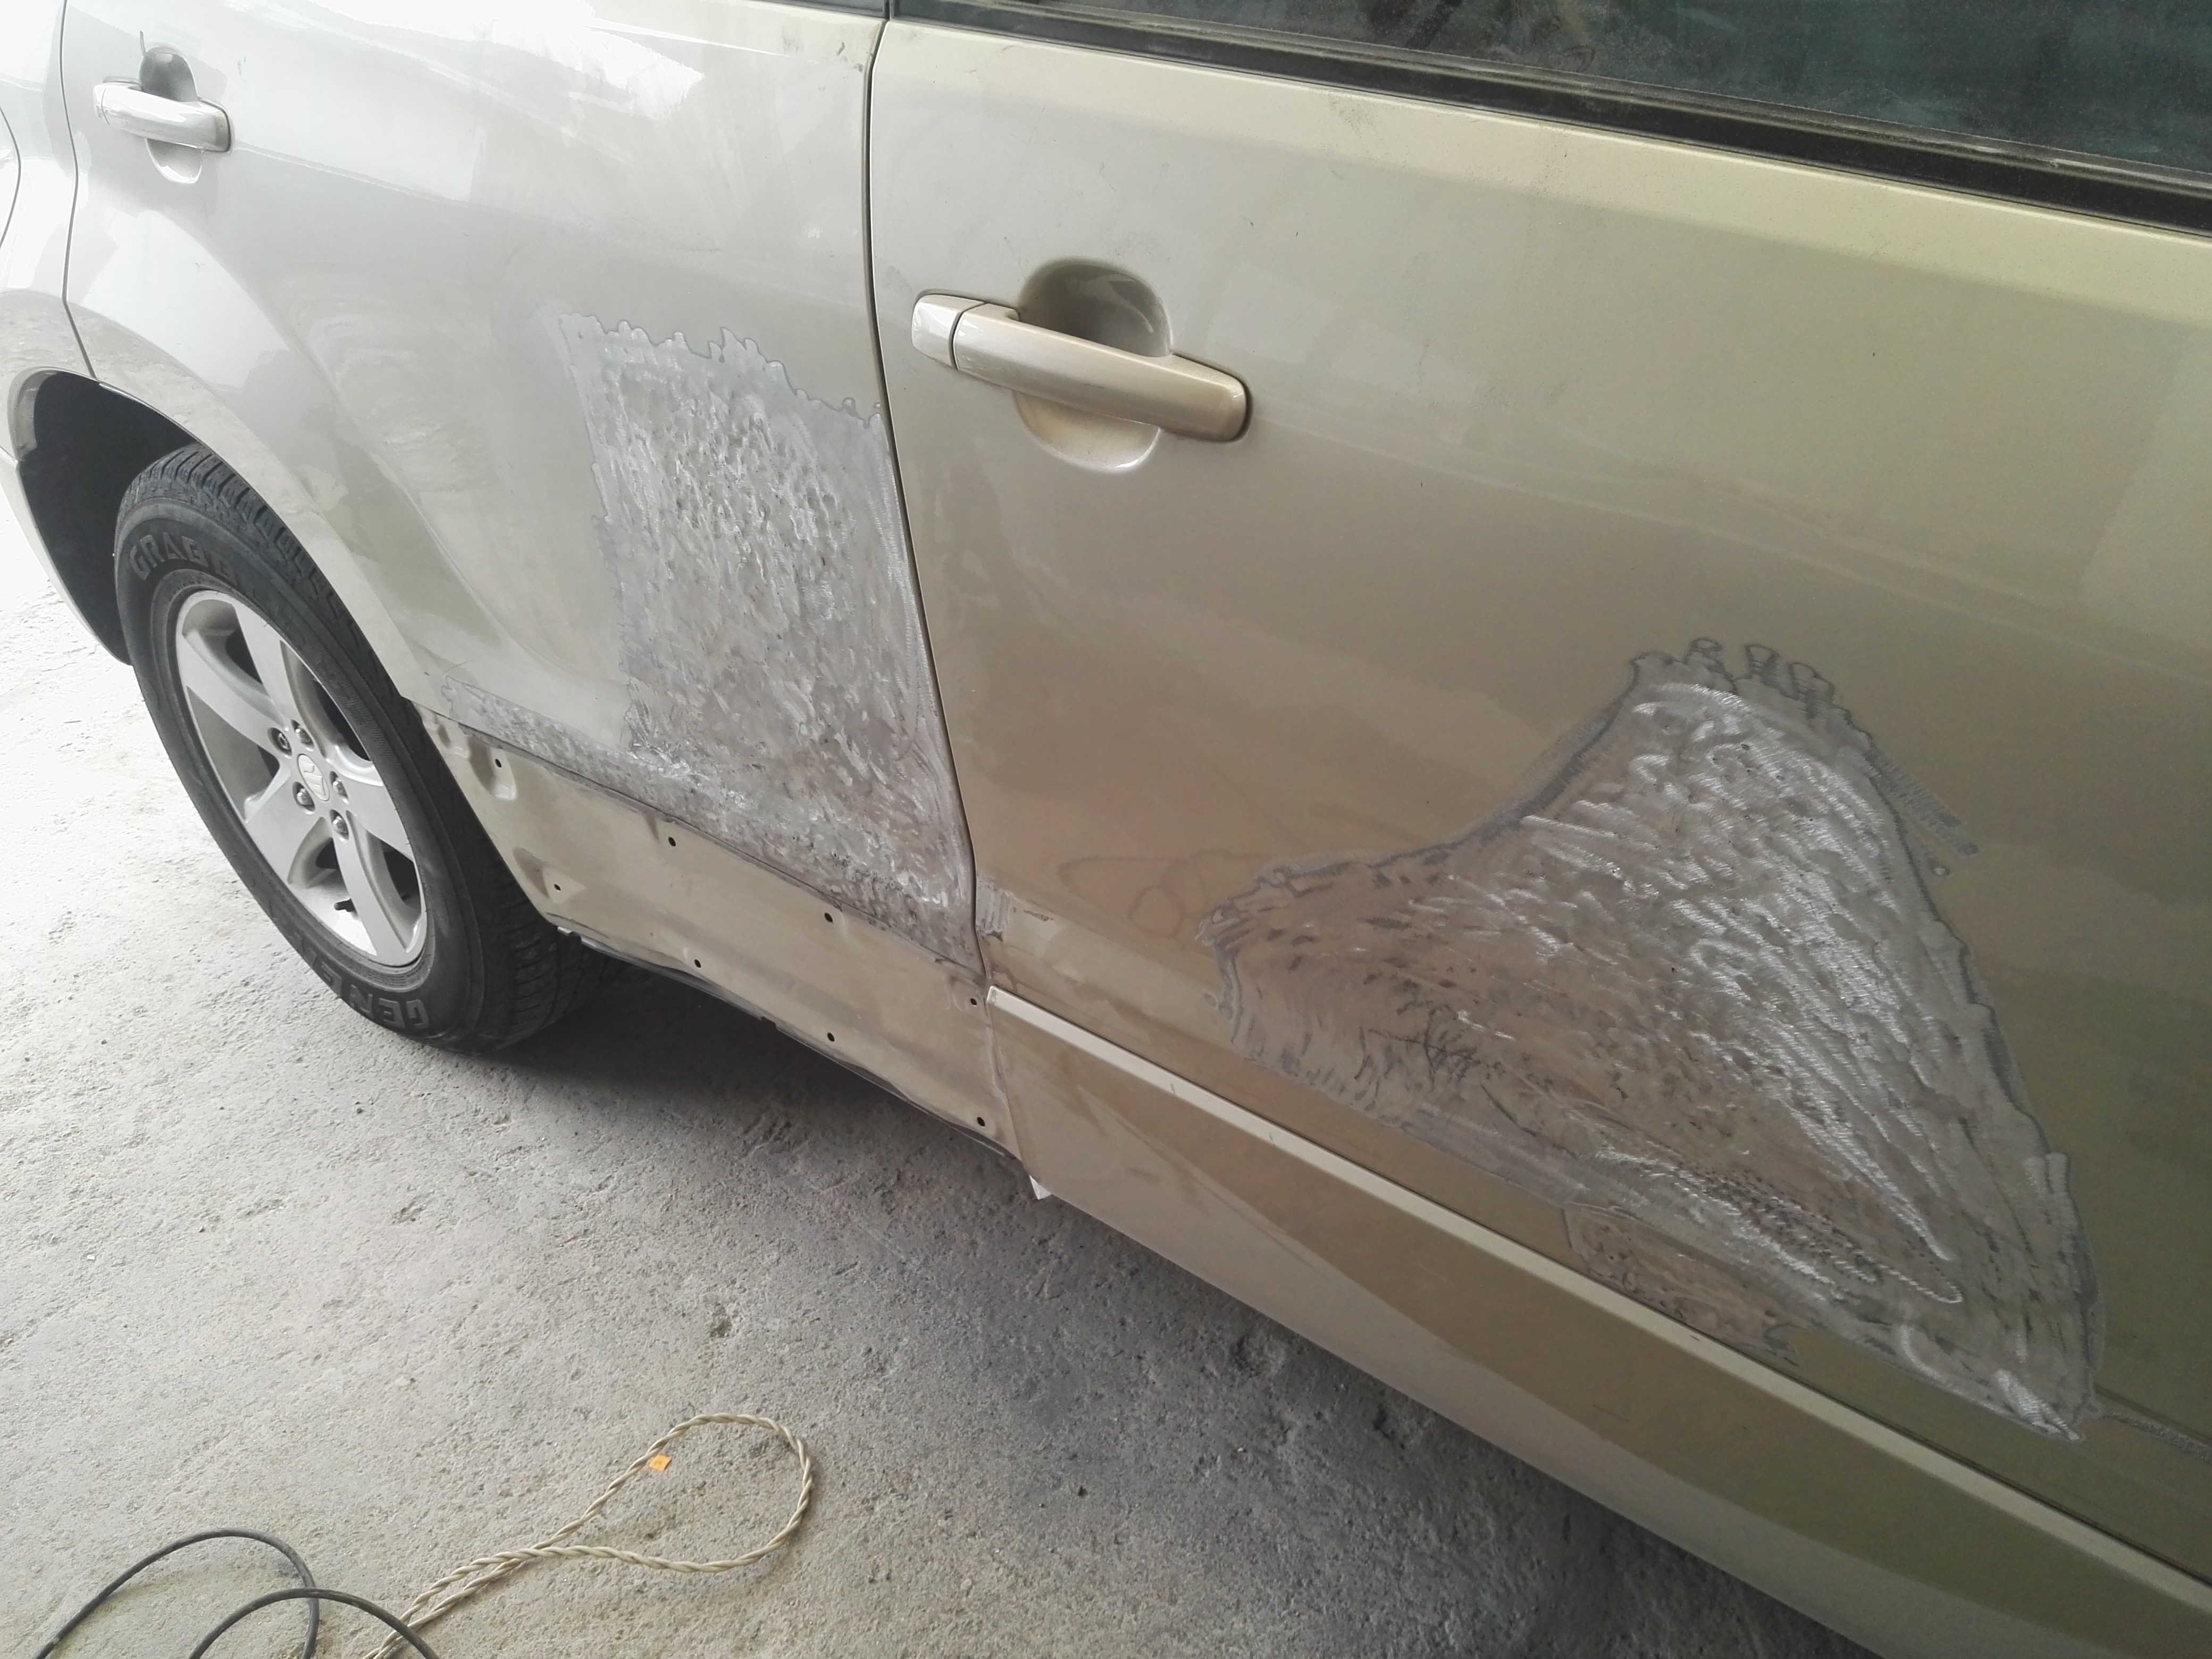
How? Well, applying a product called putty which is applied uniformly to the affected surface
¿Cómo? Bueno, aplicando un producto llamado masilla que se aplica uniformemente a la superficie afectada
After a few minutes this product dries and then if we can sand it to give it the proper shape
Después de unos minutos, este producto se seca y luego, si podemos lijarlo para darle la forma adecuada
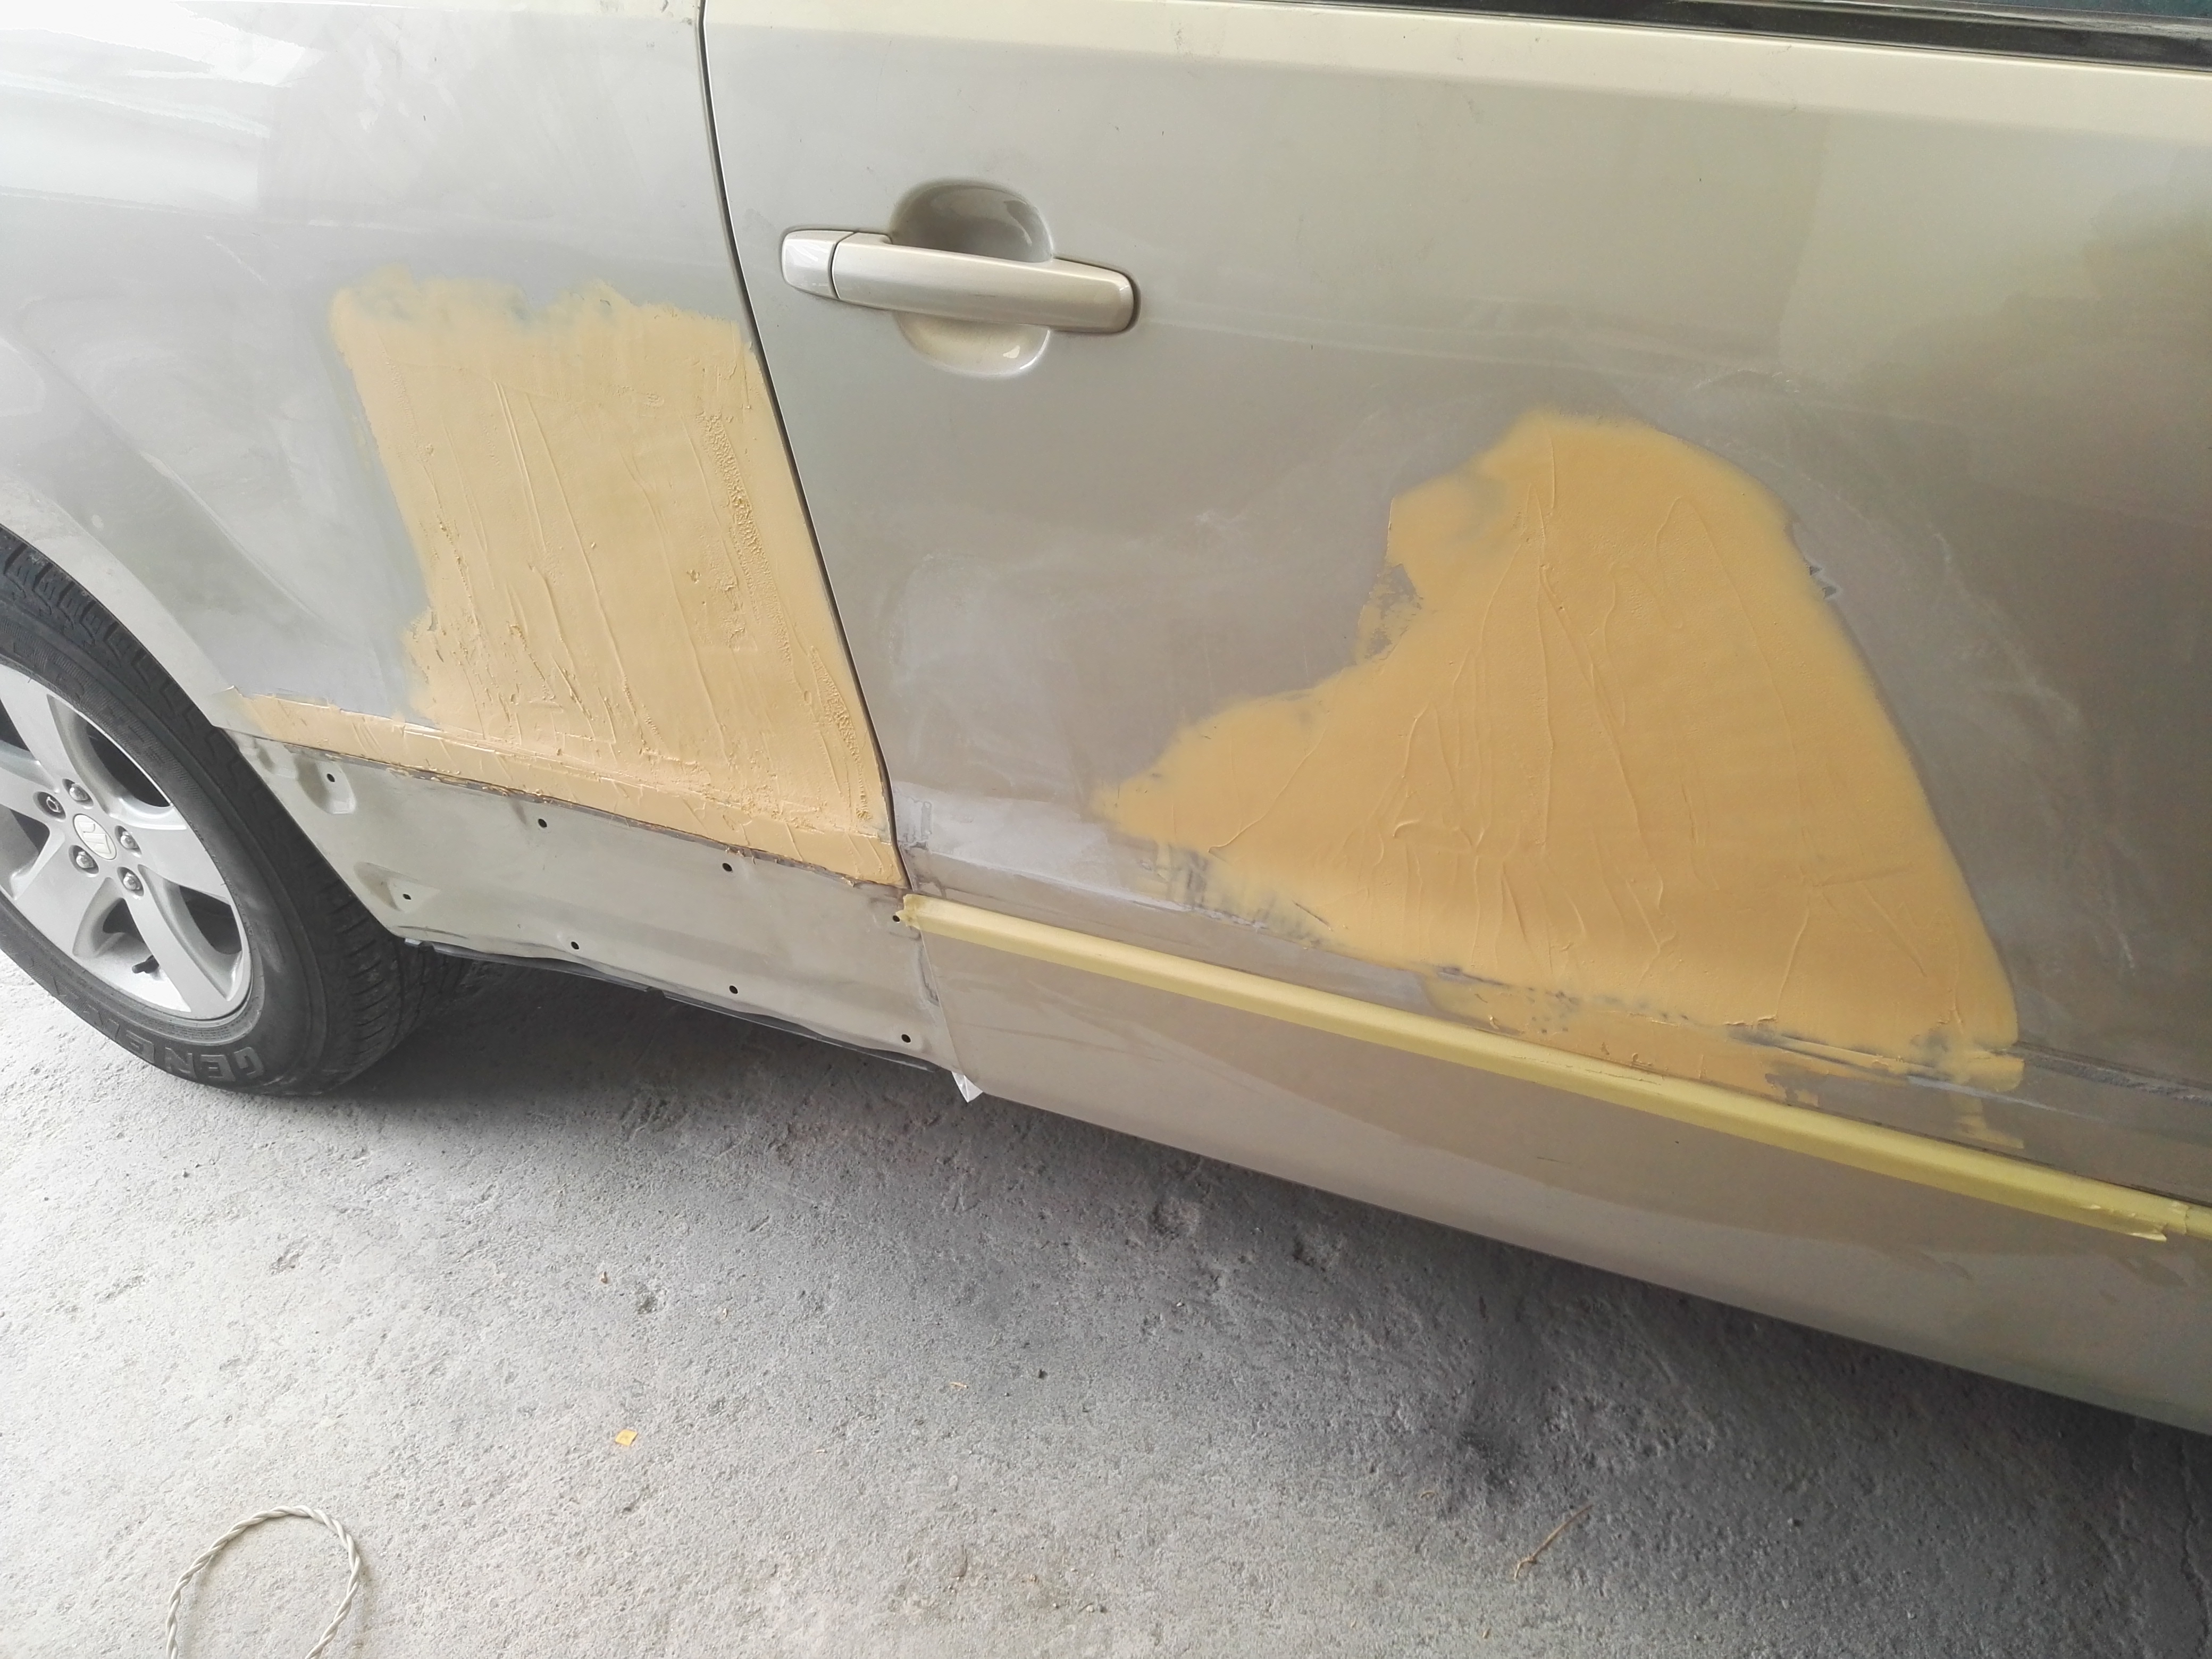
After having sanded the putty, it is time to apply the primer. This product seals putty from moisture
Después de haber lijado la masilla, es hora de aplicar la imprimación. Este producto sella la masilla de la humedad
And it takes about two hours to dry
Y tarda aproximadamente dos horas en secarse
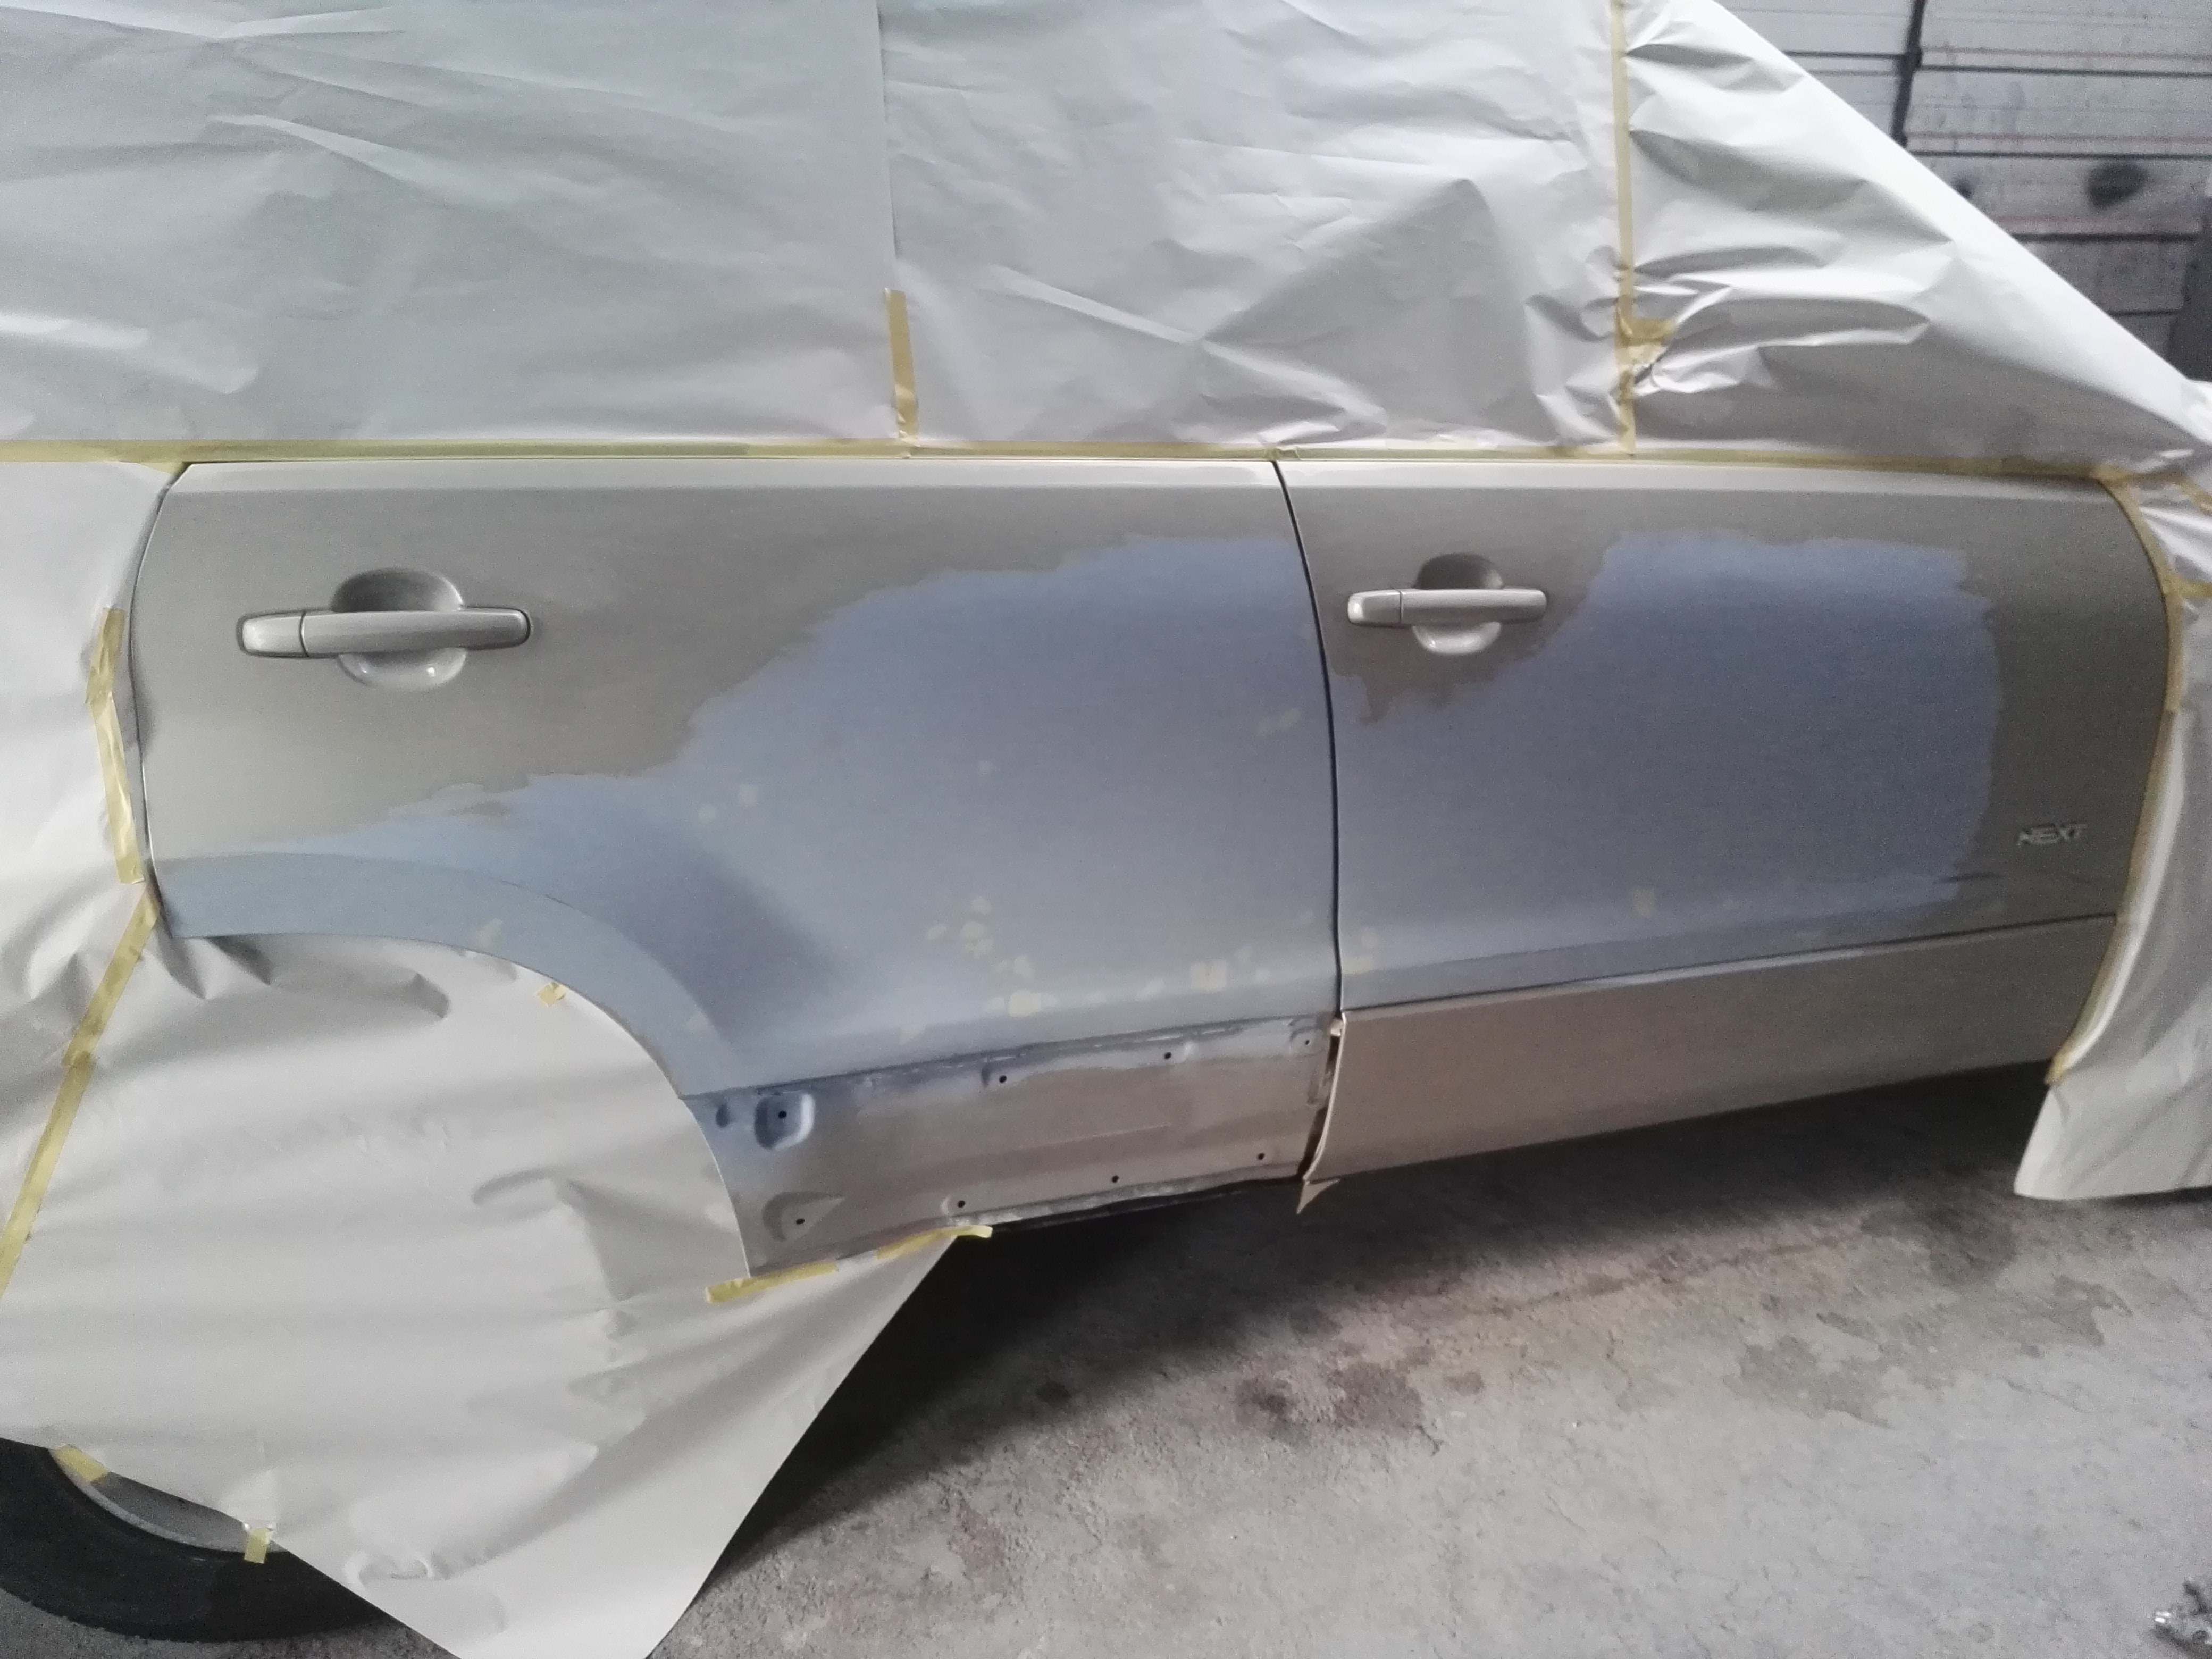
And when dry, sand with the help of fine sandpaper. after this the background serves as a base to apply the paint on the
Y cuando esté seco, lije con la ayuda de papel de lija fino. después de esto, el fondo sirve como base para aplicar la pintura en el
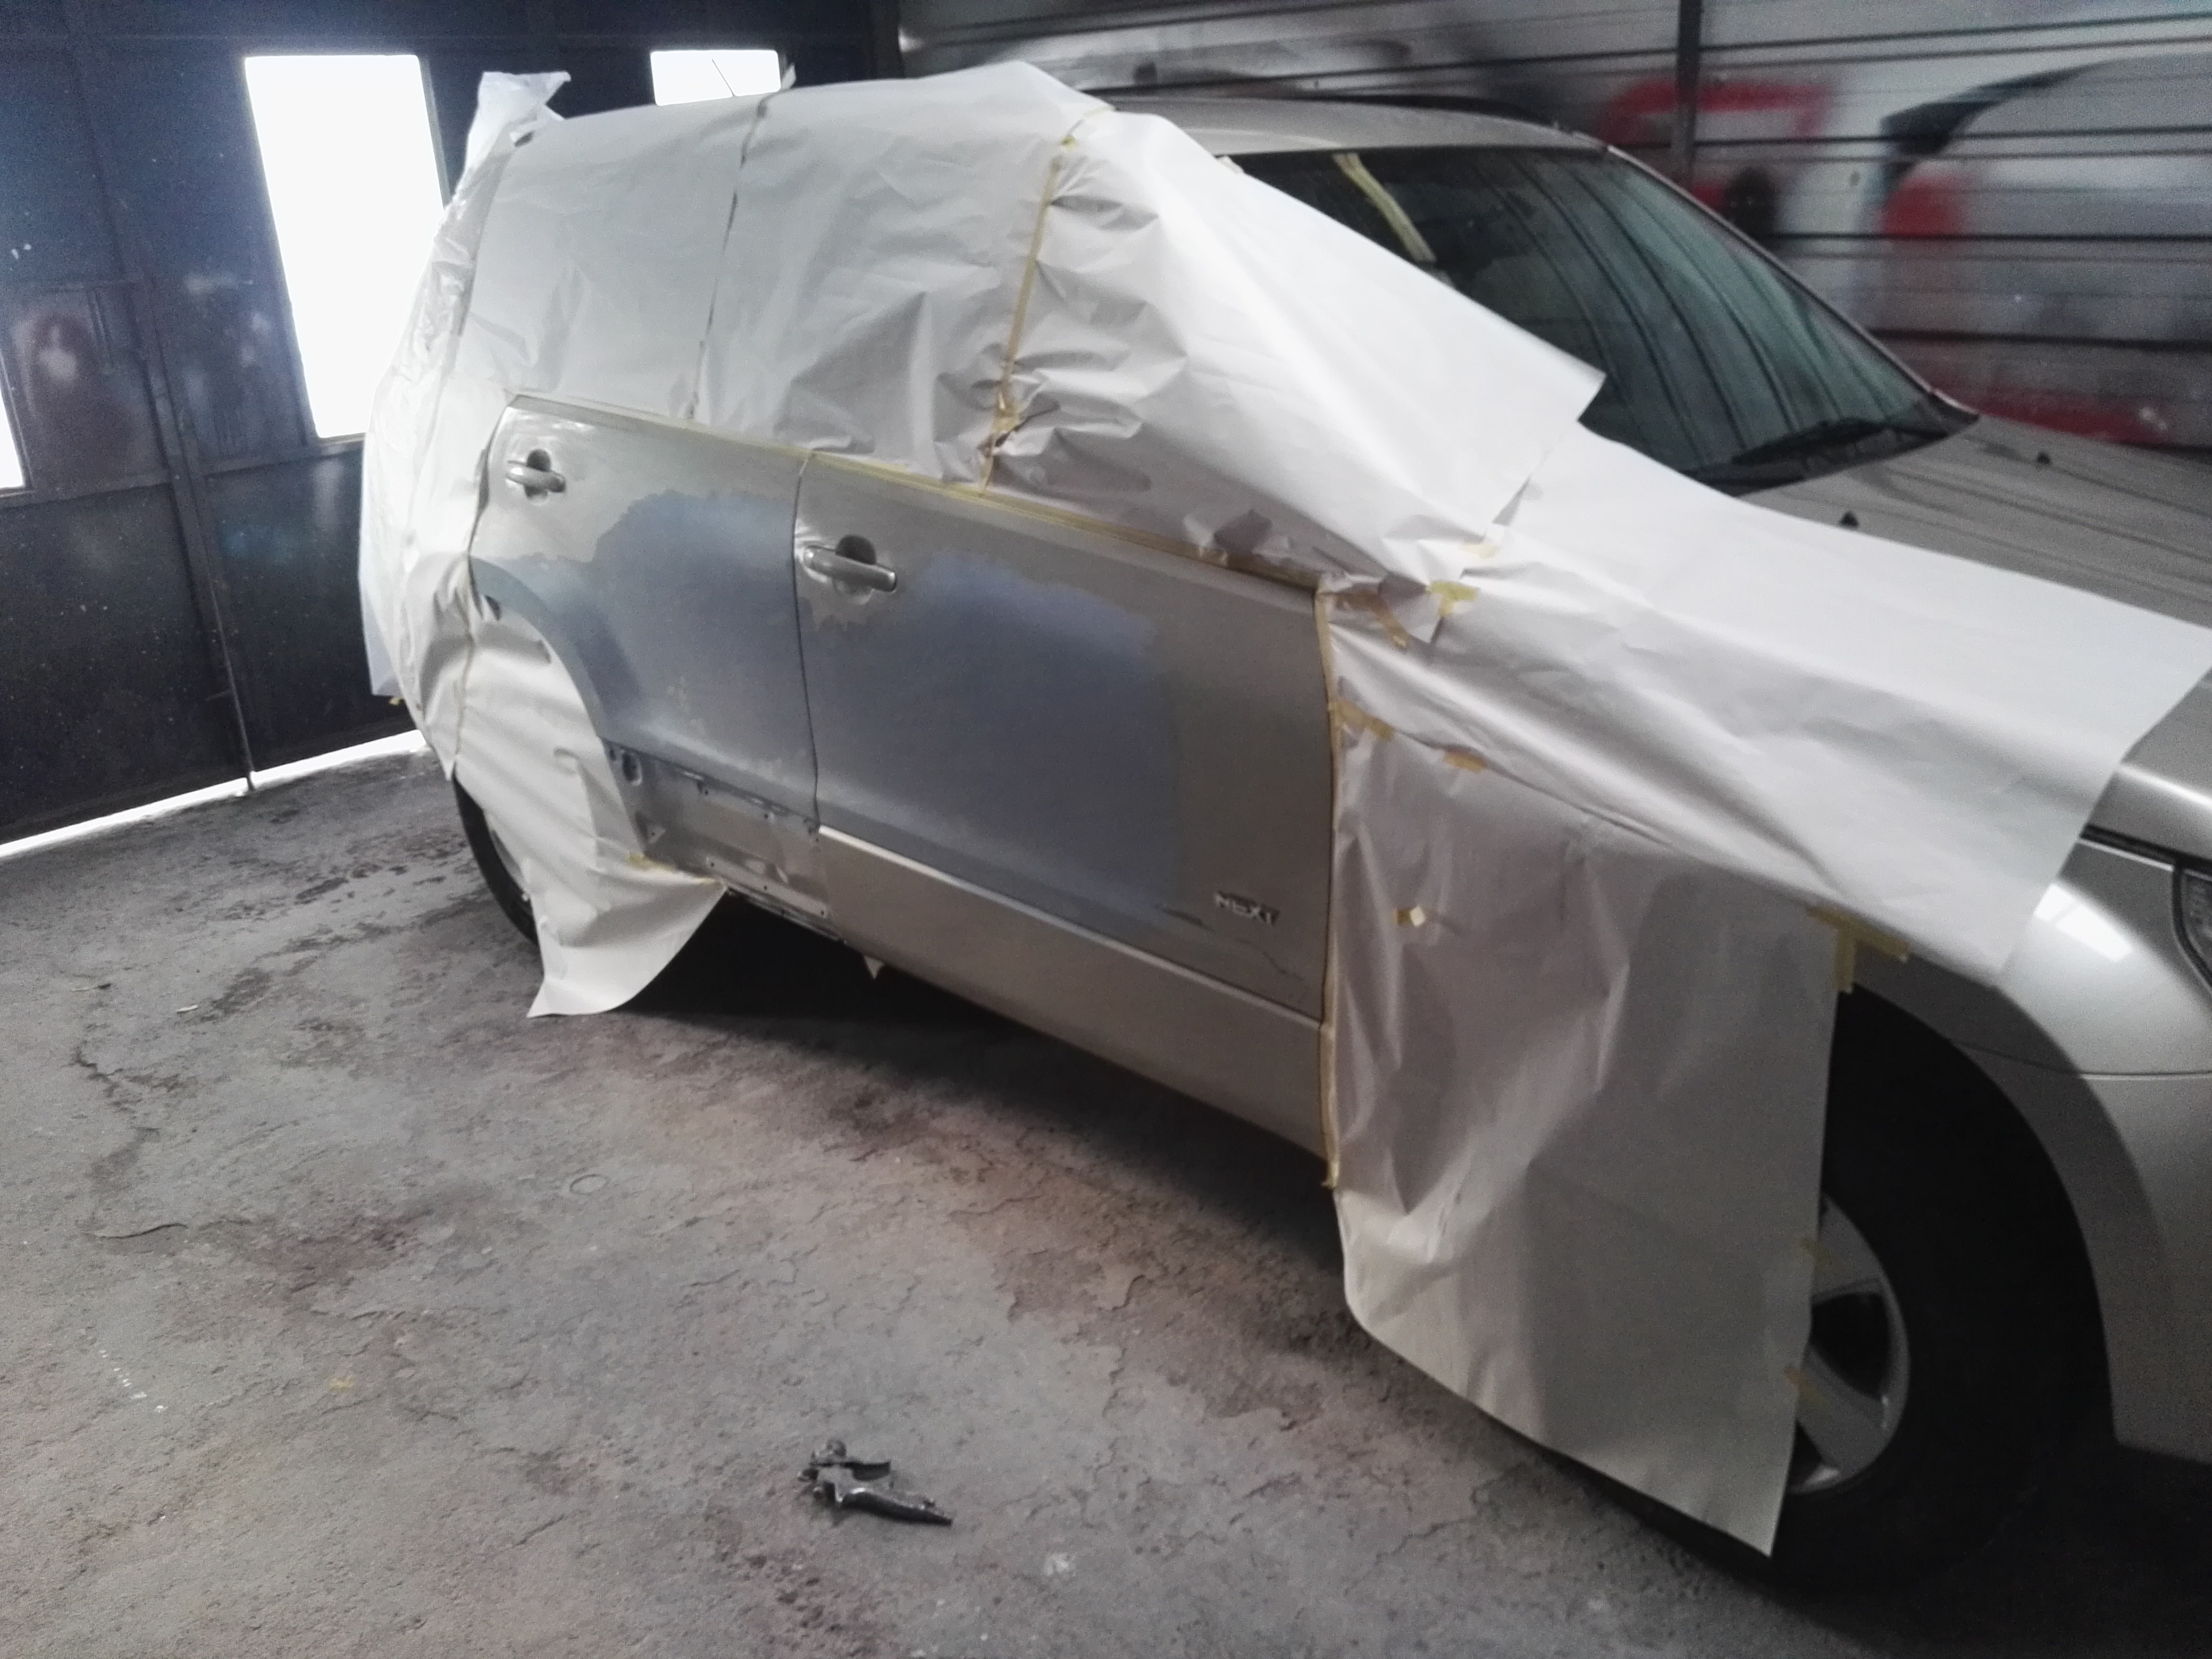
So once it is sanded, we enter the car into the paint booth to cover with paper what we are not going to paint
Entonces, una vez que esté lijado, ingresamos al automóvil en la cabina de pintura para cubrir con papel lo que no vamos a pintar
We do this so as not to stain the parts that are good with paint
Hacemos esto para no manchar las partes que son buenas con pintura
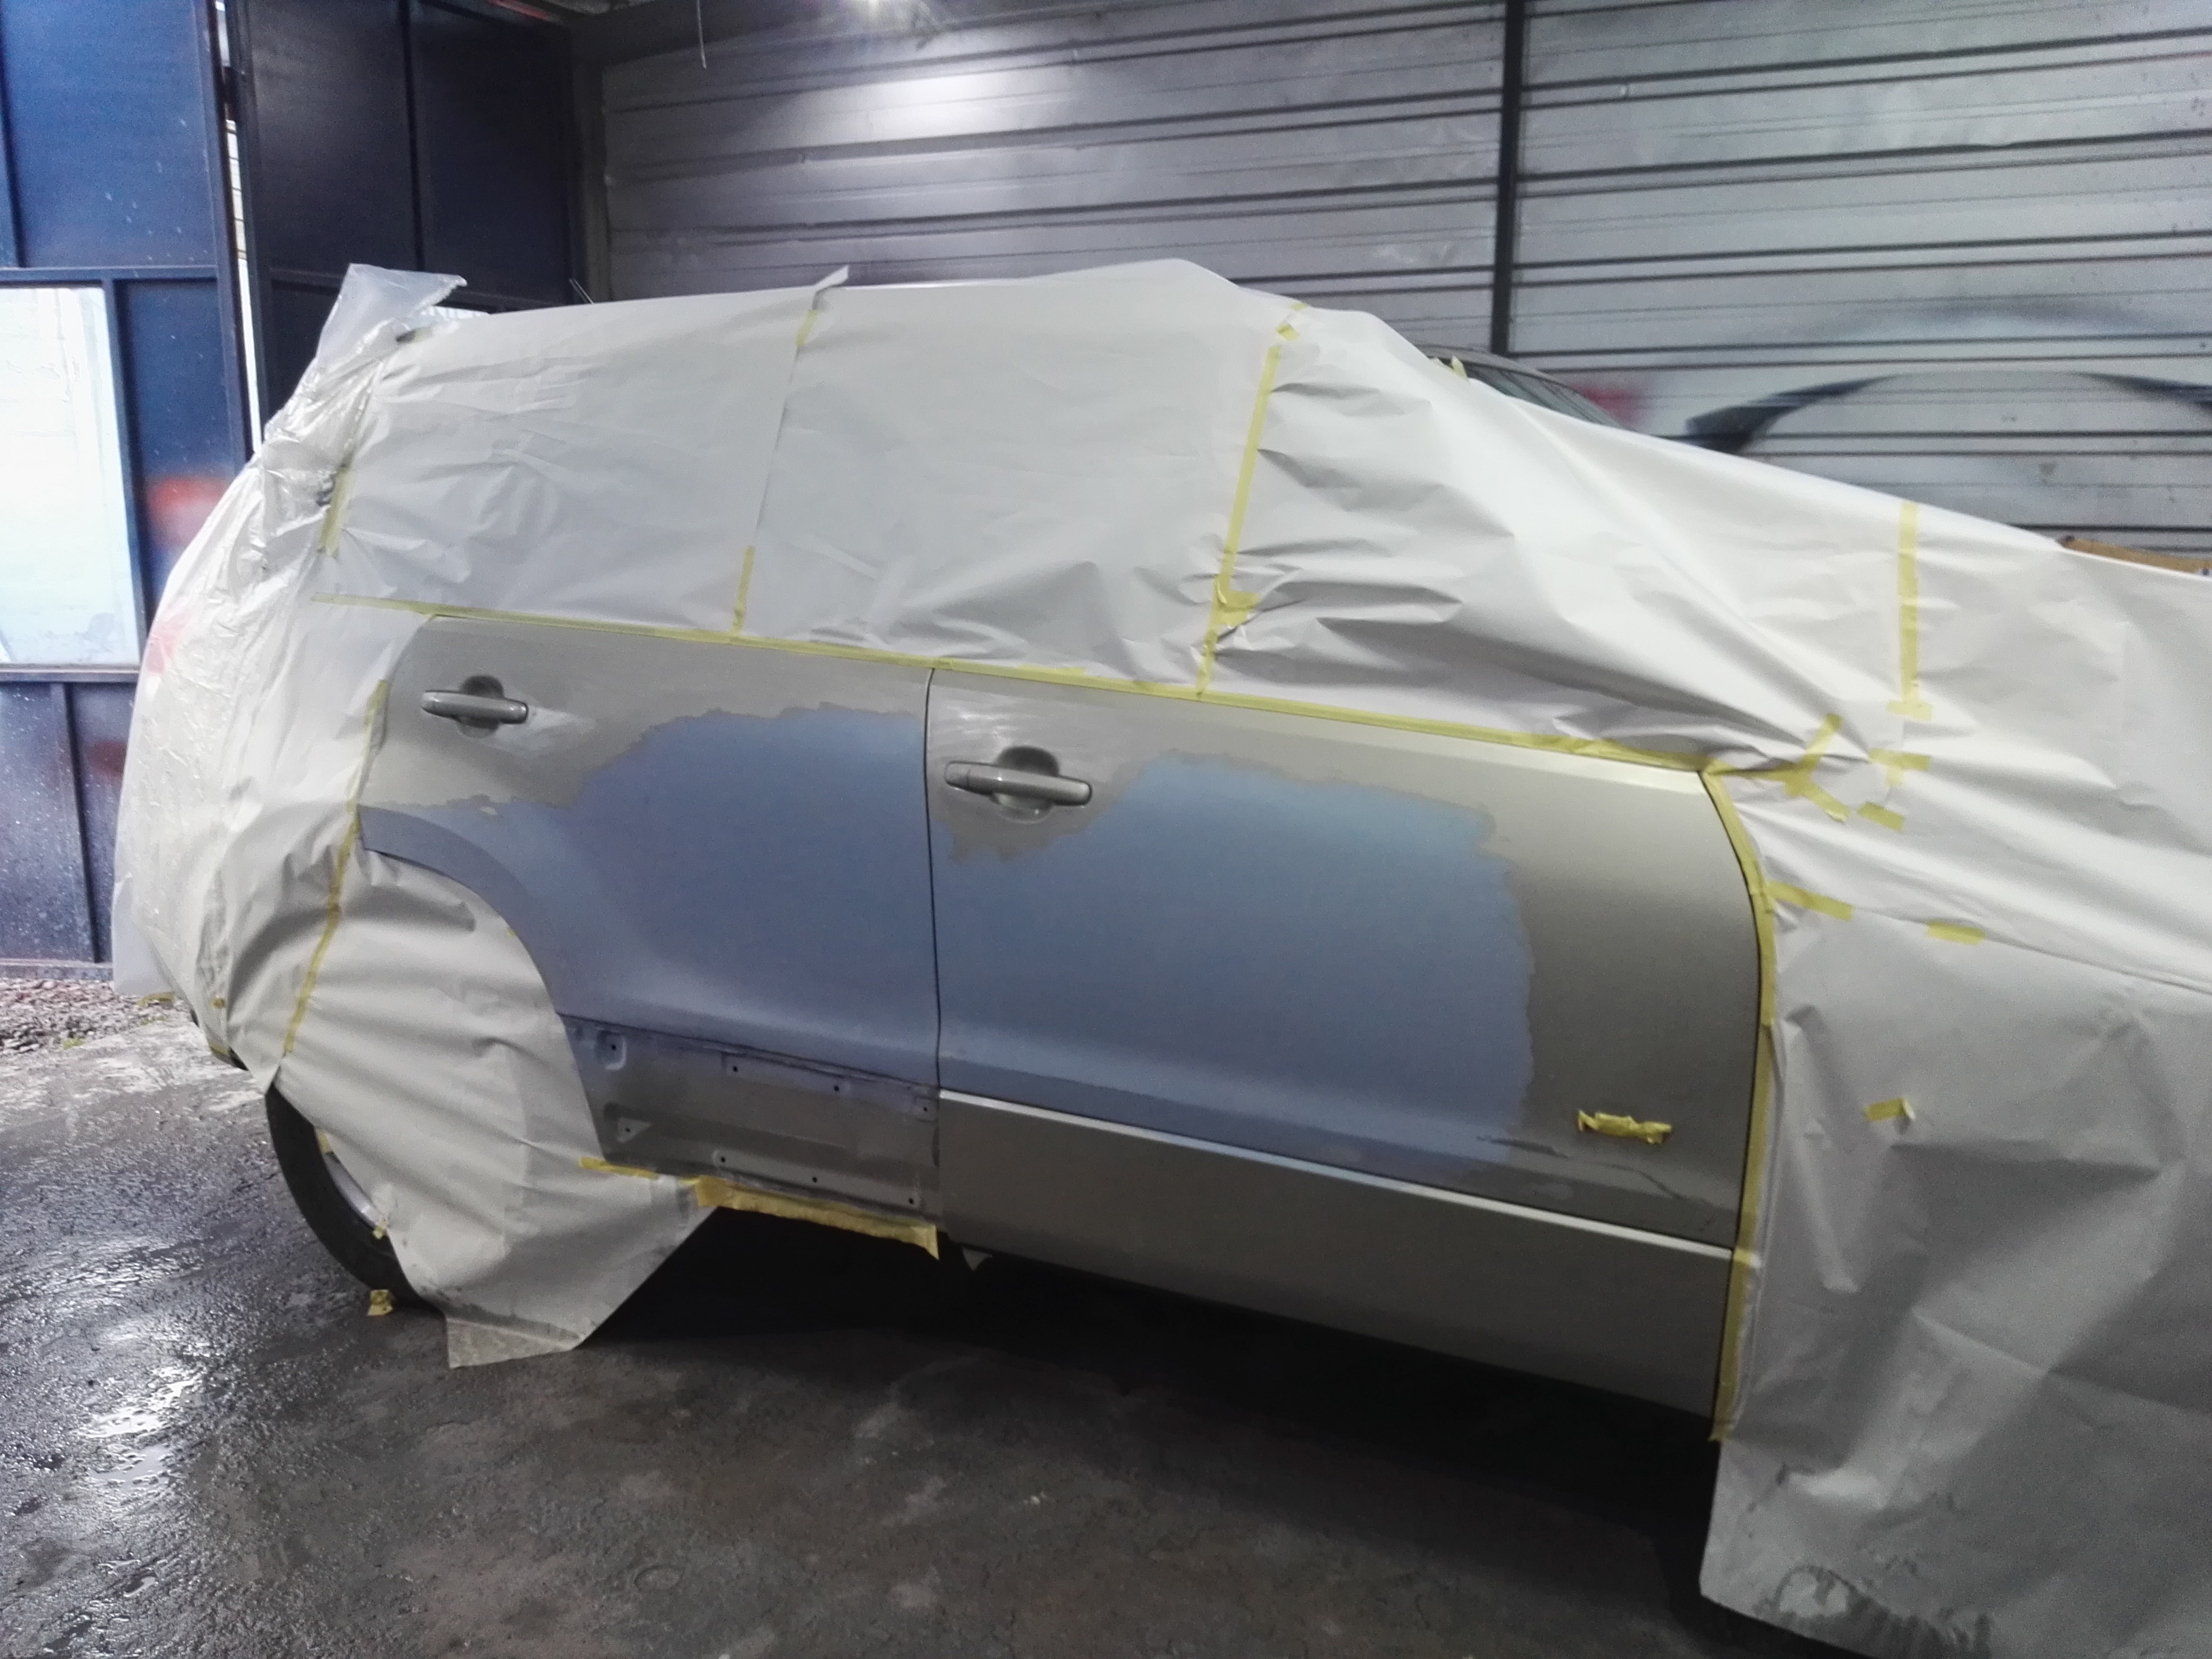
After this we can finally apply the paint to the car, so we apply several hands so that the color completely covers and then we apply the varnish to give shine to the paint
Luego de esto finalmente podemos aplicar la pintura al auto, así que aplicamos varias manos para que el color cubra totalmente y luego aplicamos el barniz para darle brillo a la pintura
And now this is what the car looks like When the repair and painting process is completely finished
Y ahora así es como se ve el automóvil cuando el proceso de reparación y pintura está completamente terminado
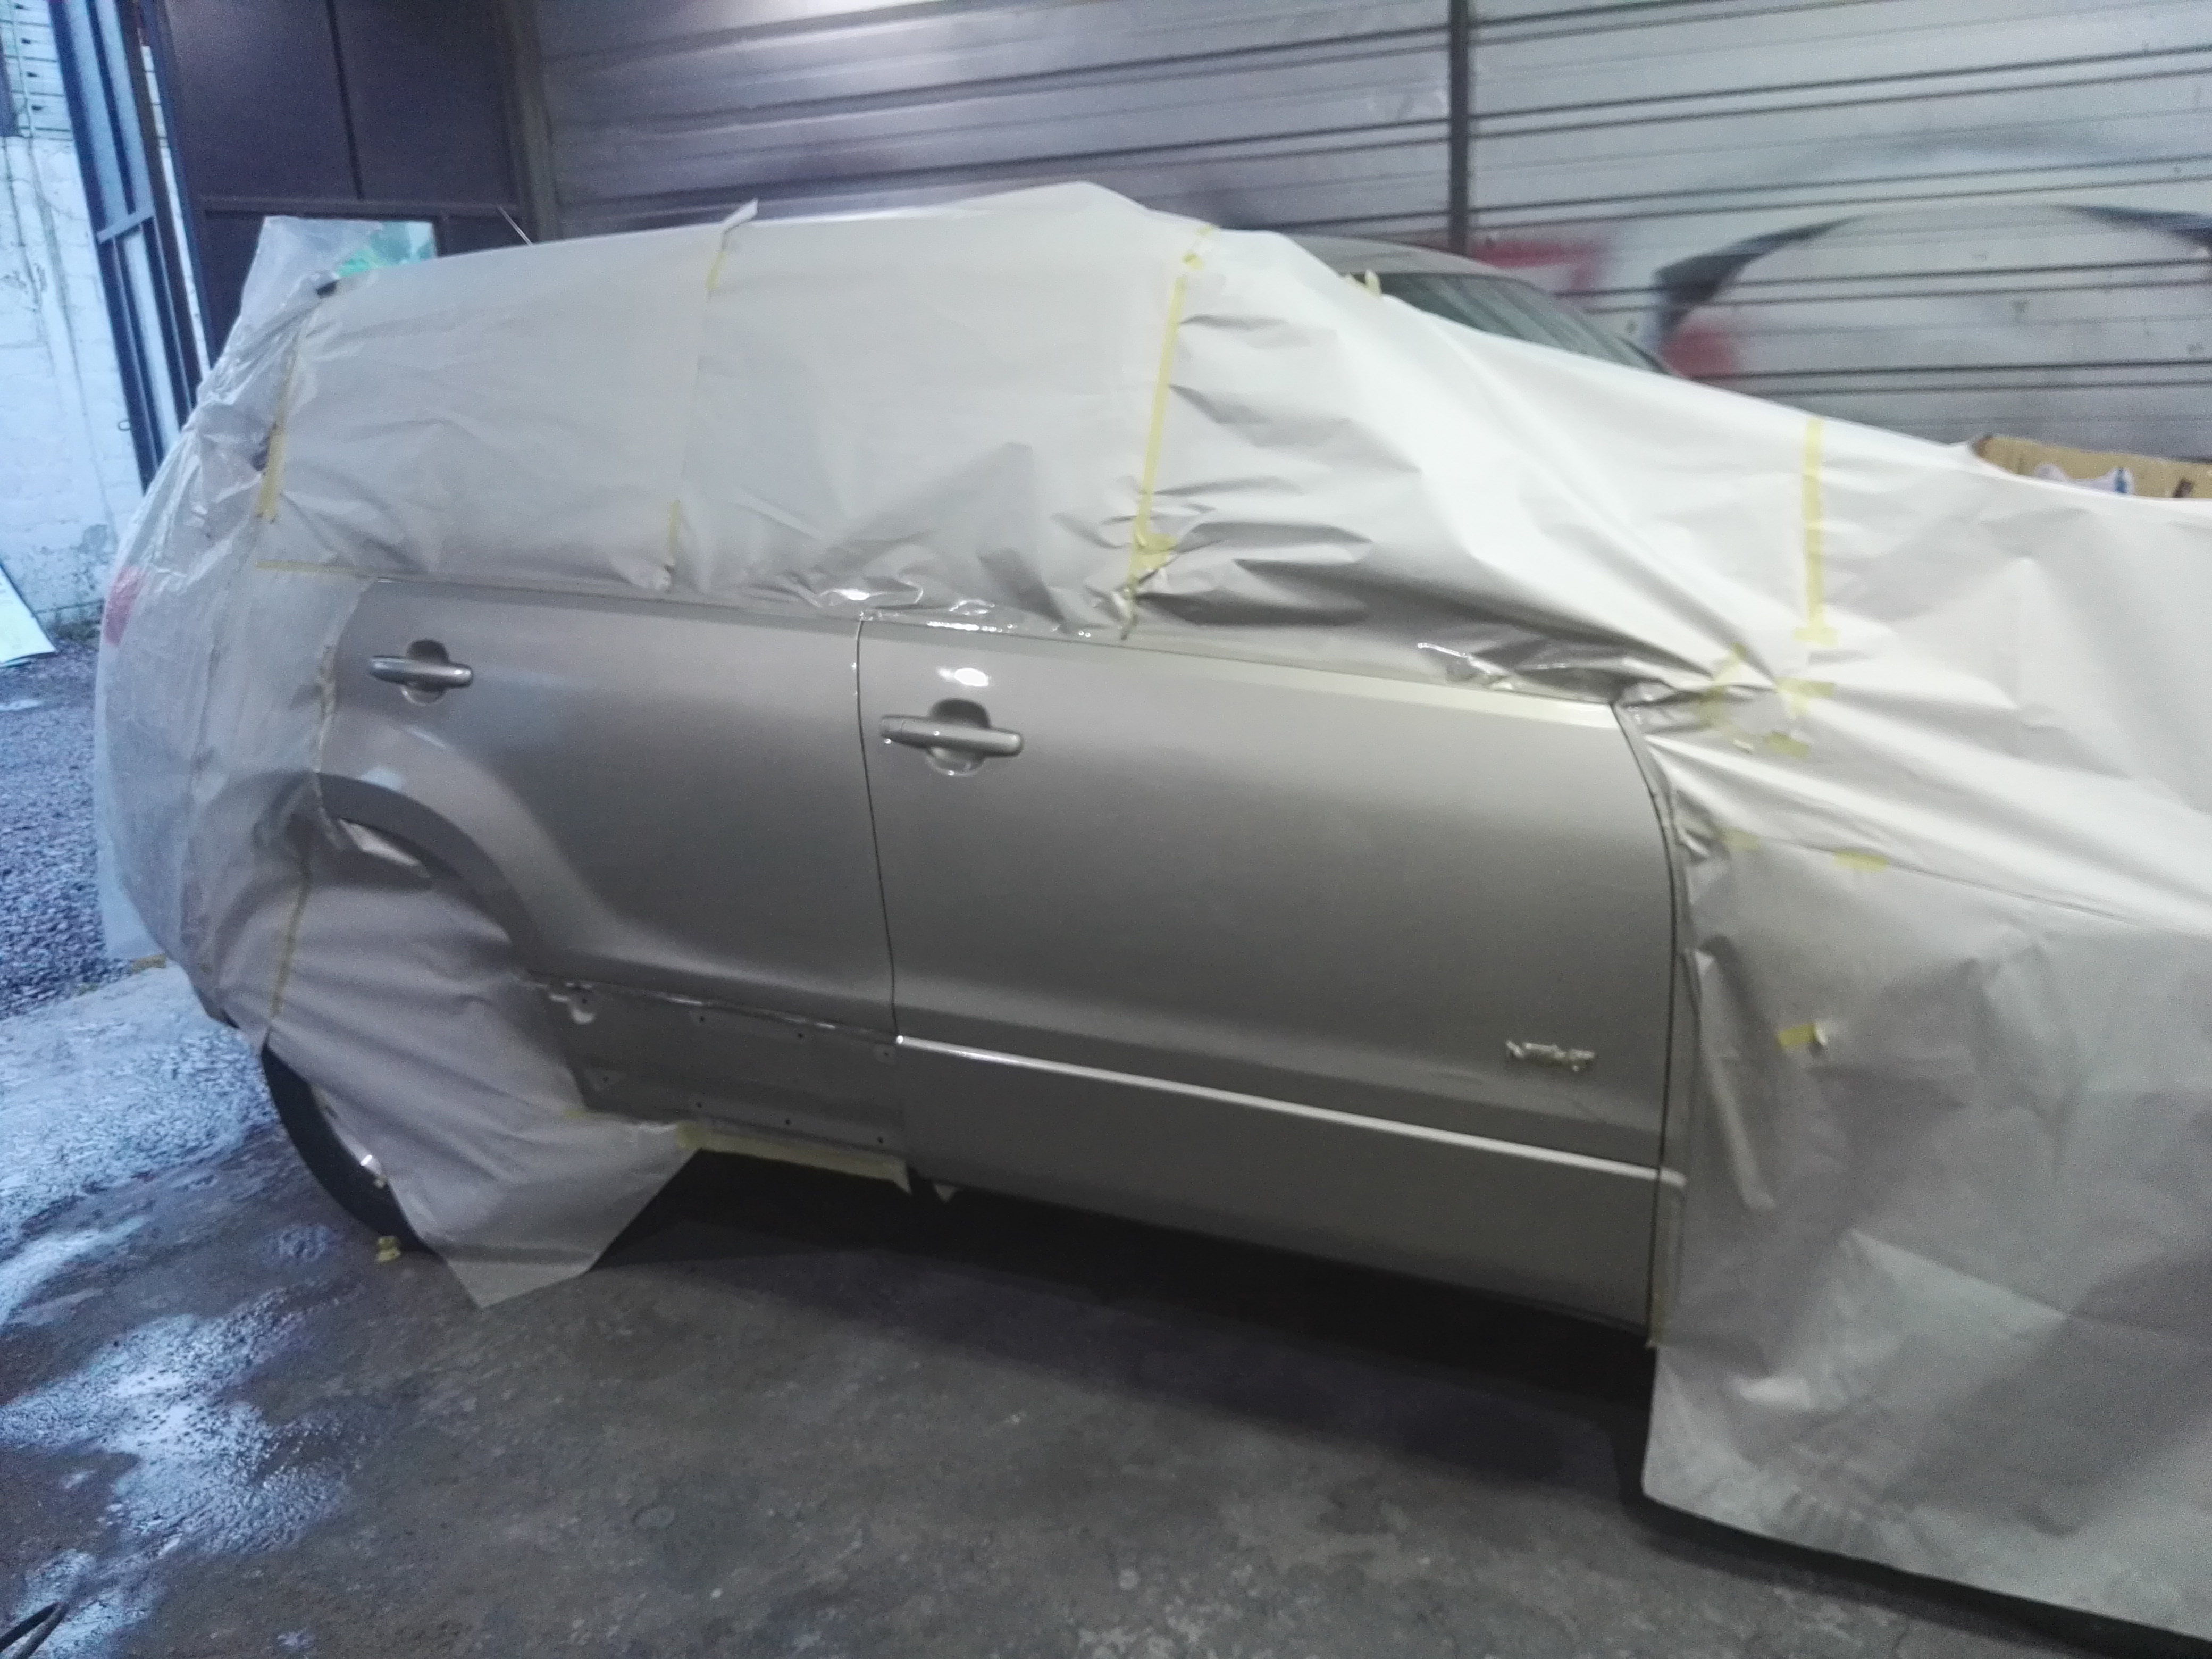
Now let's wait for it to dry for 24 hours. To remove the paper, assemble the parts we removed and clean the car
Ahora esperemos a que se seque durante 24 horas. Para quitar el papel, ensamble las partes que quitamos y limpie el automóvil
With this we successfully complete the project. Thanks for reading, see you next time
Con esto completamos con éxito el proyecto. Gracias por leer, nos vemos la próxima vez
Greetings to my beloved gem community
Saludos a mi querida comunidad de gems
All photos were taken by me, I am the author
Todas las fotos fueron tomadas por mi, soy el autor
Congratulations @eralepepon! You have completed the following achievement on the Hive blockchain and have been rewarded with new badge(s) :
You can view your badges on your board And compare to others on the Ranking
If you no longer want to receive notifications, reply to this comment with the word
STOPDo not miss the last post from @hivebuzz:
Support the HiveBuzz project. Vote for our proposal!
It was interesting to see the entire process of what goes into fixing the damage done to a car door panel like that. It looks like a lot of work goes into doing such repairs. I appreciated your detailed explanations of the steps shown in the photos. Good and informative post! :)
I thank you for the time you took to stop by. really thanks
Heh, like a new one, good job!
This post was shared in the Curation Collective Discord community
community witness. Please consider using one of your witness votes on us here for curators, and upvoted and reblogged by the @c-squared community account after manual review.@c-squared runs a