Friends of the entire hive community, a pleasure to greet you. I hope you are all feeling well today.
Before I tell you about my post today I would like to thank all those little people who take a moment of their time to vote and comment on me, I really feel very comfortable since I joined this platform.
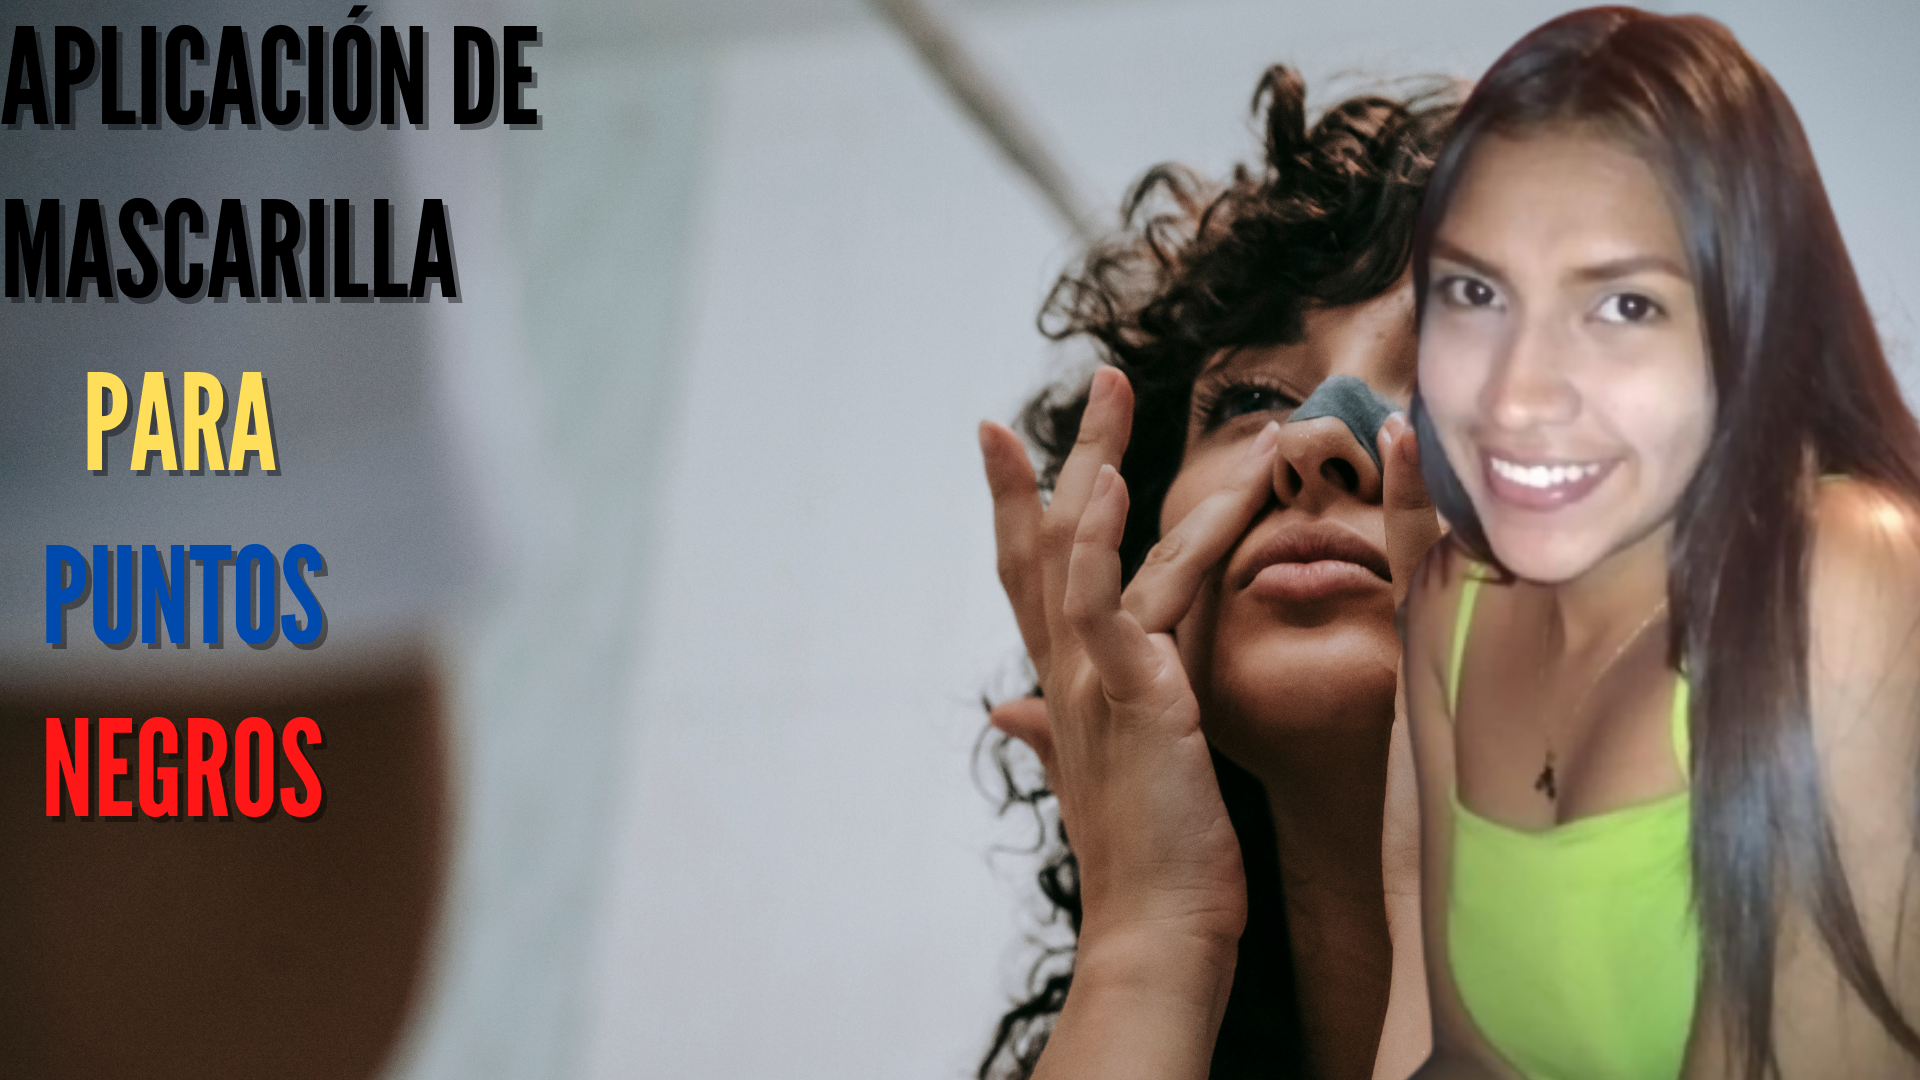
Foto tomada desde mi teléfono Redmi 8 y edición hecha por mi desde Canva
Ahora si jajaja vamos a entrar en materia. Como ya saben les estuve comentando de que me quería dedicar a que mis post sean sobre el cuidado personal y facial, y en esta ocasión hablaremos igual de eso.
El post pasado les hablaba sobre una mascarilla casera, ahí les comentaba que no solo deben aplicarse químicos en su rostro (con químicos me refiero a mascarilla ya hechas por empresas empaquetadas) no por decirle así me refiero a que seas sustancias químicas. Pero en esta ocasión les hablaré sobre una mascarilla negra de kniyea, es muy buena y fue creada especialmente para la eliminación de los puntos negros.
Now if hahaha let's get down to business. As you already know I've been telling you that I wanted to dedicate my posts to personal and facial care, and this time we'll talk about that too.
Last post I talked about a homemade face mask, there I told you that you should not only apply chemicals on your face (by chemicals I mean masks already made by packaged companies), not by saying so I mean that you are chemicals. But this time I will tell you about a black mask of kniyea, it is very good and was created especially for the elimination of blackheads.
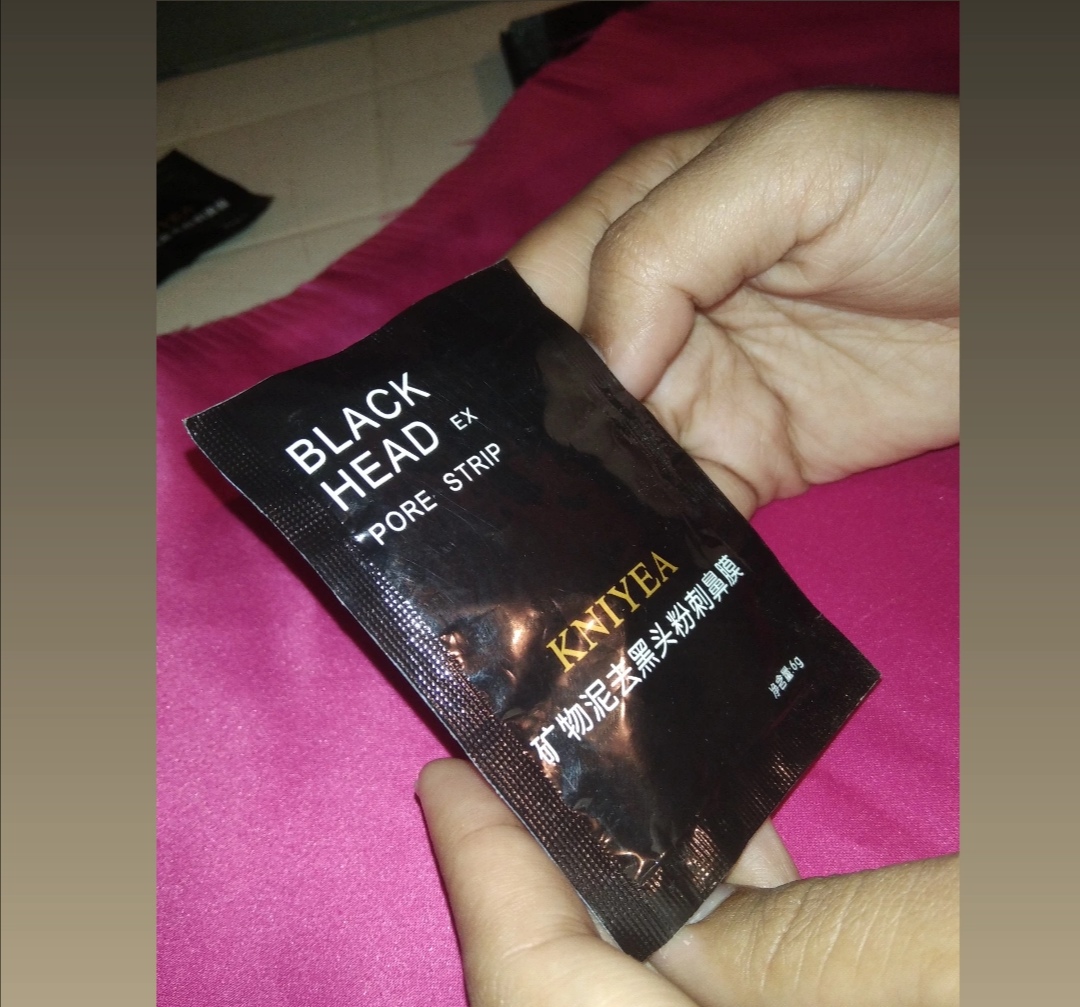
Foto tomada desde mi teléfono Redmi 8.
Los puntos negros como mayormente le llamamos también son conocidos como "comedones abiertos" y esto no es más pequeños puntos de suciedad, a nivel externo son negros pero luego que lo retiras de tu rostro son puntos blancos gruesos la mayoría, esto es debido a que son poros obstruidos, la zona donde más aparecen estos es en la nariz y en la parte central del rostro.
En mi caso tengo un poco en la nariz, así que esta mascarilla me sería de gran ayuda, ya que con su primera aplicación notarás cambios.
Esta mascarilla negra vienen en presentación de sobres y de tubo, pero en este caso usaremos la presentación de sobre que es la que tengo a mi alcance en este momento.
Blackheads as we mostly call them are also known as "open comedones" and this is nothing more than small spots of dirt, externally they are black but after you remove them from your face they are mostly thick white spots, this is because they are clogged pores, the area where they appear the most is on the nose and in the central part of the face.
In my case I have some on my nose, so this mask would be of great help, since with its first application you will notice changes.
This black mask comes in sachets and tubes, but in this case we will use the sachet presentation, which is the one I have at my disposal at the moment.

Foto tomada por mi esposo José Francisco, con el teléfono redmi 8.
Cuando la destapas te darás cuenta que es como un líquido gomoso, y debes aplicarla rápidamente porque mientras más tiempo pase se va a secar y quedará como un plástico.
Su aplicación y su retiro es un sencillo y práctico.
PASOS PARA SU APLICACION:
PASO 1: Lava con agua y con jabón bien tu rostro, y seca muy bien no debe estar ni mojada ni húmeda por ningún motivo.
When you uncover it, you will notice that it is like a gummy liquid, and you should apply it quickly because the longer it takes it will dry and it will look like plastic.
Its application and removal is simple and practical.
STEPS FOR ITS APPLICATION:
STEP 1: Wash your face with soap and water and dry it very well, it should not be wet or damp for any reason.

Foto tomada desde mi teléfono Redmi 8.
PASO 2: Destapa el sobre solo un poquito en alguna esquina: hago esto porque va a salir en menos cantidad ahora si lo destapó completo va a salir mucho y va a tender secarse en una mano.
STEP 2: Uncover the envelope just a little bit in some corner: I do this because it will come out in less quantity now if I uncover it completely it will come out a lot and it will tend to dry in one hand.
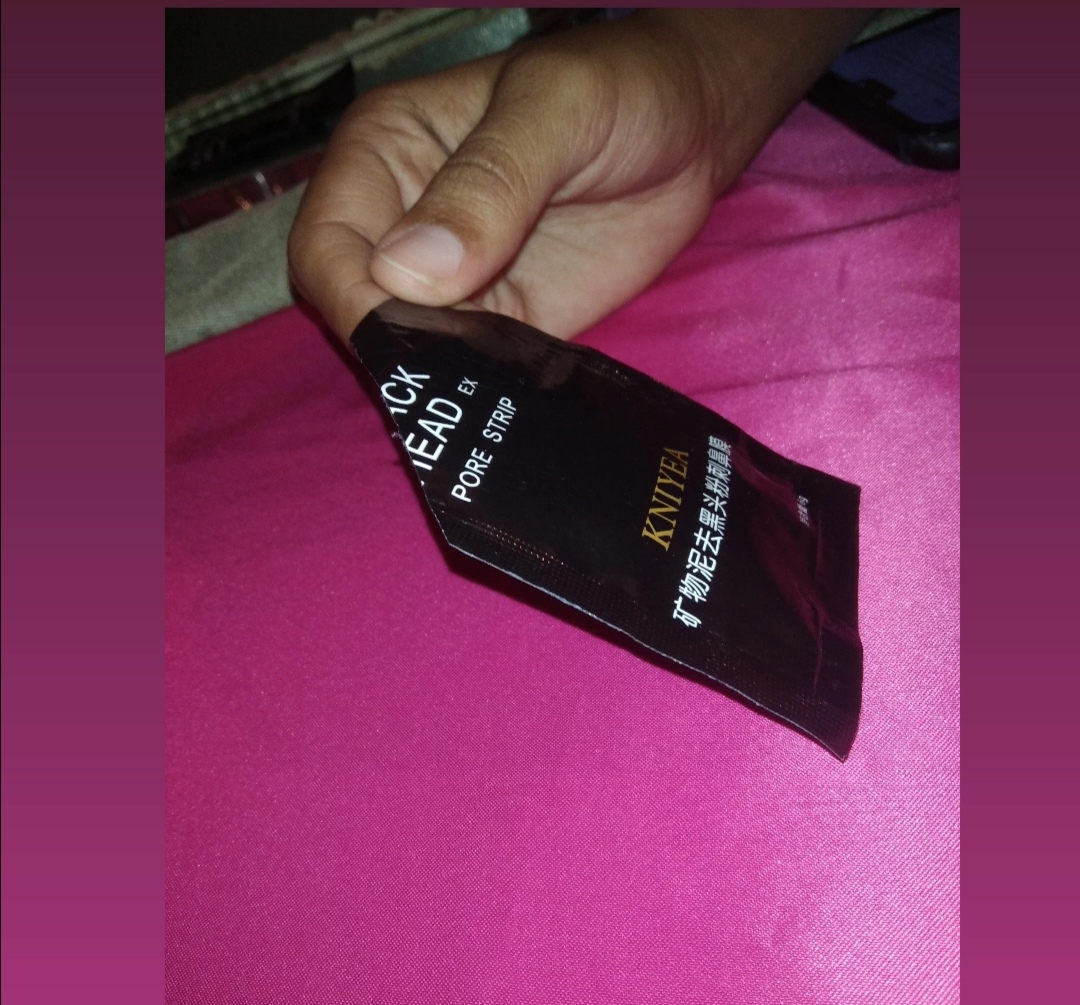
Foto tomada desde mi teléfono Redmi 8.
PASO 3: Aplica solo con tu dedo índice: como antes mencioné esta mascarilla mientras más tiempo pase afuera de el sobre se secara así que no recomendable ni necesario que la manipules con todos los dedos de tus manos con solo aplicarla con tu dedo índice esta bien porque se corre fácilmente.
STEP 3: Apply only with your index finger: as I mentioned before, this mask will dry out the longer it sits outside the envelope, so it is not recommended or necessary to manipulate it with all the fingers of your hands, just applying it with your index finger is fine because it runs off easily.
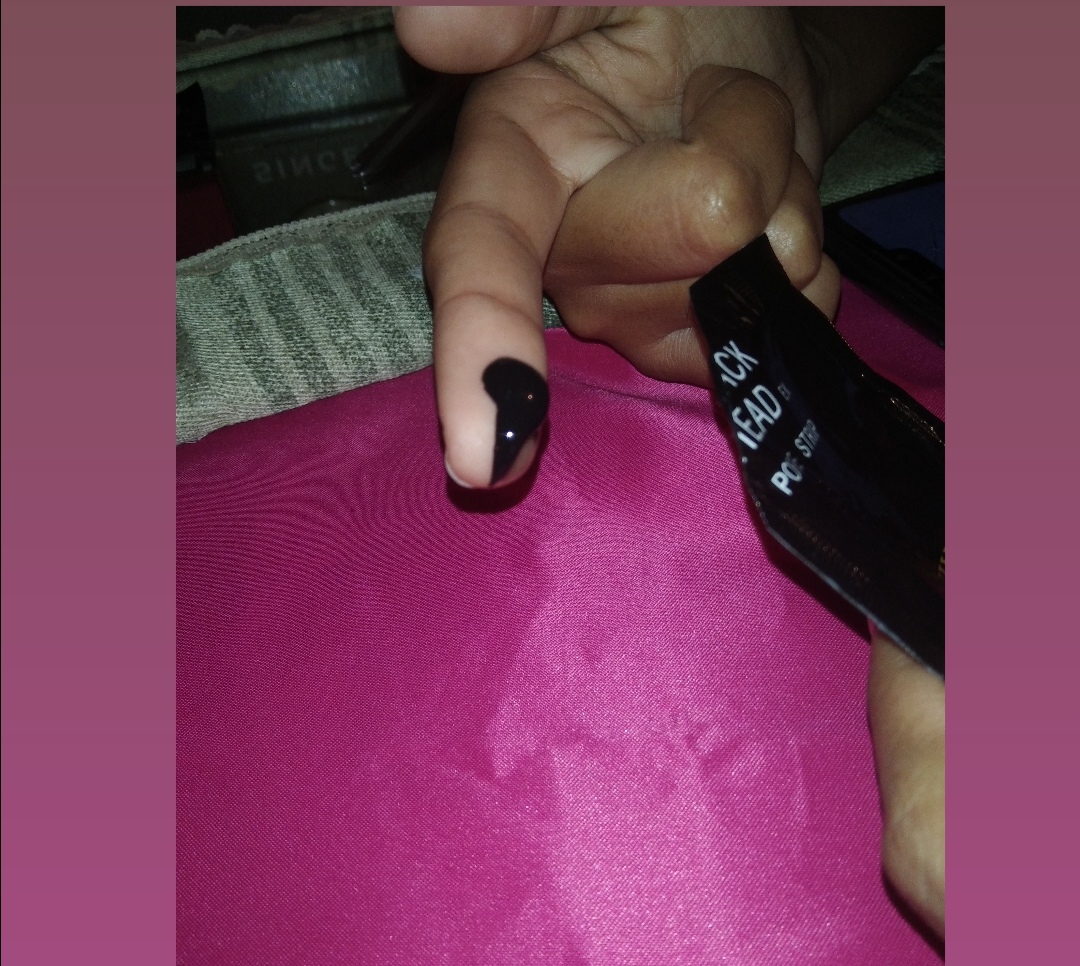
Foto tomada desde mi teléfono Redmi 8.
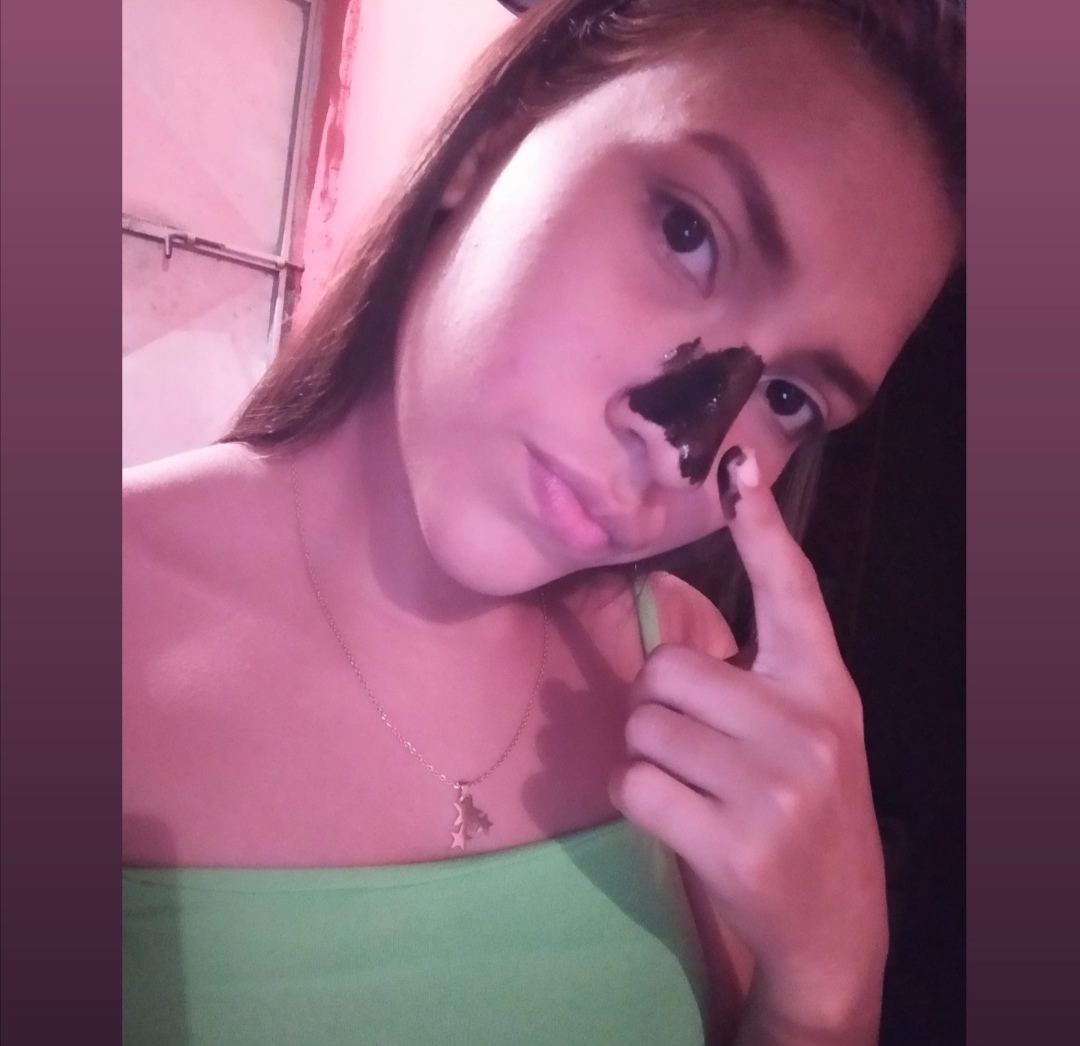
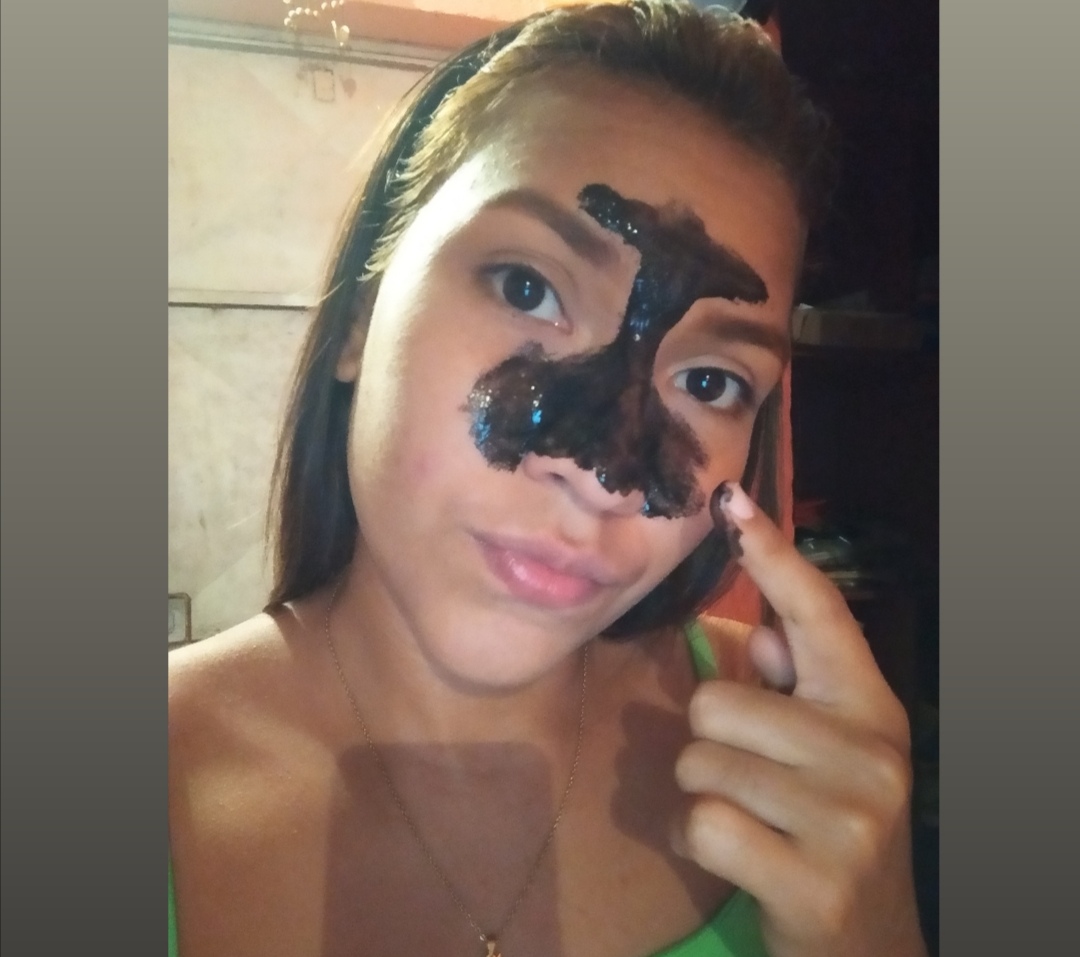
PASO 4: Aplícala rápidamente antes de que se forme el plástico como antes le mencione: empieza primero por la nariz ya que es nuestro mayor punto donde se nos concentra más los puntos negros, seguidamente la parte central del rostro y luego el resto de la cara a libre elección:
STEP 4: Apply it quickly before the plastic forms as I mentioned before: start first on the nose as this is our main spot where blackheads are most concentrated, then the central part of the face and then the rest of the face as you wish:
Fotos tomadas desde mi teléfono Redmi 8.
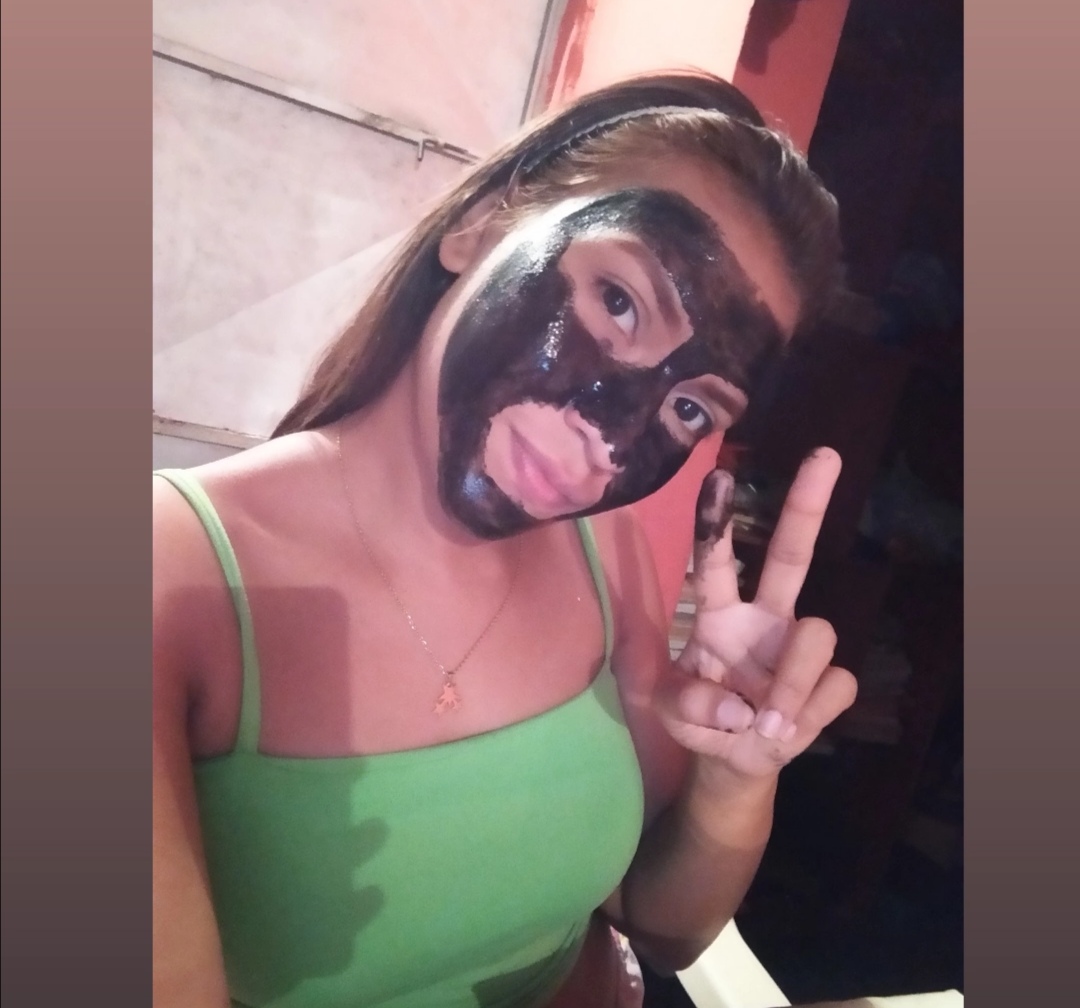
PASO 5: Una vez estando la mascarilla en su totalidad en tu rostro déjala actuar entre 25 y 30 minutos: vas a ir sintiendo como se seca en cara como si algo te jalara, es un plástico que tendrás.
Te darás cuenta cuando más o menos debes retirarla porque los bordes se irán despegando solos, y es allí cuando poco a poco seguirás jalando hasta retirarla completamente.
STEP 5: Once the mask is completely on your face, leave it on for 25 to 30 minutes: you will feel how it dries on your face as if something is pulling on it, it is a plastic that you will have.
You will realize when more or less you should remove it because the edges will peel off by themselves, and that is when you will continue pulling it until it is completely removed.
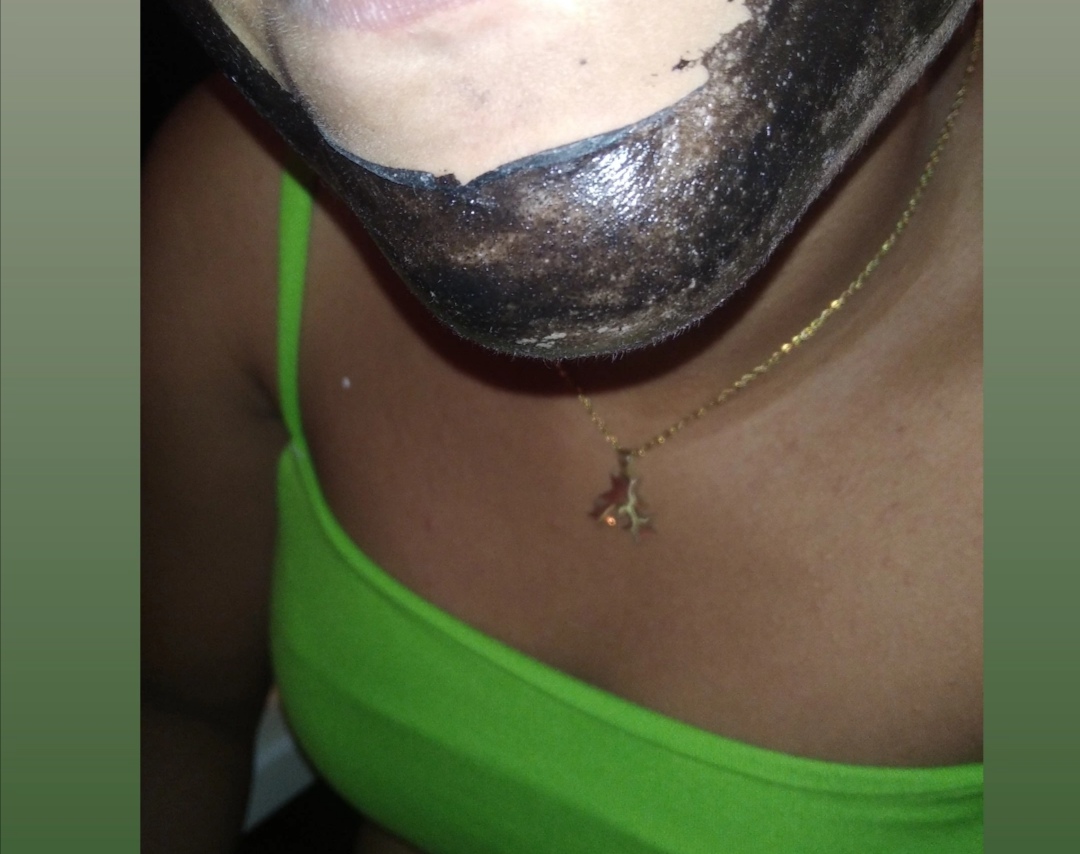
Fotos tomadas desde mi teléfono Redmi 8.
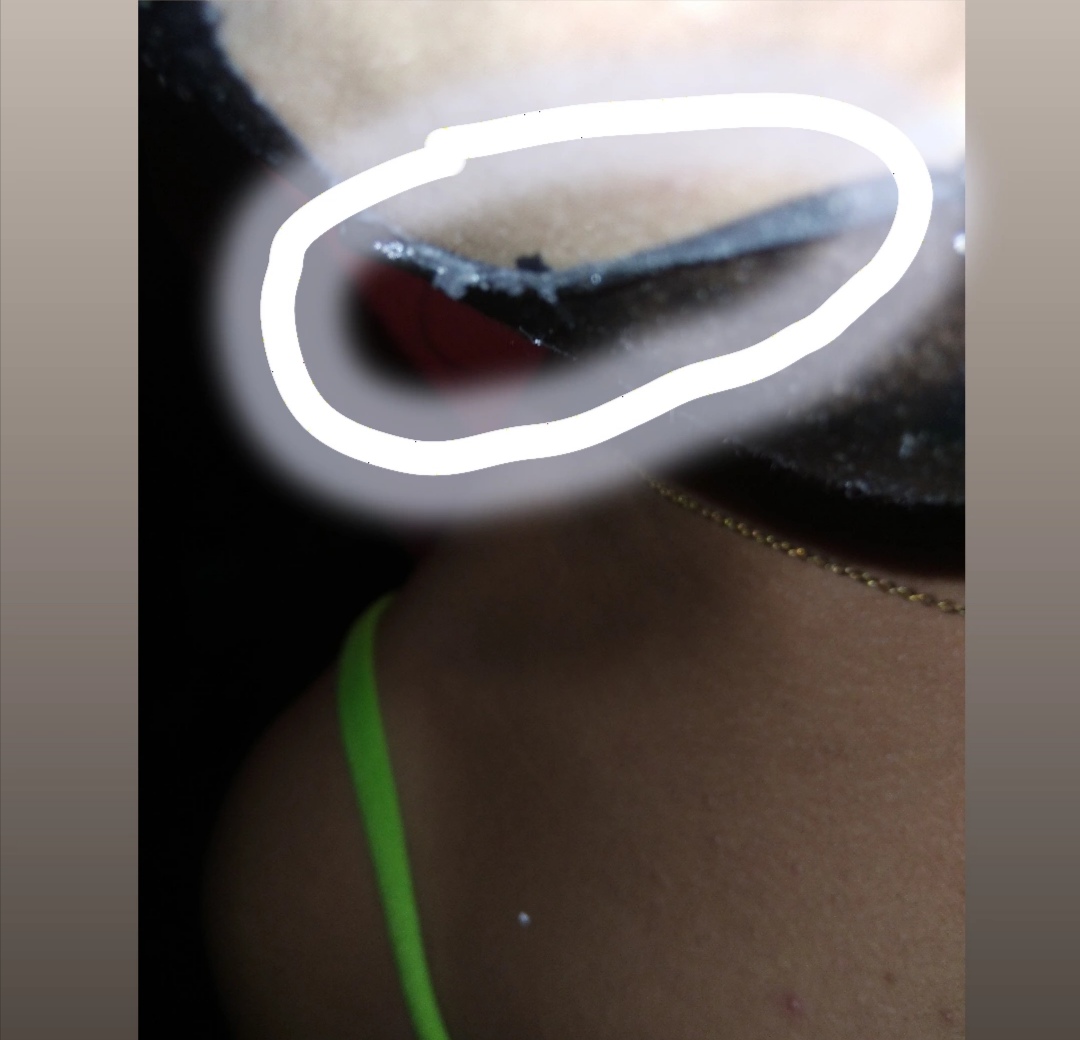
Acá como se pondrán dar de cuenta todos los puntos negros e impurezas de mi rostro quedaron plasmadas en la mascarilla.
Una vez retirada esta mascarilla lava tu cara con agua y con jabón.
Here, as you can see, all the blackheads and impurities of my face were captured in the mask.
Once the mask is removed, wash your face with water and soap.

Foto tomada desde mi teléfono Redmi 8.
Te recomiendo que uses estas mascarillas una semana completa y después descansas una semana y así sucesivamente, preferiblemente que sea de noche su aplicación.
I recommend that you use these masks for a full week and then rest for a week and so on, preferably at night.
Muchas gracias por llegar hasta aquí amigos✨.
Espero que este post sea de gran ayuda y la pongan en práctica♥️.
Una vez más gracias por leerme, hasta el siguiente post...🥰
Thank you very much for making it this far friends✨.
Espero que este post sea de gran ayuda y la pongan en práctica♥️.
Once again thank you for reading me, until the next post...🥰