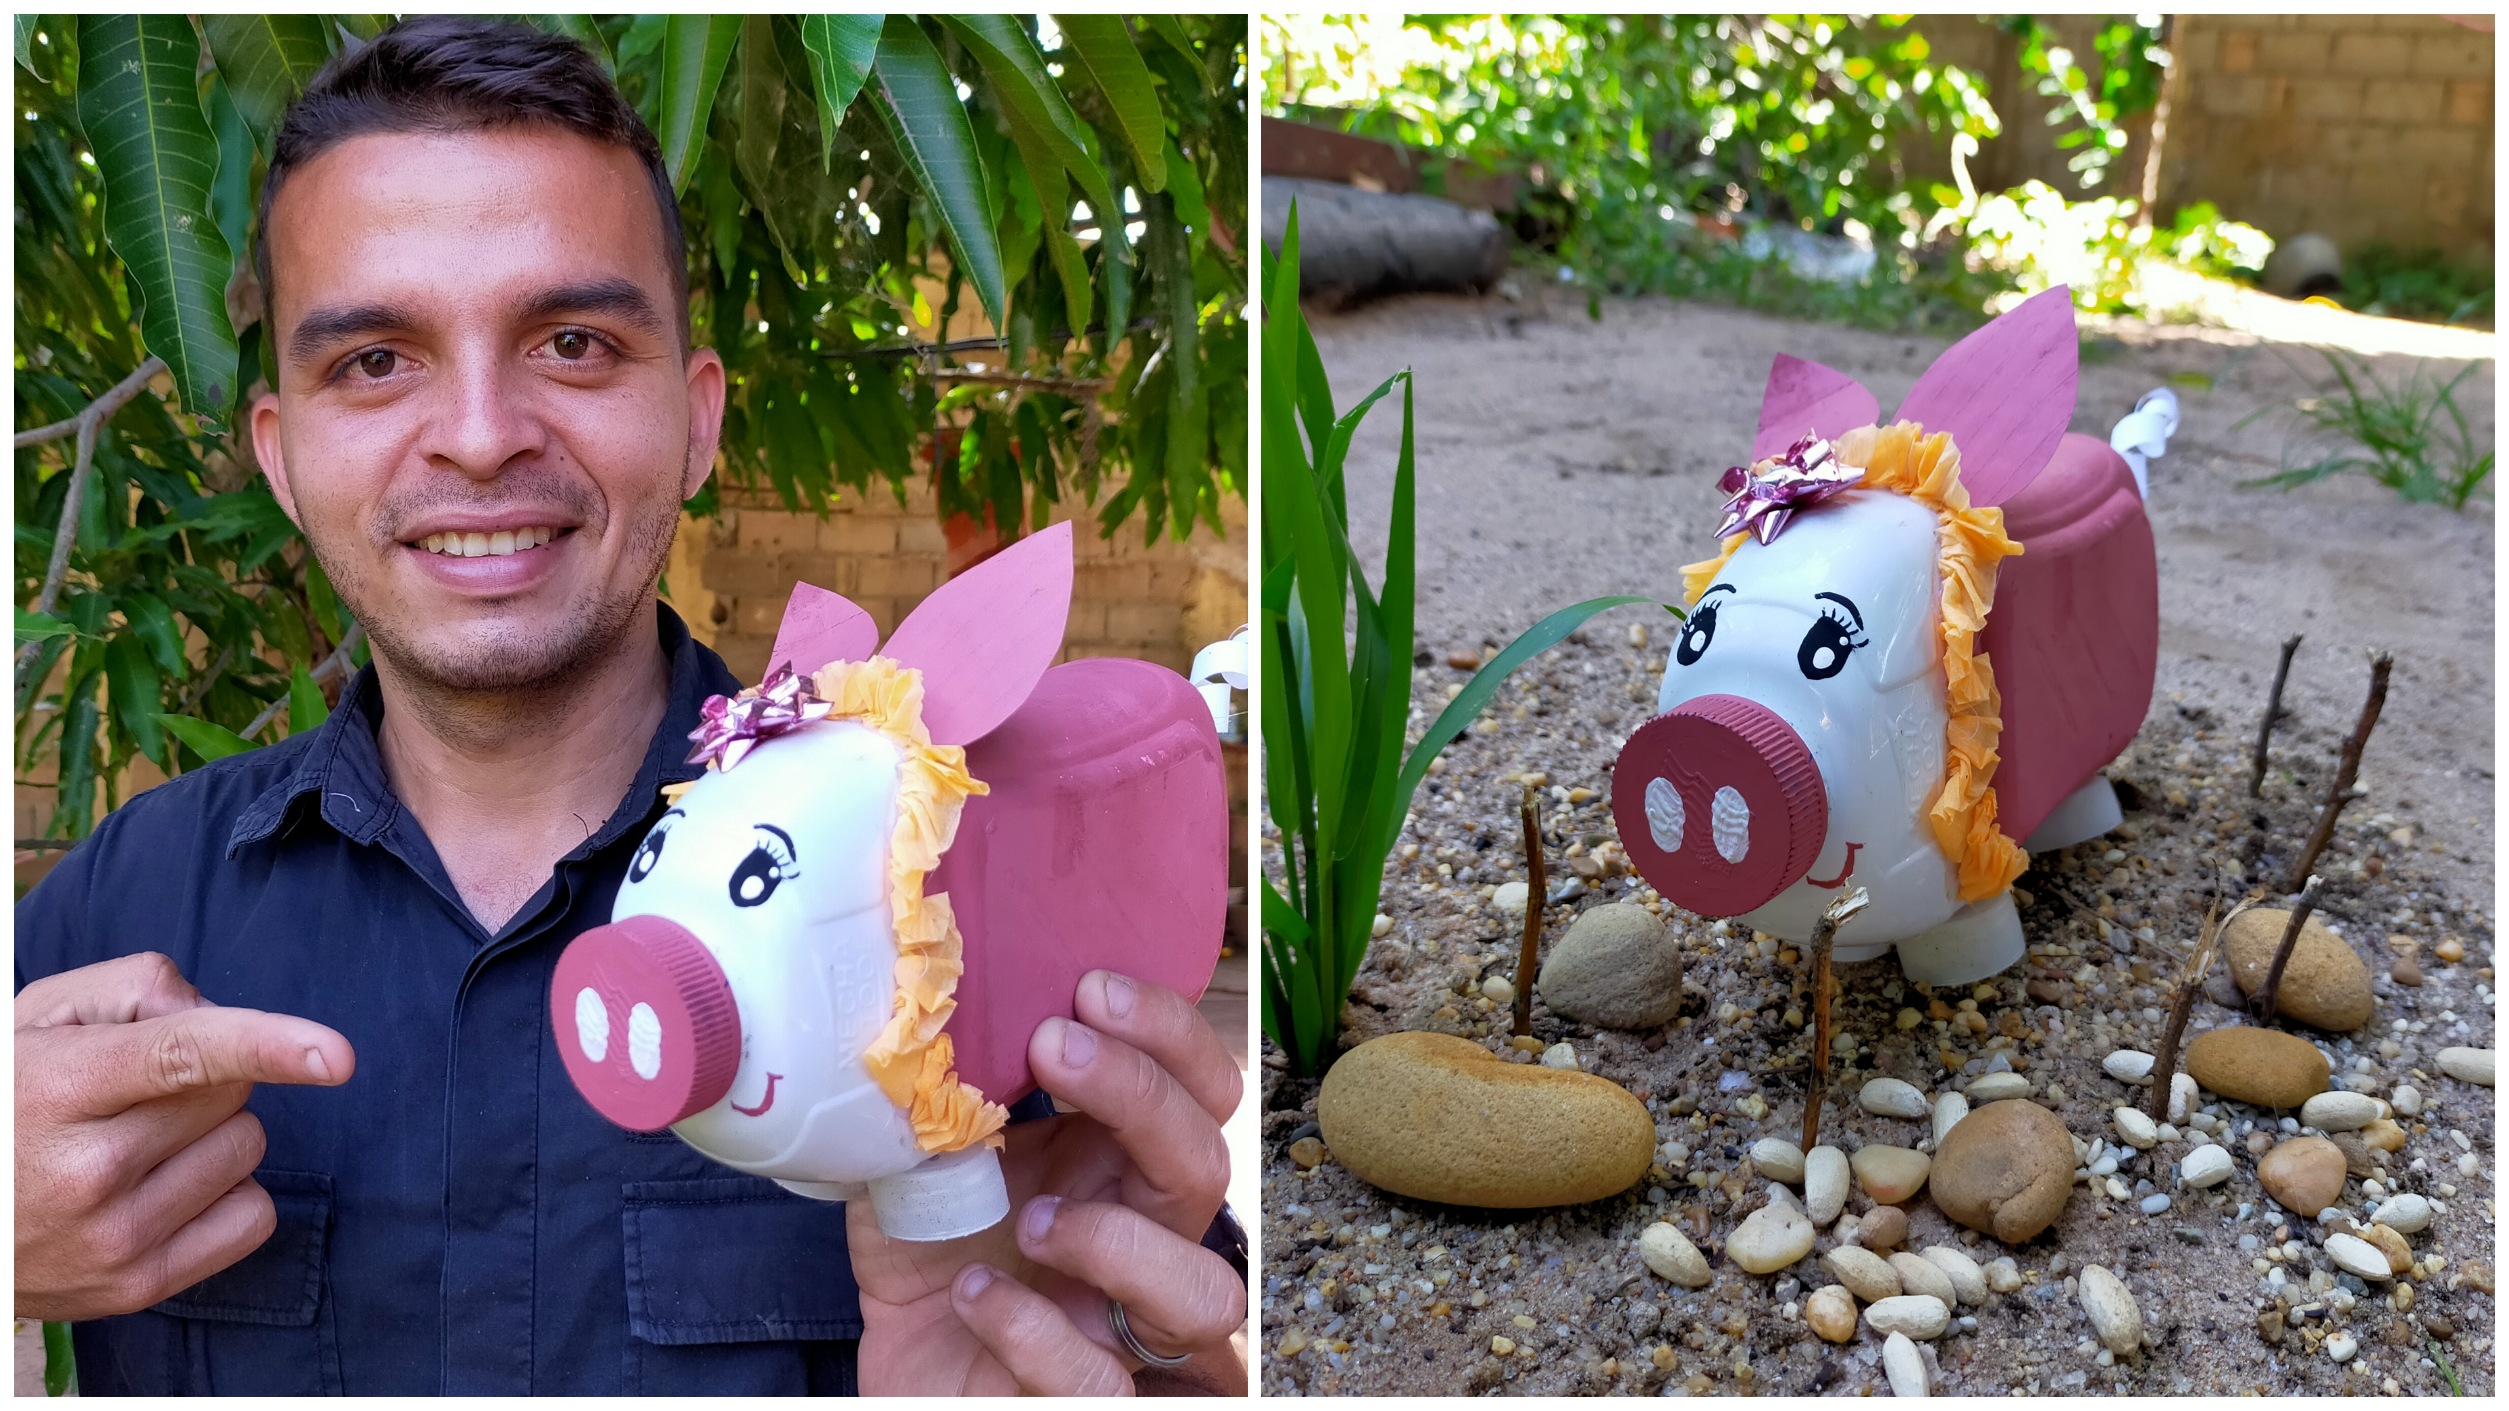
Buenos días mis queridos de hive blog. ¡Bendiciones de lo alto! Quiero mostrarle mi trabajo; hoy con una linda cerdita, divertida; sólo utilizando material de reciclaje.
Blog Good morning my hive dears. Blessings from on high! I want to show you my work; today with a cute, funny pig; only using recycled material.
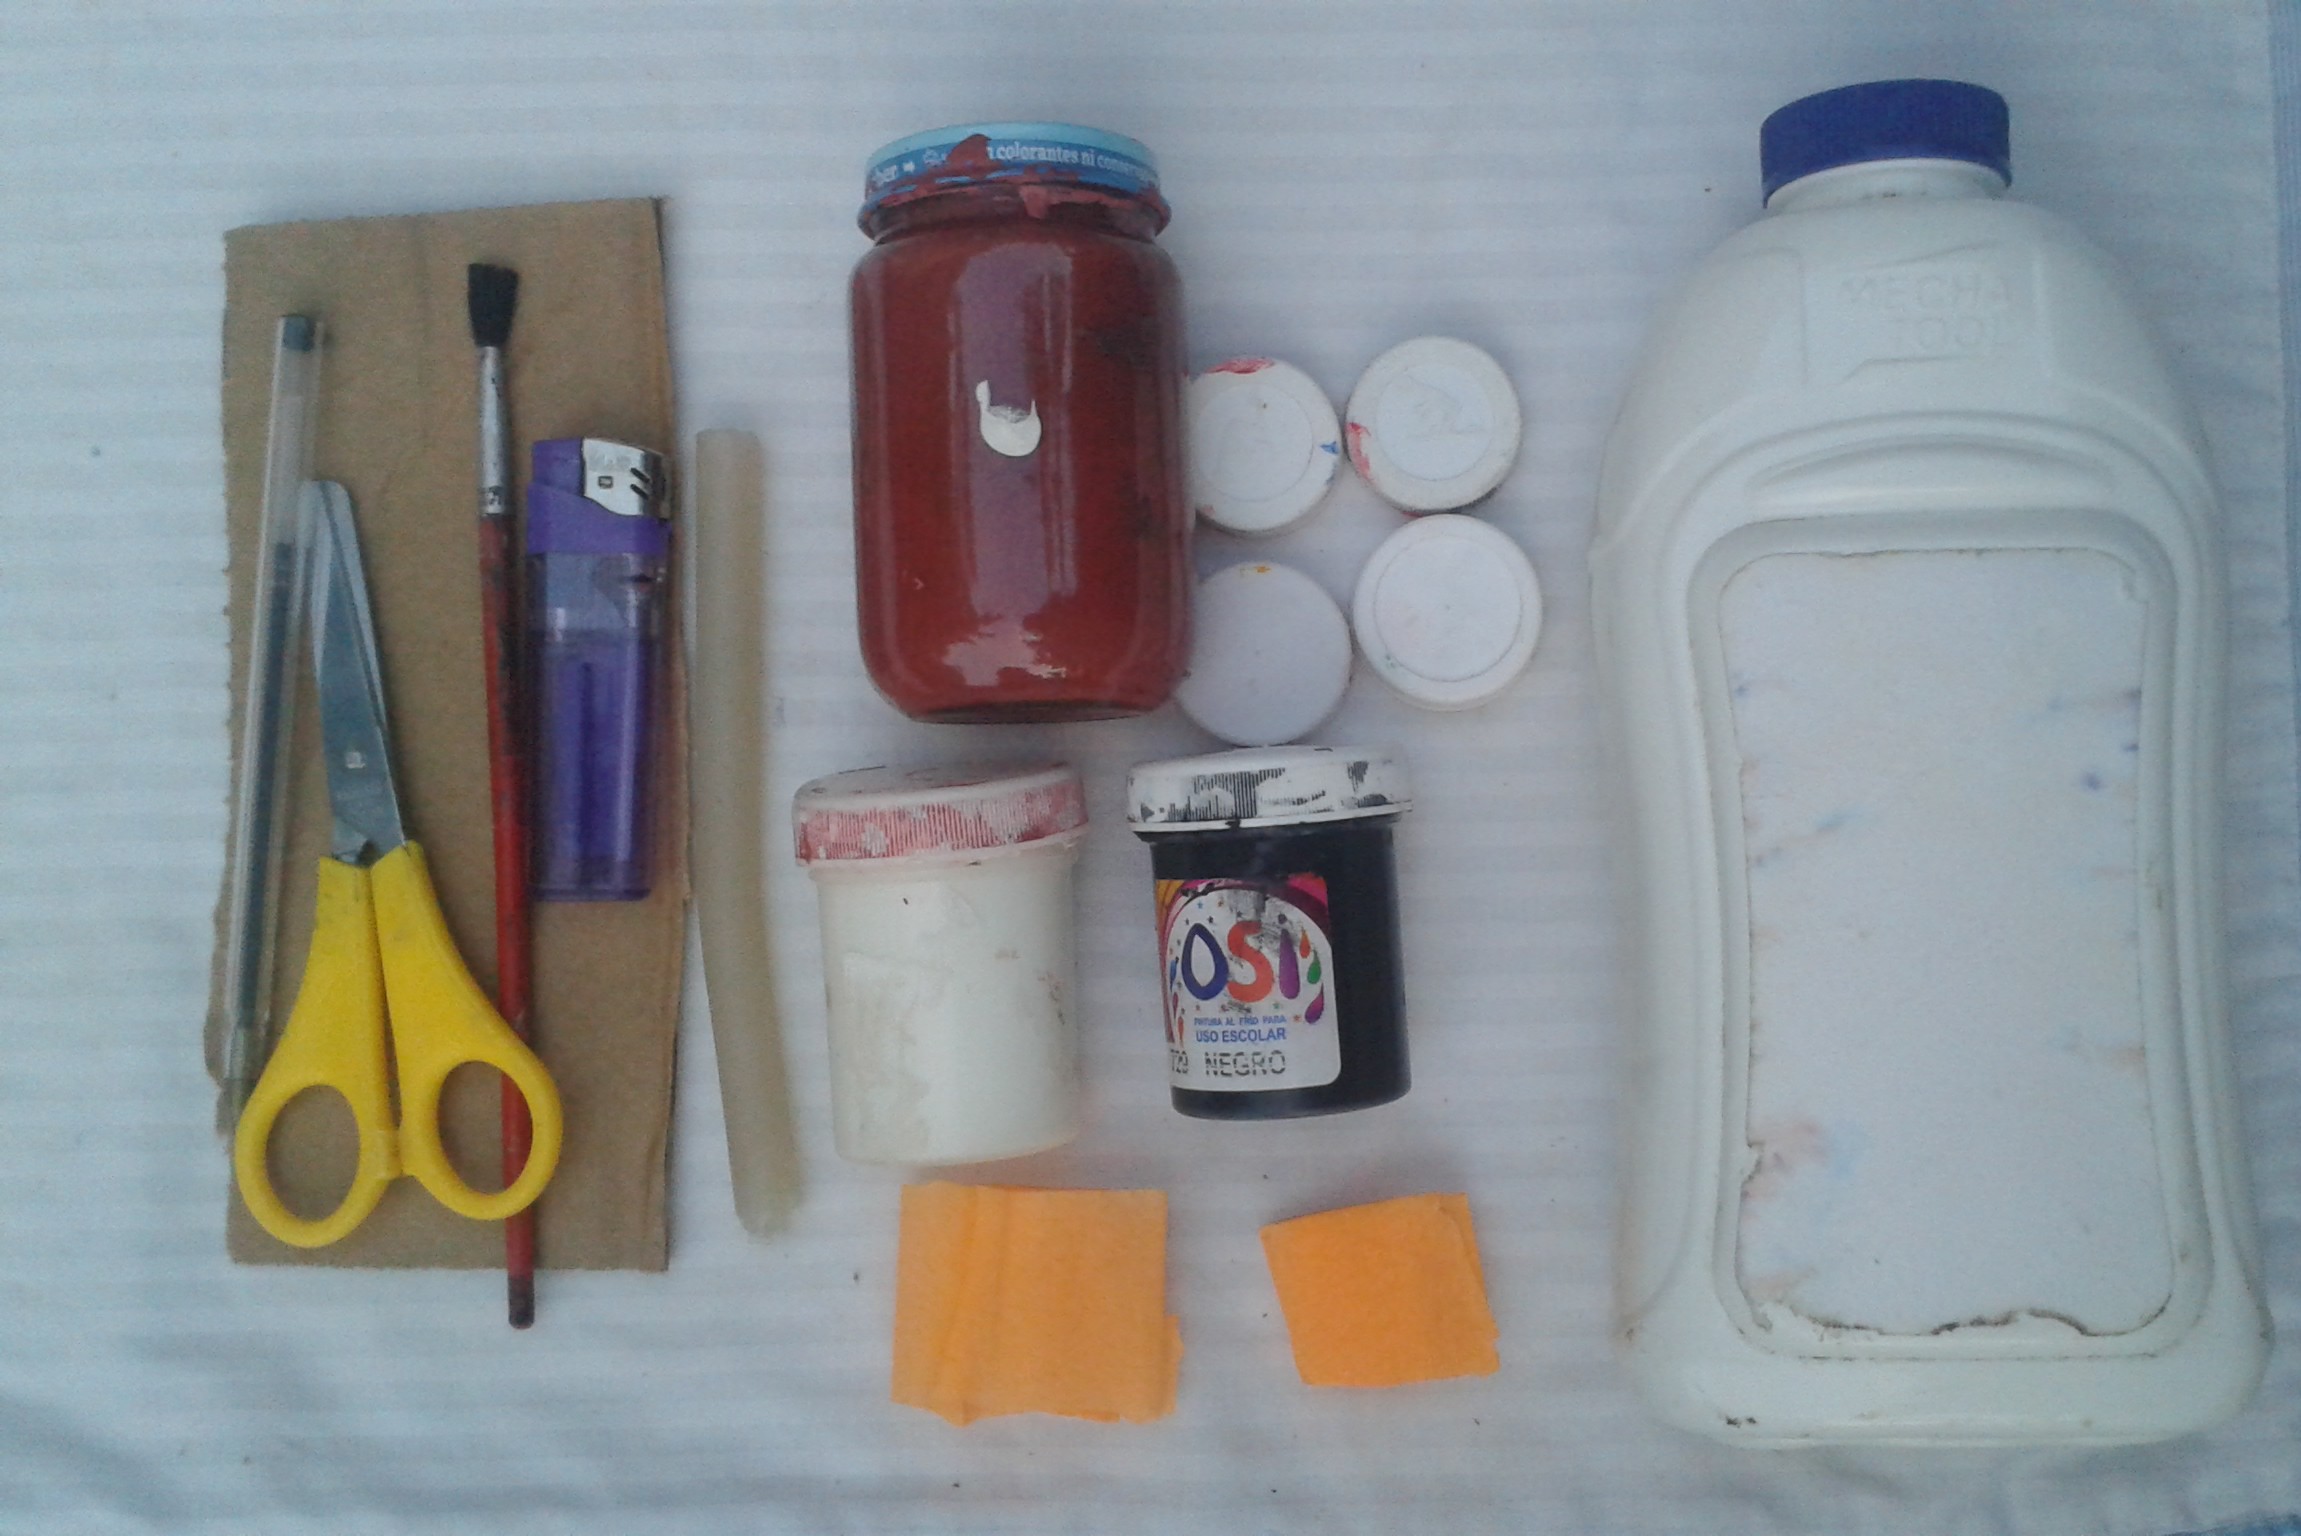
Solo necesitas/ You only need
-Recipiente de plastico
-Temperas al frío
-Pincel
-Silicon
-Cinta decorativa
-Carton
-Lapiz
-Tapas plásticas
-Plastic container
-Cold tempera
-Brush
-Silicon
-Decorative tape
-Cardboard
-Pencil
-Plastic covers
Empecemos//Let us begin
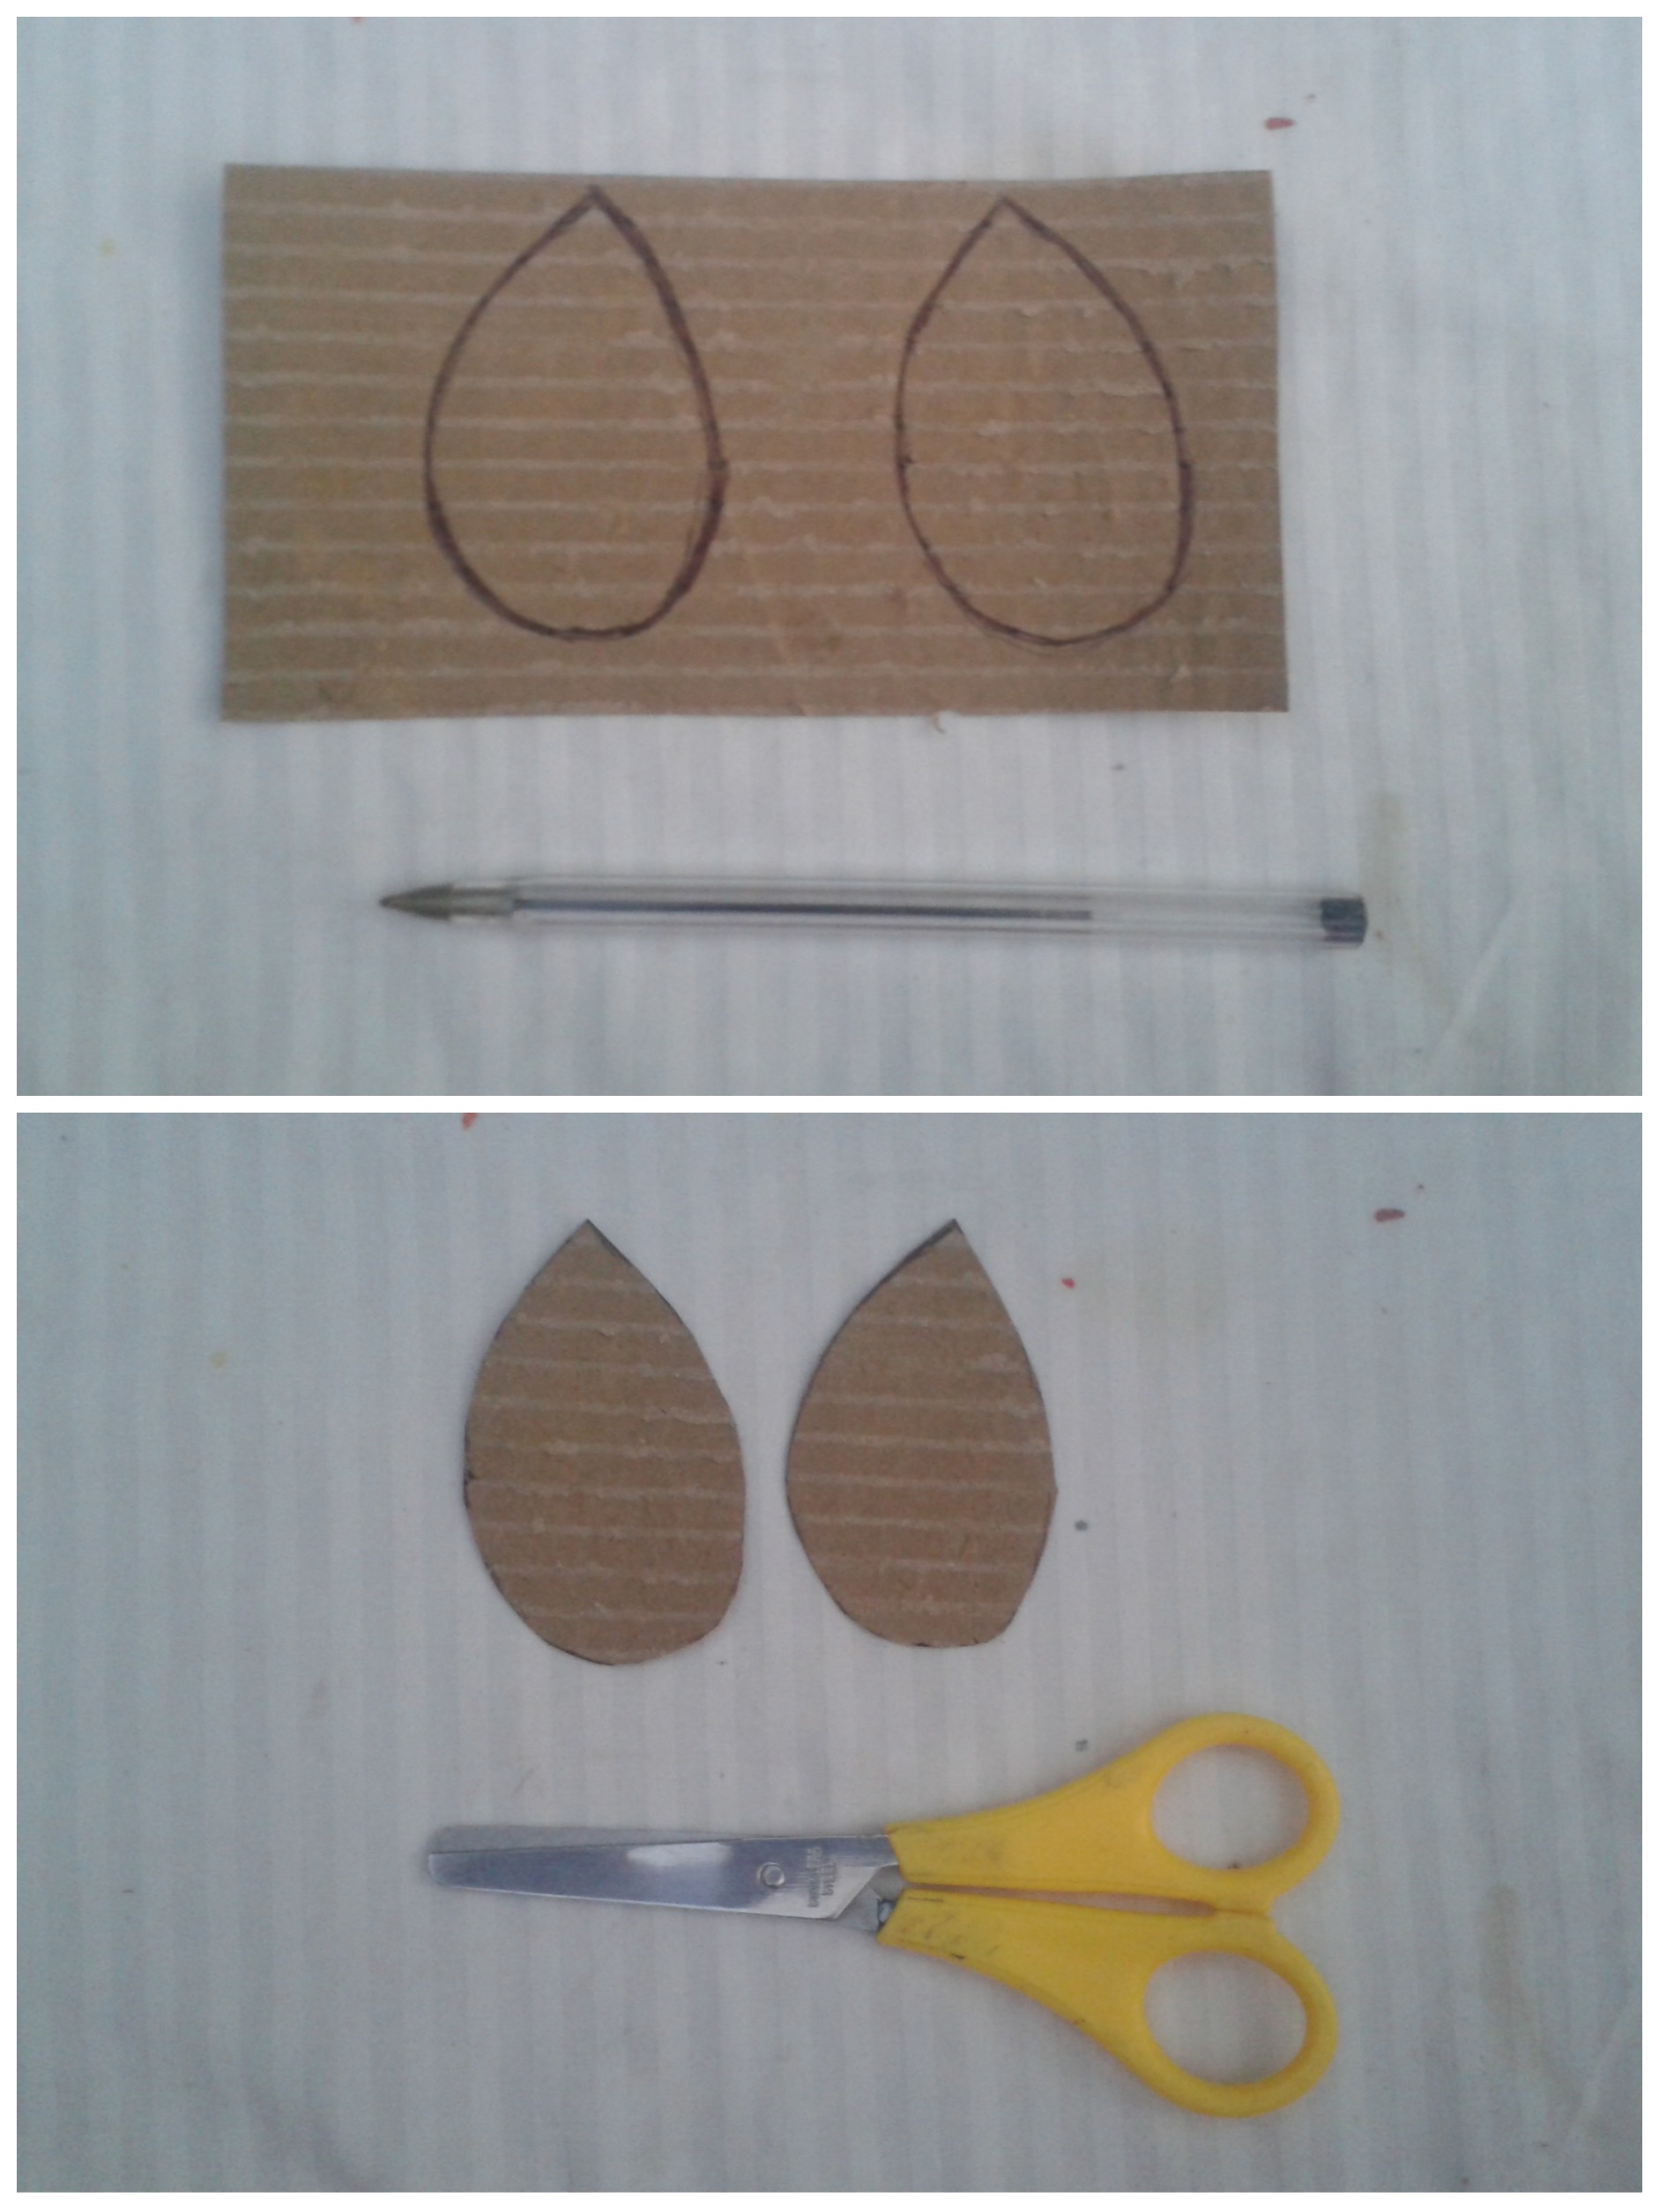
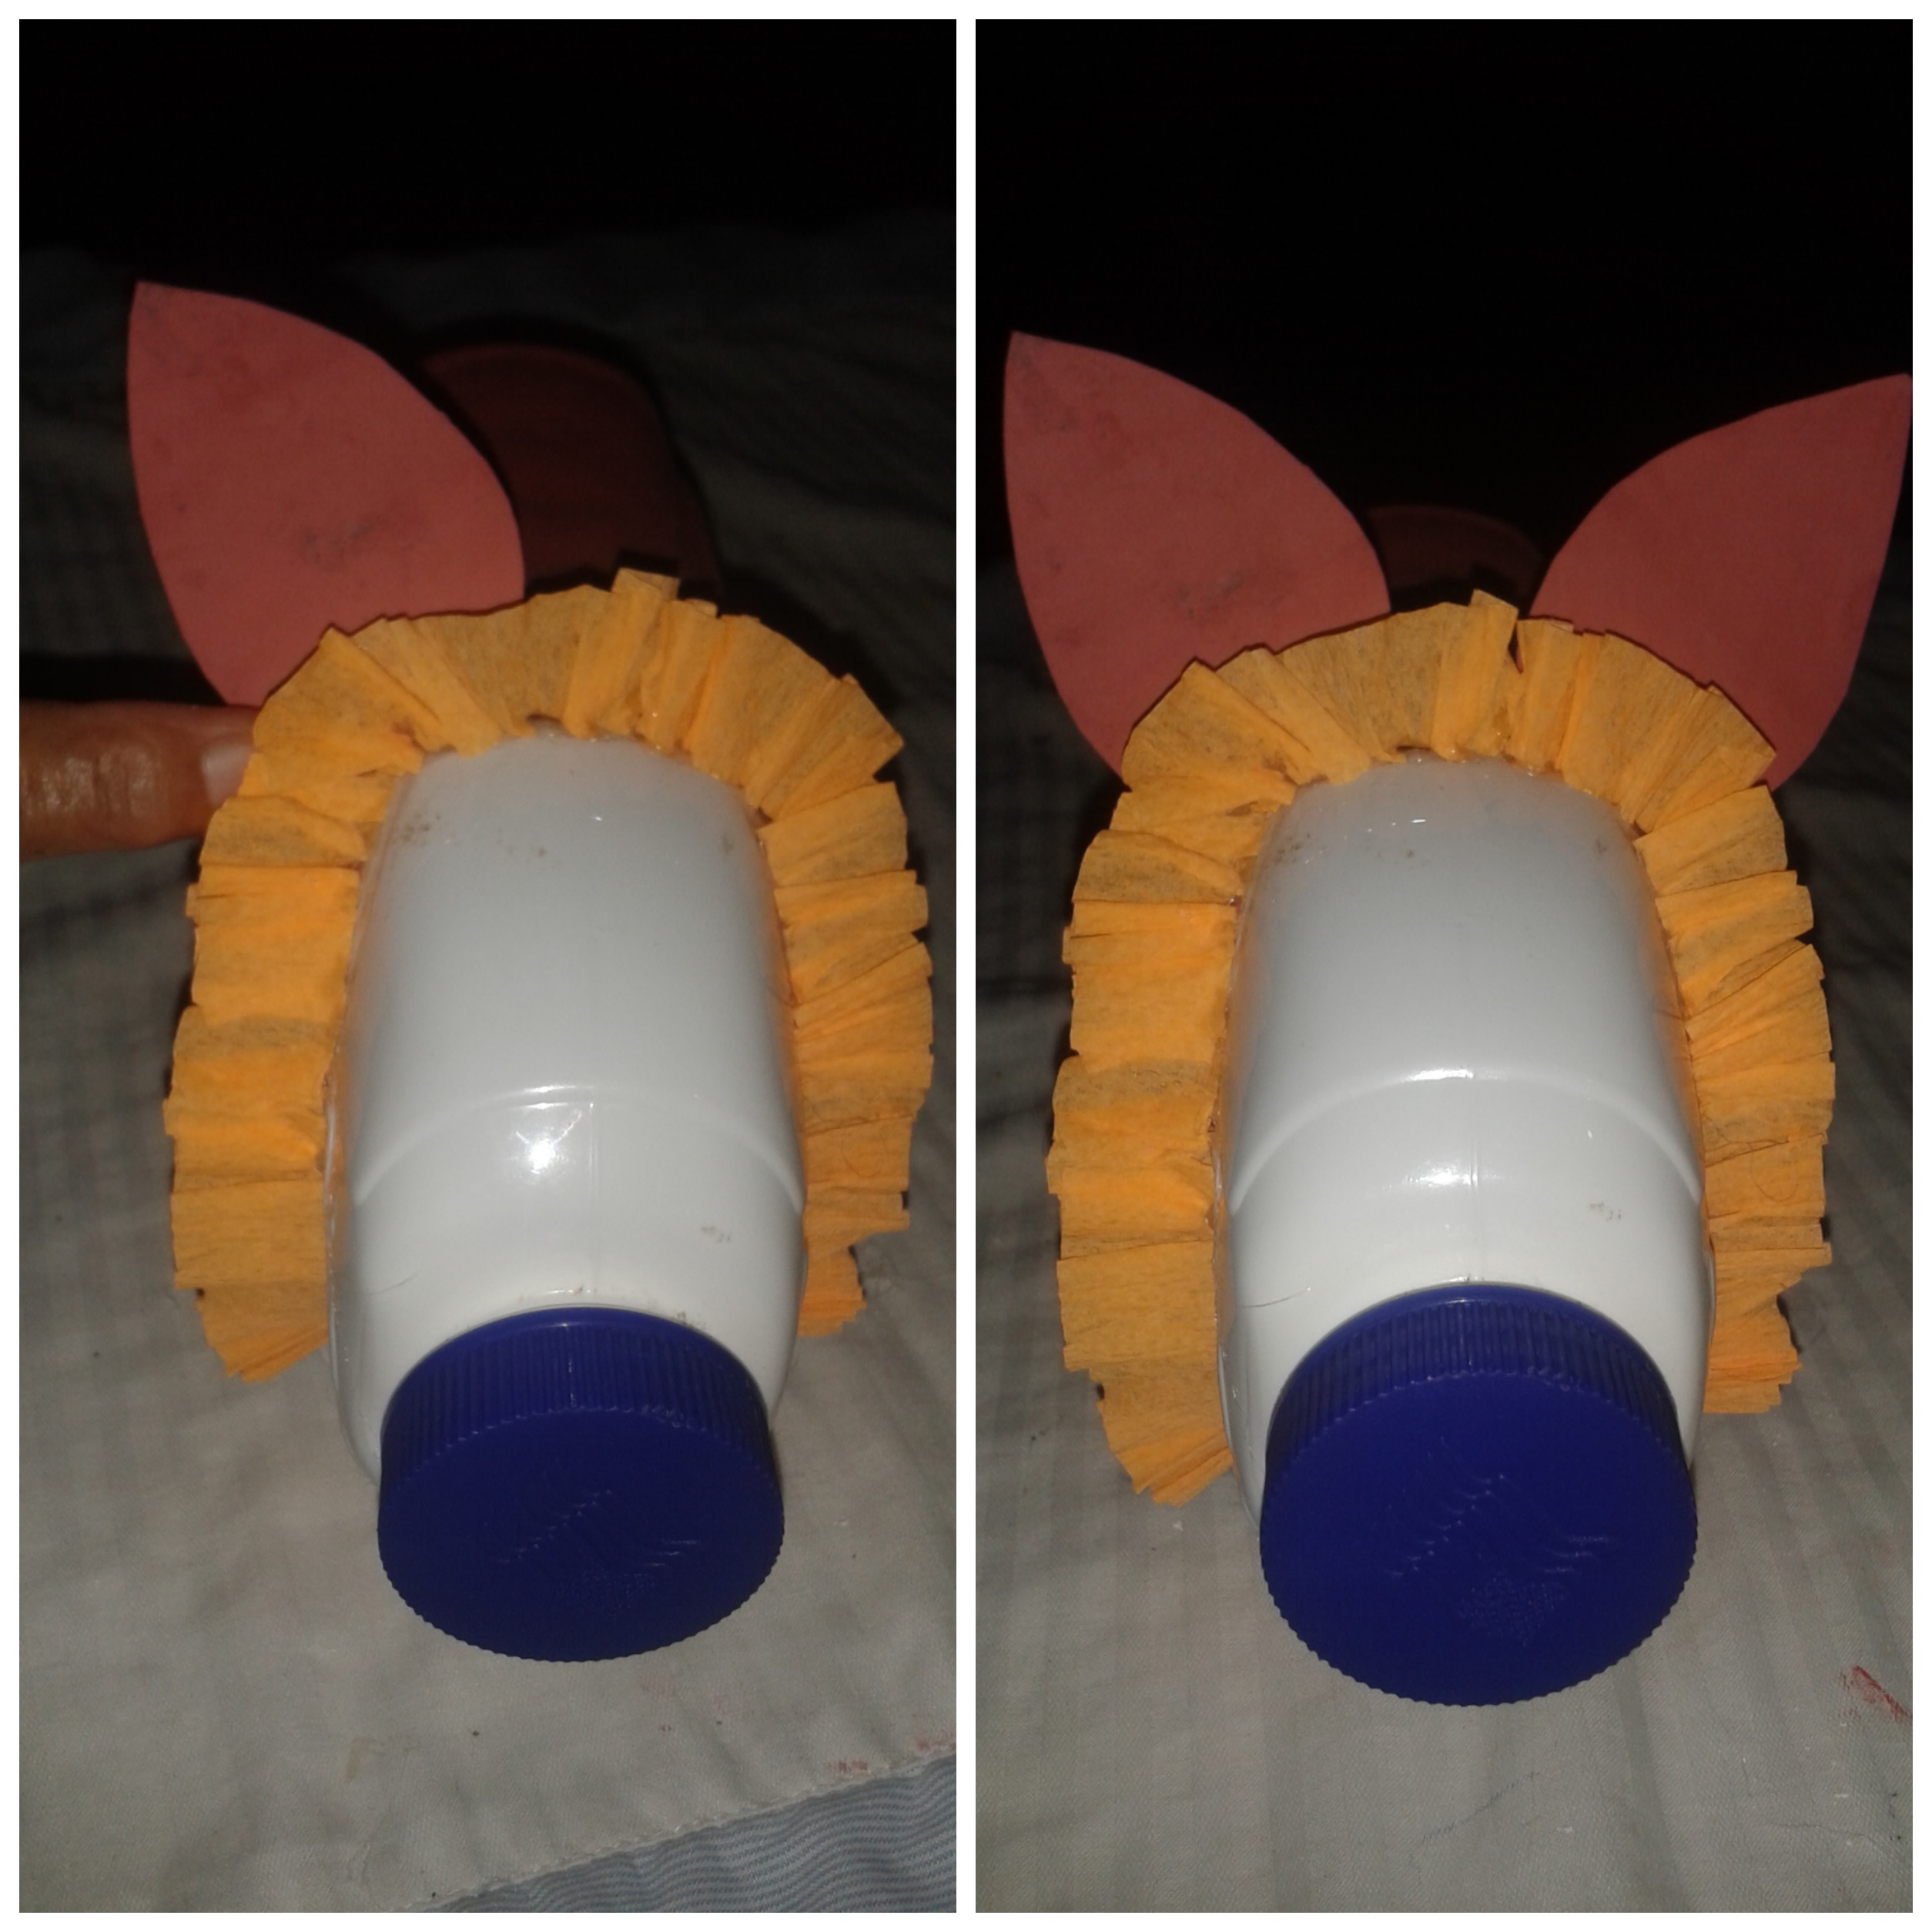
Paso 1: En el cartón, trazaras la forma de 2 orejas, las cuales recortaras
Step 1: On the cardboard, you will trace the shape of 2 ears, which you will cut out
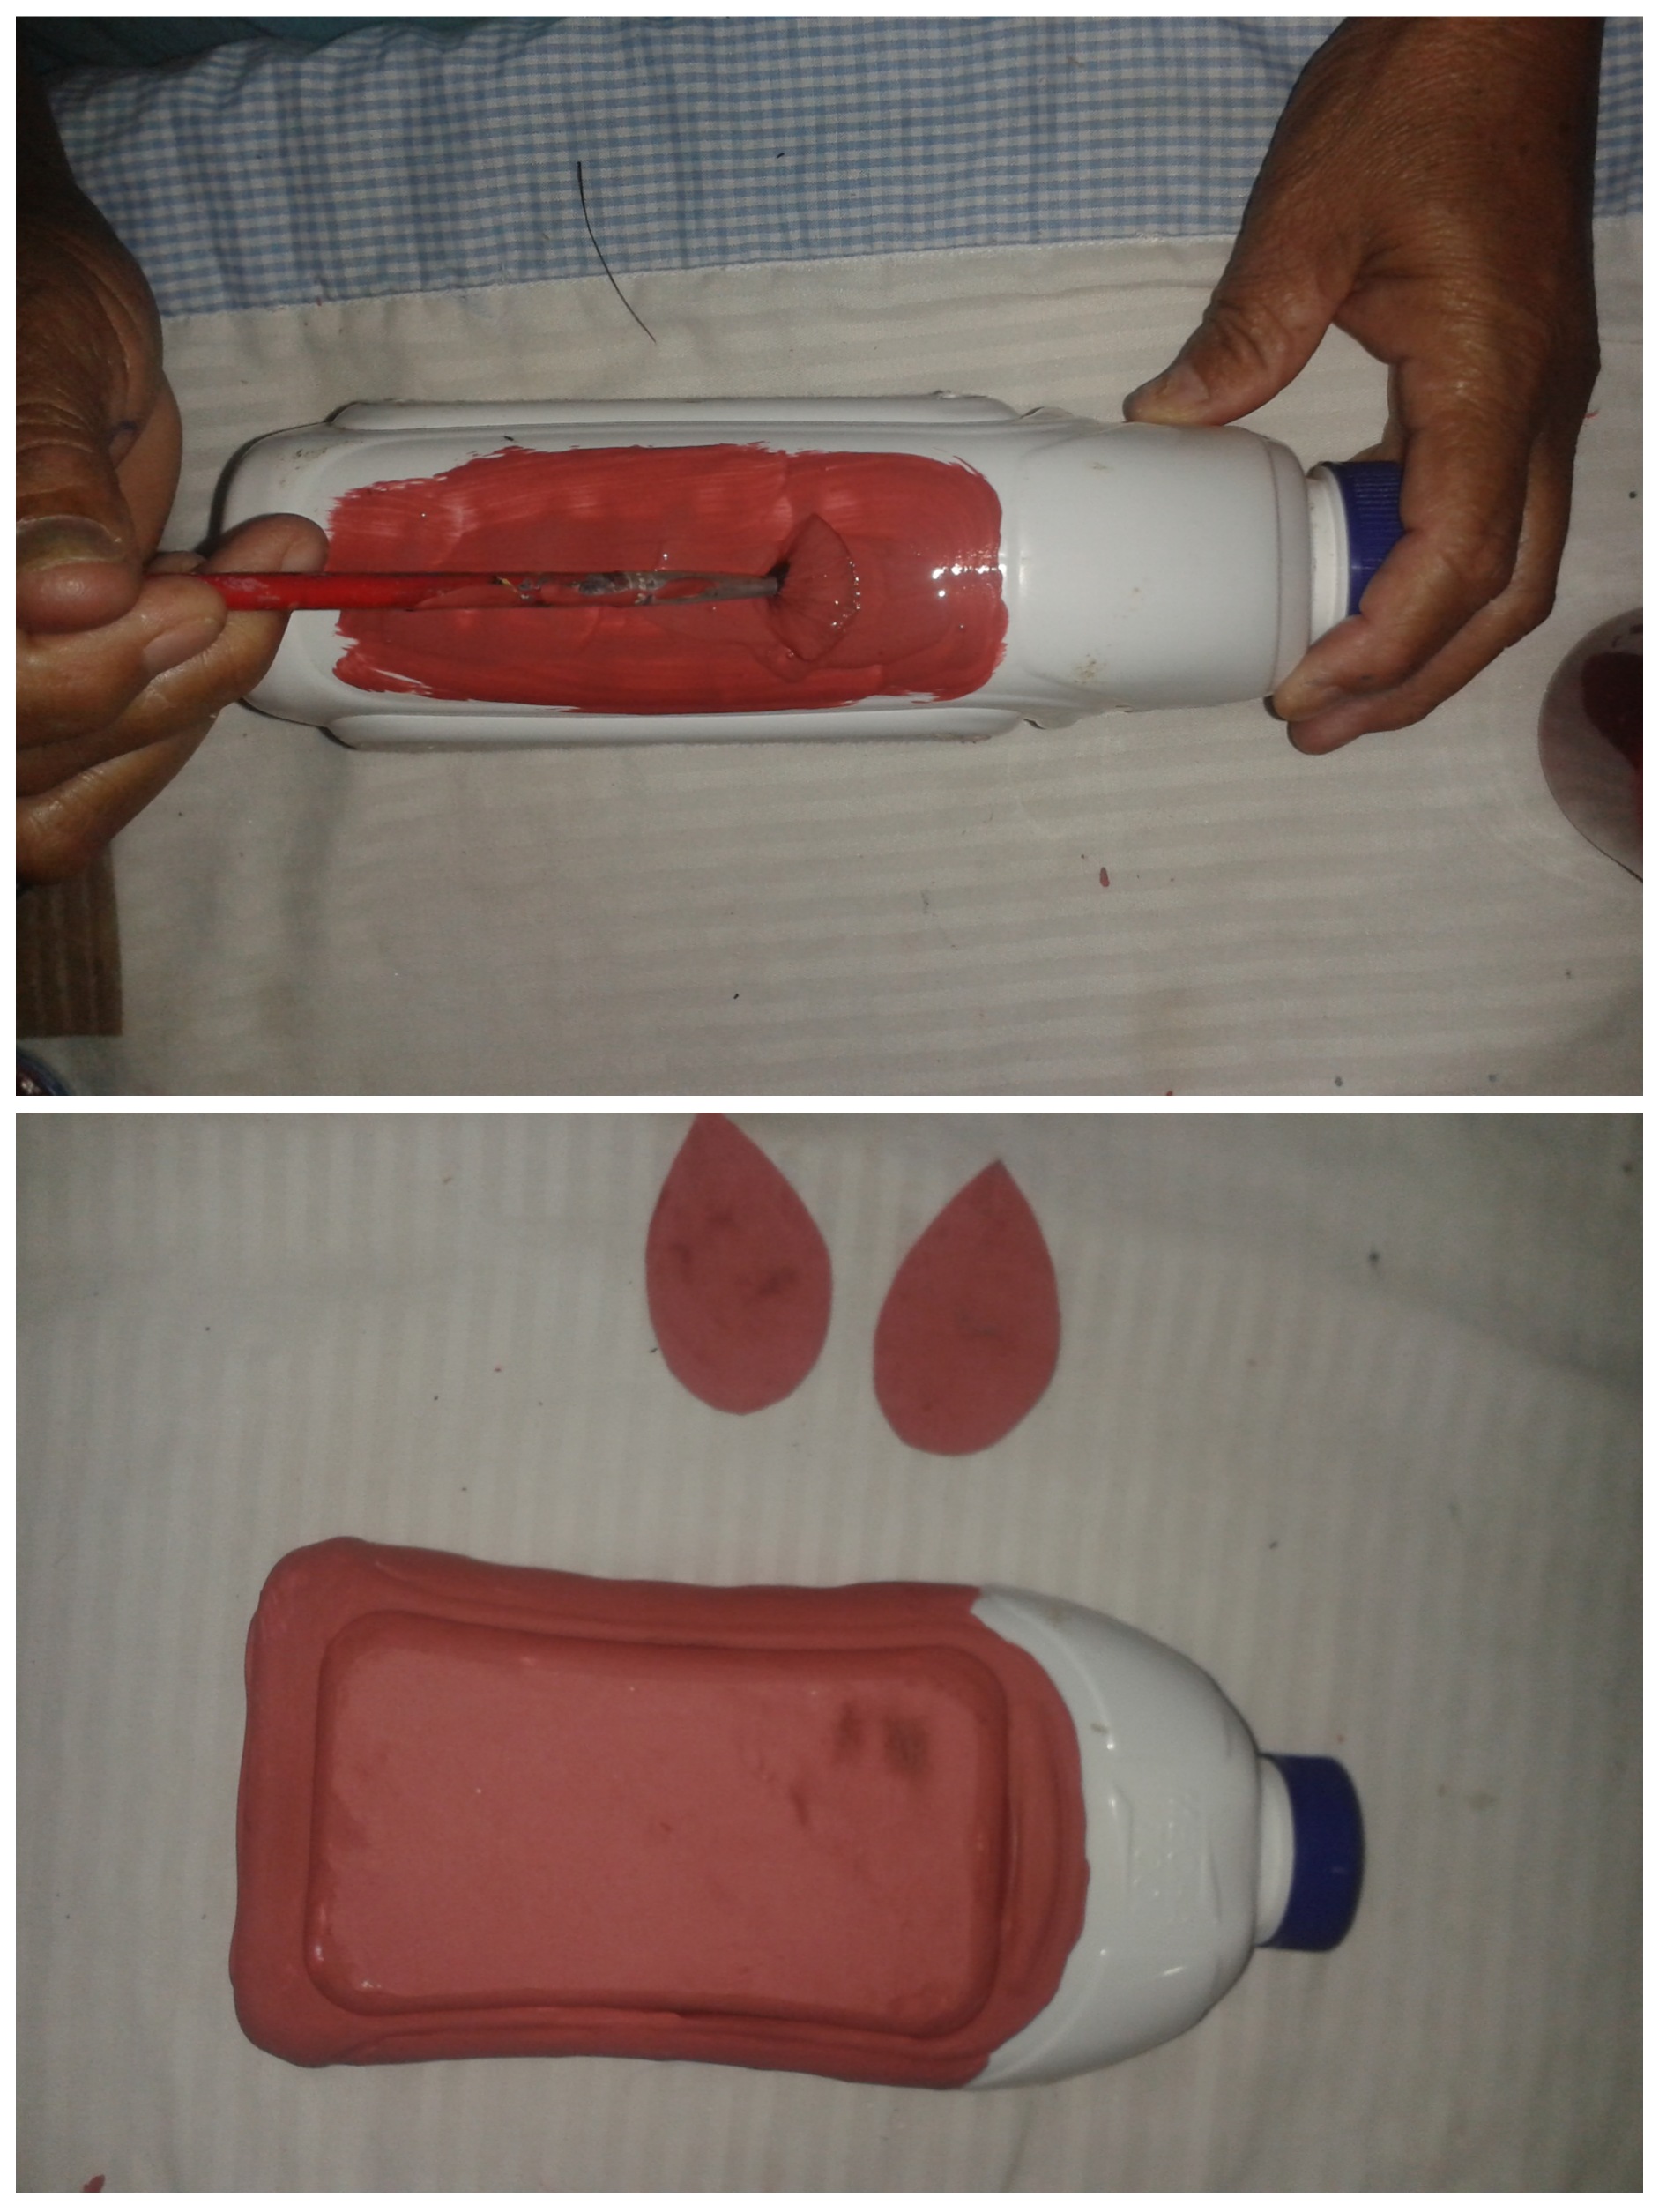
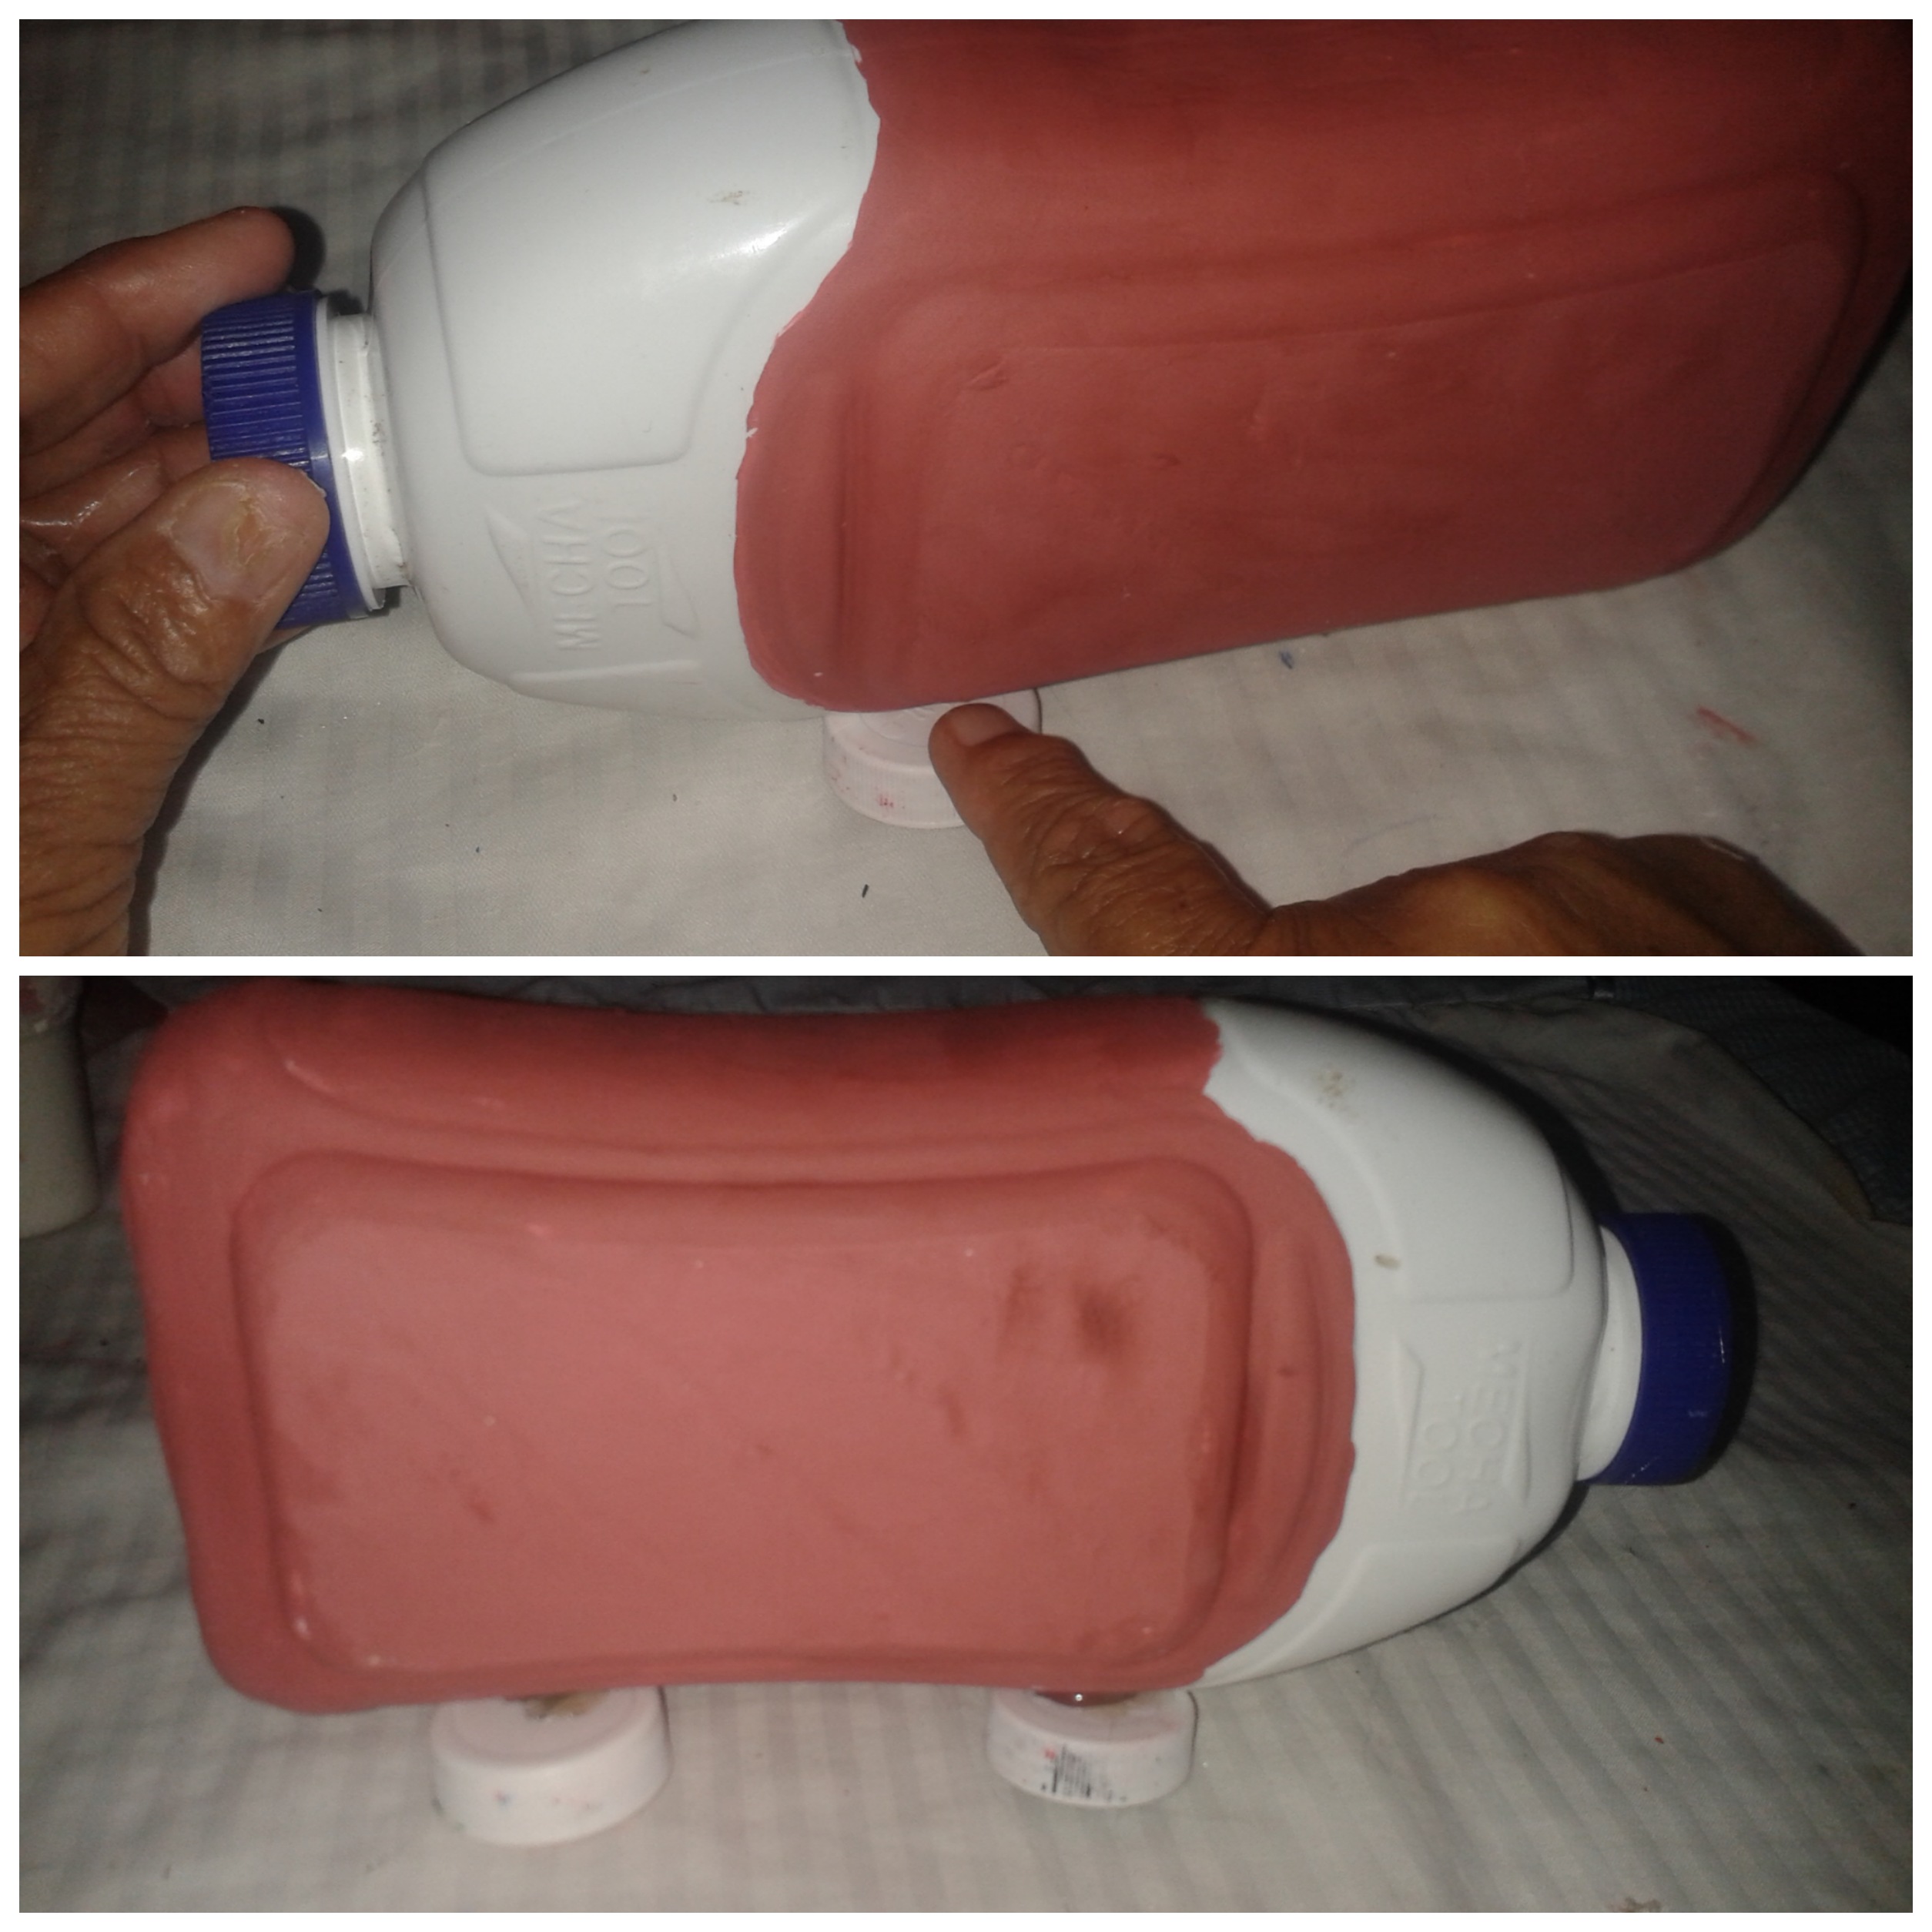
Paso 2: Pintaras el recipiente; dejando un espacio al frente, el cual quedará en blanco
Step 2: You will paint the container; leaving a space in front, which will be blank
Paso 3: Procedemos a pegar cada tapa en la parte de abajo del recipiente, que será cada pata
Step 3: We proceed to glue each lid to the bottom of the container, which will be each leg
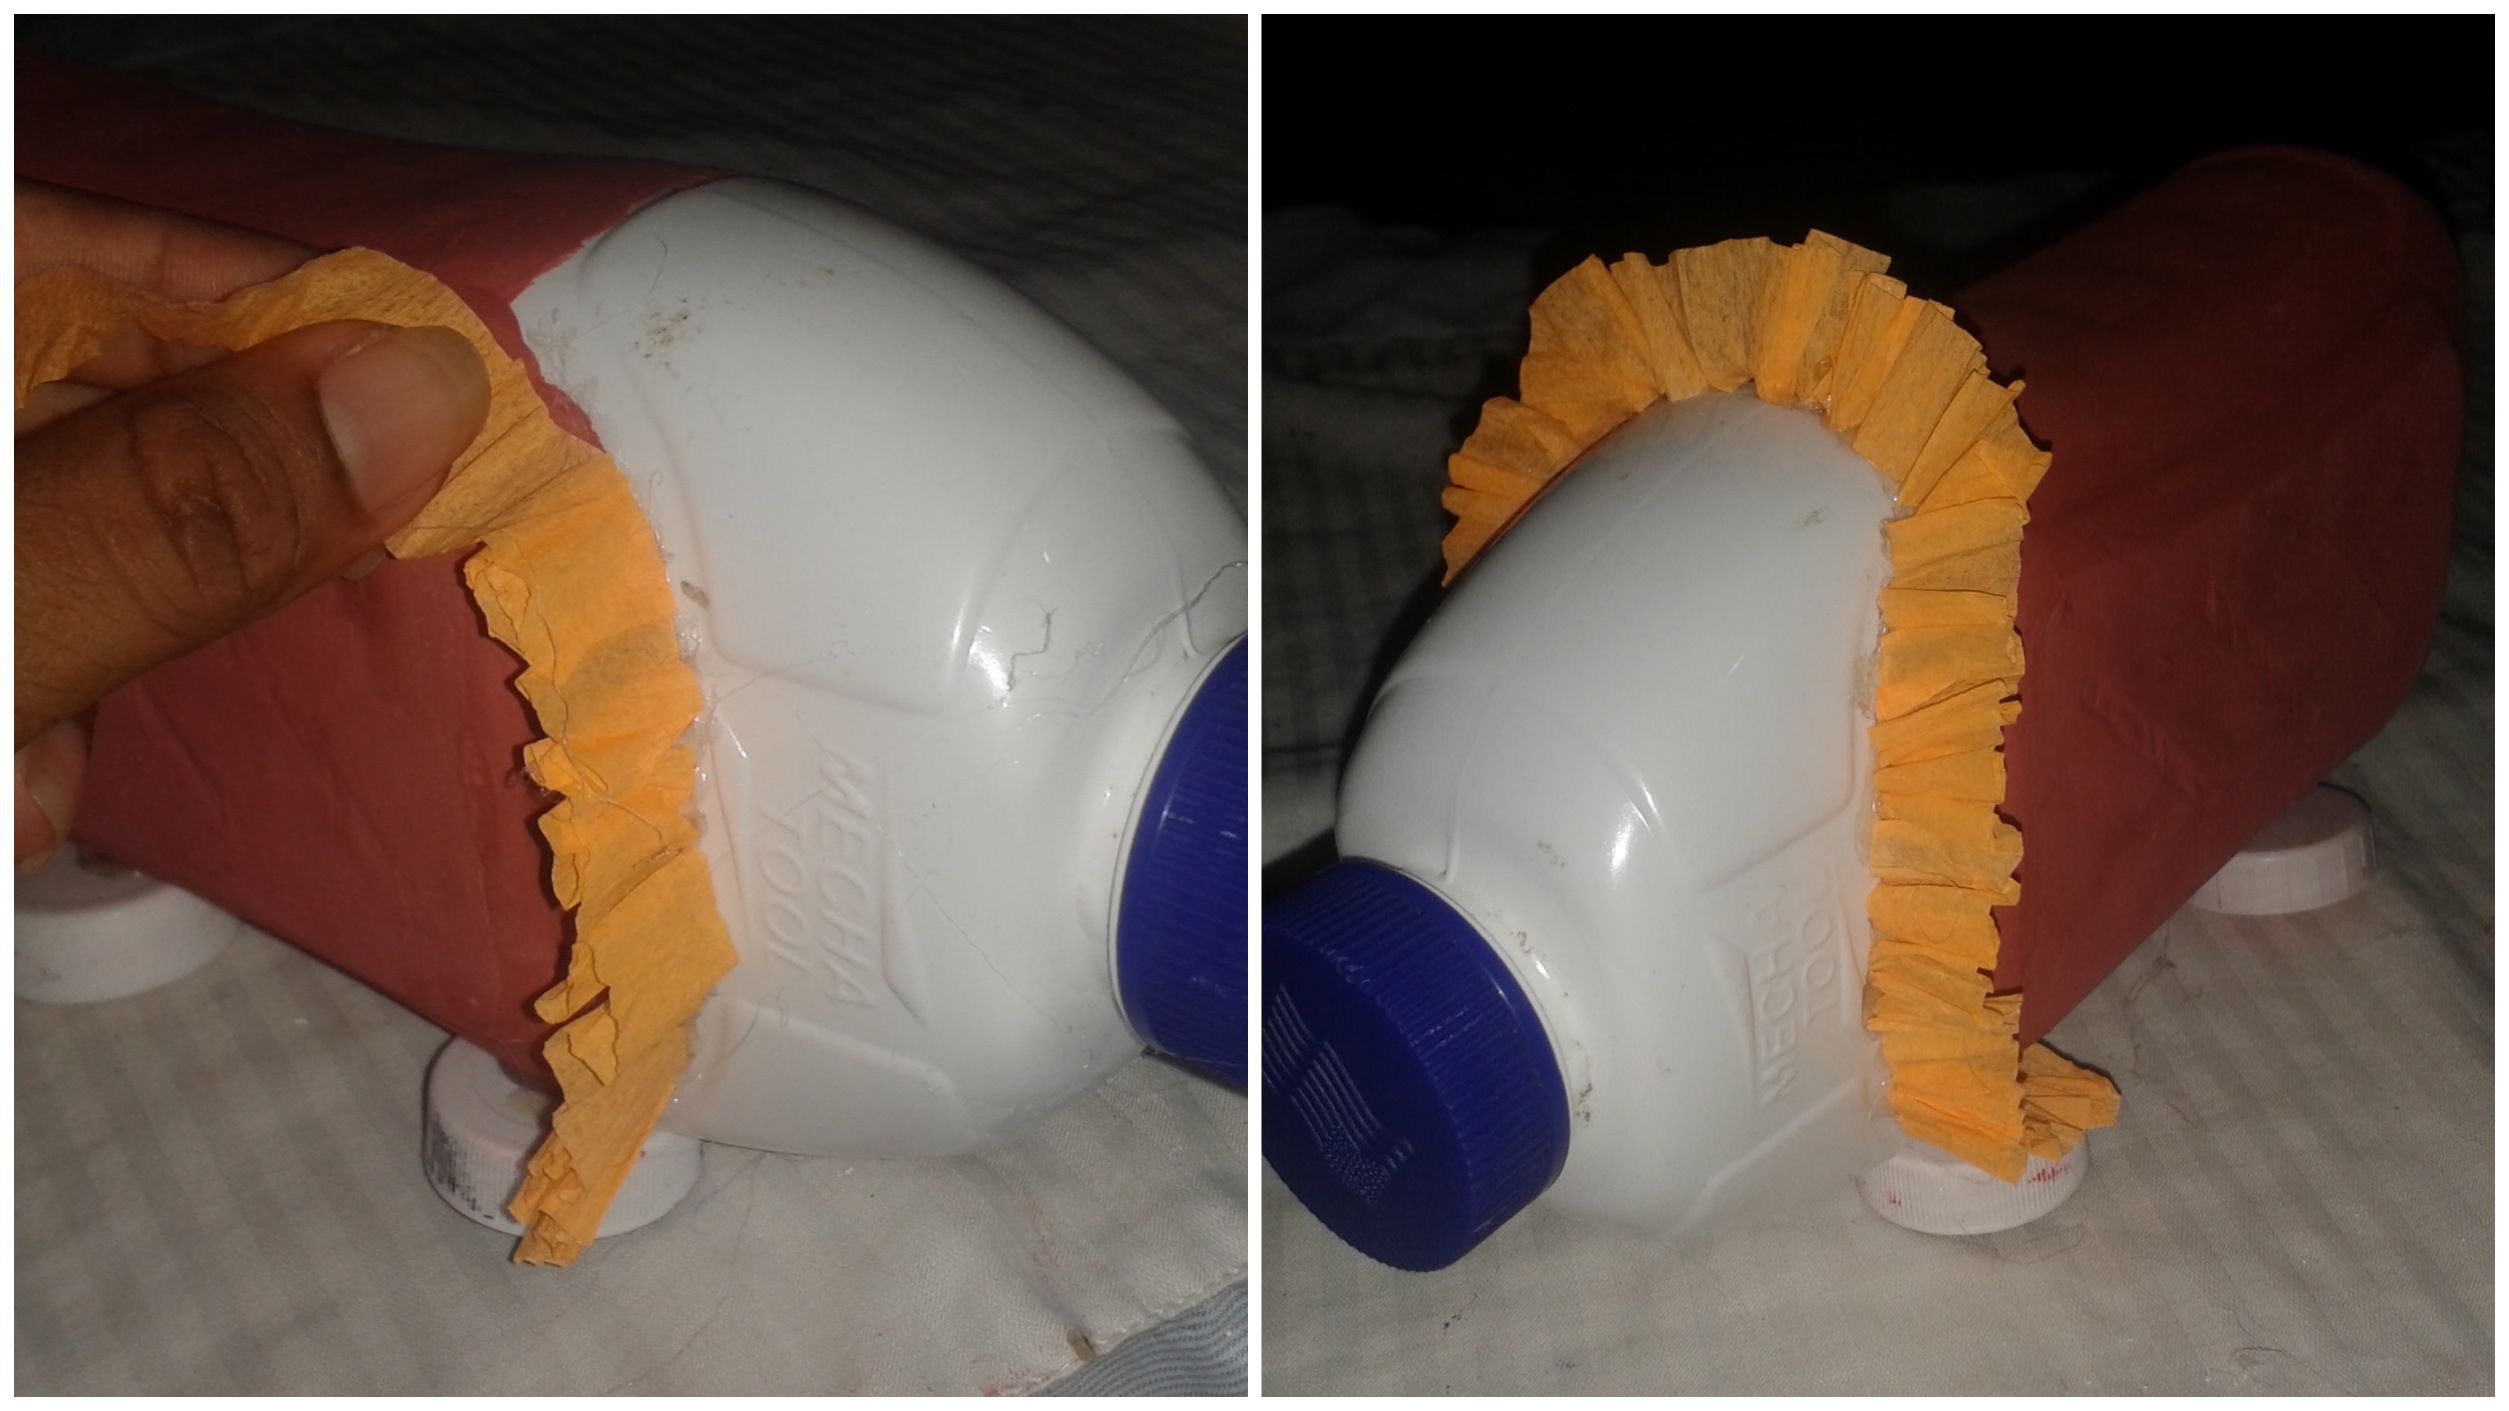
Paso 4: La cinta decorativa, pegaremos con silicón en la división de colores del recipiente
Step 4: The decorative tape, we will glue with silicone in the color division of the container
Paso 5 Pegaremos cada oreja en su lugar
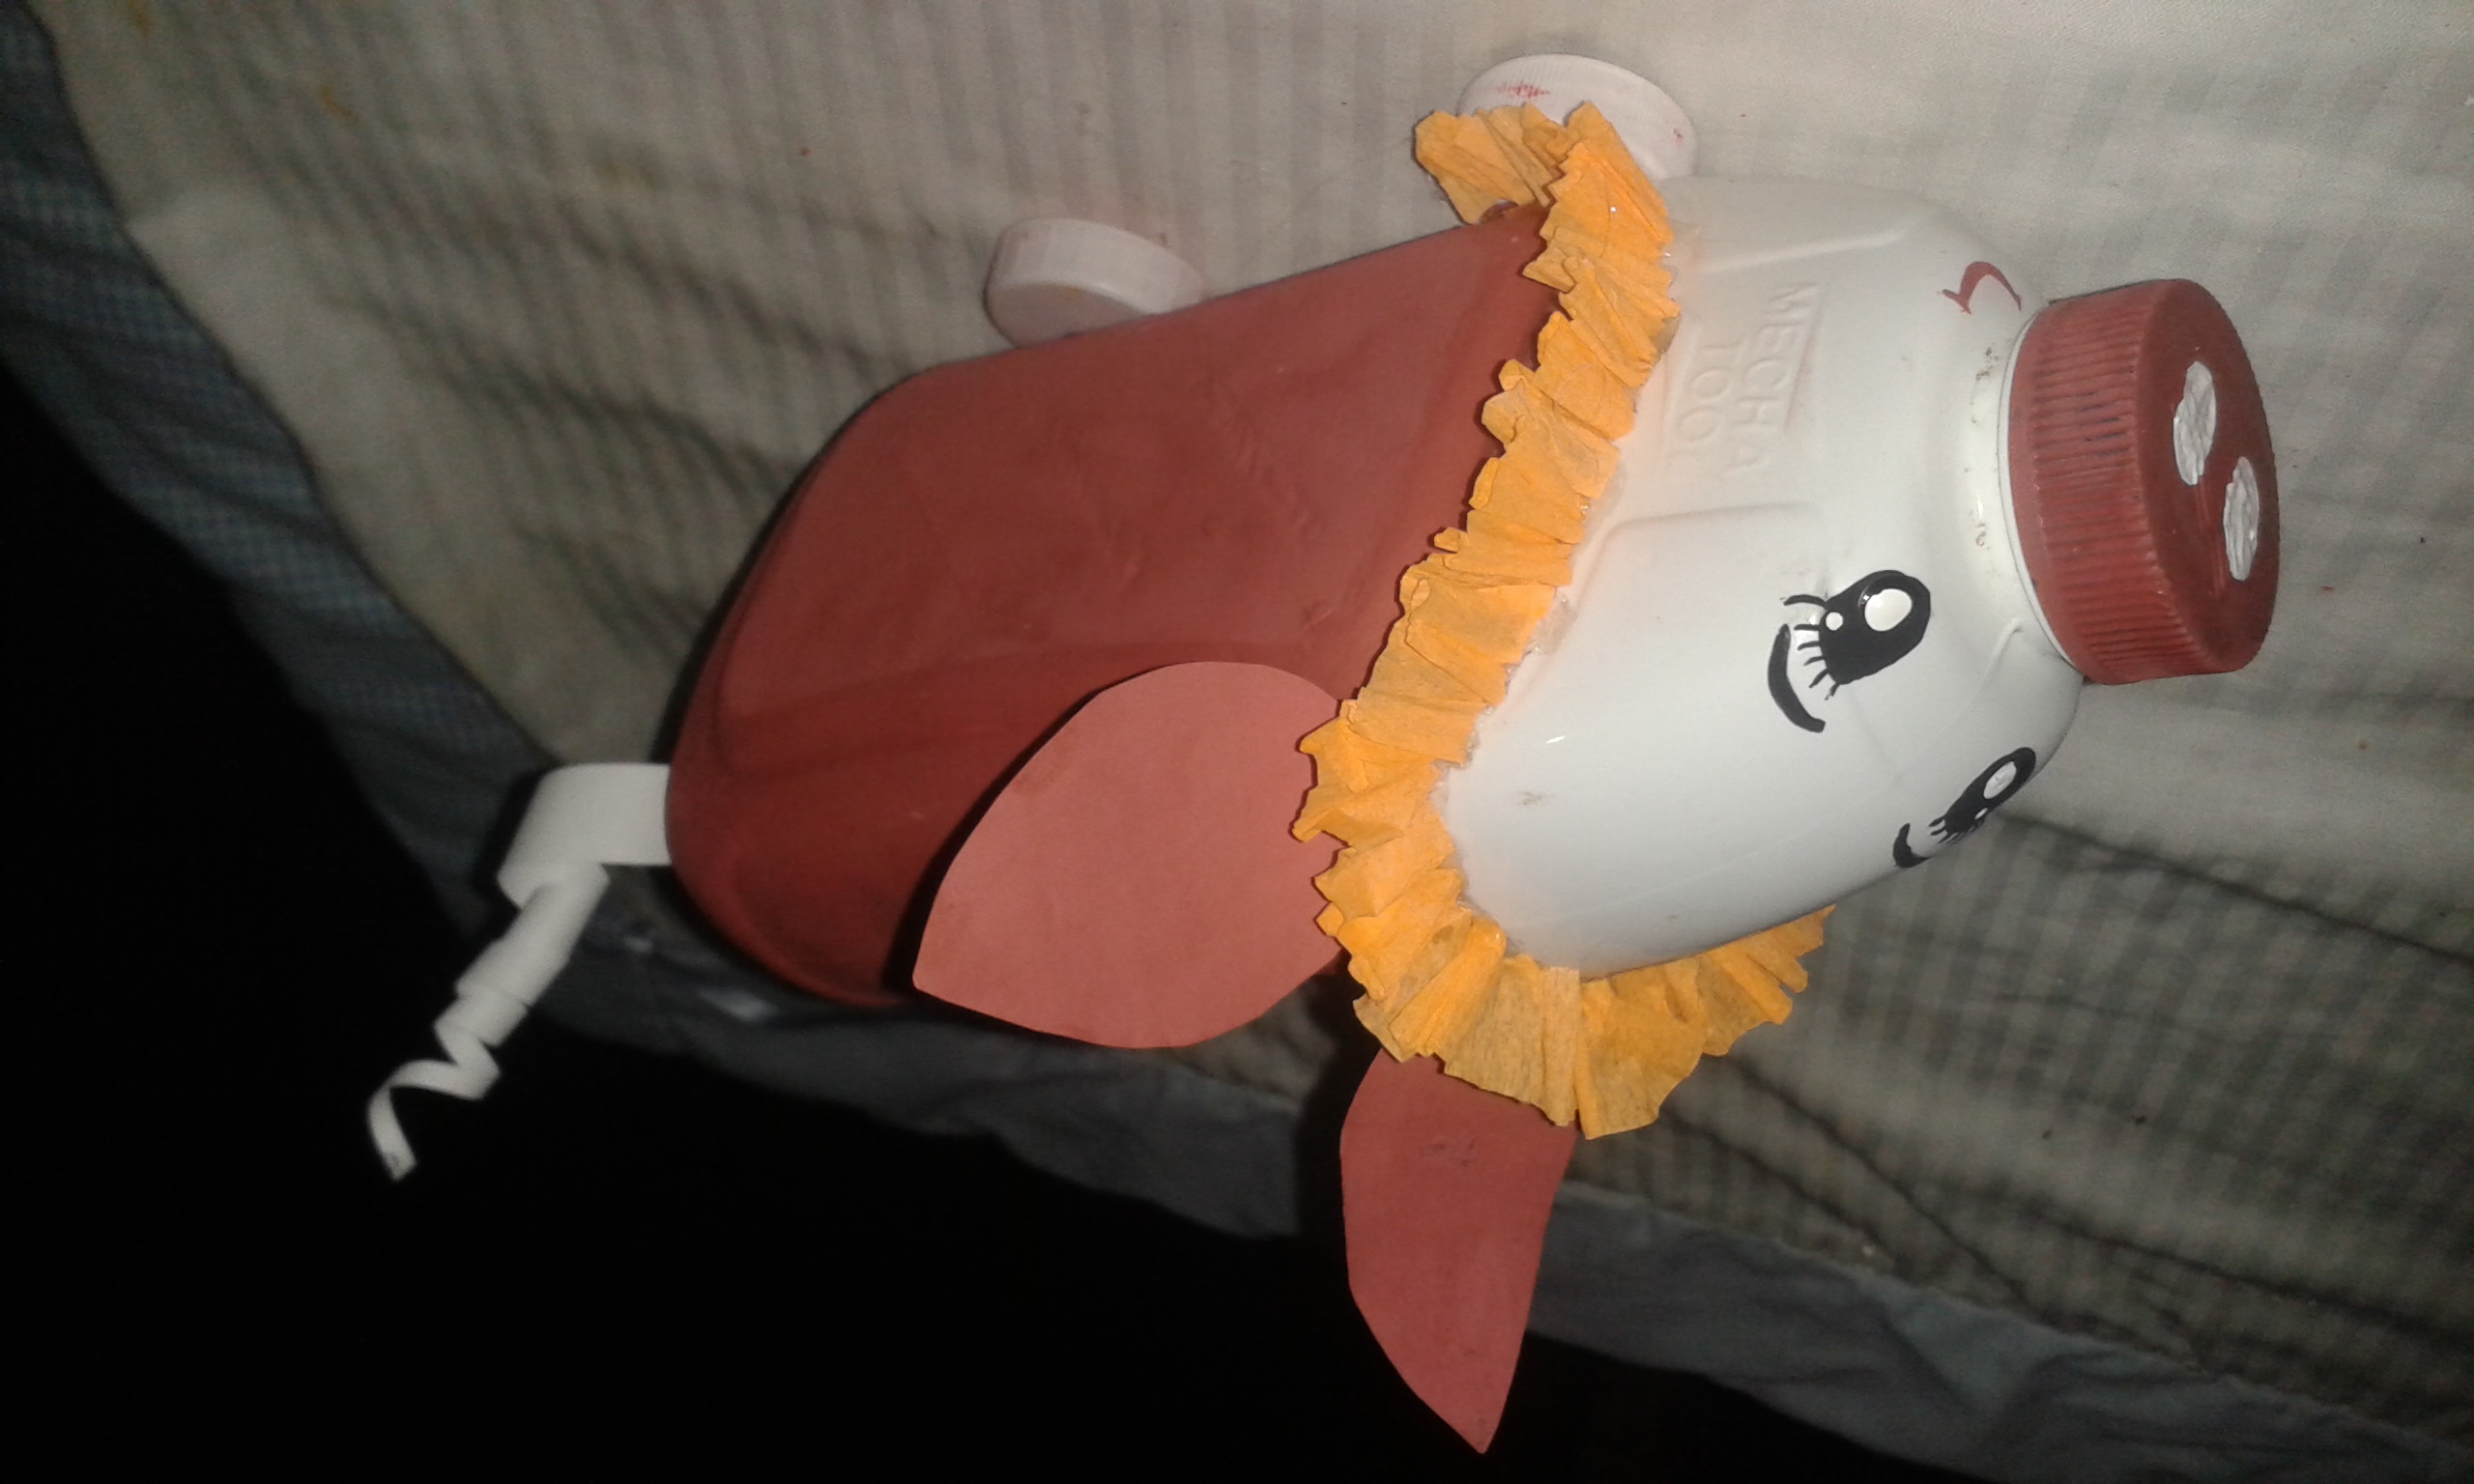
Step 5 We will glue each ear in placeÚltimo paso: Damos detalle.
Resultado//Outcome
Espero te haya gustado, deja tu comentario🤭🤭
I hope you liked it, leave your comment🤭🤭