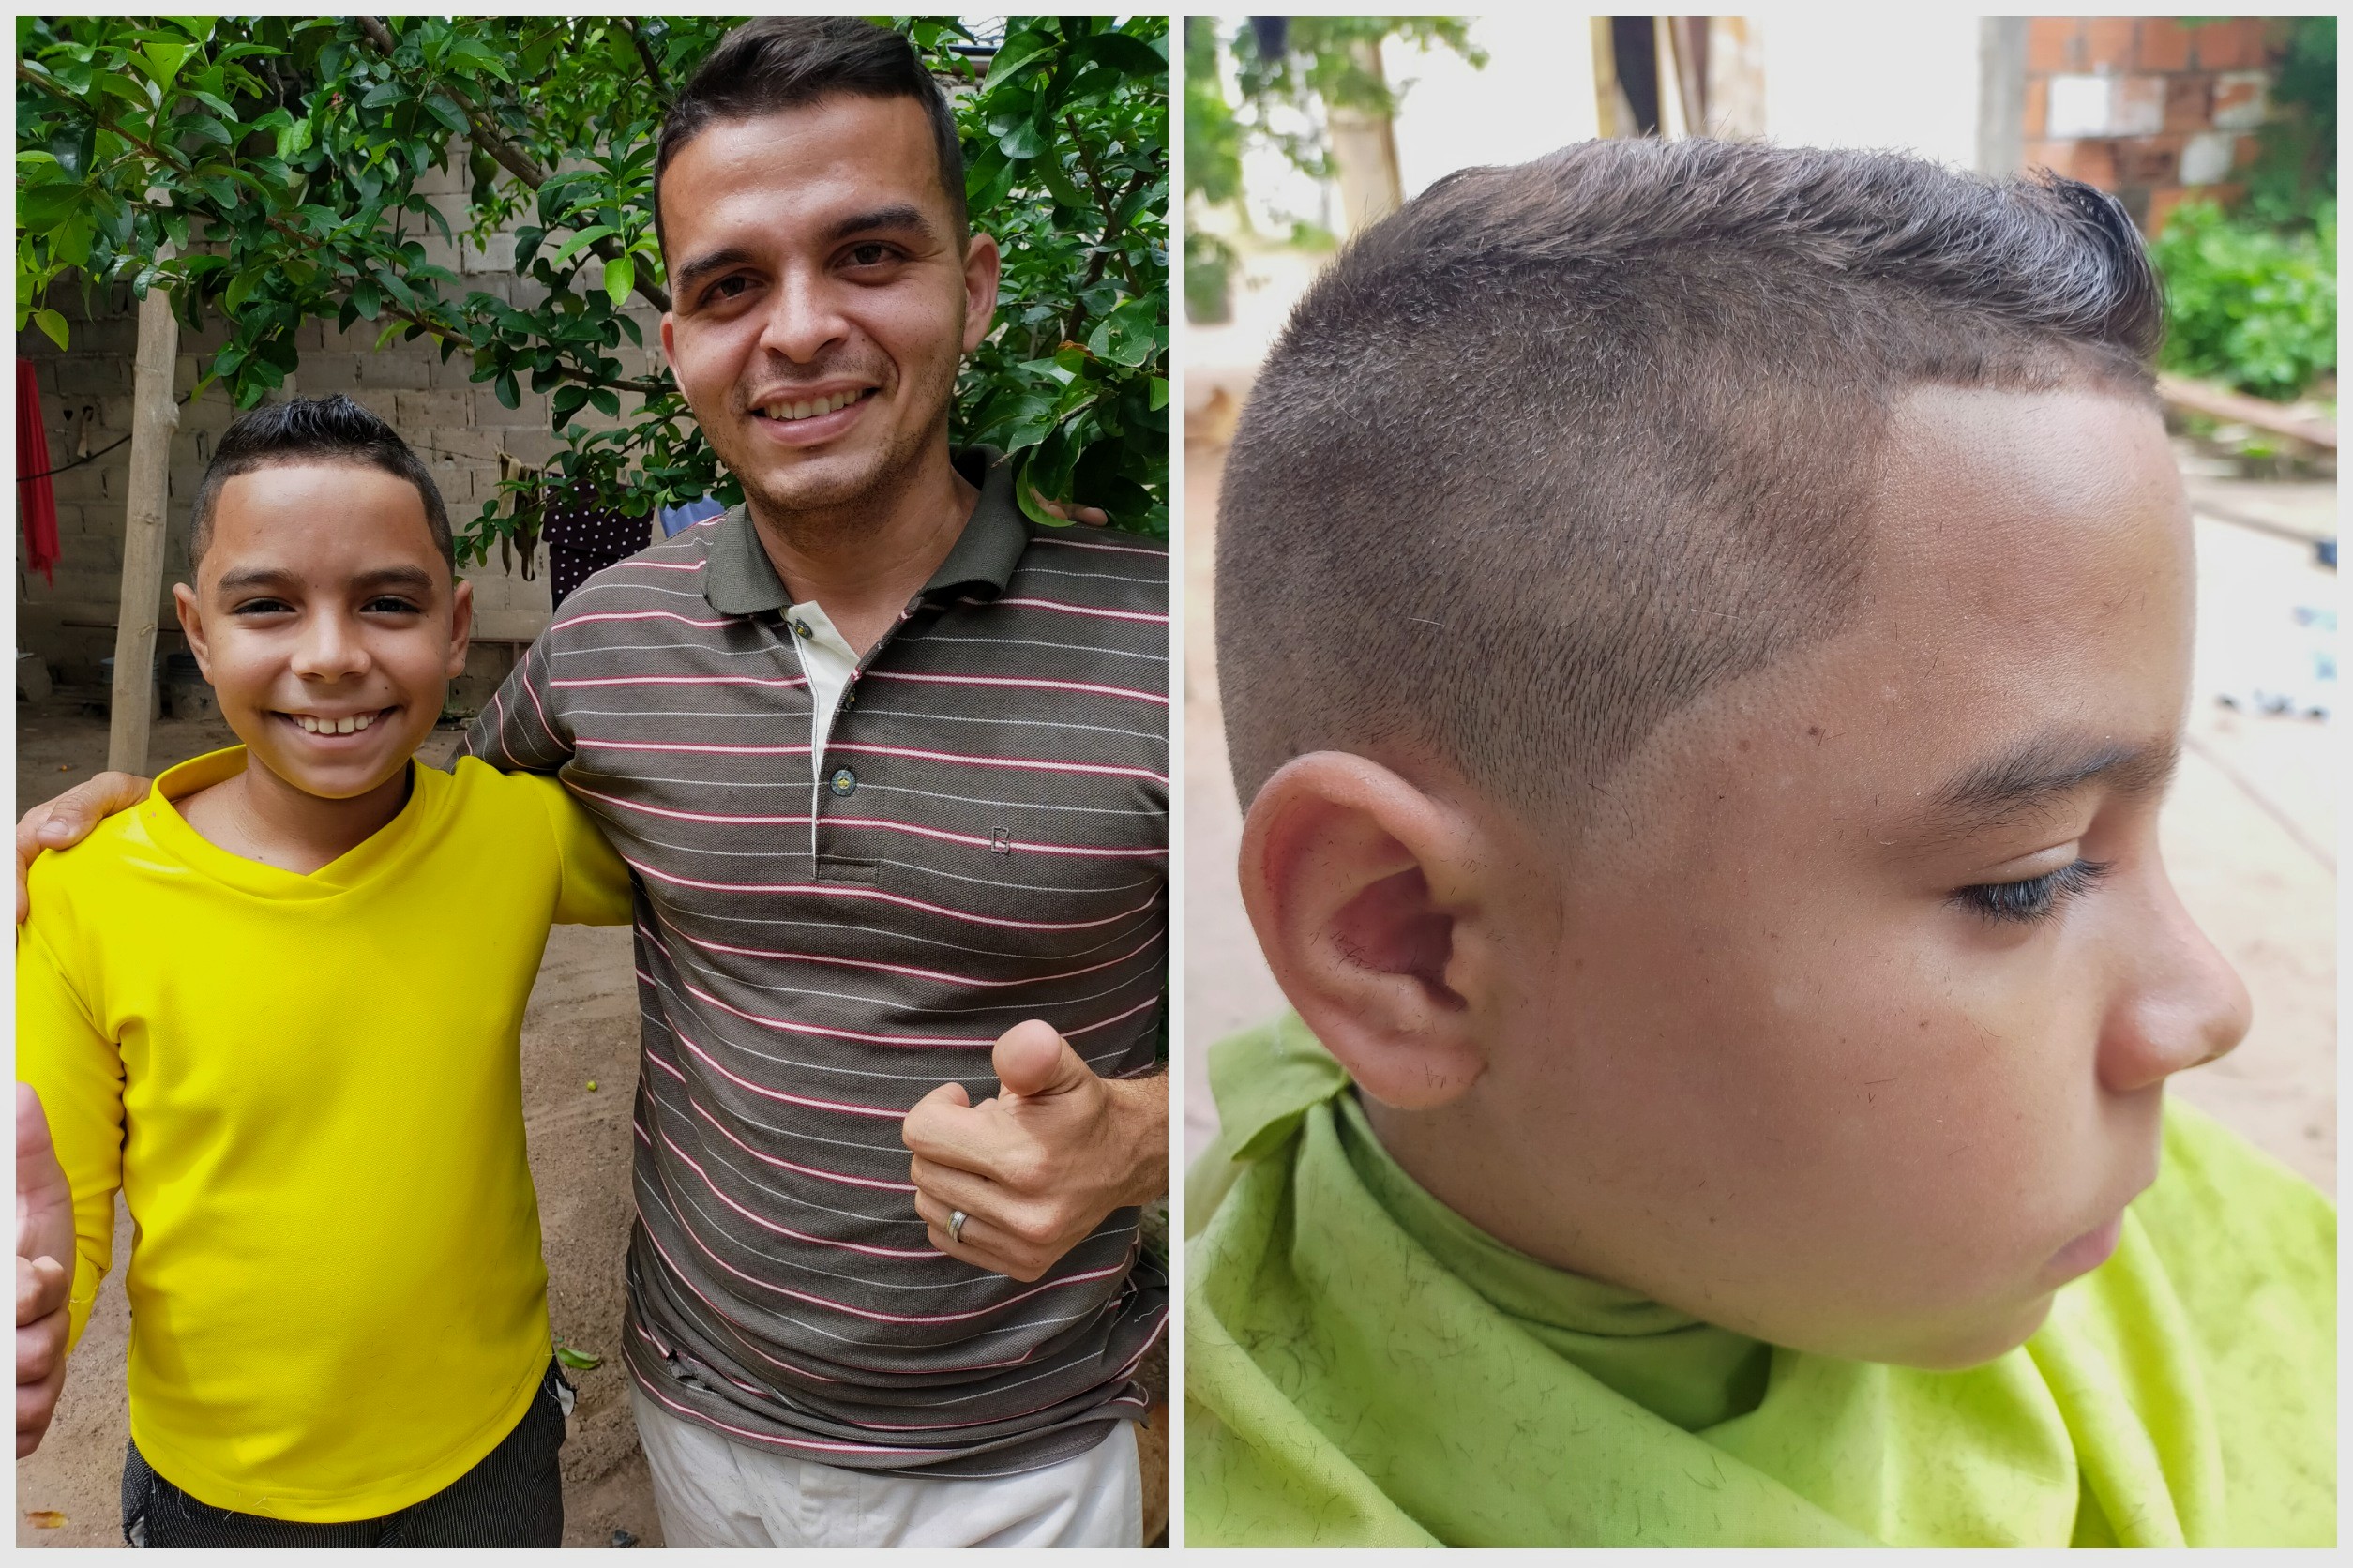
Hola amigos de hive blog, cómo amanecen el día de hoy ? Espero sea bien, favorecidos por Dios todopoderoso. Hoy quiero mostrarle lo que realizó en ocasiones.! Cortar cabello, a niños y caballeros. Hoy hice un degradado sencillo.
Hello friends from hive blog, how do you wake up today? I hope it is well, favored by almighty God. Today I want to show you what he did on occasion! Cut hair, boys and gentlemen. Today I made a simple gradient.
Te muestro como se hace!//## I show you how to do it!
Con la máquina graduada en #0, trazamos el corte base de lado a lado
With the machine set to # 0, we draw the base cut from side to side
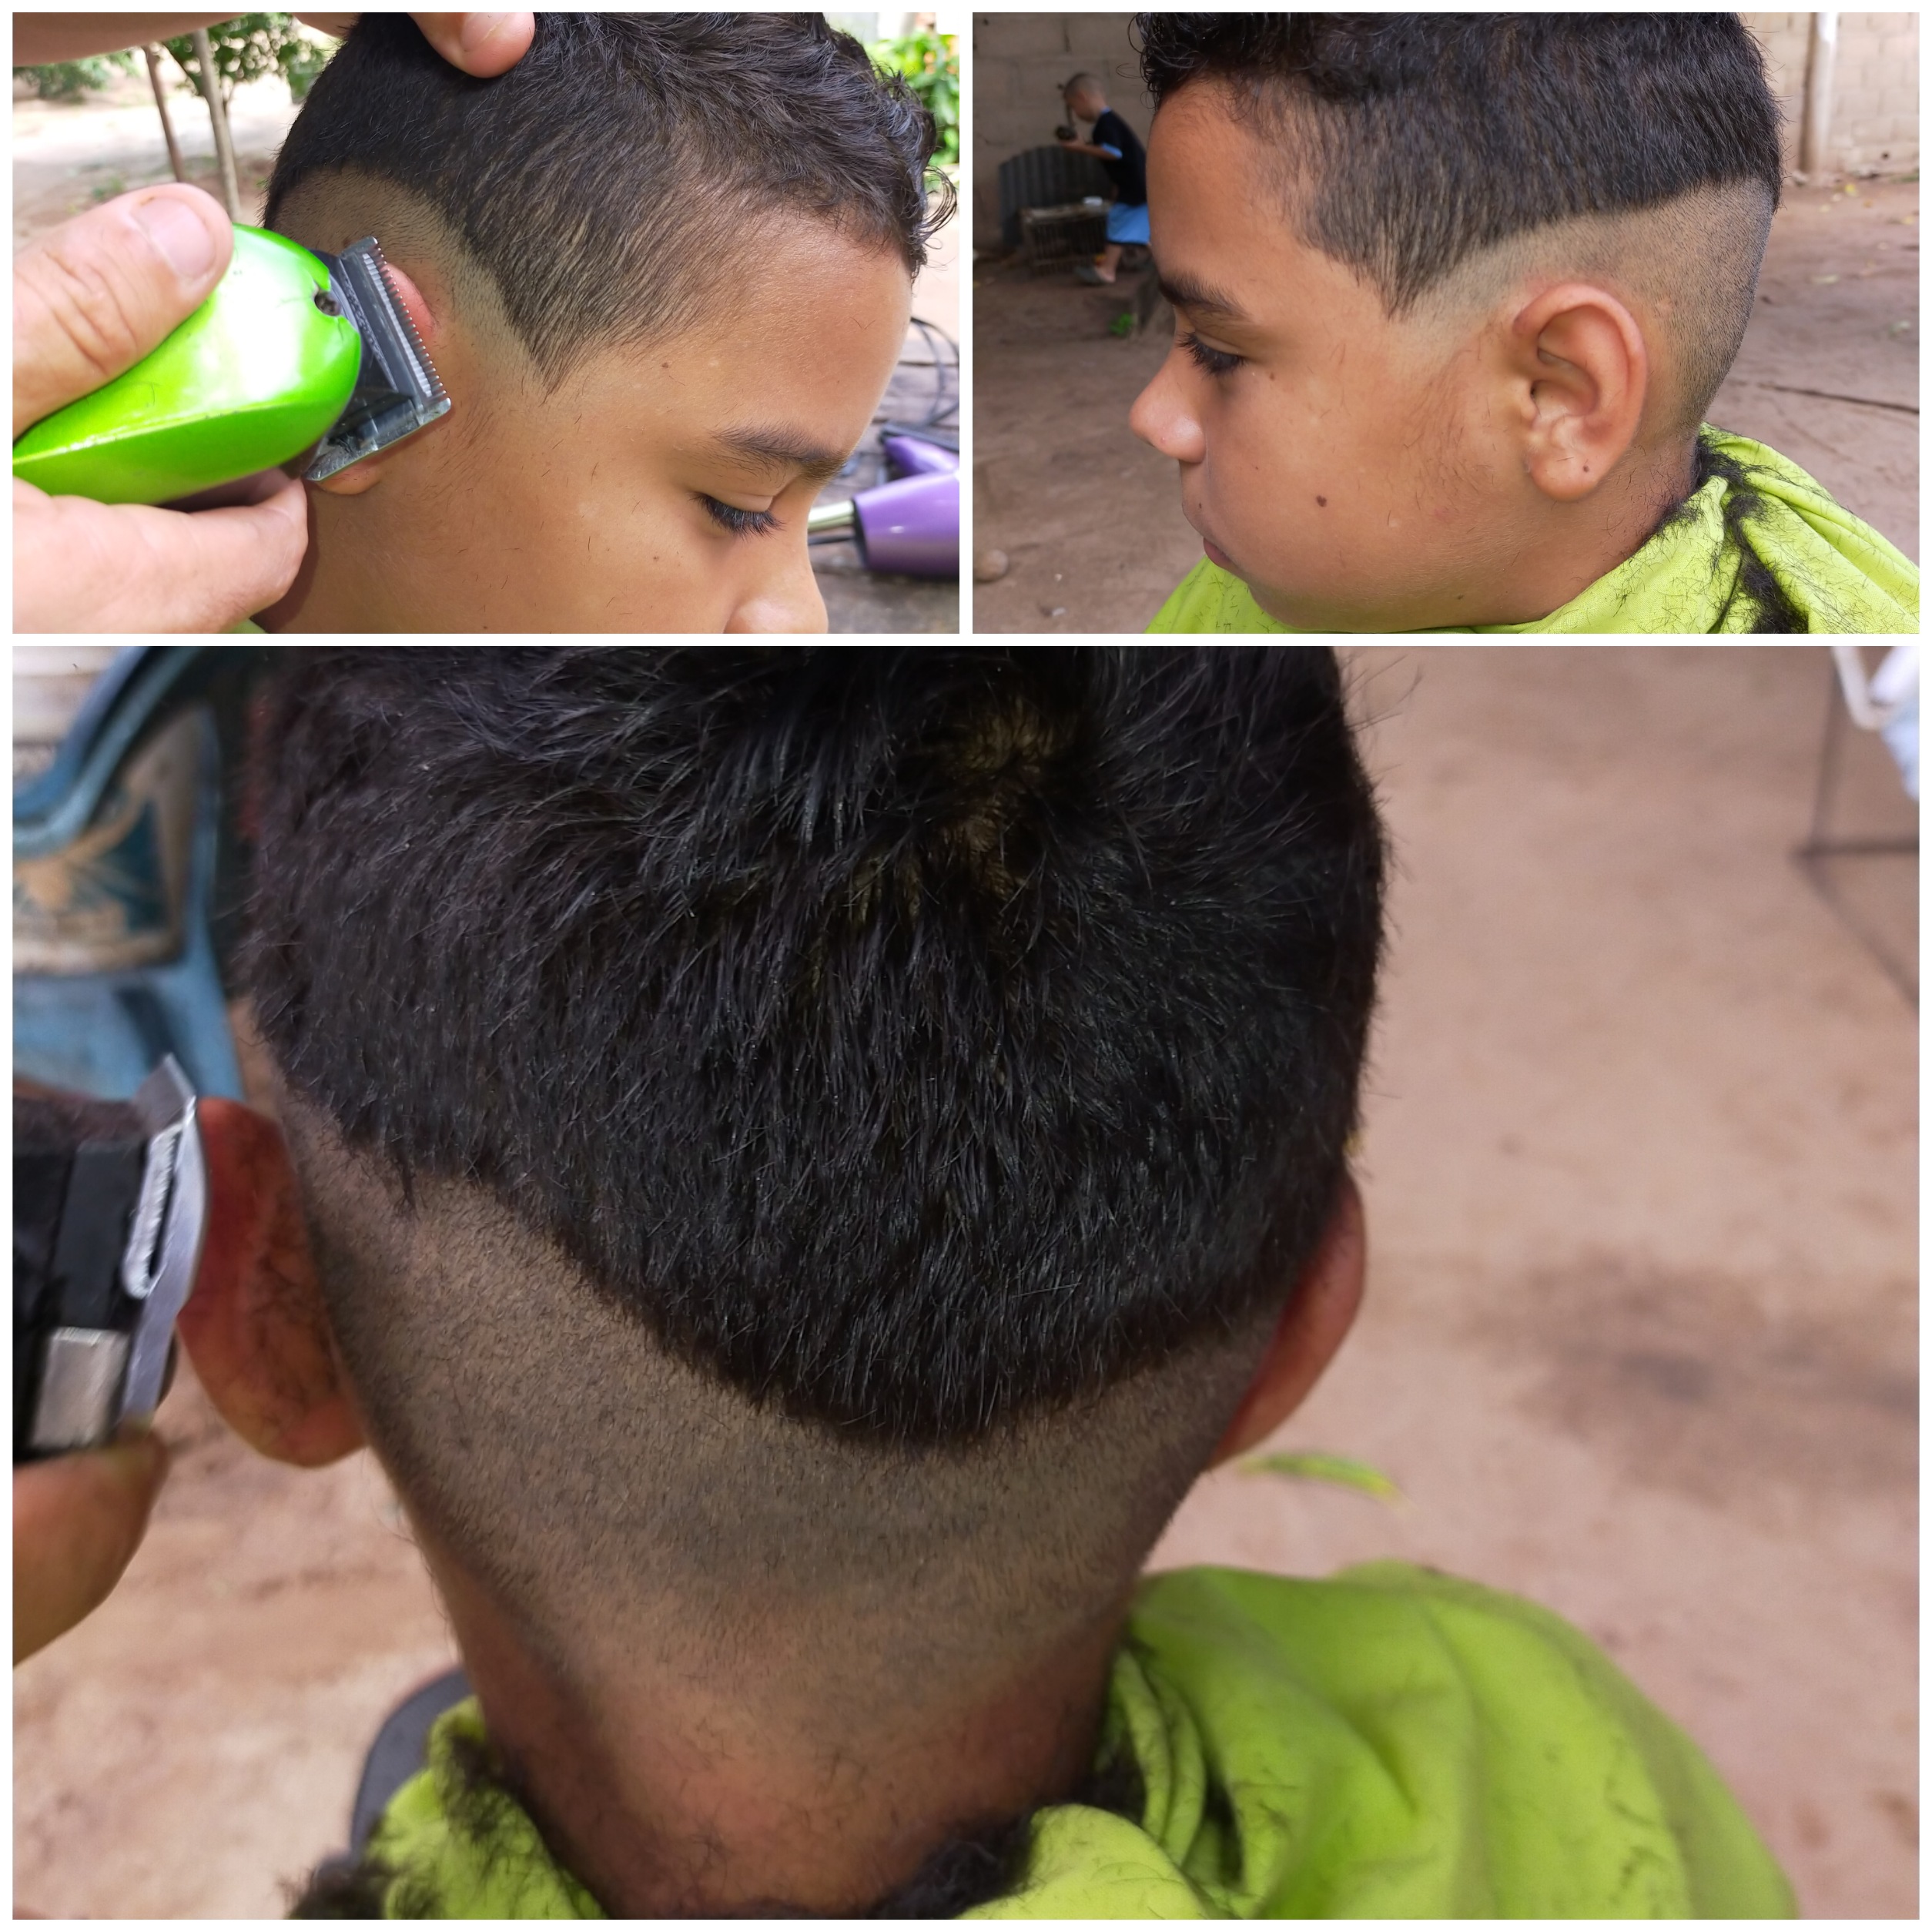
Graduada la máquina a #1/2 subimos el corte 3cm siguiendo el mismo patrón base
Graduated the machine to # 1/2 we raise the cut 3cm following the same base pattern
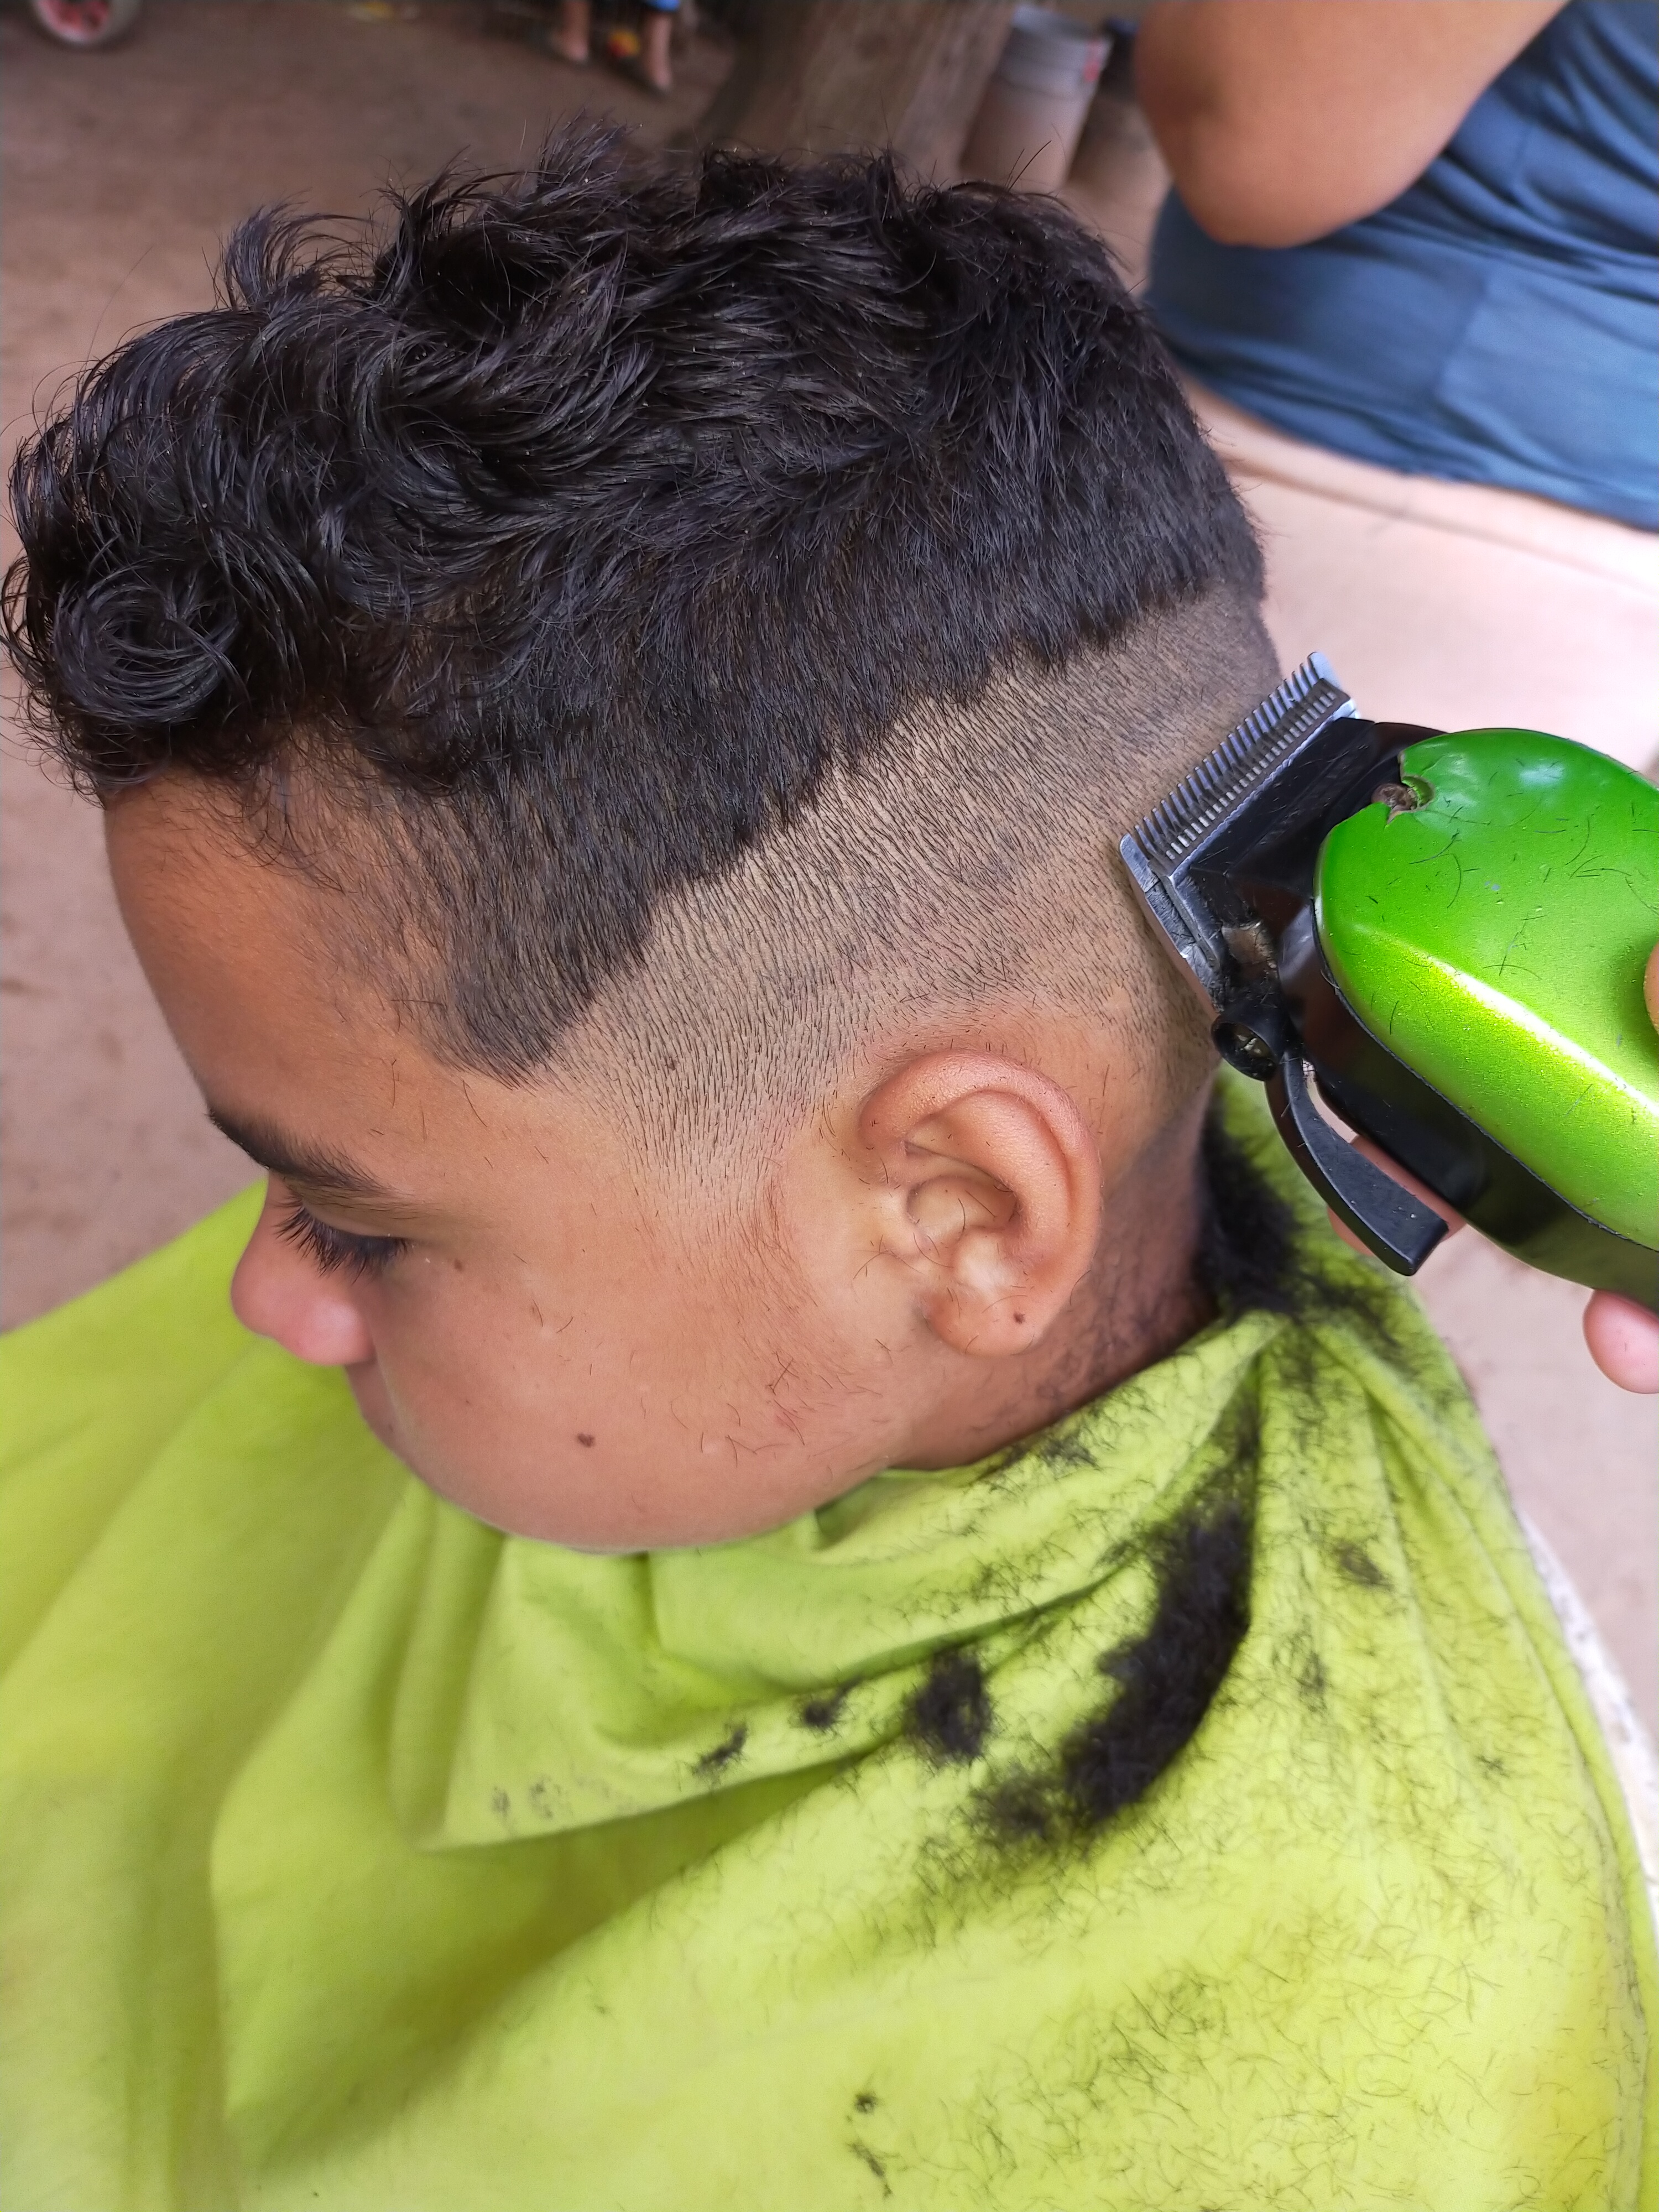
Luego de haber borrado la raya que nos quedó. Graduando la máquina desde la #0 hasta la #1/2. Luego utilizando un peine delgado, subimos un poco más el corte, siguiendo el patrón de inicio. Colocamos y cortamos
After having deleted the line that we had left. Graduating the machine from # 0 to # 1/2. Then using a thin comb, we raise the cut a little more, following the starting pattern. We place and cut
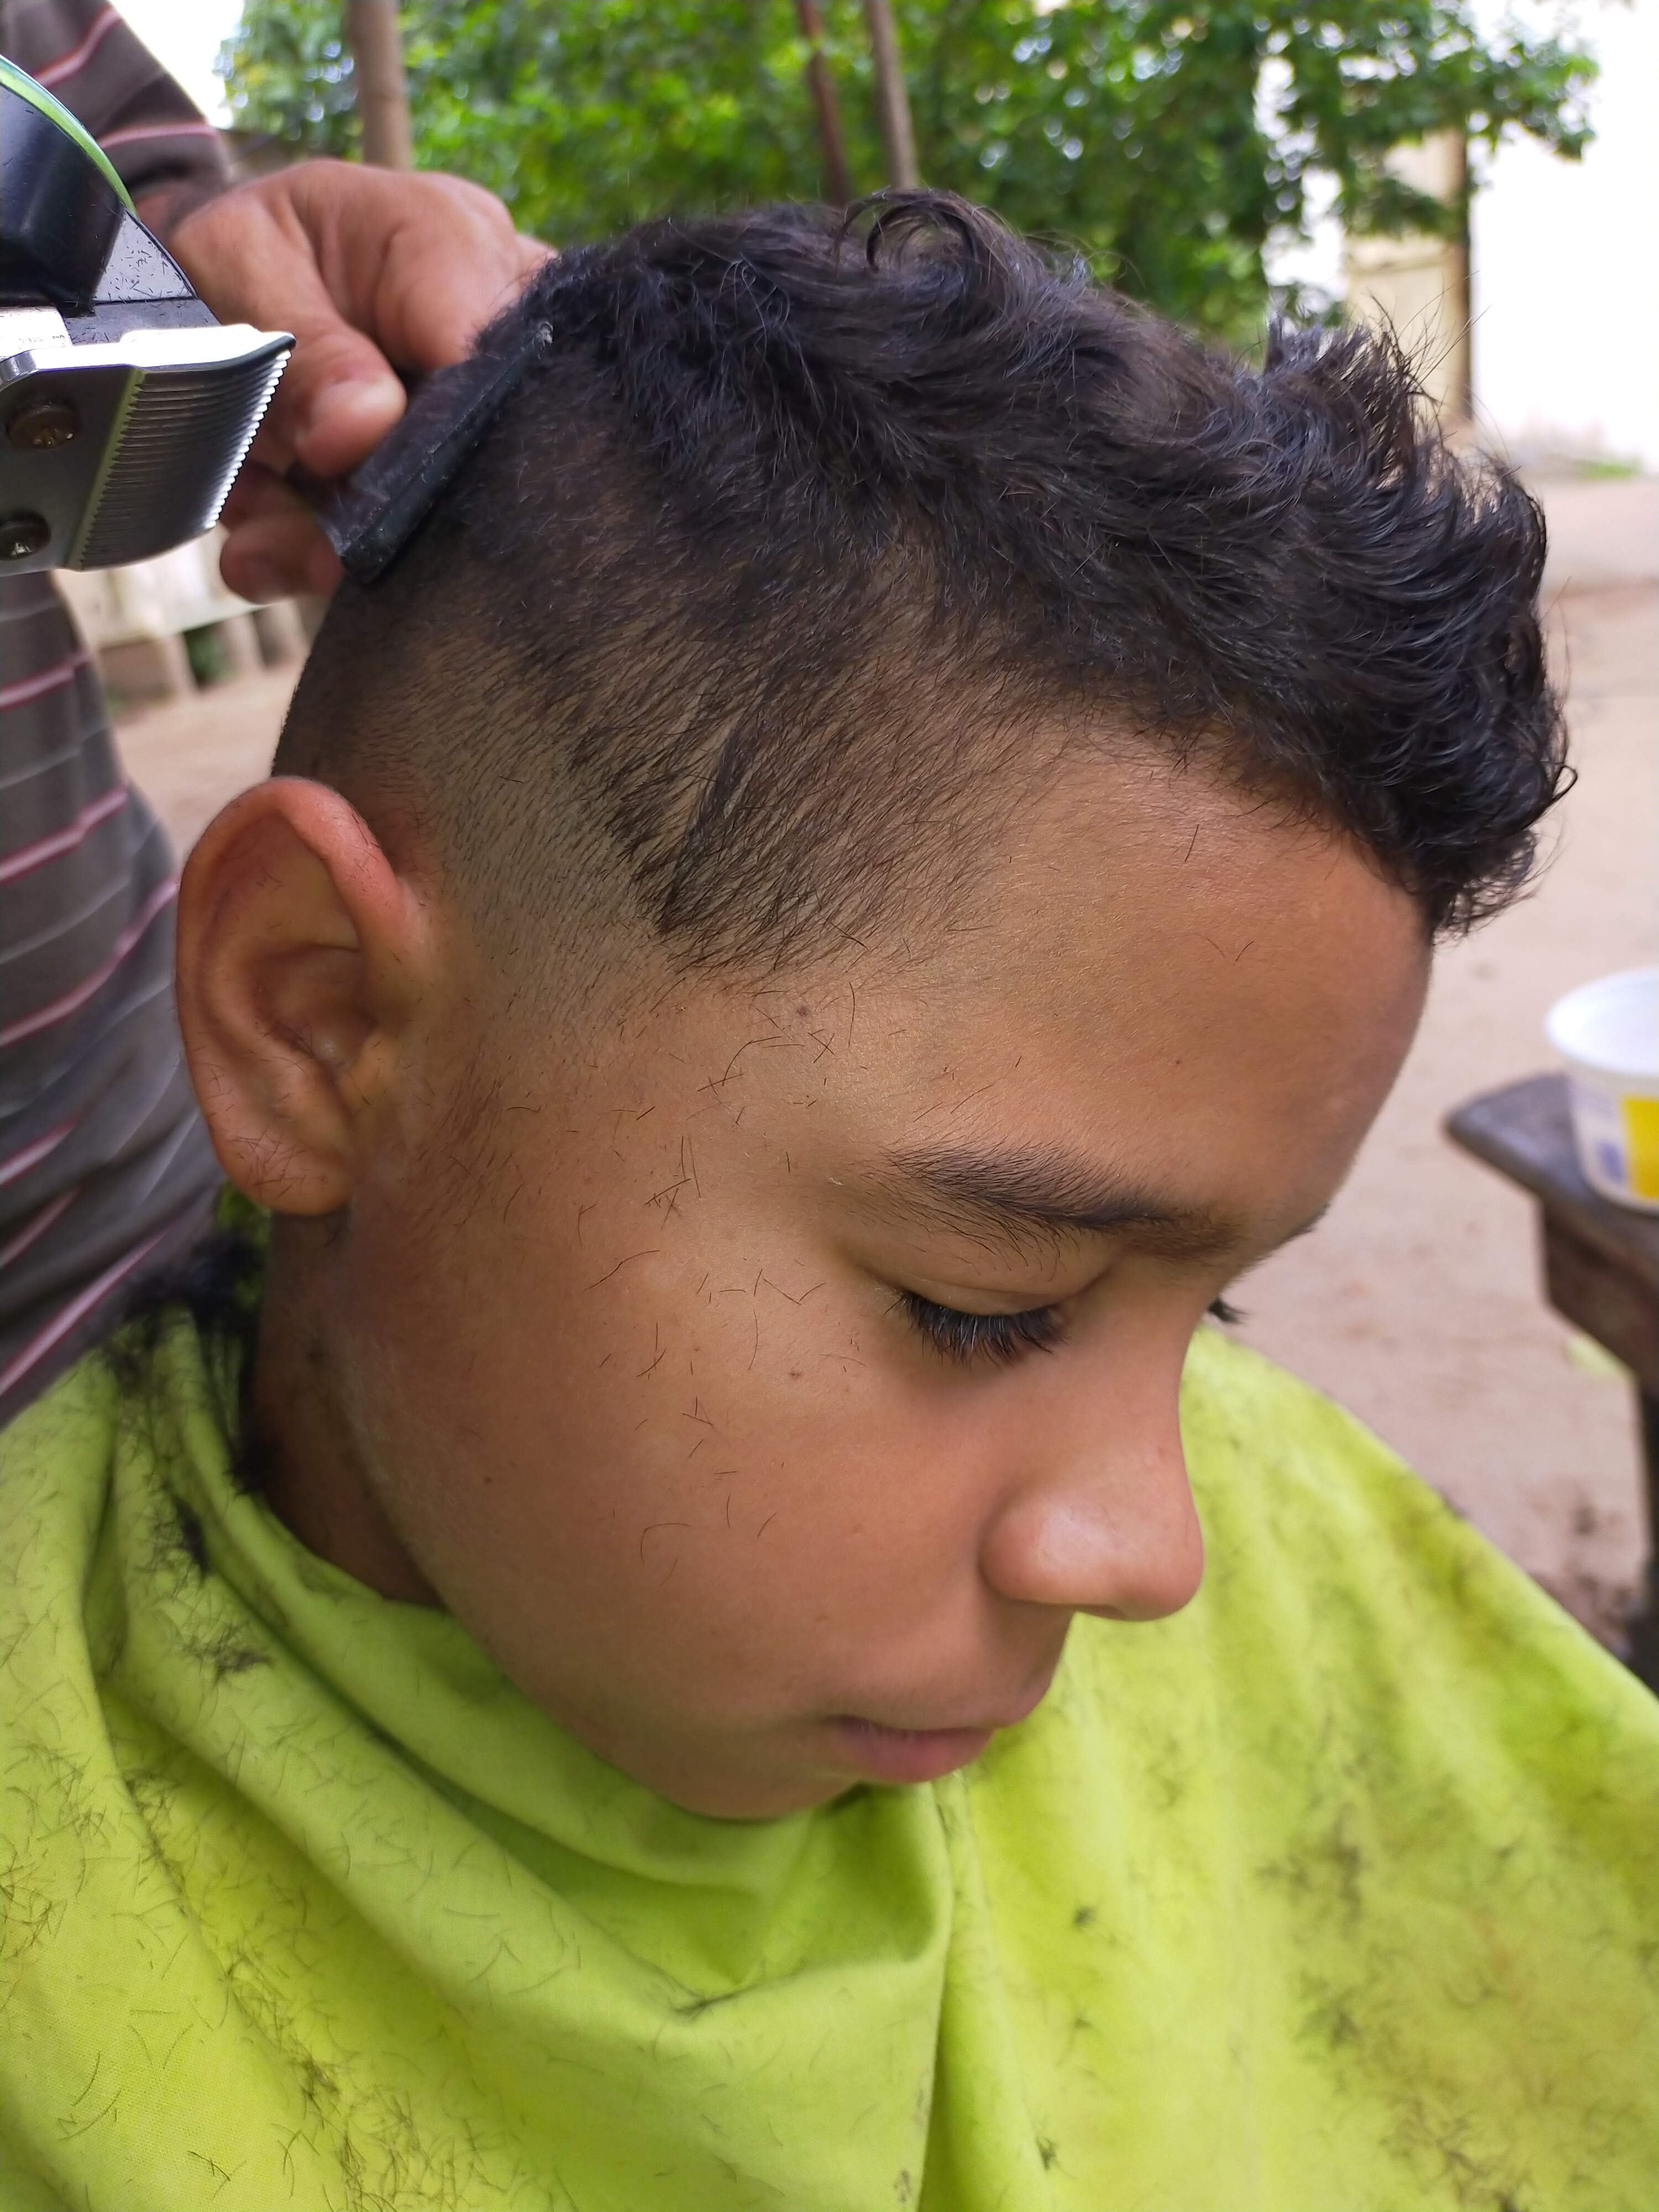
Luego con la máquina graduada en #1 1/2; repasamos asentamos solo dónde está la raya, hasta borrar.
Then with the machine graduated at # 1 1/2; We review we settle only where the line is, until we erase.
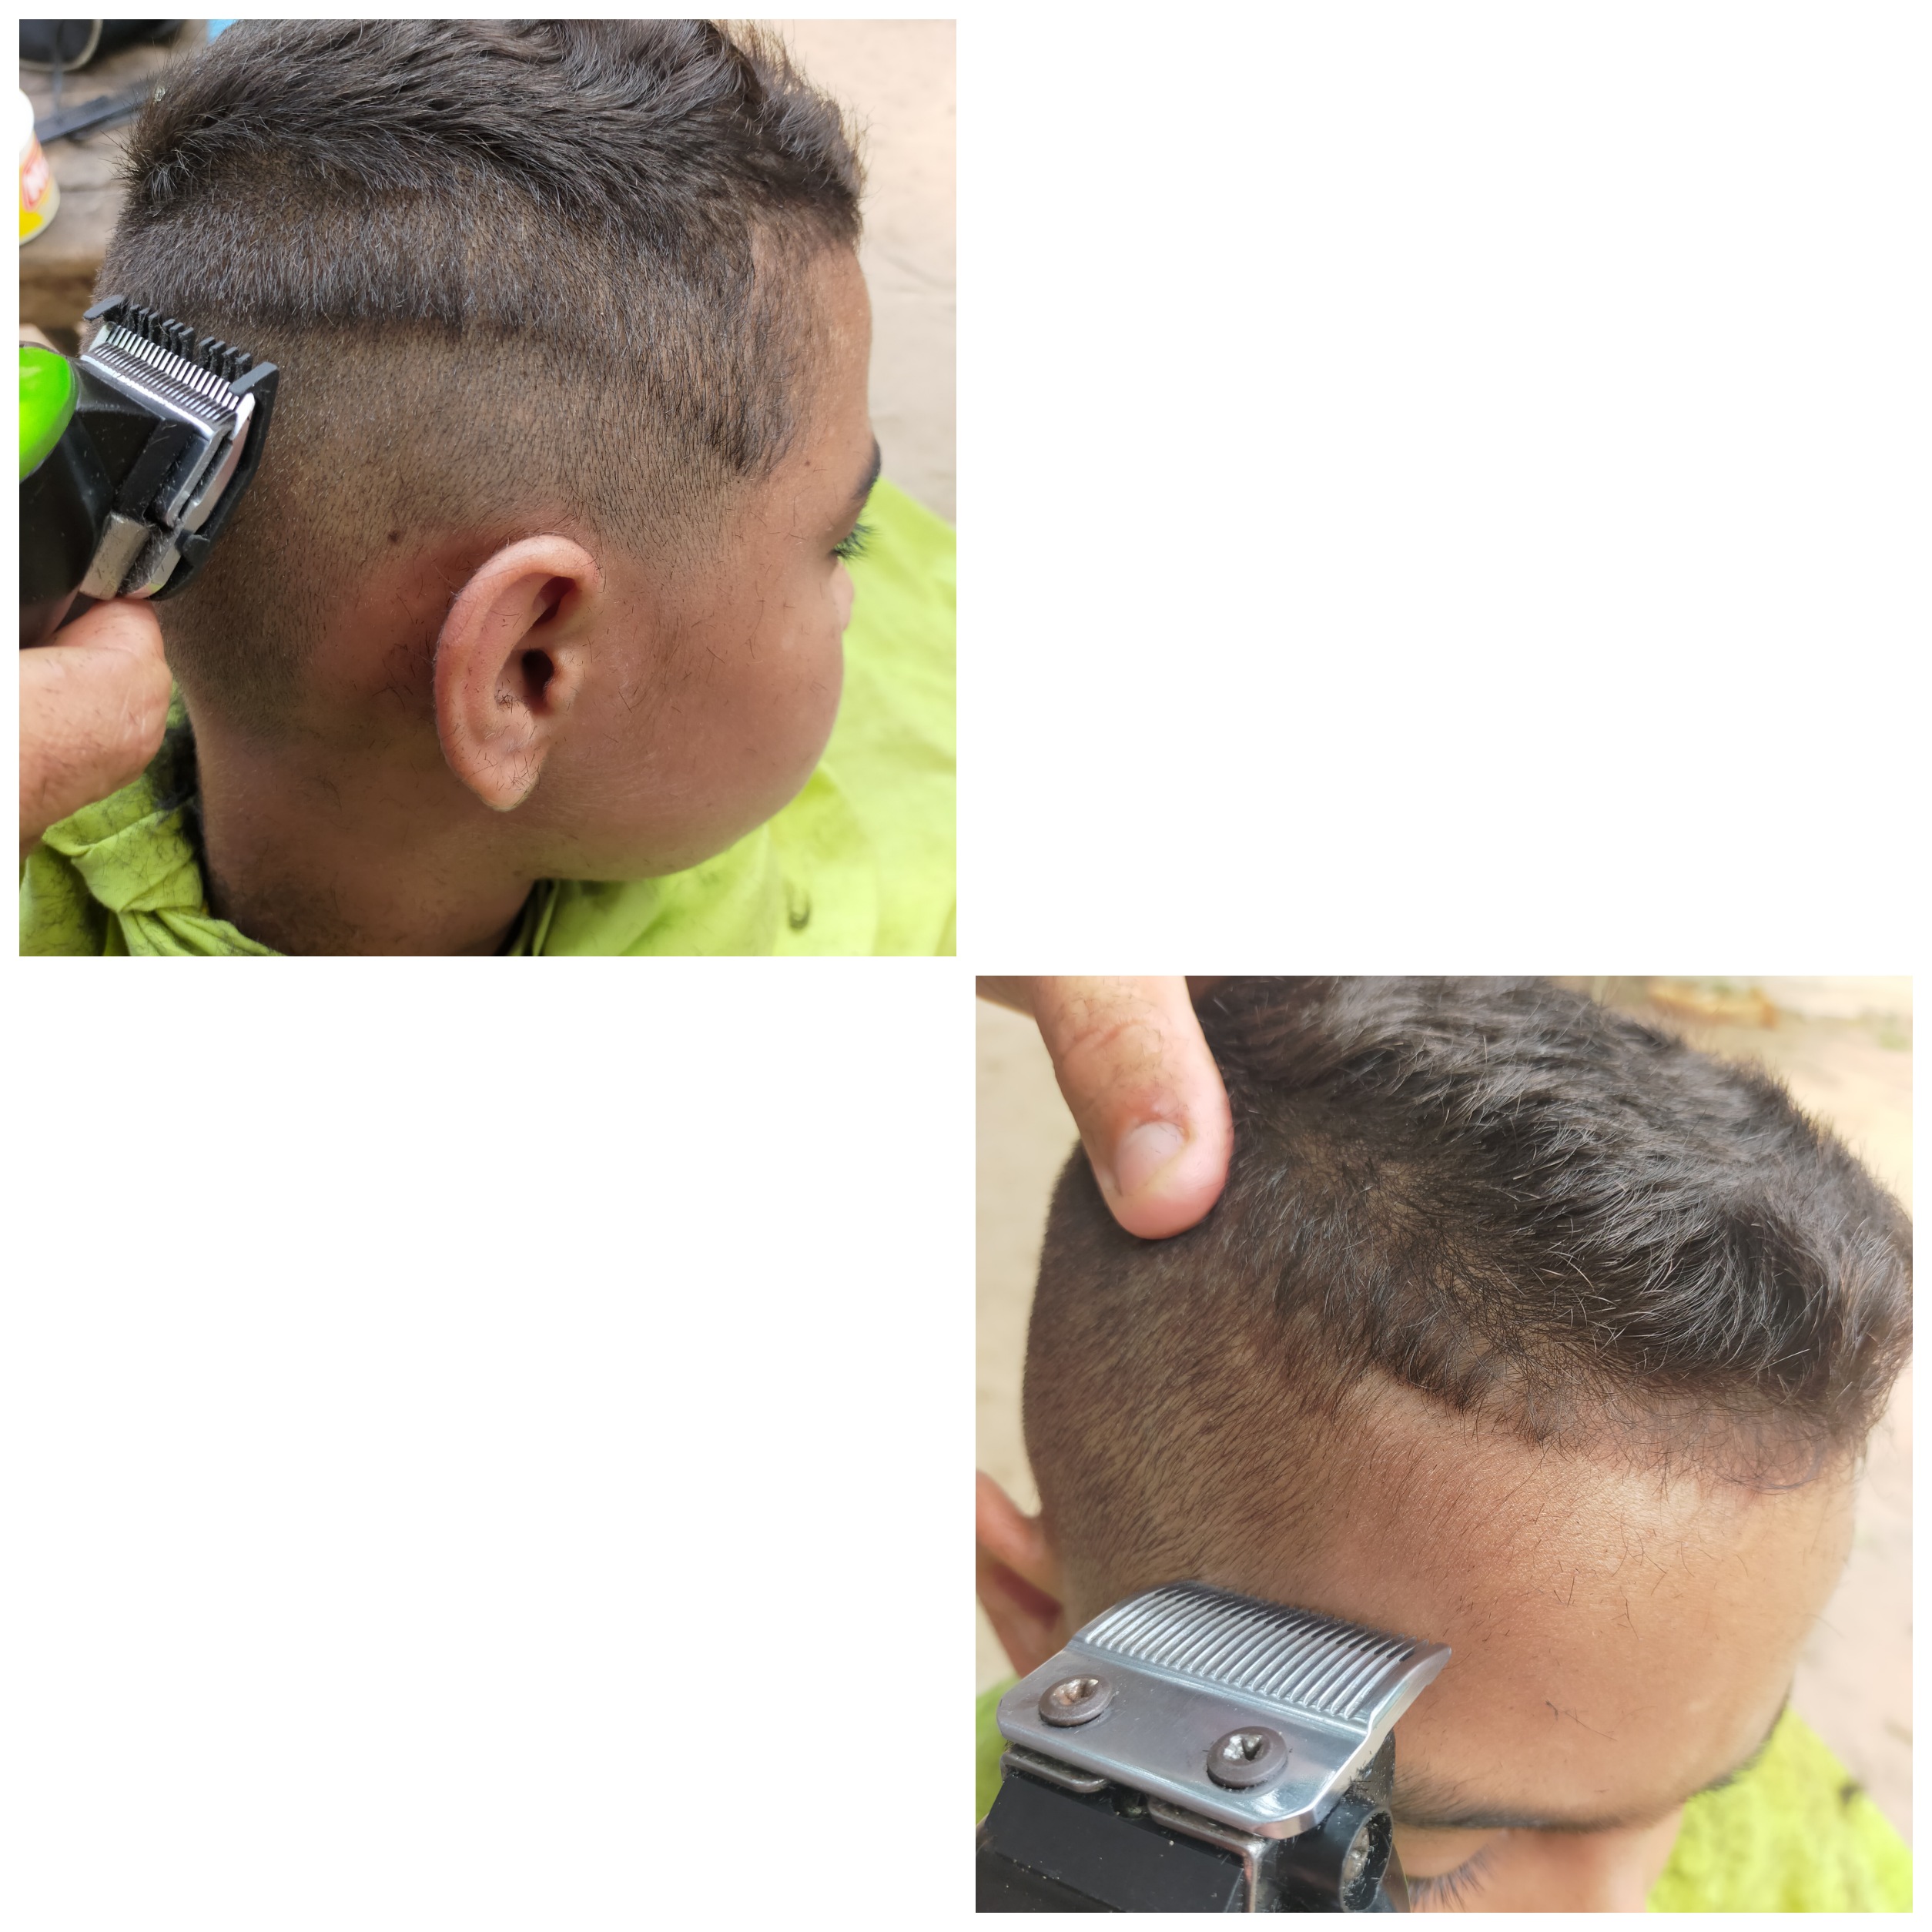
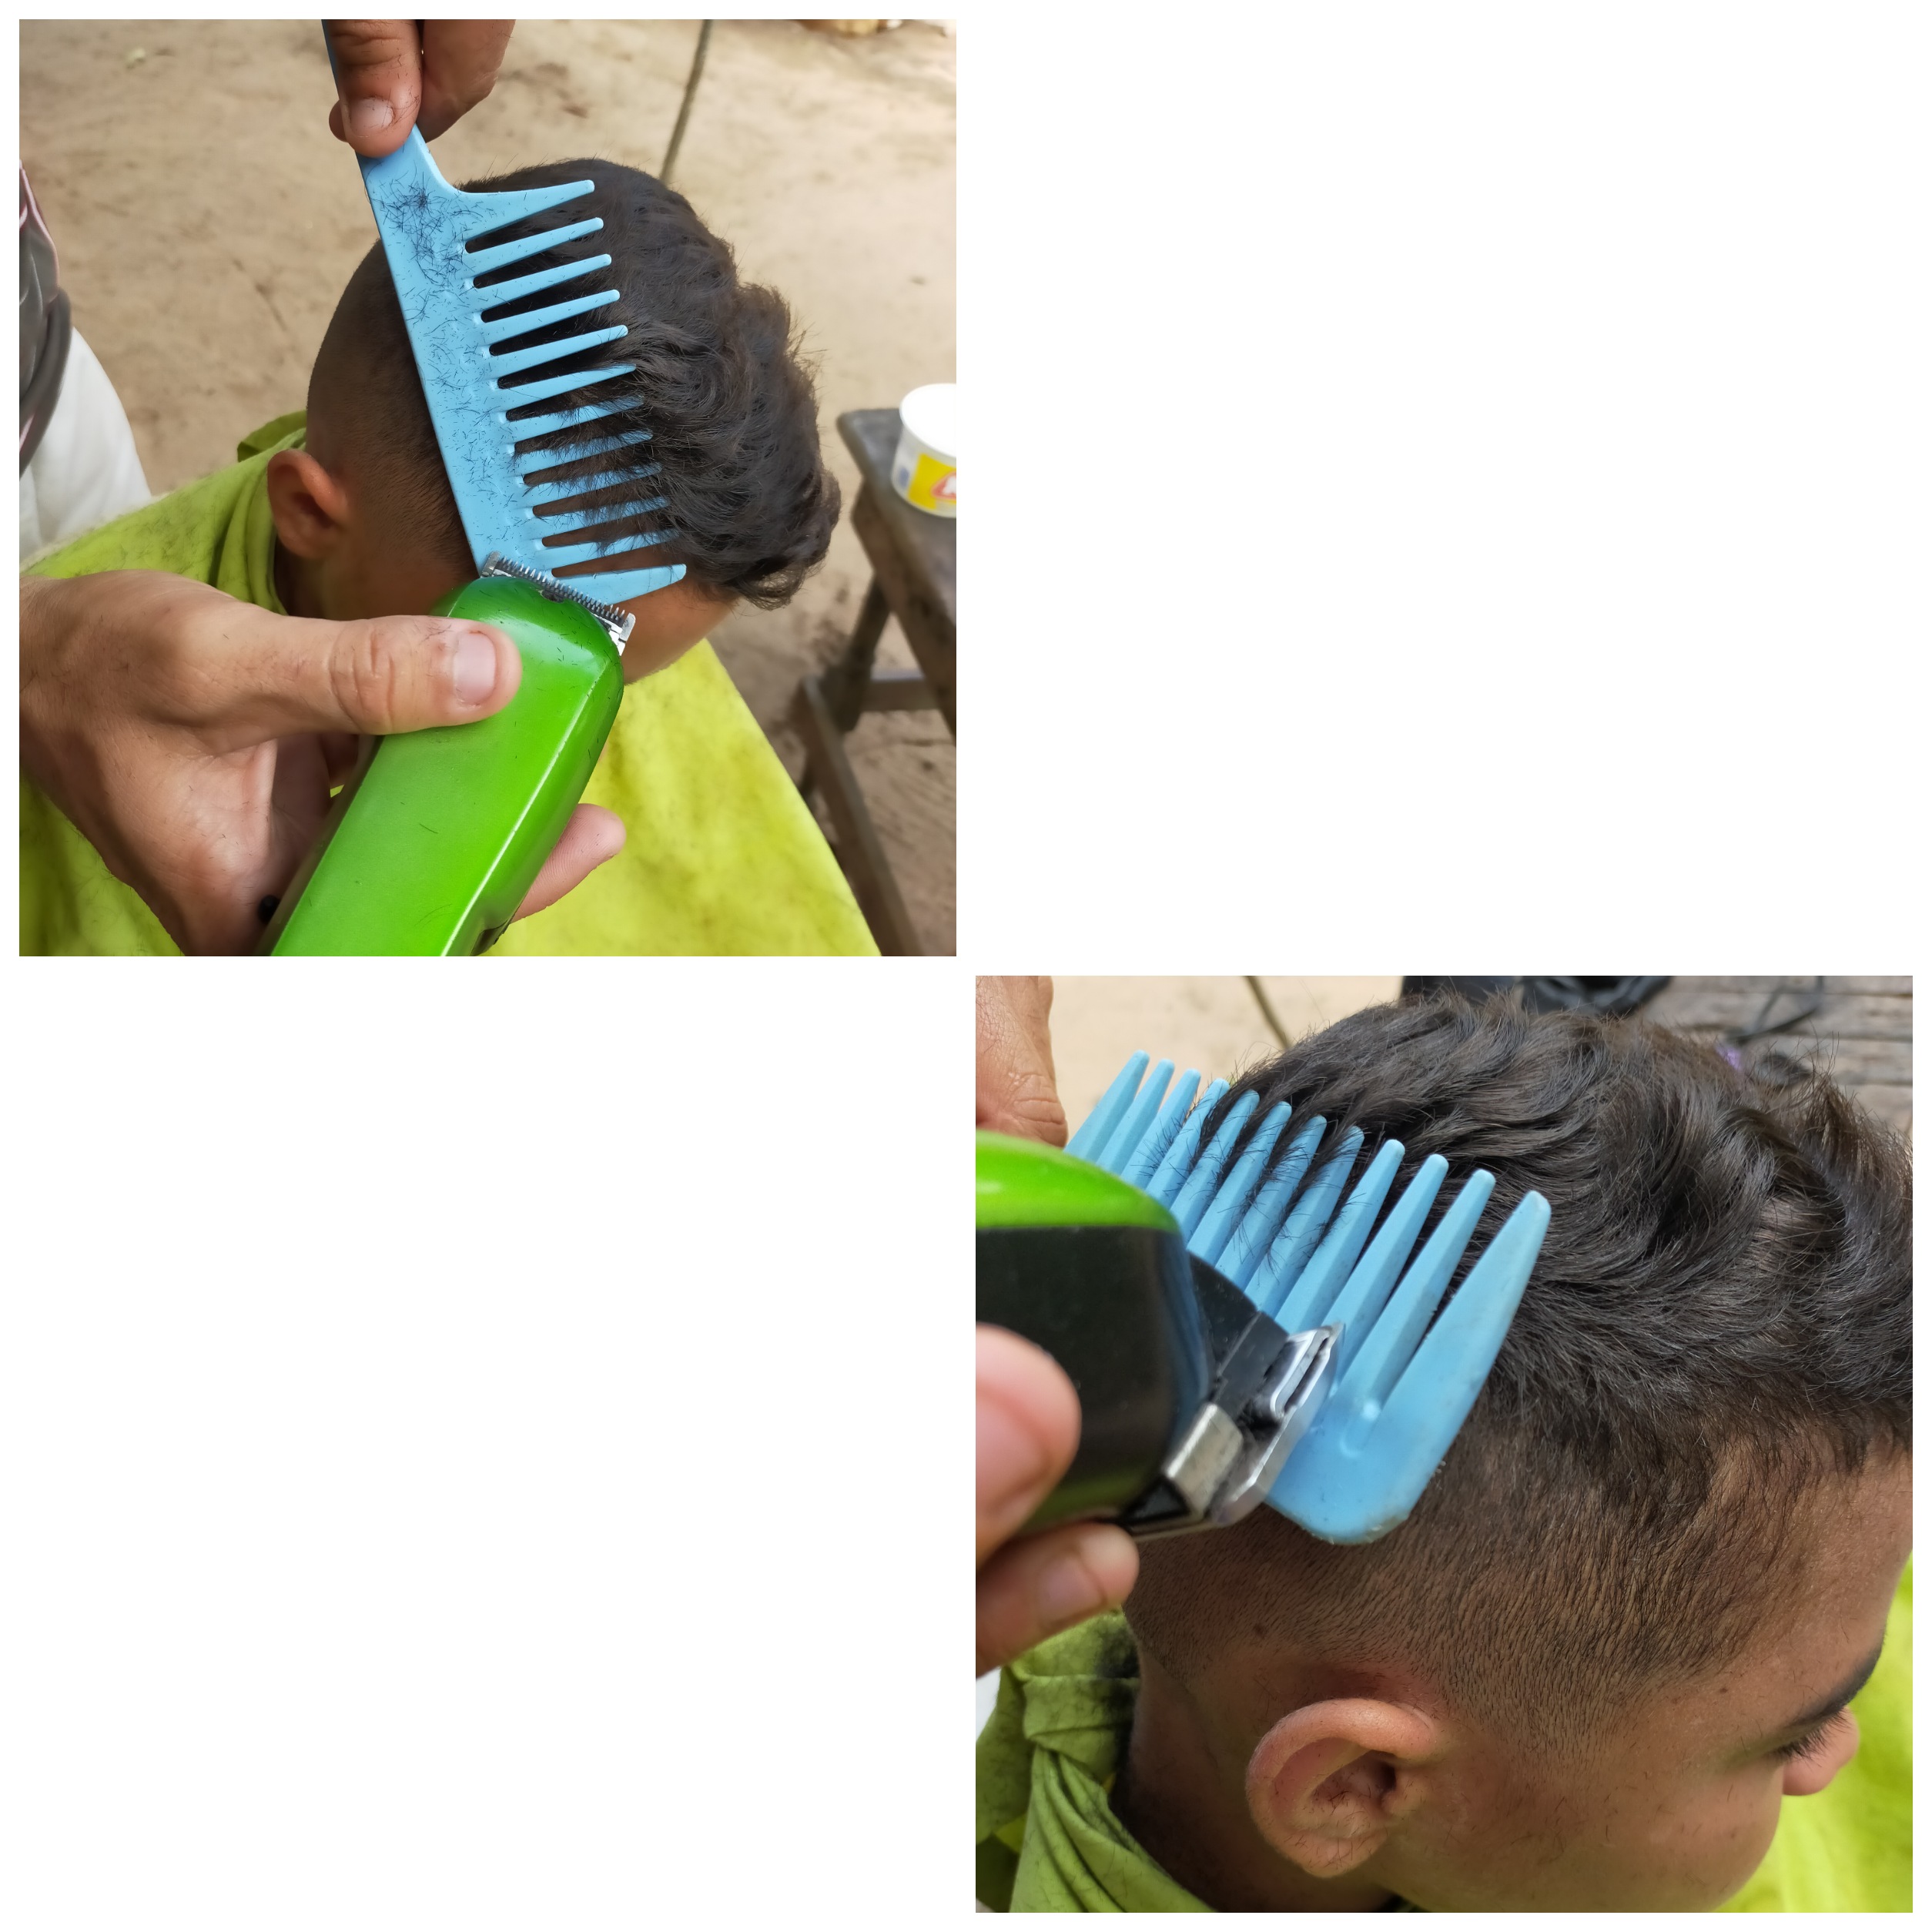
Ya listo la parte de abajo. Utilizando un peine más grande, damos forma a la parte de arriba, a gusto del cliente. Poco a poco.
The bottom part is done. Using a larger comb, we shape the upper part, to suit the client. Little by little.
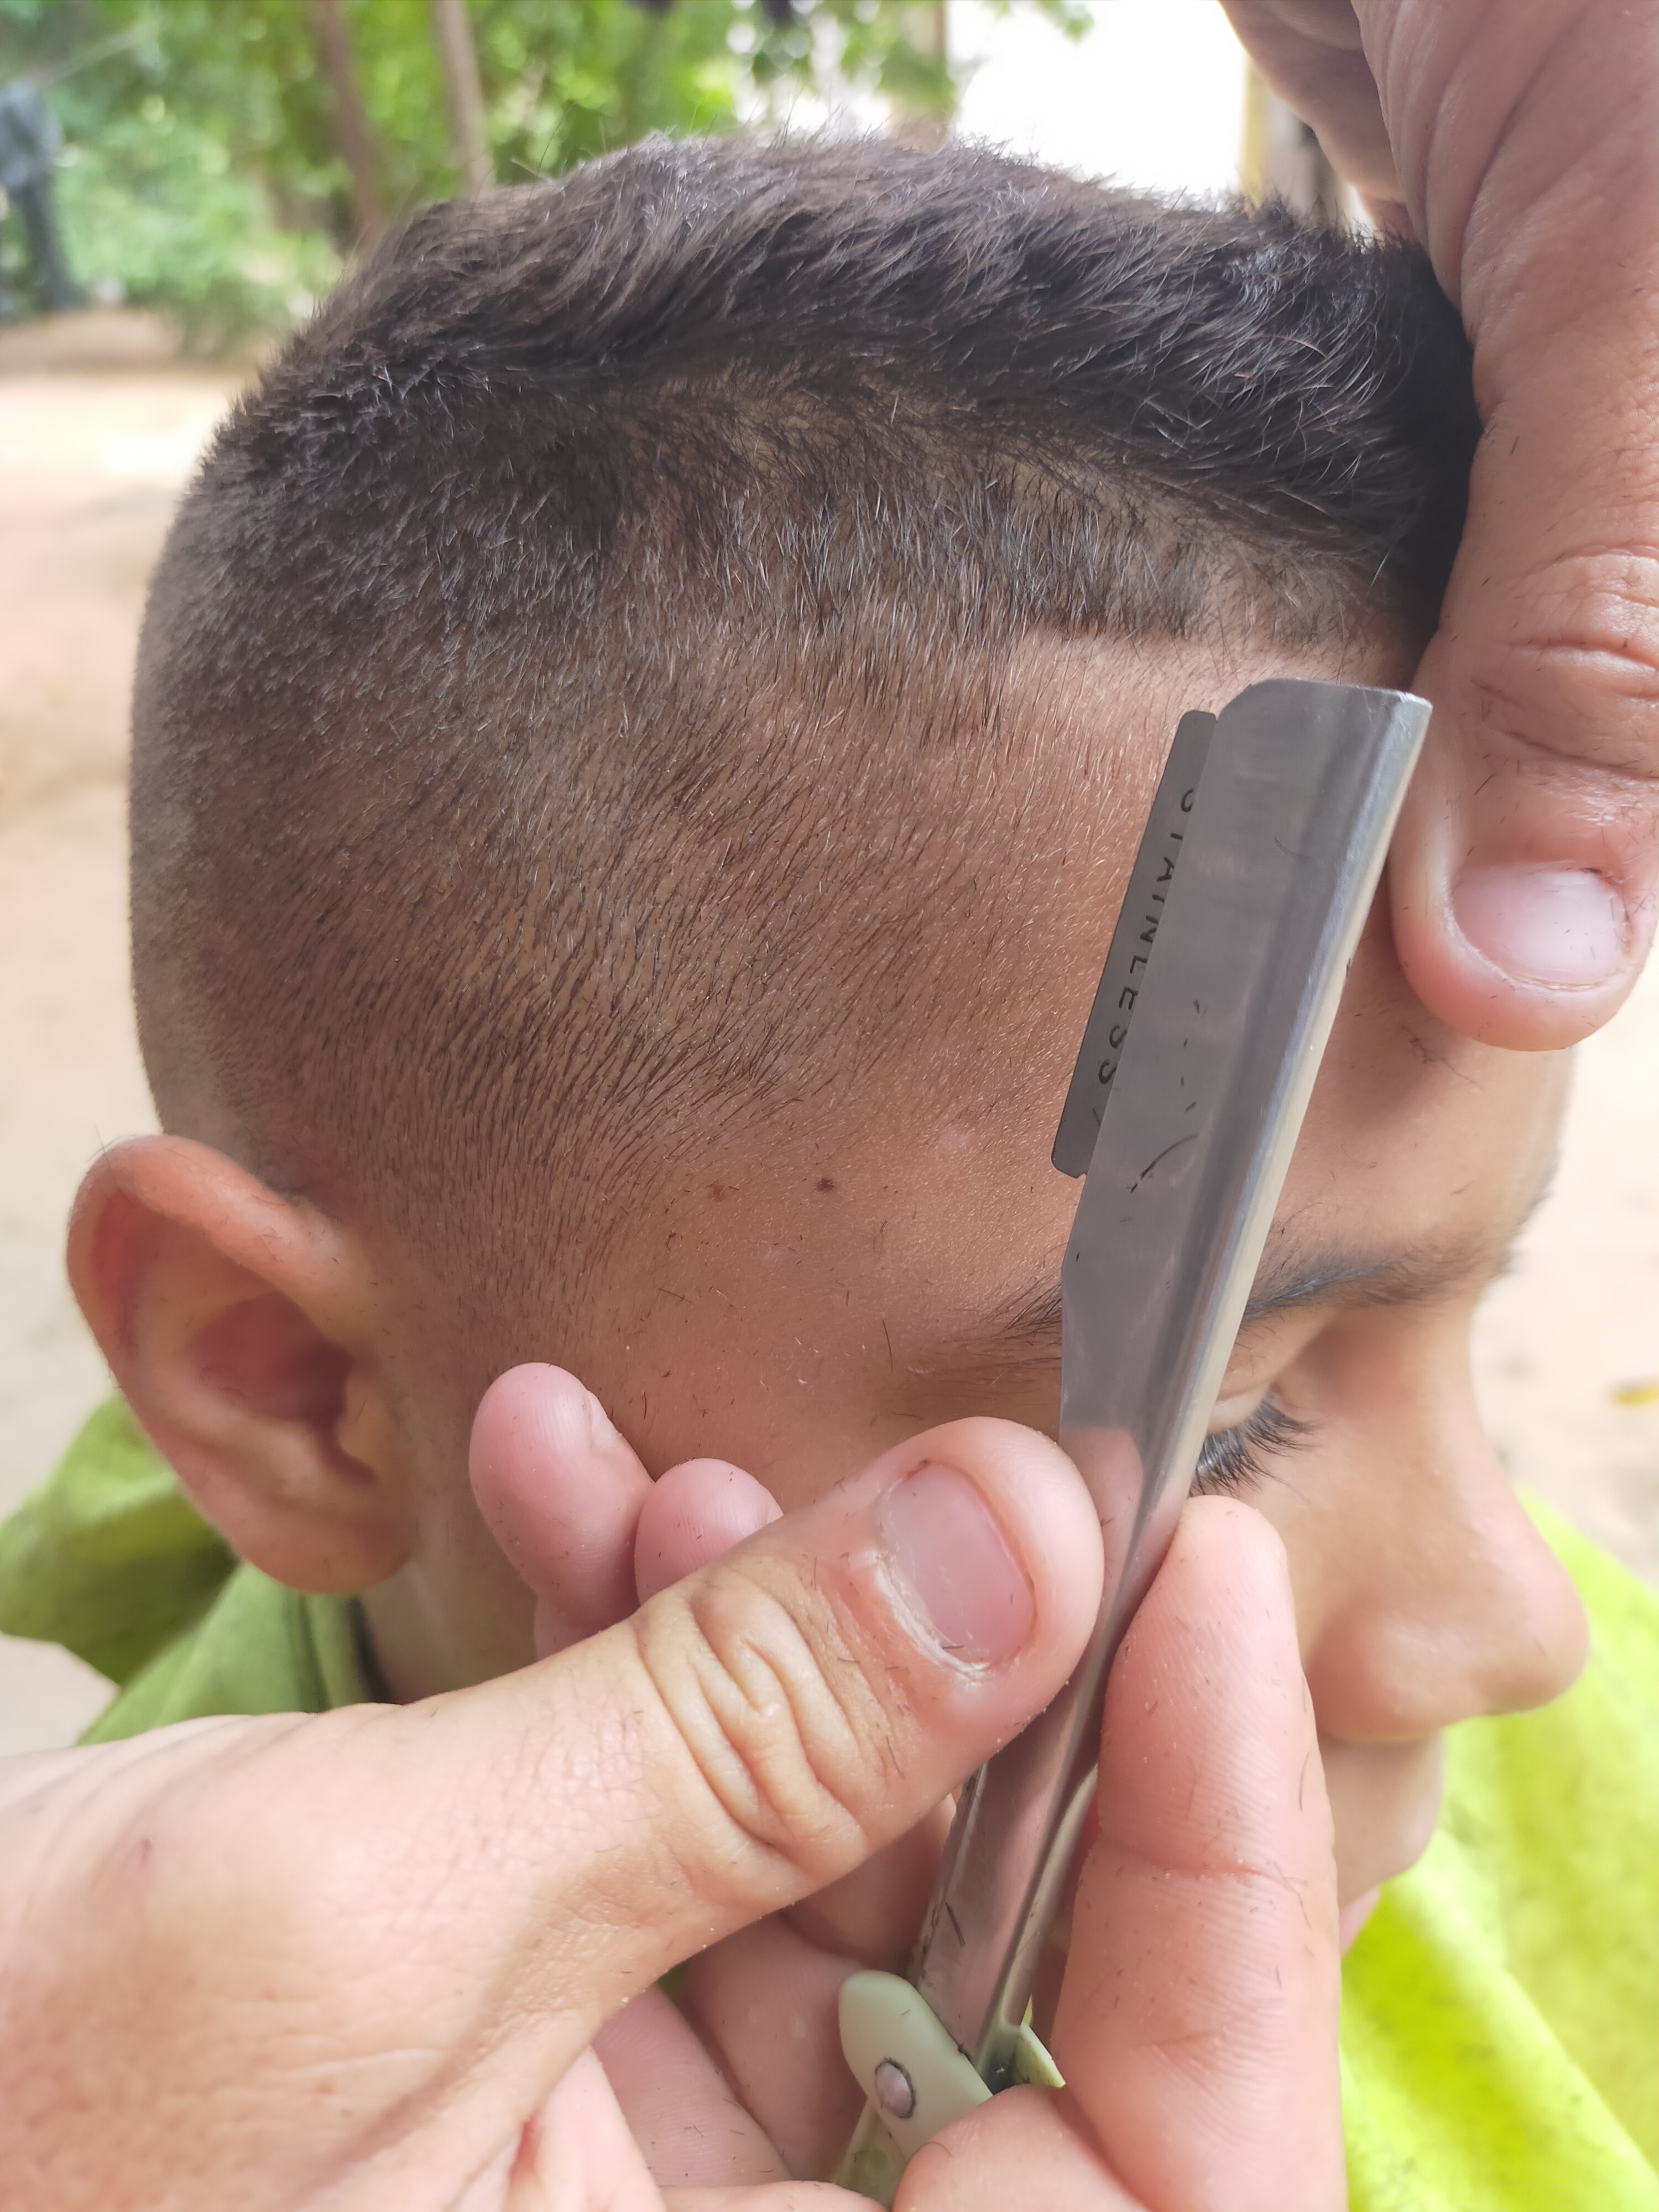
Cómo último paso, utilizando la hojilla; damos último toque al delinear el corte adelante y atrás.
As the last step, using the sheet; we give the last touch when outlining the front and back cut.
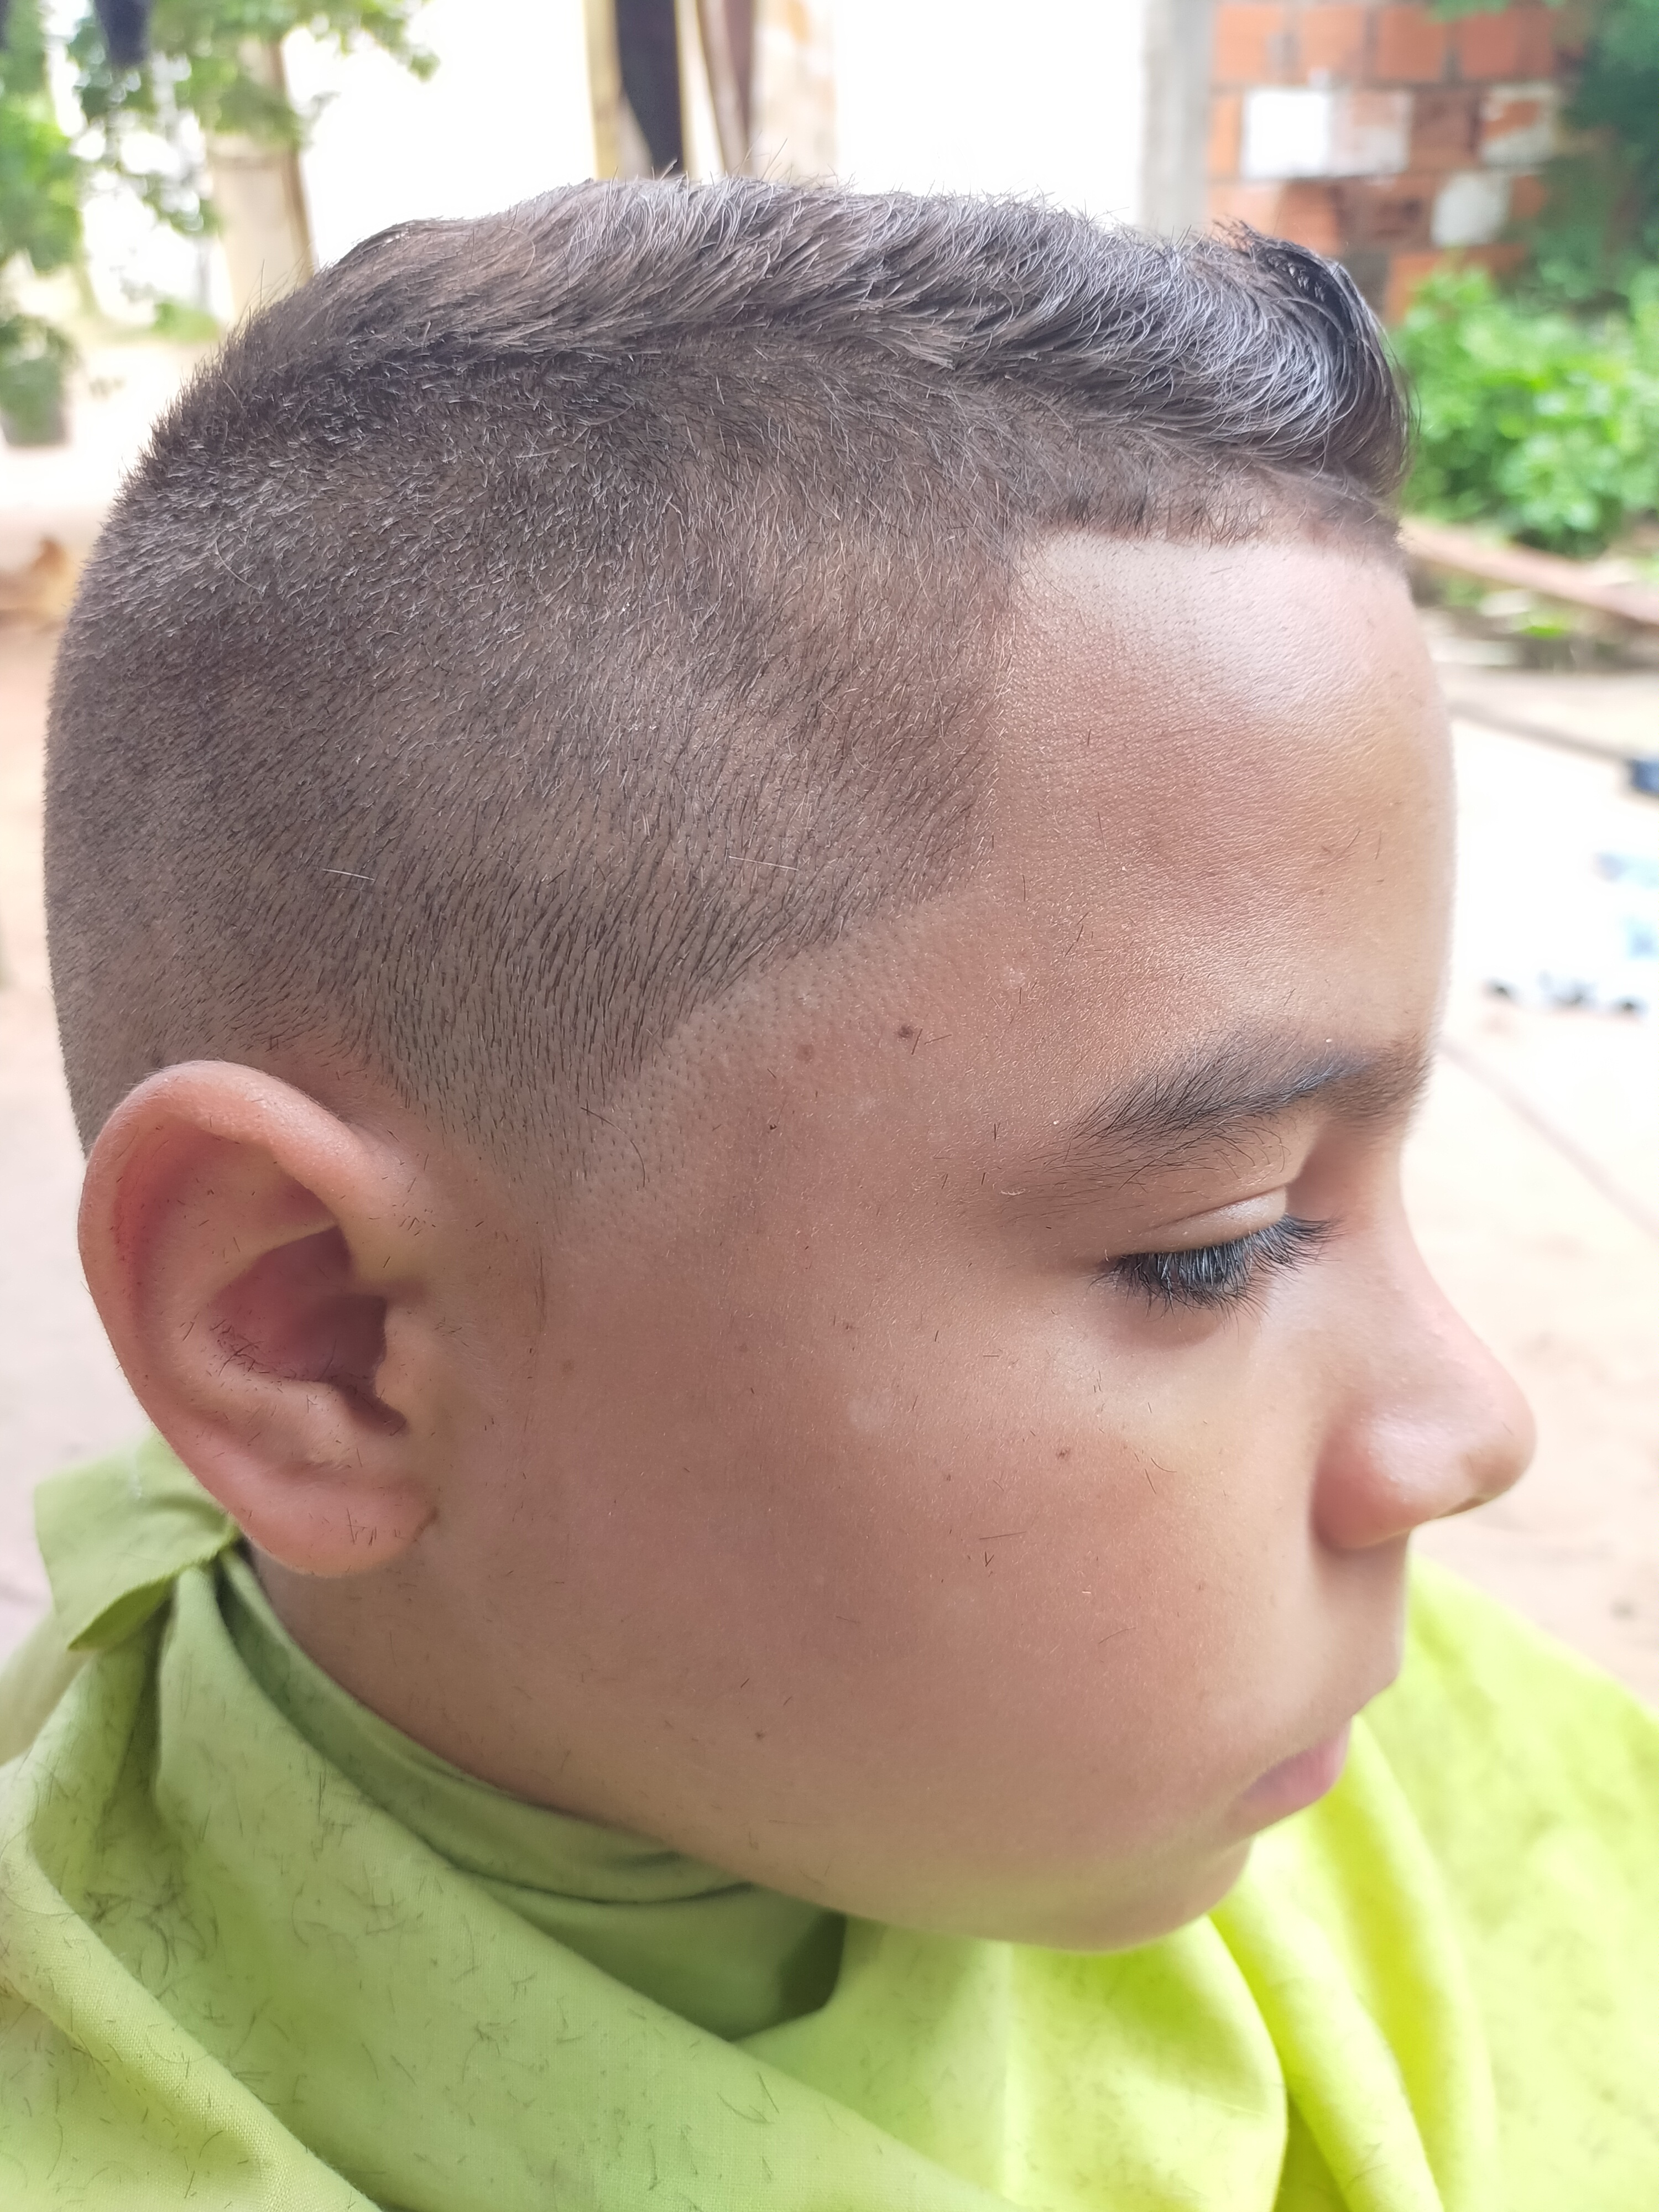
Resultado //## Outcome
Gracias por ver todo!//## Thanks for watching everything!

¡Felicidades! Esta publicación obtuvo upvote y fue compartido por @la-colmena, un proyecto de Curación Manual para la comunidad hispana de Hive que cuenta con el respaldo de @curie.
Si te gusta el trabajo que hacemos, te invitamos a darle tu voto a este comentario y a votar como testigo por Curie.
Si quieres saber más sobre nuestro proyecto, acompáñanos en Discord: La Colmena.
Your content has been voted as a part of Encouragement program. Keep up the good work!
Use Ecency daily to boost your growth on platform!
Support Ecency
Vote for Proposal
Delegate HP and earn more
Quedo calidad el degradado :o
Saludos. No hace falta ser profesional. Solo hay que arriesgarse jajaj
Congratulations @estevan95! You have completed the following achievement on the Hive blockchain and have been rewarded with new badge(s) :
Your next target is to reach 900 upvotes.
You can view your badges on your board and compare yourself to others in the Ranking
If you no longer want to receive notifications, reply to this comment with the word
STOPGenial hermano, yo también corto cabello, afeitar con peine y maquina es algo que aún no me sale completamente bien, prefiero utilizar la peineta y las tijeras. Saludos!
Gracias. Si, es más práctico. Más rapido
Qué genial que nos muestres el proceso, espero subas más tutoriales!