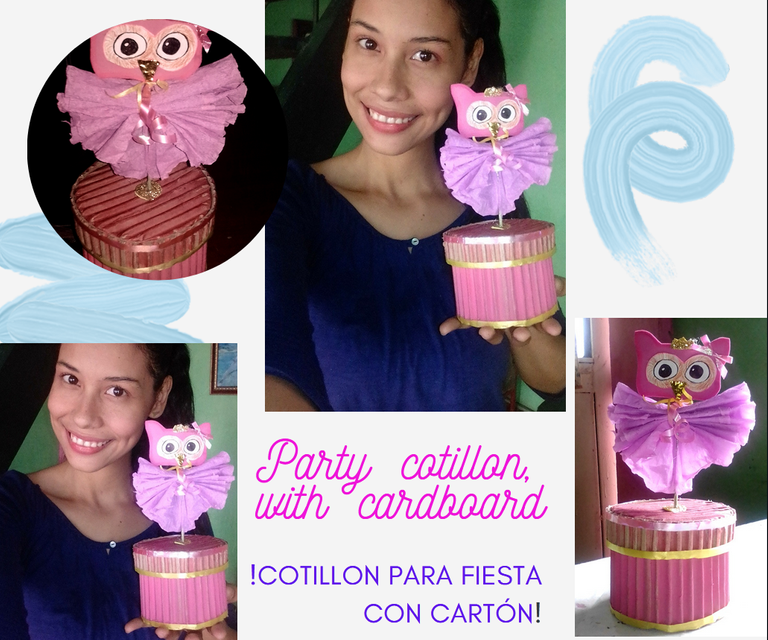
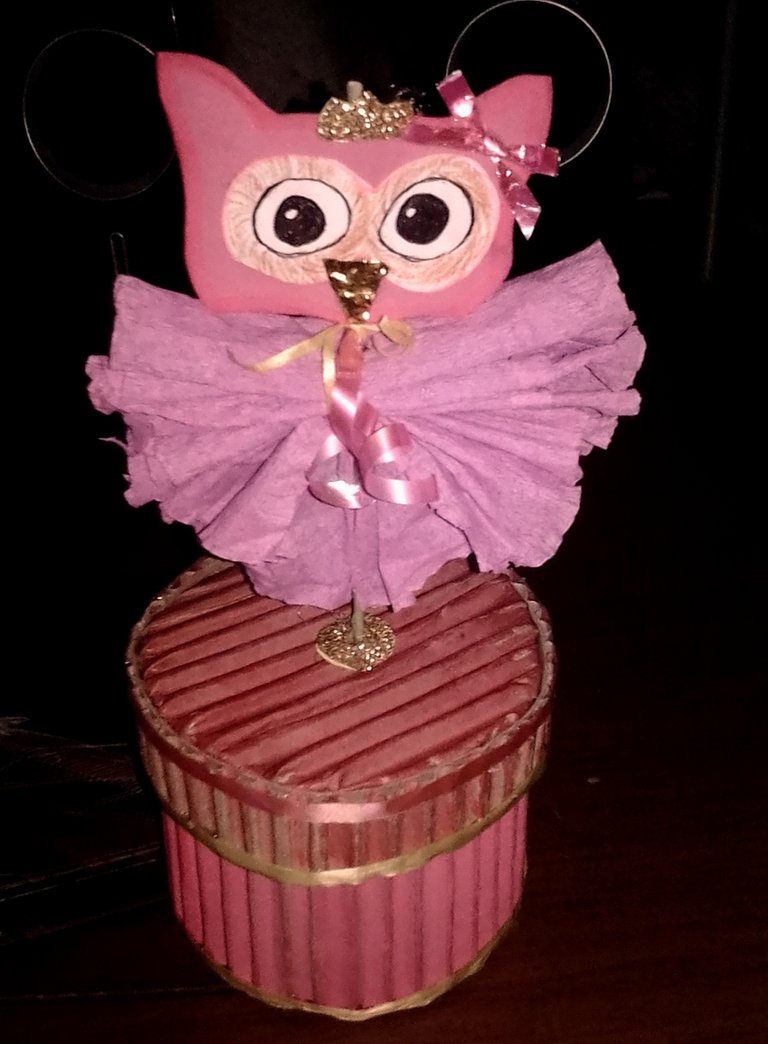
Hello hivers, greetings to this great community. I've been doing crafts to show you, because it's something that I really like. I always want to keep you up to date on the things I do. They are very simple but beautiful. Here I show you a party favors for girls' birthdays, with an owl theme.
We know that we can go to stores and buy them ready-made, but as I always say, we have to look around things to get them cheaper and also learn to make them.
This is a party favors made of ordinary cardboard, where its interior can be filled with any candy you like.
To do it, you would generally need corrugated cardboard, but taking advantage of my ideas of using recyclable materials, I will teach you how to convert an ordinary cardboard into a corrugated one.
I invite you to continue reading friends and observe the photos taken of its realization
Hola hivers, saludos a esta gran comunidad. He estado haciendo manualidades para mostrarles, porque es algo que me gusta mucho. Siempre quiero mantenerles informado sobre las cosas que hago. Son muy simples pero hermosas. Aquí les muestro un obsequio para cumpleaños de niñas, con tema de búho.
Sabemos que podemos ir a las tiendas y comprarlos , pero como siempre digo, tenemos que buscar cosas para que sean más economicas y también aprender a hacerlas.
Se trata de un obsequio de fiesta fabricado con cartón comun, donde su interior se puede rellenar con cuantos caramelo desee.
Para hacerlo, generalmente necesitarías cartón corrugado, pero aprovechando mis ideas de usar materiales reciclables, te enseñaré cómo convertir un cartón ordinario en uno corrugado.
Los invito a seguir leyendo amigos y observar las fotos tomadas de su realización.

Let's start with
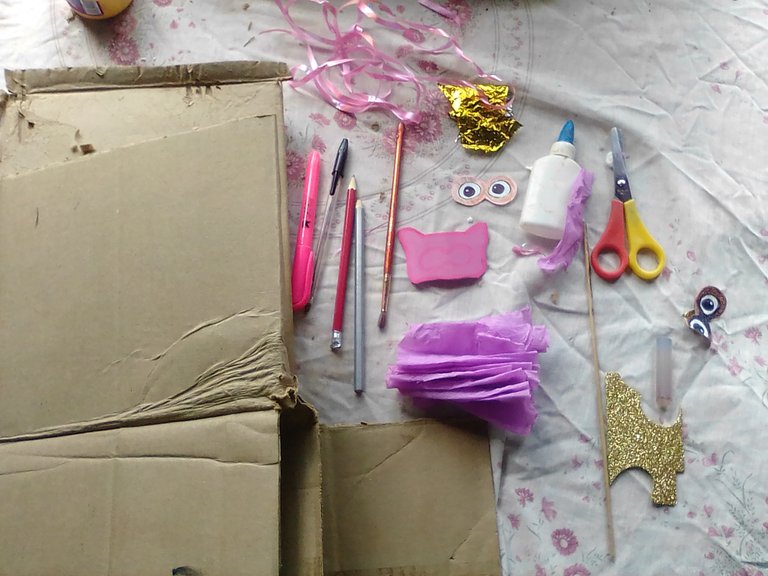
THE MATERIALS:
Paperboard,
High sticks,
Foami,
white sheet,
Colors and pen,
Pink and yellow trim ribbon,
Crepe paper.
Empecemos con
LOS MATERIALES:
Cartón,
Palitos de altura,
Foami,
hoja blanca,
Colores y bolígrafo,
Cinta de adorno rosa y amarillo,
Papel crepe.

STEP BY STEP ,
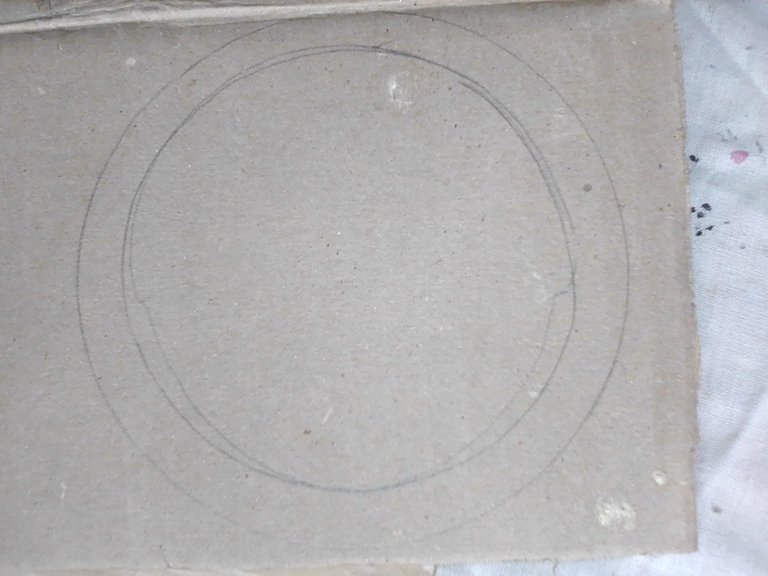
Step 1: We draw two circles (one larger than the other) on the cardboard to proceed to cut out the largest circle and the smallest one we make straight cuts on the edges.
PASO A PASO ,
Paso 1: Dibujamos dos círculos (uno más grande que el otro) sobre el cartón para proceder a cortar el círculo más grande y el más pequeño hacemos cortes rectos en los bordes.
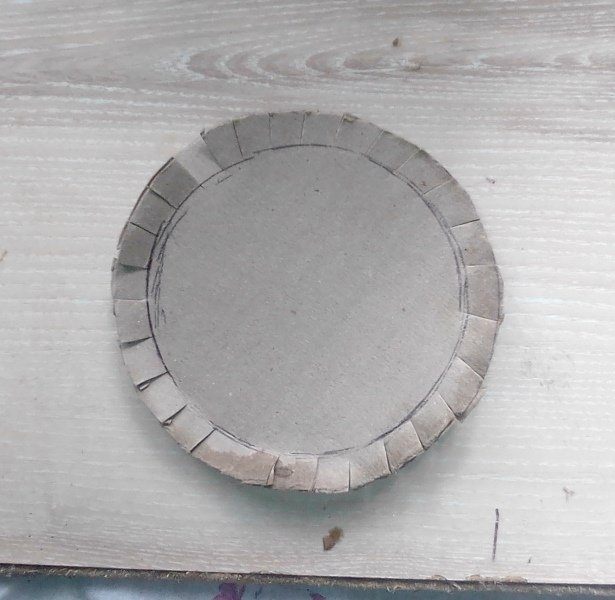
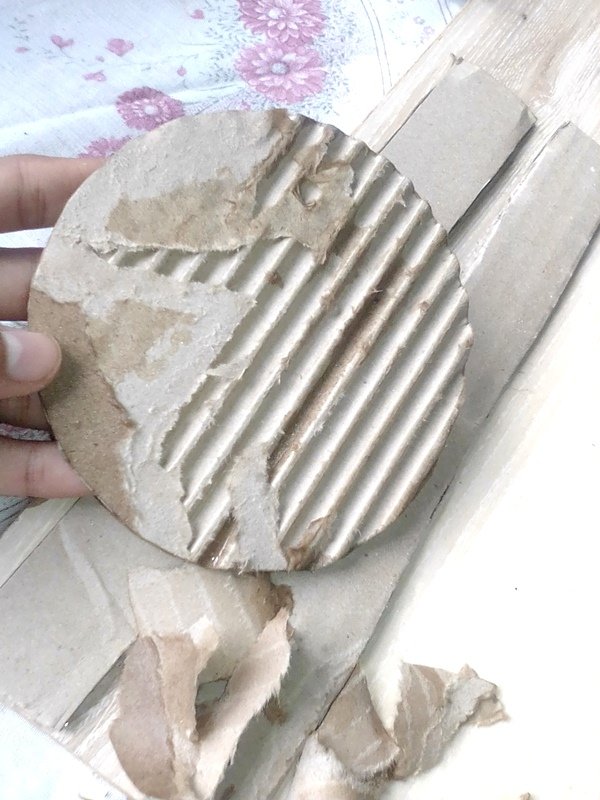
Step 2: We wet the cardboard with little water to remove the flat paper on the corrugated layer.
Paso 2:
Mojamos el cartón con poca agua para quitar el papel plano sobre la capa ondulada.
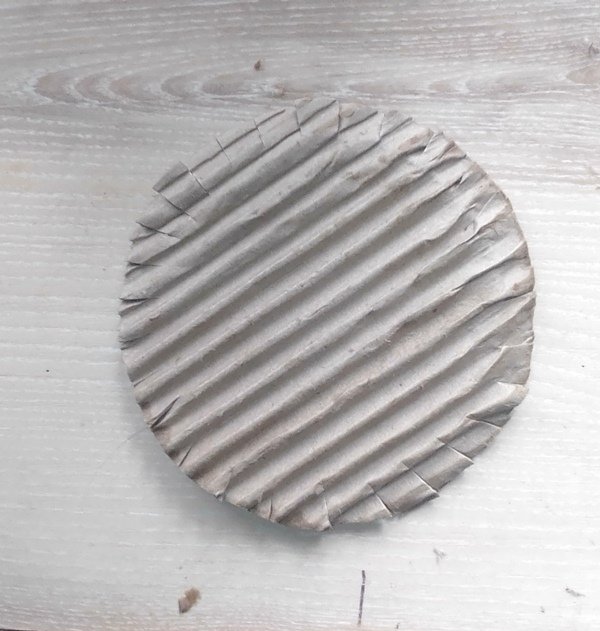
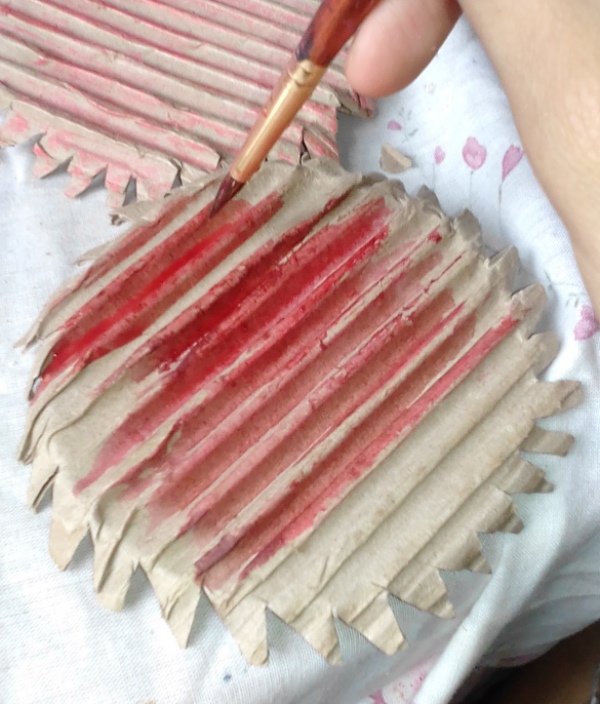
Step 3: We proceed to paint the cardboard and then make the lid of the box. To do this, we cut a long corrugated cardboard, which surrounds the circle of the lid and glue it.
Paso 3: Procedemos a pintar el cartón y luego hacemos la tapa de la caja. Para ello, cortamos un cartón ondulado largo, que rodea el círculo de la tapa y lo pegamos.
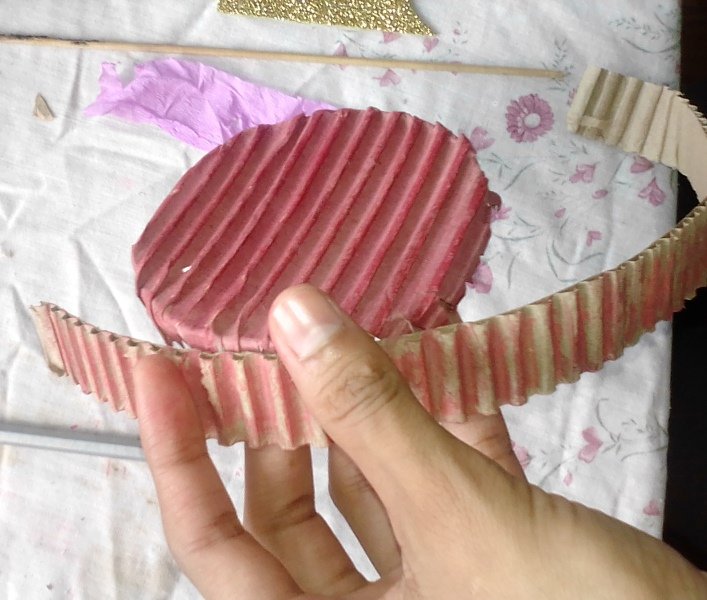
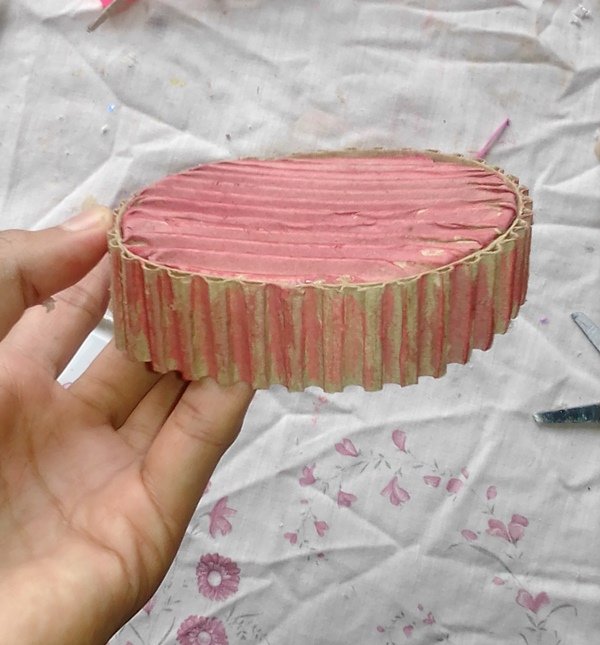
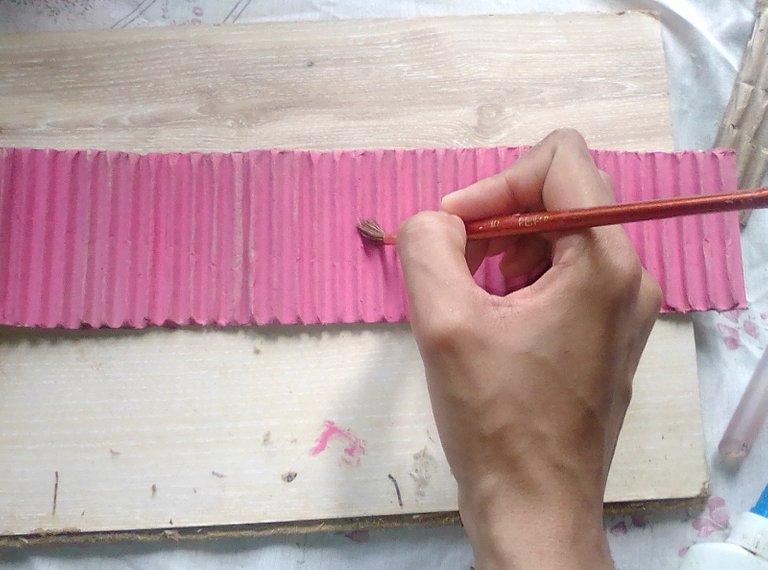
Step 4: Here we have already cut the base of the box with 24 cm long and 10 cm wide. To glue it to the circle with the folds in the corrugated cardboard.
Paso 4: Aquí ya hemos cortado la base de la caja con 24 cm de largo y 10 cm de ancho. Pegarlo al círculo con los pliegues en el cartón ondulado.
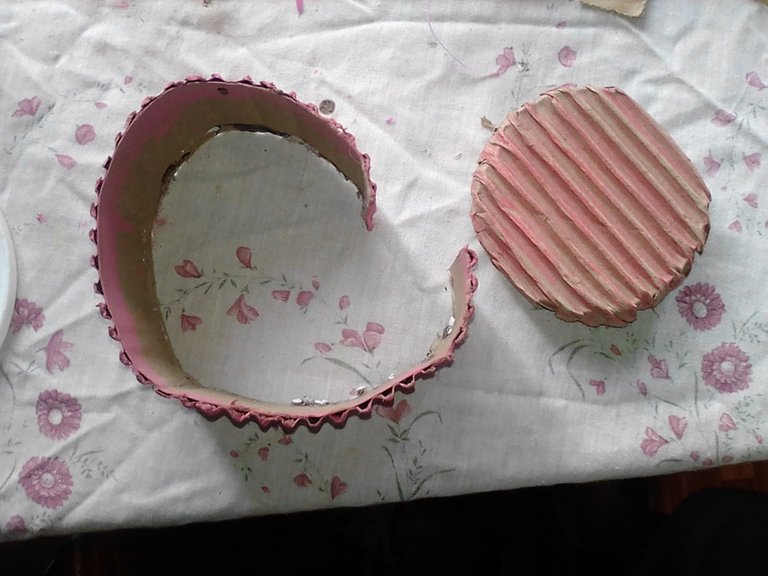
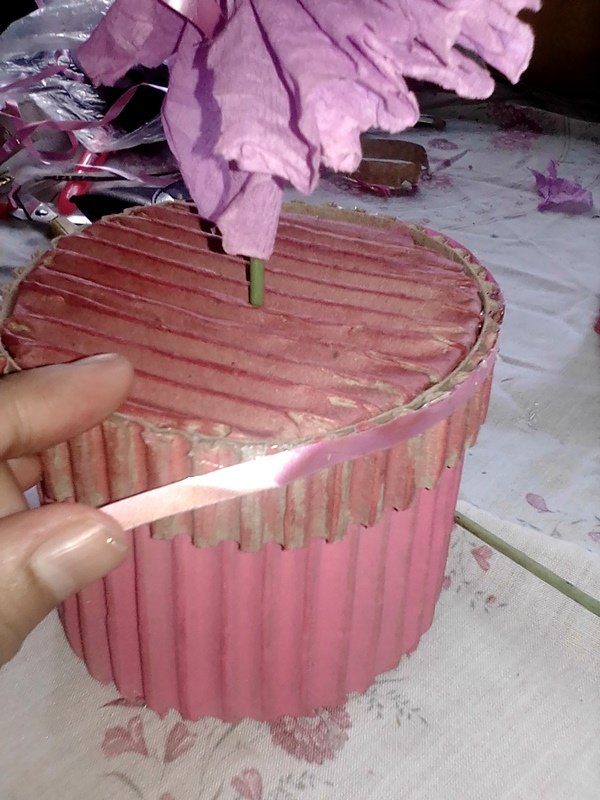
Step 5: This is how the box looks with its elaborate lid and the base of the cotillon cylinder.
Paso 5: Así luce la caja con su elaborada tapa y la base del cilindro de cotillón.
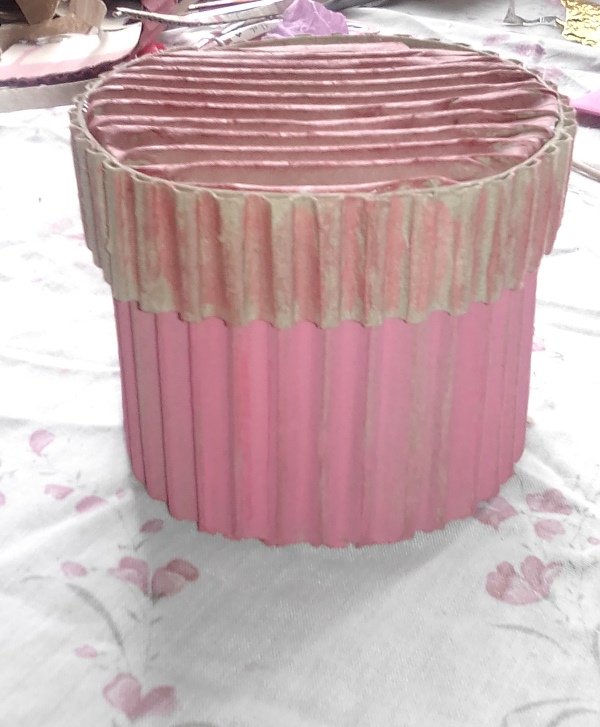
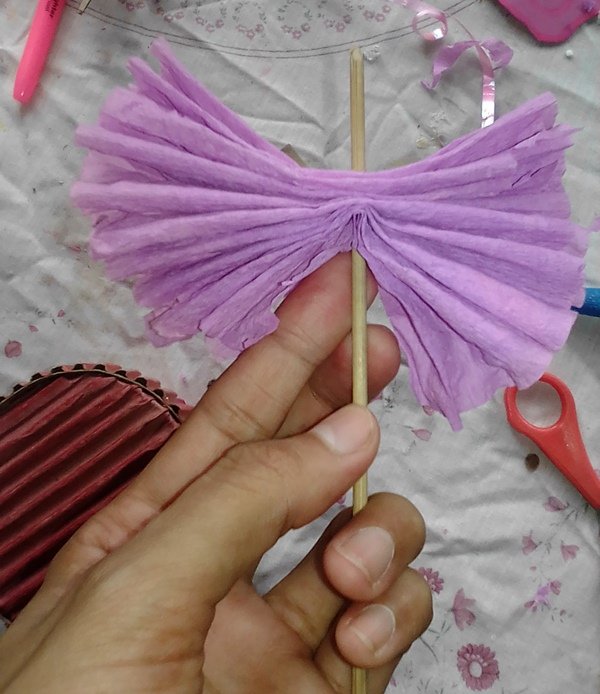
Step 6: With a stick of height we make the body of the owl, which consists of taking crepe paper and inserting it into the stick that will serve as a support. And the crepe paper will be like the wings.
Paso 6: Con un palito de altura hacemos el cuerpo de la lechuza, que consiste en tomar papel crepé e insertarlo en el palito que nos servirá de soporte. Y el papel crepé será como las alas.
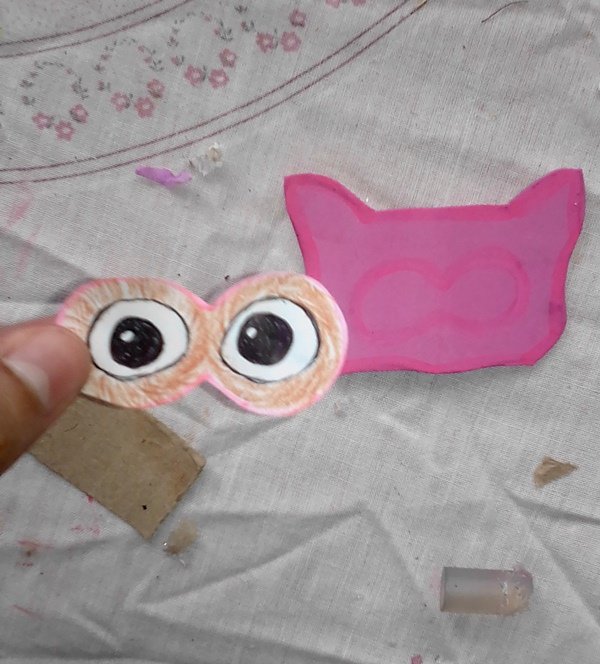
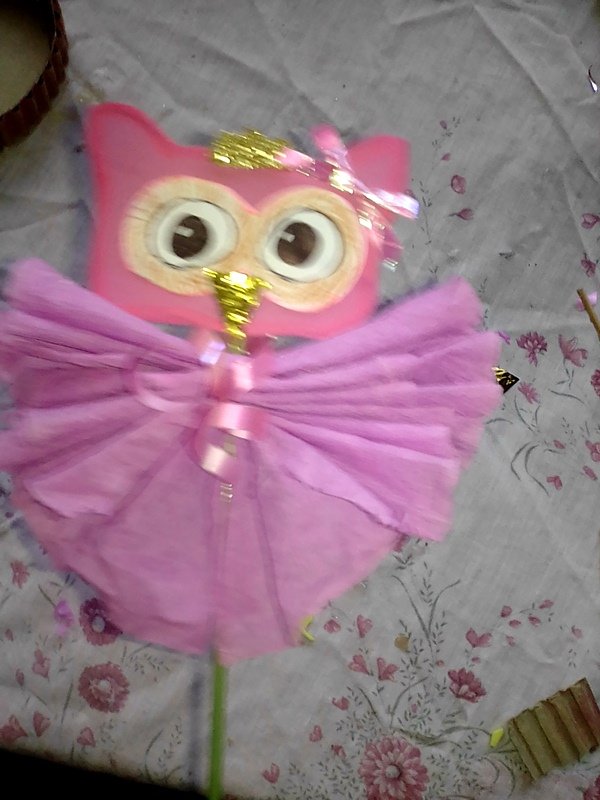
Step 7: Already having the head of the owl and eyes painted. We make the details for the owl's head (the crown, the bow, the ribbons) and glue them on the stick.
Paso 7: Ya teniendo la cabeza de la lechuza y los ojos pintados. Hacemos los detalles para la cabeza del búho (la corona, el lazo, las cintas) y los pegamos al palito de altura.
Step 8:
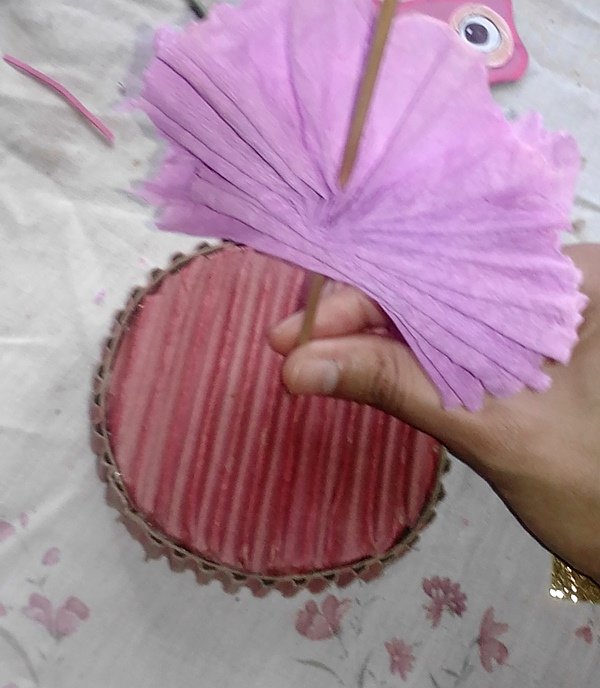
Having the owl ready, we glue it on top of the lid. As part of the decoration. And we ended up putting some ribbons around the cylinder of the lid and the base of the box.
Paso 8:
Teniendo el búho listo, lo pegamos encima de la tapa. Como parte de la decoración. Y terminamos poniendo unas cintas alrededor del cilindro de la tapa y la base de la caja.
THE JOB IS READY, IT LOOKS LIKE THIS
EL TRABAJO ESTÁ LISTO,SE VE ASÍ

Thank you friends for reading this content and seeing the realization of beautiful details for the little ones in the house. As always, it is good to leave you a useful craft. You are very important to me, I will appreciate your comments and your vote. Hugs and kisses !.
Gracias amigos por leer este contenido y ver la realización de hermoso detalle para los más pequeños de la casa. Como siempre, es bueno dejarte una manualidad útil. Eres muy importante para mí, agradeceré tus comentarios y tu voto. Abrazos y besos !.

Friends here i leave my social networks/Amigos aquí dejo mis redes sociales

Copyright @eulymer - All rights reserved