Good morning everyone,
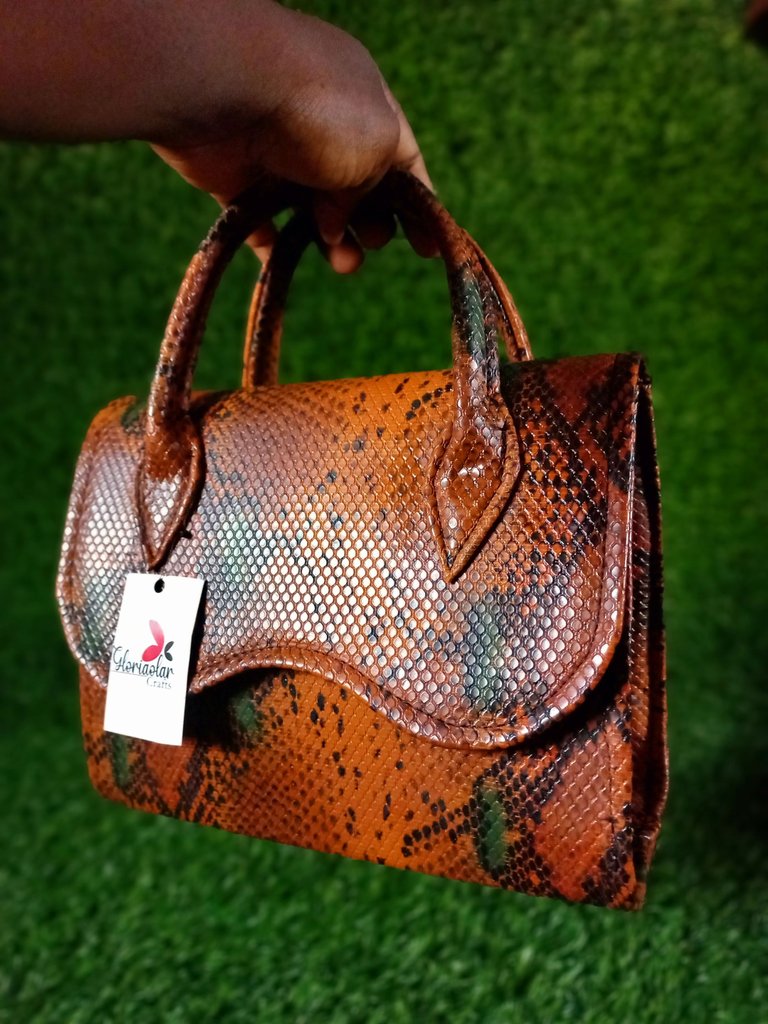
It's a beautiful day and I would be sharing with us my latest bag design. It is a medium size bag with a two curvy flap and inner zip. After making this bag I realised there are some mistakes in the bag but I still love it. The things I love the most about it is the inner zip that I was able to do and the flap with the shape of the bag. Although I was a bit angry with the mistakes I made because I spent a lot of time on the bag. Well, there is always a second trial so I'm not giving up on the style.
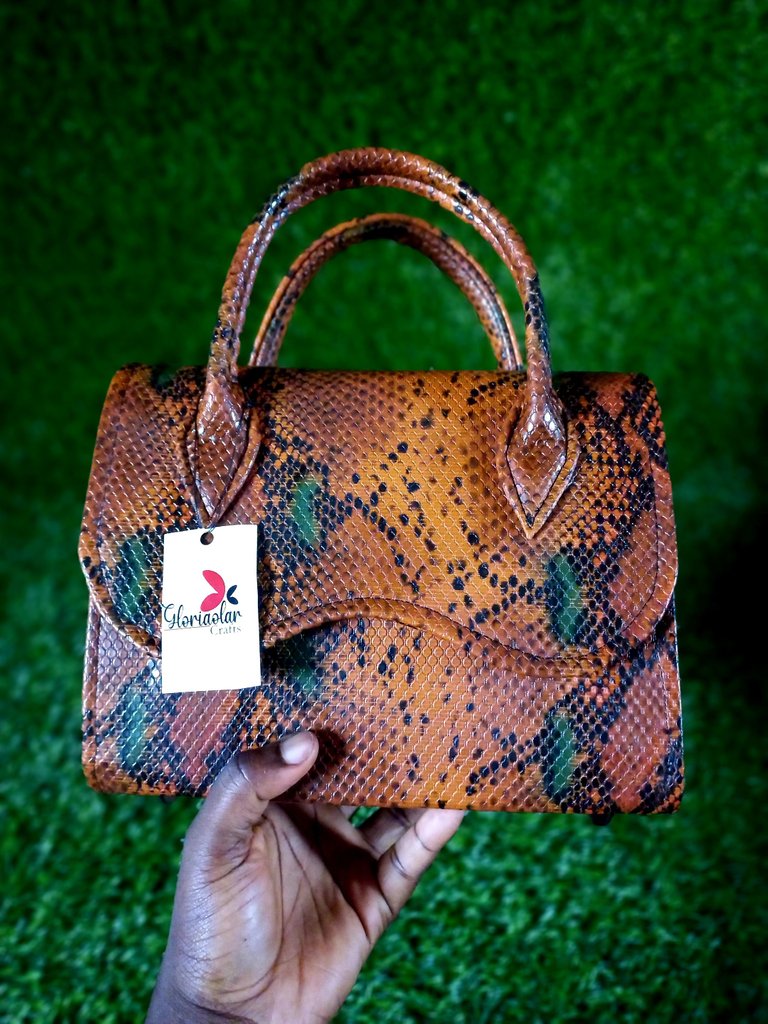
The next time I try this style, I definitely won't do the style I used for the sides. I tried to use a different style for the sides which you'd be seeing in my process below and at the final sowing, I noticed it will cause a major error and it did. The stitch were not straight and so wholly because I was trying to compress it to fit in. Also the base of the bag ought to be wider to bring a better look for the style. I also noticed the handle I fixed would be nicer if they are not too thick and on the same level. All these will be rectified on my second trial. As a craft person I've come to realize the fact that mistakes are part of new creations and you just have to make them and learn from it.
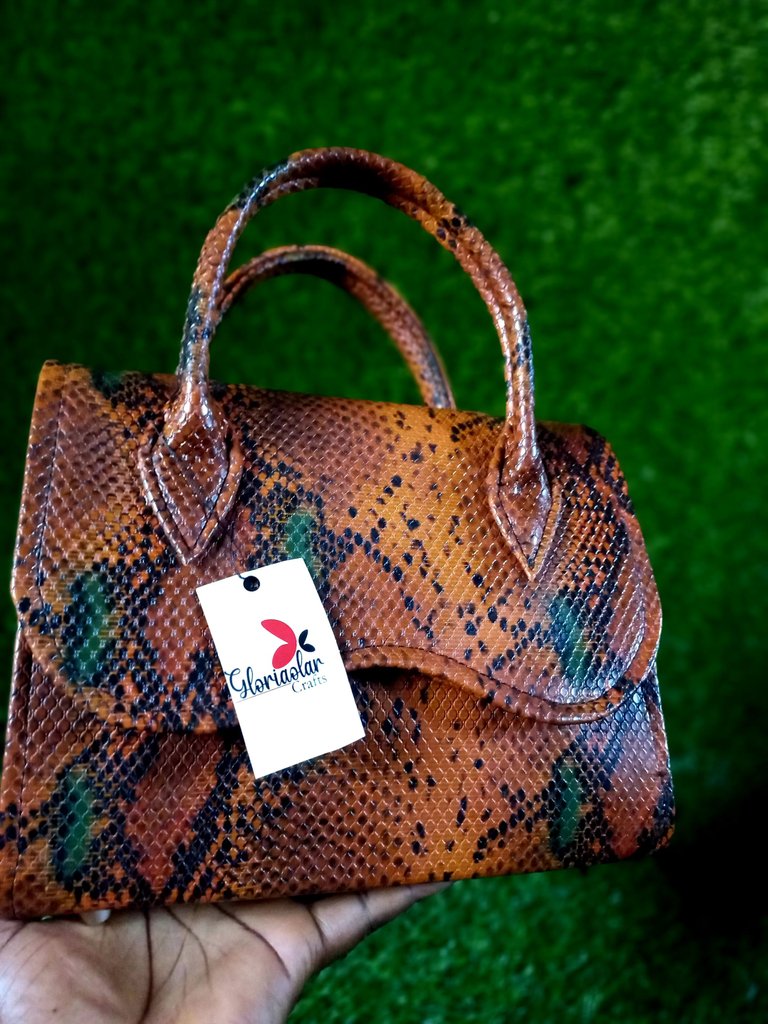
In overall, I still think the bag look beautiful. Now let me take you down the process.
The materials I used include:
- Soft fibre instead of leatherboard
- Leather of choice
- Local Maco 2
- Velvet as lining
- Gum
- Chip-board
- Bottom pin
- D rings
PROCESS
- Here I made the pattern for the bag, cut it on the soft fibre and the leather and gummed them together.
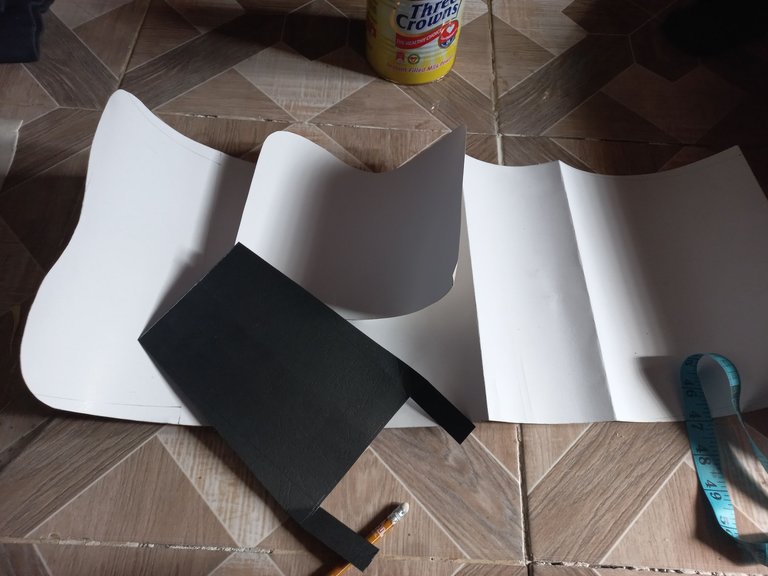
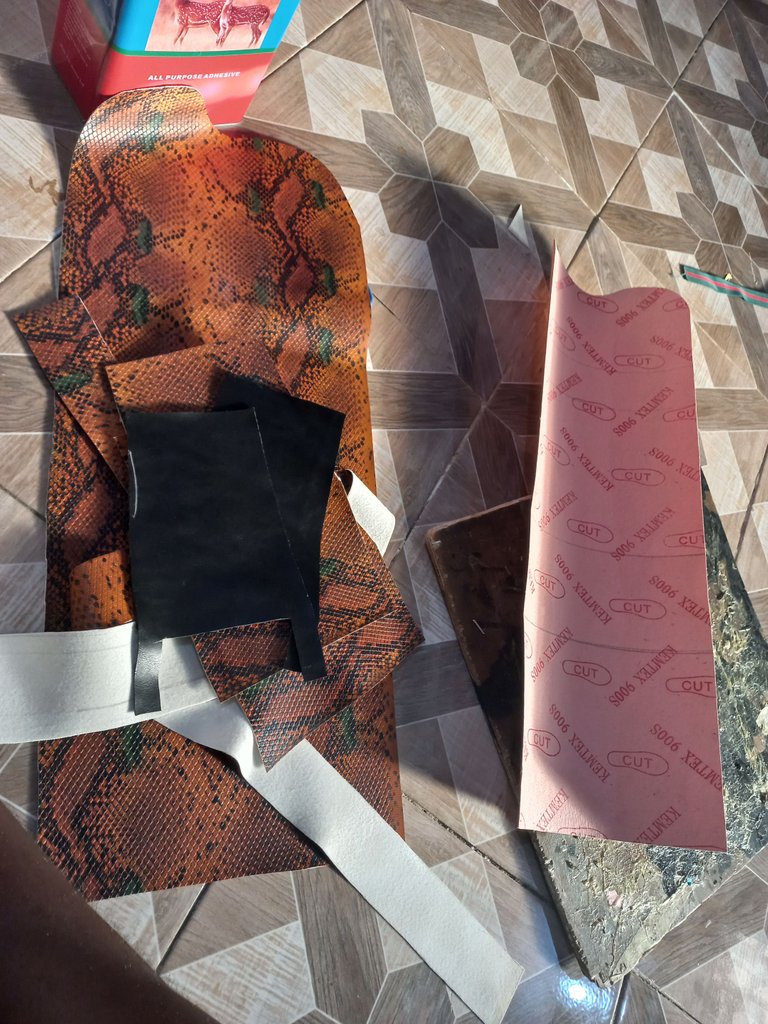
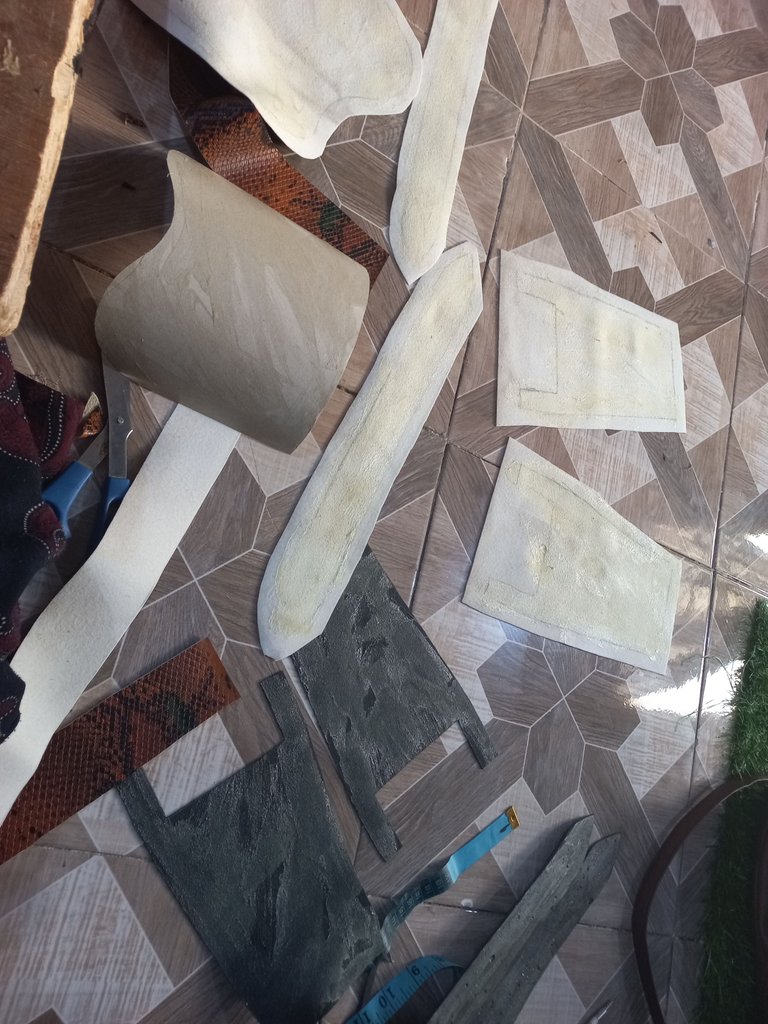
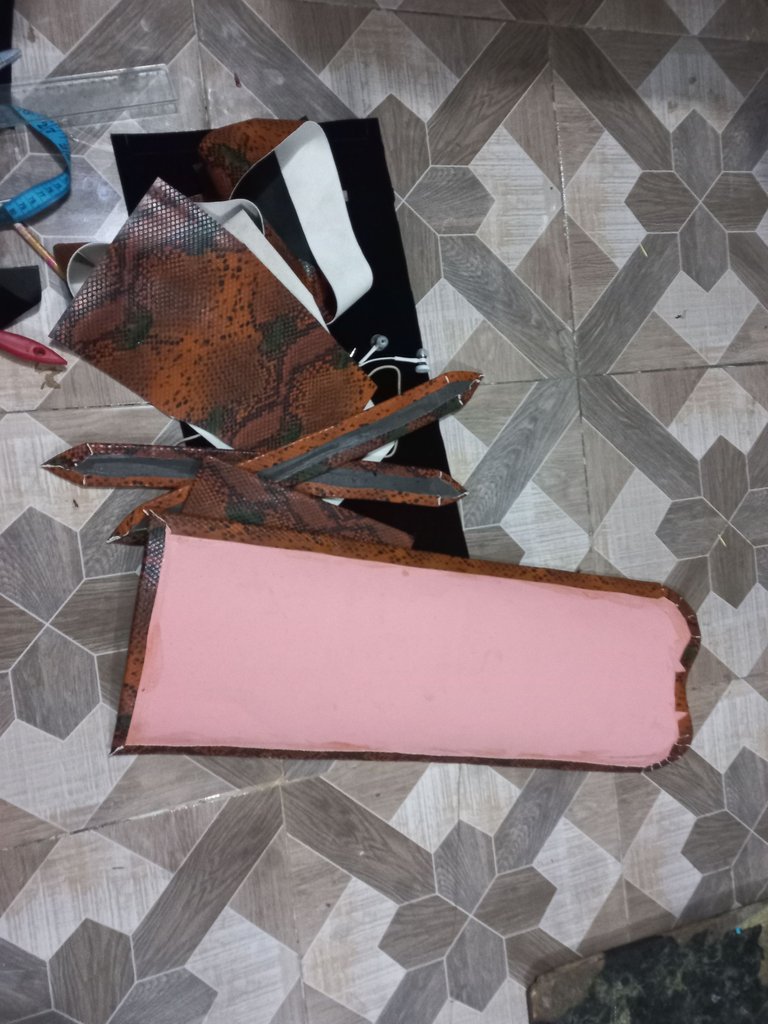
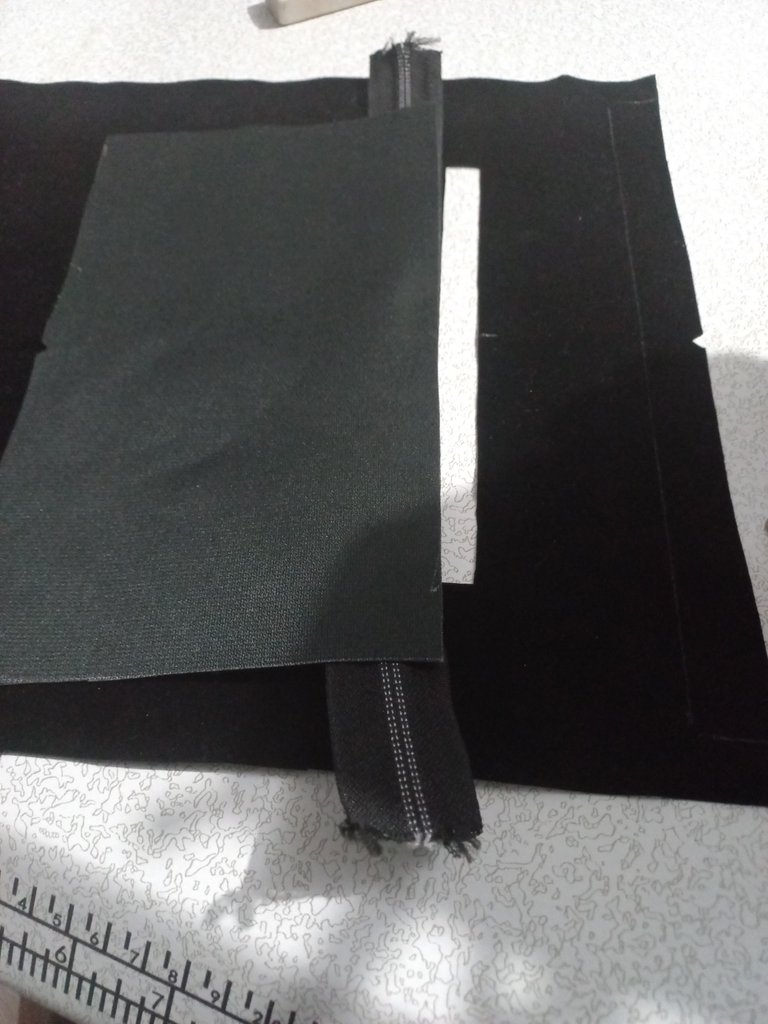
- Next I cut the velvet lining and create an inner pocket as seen in the pictures below. Also for the inner flap I used leather I stead of lining that I normally use before.
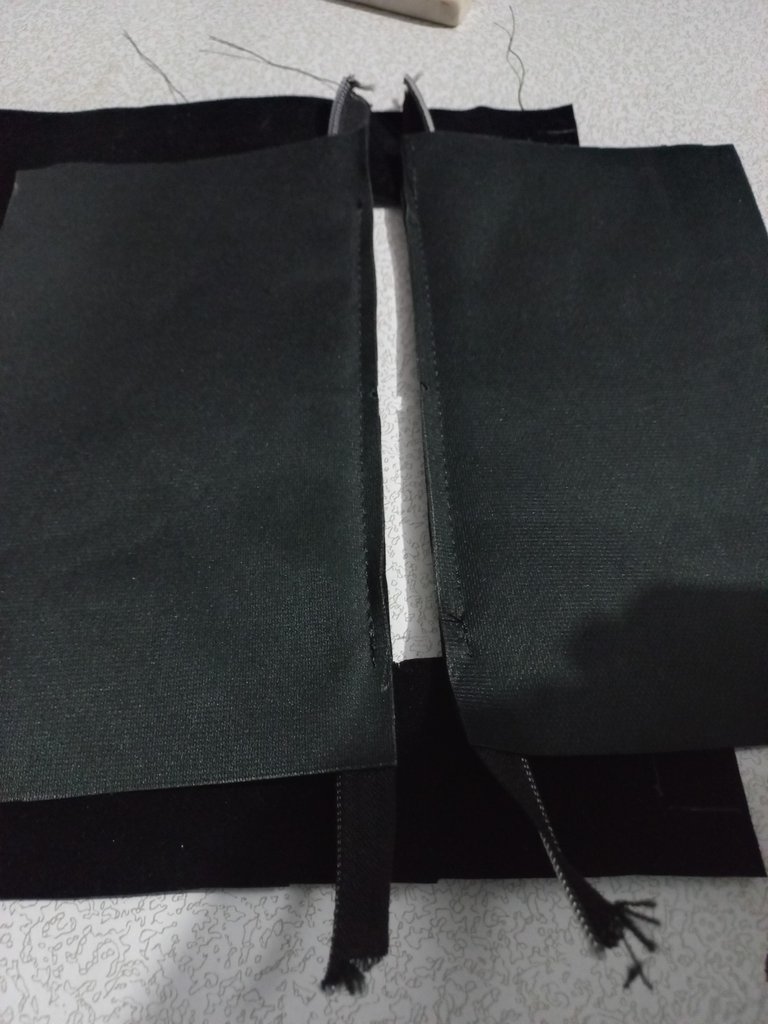
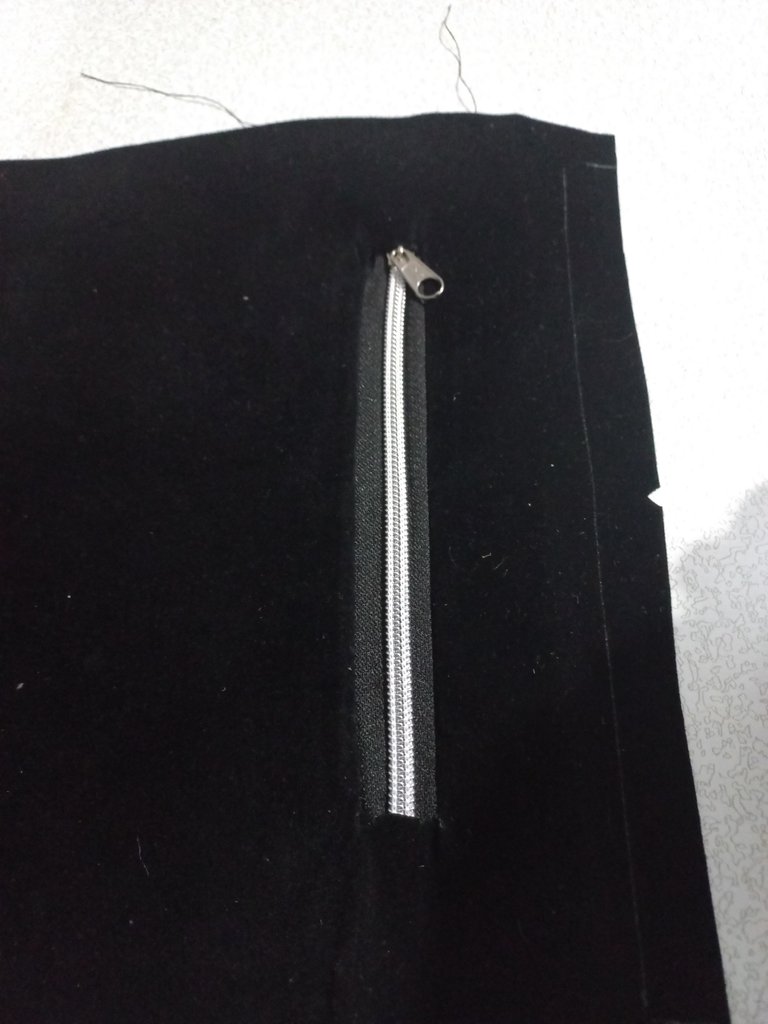
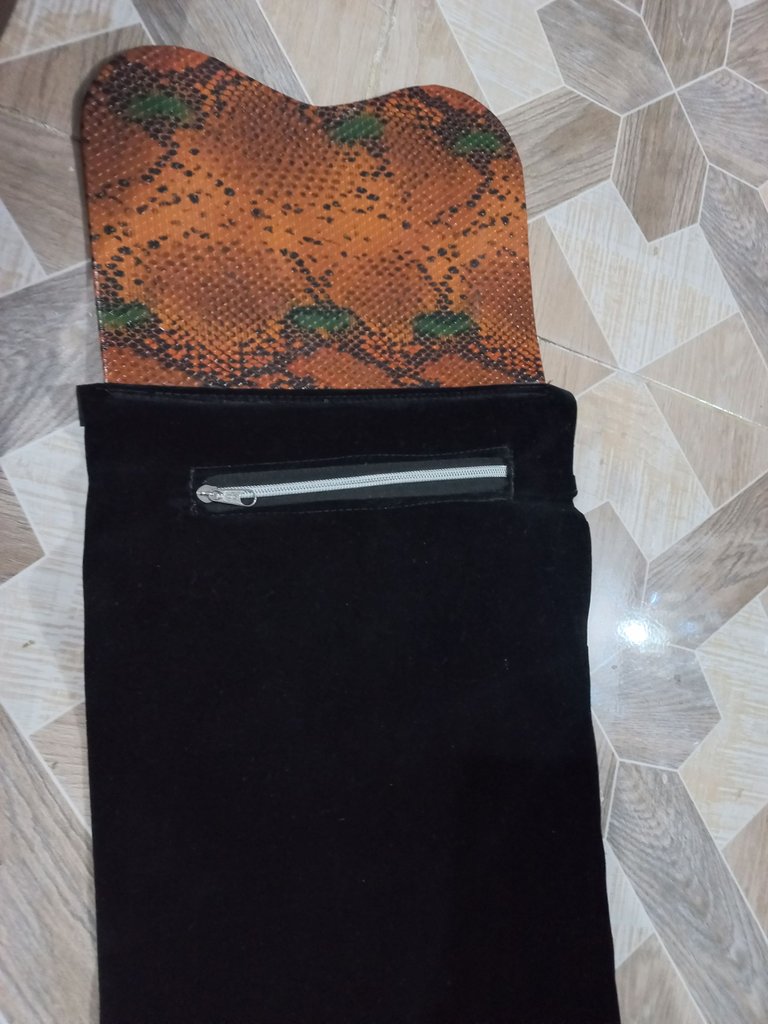
- Next I sew the short handle together and attached it to the bag and sew it to the main body of the bag.
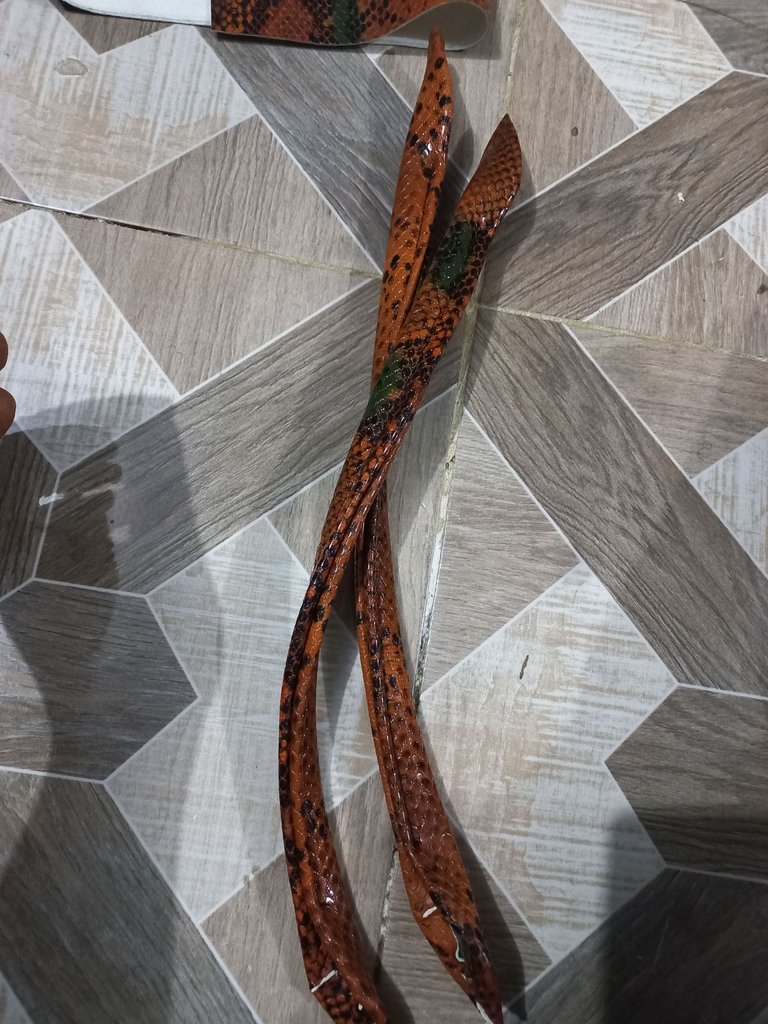
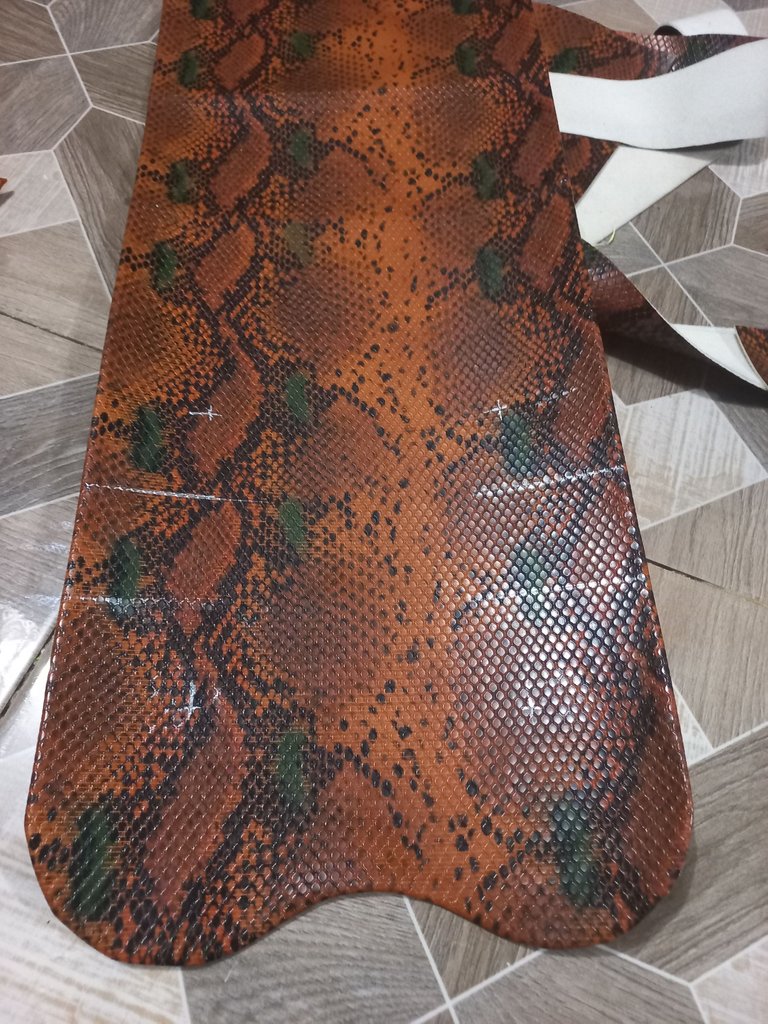
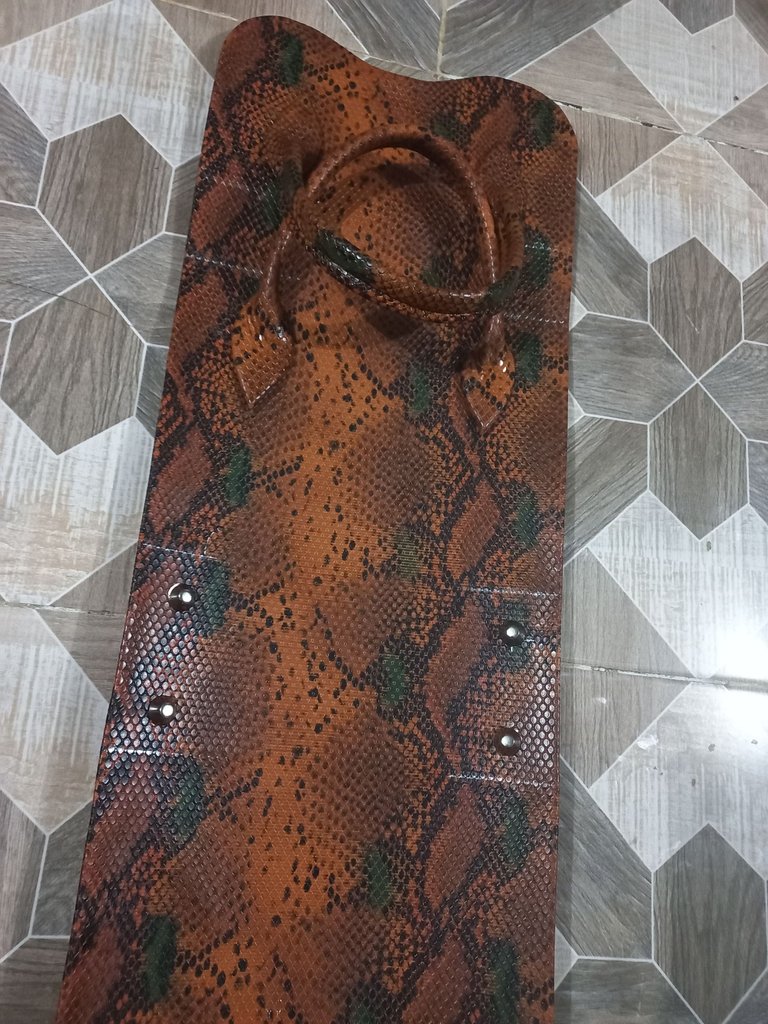
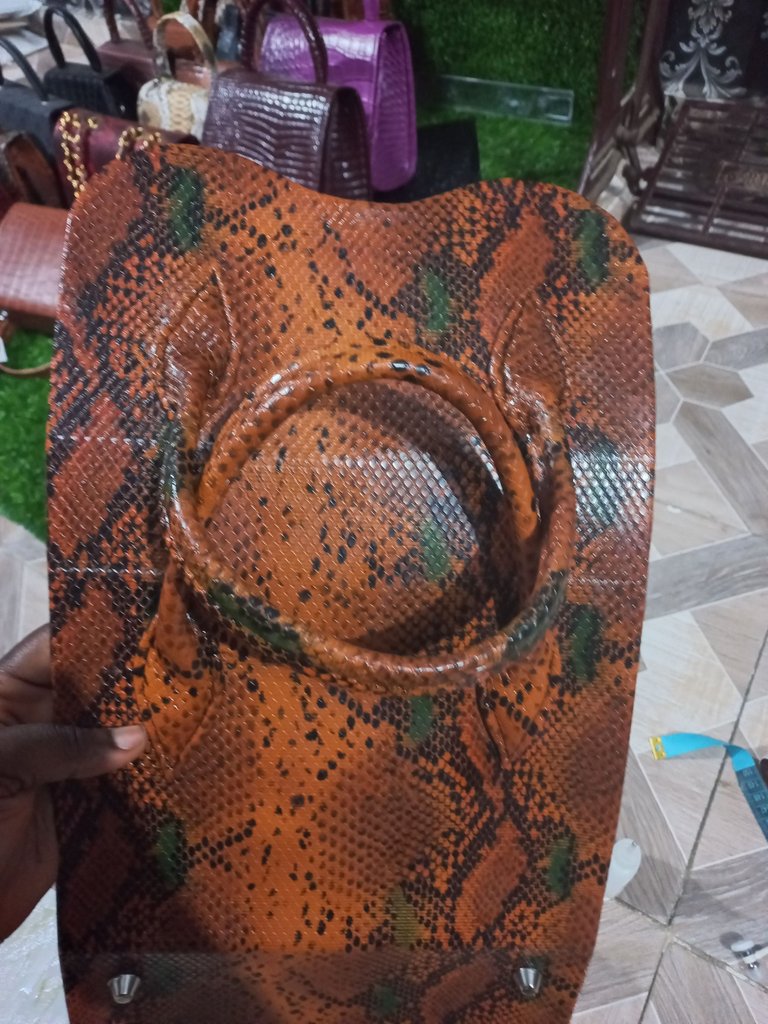
- Next I fixed the bottom pin and gum the lining with the main body of the bag omitting the place of the pocket.
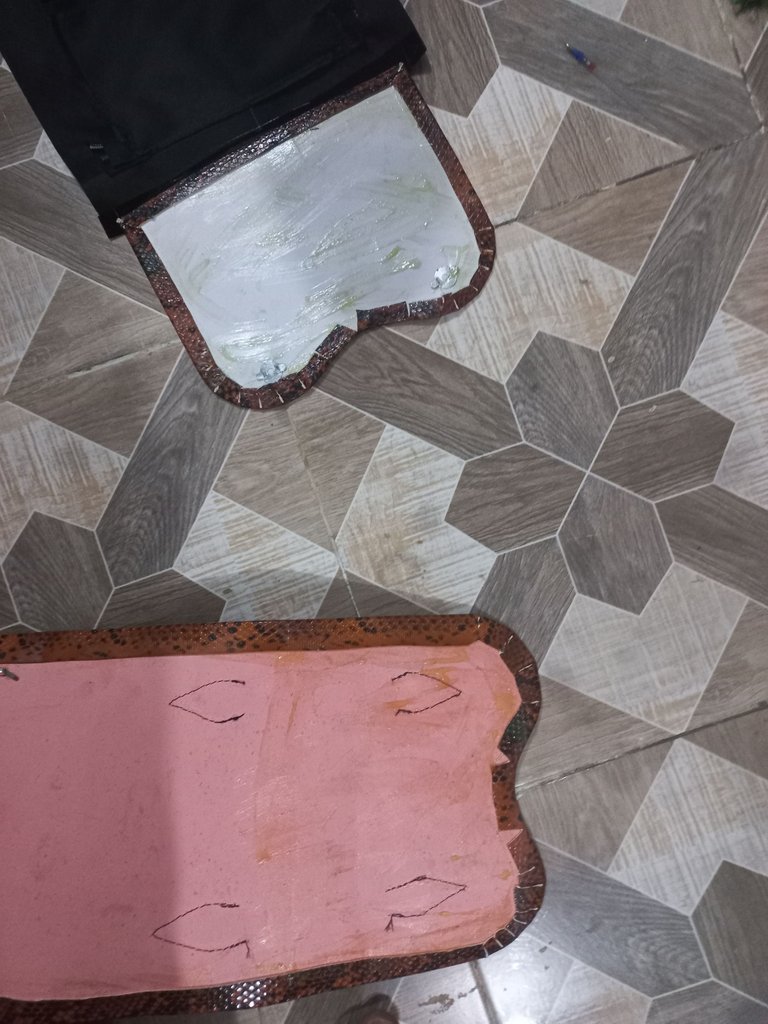
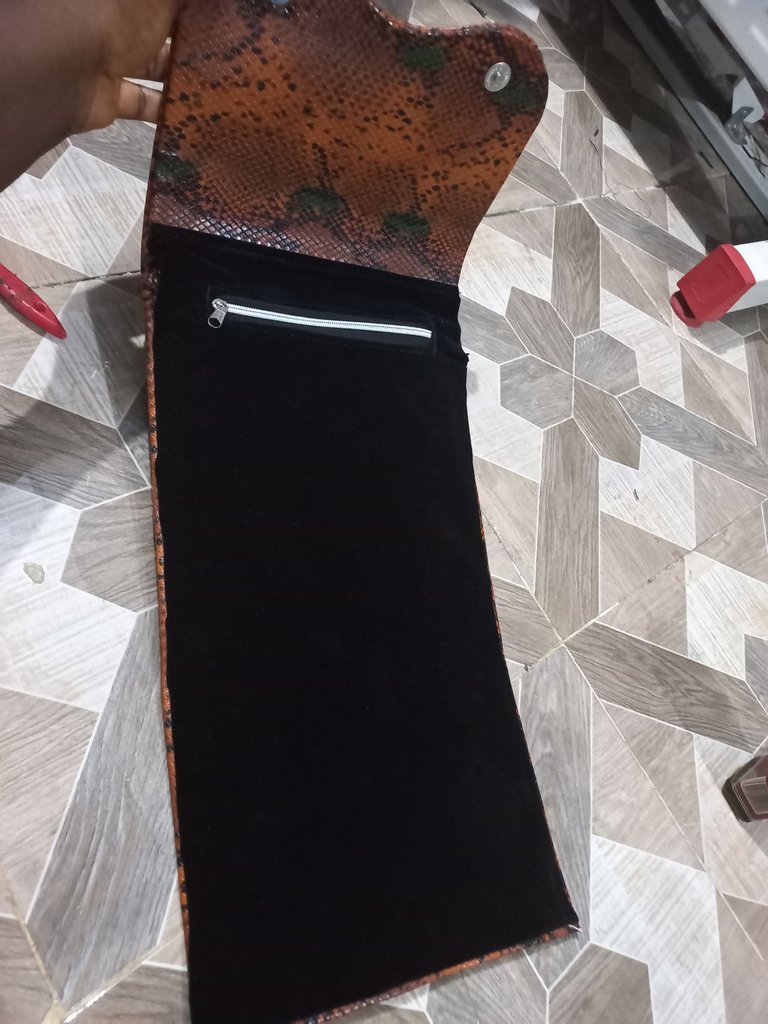
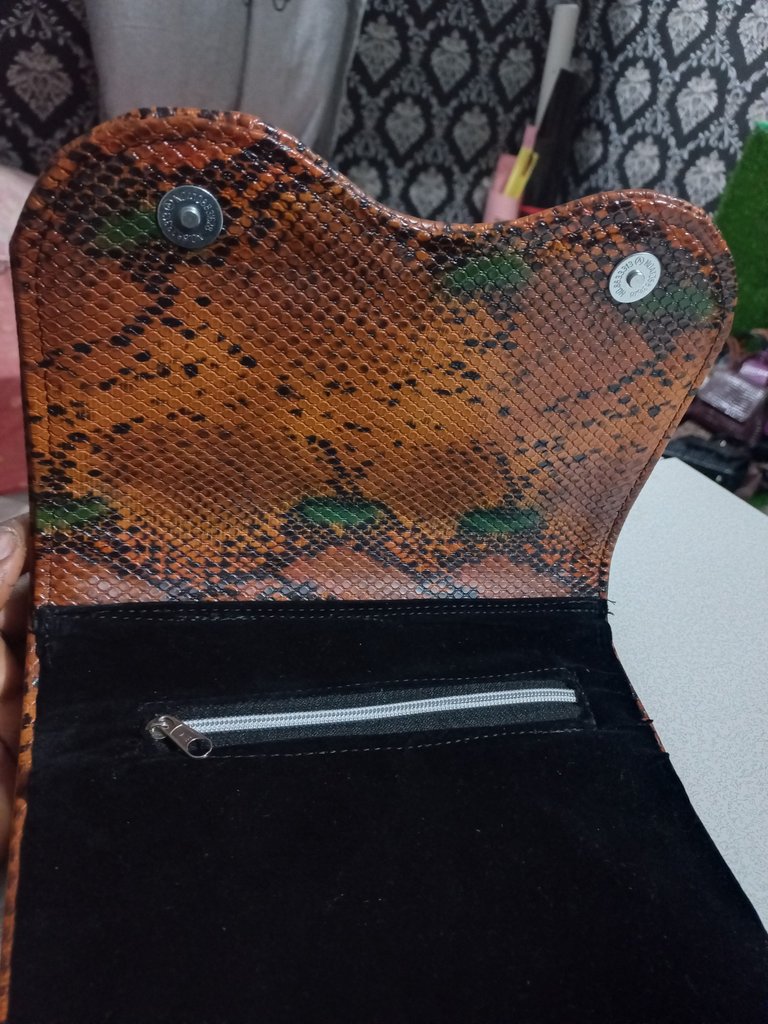
- Here I gummed a thick leather that I use for the sides with the leather of choice and I sew the bottom as seen below. After that I fixed the D rings and I gummed it with the lining.
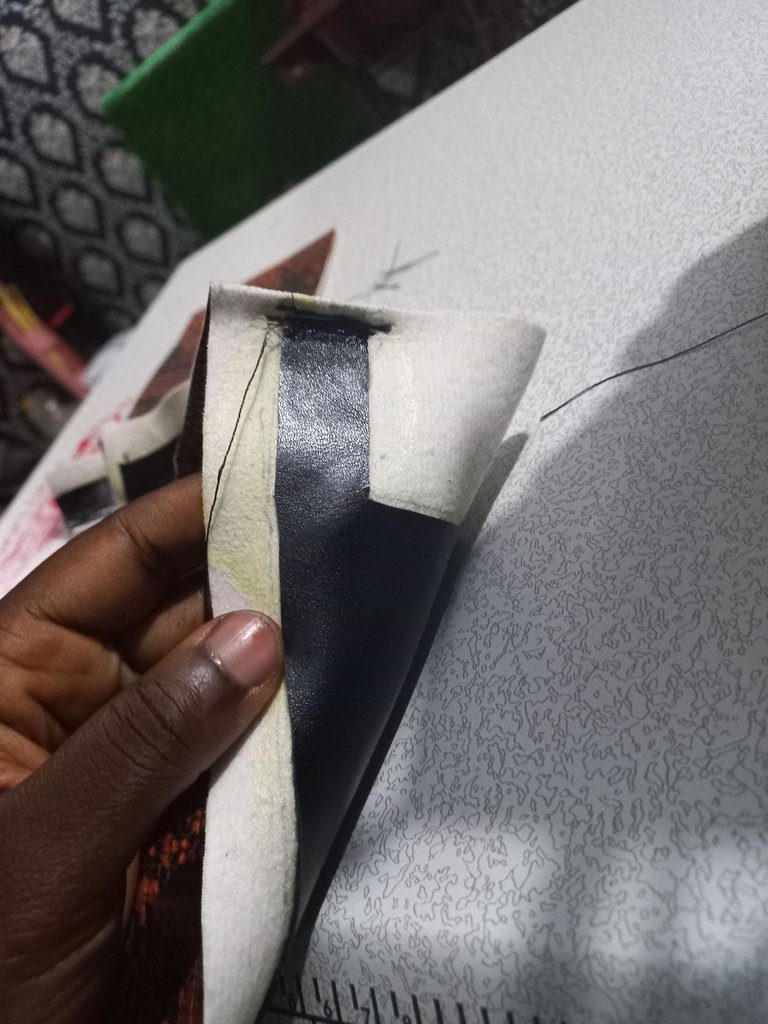
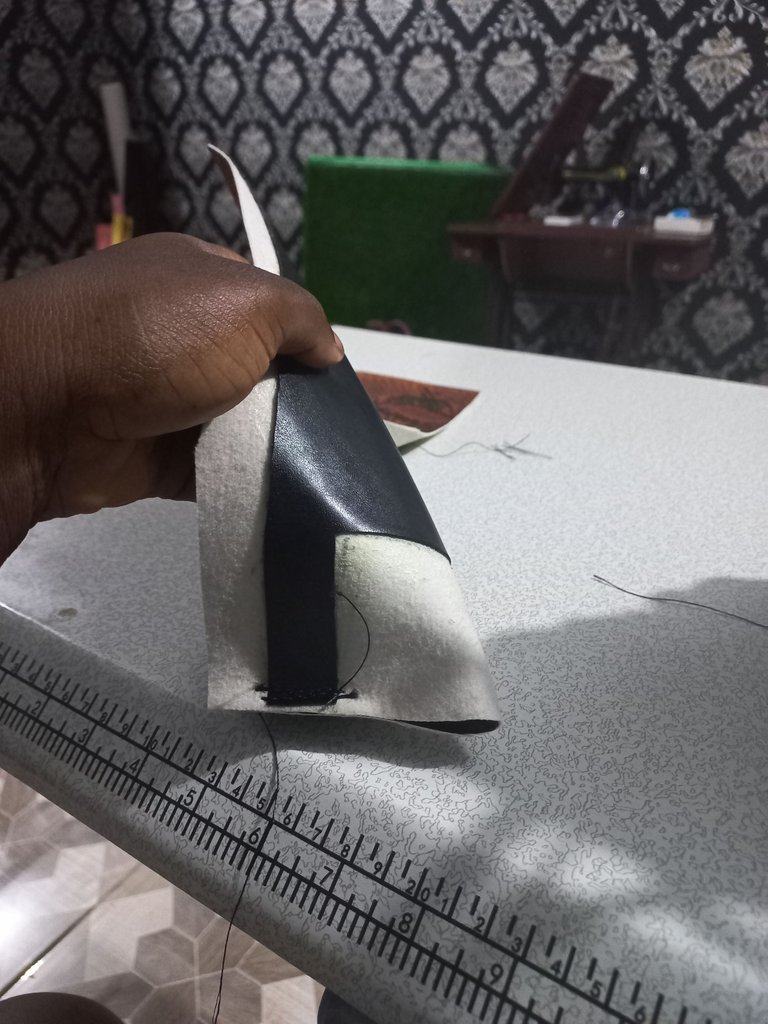
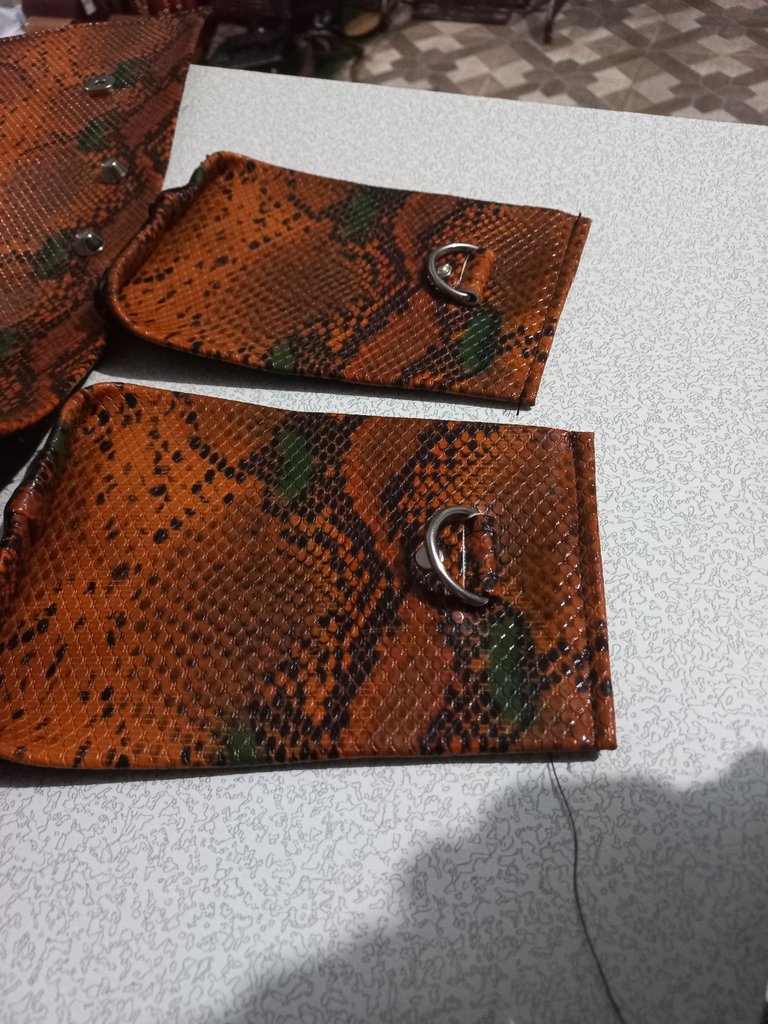
- Finally, I sew the sides with the main body of the bag.
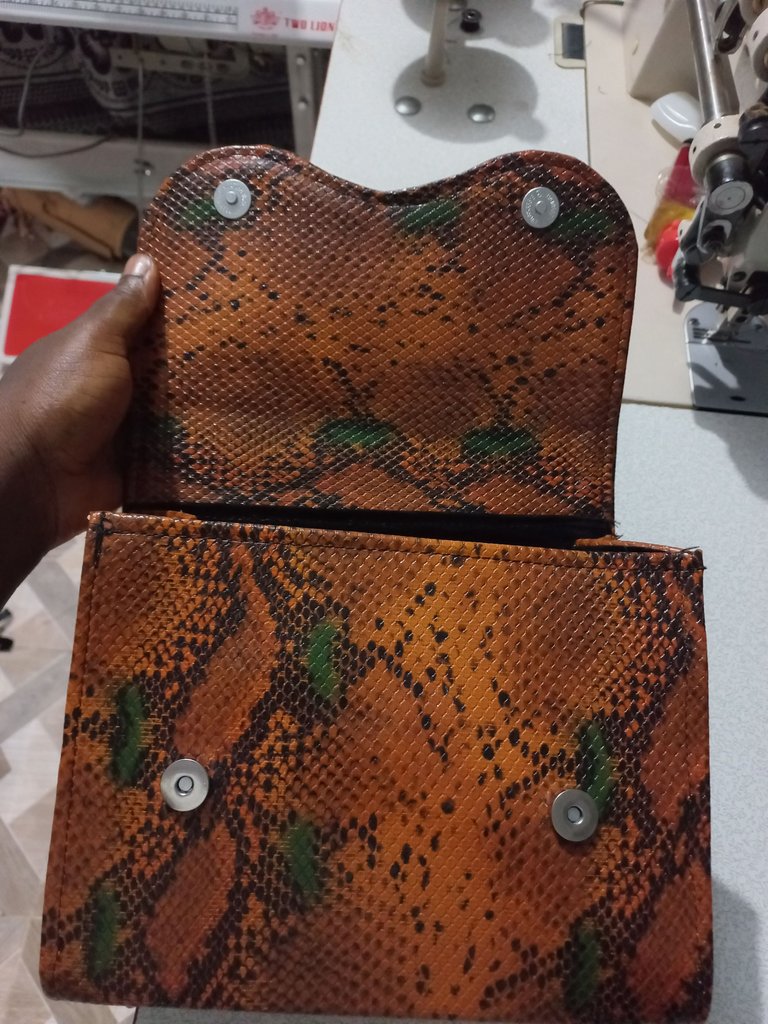
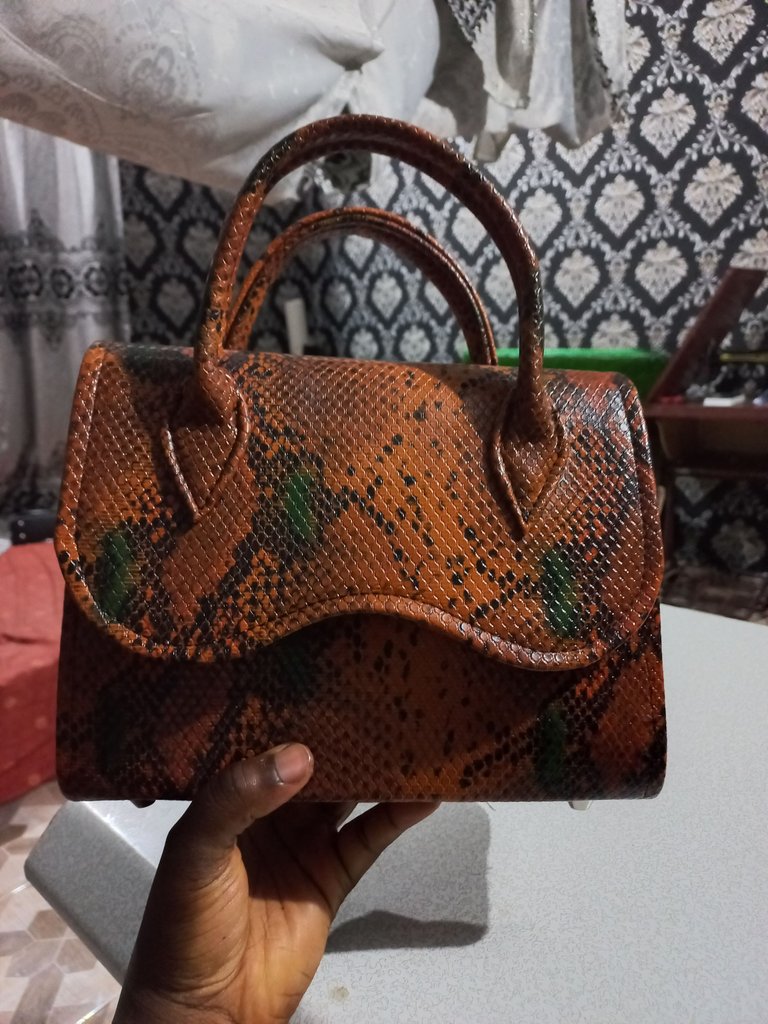
FINAL PICTURE

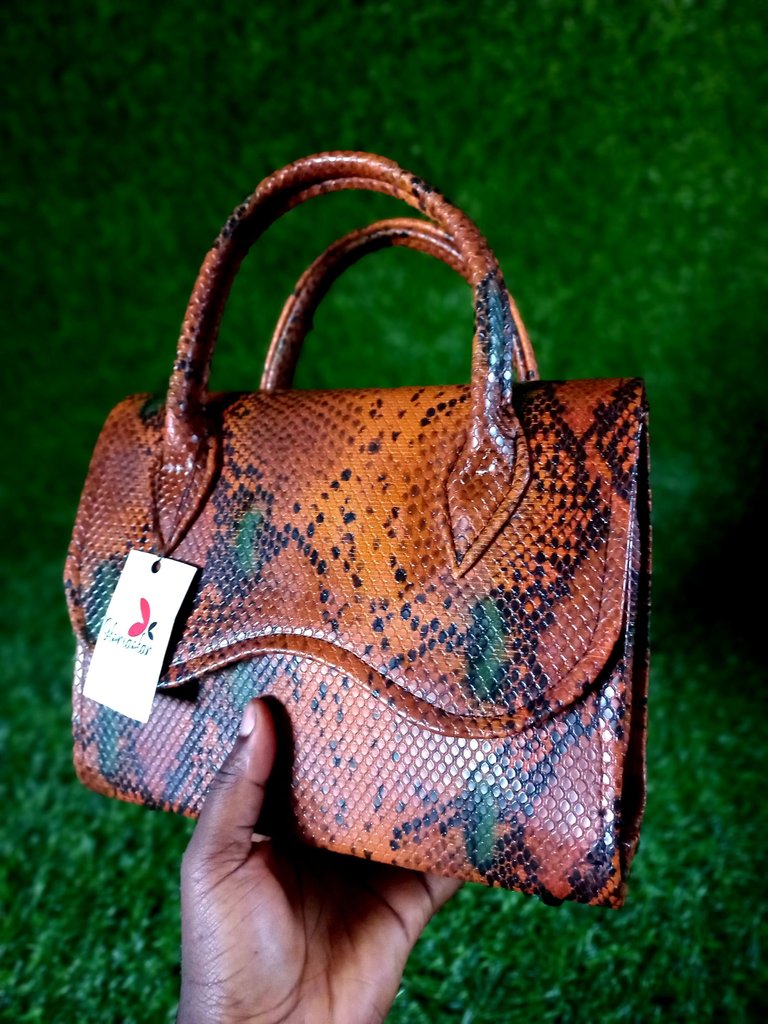

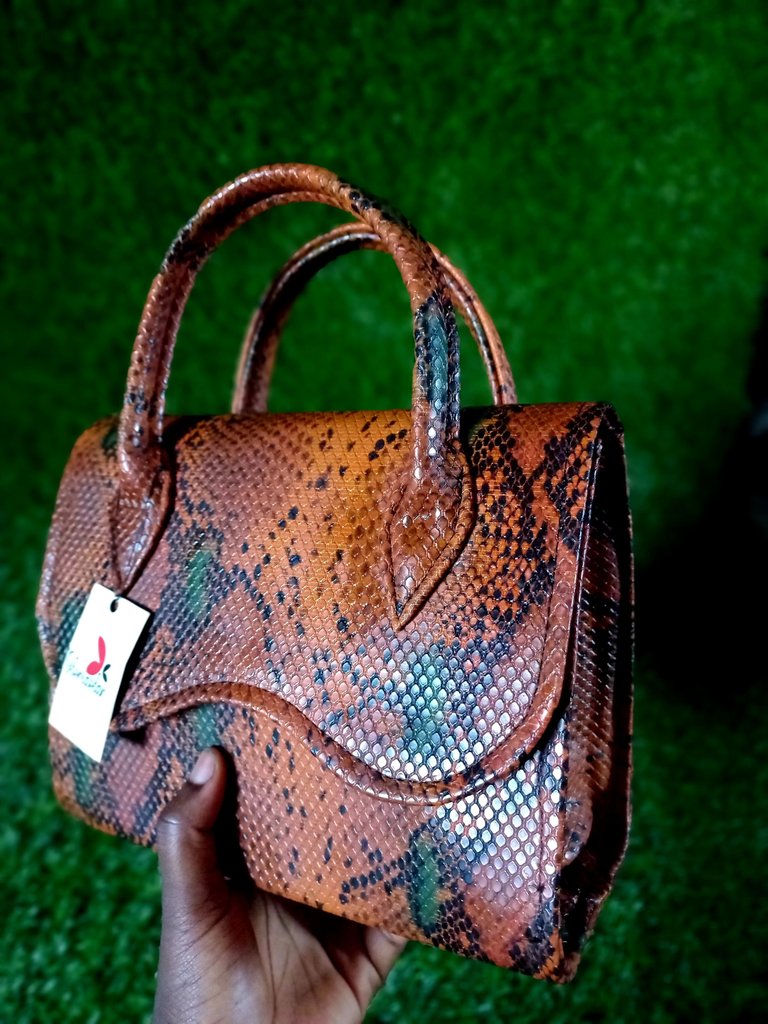
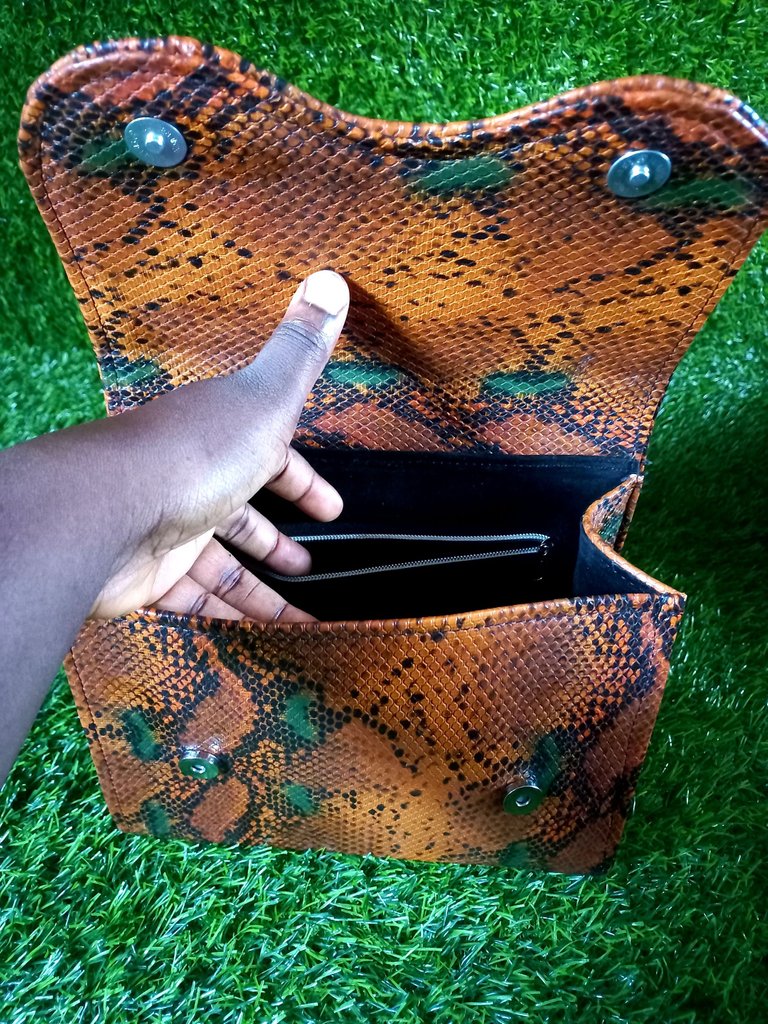
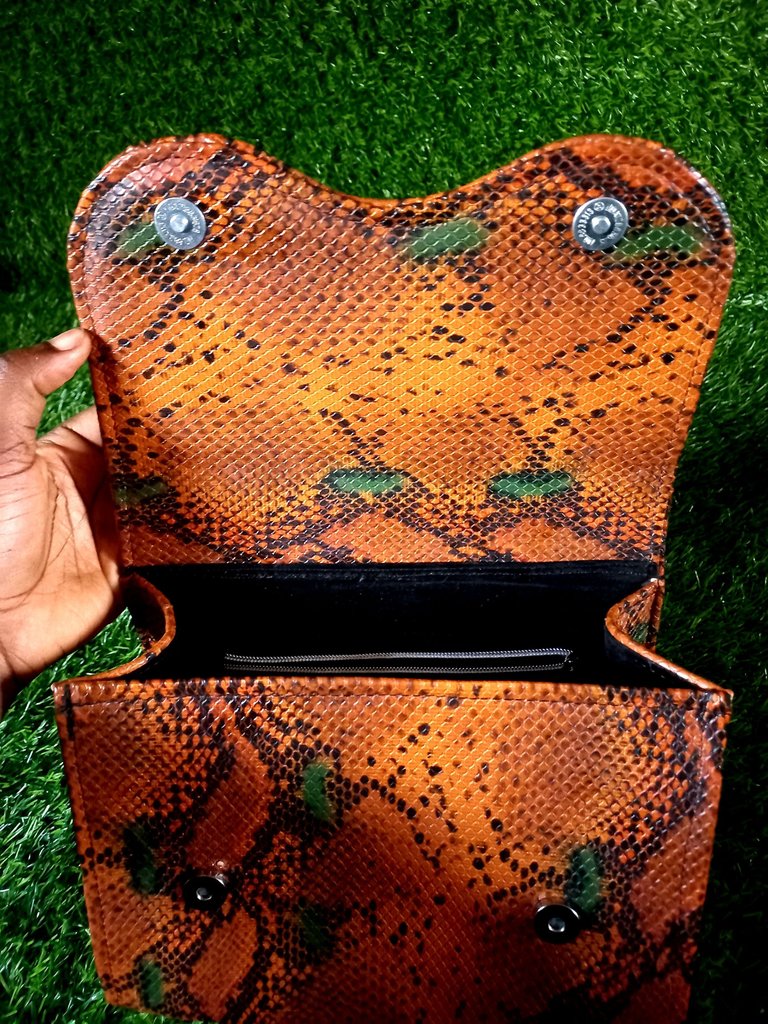
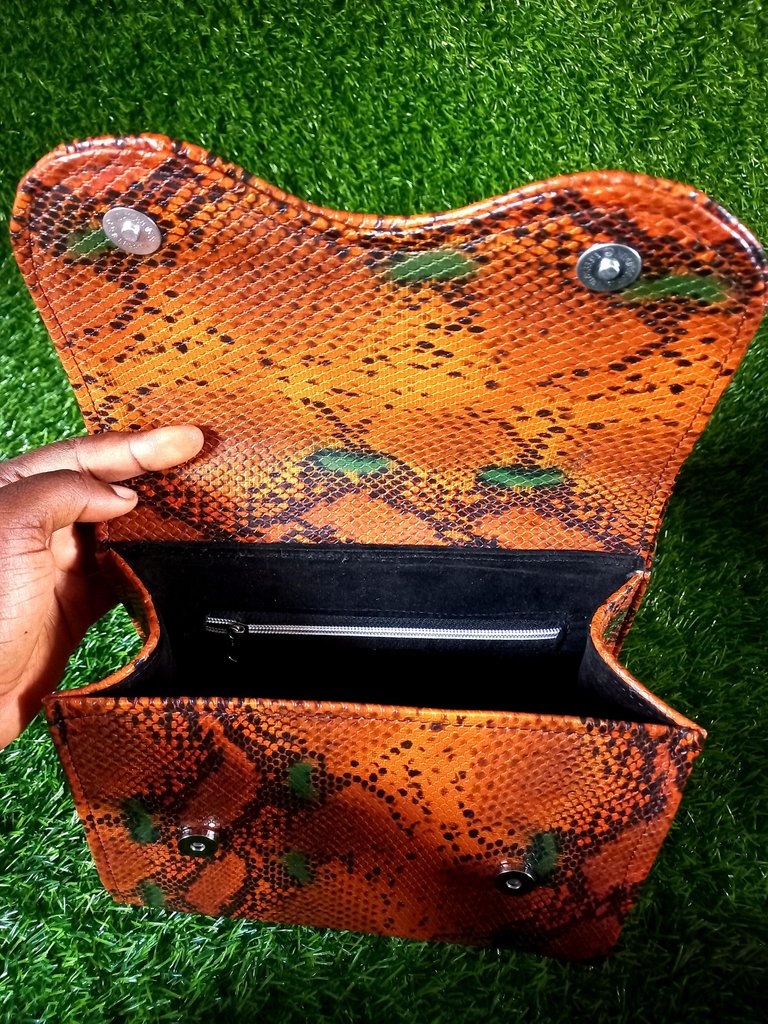
Wow, the bag looks amazing! It's nice to see the process from the very beginning to a wonderful end product. :)